I’m a worrier… I really am. But mostly about the unknown. The Unknown. AKA: the most pointless thing to worry about. All my life I’ve tried to instill the ole “Don’t stress until there’s a reason to stress” thing, and it works in some instances. Honestly, there’s no rhyme or reason to it… Big things, I have no problem with. Minor things… Stress city. And for whatever reason, when it comes to our home and possible expenses, I fail EVERY TIME in my efforts to not think about it. If I’m aware of a problem but don’t know the extent of it, my imagination runs wild and I inevitably envision the most dire scenario. I DREAM about it. Drive my saint of a husband mad about it. But the funny thing is that once I know the issue, even if it’s really bad, it’s like flipping a switch and I’m totally fine. It’s like once I know, I’m golden. Once a plan is in place I’m alright. I. Just. Have. To. Know.
And that’s how our wood rot issue was for me. Remember when I discussed that our exterior back wall was rotting here in this post? Well, once we discovered it, I was literally dreaming about the wall crashing down. Dramatic? Yes. Unfounded? Quite. But I couldn’t help it. We immediately started calling contractors to see about getting estimates. We called four who were recommended by friends. Unfortunately, with all of the recent rain everybody had a lot going on…
One never called back.
One said he would come take a look but never did.
One told us that the rot was BAD and it was way beyond his skill set, thus, he wouldn’t fix it.
One told us the complete opposite… That it was minor rot and he wouldn’t go through the effort of fixing it (even though he never took a close look at the extent of it). We suspect that he was just really busy and didn’t want to do the job.
After that guy, we removed more trim and discovered that the main supports of the wall were resting on that rotted plate board. So, yes. It needed to be fixed. And we were really frustrated that nobody seemed to wanna help us. At this point it had been about 3 weeks of trying to get somebody out to assess the problem to no avail.
Then, one morning, my dad’s friend called me and said that he knew a framer who was really good. We called him and within an hour he was at our house to give us an estimate. On a SATURDAY. Not only was his estimate lower than expected, he didn’t seem concerned about our picture window (ie: my main worry and the whole reason we weren’t DIYing this to begin with). In fact, he doubted he’d have to remove it to fix the issue. He told us that he’d come with his crew the following week to remove our siding to give us a more exact quote and to fully assess the damage. Then, he could either fix it right then and there or if it was too expensive, he’d just reattach the siding and leave.
We were in.
A week later, he and his crew arrived. They removed the bottom of the siding and discovered that the damage was only the bottom plate board and the very bottom of two studs…


He finalized the quote at that point and it ended up being $500 LESS than the original quote. So basically, equivalent to our deductible had we chosen to go through insurance (which we didn’t). And it included fixing the wall with treated wood and installing Hardee siding and trim on all siding areas along the back of our house. Plus, he ensured us that it would look exactly the same to maintain the character of the house. Obviously, we gave the okay.
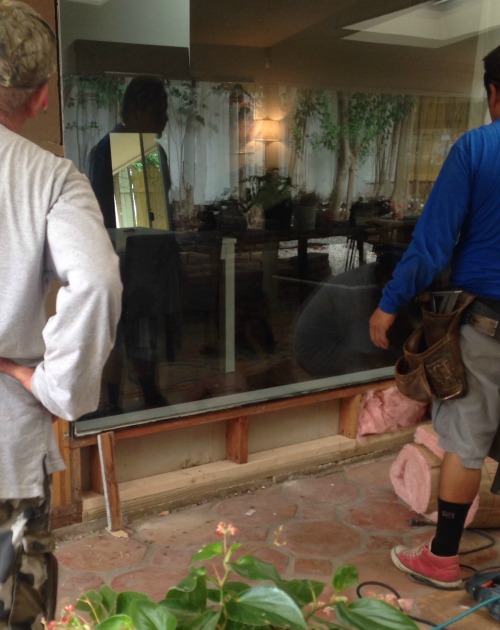
Once they got going, things got a little nerve-wracking when we discovered that our window was actually not a legit window. It was a huge piece of dual paned tempered glass that had been framed in. And once they removed the trim we saw that hardly anything was holding it In place. Our framer suspected that it was a DIY job based on what he saw.

He braced it in with a few pieces of scrap lumber and set about fixing the wall in sections. I didn’t take a ton of pics during the process, because, well… I felt weird taking pictures of random men working. I did manage get one, though, to give you a bit of a before/after gist of the inner workings of our wall…
Check out that gorgeous, firm plate board. Oh, yeeeeah. Once they were done, it looked like this…
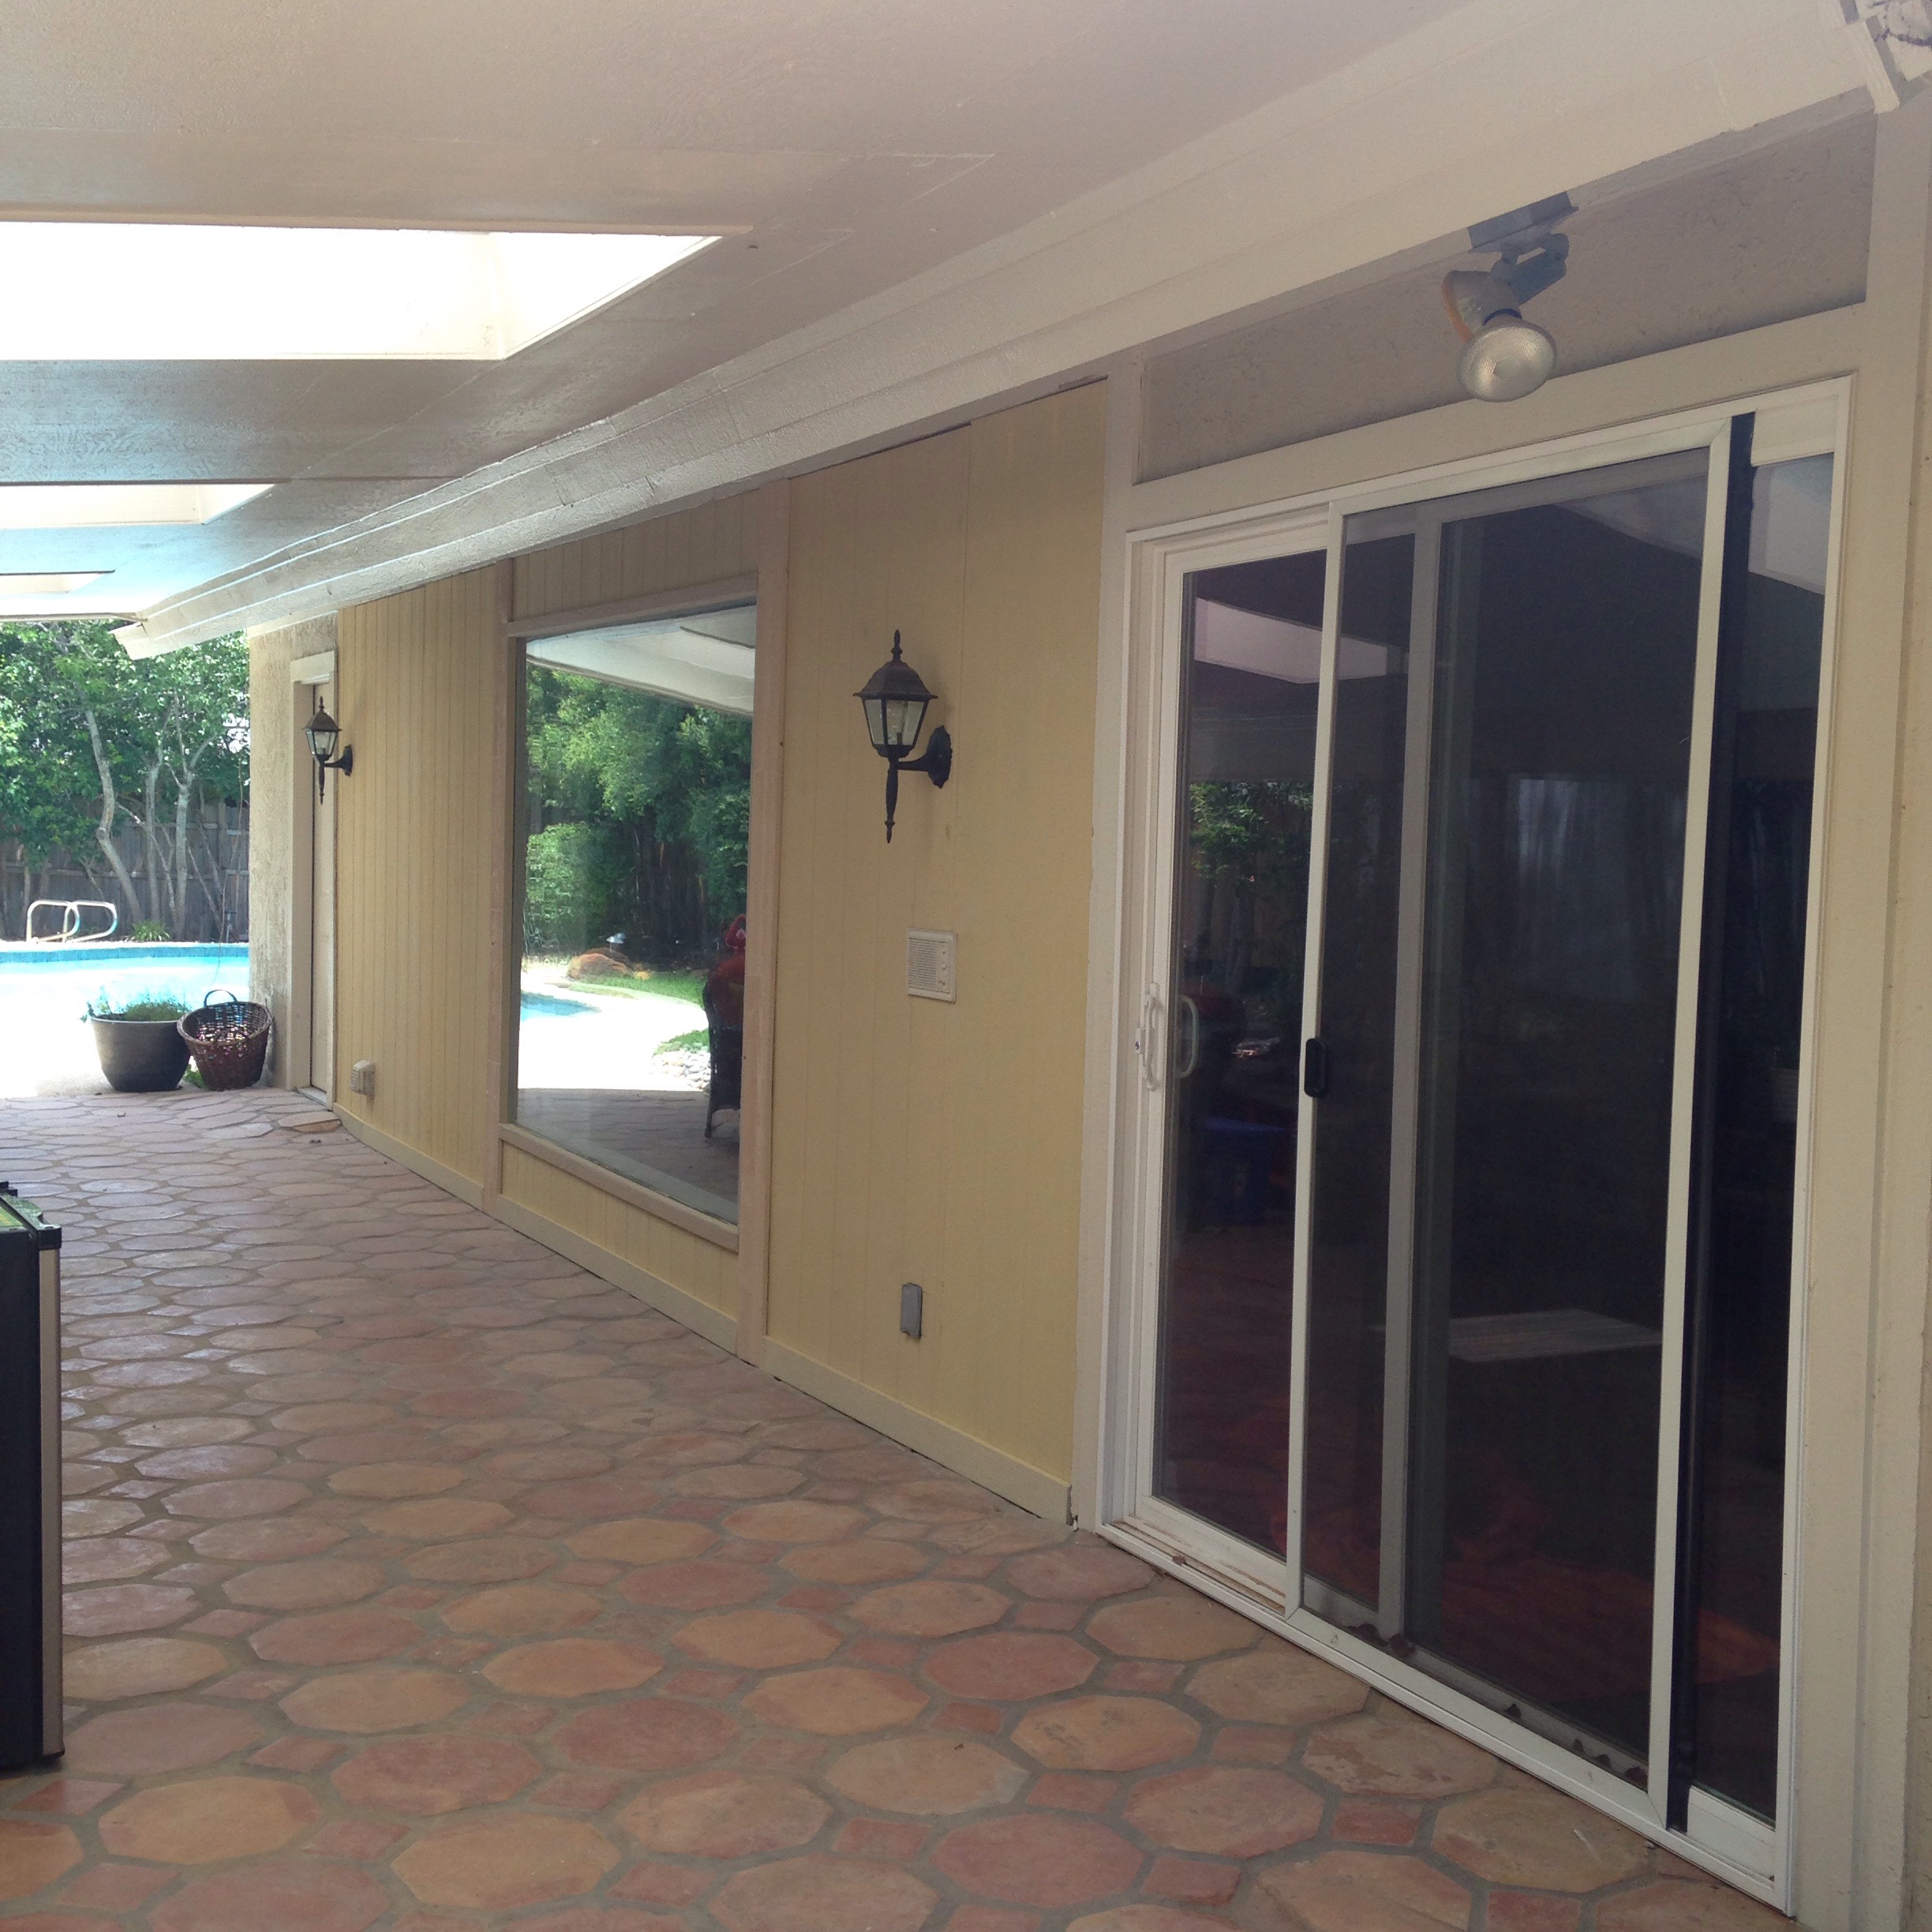

Pretty much the same, right?? Just with way better materials that won’t soak up moisture.
The entire job took them about 7 hours from start to finish. They were punctual, courteous, and hard-working. All-in-all, we’re pretty satisfied.
So, once the hard labor was complete, it was up to me to finish sealing and painting. I began by caulking every single seam and nail hole. I knew I’d be priming since there were many color undertones in the materials on the wall and I didn’t want them peeking through my paint, so I just used whatever colored caulking I had on hand. I just made sure of two very important things…
1. That my caulk had silicone in it to keep the caulk from shrinking and cracking.
2. That it was paintable.
Once the wall was caulked, it looked like this…


It’s amazing how something as simple as caulk goes such a long way to making a project looked finished. I was sure to use clear caulking around the window to make it less obvious and this was the only area that I used this foolproof caulking method to ensure clean, crisp lines. It works every time.
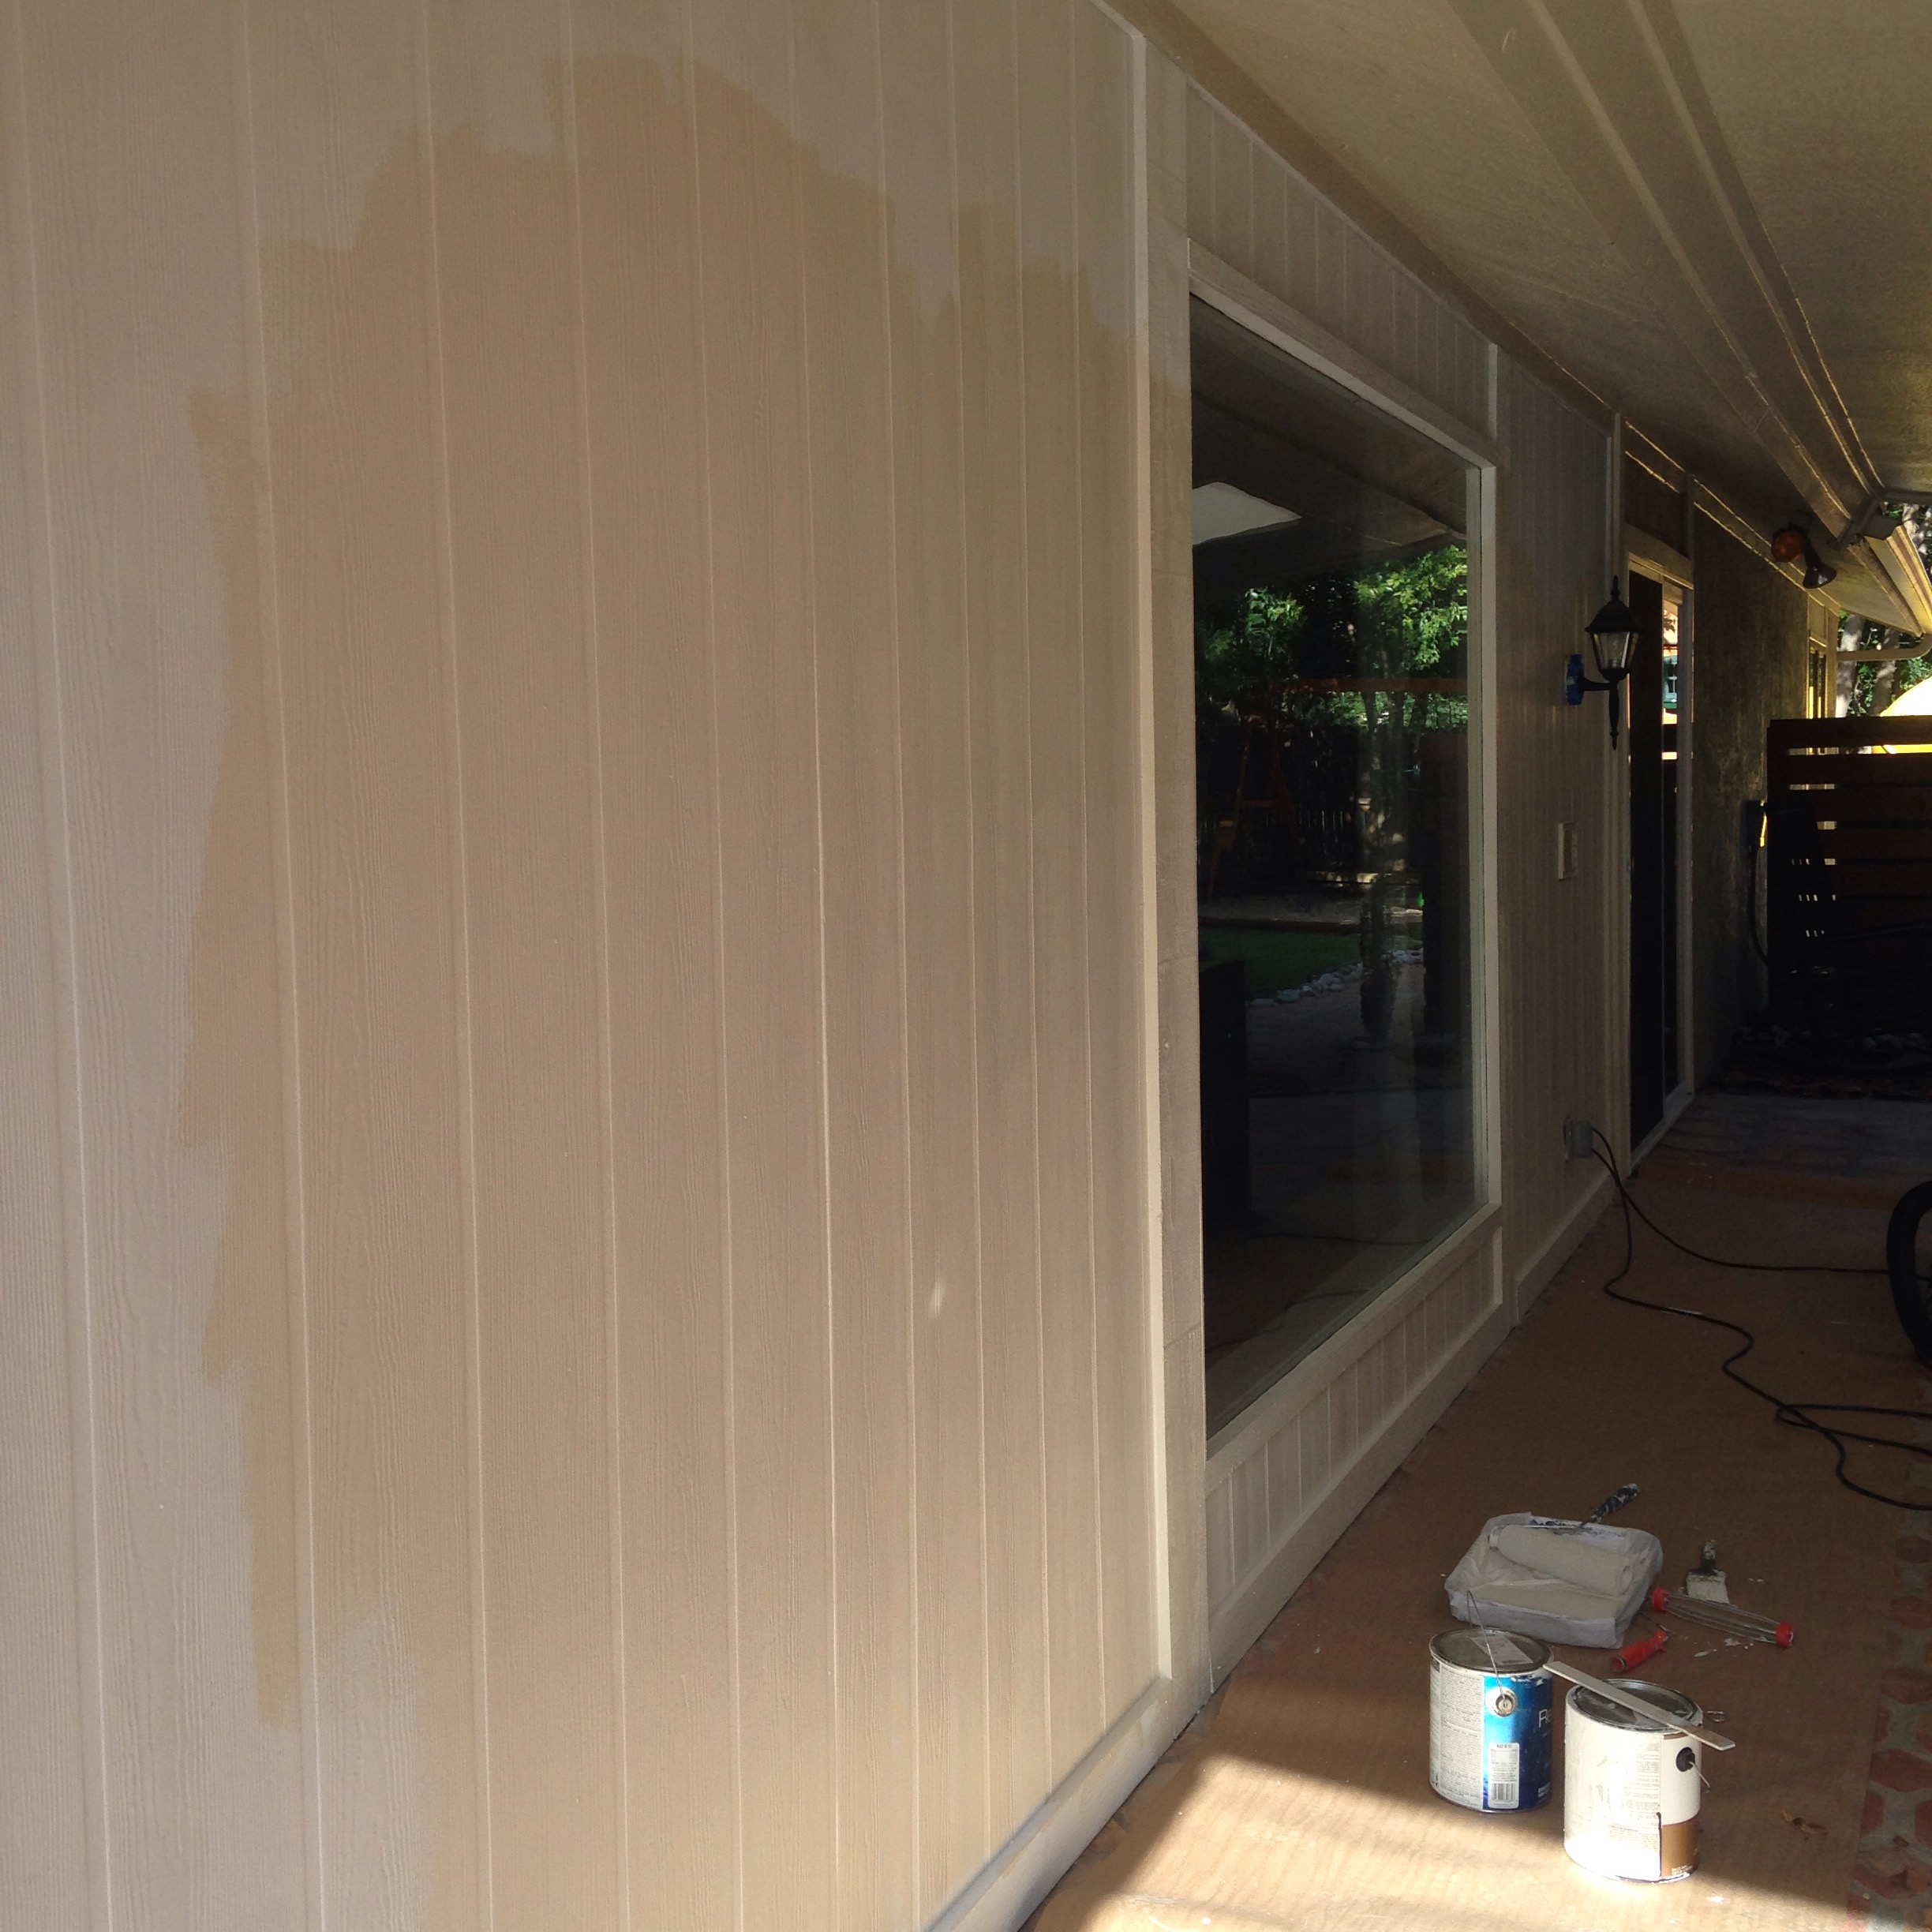
The next day, I set about priming. And I’m not gonna lie… The process was a beating. Now, I need you to understand that this is a GIANT statement coming from a paint-loving gal like myself (who regularly offers to paint my friends houses FOR FUN). Ya see, I decided to prime immediately after I’d returned from a long jog. And it was hot out. And I’ll tell ya, fatigue and dehydration do not make good decisions. And my decision in question: material choice. I know this. I totally know this, yet in my mission to collect materials from my stash, I simply chose the first roller cover I saw rather than evaluating the best option. And once I started priming, I immediately realized that I needed a much fluffier roller to get into all the seams and crannies. This was taken after I’d primed to the best of my ability with significant pressure on the roller…

But then, my nemesis Fatigue and his weazily little toadie, Laziness, reared their ugly heads and said “Meh. This roller’s already dirty anyways and how much extra time will it really take to just deal with it as is??”. So, rather than switch rollers, I pressed on. I ended up having to brush along every single seam and then roll in between numerous times with decent pressure to get thorough coverage. How long did it take, you ask? Well…
It took me TWO HOURS to get this far…

TWO. HOURS.
And I’m a fast painter. Seriously, ya’ll. It’s ALL in the materials you choose. So, channel Indiana Jones and choose wisely.
Speaking of materials, one item that I strongly recommend you splurge on is your paintbrush. I edge freehand using a 2 1/2″ angled brush by Wooster. It’s my absolute favorite and totally worth the $14 (Not sponsored, just spreading the love). I love how it holds the paint and leaves a crisp line…

This brush is also the best for edging the textured walls that are so prevalent here in the south. I wrote a post with 11 tips for painting textured walls a while back, so check that out for more tips about that. Anyways, I’ve found that edging well is all about…
1. Using a good brush, and…
2. Knowing how to load your brush. This is something that you get the hang of with experience, but basically you want to load your brush with enough paint to prevent individual bristles from separating (which leaves a “brushstrokey” edge), but not so much that it drips. Keep in mind the plane that you’re working on and how gravity is pulling the paint. I always load the brush more heavily when edging ceiling lines because it allows a crisper line up top and you don’t have to worry about drips marring your line as gravity takes over. For baseboard lines, it’s the opposite. I load it less because that’s where drips can affect your finished product. And for horizontal lines like in the picture above, its somewhere in between.
Another tip that I love and bears repeating is this little gem that I picked up on Pinterest.
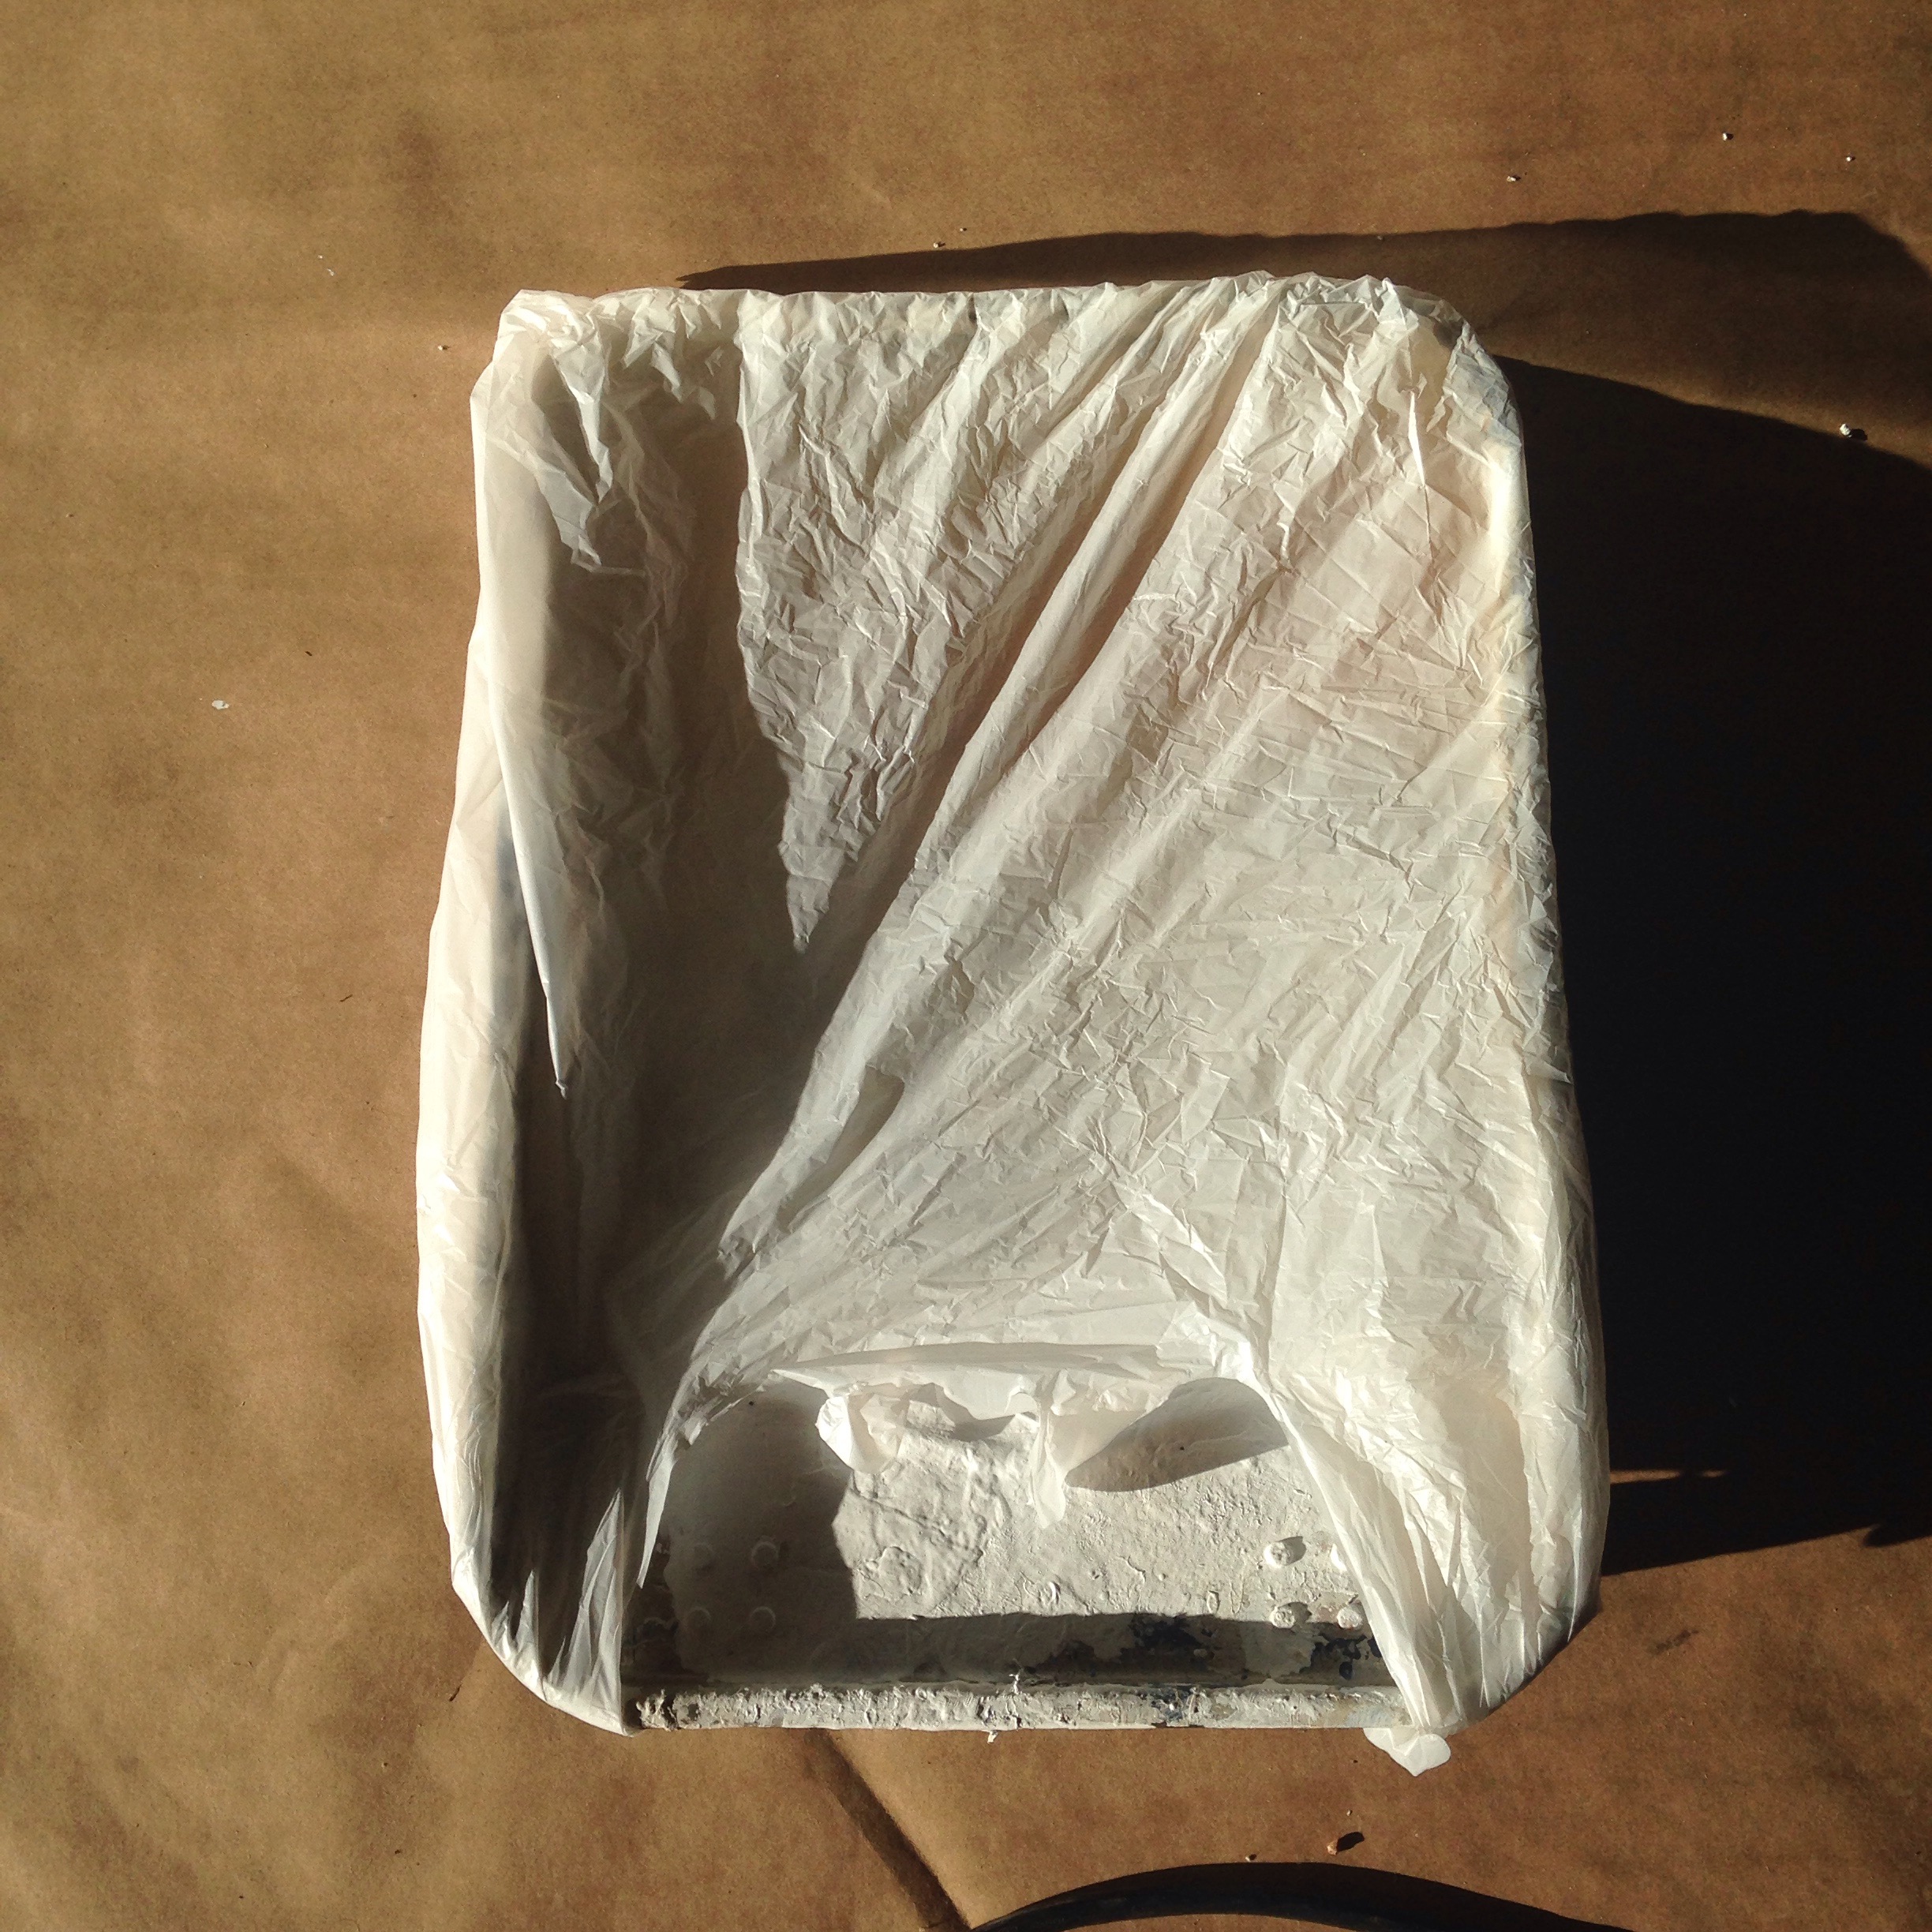
Line your tray with a plastic shopping bag to save on clean up. I wrap the handles around the legs of the tray to keep it from slipping…

It works like a charm every time.
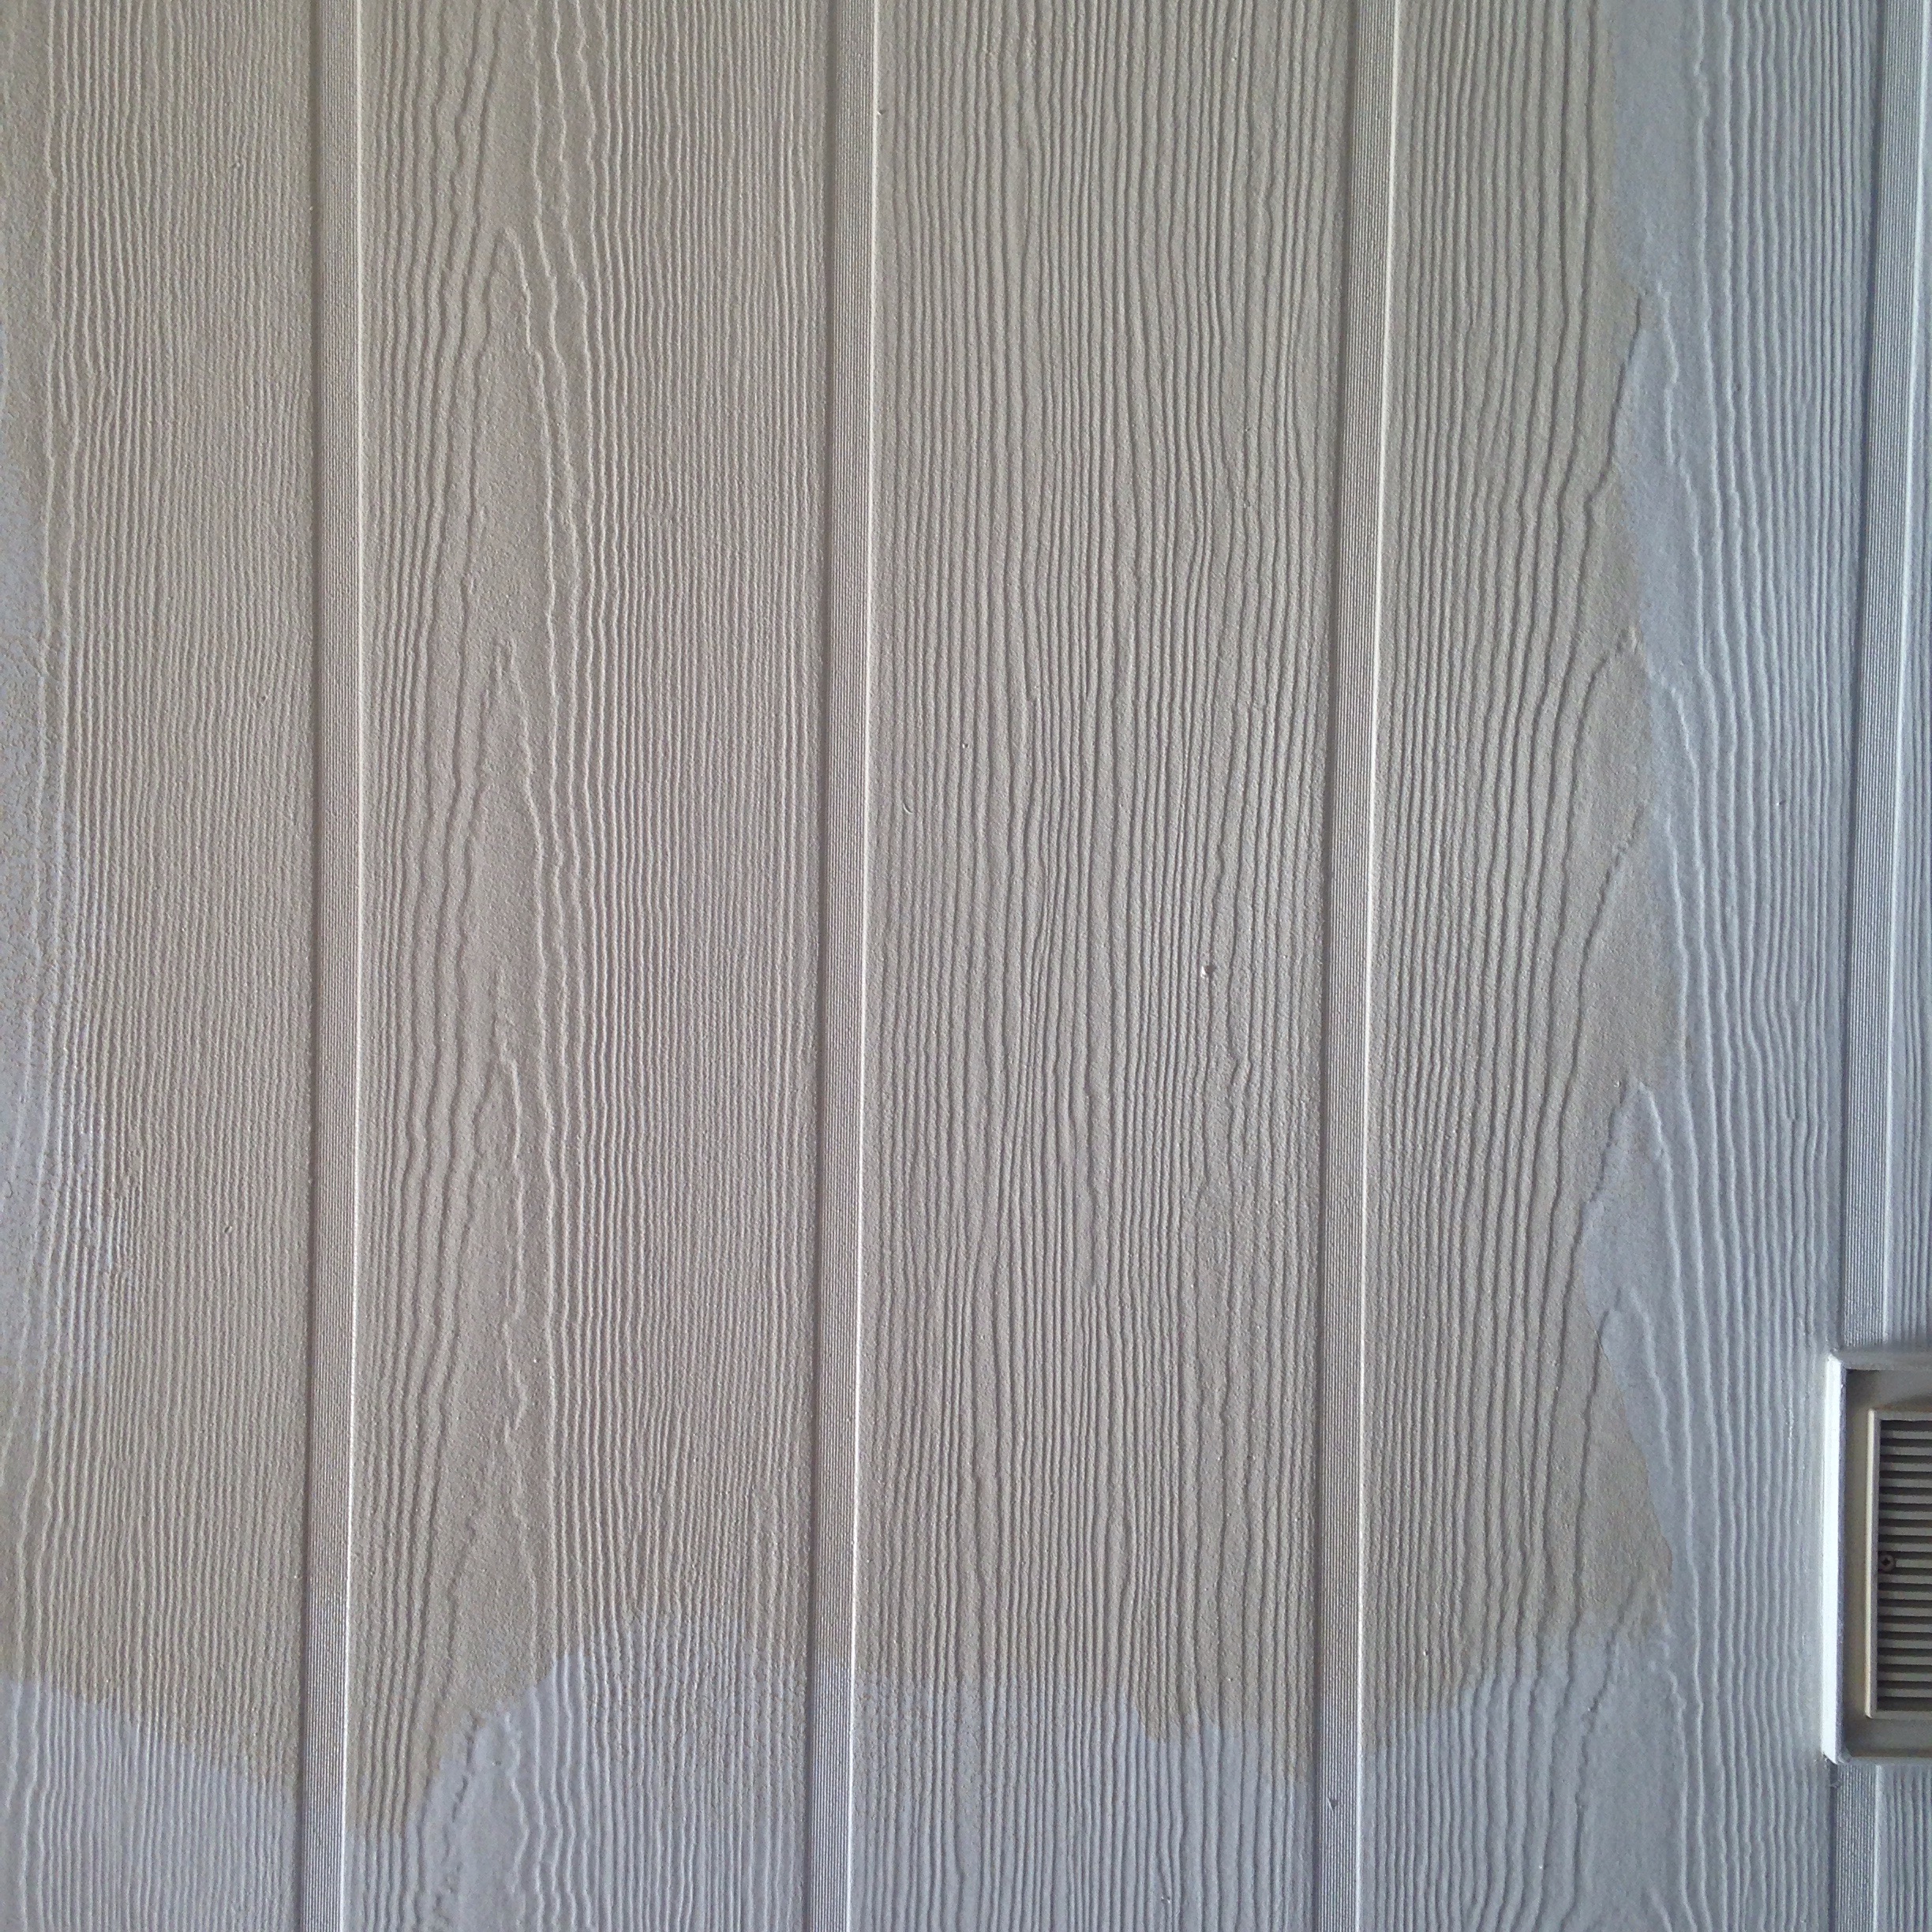
Anyways, back to priming. I used Kilz Premium primer, mainly because I already had it on hand. It’s mildew resistant and stain-blocking as well, so it was a good choice for this project. Once I was done priming, the wall looked like this…

Priming not only evened out the playing field as far as undertones went, it also made areas that I’d missed when caulking obvious. Like, this seam….

And nail holes….

So, I went back with white caulk and filled all those in.
The following day, I set about painting. Luckily, our painter had left us a bunch of paint from when we had the exterior of the house painted. It was Sherwin Williams Resilience in Loggia mixed at 25%. Having learned my lesson with the roller cover the day before, I chose the puffiest roller I had which was meant for rough surfaces. I rolled on a small section…
Perfect coverage with minimal effort.
This is when I beat my head against a metaphorical wall for an hour. All the time I could’ve saved the day prior. All the upper body strength sacrificed. All because I opted to press on rather than take two minutes to change my roller cover. Oy. Lesson learned.
The same (if not more) amount of painting that I showed you in the priming picture..
…which had taken me two hours the day before, took me only 40 minutes this time around. Seriously, I timed it. The fluffier roller saved me from having to brush all the seams and repeatedly roll over the same area to get decent coverage like I had to with the smoother roller. I know that the primer may have also helped time-wise, since it likely helped with the coverage of the paint, but still. I ended up doing two coats of paint in pretty much the same amount of time it had taken me to prime one coat thanks to a change in materials.
So, anyways, when all was said and done, it looked like this…
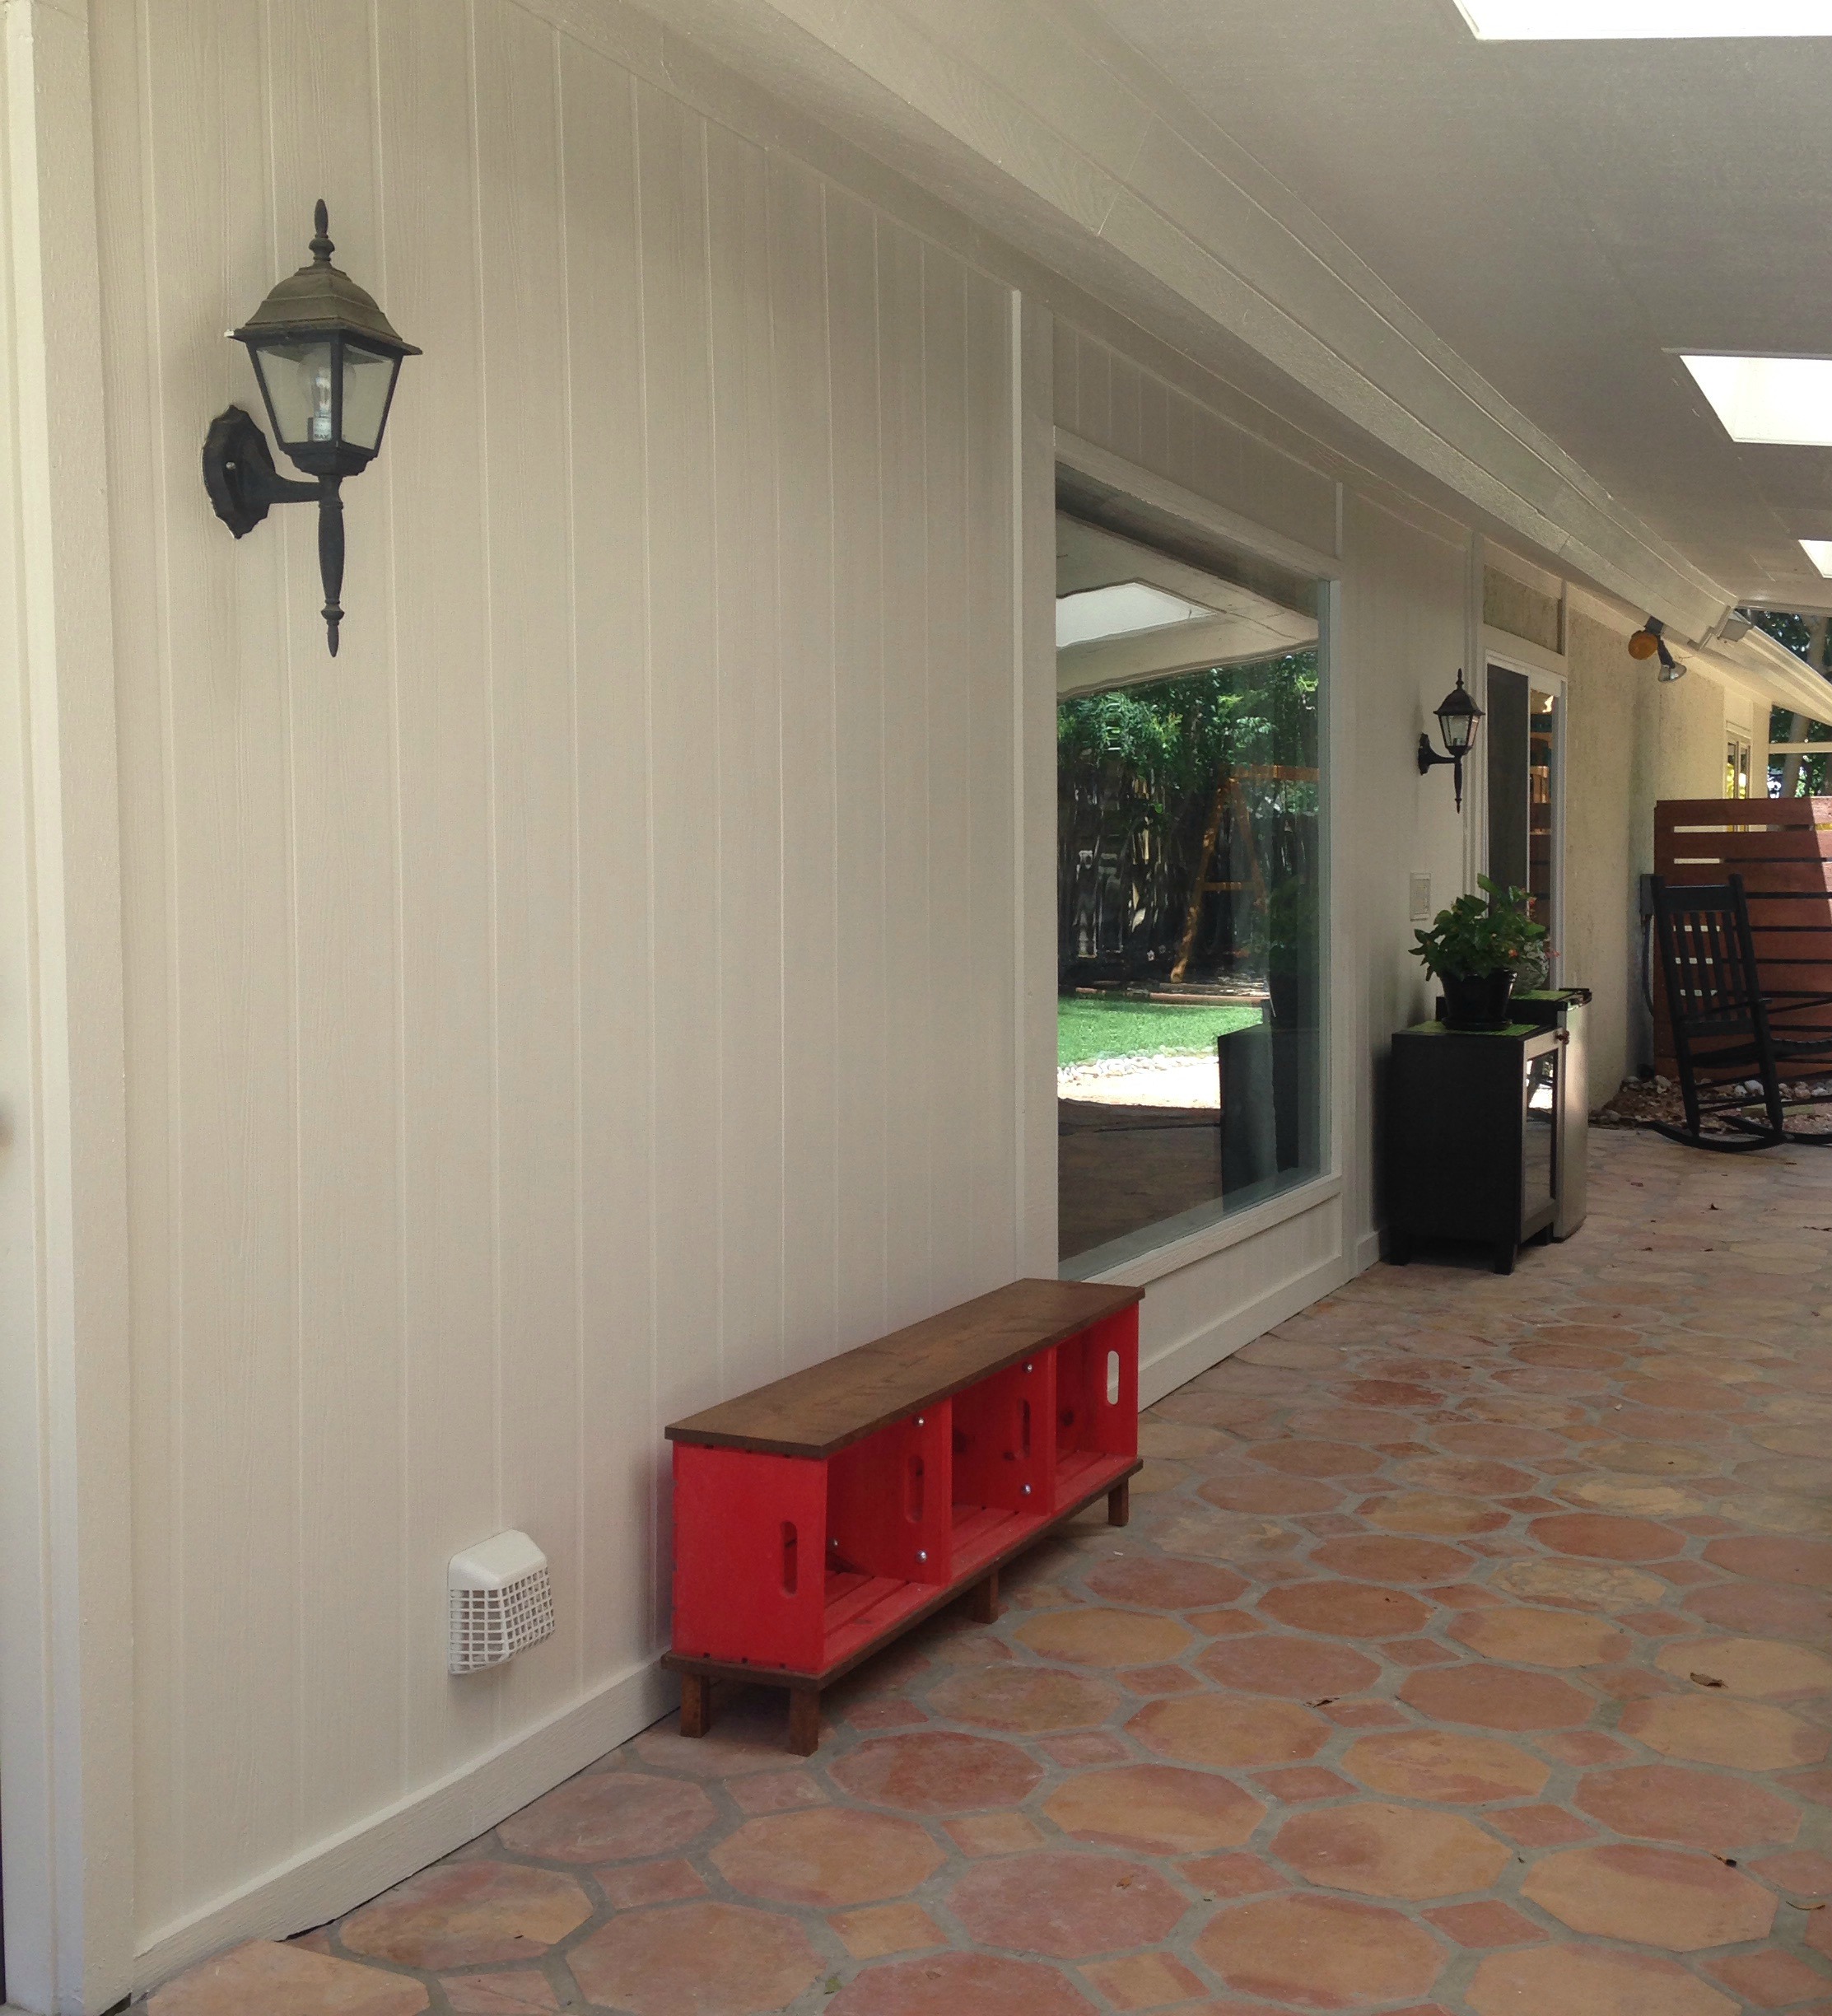


Crisp and clean and so wonderfully water resistant. It’s like a breath of fresh air. And now we can start focusing on fun things (hopefully… fingers crossed), like our breakfast nook chairs or starting our kitchen reno. Woo hoo! J


