Displaced, Replaced

I think one of the aspects of decorating that I get the most thrill from is finding new places for old things. Rethinking uses. Reworking the look of an item to make it work elsewhere. While this satisfies the cheapo in me for obvious reasons, it also appeals to my inner problem-solver (..say, Nancy Drew, whaaat?). 🙂

Ive mentioned several times that I like to Craigslist items (here and here, for example), but I think it’s also pertinent to discuss the process which leads to this decision. Items in this house are definitely not Craiglisted all willy-nilly. Typically, they’re cast off for an undetermined length of time to Decorating Purgatory (also known as No Mans Land. Also known as our spare bedroom.) while I continue to marinate over it. ….Think over relocation options. …Discover any possible way to utilize the item to avoid that ole’ “darn it, why did I get rid of that” regret. And you KNOW that my thrifty side cringes if I (gasp!) have to rebuy something because I’ve sold or donated the previous item prematurely. So, it’s a calculated decision. And you can imagine how happy it makes me to rescue an item from Purgatory to rejoin the land of the living if inspiration strikes. With that in mind, I’m happy to announce that two items found new homes within our four-walls. No Craigslisting today, my three readers!!!

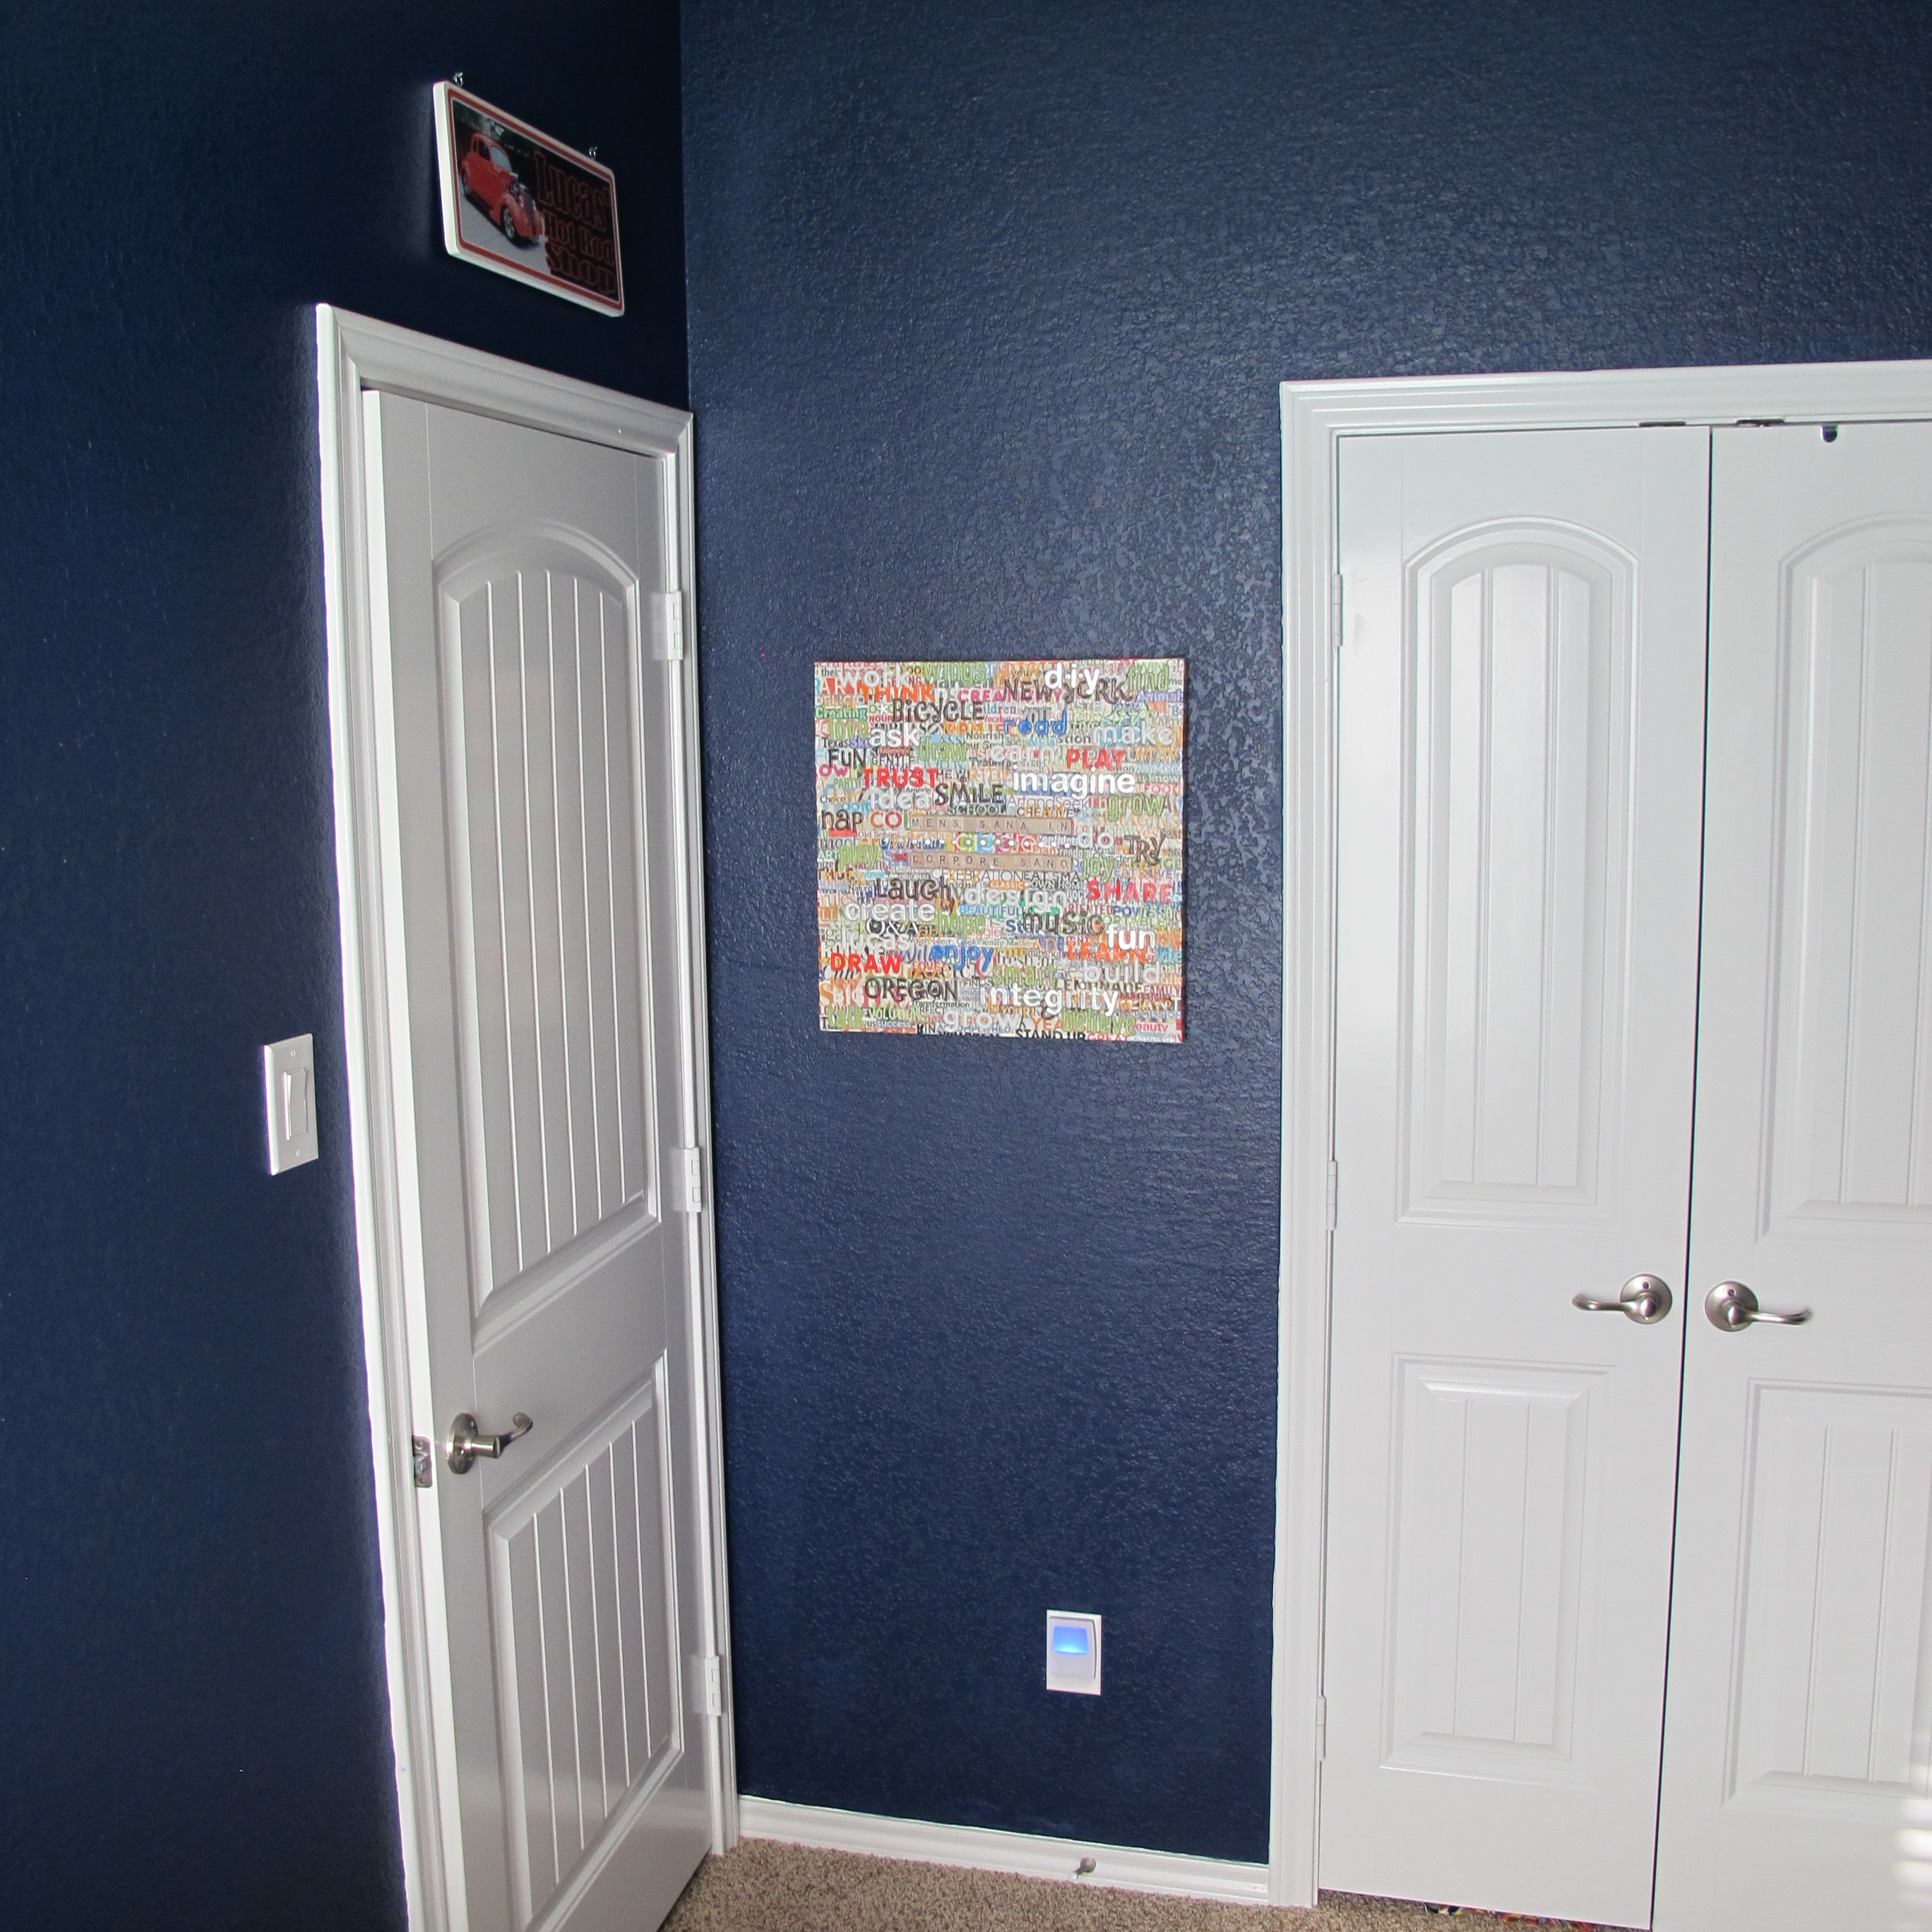
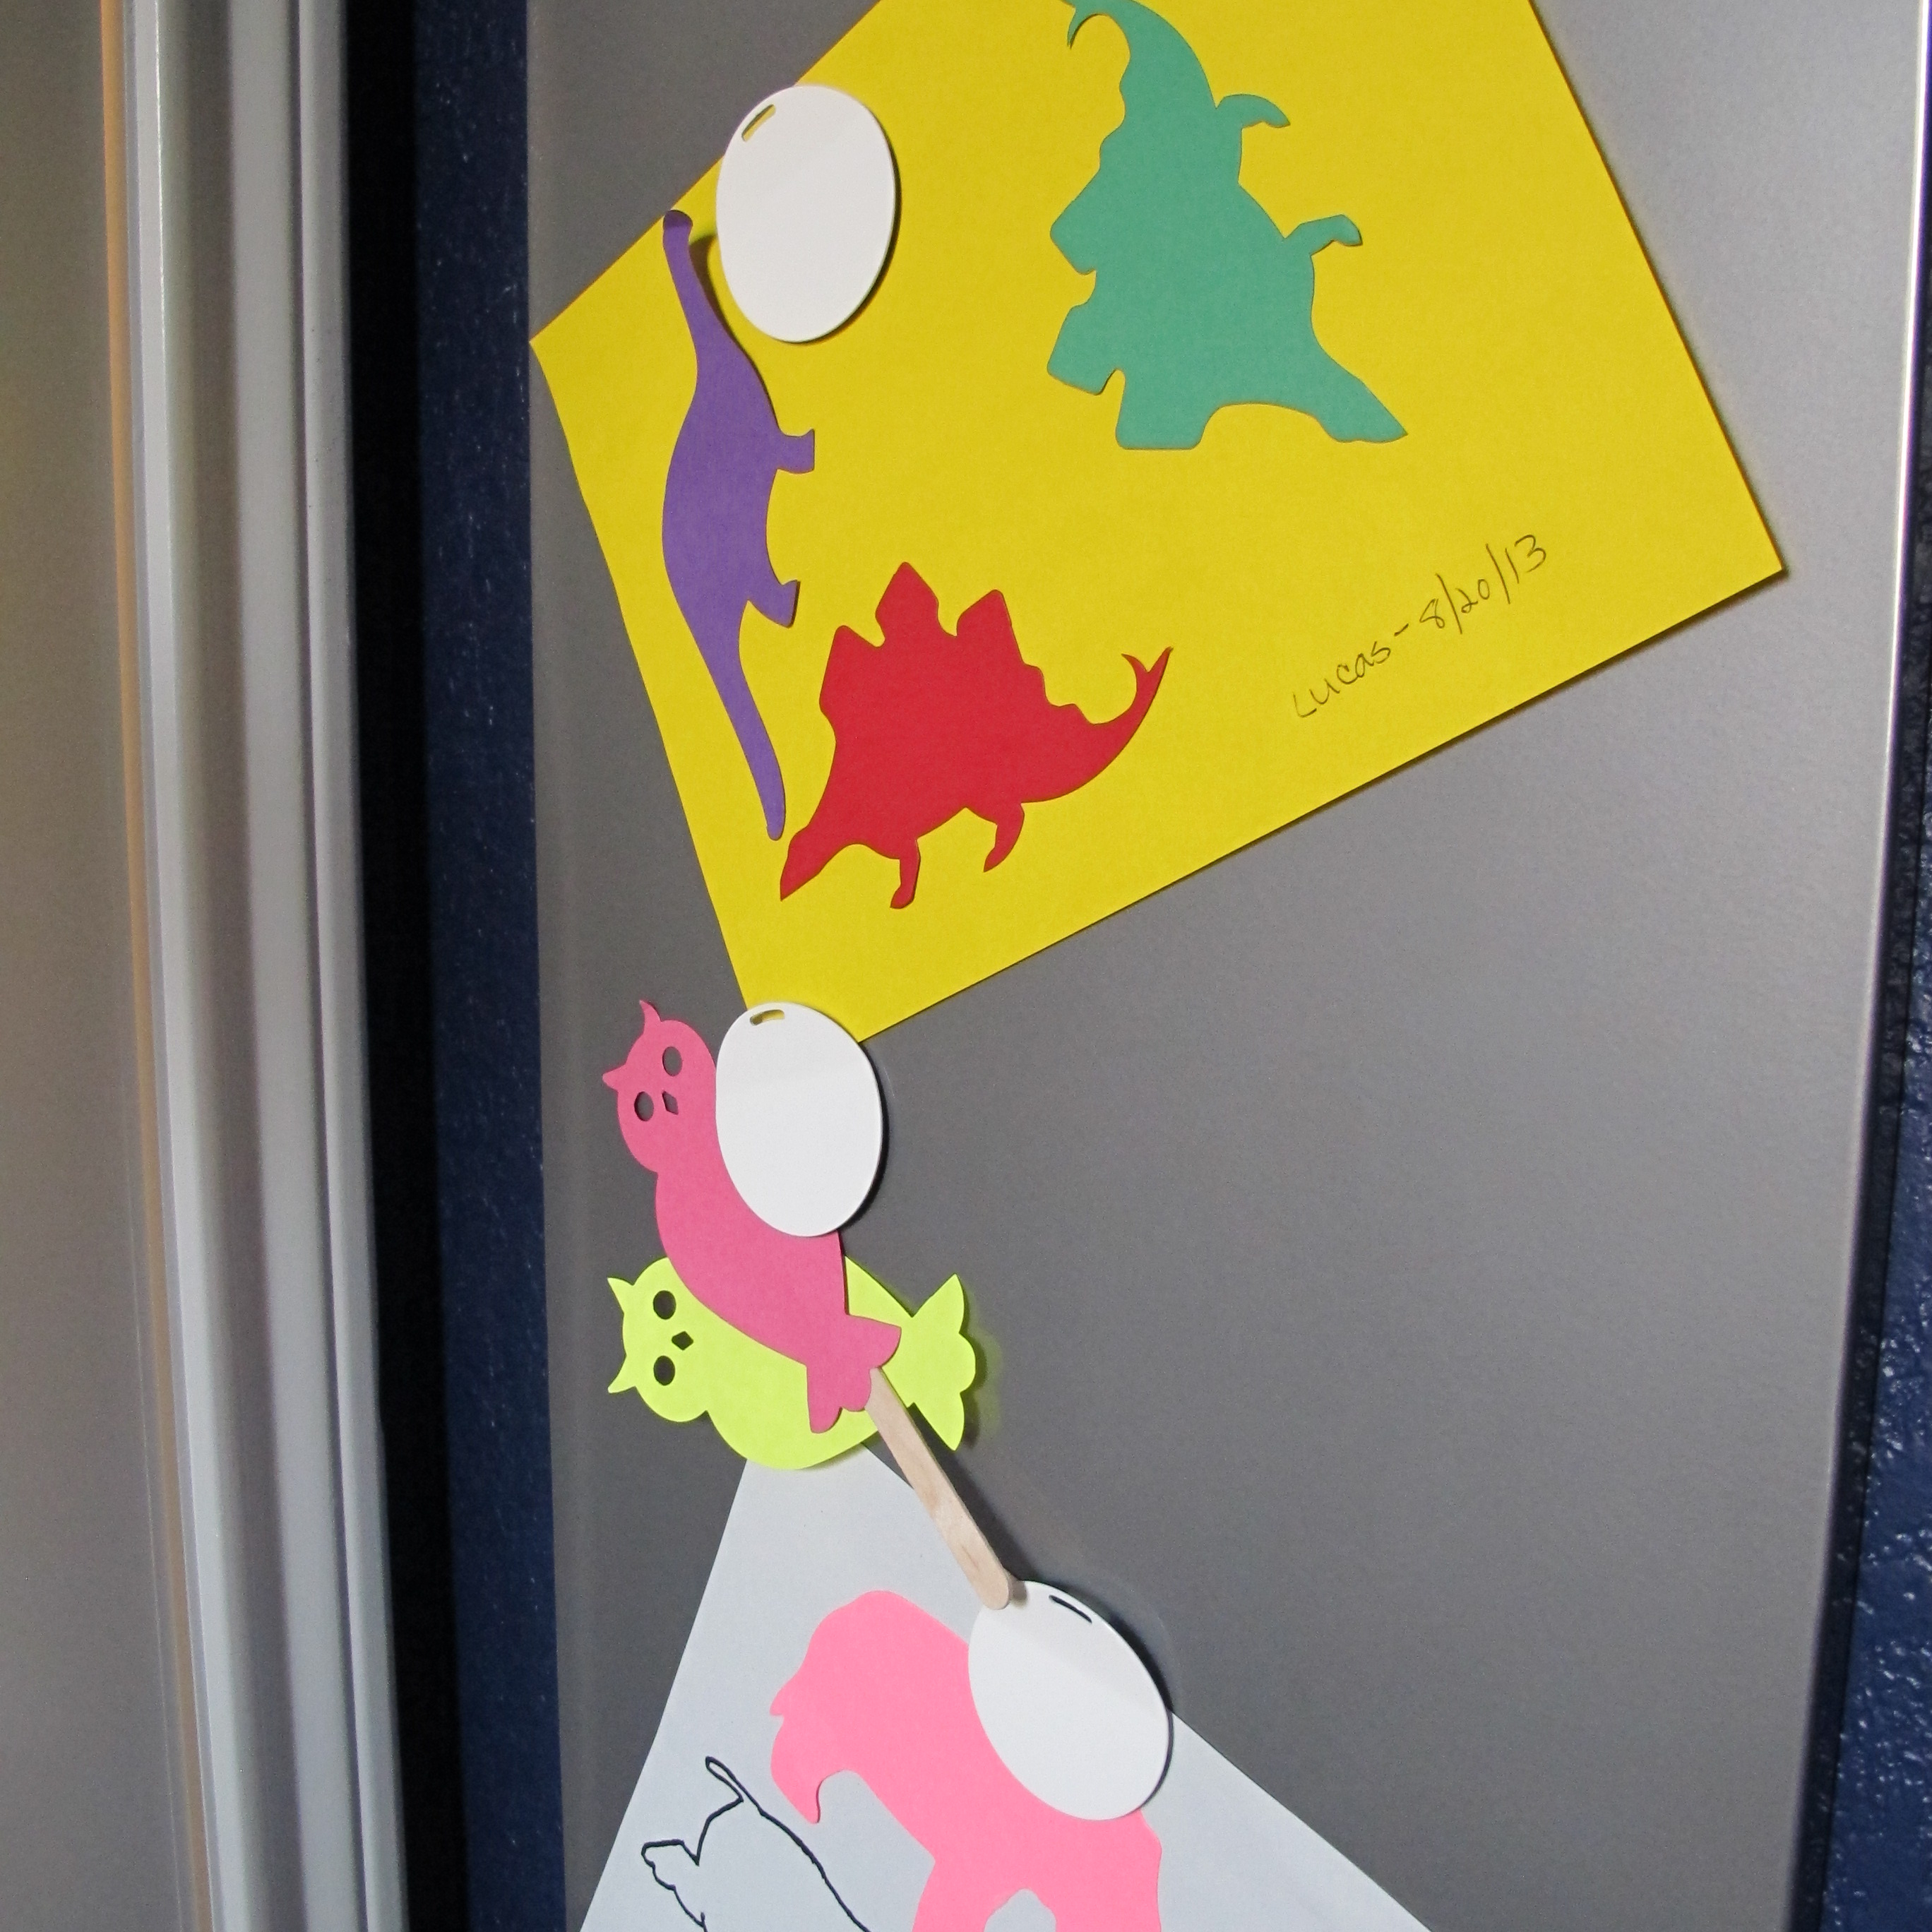
So without further adieu… remember when this wall of Lucas’s room looked like this???

IMG_1618

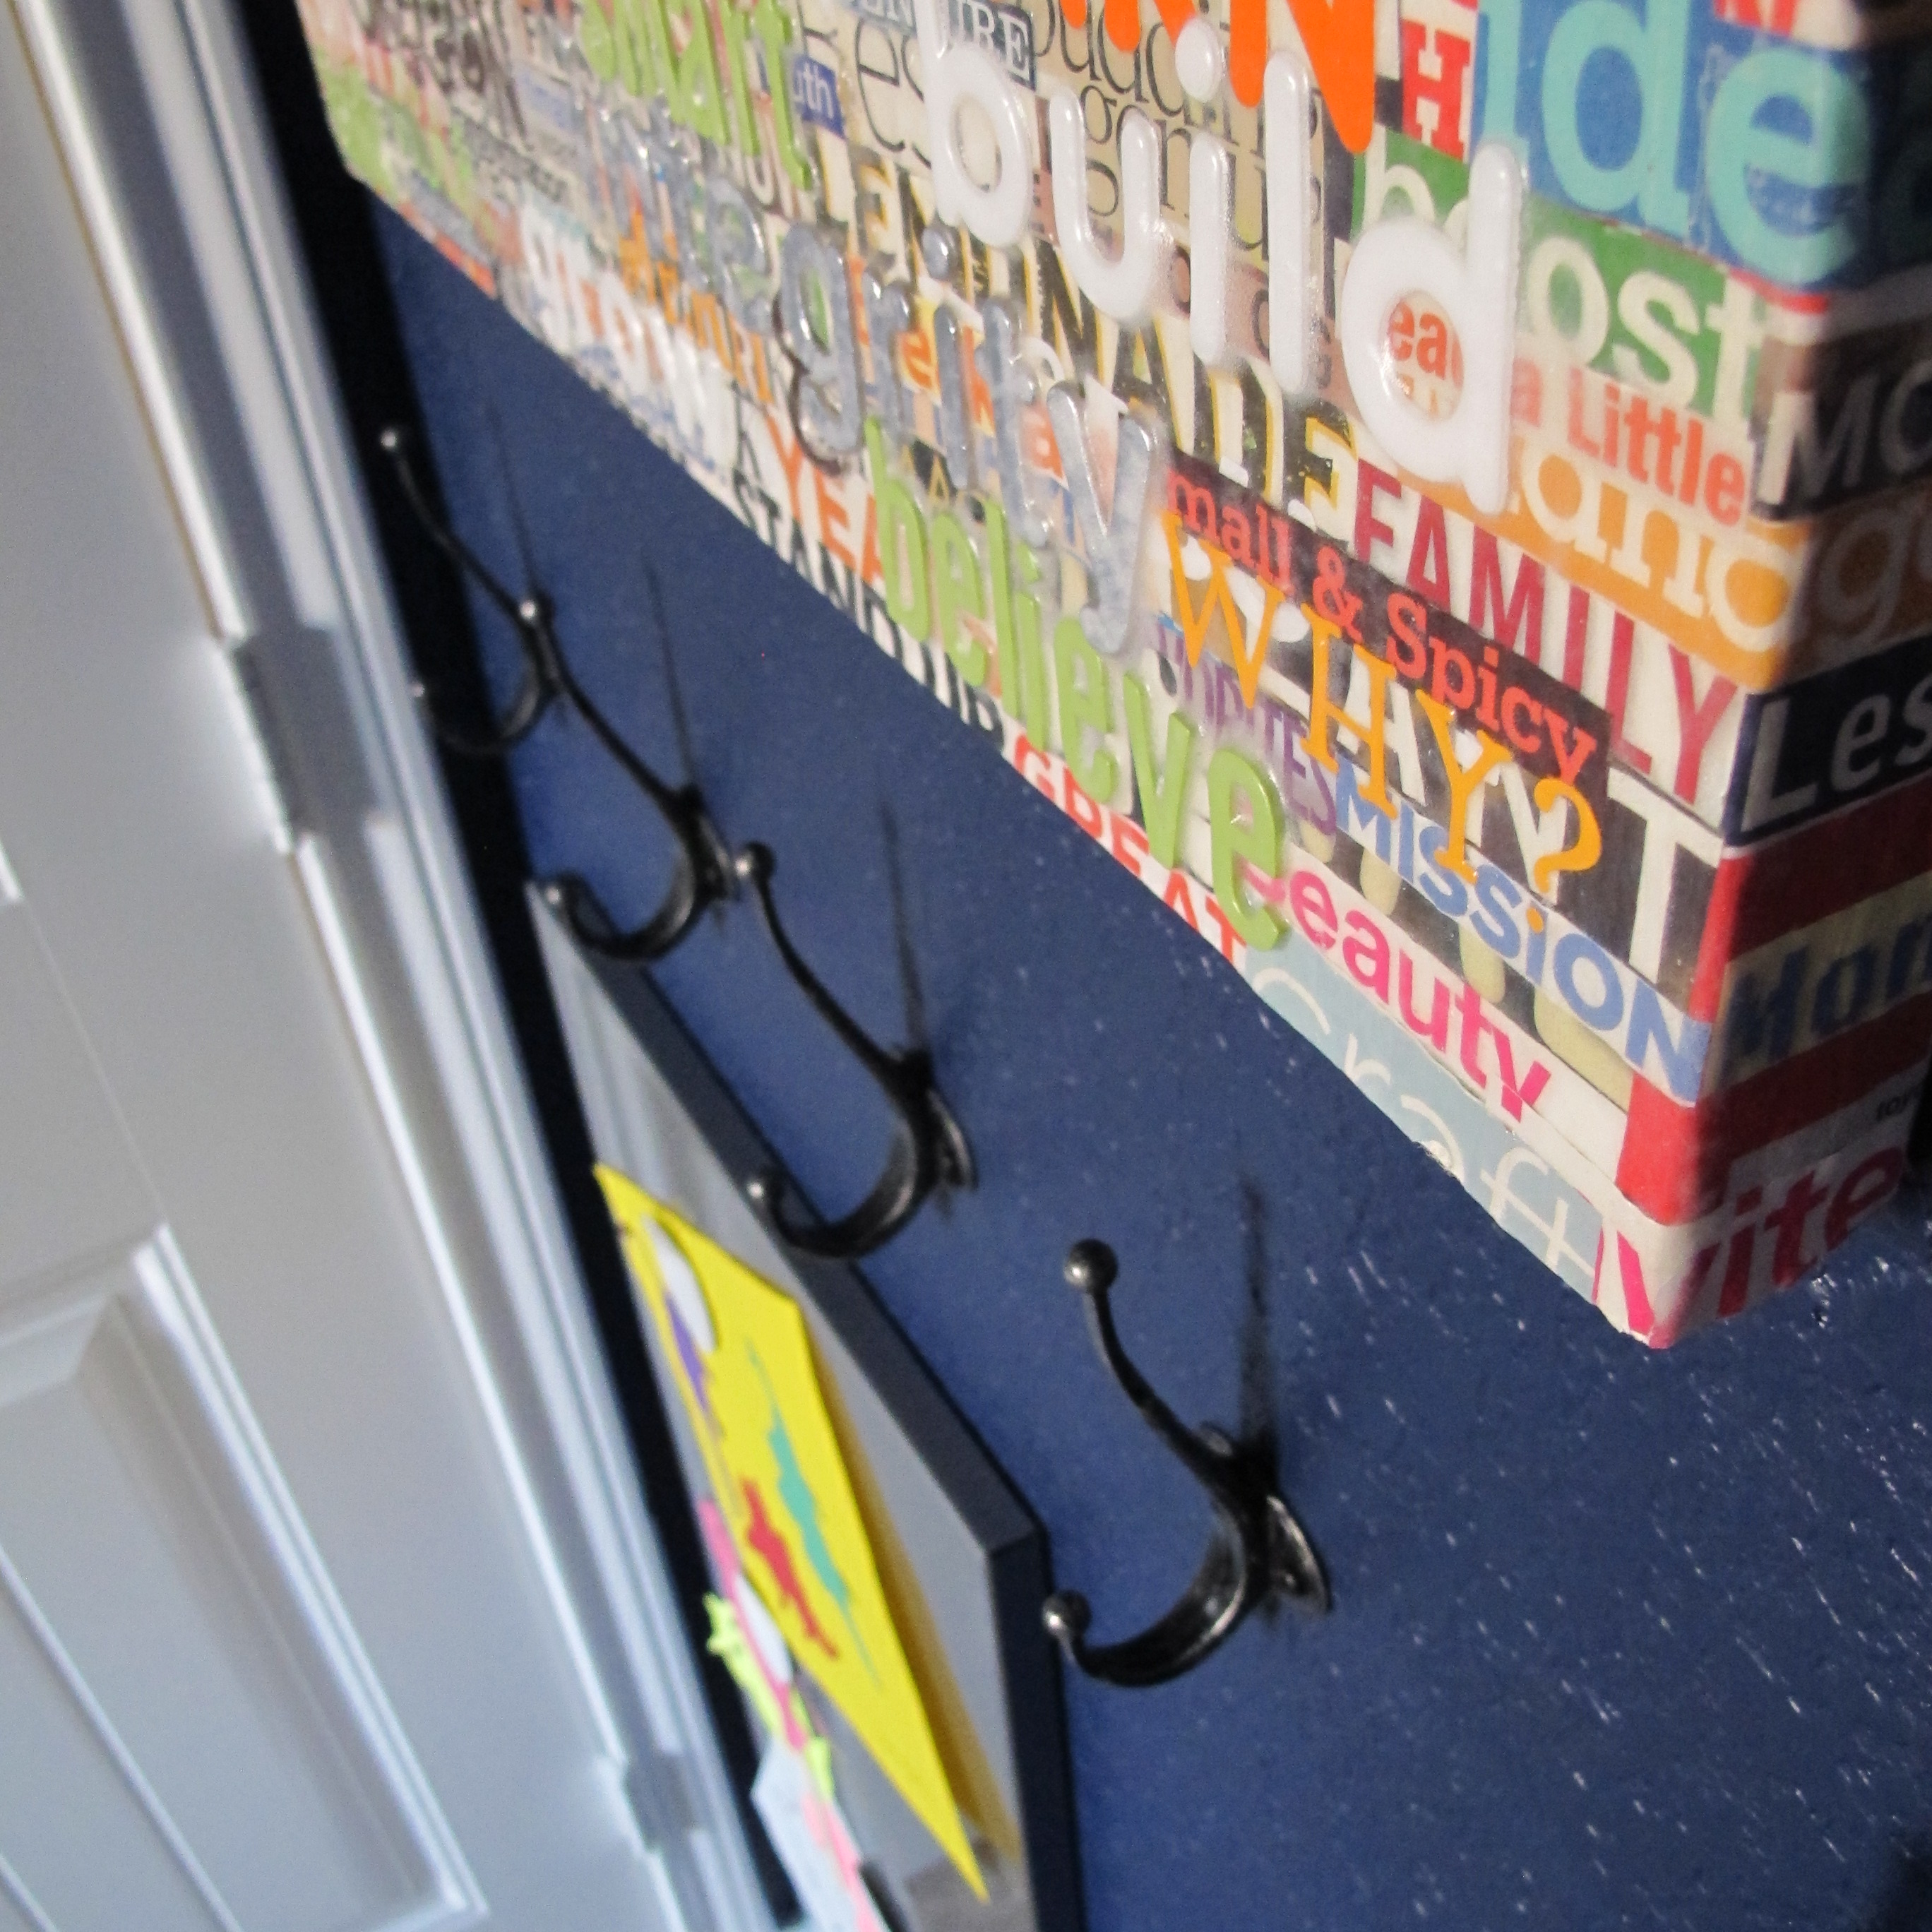
And then it looked like this…

IMG_2392

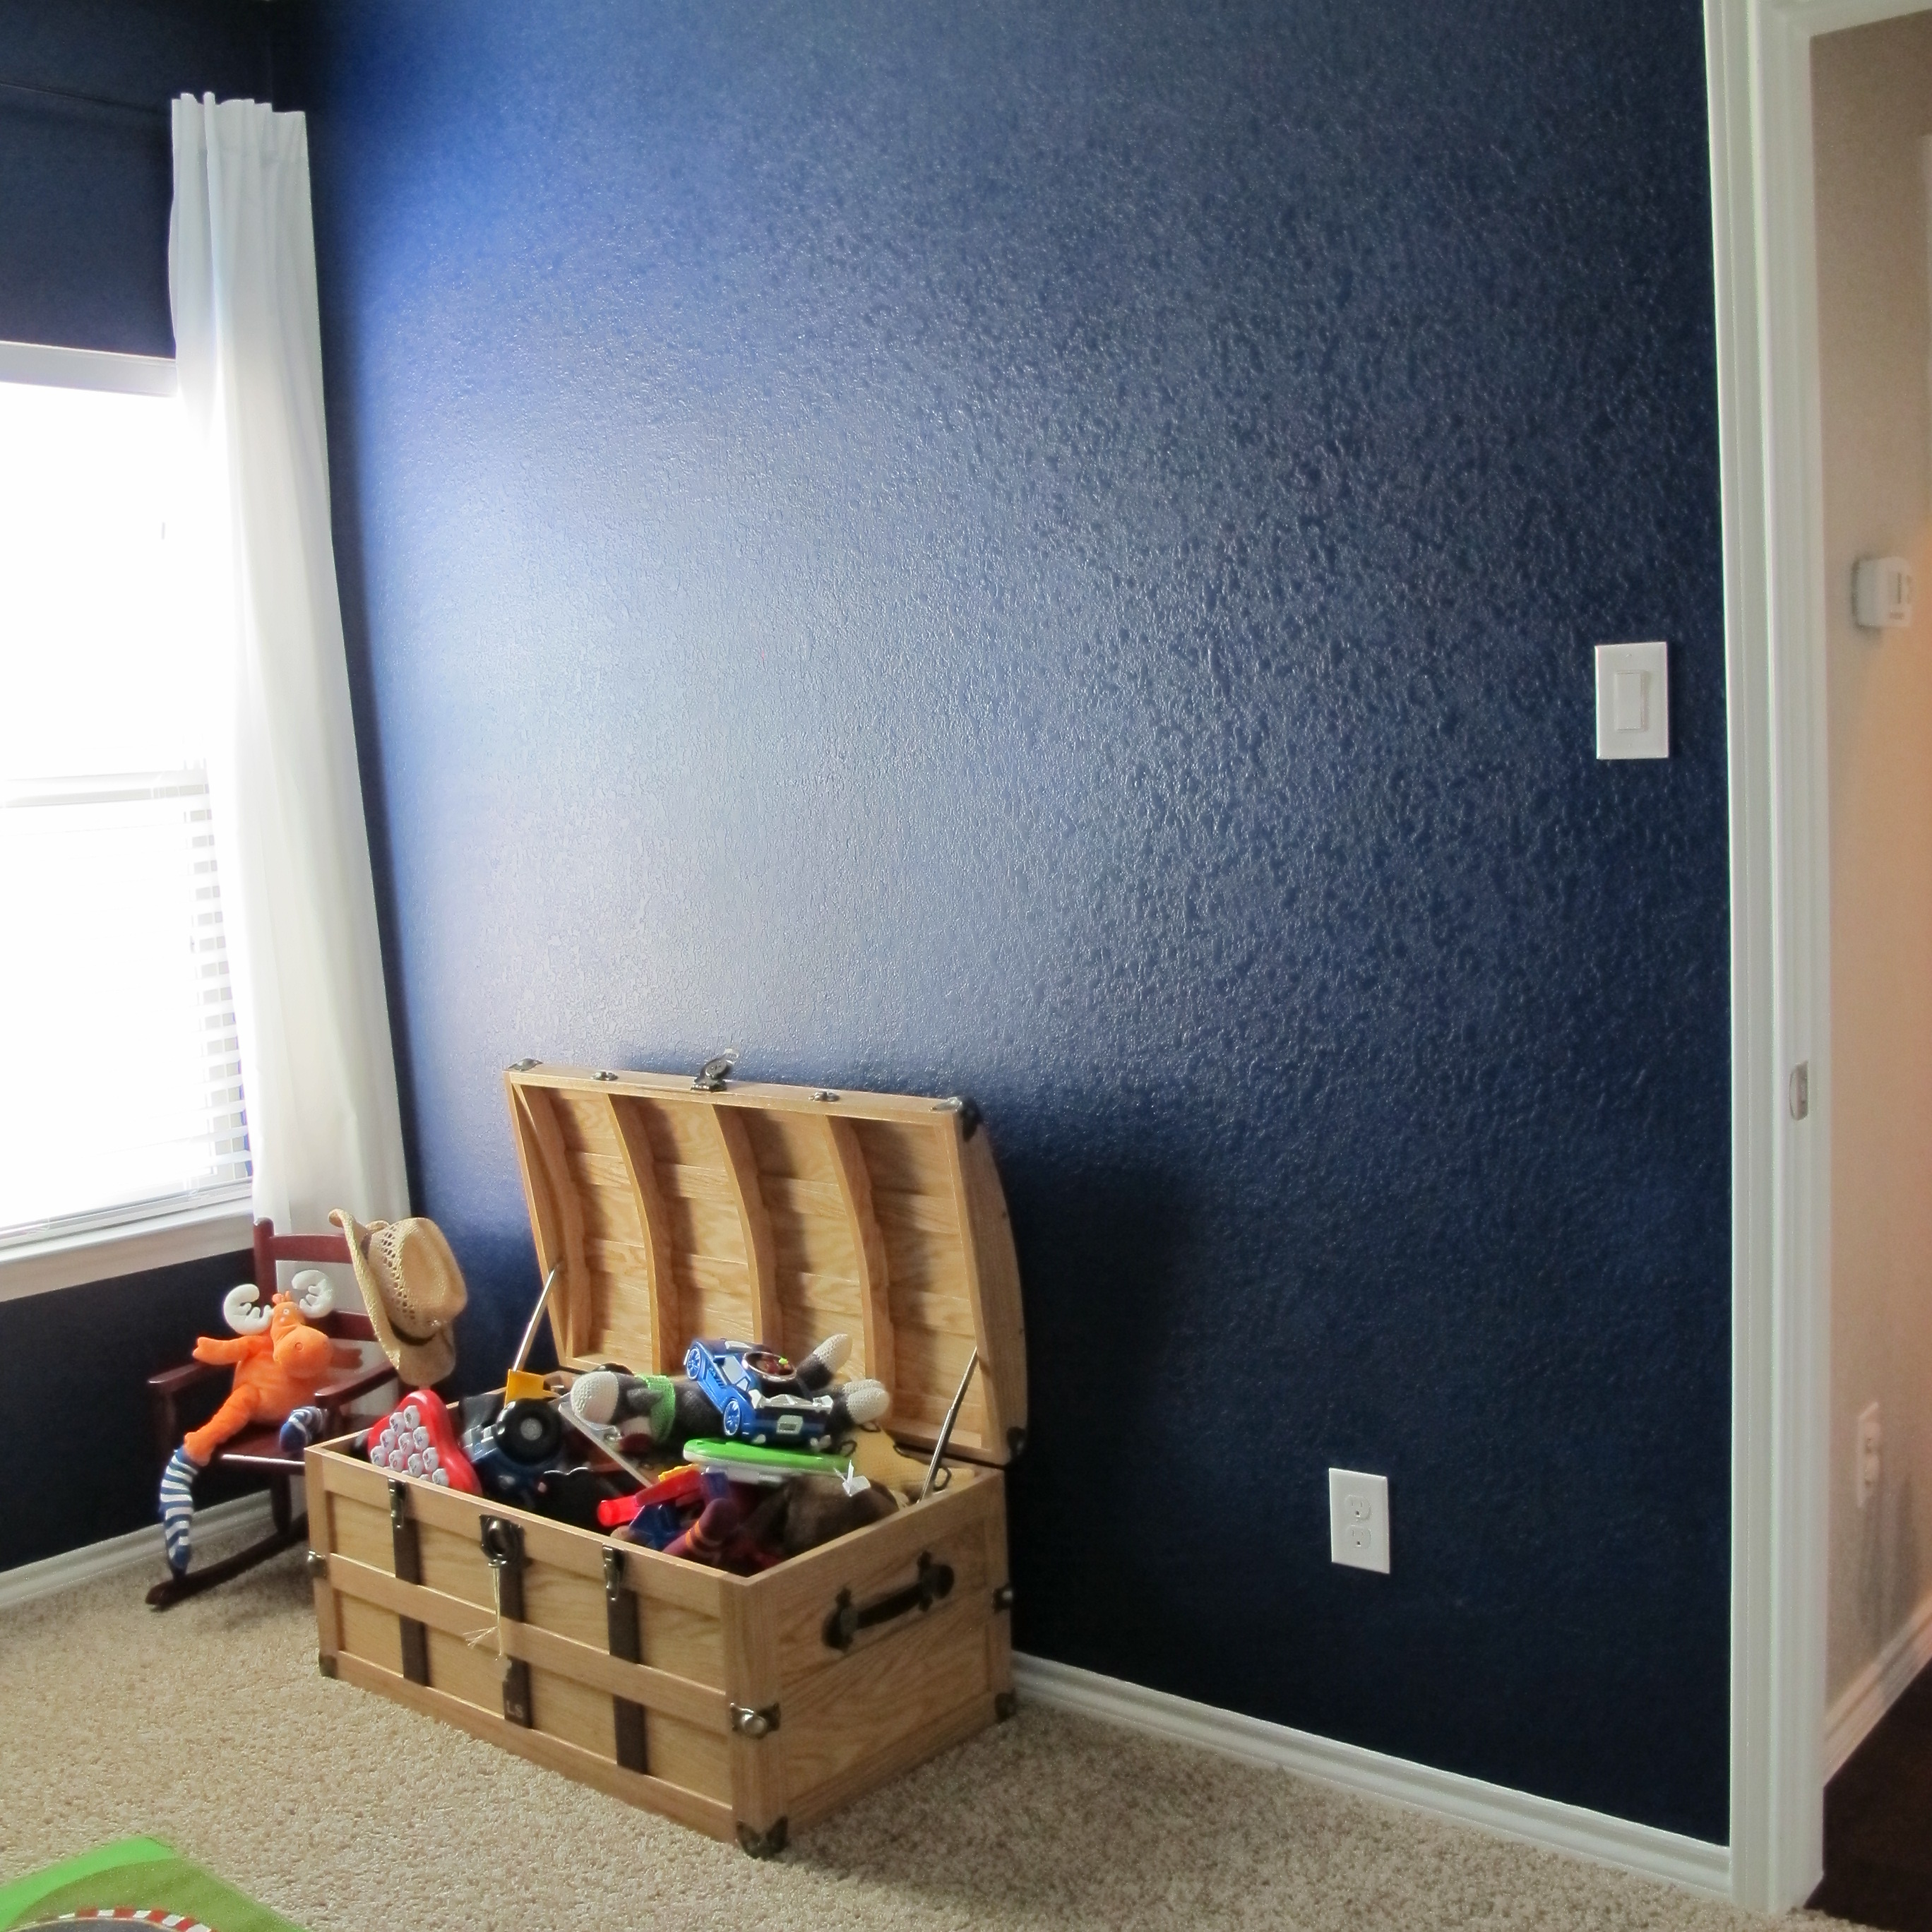
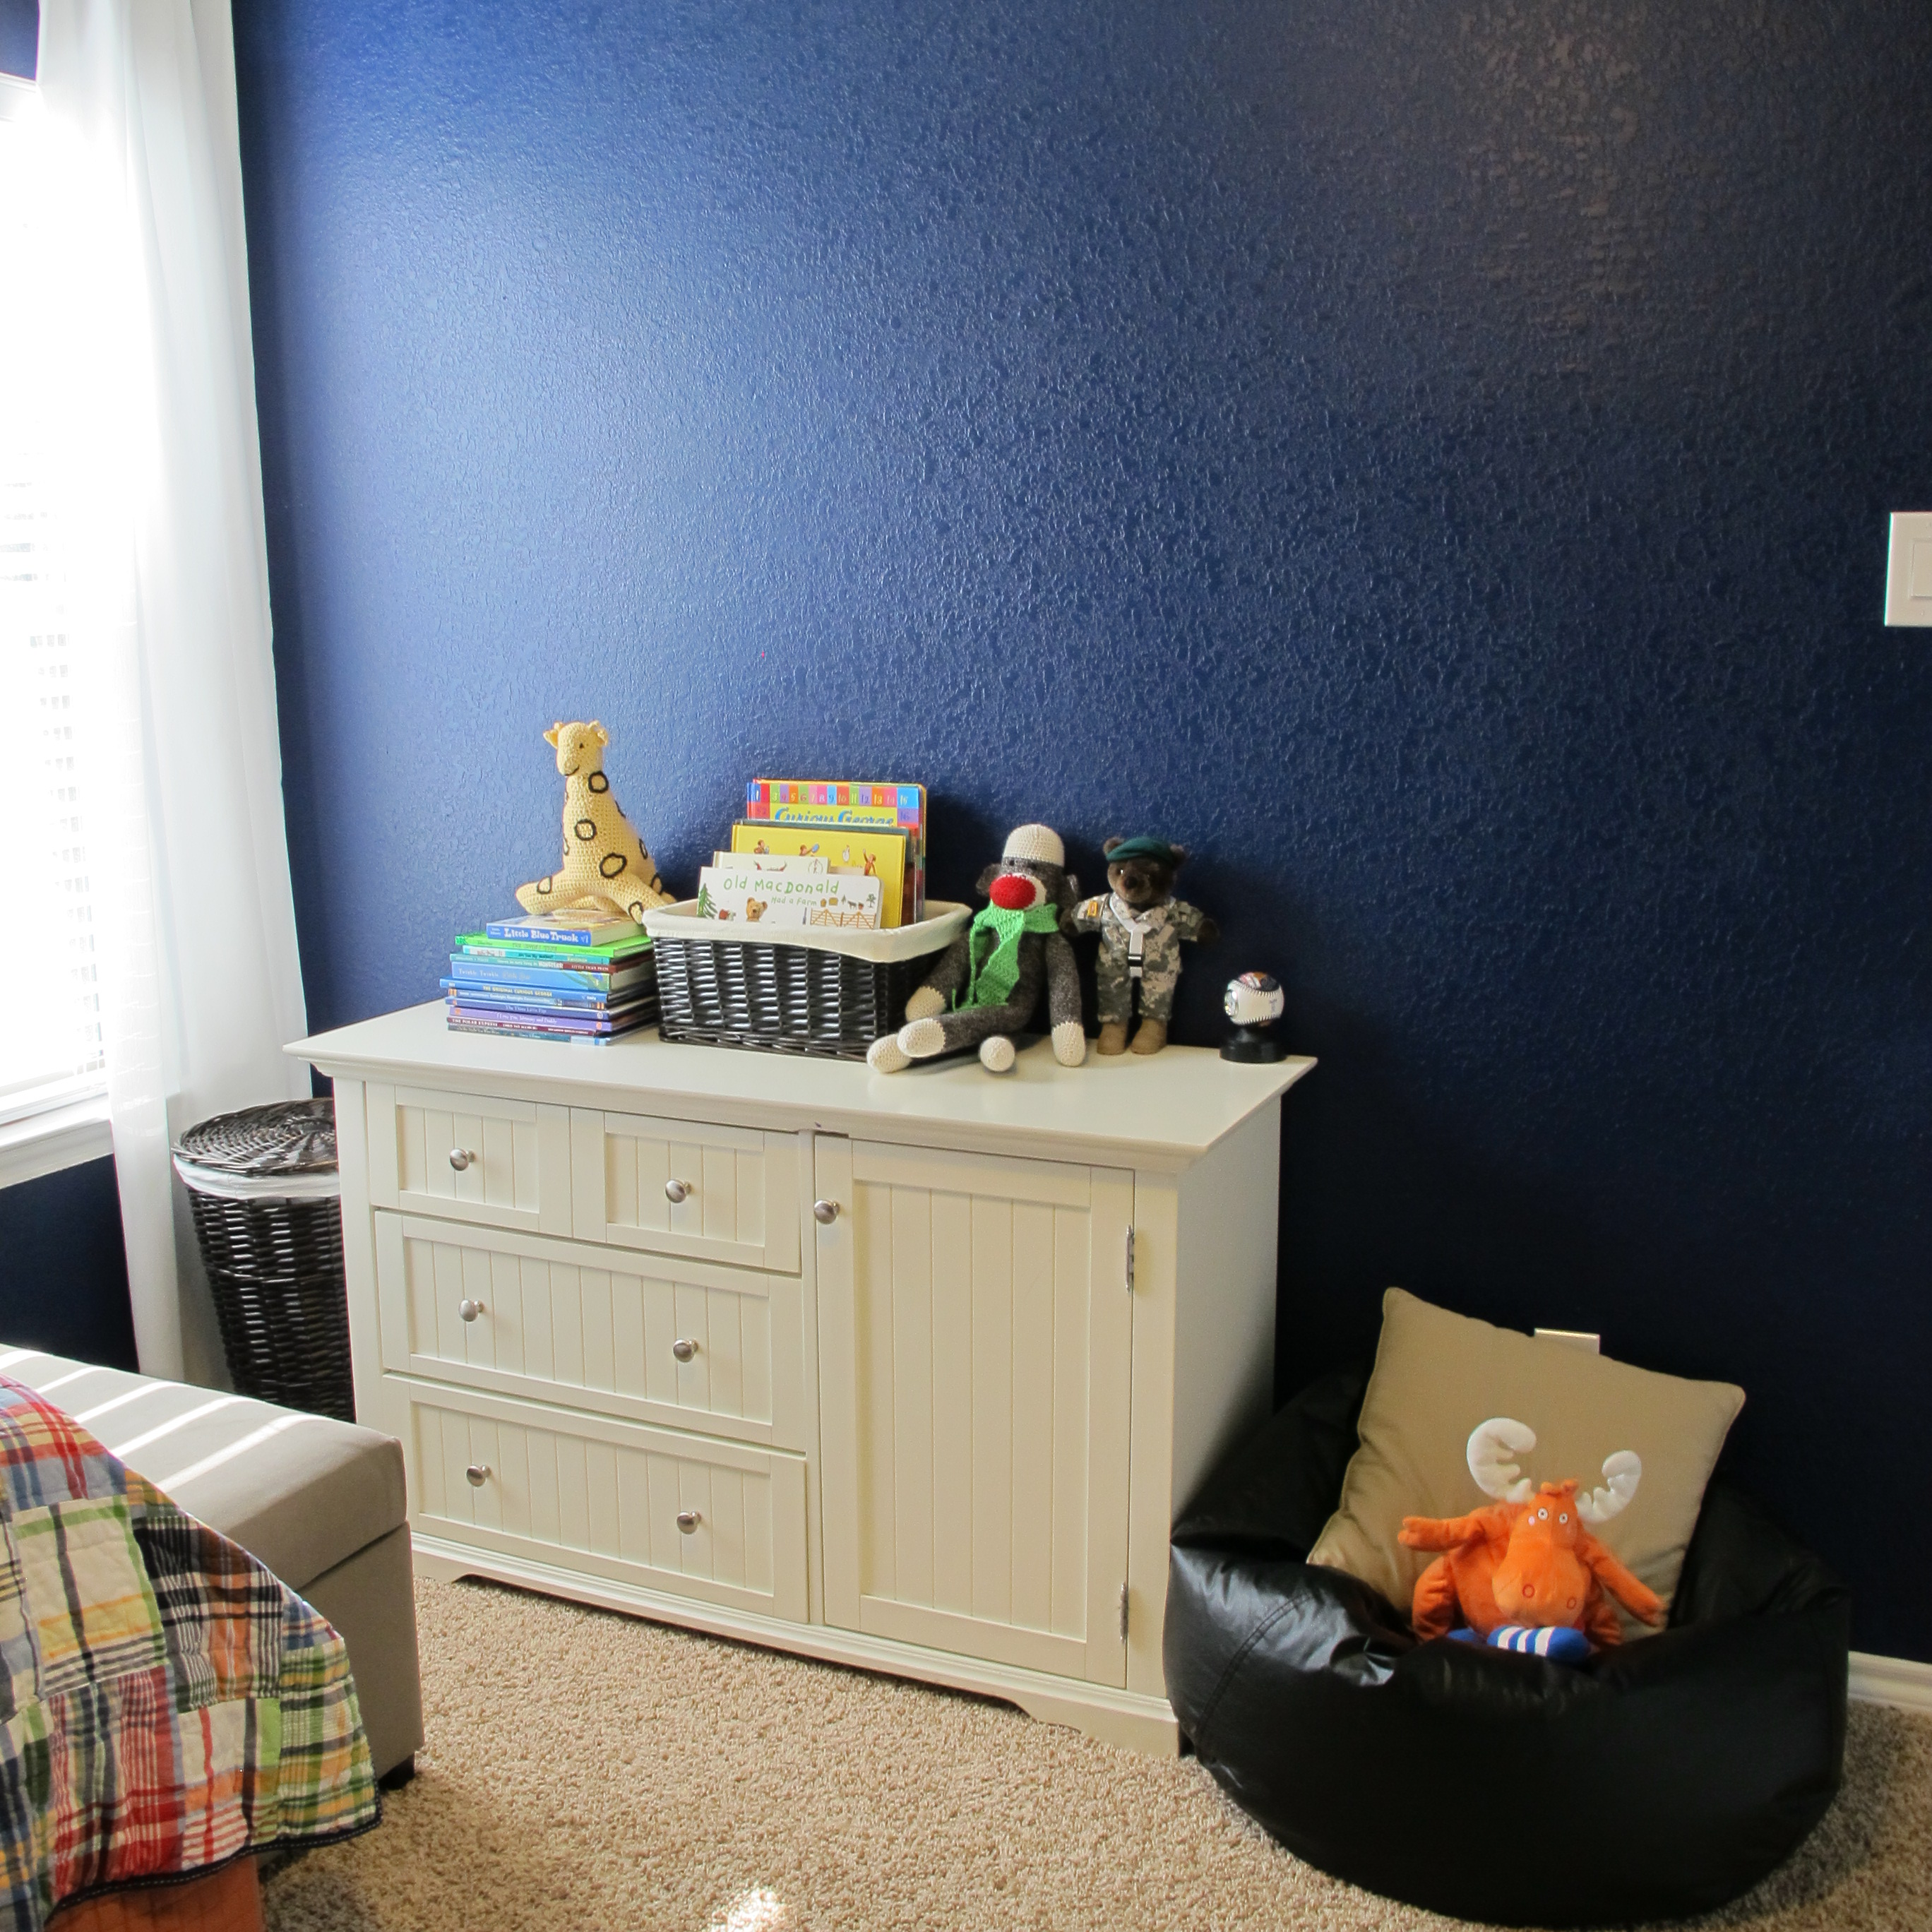
Well in this process, the beanbag chair was displaced as I wanted to free up floor space for a future play-zone.   At first, I considered Craigslisting or donating it.  Then, I realized that I had the perfect place for it.  Our front room is coming along swimmingly.  Last we left off, it looked like this…

6e327-img_1033

We’ve been loving it, but I kind of felt like there was a lot of “square” going on.  Lots of straight lines.  So, I thought the beanbag chair would be the perfect contrast.  It’s casual and fun to balance out the clean lines of the sofa and other furniture.  Plus, additional seating is always welcome. Especially since the front room has recently become Lucas’s favorite viewing arena for Baby Einstein (he’s still into it after all this time) and other such visual treats. The best part is that since The Great Swap, our little ‘ole beanbag chair is finally getting the lovin’ it deserves. Lucas snuggles up in it regularly now, where as it was often ignored when it resided in his bedroom.

Check it out….

IMG_2379

IMG_2383

I added a faux sheepskin which I found at Marshalls. for some added softness and texture…

IMG_2386

IMG_2381

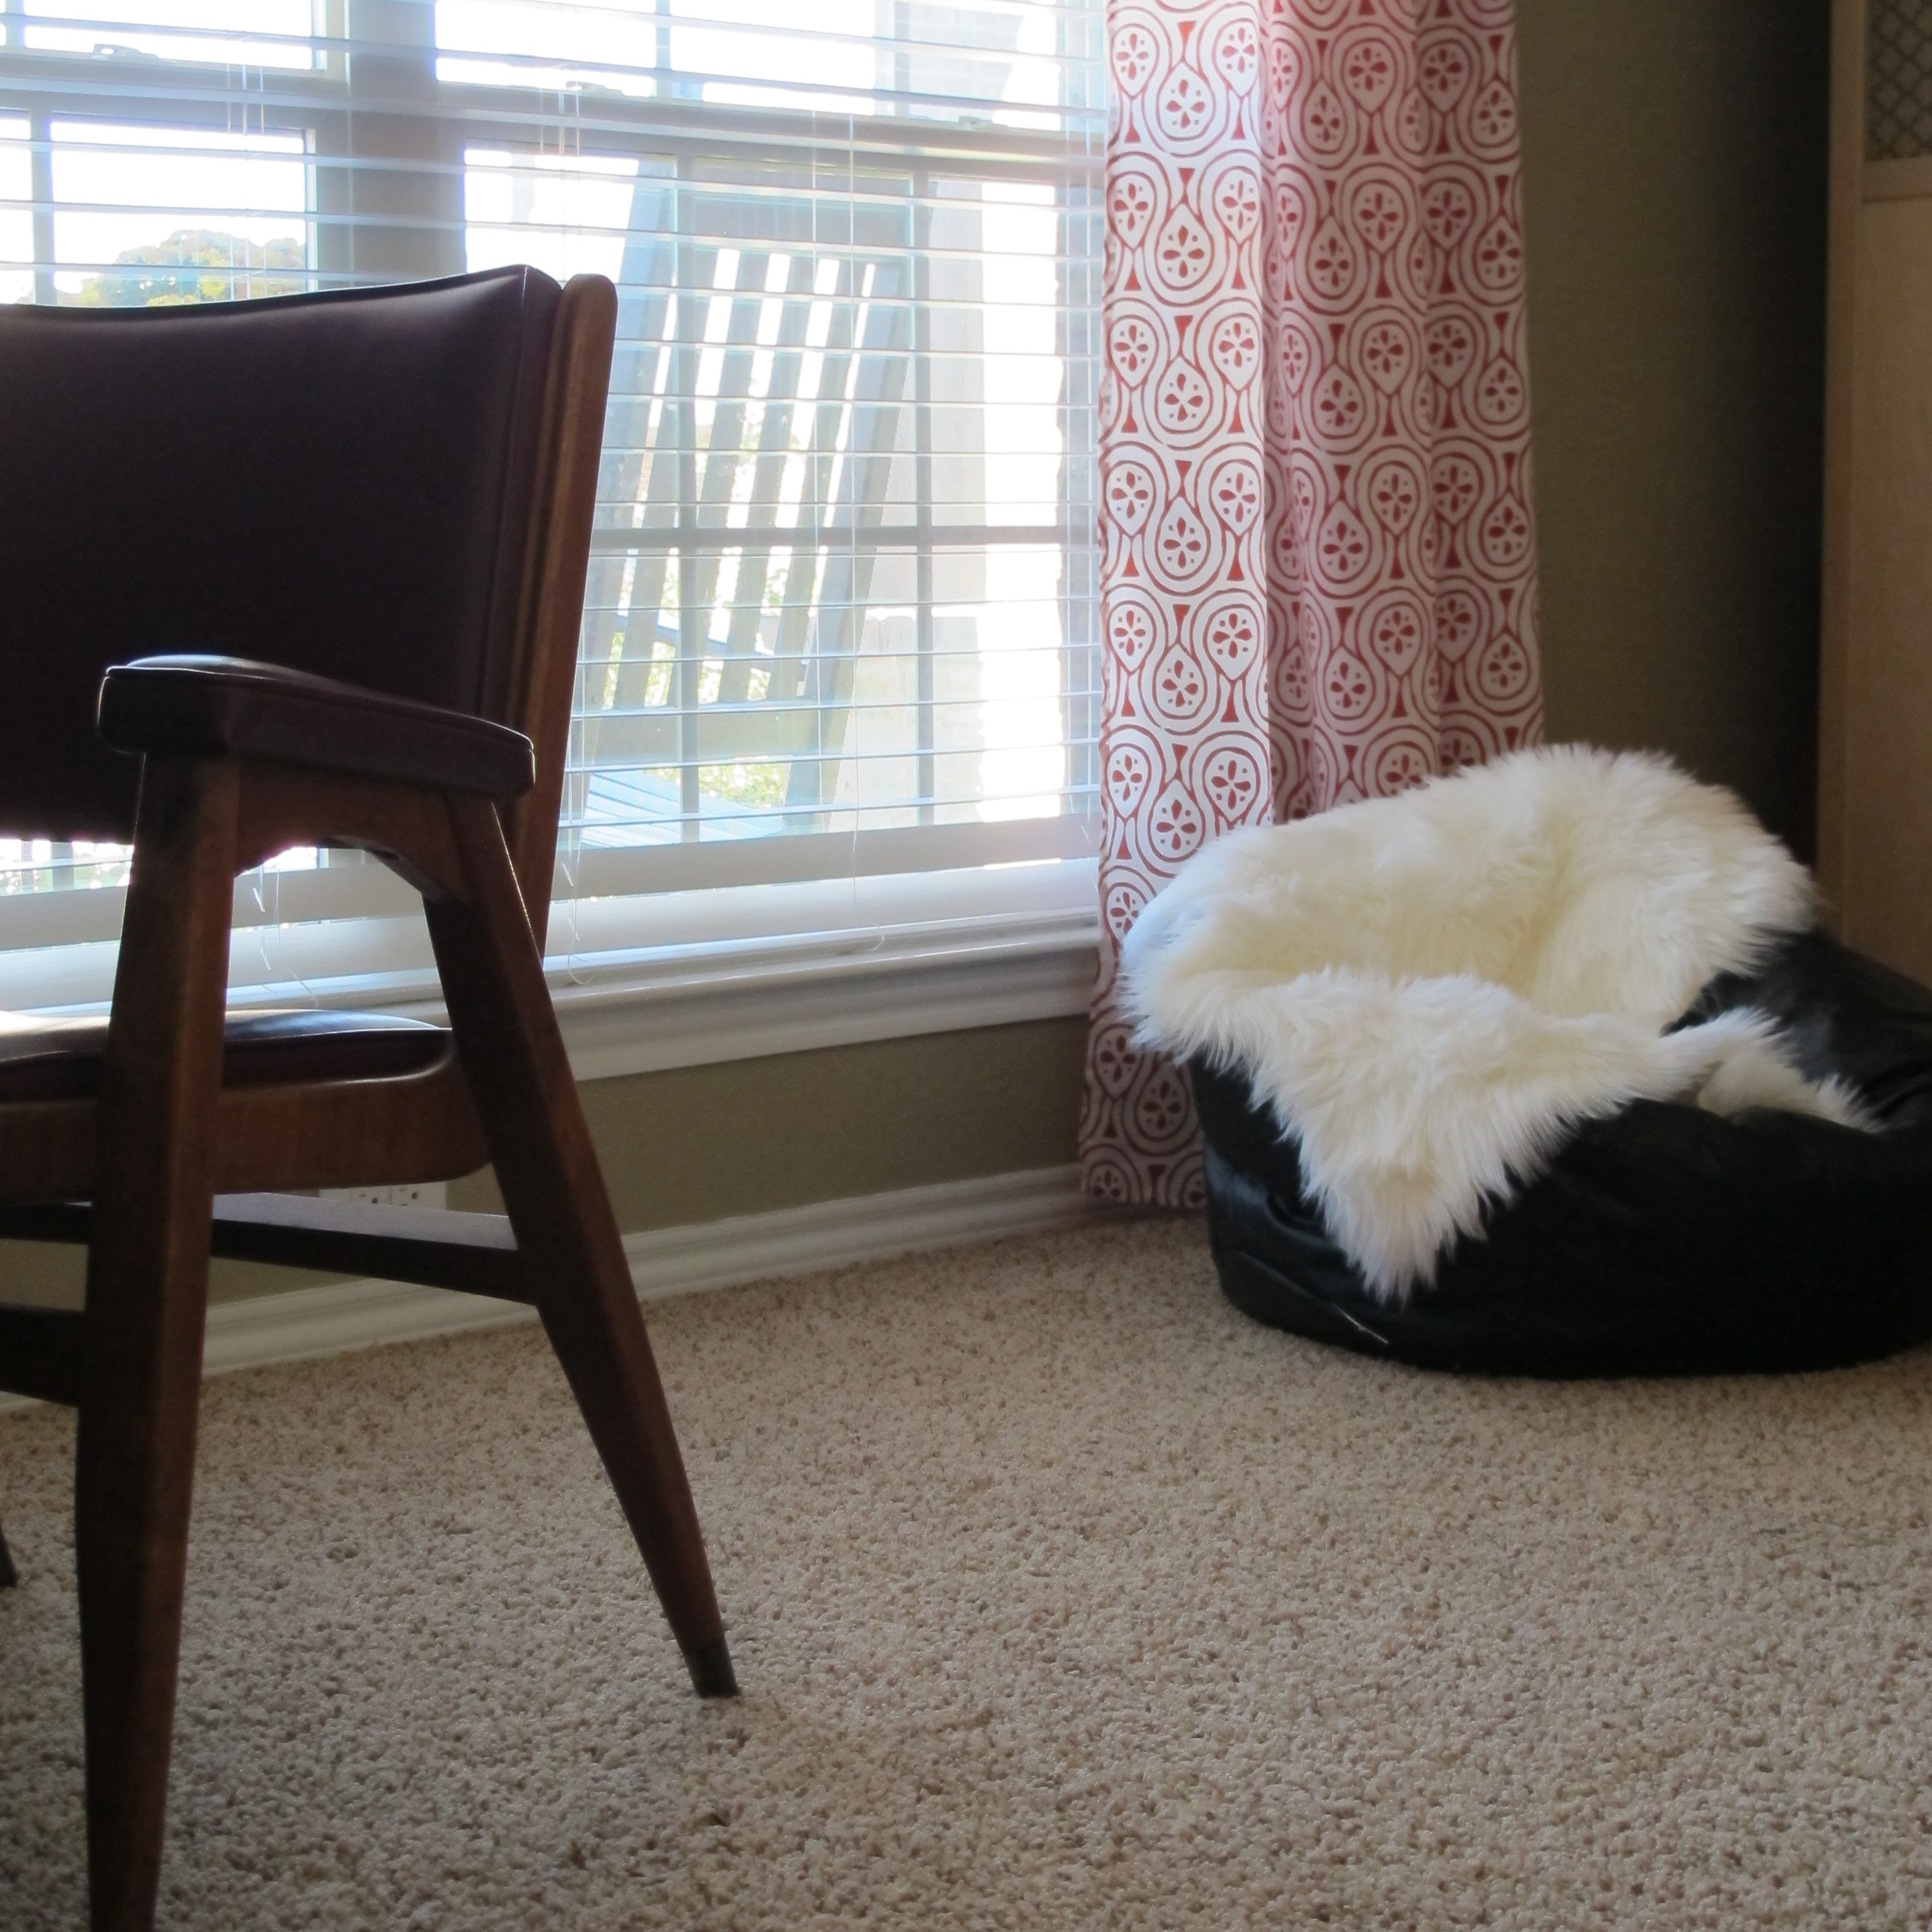
I think it’s fun and quirky… not to mention comfy as all get out.   Great for movie watching.  I’d love to add some sort of casual, woven area rug to further tie the room together, but I figure when the time is right I’ll find it.

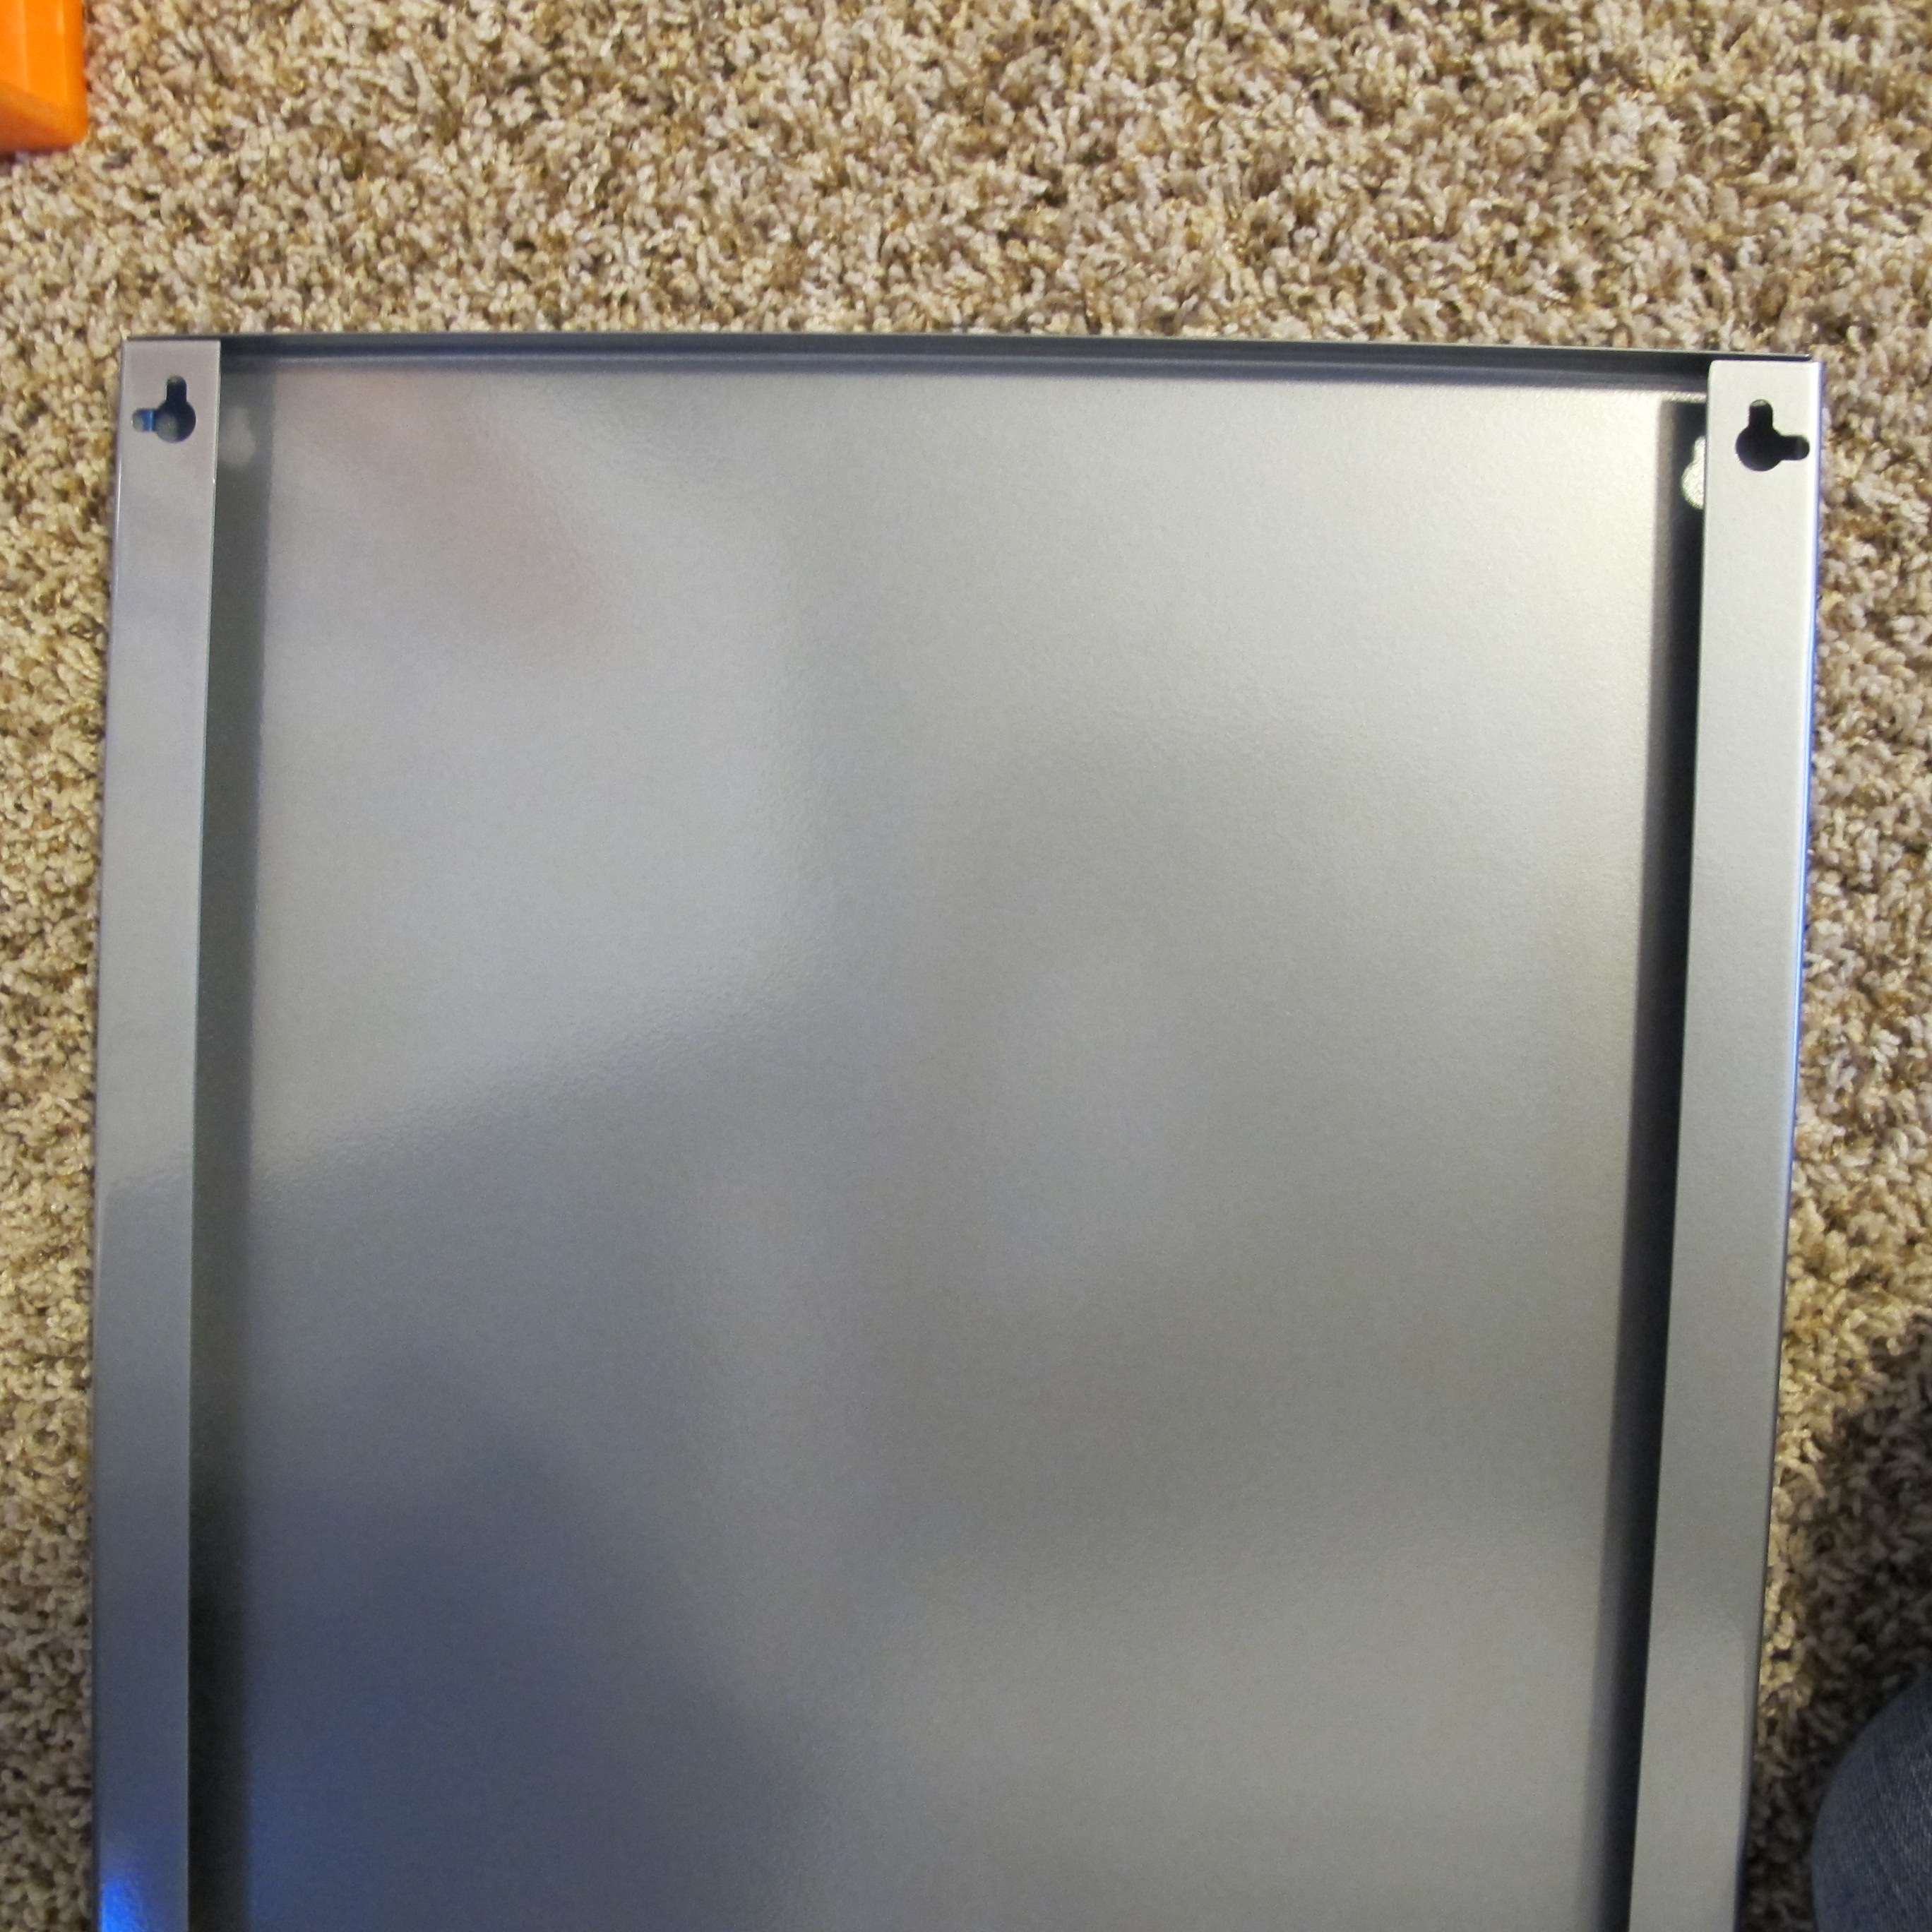
Another item that became displaced when we adopted Drex, was our large Ikea mirror.   I wanted to relocate it to the foyer to replace the sizably smaller mirror that hung before it…

IMG_1972

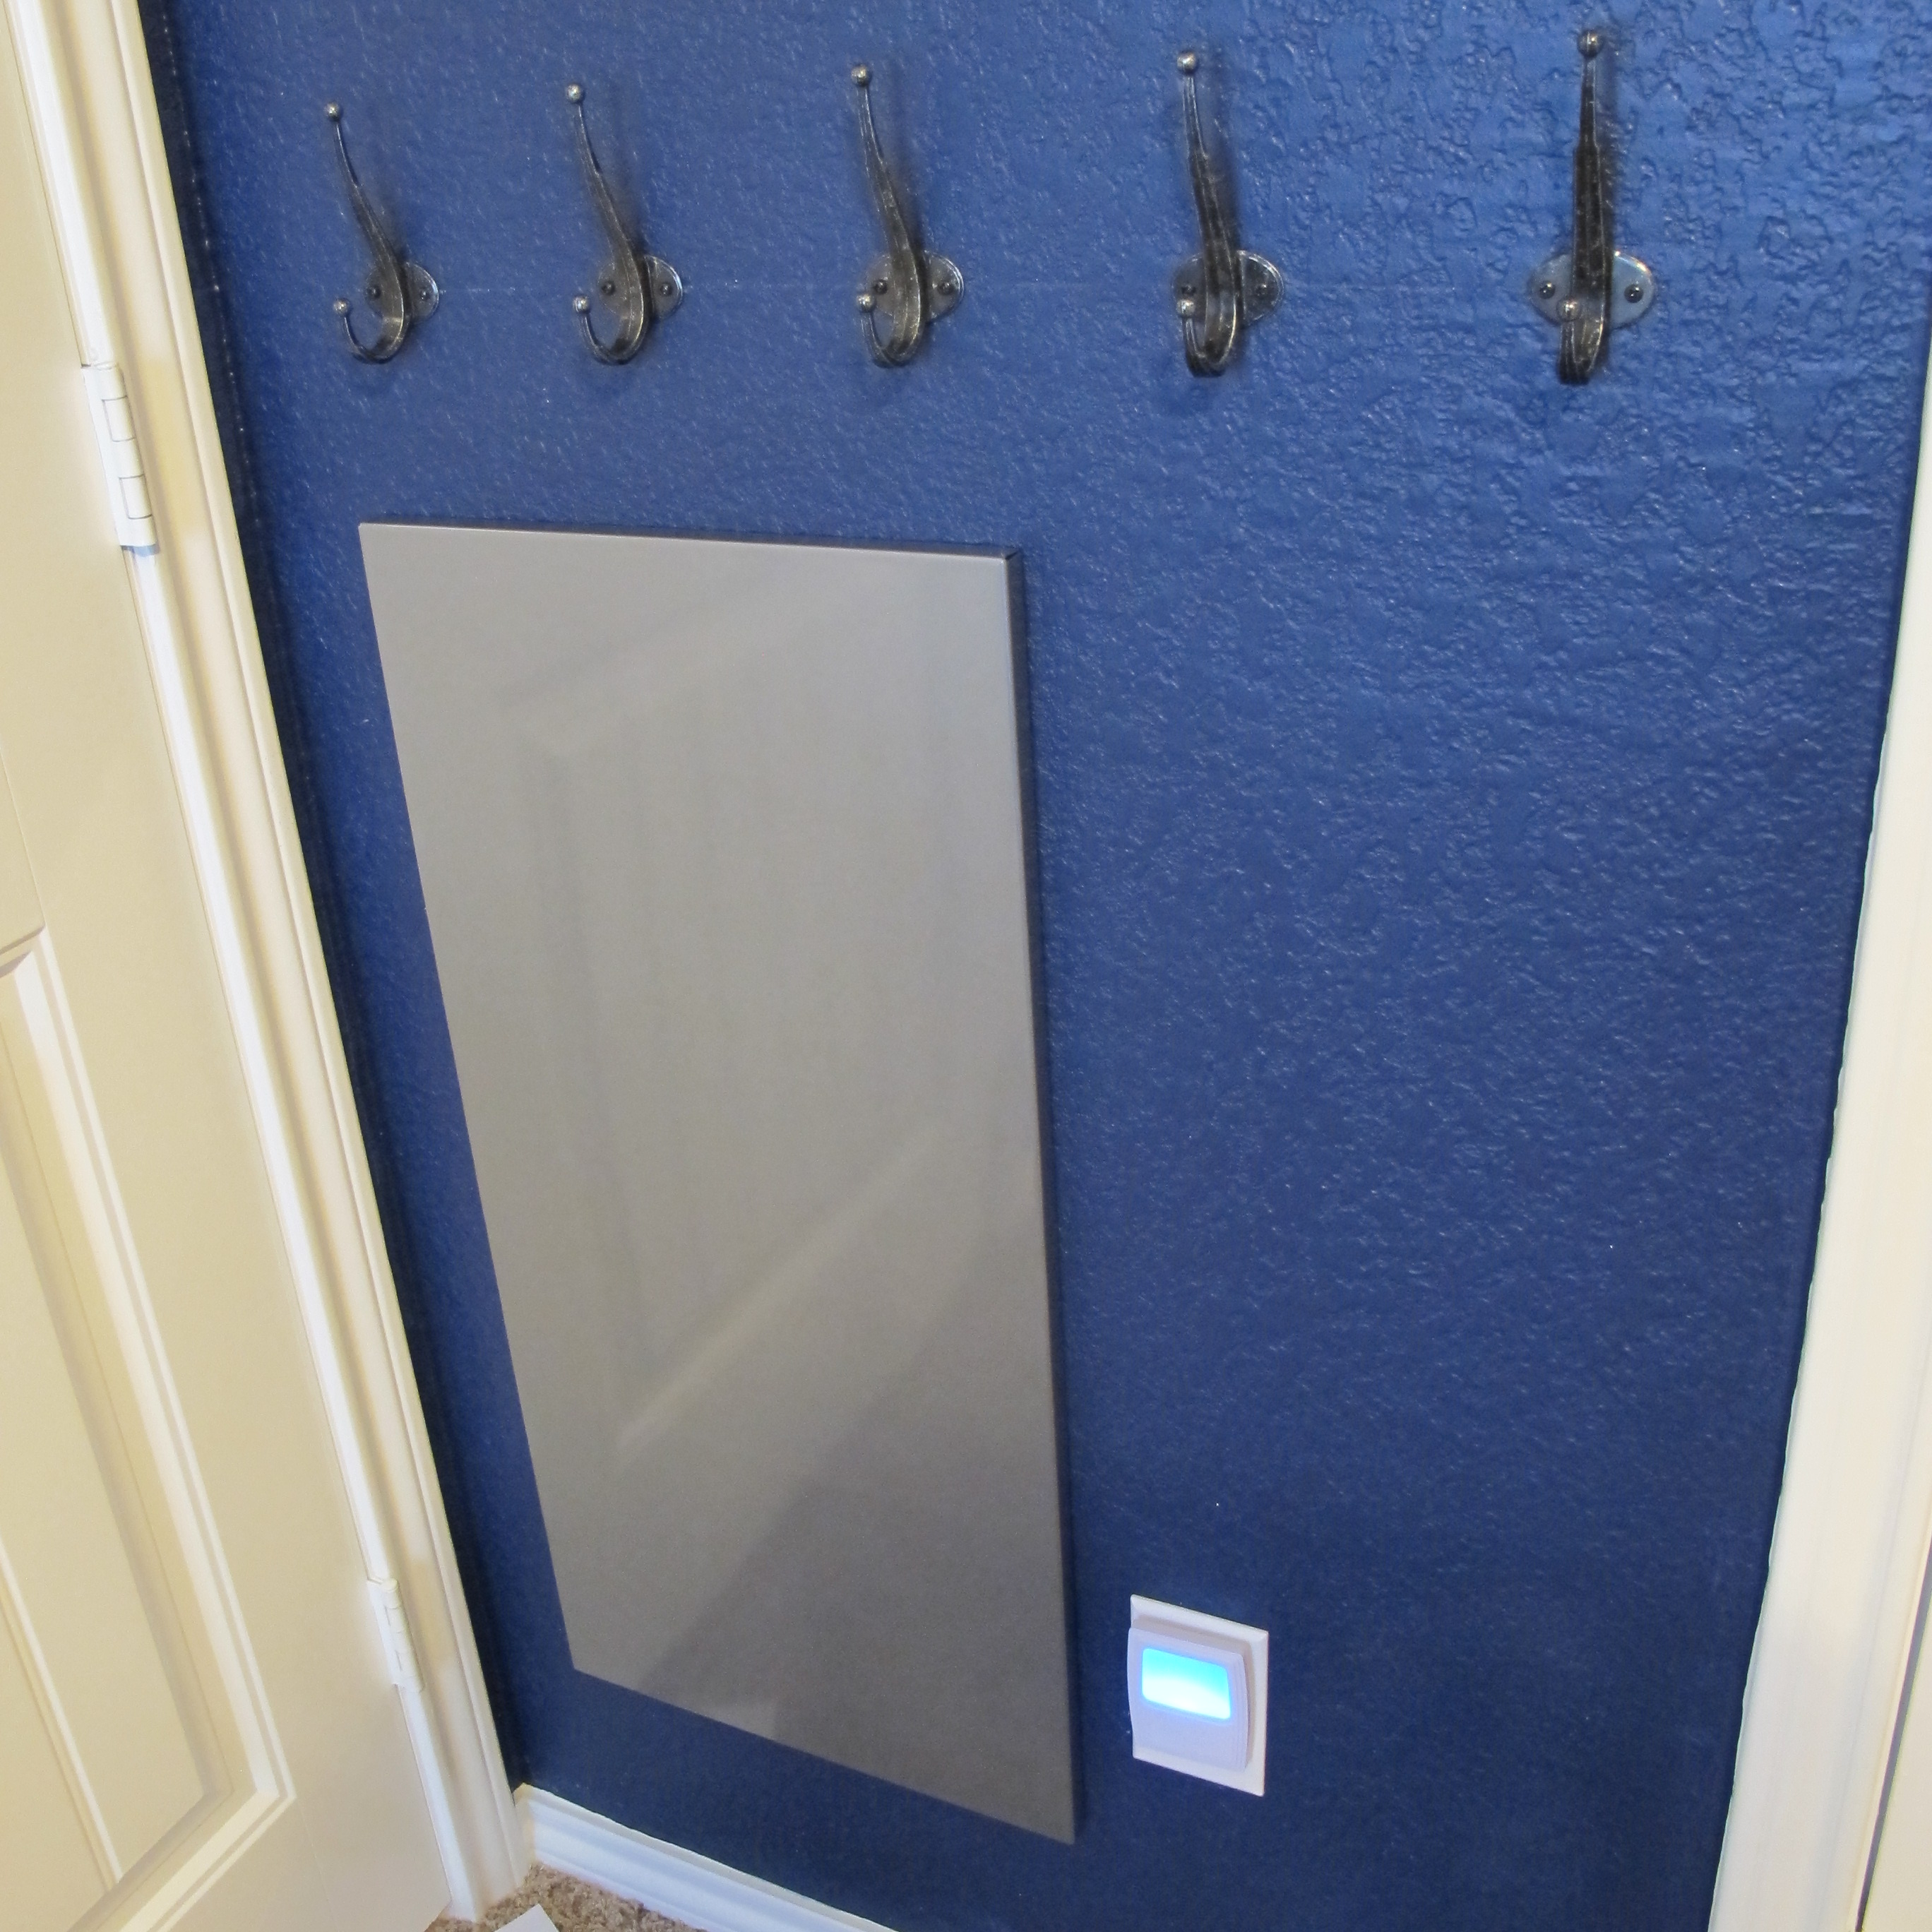
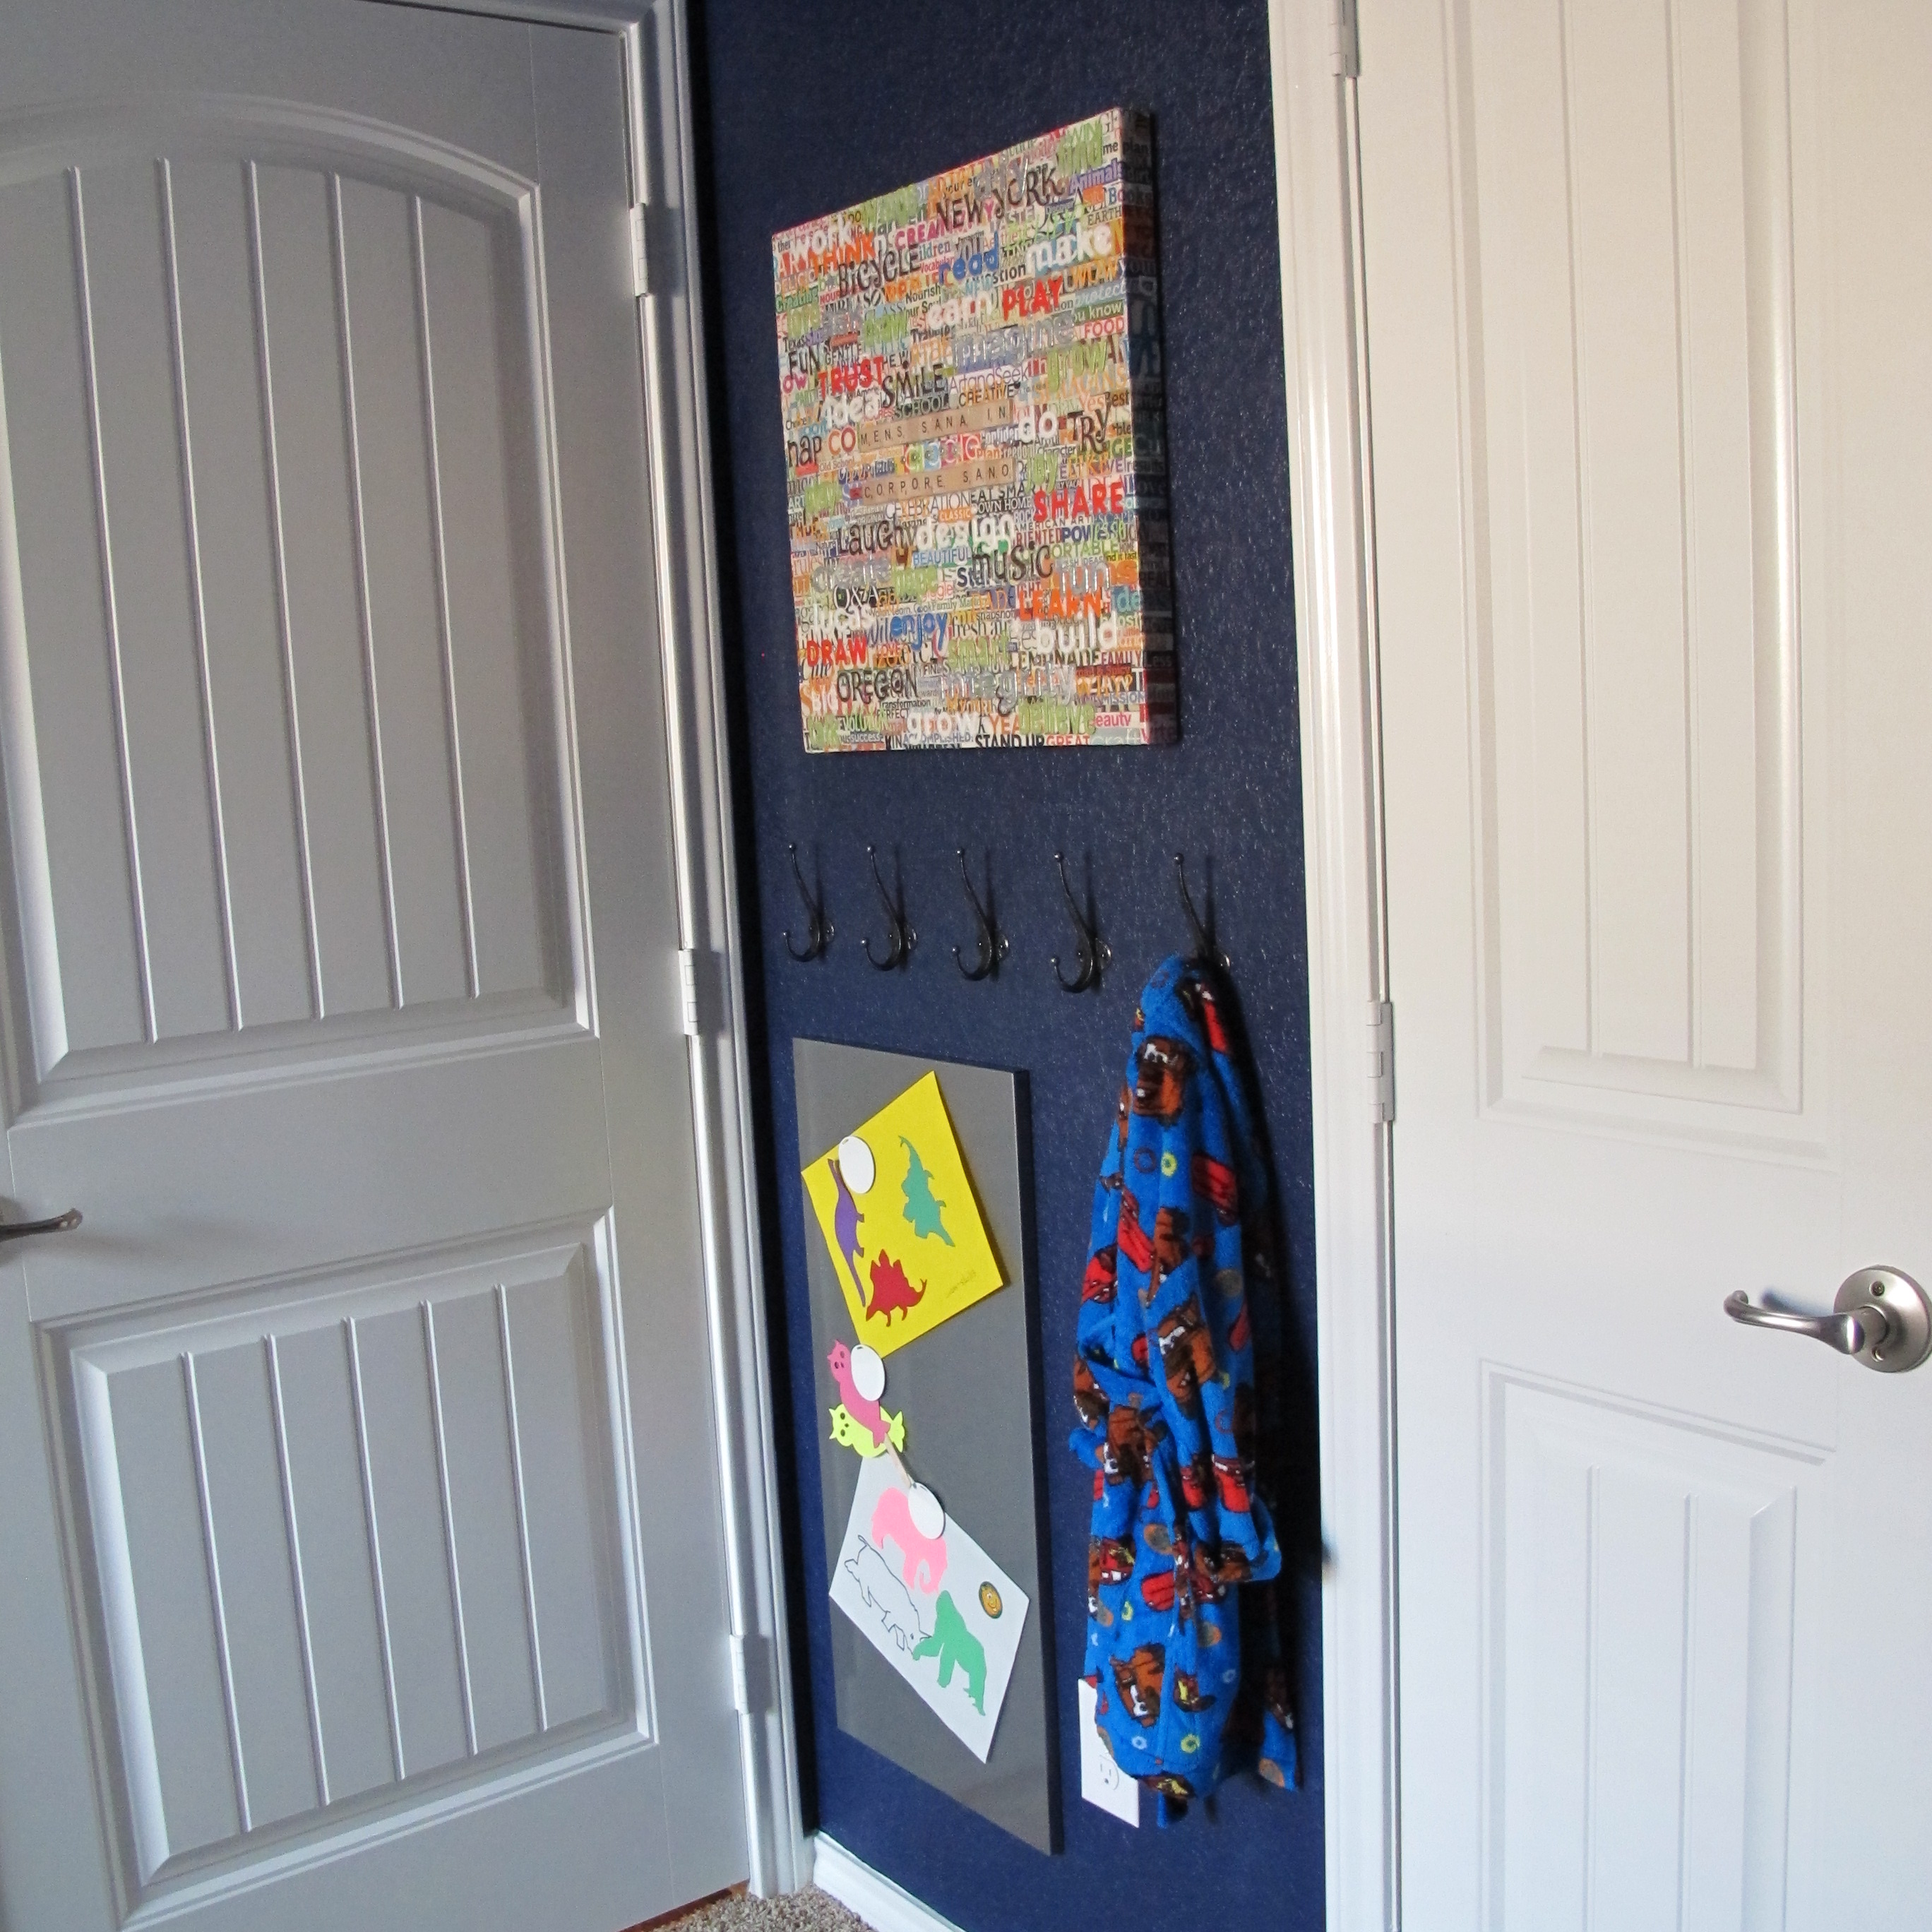
Now that area looks like this…

IMG_2372

IMG_2374

For now, it’s leaning vertically on the wall, but I’m not completely sold on leaving it that way.   (And I chuckle because every time I hear the word “leaning” in my head, it sounds the way they say it in While You Were Sleeping when they describe a man’s stance while flirting.  The mirror’s “leaning” (insert leaning hand gesture).  Heehee!)   Anyways, I digress…. I’m still thinking the mirror needs to be hung horizontally both to fill the space and allow room for the guest drop-zone I’ve been wanting to create.   And I’m considering painting it a fun color as well.

So, those are two small but happy changes made from stuff we already had.  I love giving items new life.  Such fun.

Any swaperoos going on with y’all recently?

Mission Toddler Drop-zone: Complete

Let’s hope the “self-destruct” mechanism is disabled on this one. Heehee! Fingers crossed.

When last we left off on the small area behind Lucas’s door, it looked like this…

IMG_1625

I had mentioned my plan to create a little drop-zone for him here and I’m happy to say that it’s now complete.  I wanted to leave the artwork up there, but add some functionality below.  This was especially important to me because (1) his room isn’t ginormous to begin with and (2) his closet is even smaller.  Injecting function into every usable space will hopefully keep his room from looking like Toys R Us dropped from the ceiling.

In preparation for this project, I grabbed one of these wall hook sets the last time we went to Ikea….

ikea hiik

I chose it because I liked the black and silver mottled hooks.  They had a nice size and shape to them and I thought the white plaque would be a nice contrast with his navy walls.   Then, as we walked by the office organization area, I spotted this magnetic board….

mag board

…and realized it would be the perfect addition to hold Lucas’s artwork and other paperwork that was worth keeping.  I also thought it would be fun for him to have a little “secret” place to hang his favorite coloring pages, etc.

Once I got everything home, I played around with wall placement by holding stuff up and eyeballing it.  In the end, I decided to forego the white plaque that came with the hook set.  It was just too many squares within a small area between the painting, plaque and magnetic board.  Plus, the size of the plaque wasn’t quite large enough to line up where I wanted it to.

I used a level and tape measure and marked exactly where I wanted the hooks to go….

IMG_2108

Then, I simply anchored and hung the hooks onto the wall.  Well, maybe not so simply…  If you have dark walls, here’s a little tip:  Don’t follow my lead and use a paint pen to mark your wall.  In my head, I figured I could just use a wet rag or magic eraser to remove the marks later.  Nope.  Wrongo.  I ended up having to bust out the touch up paint for these areas.   I’m thinking maybe chalk would’ve been a less permanent choice.  Yep.  Dually noted.

For the magnetic board, I used one of the many tips I’ve learned from Pinterest.   I placed painters tape sticky-side-up across the holes in the metal sheet and looped it under on the sides so it would stick on the edges. Then, I poked holes in the tape where the holes were located.

IMG_2109 IMG_2112

I placed the magnetic board up to the wall and once it was level (I literally balanced a small level on top of the board to make sure), I firmly pressed the board to the wall so that the tape would stick to it and loosened the edges from the board to it would release.  I removed the board and was left with this…

IMG_2114

Then, I installed screws right through the holes and removed the tape…

IMG_2115

I hung up the board to double-check placement and make it was level…

IMG_2117

Then, I removed the board and screws and anchored them in with heavy-duty anchors….

IMG_2118

This guy is going nowhere, let me tell ya.  And here is the finished product…..

IMG_2138

IMG_2137

And yes, that is an adorable little Lightning McQueen bathrobe.  That he wears.  And I love.  He looks like a mini-man in it.  Gets me every time.

Here are a few close-ups…

IMG_2134

IMG_2133   IMG_2142

I know that sometimes jackets or backpacks or whatever will hang over the magnetic board, but that’s what makes it a little “secret” area for Lucas’s treasures.  And he sure didn’t waste any time after I’d finished before playing with the magnets (also purchased at Ikea)…

IMG_2151

So, it’s nice to be able to say that one area of Lucas’s room is done and functional.  It’s definitely helped in keeping his closet a bit more clutter-free.  So, now it’s onto the next!!