Last time, I threw in a little sneak preview of my jewelry organization redo….

Now, for the tutorial.
During my recent closet decluttering, my jewelry box and necklaces were relocated to a shelf on the opposite side of our closet. My previous method for organizing necklaces was simply thumbtacks…

I decided that I wanted something just as functional, but better looking (which didn’t result in 30 more holes in the wall). So, I went to Home Depot and picked up a piece of pegboard for $8.96 along with some small hooks for around 3 bucks. I figured that I’d paint the pegboard to make it more attractive and hang it behind my jewelry box.
The white side of the pegboard was pretty glossy, so I used this deglosser…

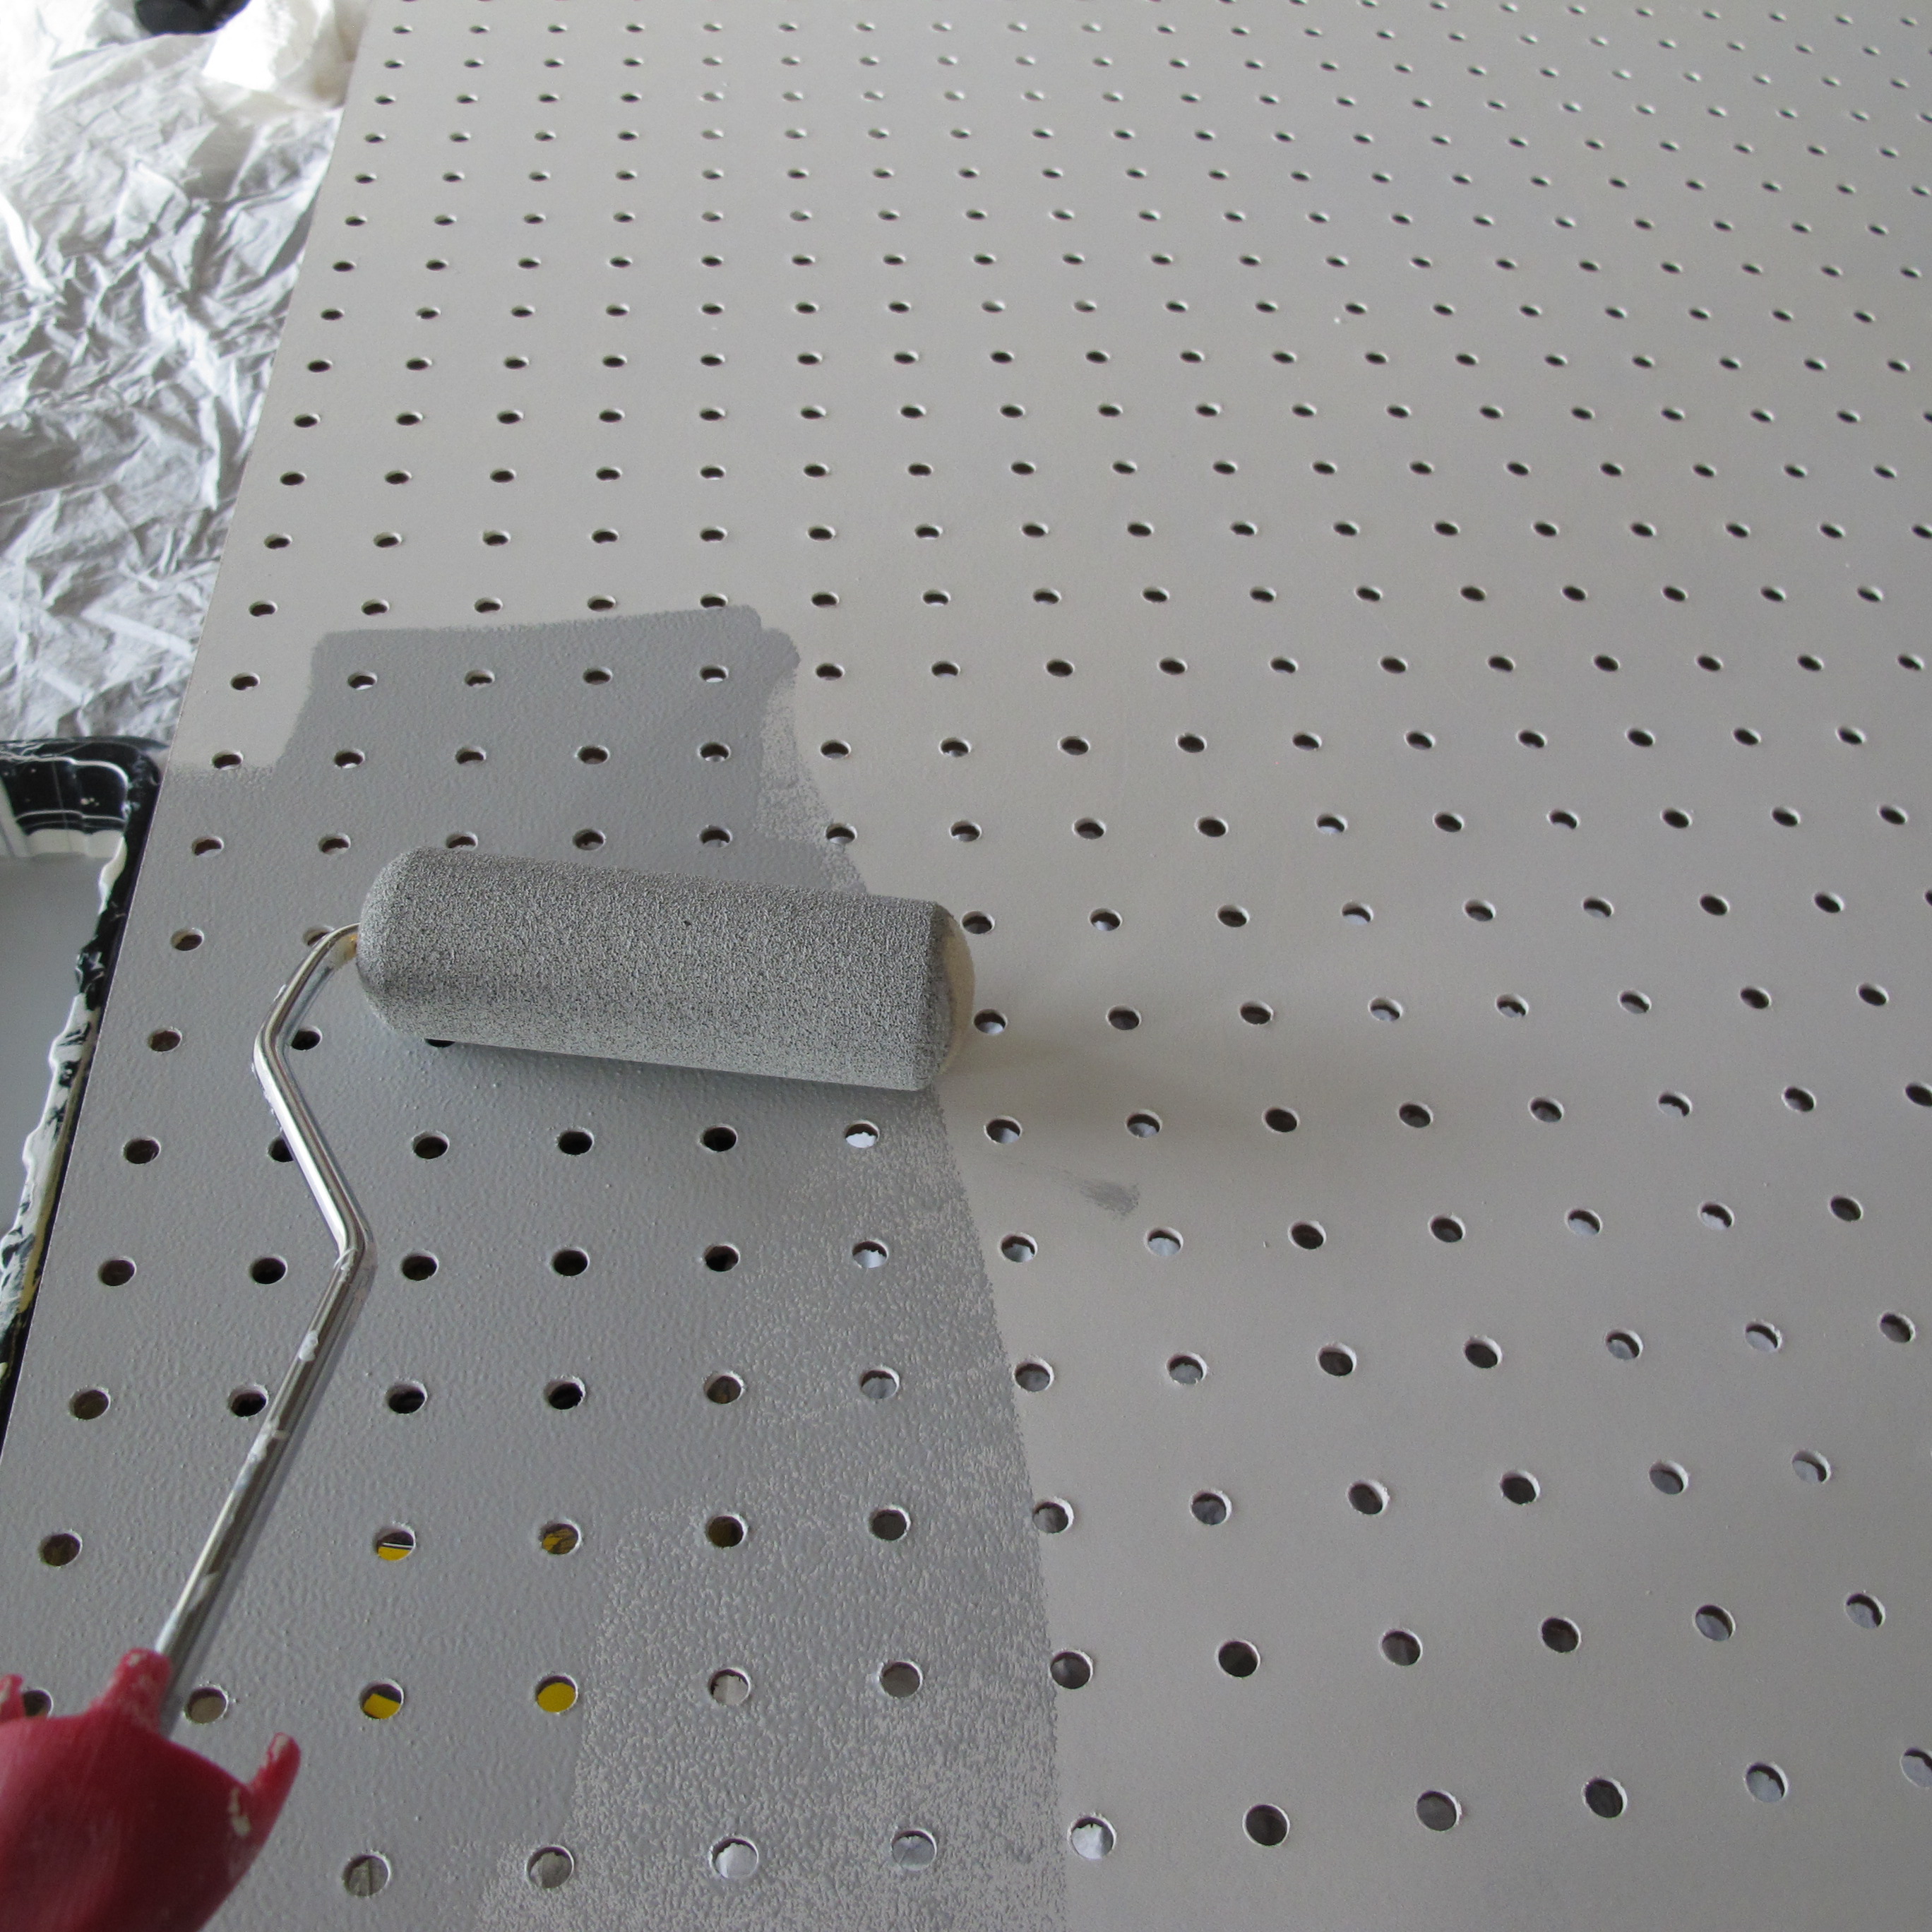
You simply rub it on with a lint-free cloth and it, well, deglosses the surface so that paint can more easily adhere. It’s basically liquid sandpaper. Once dry, I applied a coat of shellac-based primer since I wasn’t sure what would work best on the pegboard. Shellac-based primer entered my life here and I fell in love. It’s a bit more expensive than other primers and pretty stinky but it works in situations where other primers may not. During my various Pinterest adventures, I’d read a few pegboard painting tutorials where the main complaint was that paint didn’t easily adhere to pegboard and would soon chip off. So, I decided to err on the side of caution and go for the big guns. I applied my primer coat with a small foam roller in the garage with the door open for ventilation.
The next day, I brought the pegboard inside…

…and applied two coats of the grey-blue paint that I’d used in the laundry room (seen in this post). It was an oops! paint that I got for super cheap on the mis-tint rack. I used a small foam roller, applied one thin and even coat…
…waited about 2 hours, then applied another. Then, I let the paint dry completely.
Next, I wanted to add a little interest. I’d purchased a stencil from Hobby Lobby for my roller shade project, but aside from this one little test stencil, I didn’t end up using it….
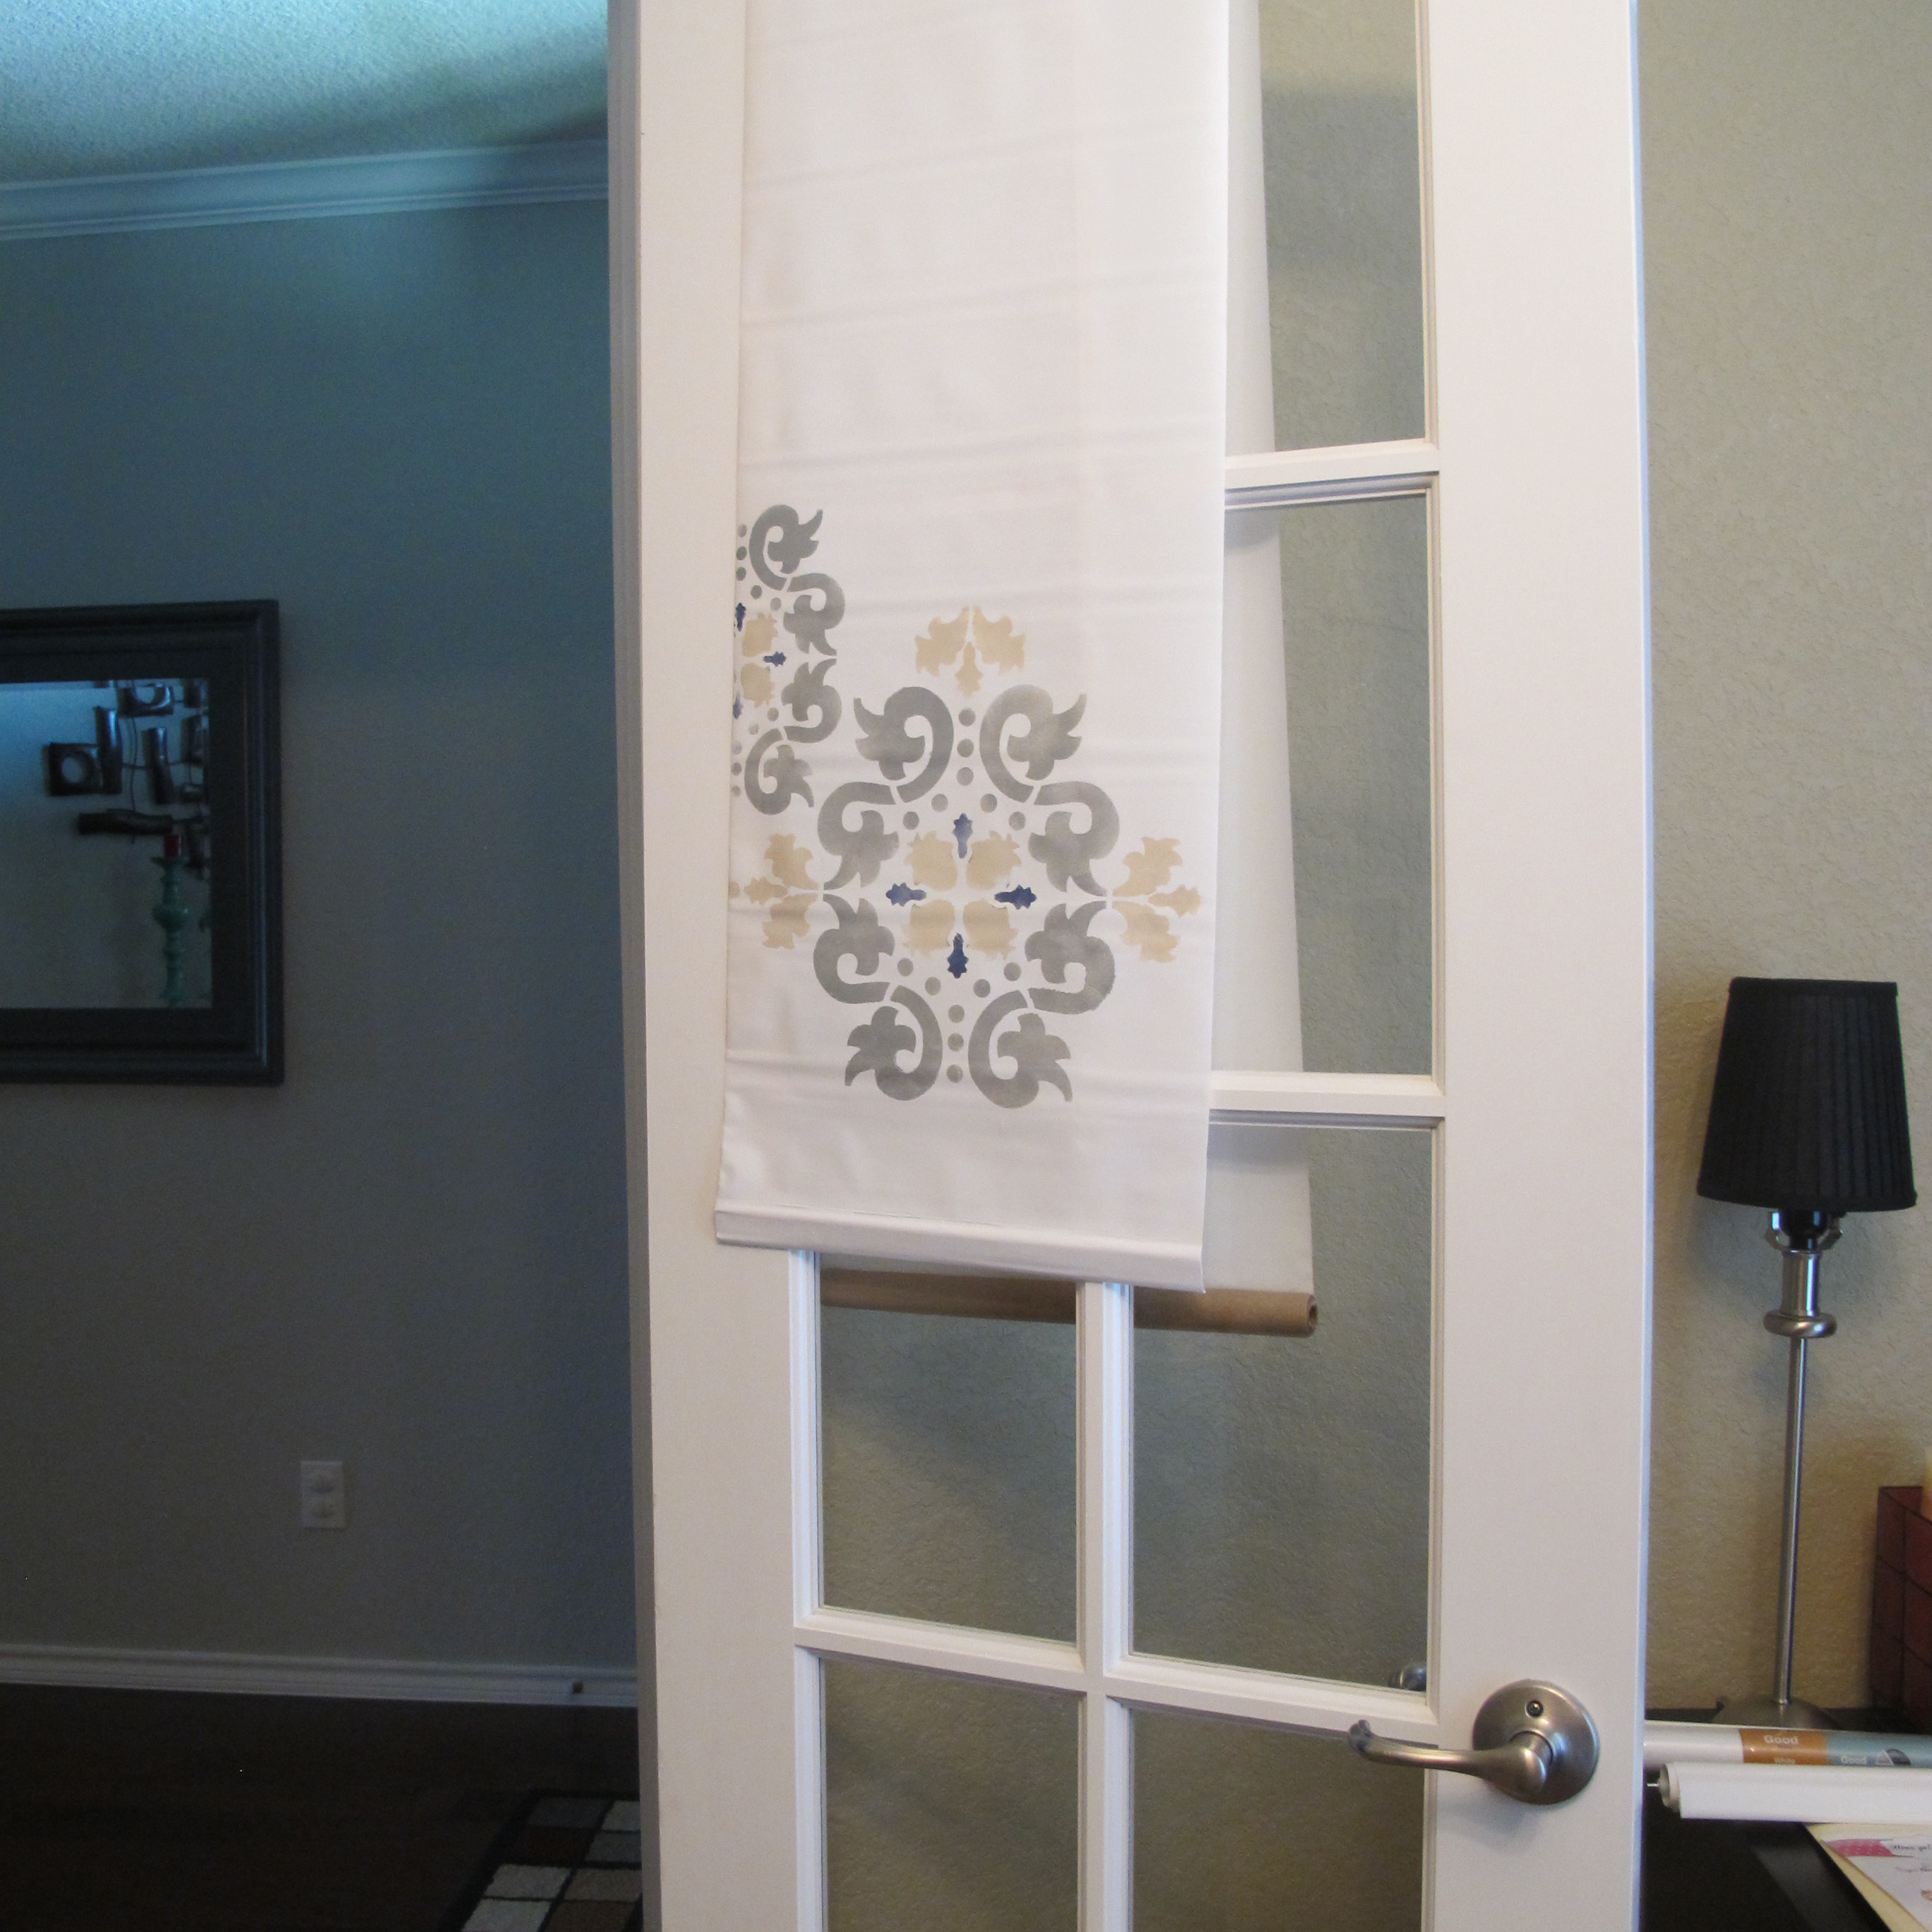
I’ve been wanting to utilize the stencil since then and figured that this would be the perfect opportunity. Especially, since if it didn’t work out, the pegboard would be in my closet, where nobody would see it (unless I chose to stick it on the internet for all to see. Which I would. ). Up until this point, I’d never attempted an all-over stencil. I chose some white Clark & Kensington paint + primer that I had in the garage for the stenciled design. And I assembled my materials…

I started by lining up my stencil so that it was straight. This was pretty easy since I could just line up the little triangle indicators (not shown, but they’re obvious when you look at the stencil close-up) on the stencil to the pegboard holes.
I marked my triangles with a pencil so I’d know where to line the stencil up as I moved along. The instructions on the stencil package recommend that you start in the middle top of a wall, but since this was just pegboard and the portion that I started on would be hidden behind clothes, I just picked a random spot. I used small pieces of painters tape to hold the stencil securely.
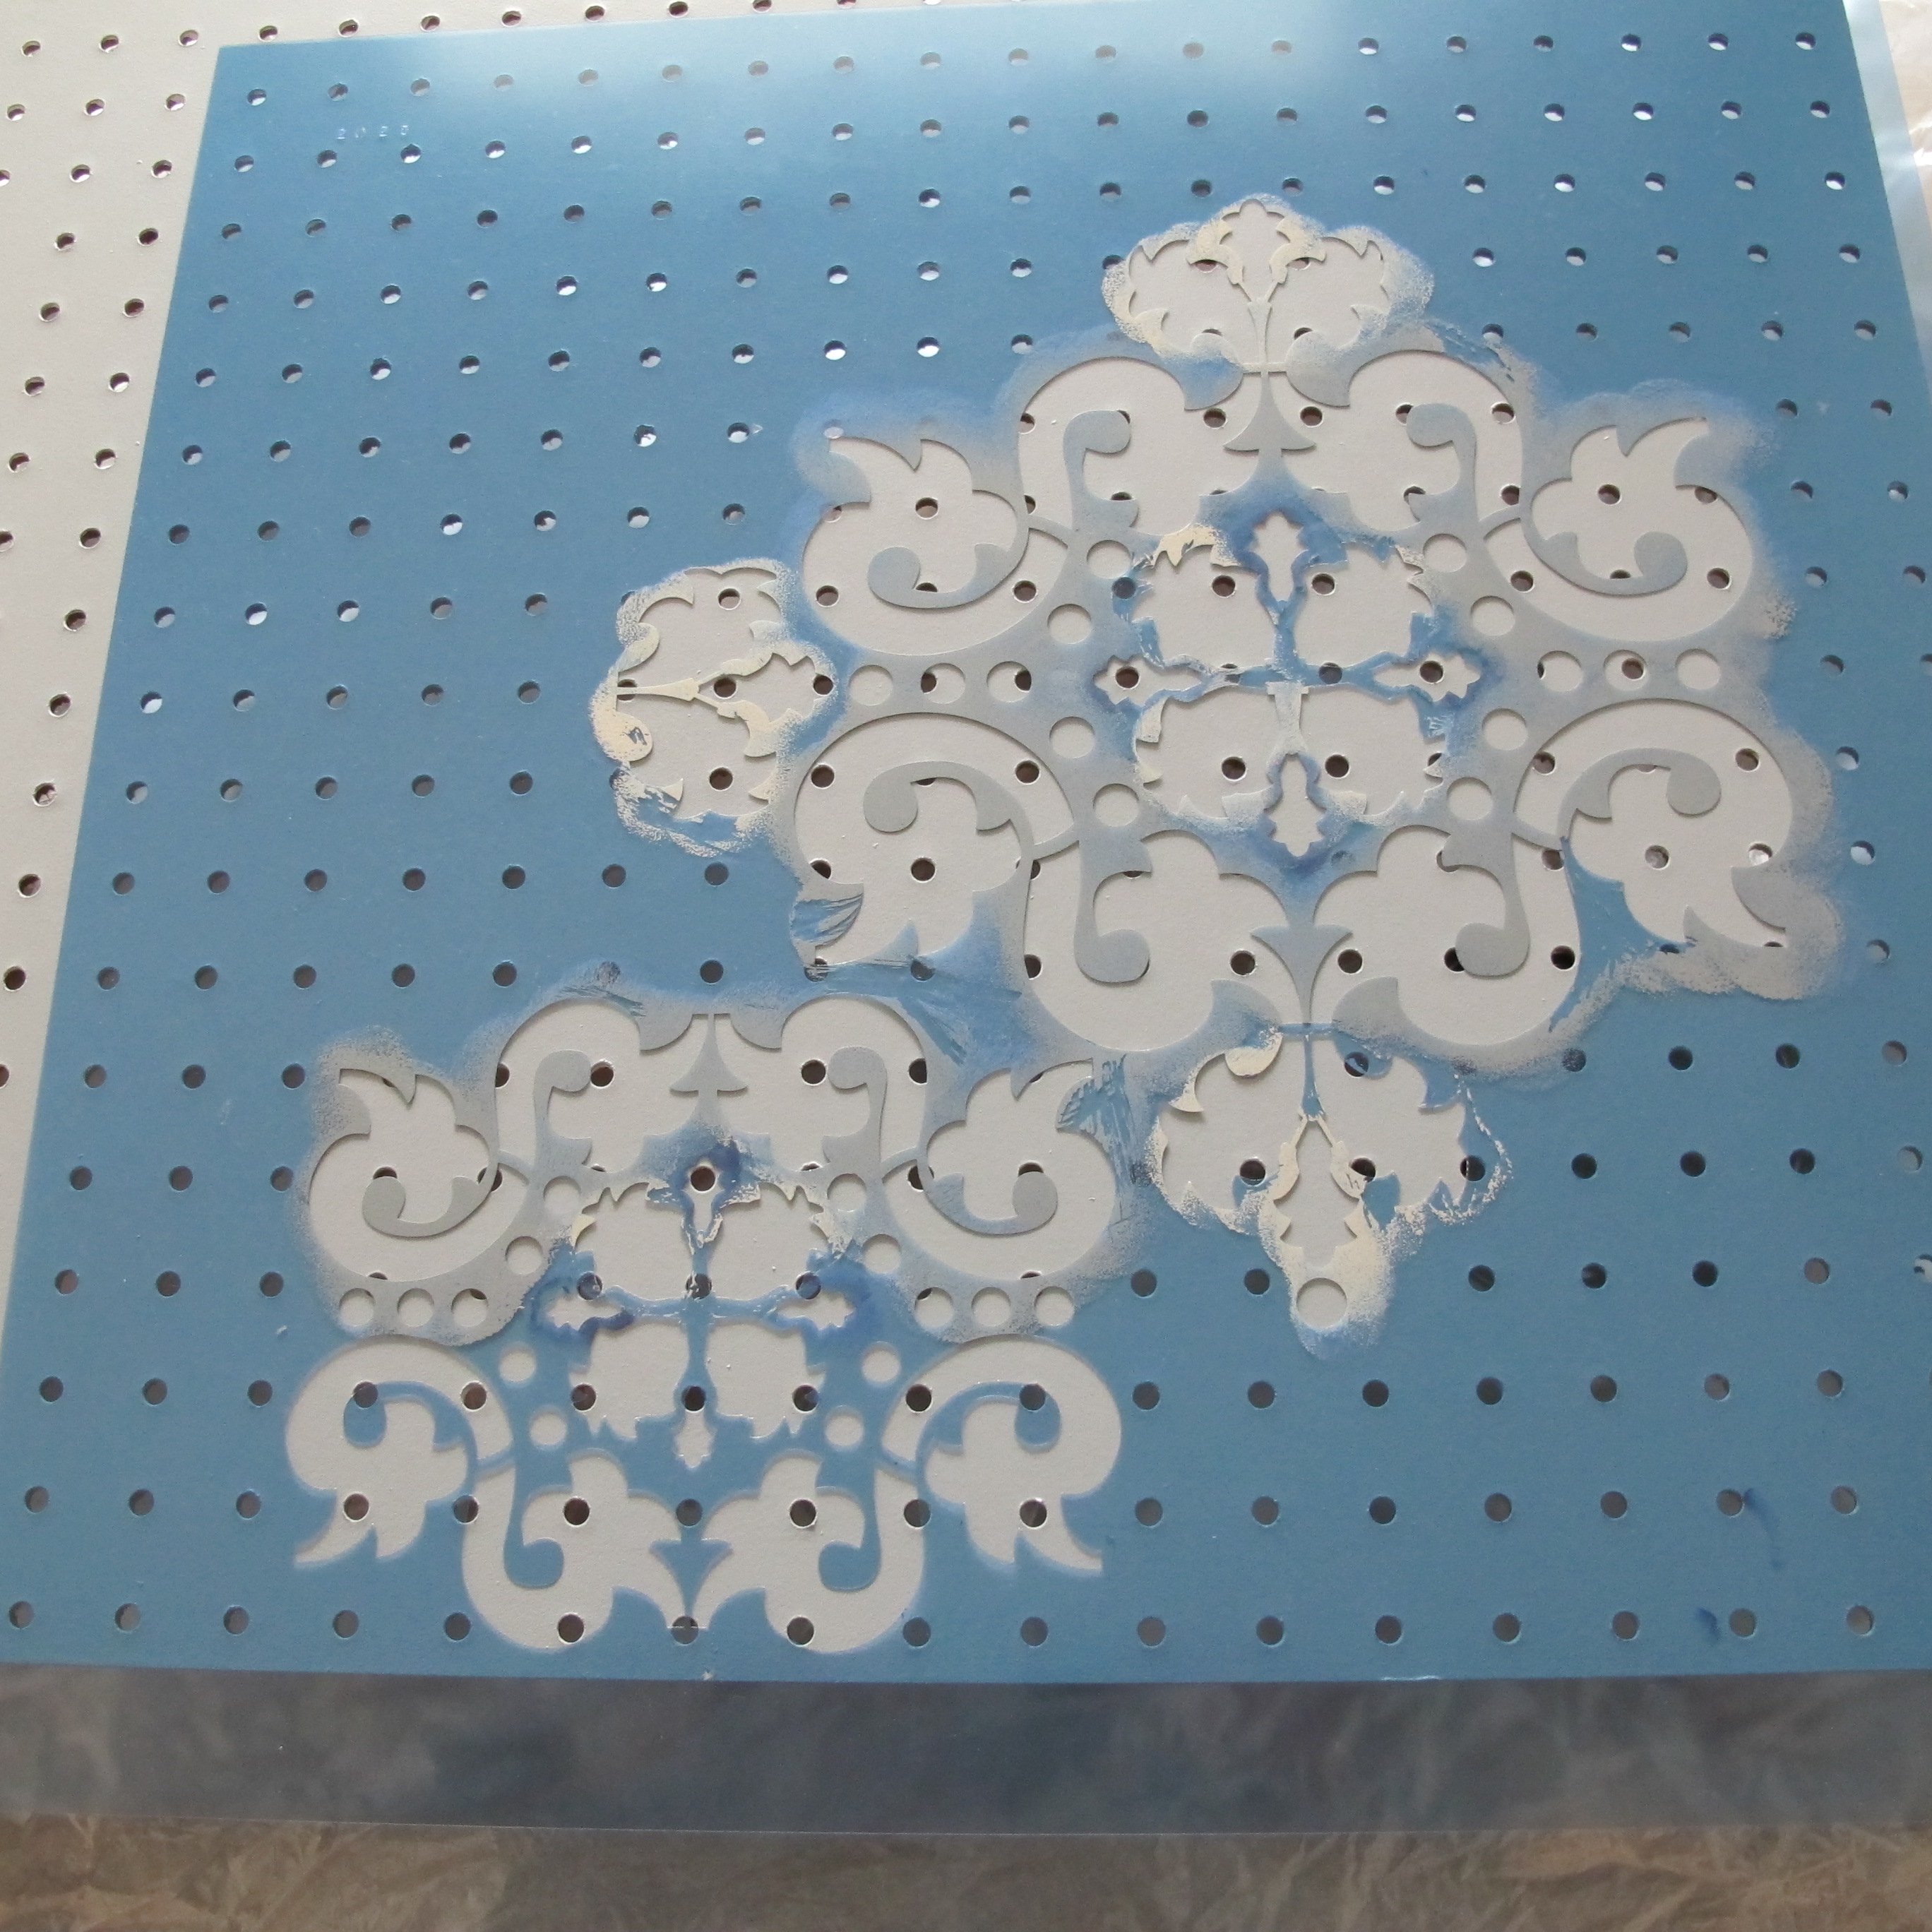
Then, using a foam stencil brush I lightly stippled the paint over the stencil. When I was done, I carefully lifted the stencil to reveal this…

My first go went okay. Crisp-ish lines, not too shabby. I did realize that I needed to use a little less paint on my brush and dab a bit more consistently after examining my first attempt.
Now, the problem with this project (mixed with my personality) is that it requires patience. Once the first stencil was done, I had to wait until the paint had dried to move the stencil and start again. I’m not sure if I oriented the stencil wrong to begin with or if this is typical, but the waiting part was a total bummer. I was all gung-ho about mastering the stencil. Like, NOW. But no, we must wait. Ugh.
The directions also recommended that paint not be allowed to dry on the stencil. I had issues with this as the paint dried so quickly that by the time I had an opportunity to wipe the stencil down with a damp rag, it had already dried. Especially around the edges of the stencil, which is the most important part.
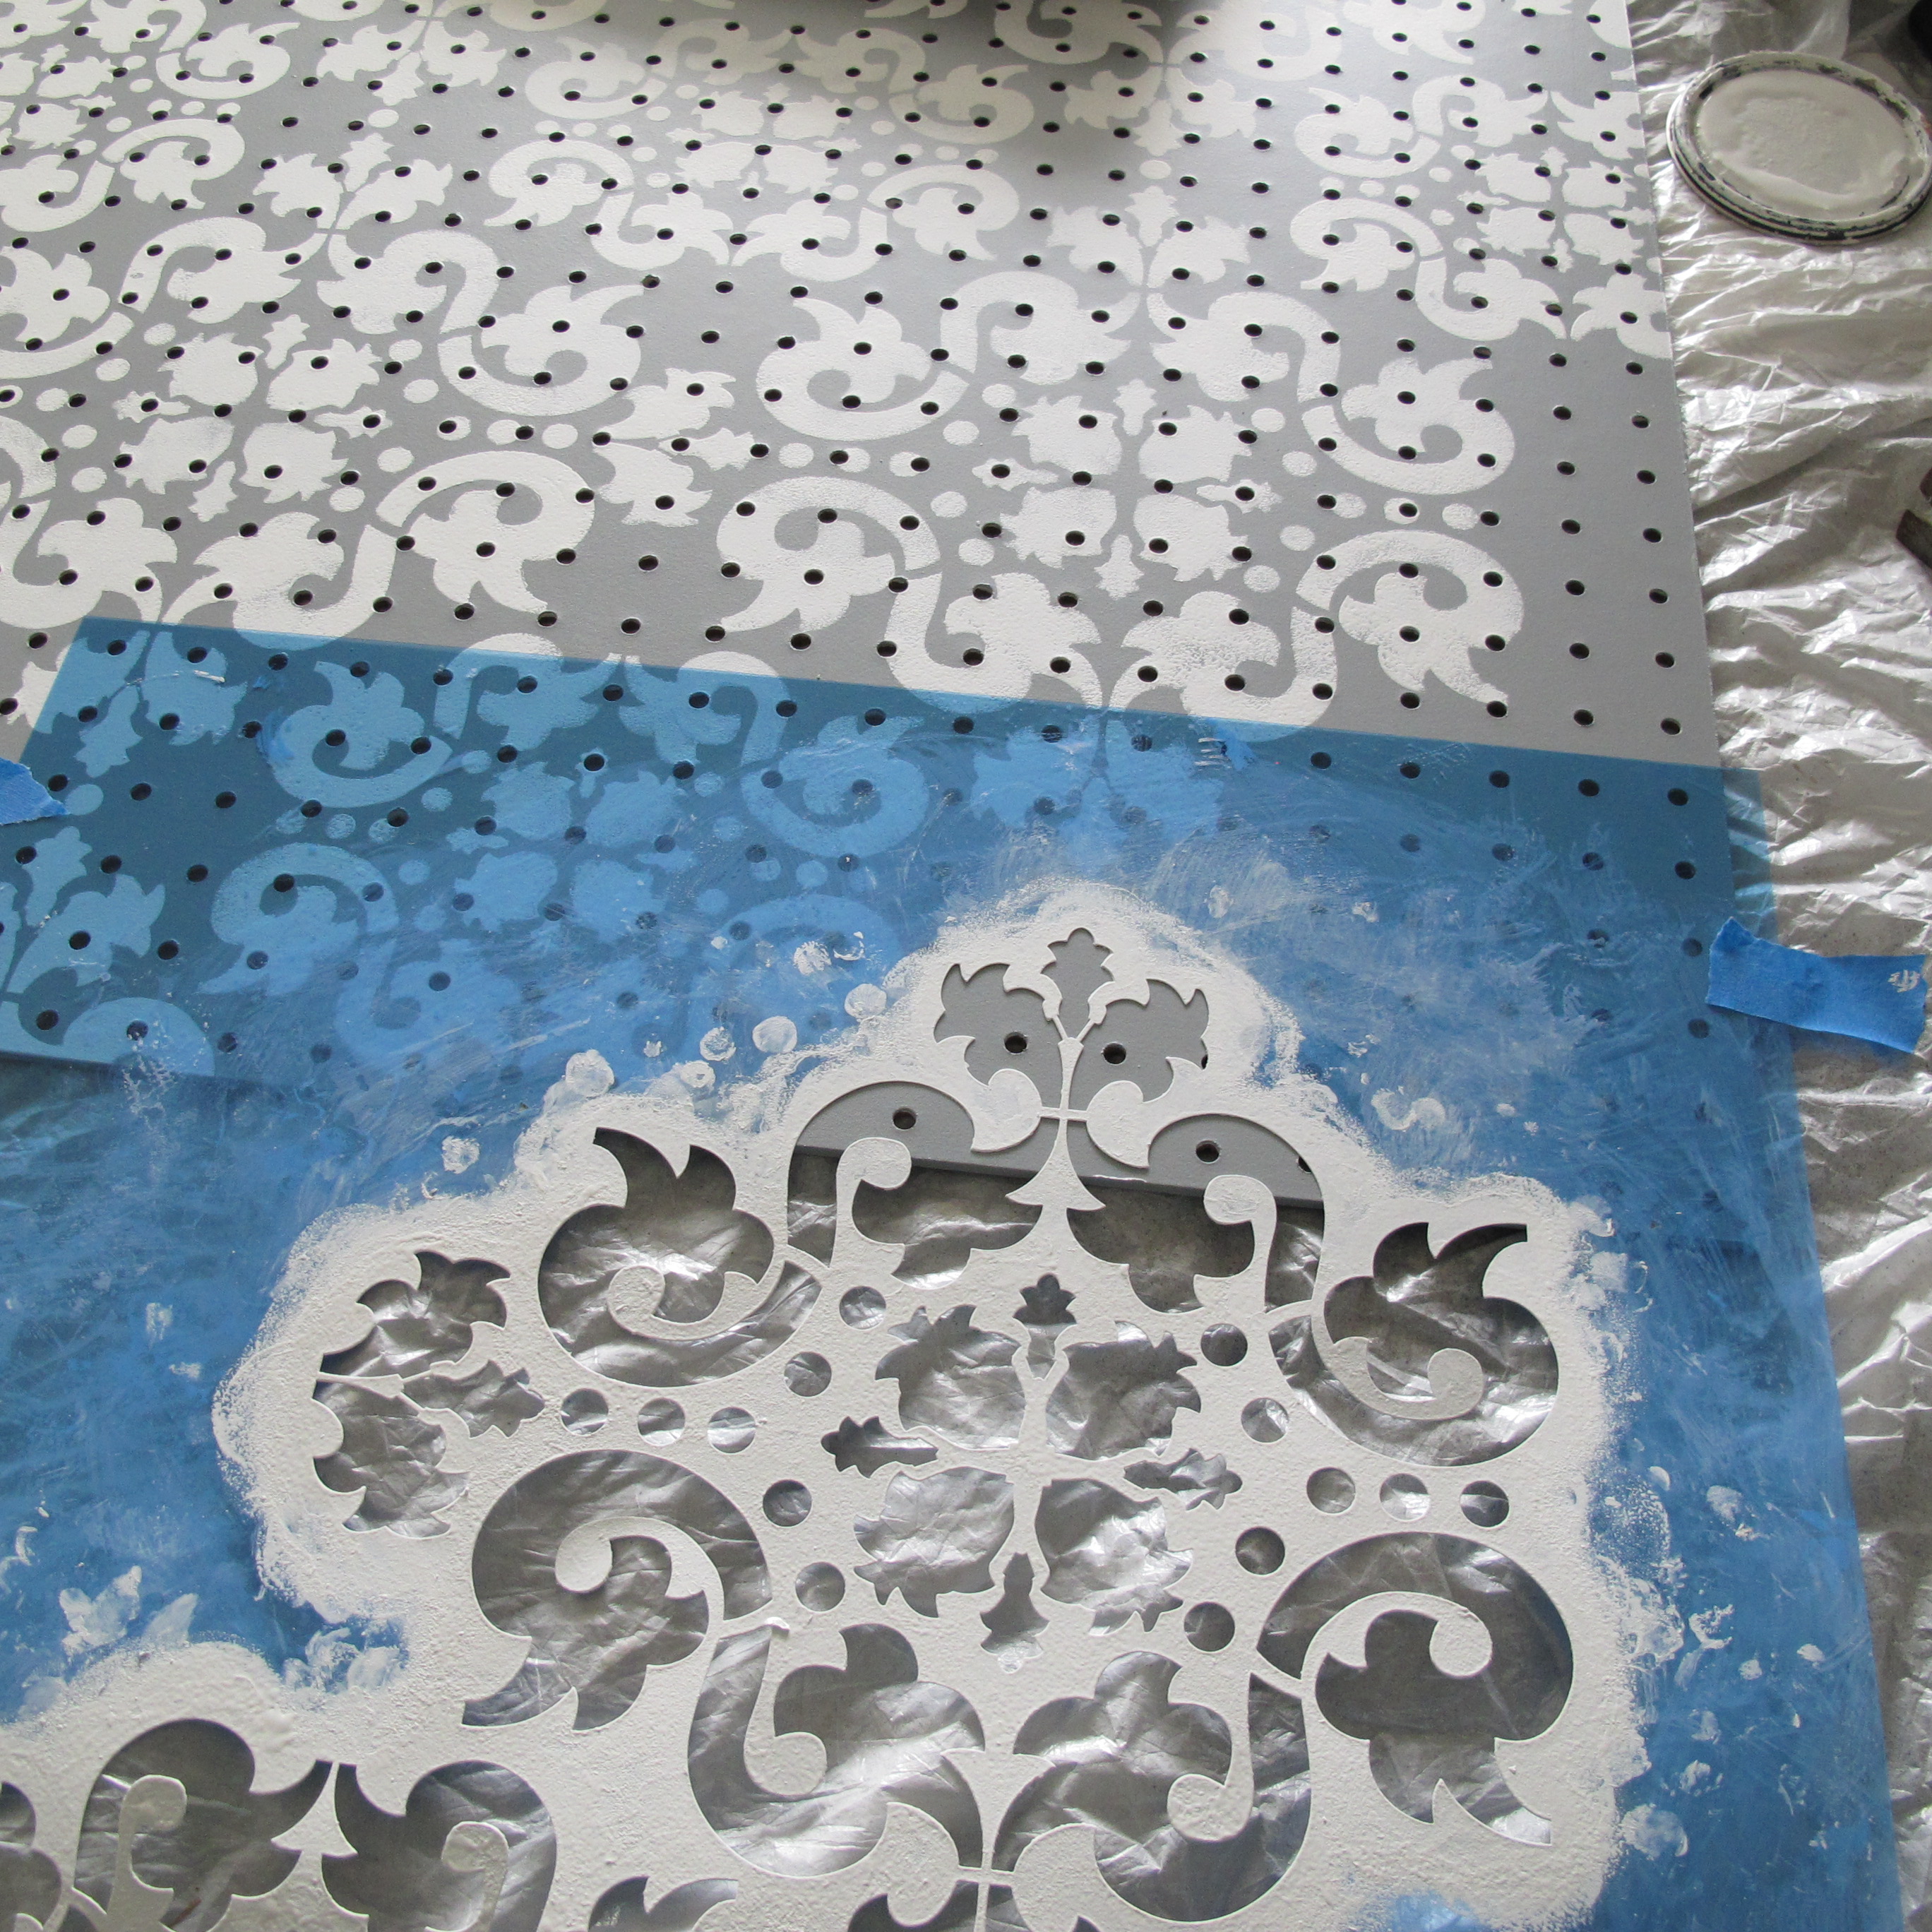
Because of the dried paint, I noticed that I had to work harder to get the stencil to lay flat when stippling paint, which lead to unsightly bleed-through like this…

Now, I should’ve used a stencil adhesive to aid in this. You spray it onto the back of the stencil so it sticks to your surface and prevents bleed-through. Goodness knows, it would’ve made this process a whole heck of a lot easier and the end result crisper. Unfortunately, by the time I realized this fact, I was too involved in the project and much to lazy to make a trip to the store. Kind of a “well, I’ve gotten this far…” sort of thing. So, I just walked my fingers around the stencil pressing it down as I stippled on paint. It worked okay, but was more time consuming and definitely not fool-proof. So, seriously, take my advice… Recommendation #1: If you want to attempt an all-over stencil, buy stencil adhesive.
I slowly worked my way around the board, stenciling as I went….
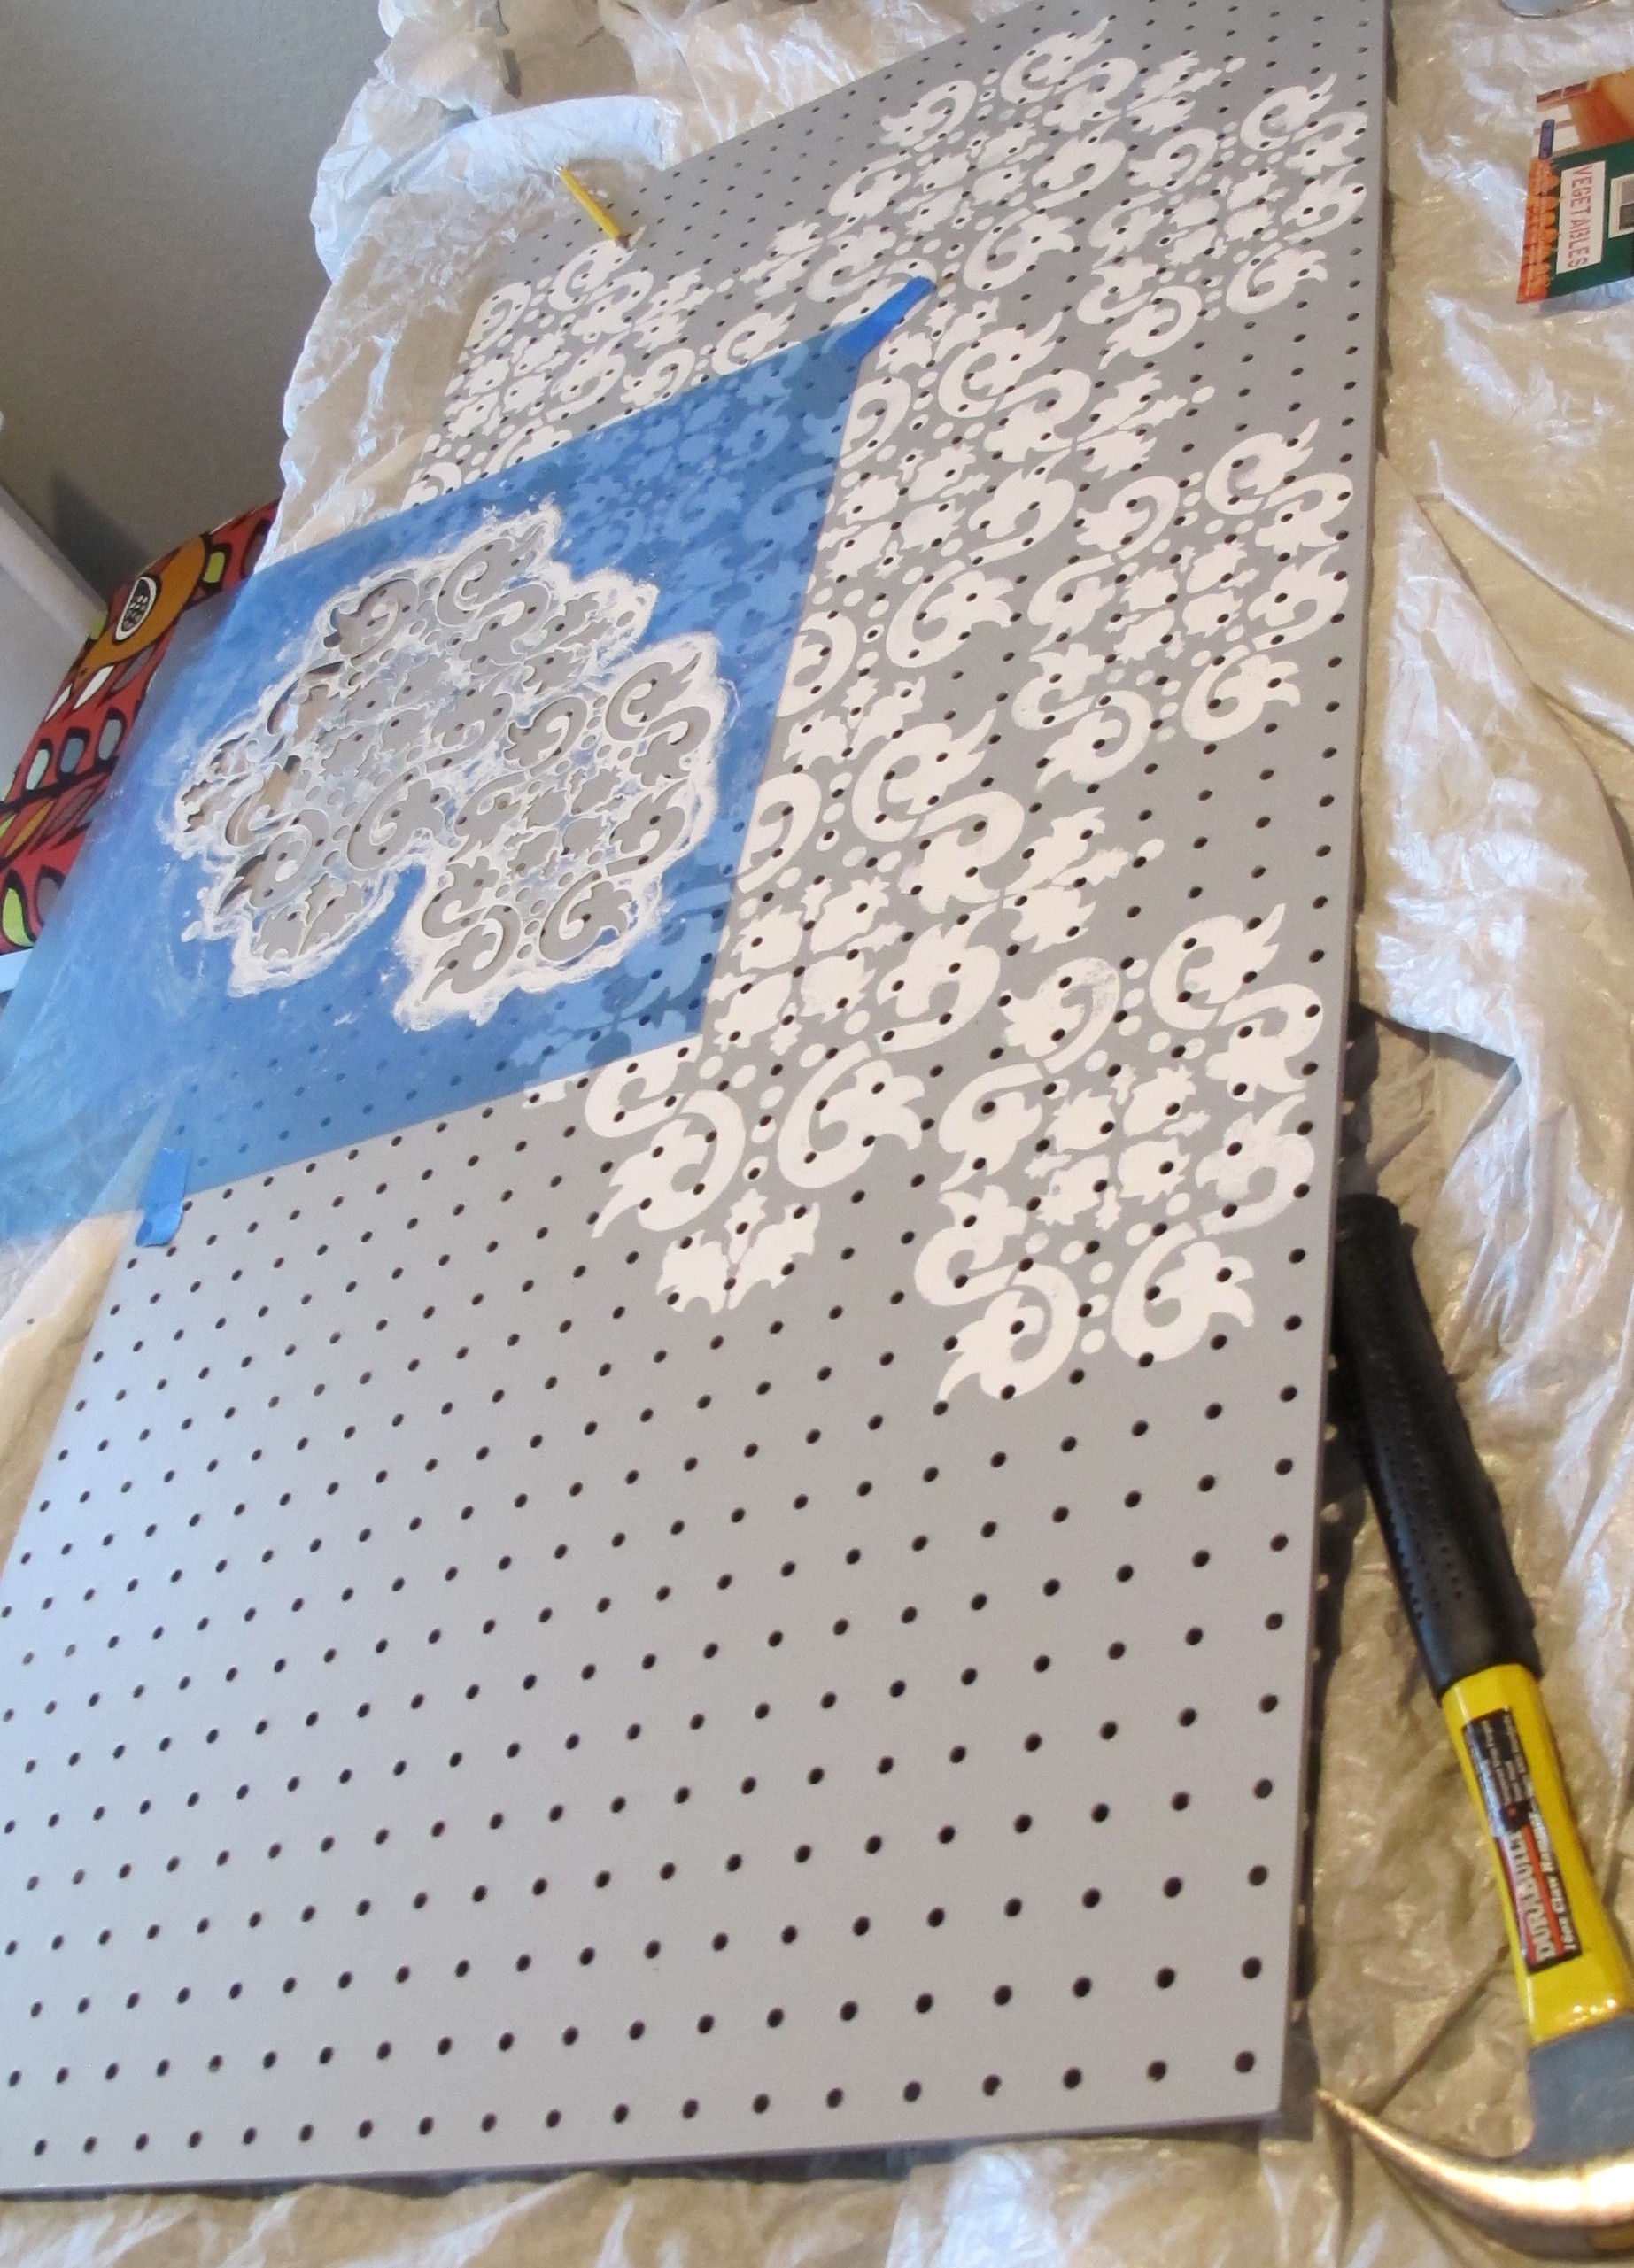
For the edges, I just lined up the stencil as usual and used painters tape on the dried areas to keep the stencil from sliding…
The process of lining up the stencil was easy thanks to the little triangle indicators. Unfortunately, half of the time I forgot to mark them (Doh!). I had to just be patient (Ugh.), wait for the paint to dry, then realign the stencil and mark the triangles so I could move on to the next area. Recommendation #2: Remember to mark your triangles.
Finally, I finished stenciling and touched up some of the messier areas with a small painters brush. The stenciling took about a day and a half of intermittent painting with dry-times included (along with a birthday party which we attended).
Here’s the board finished….

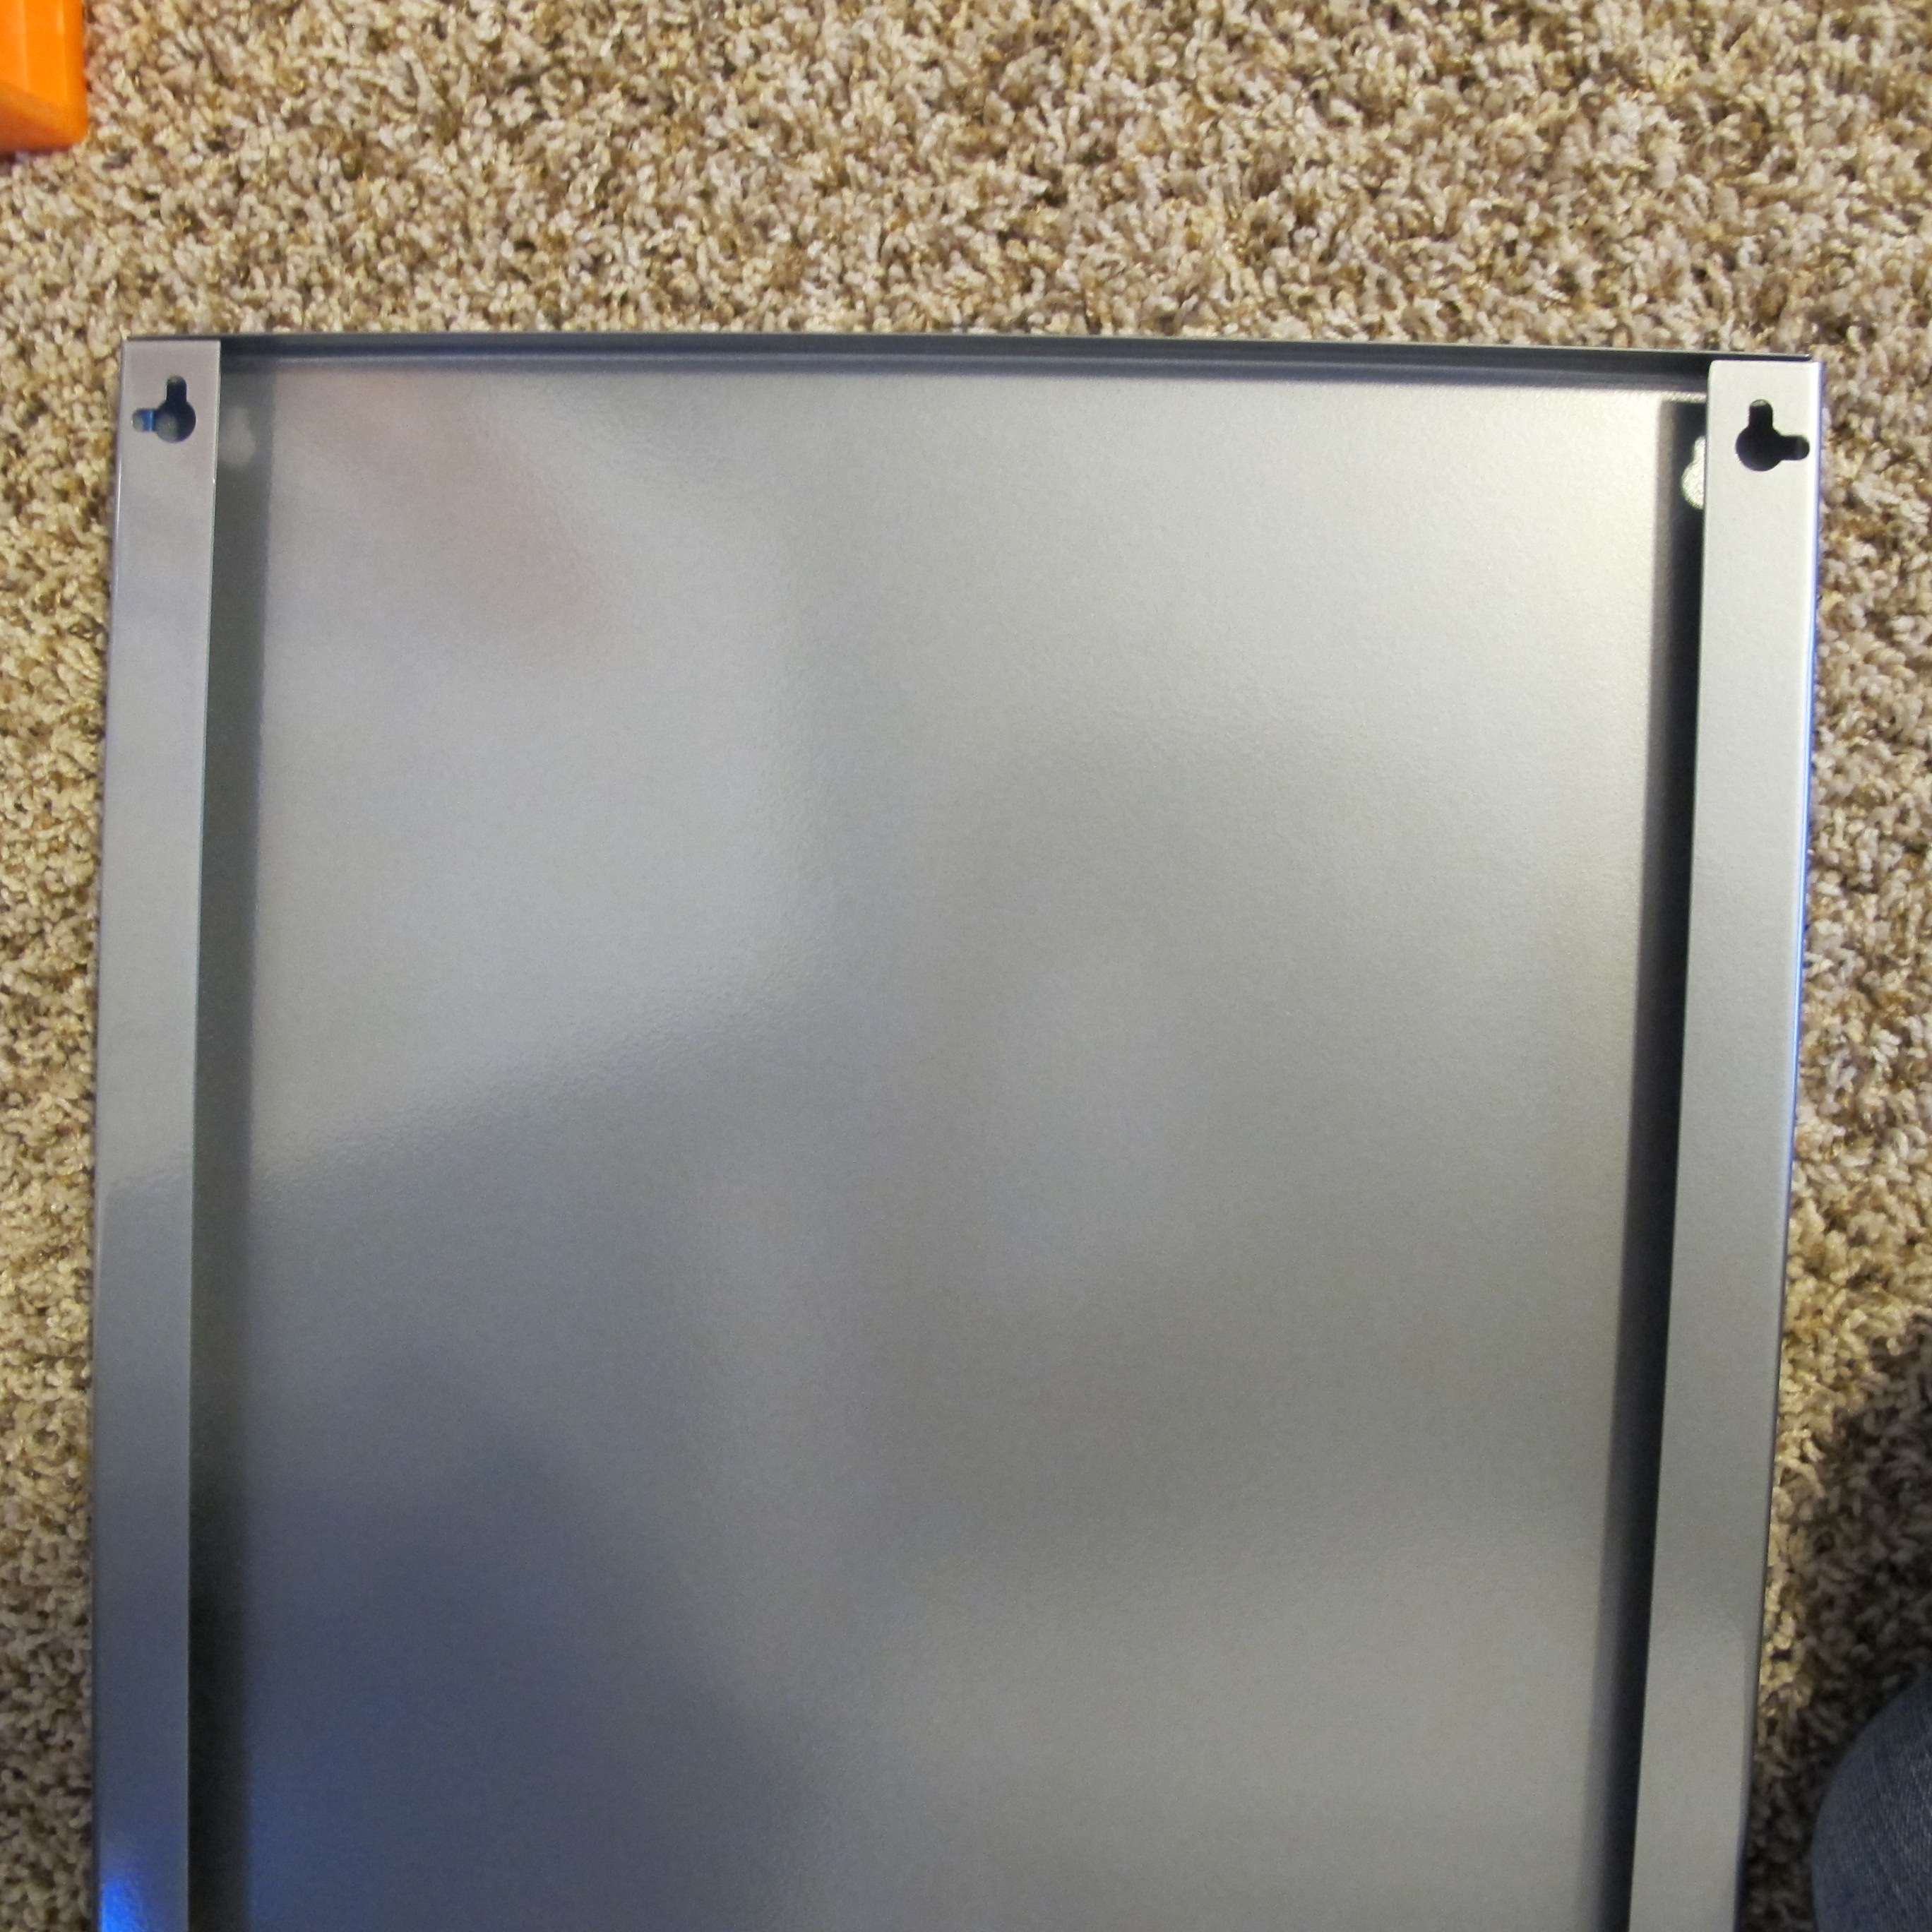
To mount the board, Joey cut a few strips of plywood down to size and secured them to the wall. He used screws and drilled them into the studs.
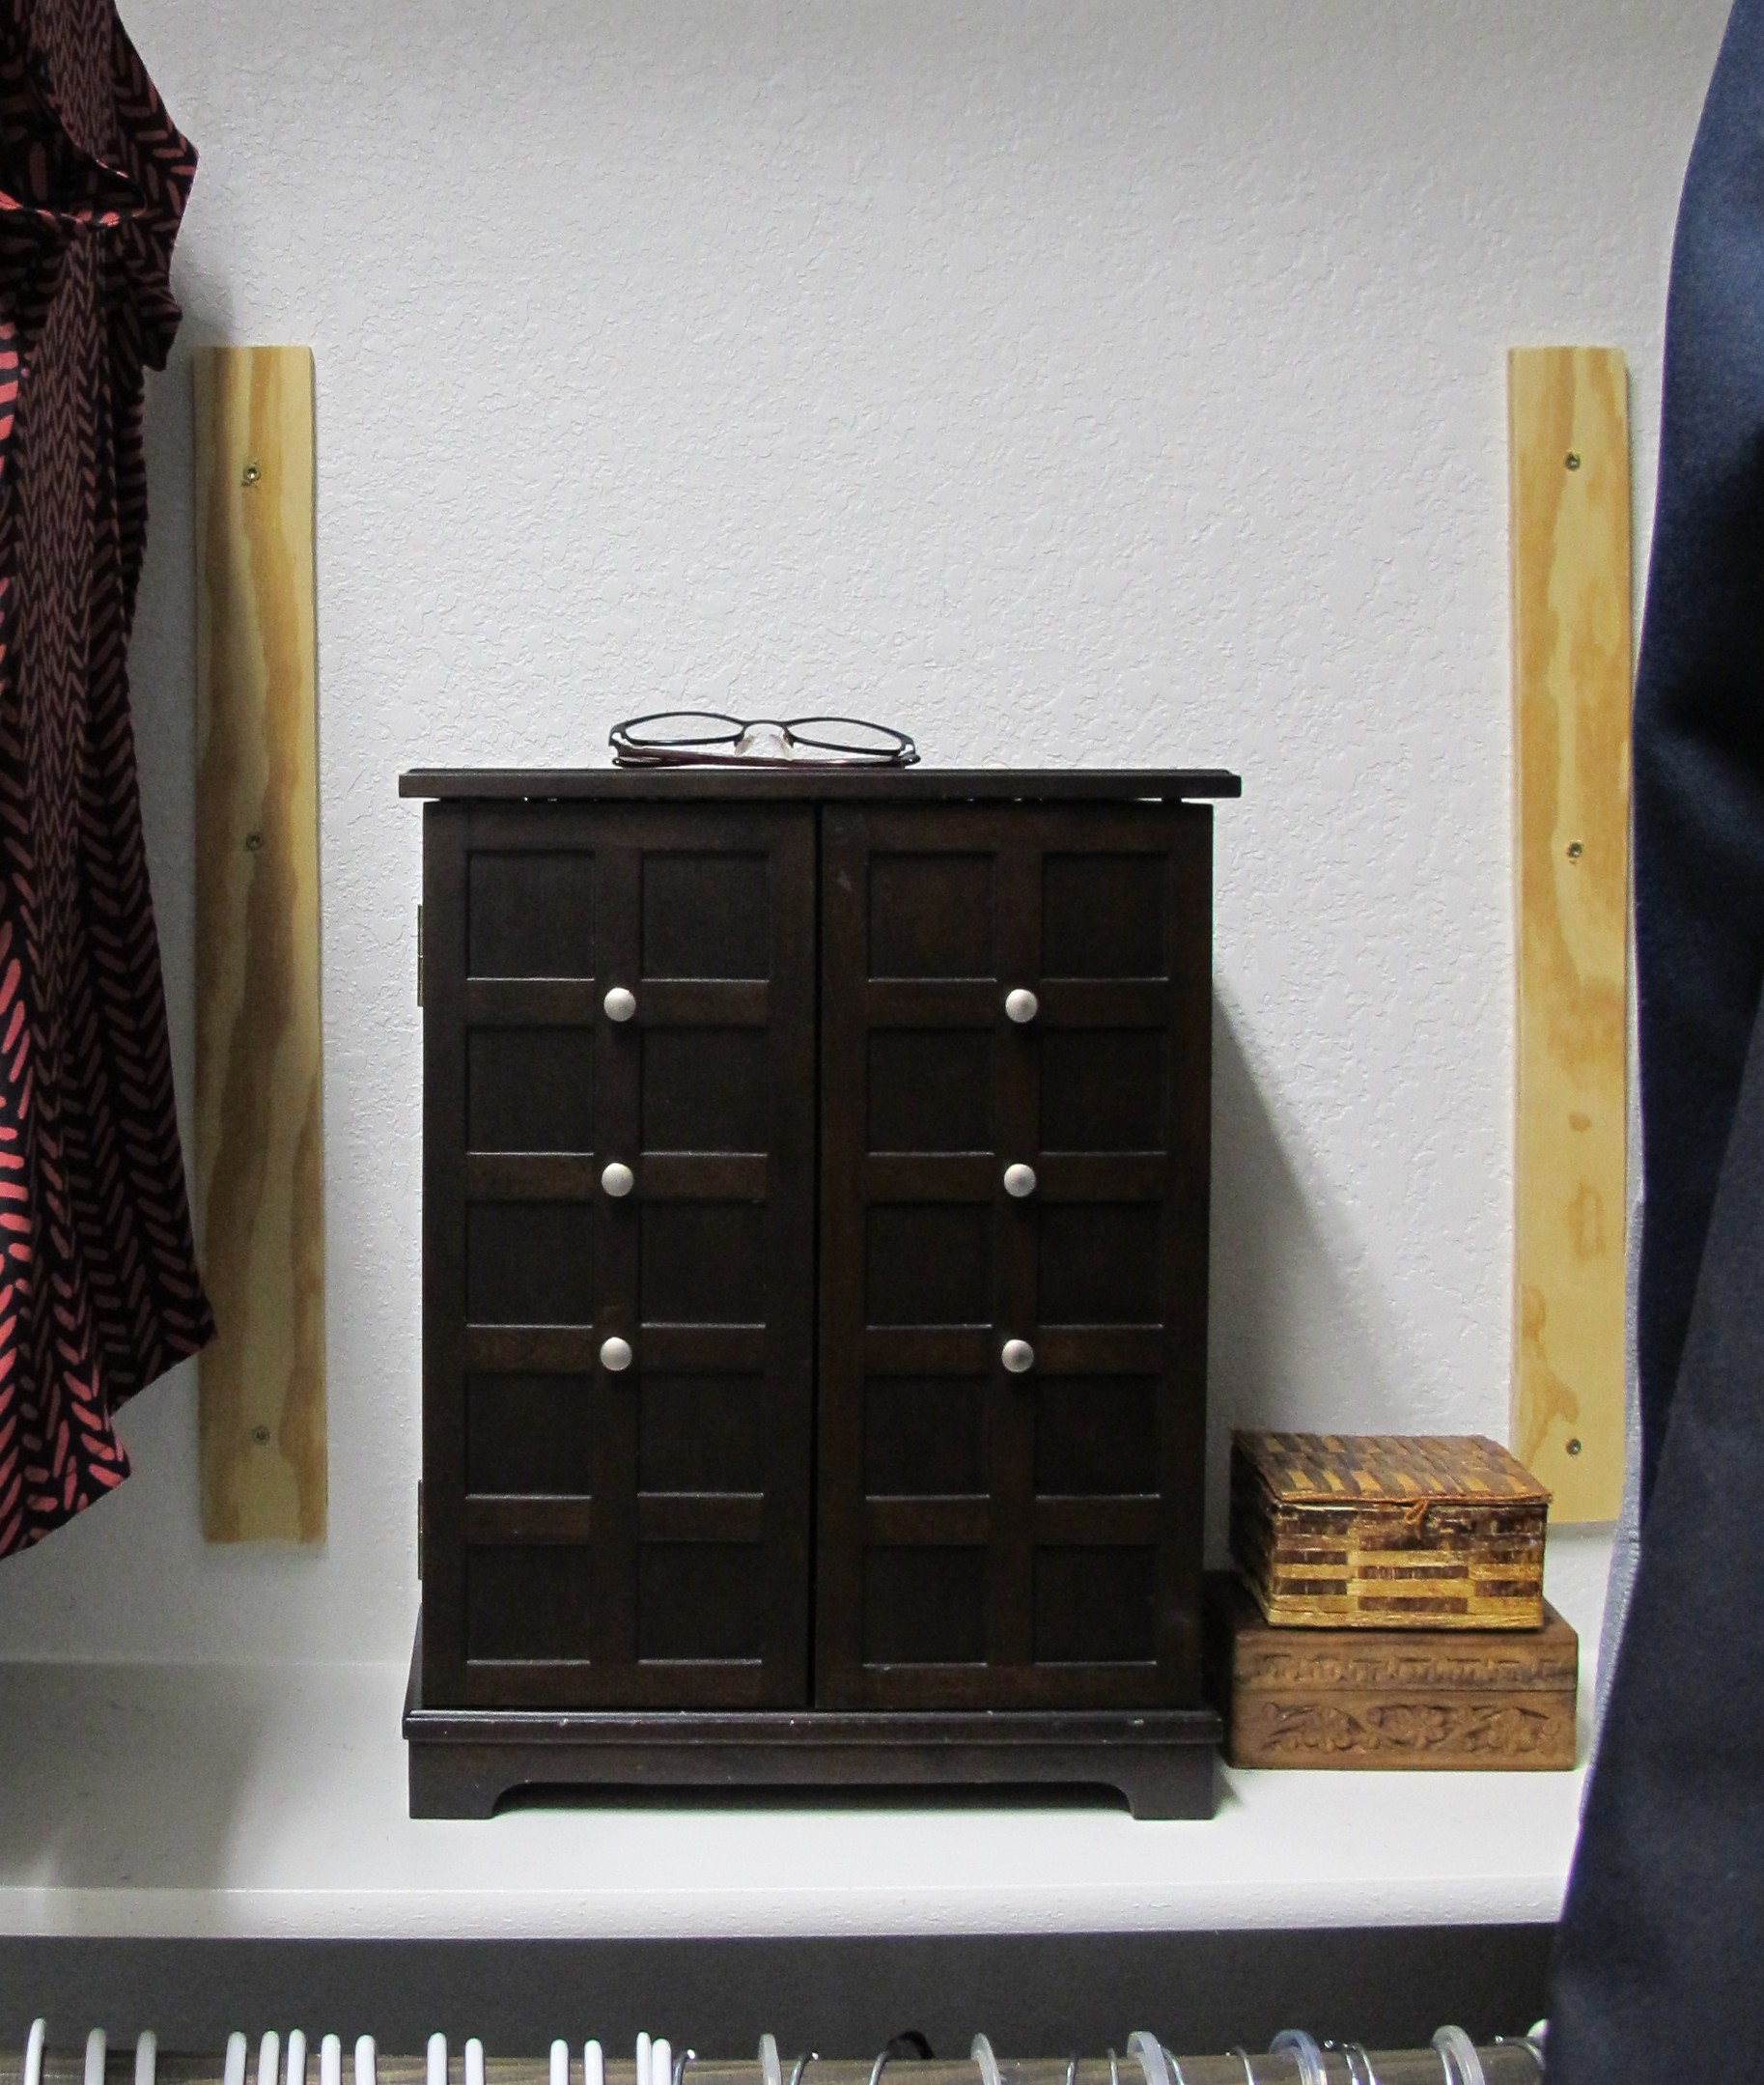
The plywood would allow the pegboard to sit away from the wall so the jewelry hooks would have space to sit behind it. Then, he screwed the pegboard to the strips.
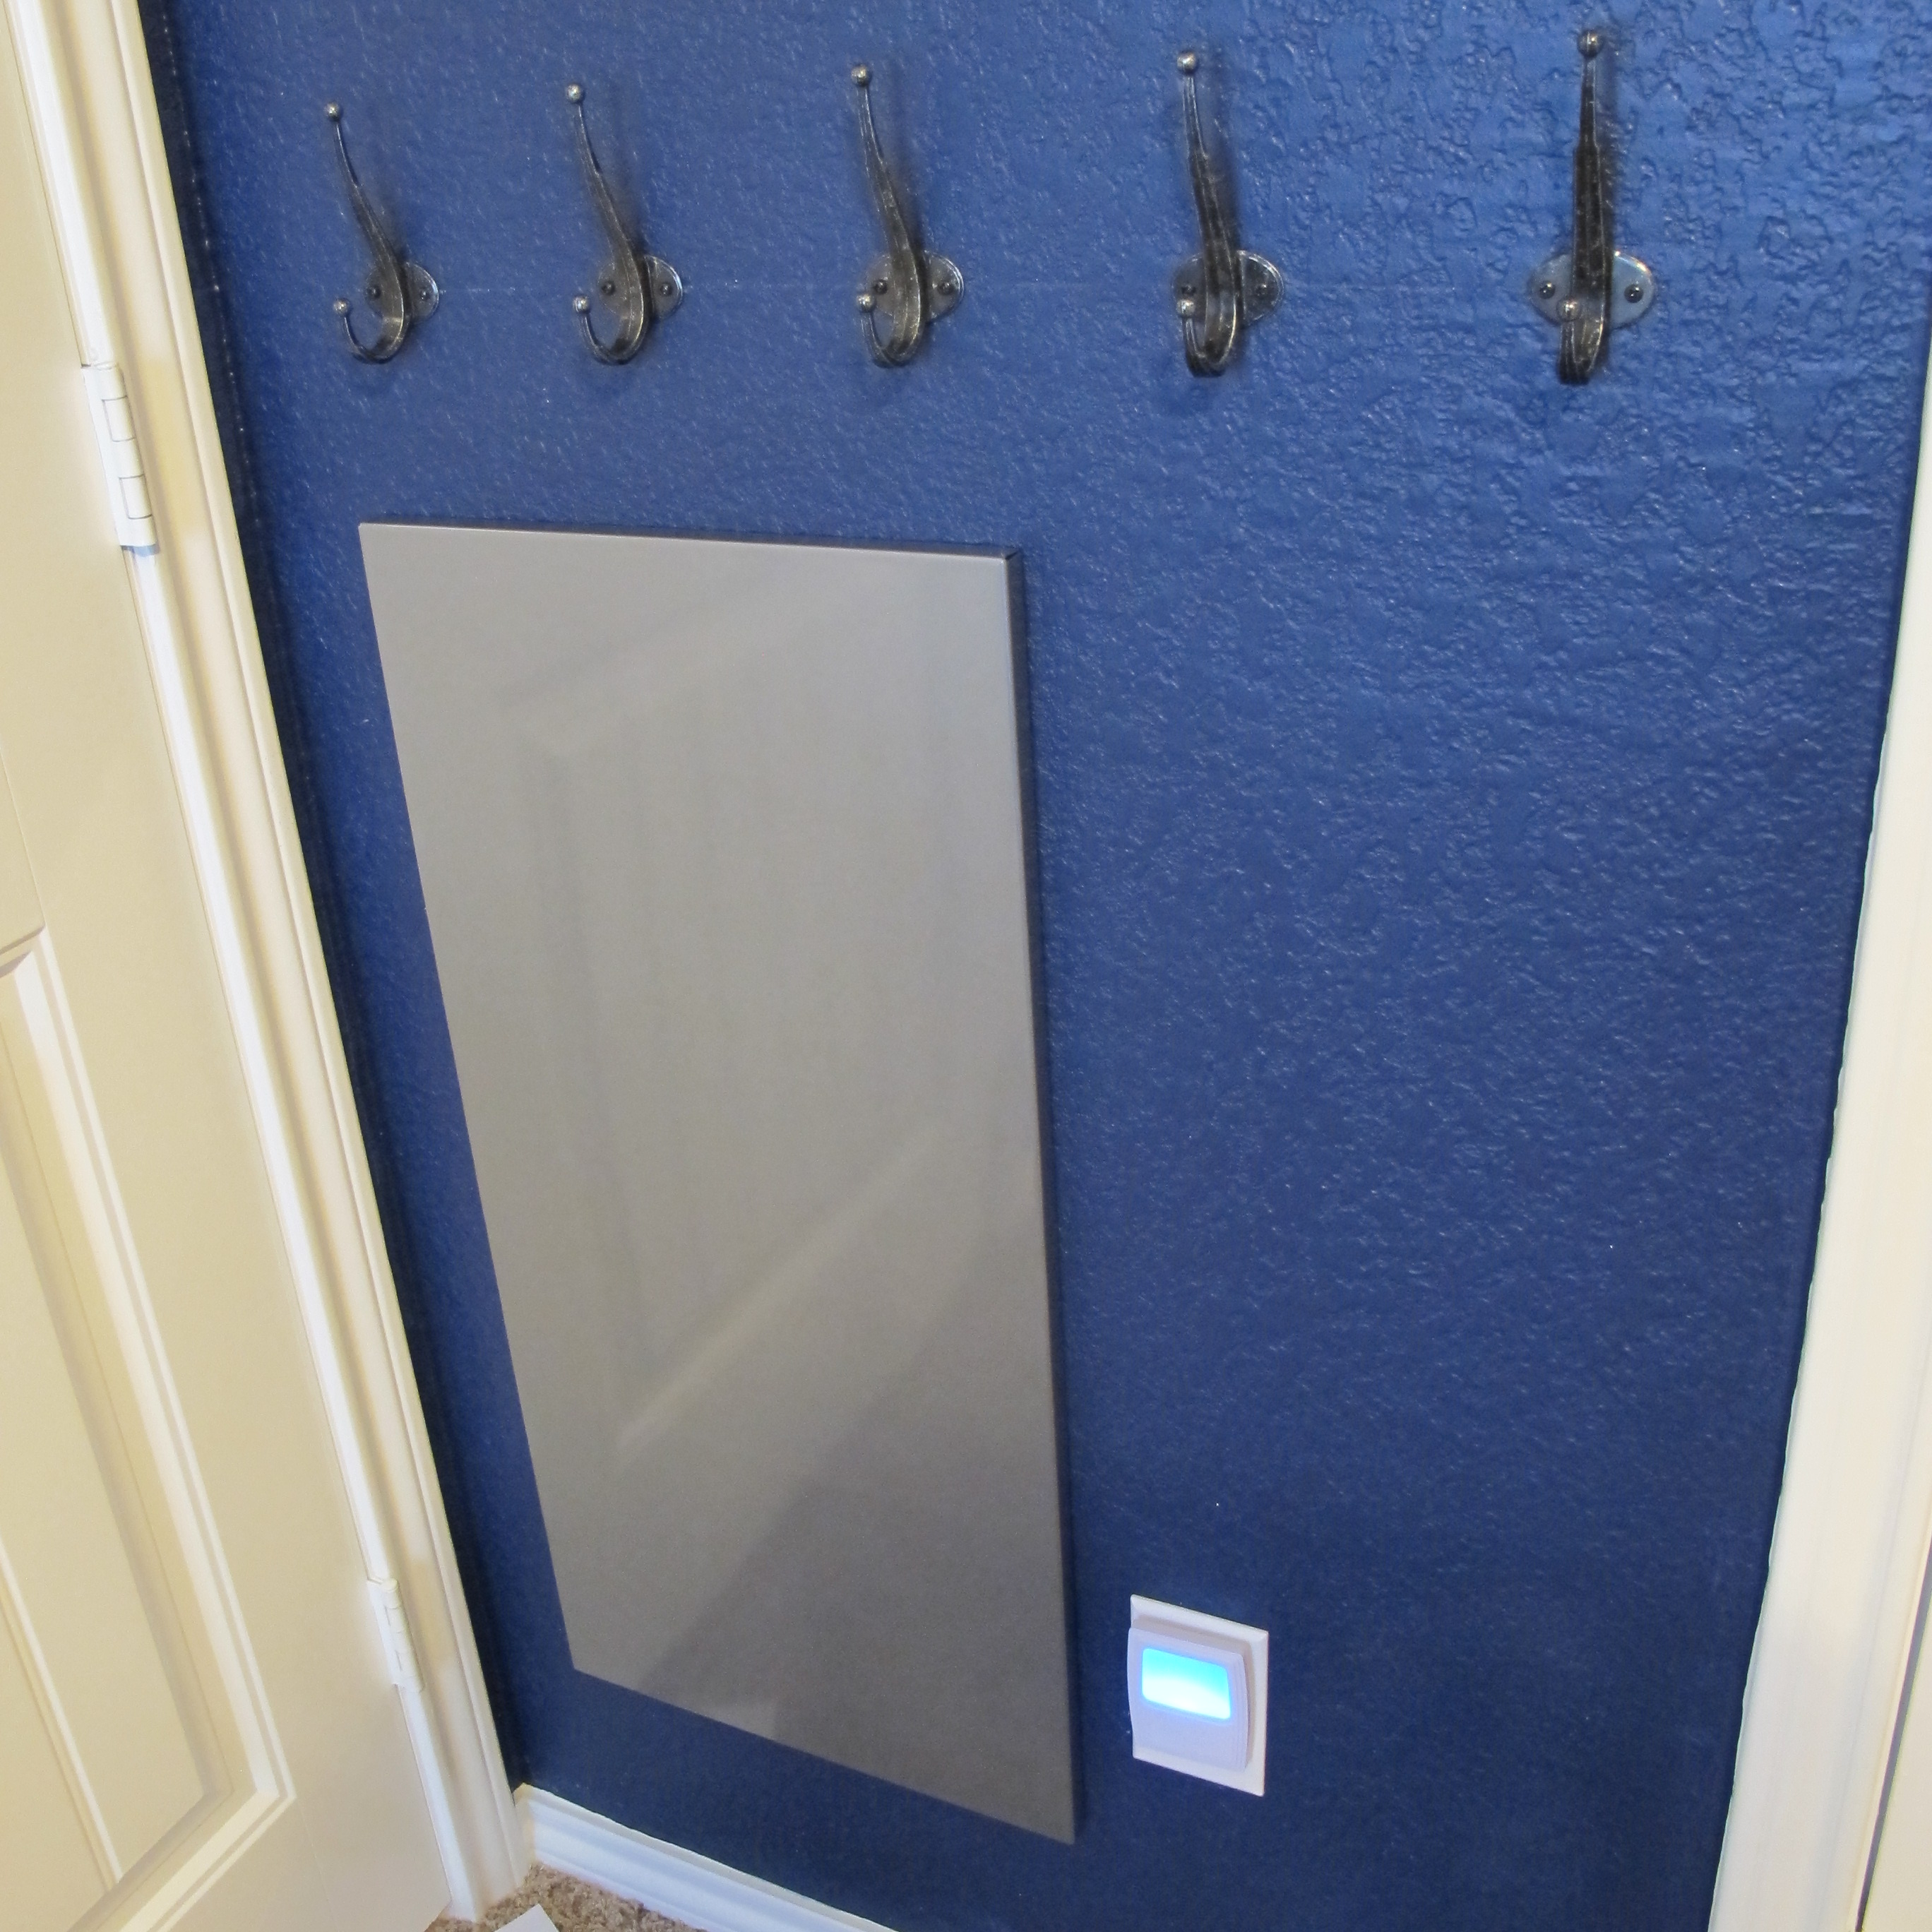
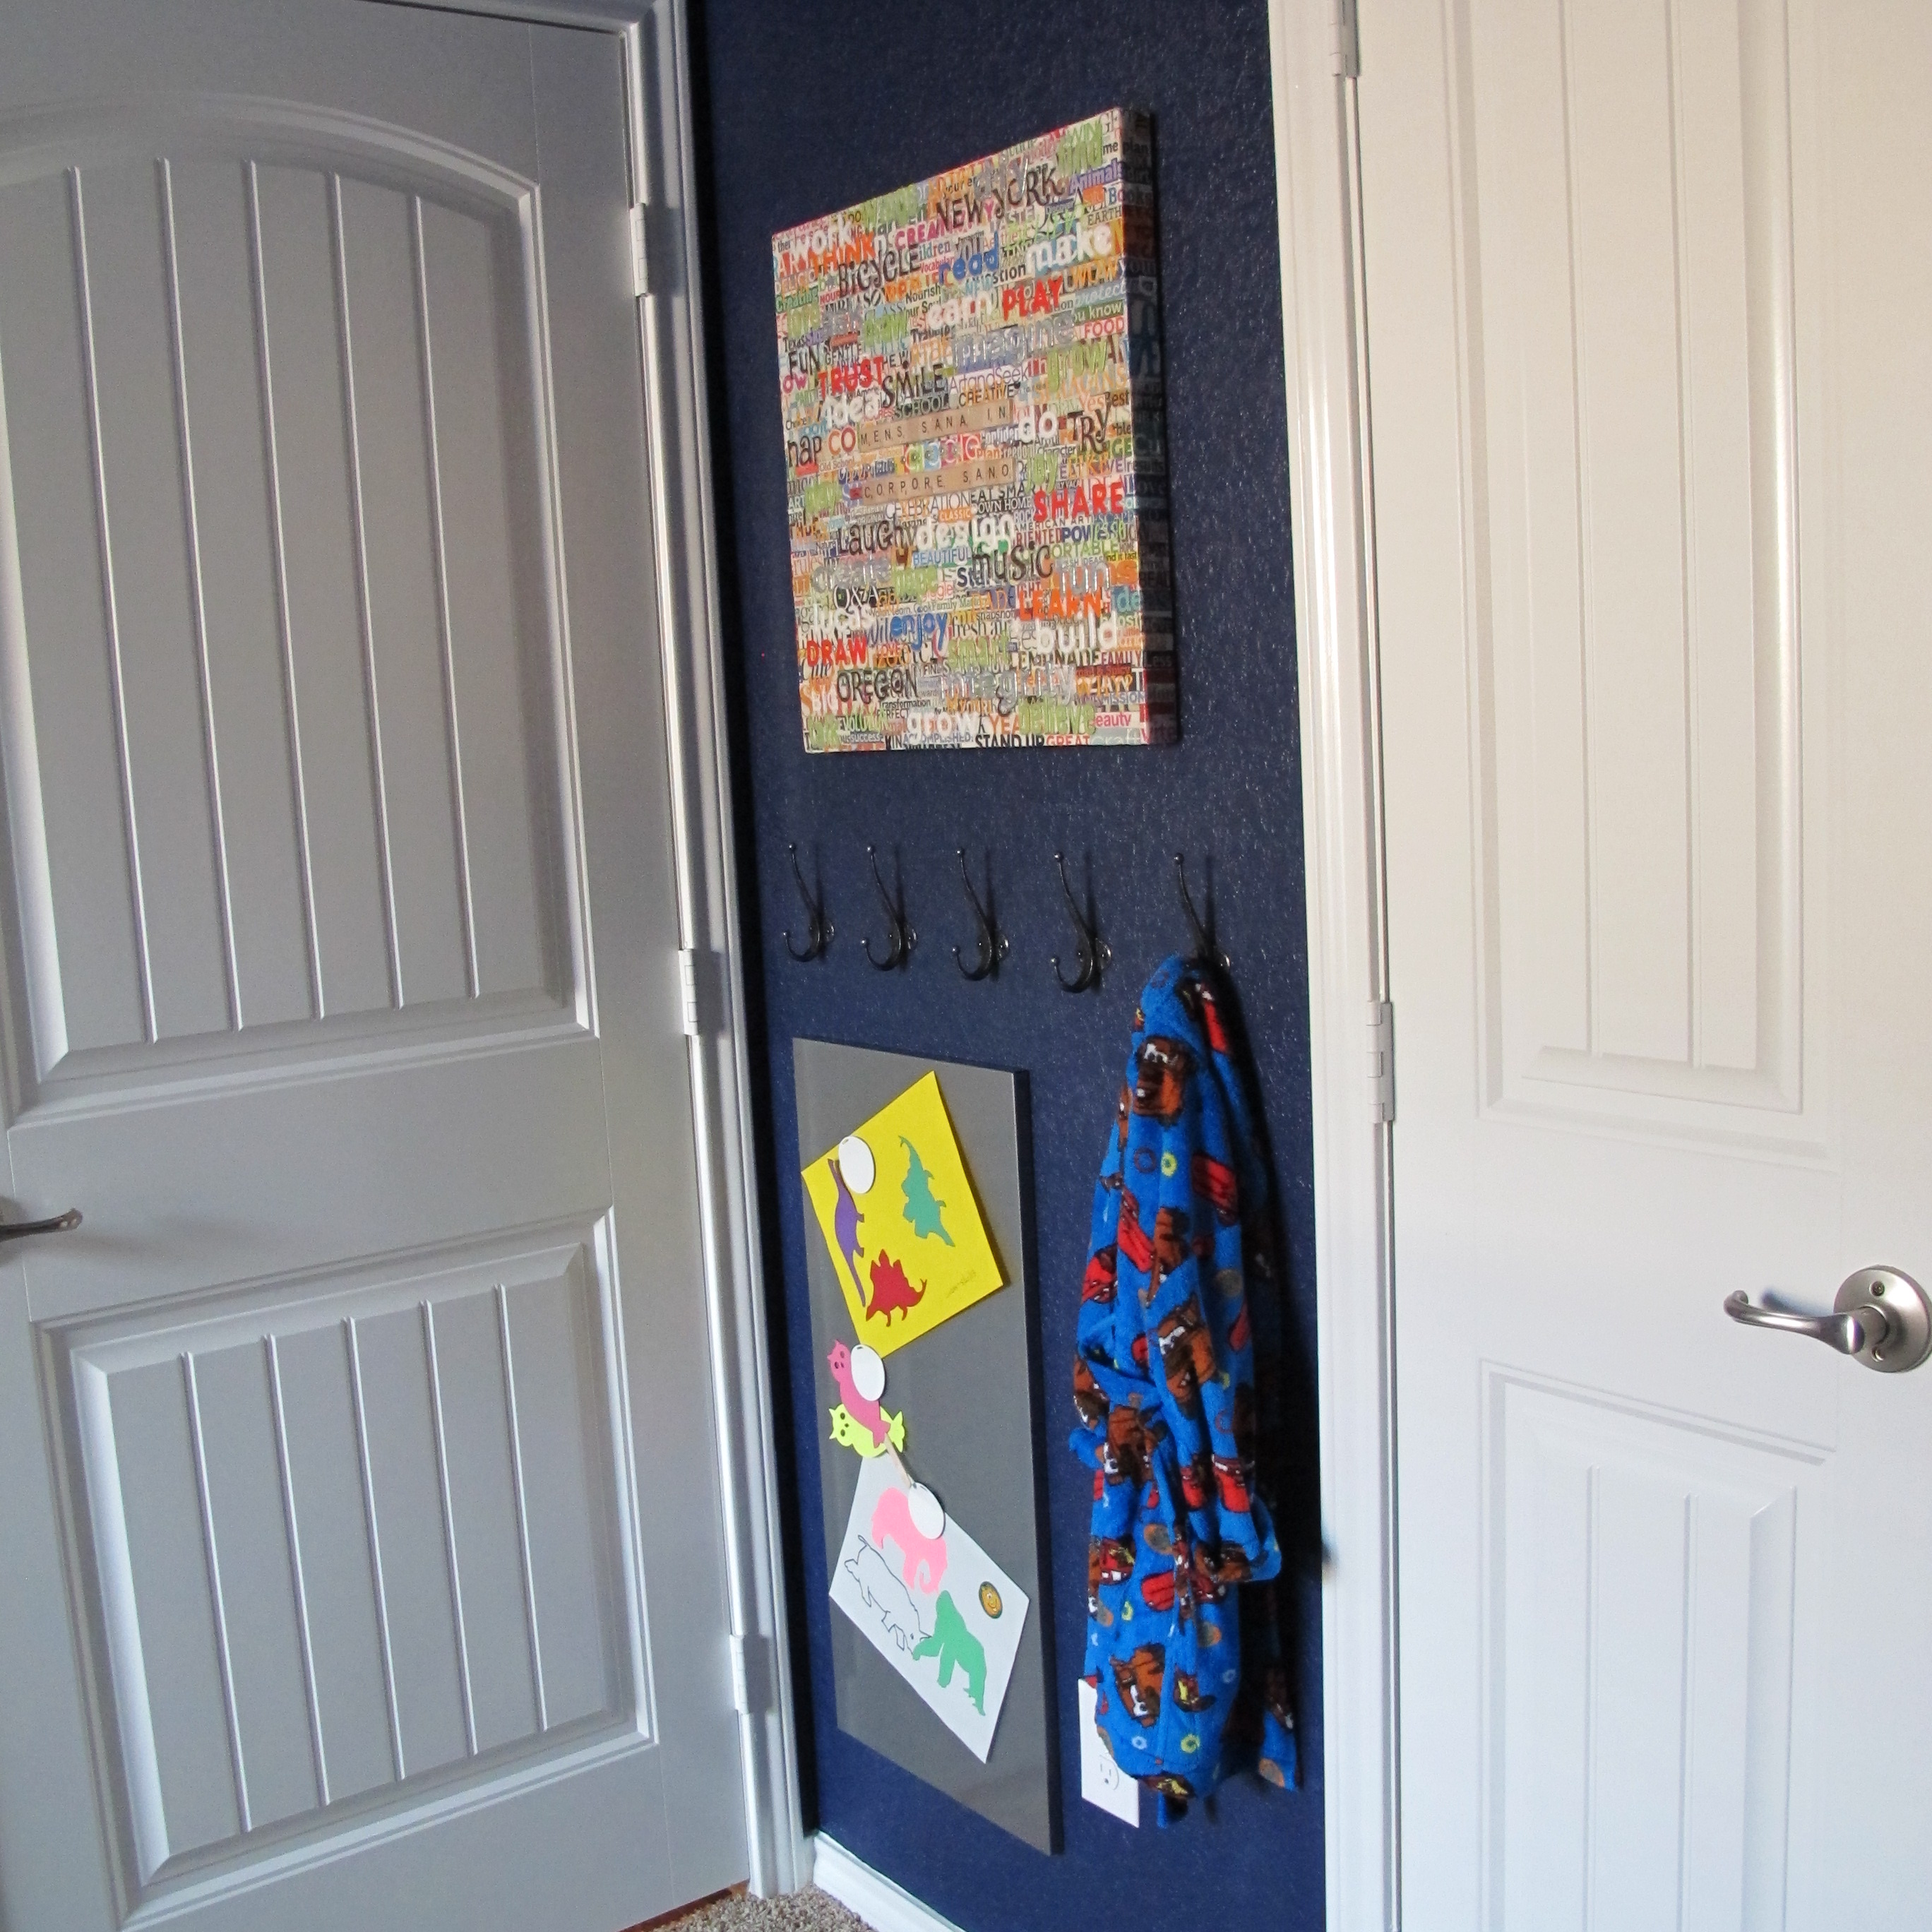
After it was mounted and my jewelry hung, it looked like this…


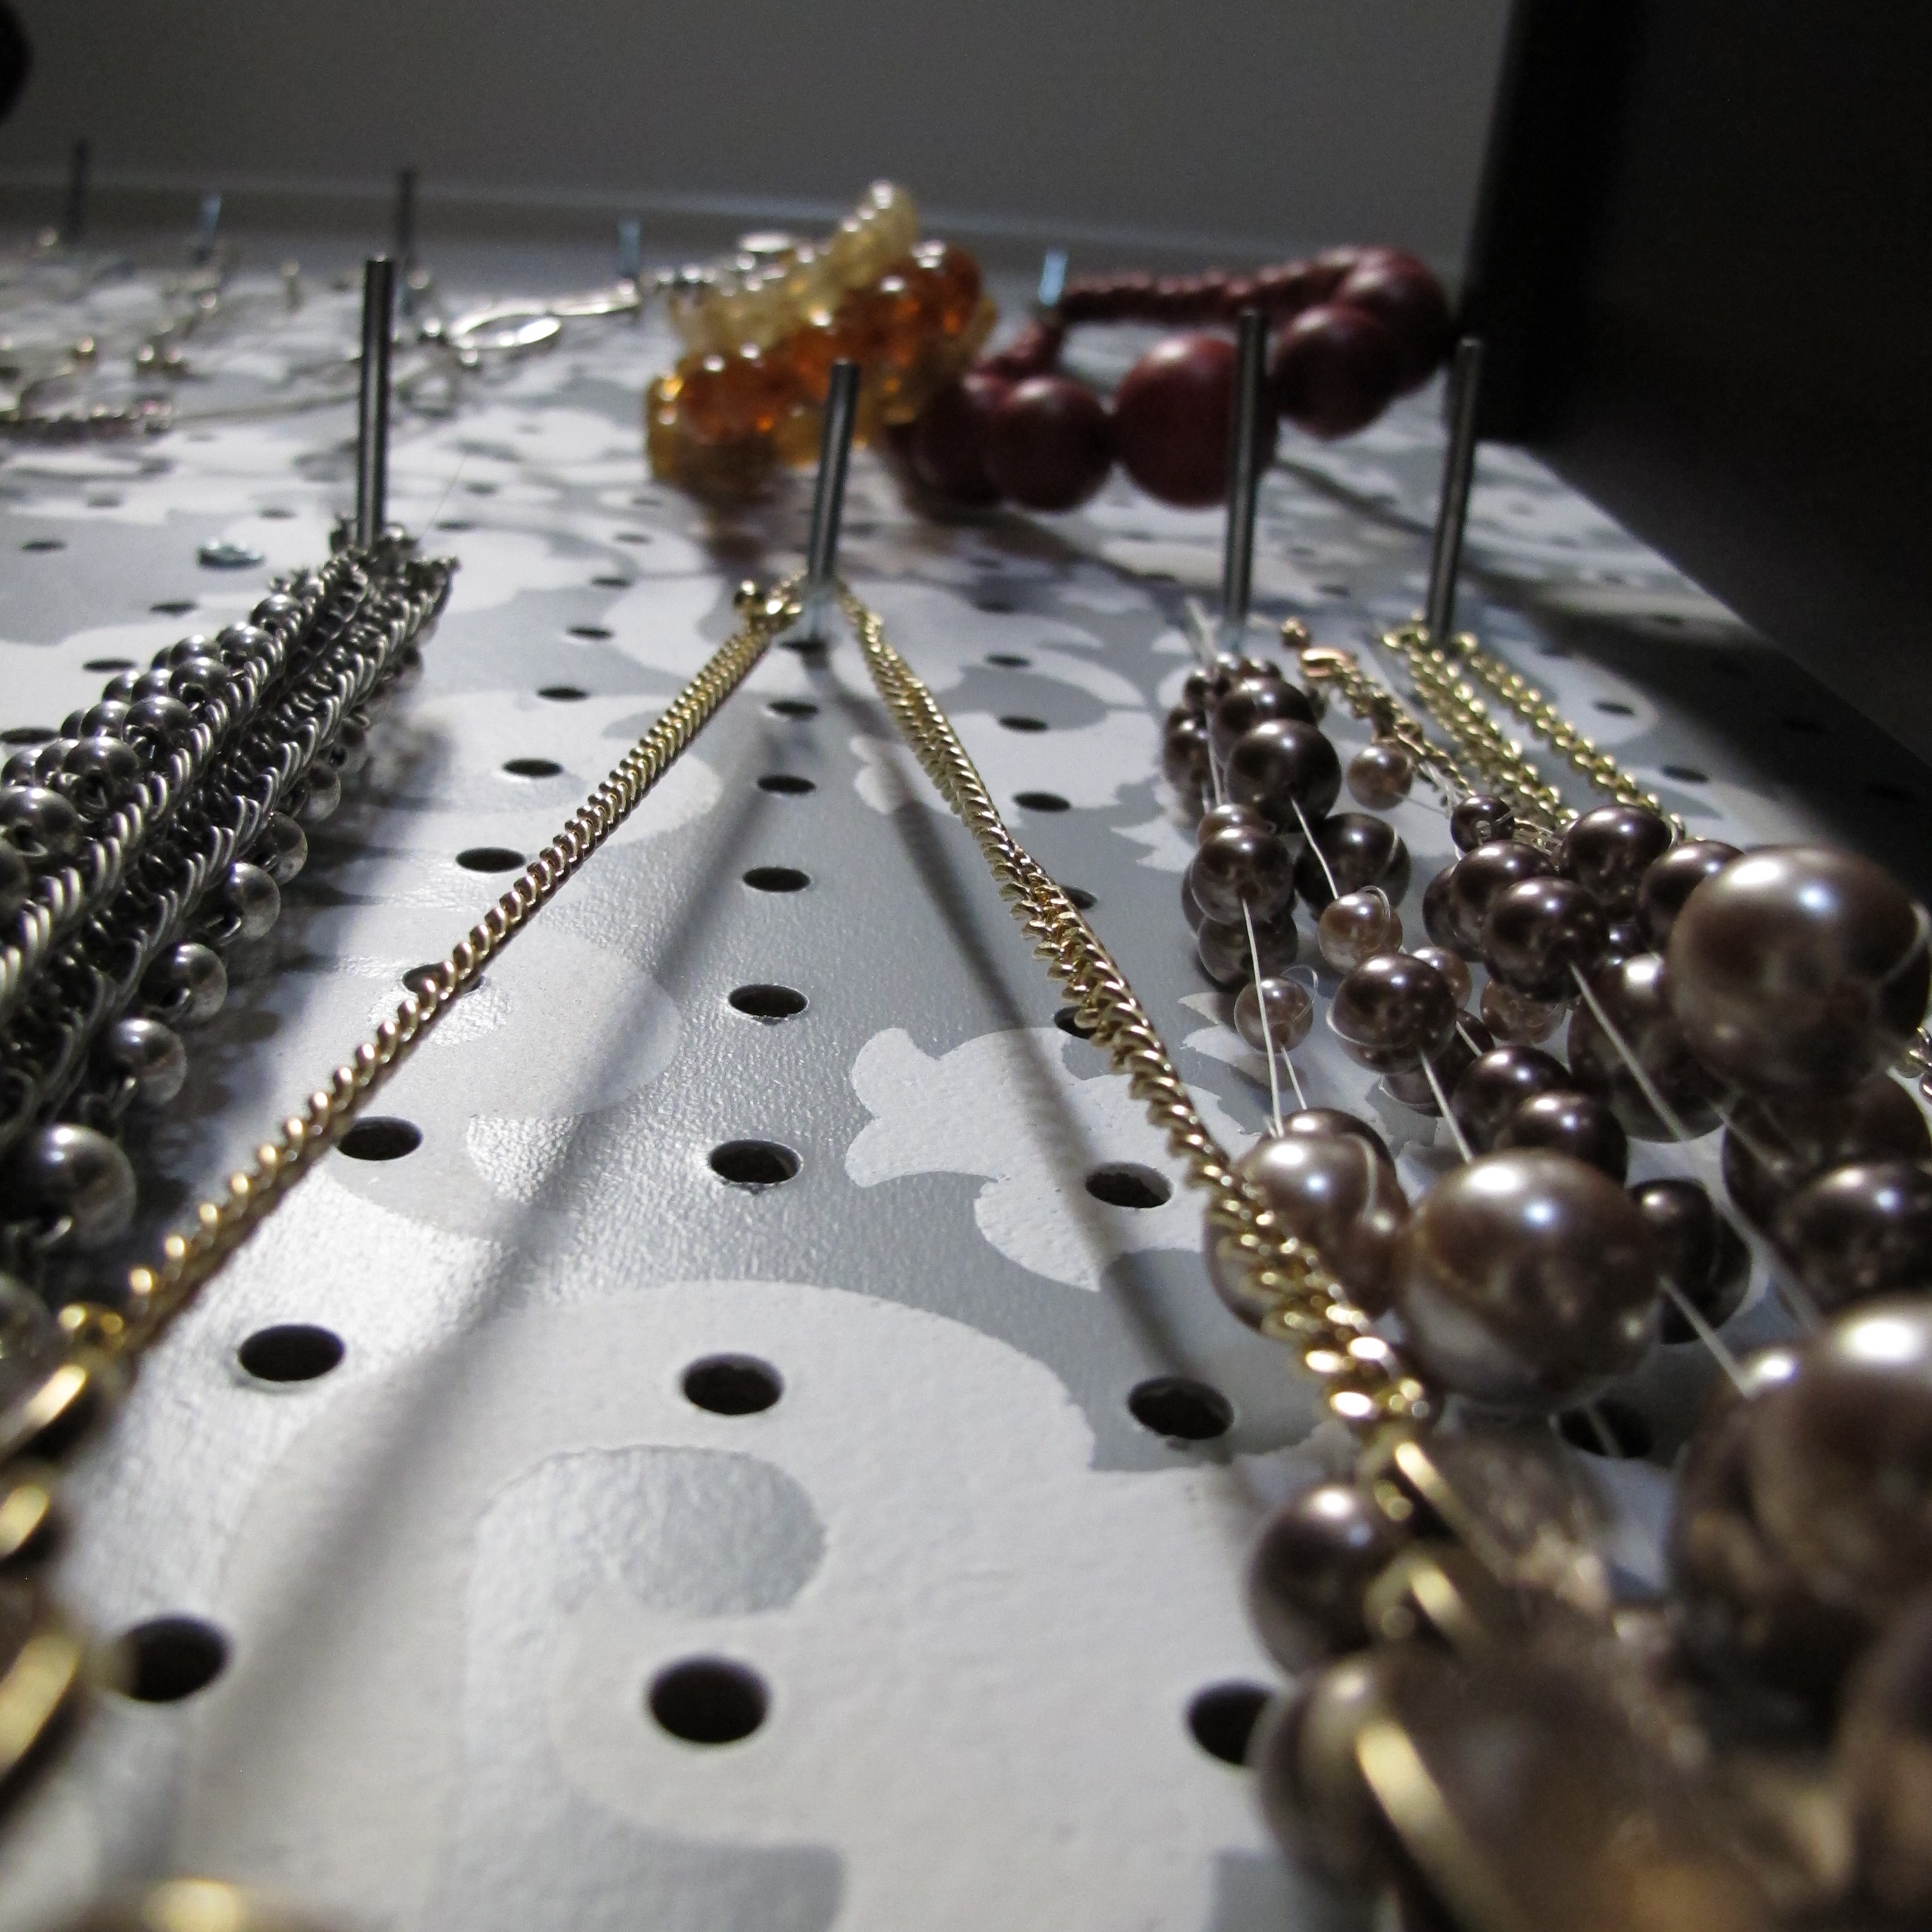
I’m pretty happy with the finished product. It adds a little sophistication to an otherwise “blah” closet. And I’m loving the functionality of it. The fact that I can easily move the hooks around as I see fit without putting additional holes in the wall.
I’ll also say that I’ve learned something about myself in completing this project… I’m not a natural stenciler. I absolutely love the look of an all-over stencil job, but actually doing it is not really my bag. I can see how it would be very therapeutic for some people, but I personally don’t have the patience to guarantee a consistently good result in the end.
So, I’m pretty glad that I took on this project before attempting an entire wall. Especially since I’ve recently read a few tutorials about stenciling textured walls. Apparently, it requires MUCH more time and patience to produce a great result. A one-time stencil? Bring it. All-over, not so much. So, if I desire an all-over stencily pattern on my walls, I may consider splurging on wallpaper. Otherwise, pattern will make an appearance in the room in other ways. In any case, I’m proud that I attempted this. I’m proud of the end result. And I’m proud of the realizations that came to be, which’ll hopefully save me from any future stenciling frustrations. It’s okay to realize that I’m not meant for all DIY projects. The important thing is to try them first to determine strengths, weaknesses, and preferences.
So, has anybody else taken on a project that they later learned was not for them?