It all started with this glorious masterpiece….

Our beautiful Christmas present. It’s a cutting board made by Pop with our initials inset.
The second I set it down on our counter, I was inspired to add more wooden rustic elements to our kitchen. Next to our fridge we have this small counter…
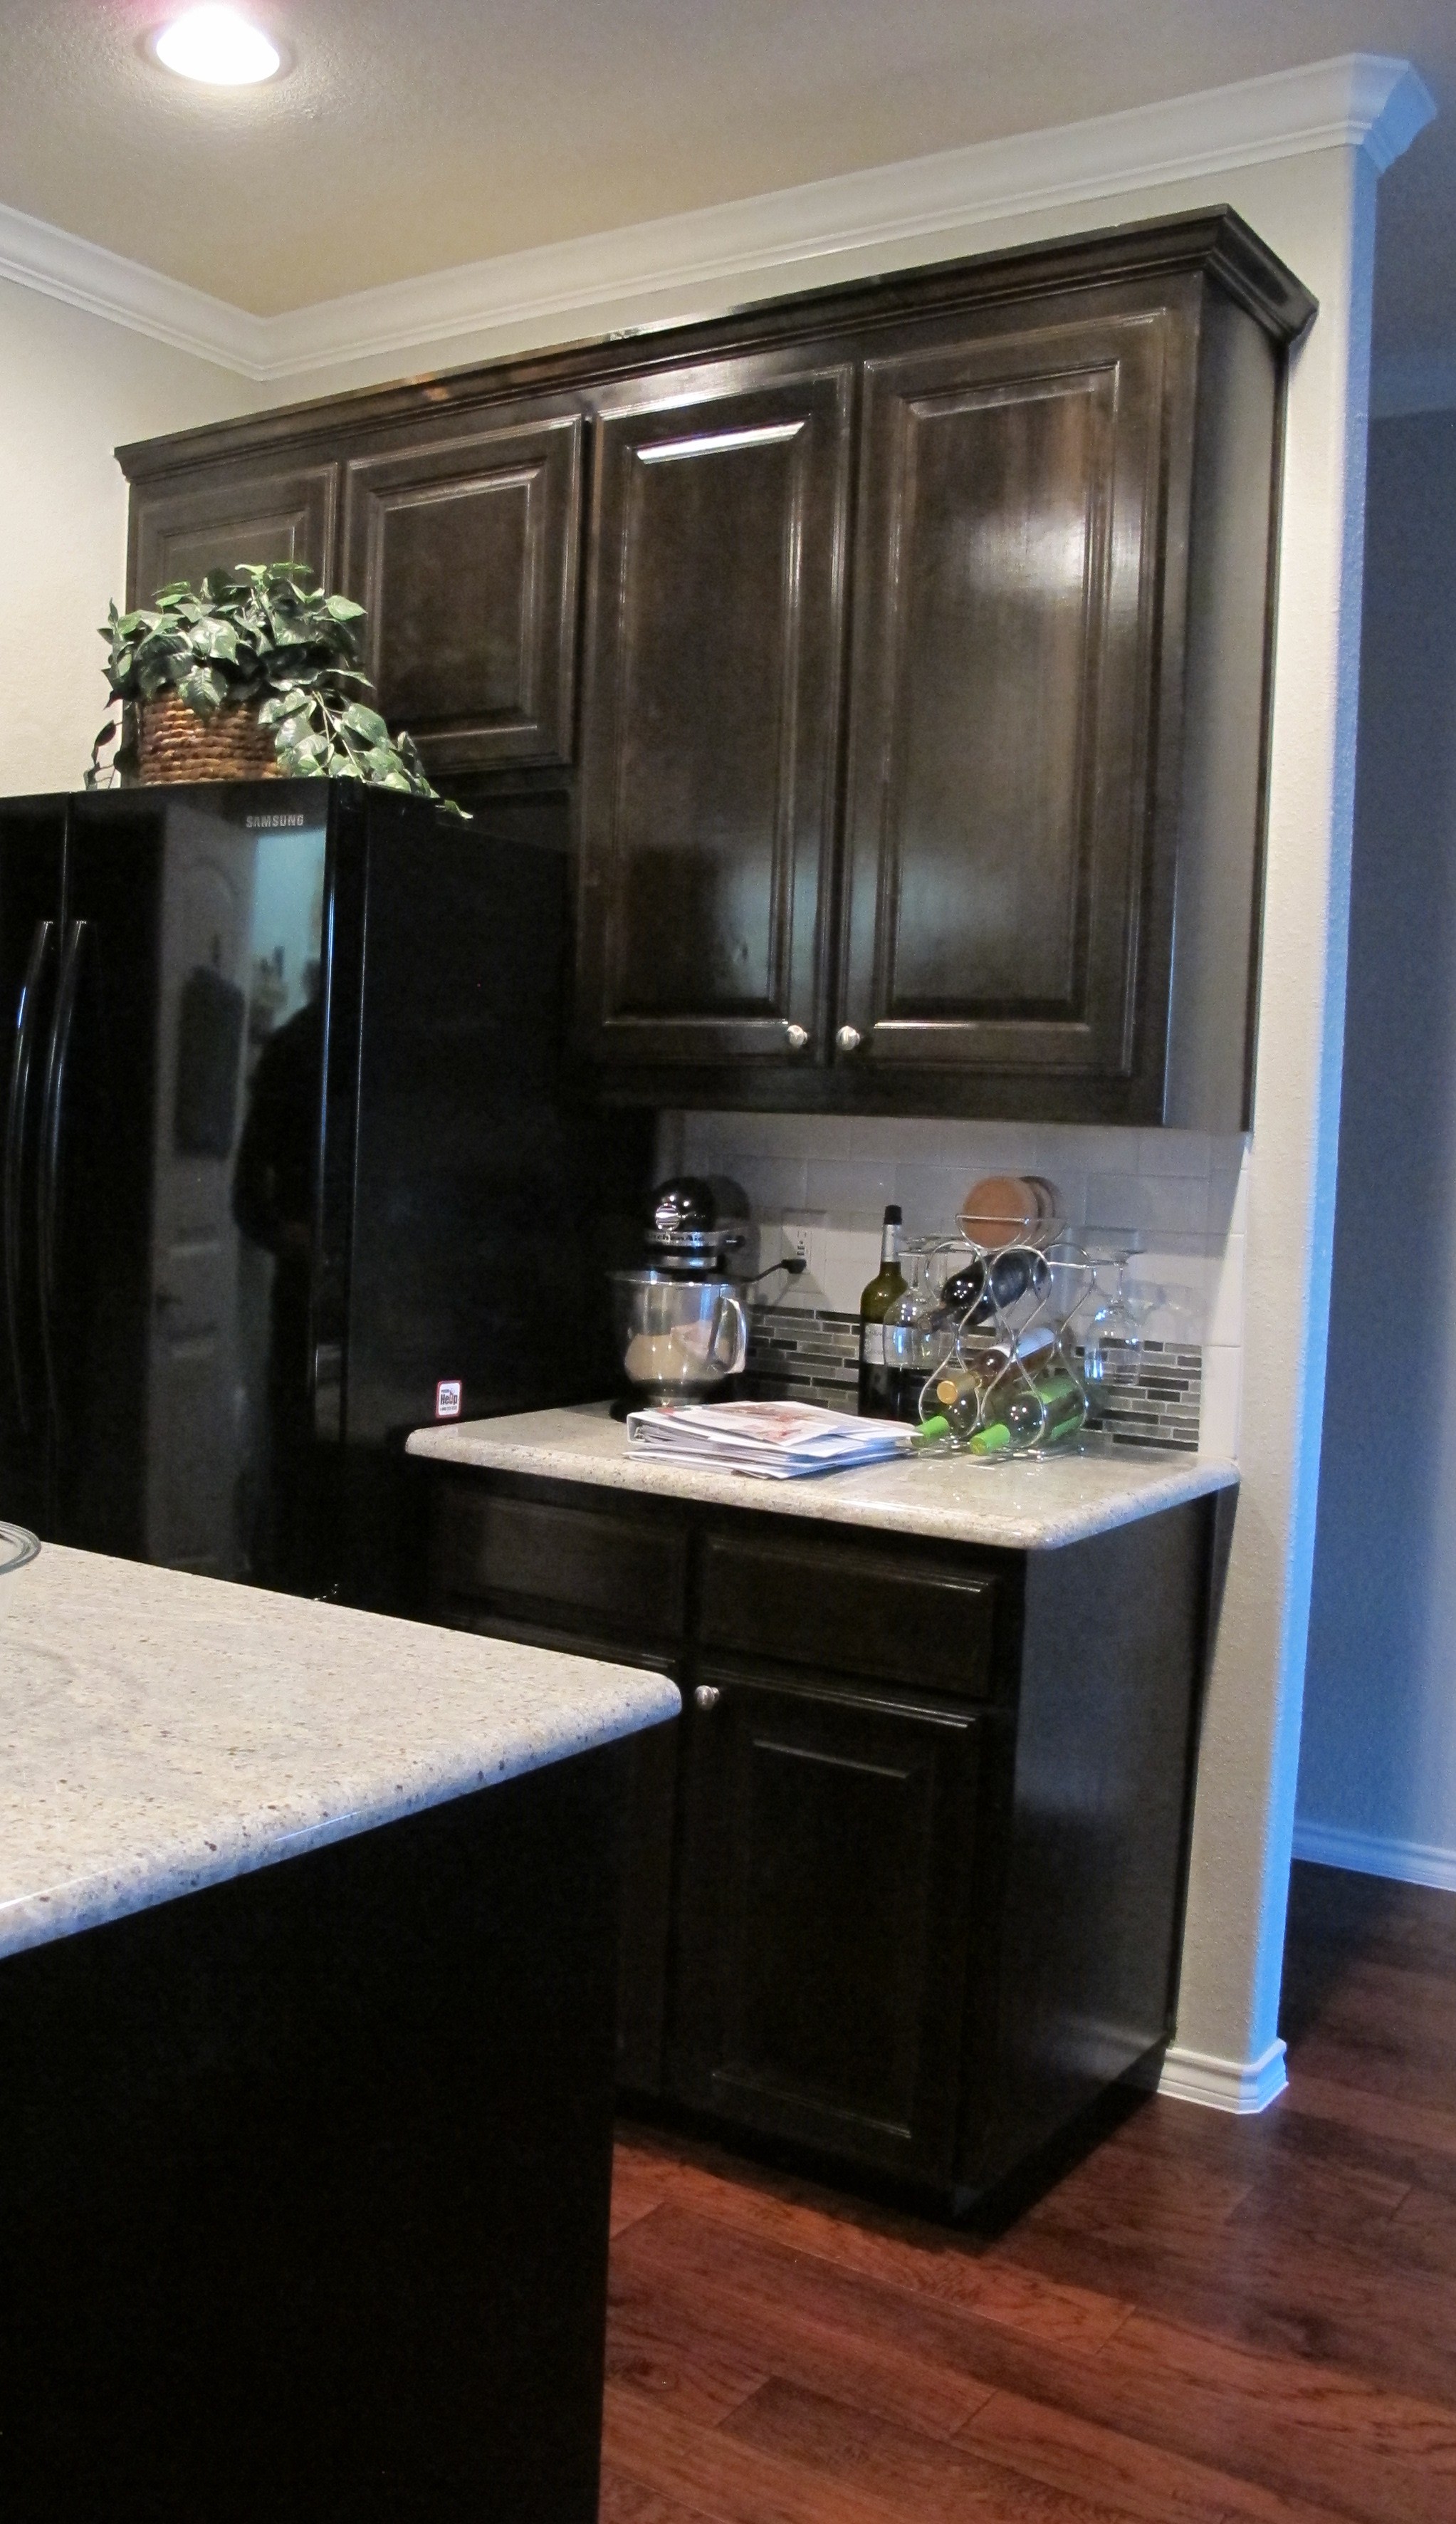
…Which has been acting as a catch-all space for anything random that happens to be laying around. I thought that adding purpose might help to keep it more organized. Enter “dedicated wine bar area”. I am Italian, after all. I feel like it’s my duty to celebrate wine. And I like wine. And Joey likes wine. So, we went for it (while inserting frequent fist pumps… Or maybe that was just me?). 🙂
In my minds eye, I saw wooden wine racks and glasses hung beneath the counter. So, during our last trip to Ikea we picked up two of these wine glass holders…

And two of these wine racks…

Unfortunately, when we went to assemble the wine racks, we realized that they would be too tall for the space once the wine glasses were hung. So, Joey chopped off the top row of each rack with our miter saw.

I stained the wine racks Early American by Minwax (which was highly disappointing, I might add). It came out this ugly, ashy color with blackish wood grain. Bad-70’s-paneling vibe, if you ask me. Not good. I had used the Varathane brand Early American stain for our media cabinet in the living room and it was perfection. So, in the case of Early American stain, Varathane>Minwax. Hands. Down.
To rectify the situation, I applied a coat of Polyshades in Antique Walnut, which I had leftover. And it worked like a charm. You can see the difference in this pic…

The bottom middle rod was Polyshaded and the top rods weren’t. The Polyshades added much needed richness to correct the ashy hue of the stain and ended up exactly the tone I was going for. The Minwax stain doesn’t look nearly as offensive in this pic as it did in person for whatever reason.
Joey mounted the wine glass holders beneath the cabinet, using some nuts and bolts for added security (rather than just screws up into the cabinet)…

Which left this (imagine one more next to it… we butted two together to fill the space) ….

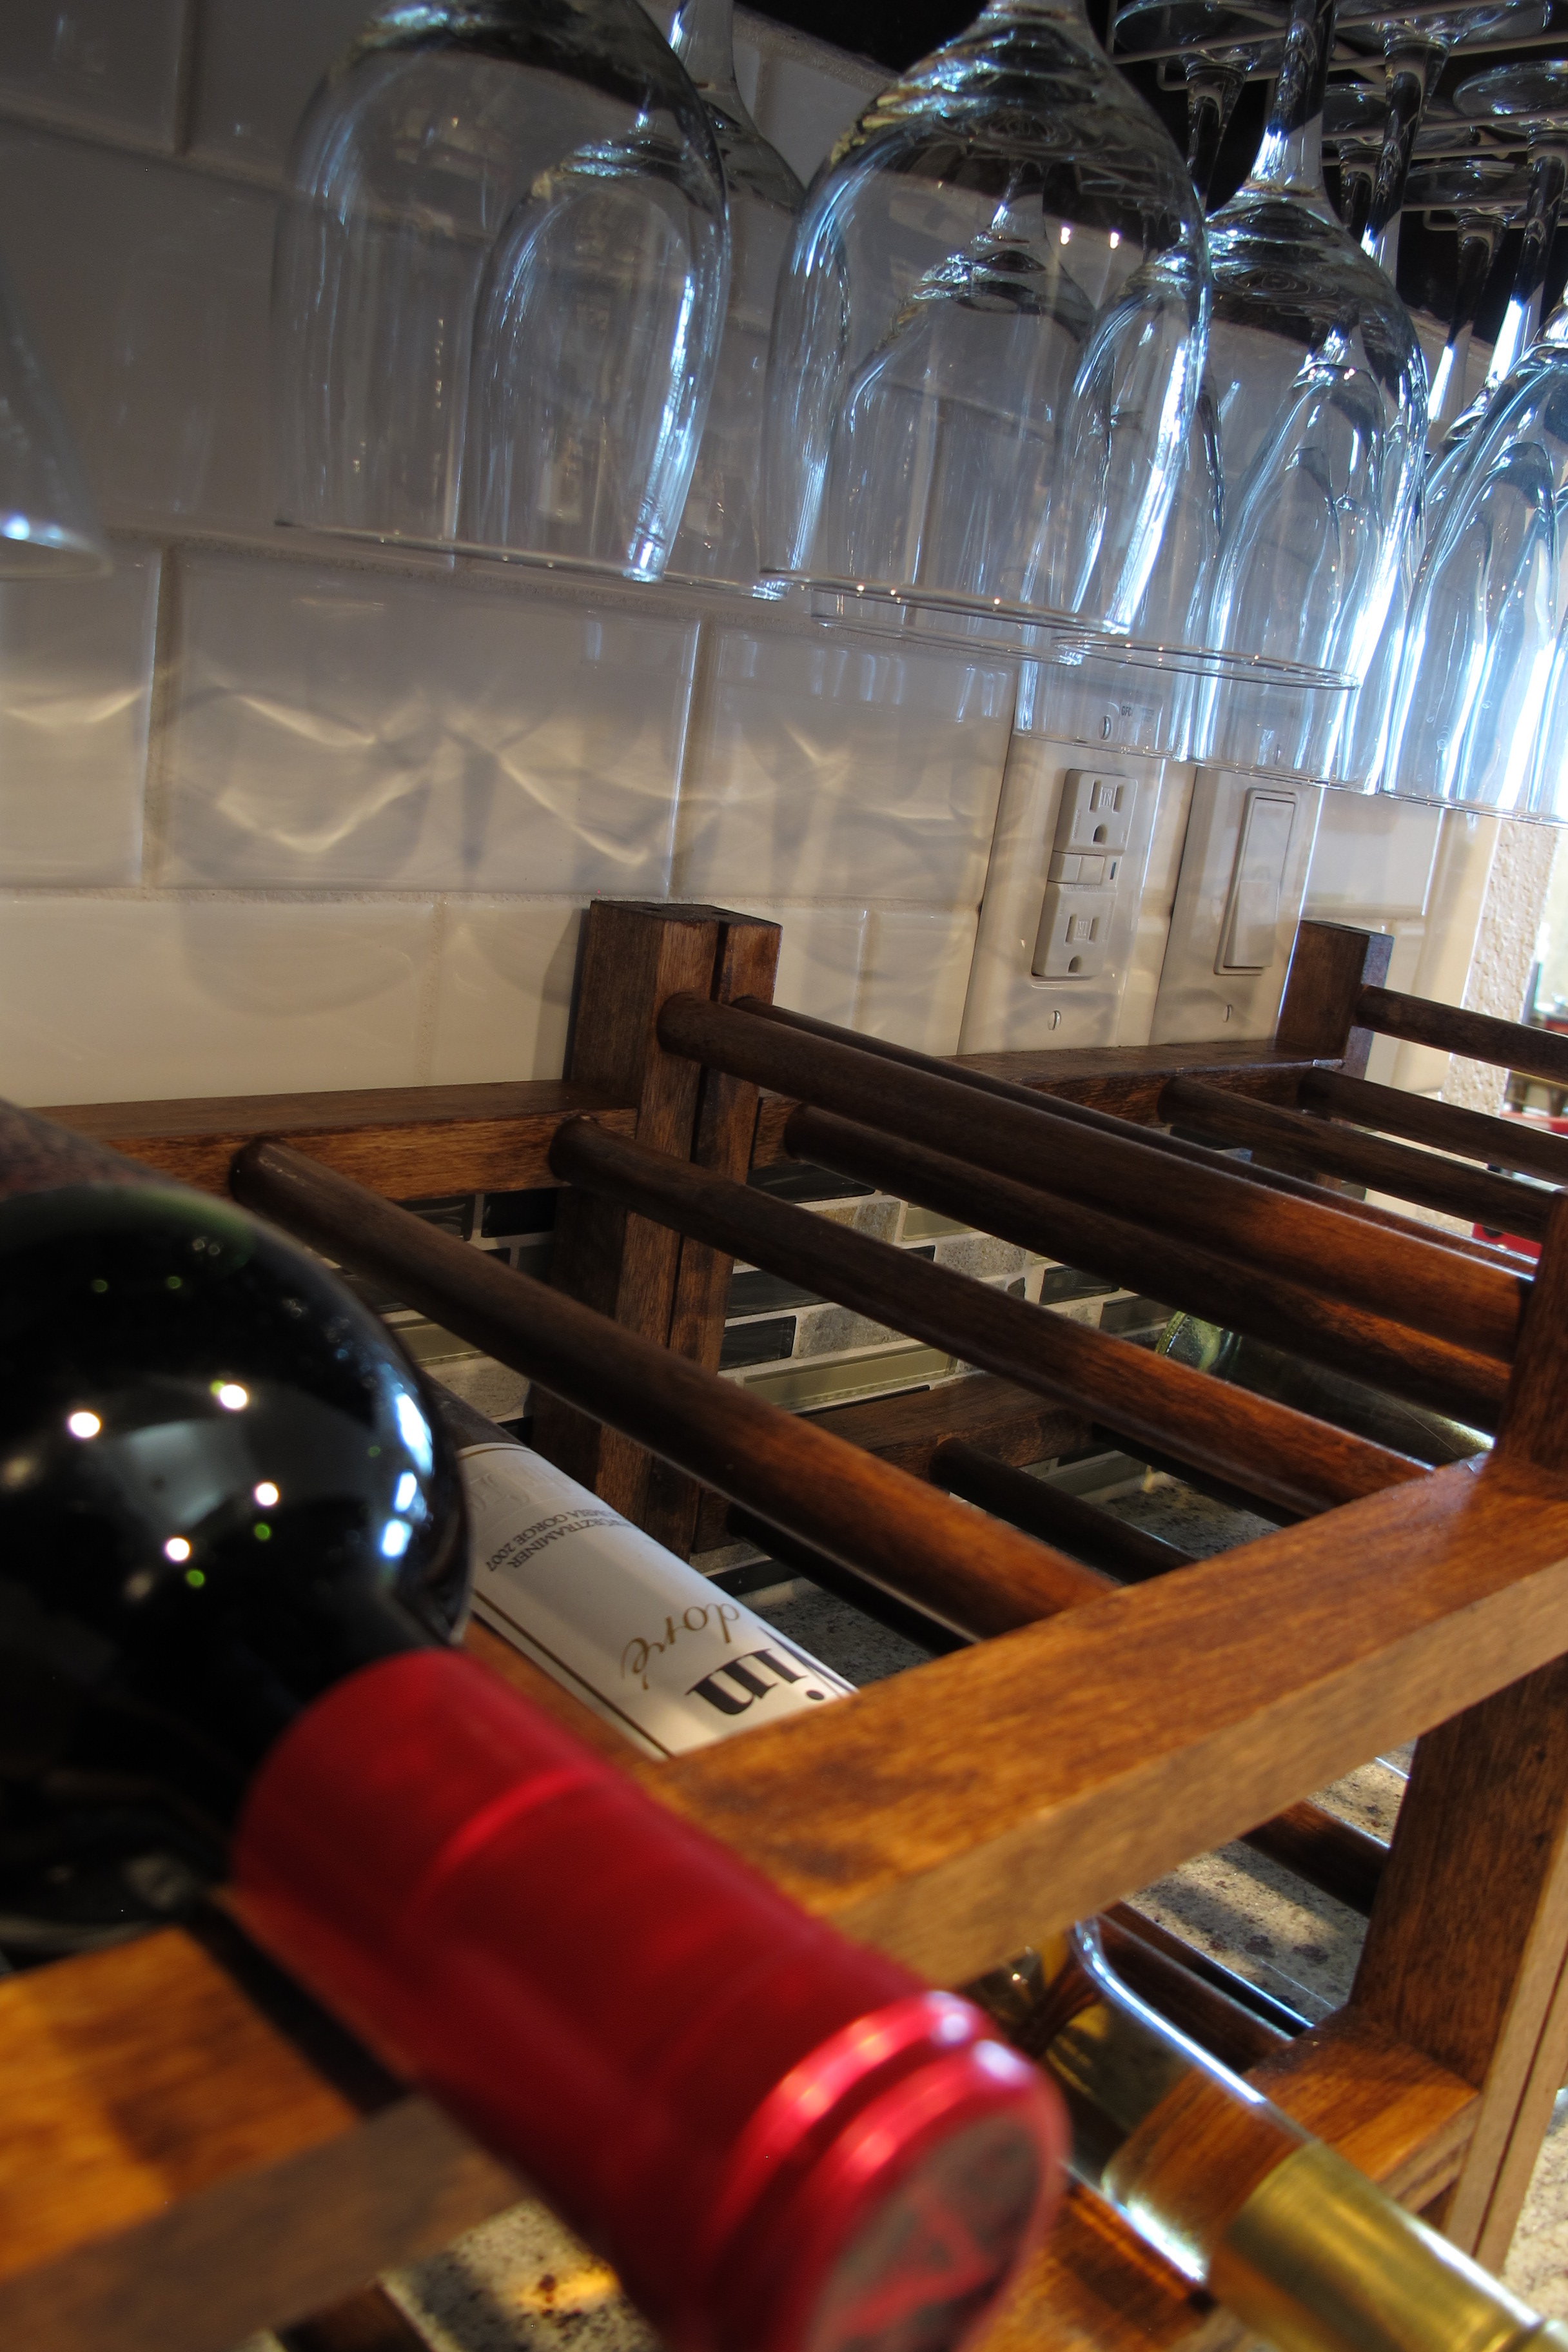
I hung some glasses and set the wine racks in place…

A little before and after action…

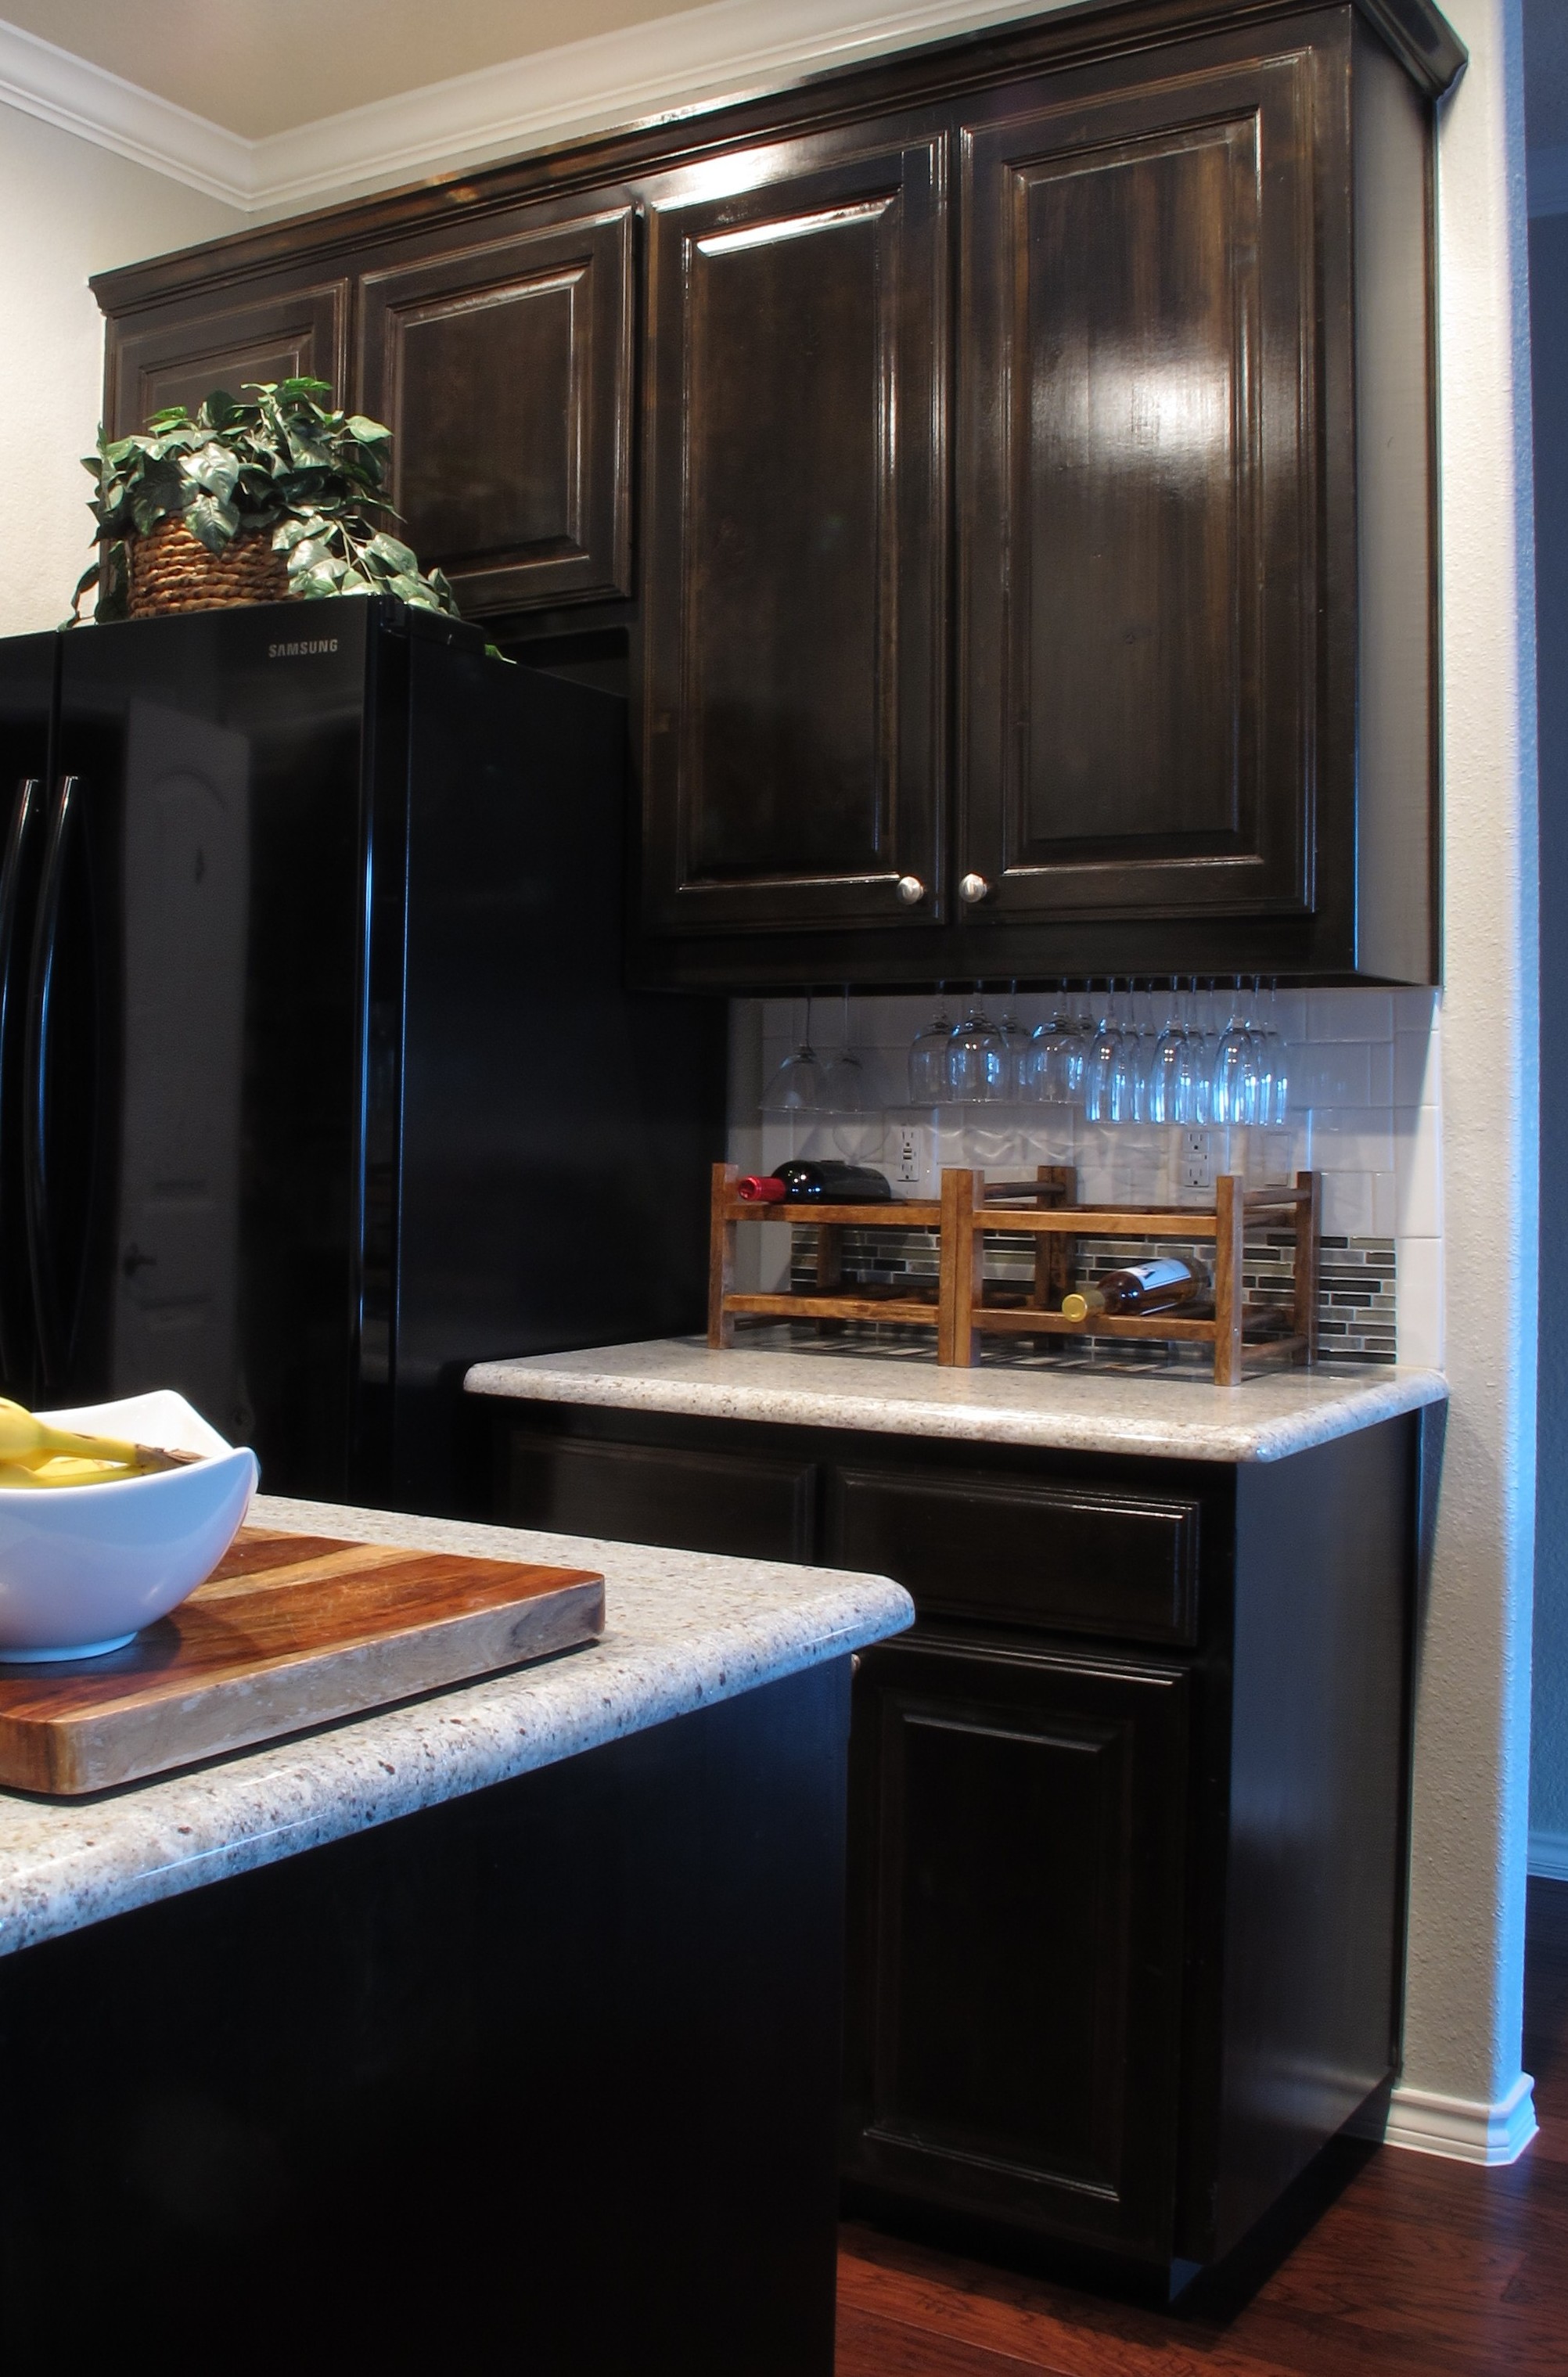
Much better.
I know this is hardly a new idea, but I just love it. I feel like it warms up the kitchen a lot and helps to camouflage the multitude of outlets in this tiny space. (Seriously… two full outlets within 18 inches of each other. The builder said that because we opted to go with a counter-height peninsula (rather than a raised bar area), they had to find alternate places for the outlets that would’ve been in the backsplash behind the sink area. And this is what they came up with.)
Anyways, this was a pretty fast and easy project. It probably took about an hour of actual work (between the two of us), not including dry-time for the stain and Polyshades.
Cost-wise… The wine racks were about $10 a piece, wine glass holders were 6 bucks a pop, and the Minwax stain was about $5 for a grand total of about $37. Not bad for a little dose of function and coziness.
So, do any of ya’ll have any projects you’re working on right now? Any vino-inspired goodies to share? 🙂

Very cool! The problem is everytime you turn around, you need to replenish the wine again! Cheers!
Haha!! Cheers!! 🙂
Great way to utilize your space & so convenient! ( & it looks great) I hope you & Joey celebrated with a glass!
Thanks! We sure did! A glass of wine and and episode of The Walking Dead. 🙂
Wow…looks great…I see you have Joey doing “THE DIY”…(no its not a dance)…lol
Haha! Yeah, he’s my installer guy. 🙂