It’s been a long time since I’ve mentioned our house’s exterior. Here it is on the day we closed in all it’s mismatched glory…
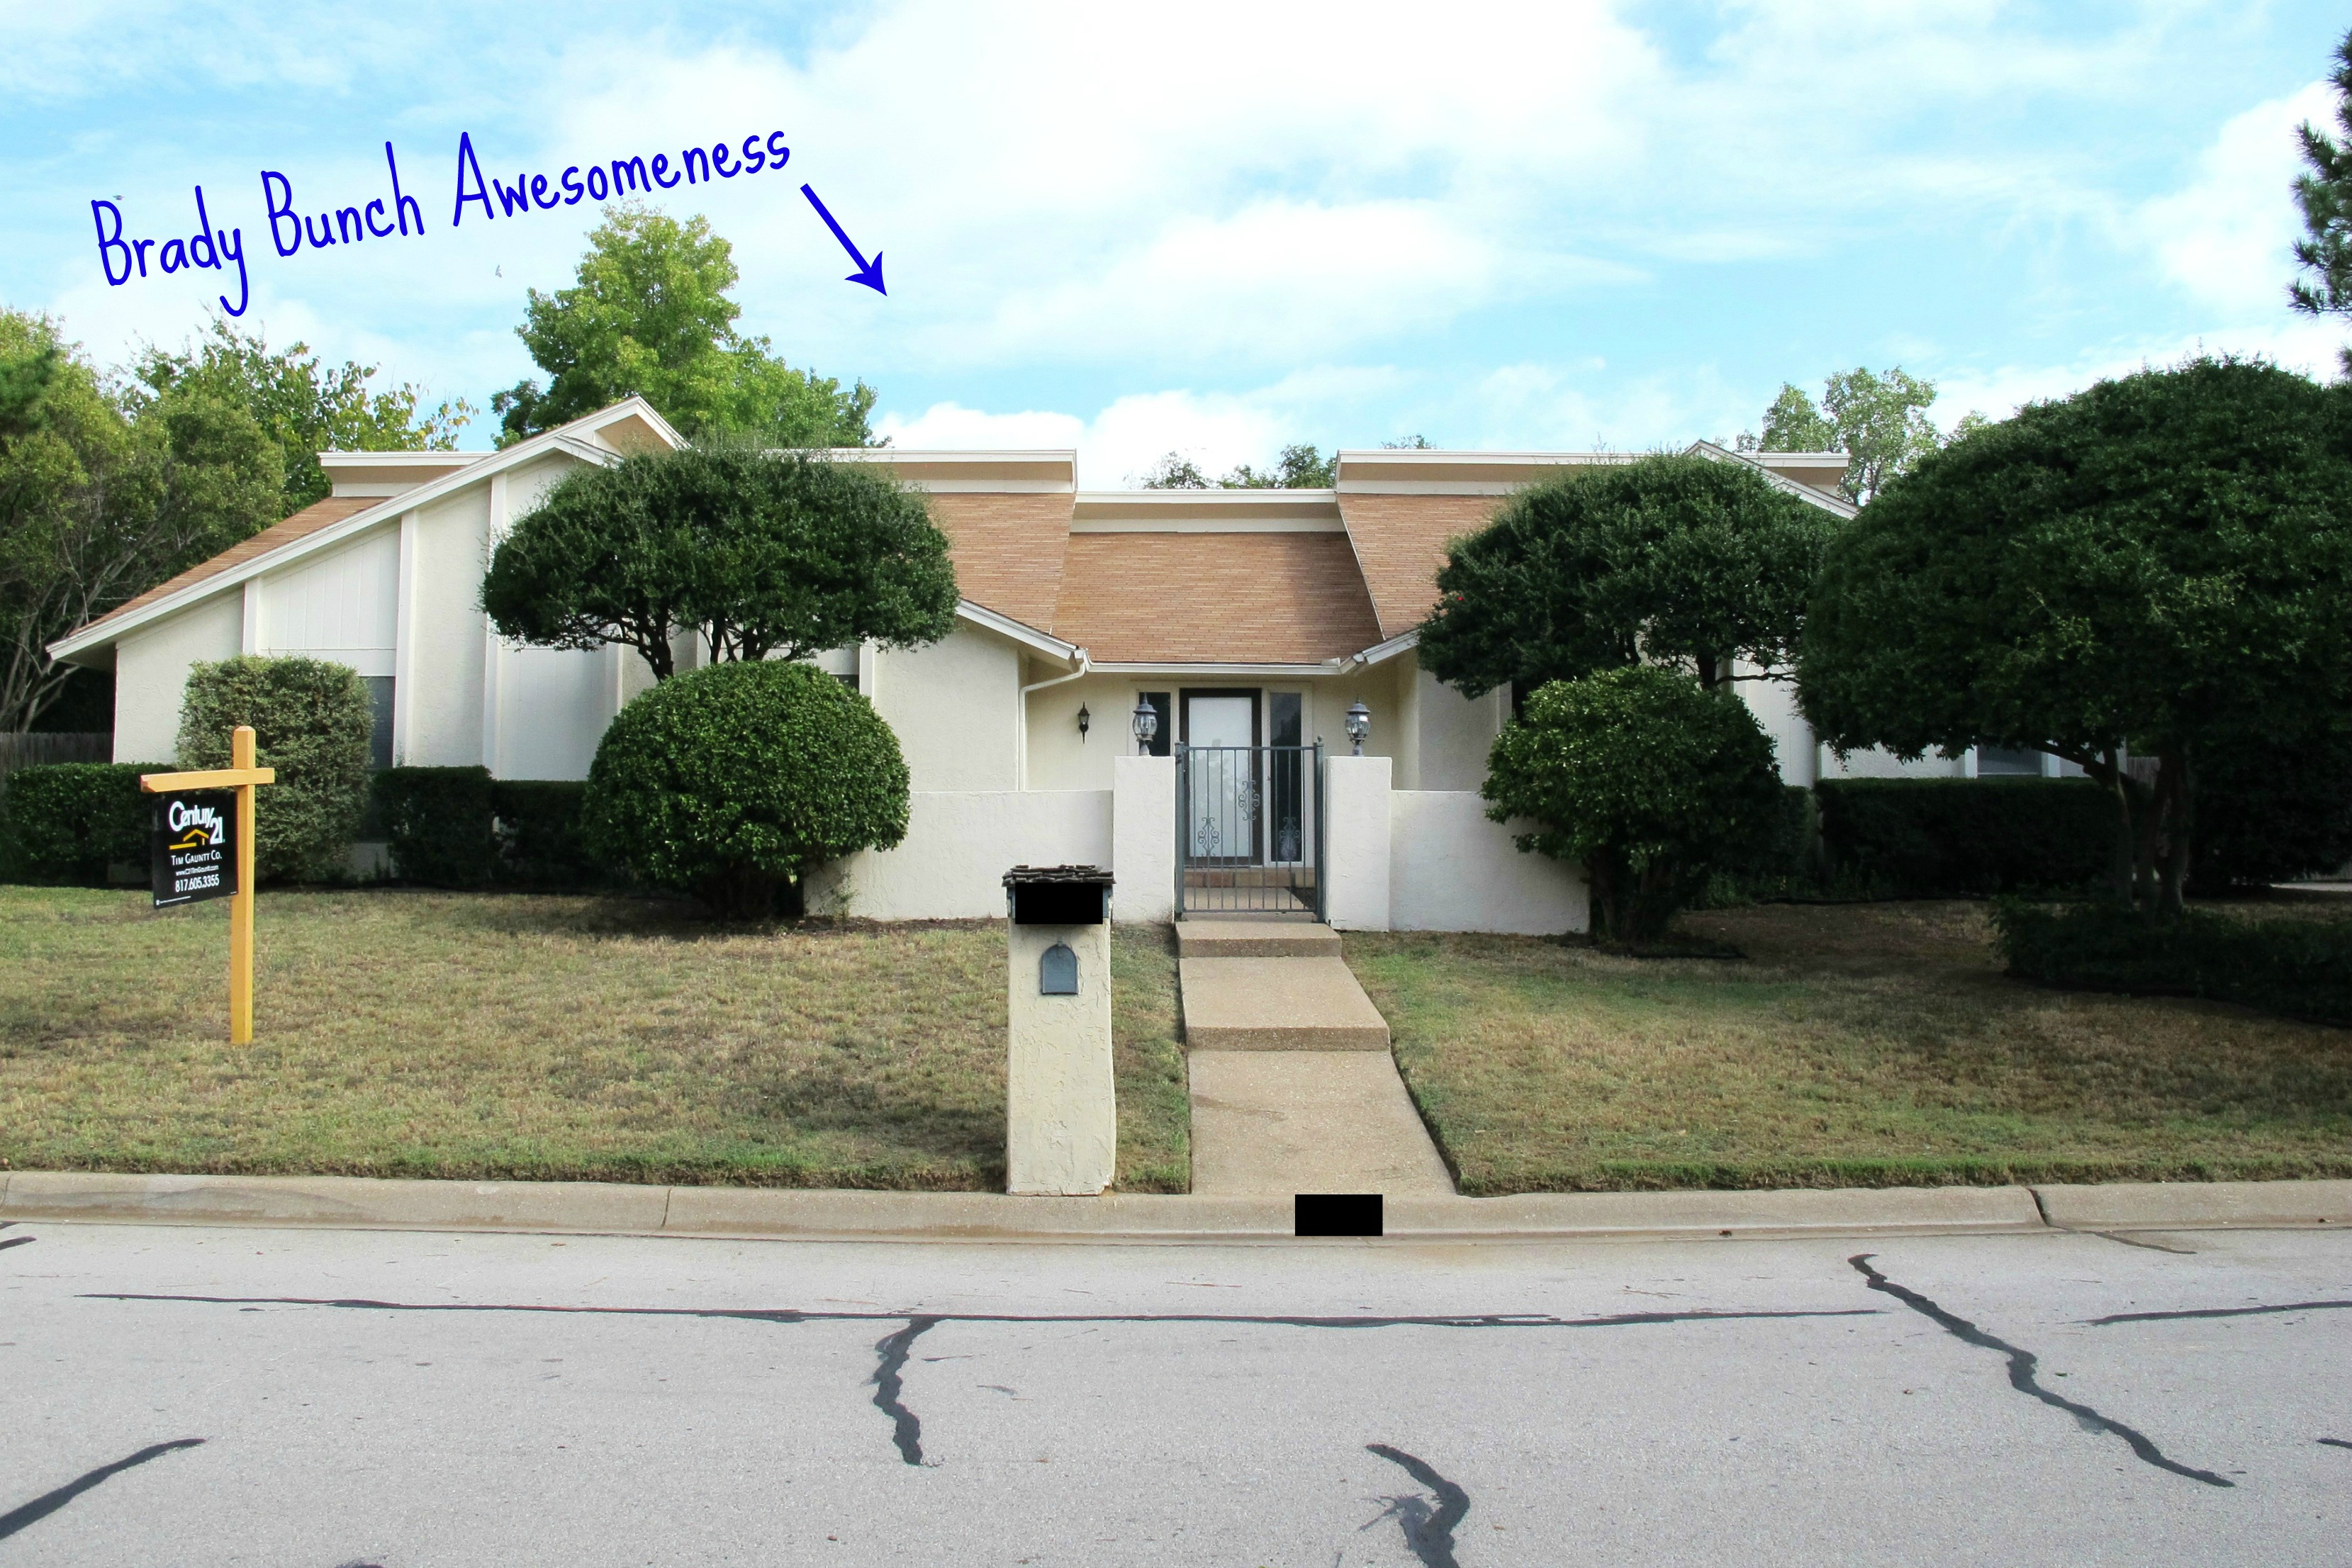
Now, I’ll admit, the paint color doesn’t look uber offensive in the photo above, but in person… Meh. It was all one color. No contrast. No interest. Something was missing. In short, it was a giant yawn. And it wasn’t even a well-maintained yawn. The paint job had definitely seen better days. The paint was peeling in many spots, caulk was hanging off the house in places, etc. It just looked sloppy. We were told by neighbors that the last time the house went into foreclosure (it’s been foreclosed on twice), the bank did that quick, cheapo paint job to get the house sold. Apparently, our home was light green with dark green trim prior to that. Can you imagine?? I’ll bet it blended right in with the shrubbery.
During our home inspection, the inspector recommended that we get the house painted sooner rather than later to get the house all sealed up and water-tight. So, after we moved in we got an estimate by the same company who’d painted Joey’s parents’ house. My in-laws were incredibly impressed by the amount of prep work and care that was taken during the process, so we knew that we wanted to go through them, as well.
We got an estimate, and were told that if we stuck with lighter colors, one coat would do the trick. Darker colors would require a second coat which would be an additional $1600. Yeah. So, one coat.
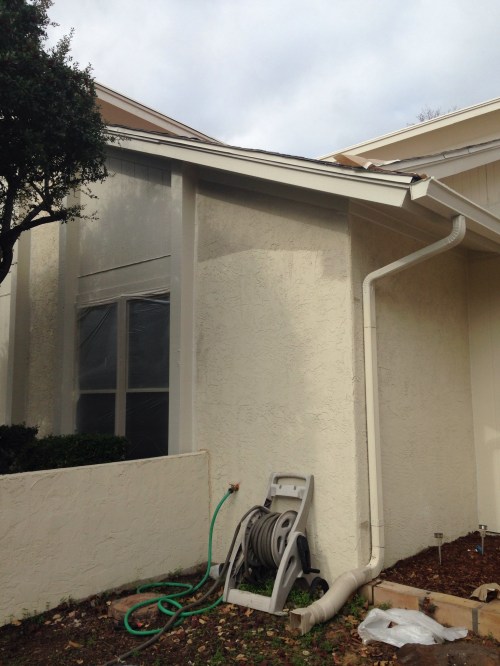
The sales guy recommended Sherwin Williams Loggia. He stated that this would be the darkest we could go while still only doing one coat. So, after holding up about twenty swatches and really narrowing it down, we ultimately decided that he was right and we’d go with Loggia. I purchased samples of both Loggia and Loggia at 25% saturation for the trim (this is 75% lighter than the original color). And we painted samples all over the house….


…which we liked. The initial plan was to paint the entire body of the house Loggia and the trim at the roof-line the lighter color. But then they started painting. Let’s just say that once the paint was up in larger splotches, there wasn’t nearly as much contrast as I’d hoped. The colors were very similar (Loggia is on the stucco and the lighter 25% Loggia is on the trim)….
I was SO incredibly bummed. I was looking for BAM! Contrast. And what I got was BAM’s loser brother, Meh. Again with the Meh. Ugh! So, learn from my mistakes… When painting the exterior of your house…
#1: The colors will appear lighter than expected, so go darker. And…
#2: You need to choose WAY more contrast than you’d think to make an impact. Go bold!
So anyways, here we were, painters at the house, completely disliking the plan. So, we decided to change course and instead of just using the lighter color on the roof-line trim only, we’d go ahead and paint all of the wood siding on the house the lighter tone and the stucco dark. We wanted to add interest in SOME way and the contrast was much more apparent when both colors were on the same plane. Plus, the house is unique and we felt that adding a two-toned effect would help accentuate it’s character.
Now, for how I ran off a paint crew. The timeline of events went as follows…
On Wednesday, they powerwashed.
On Thursday, they prepped (or at least they were supposed to). When Thursday came, both Joey and I were shocked when around lunchtime they began painting. We’d been told that prep would be Thursday and painting would start Friday. Once the painting commenced, there were some communication issues regarding where we wanted the paint colors. I would discuss what I wanted with the crew leader, and either he wasn’t communicating to his crew, or they weren’t listening, because I would walk out and they’d be doing the opposite of what I said, so then we’d have to start over. So, I was somewhat frustrated by this point. Then, came the biggie… very little around our house was taped off and covered up. We started noticing paint dust on our pool filter and other items surrounding the house. The final straw came, when I found this…


Dried caulking all over our patio cushions (these are just a few examples), as well as footprints where the painters had been STANDING WITH THEIR DIRTY SHOES. When they had about fourteen ladders nearby. Um, no. I was unable to communicate with the painters due to a language barrier and the crew leader who did speak English had left, so I called the foreman and politely reported the situation and asked whether these items should be covered. He agreed that they should’ve been covered without a doubt and that he was shocked to hear this. When the crew leader returned, I showed him the damage to the cushions, and he tried (unsuccessfully) to clean them. Then, he stated “accidents happen” to which I brought up the fact that it’s not an accident when his crew was standing with their muddy shoes on our upholstered furniture. He asked the crew whether this was true and they answered in the affirmative. Then, he looked at me and stated “You tell (the foreman), you get another team for tomorrow.”. I clarified that I wasn’t asking for another team, I was simply asking that they cover stuff up before painting and NOT stand on my furniture. And he stated “No, I say you get another team.” Greatness. I wasn’t even rude (I mean sure, I wasn’t exactly smiles and rainbows either, but c’mon.).
So, the next day, another crew arrived. And this crew was like night and day from the first. They covered and prepped everything, which, FYI, was kind of like being inside a Dexter kill room…

Most importantly, they did a fantastic job painting. And they were super polite. They painted the wood siding on Friday, the stucco on Saturday, and came back for touch-ups on Monday. Given how this company handled the debacle and redeemed themselves in the end, I really think that this was an isolated incident. Everyone was really shocked by the first crew’s lack of prep and the fact that they just never came back.
Now for the post result. Honestly, I’m not a huge fan of this picture. It was taken on a really gloomy day in December, thus I don’t really feel that it does the house justice, but here it is anyways….
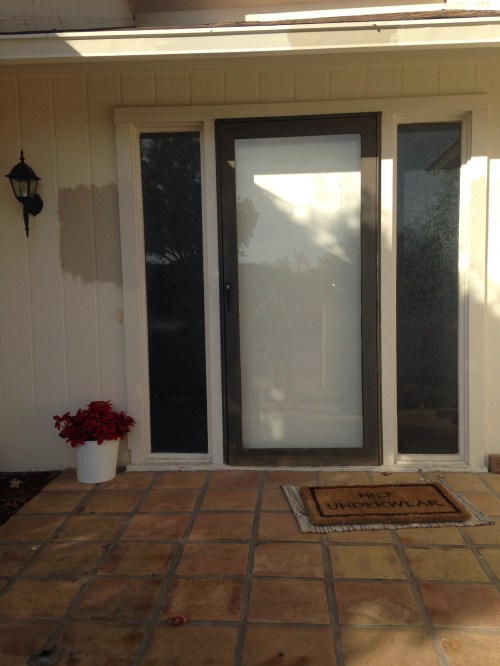
 It’s definitely more of a subtle difference than we’d wanted, but that being said, we’re okay with it. The house looks much more manicured and cared for now. And at least we have peace of mind that our home is all sealed up from the elements. Also, ignore the hideous (HIDEOUS) front door. I’m painting it a pretty charcoal color soon.
I’m deciding between painting the entire door area, sort of like this…

Or just painting the front door and storm door, but leaving the trim light like this… 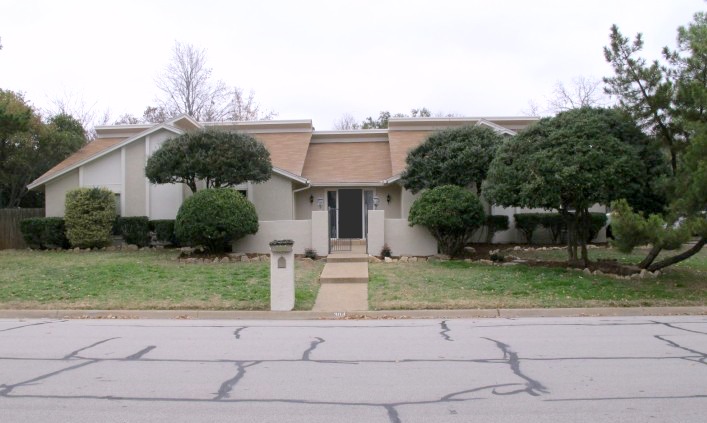
From these renderings, I’m leaning towards painting the entire door area, but we’ll see. After that, I’ll paint the rusty, green gate a sharp black (and fix the hardware so it stays shut), and the lighting fixtures and mailbox will also get a nice coat of black as well.
Then, there’s the roof…. The roof that is currently the bane of our existences. Joey and I both despise the color. It’s a faded orangey tan that does NOTHING for the house whatsoever. And because it’s so light, every flaw is apparent. It just looks awful. Don’t believe me? Come visit. We were shocked (and kind of disappointed) when the roofer told us that our roof was good for now. When the time comes, we’ll be going for a richer brown tone which will really update the house nicely.
You can also see that Joey’s been busy trimming things up in the yard. He added a rock border to the beds and a ton of mulch. Our sprinkler system was broken when we bought the house and had been for at least 6 months prior. In this time the lawn really suffered and weeds went crazy and partied it up. We recently had the system fixed, so hopefully in the spring we can start working on reverting our yard of weeds (yes, those neon green zits on the face of our lawn) back to actual grass. We have a lot to do, and I totally have a case of the wanting-it-done-yesterdays. One of these days we won’t be embarrassed by our curb appeal. Haha!! One day….
In any case, you can kind of see the direction we’re going when you look at these photos next to eachother…

Much more sophisticated and streamlined. I can’t wait to paint that door!!!! 🙂