When last we saw the so-called play-zone in Lucas’s room, it looked like this…
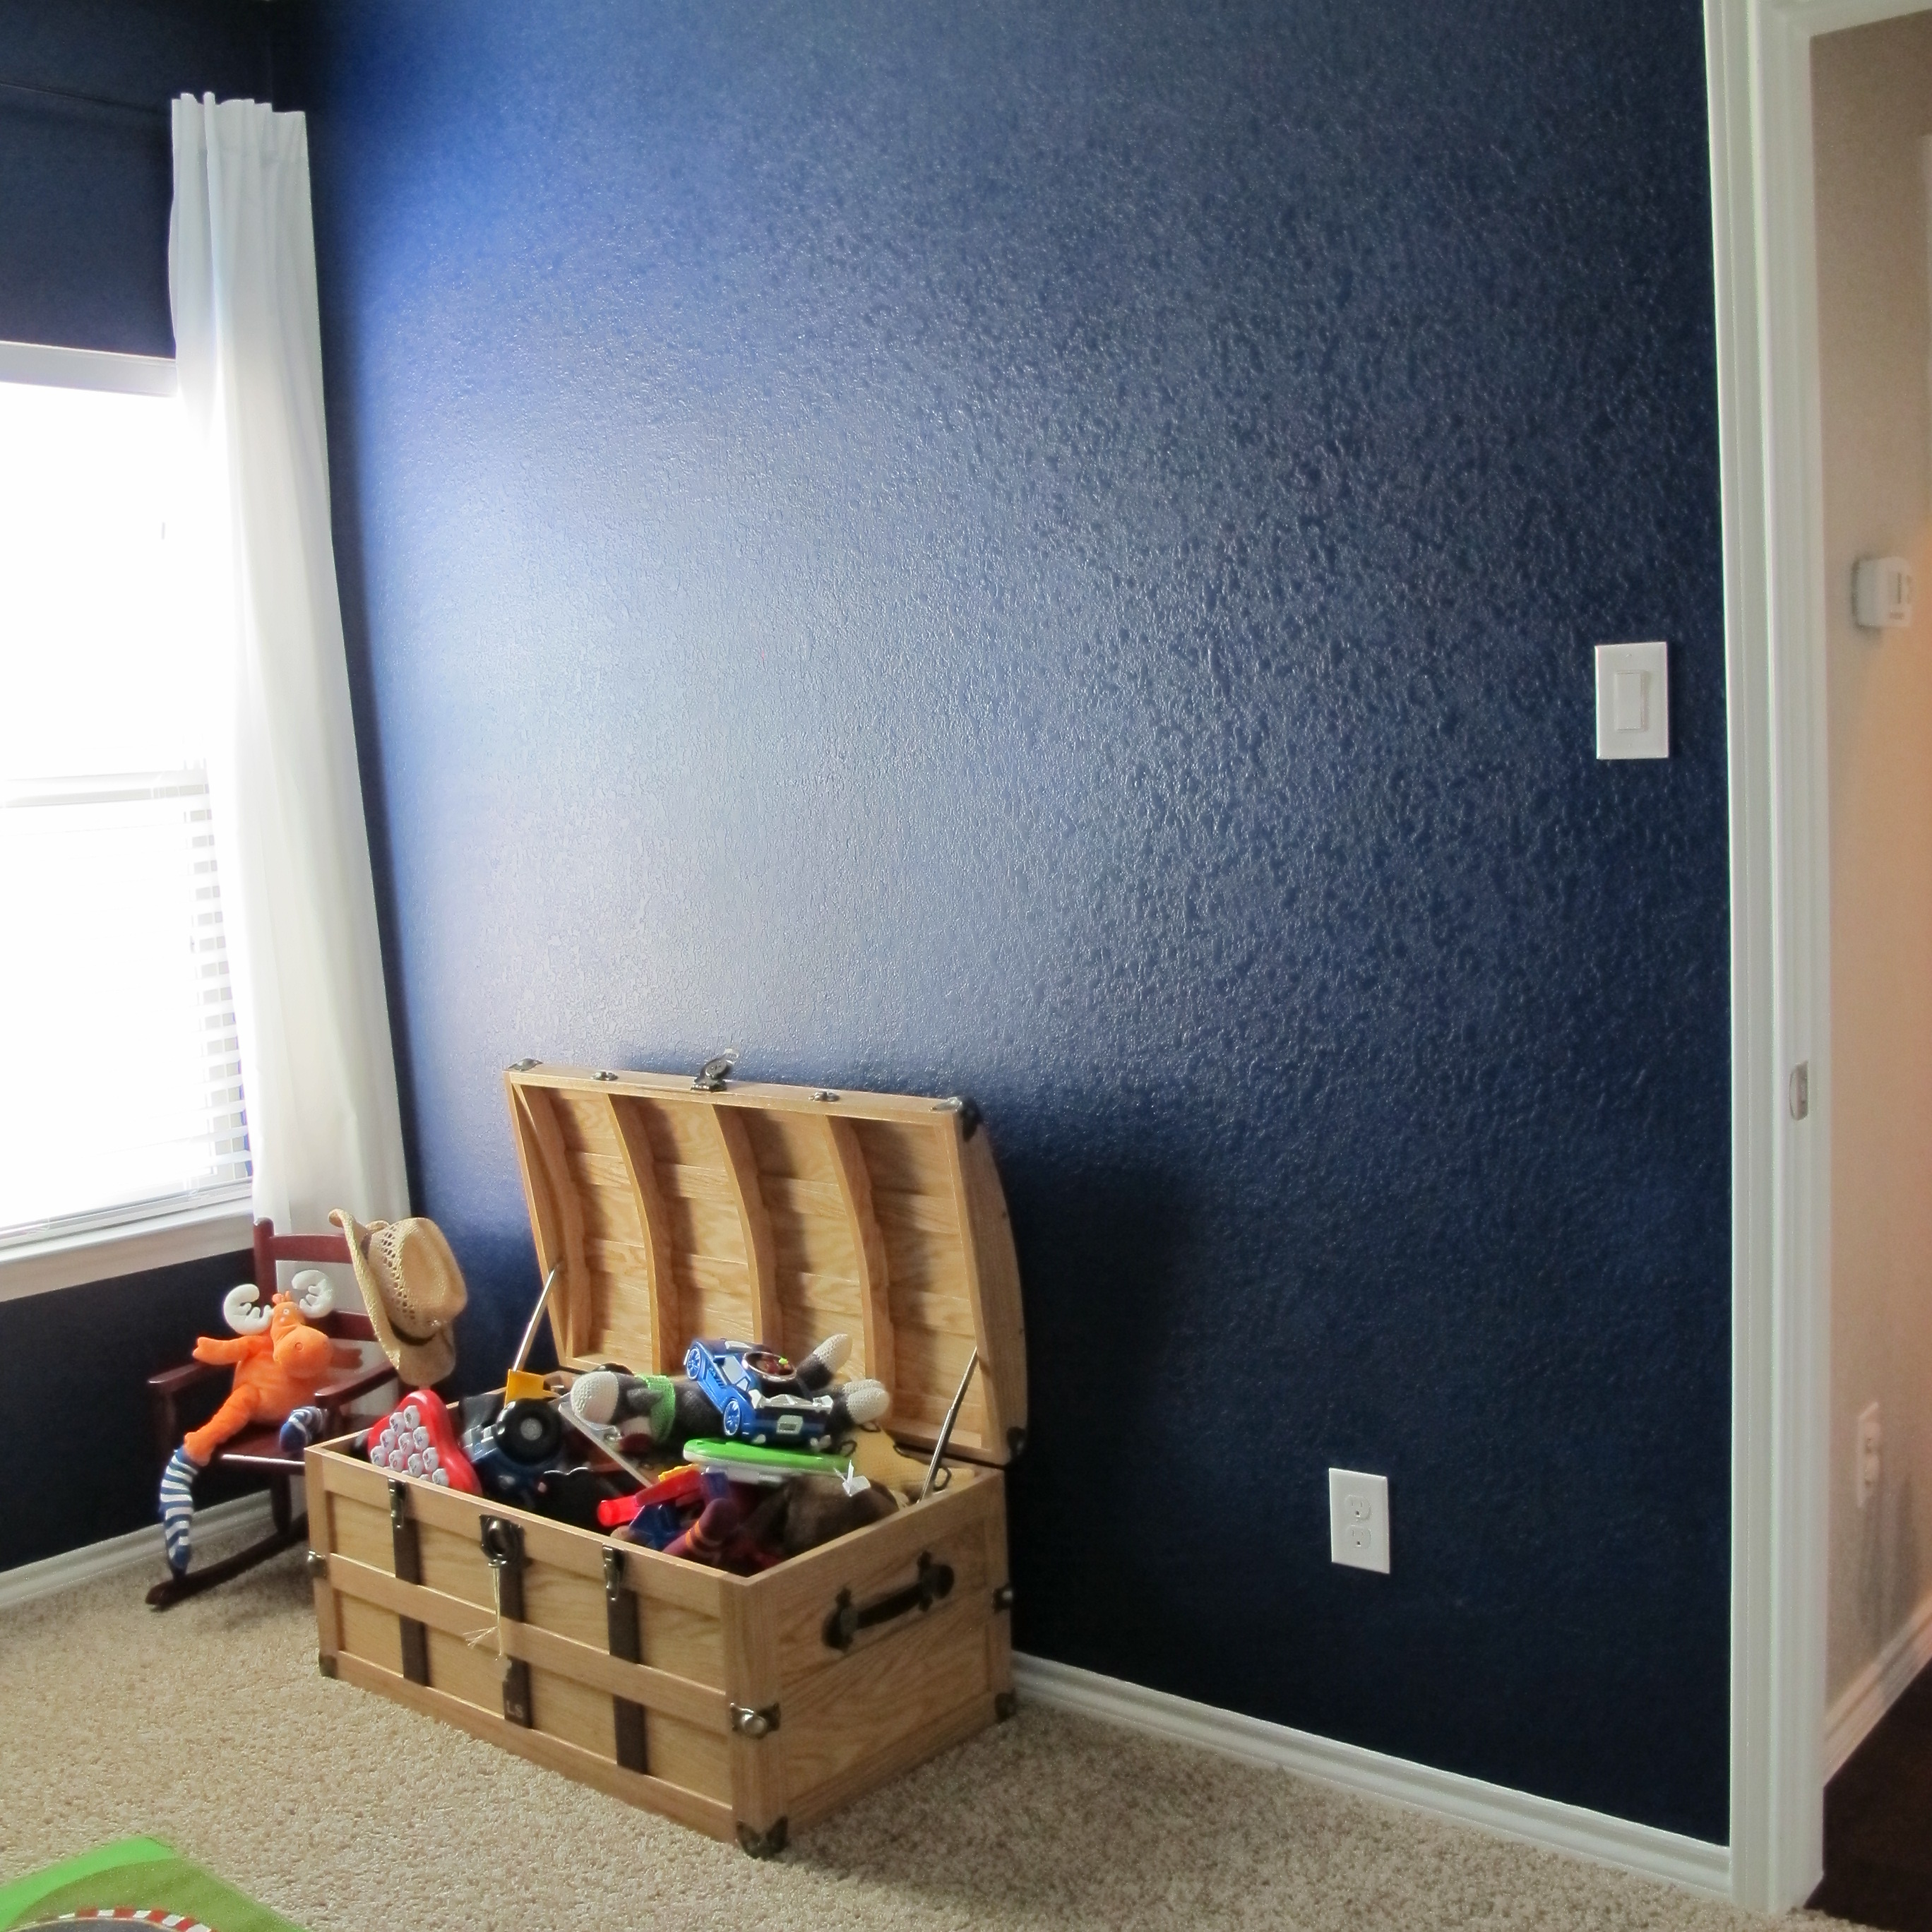
Quite the zone, right? Heehee! Well, this area has been on our to-do list for some time and we finally got a start to it. One thing that was very important to us in moving forward with this wall was making sure that the beautiful wood trunk that Joey’s dad made was the main attraction, front-and-center. I mean, look how gorgeous it is….

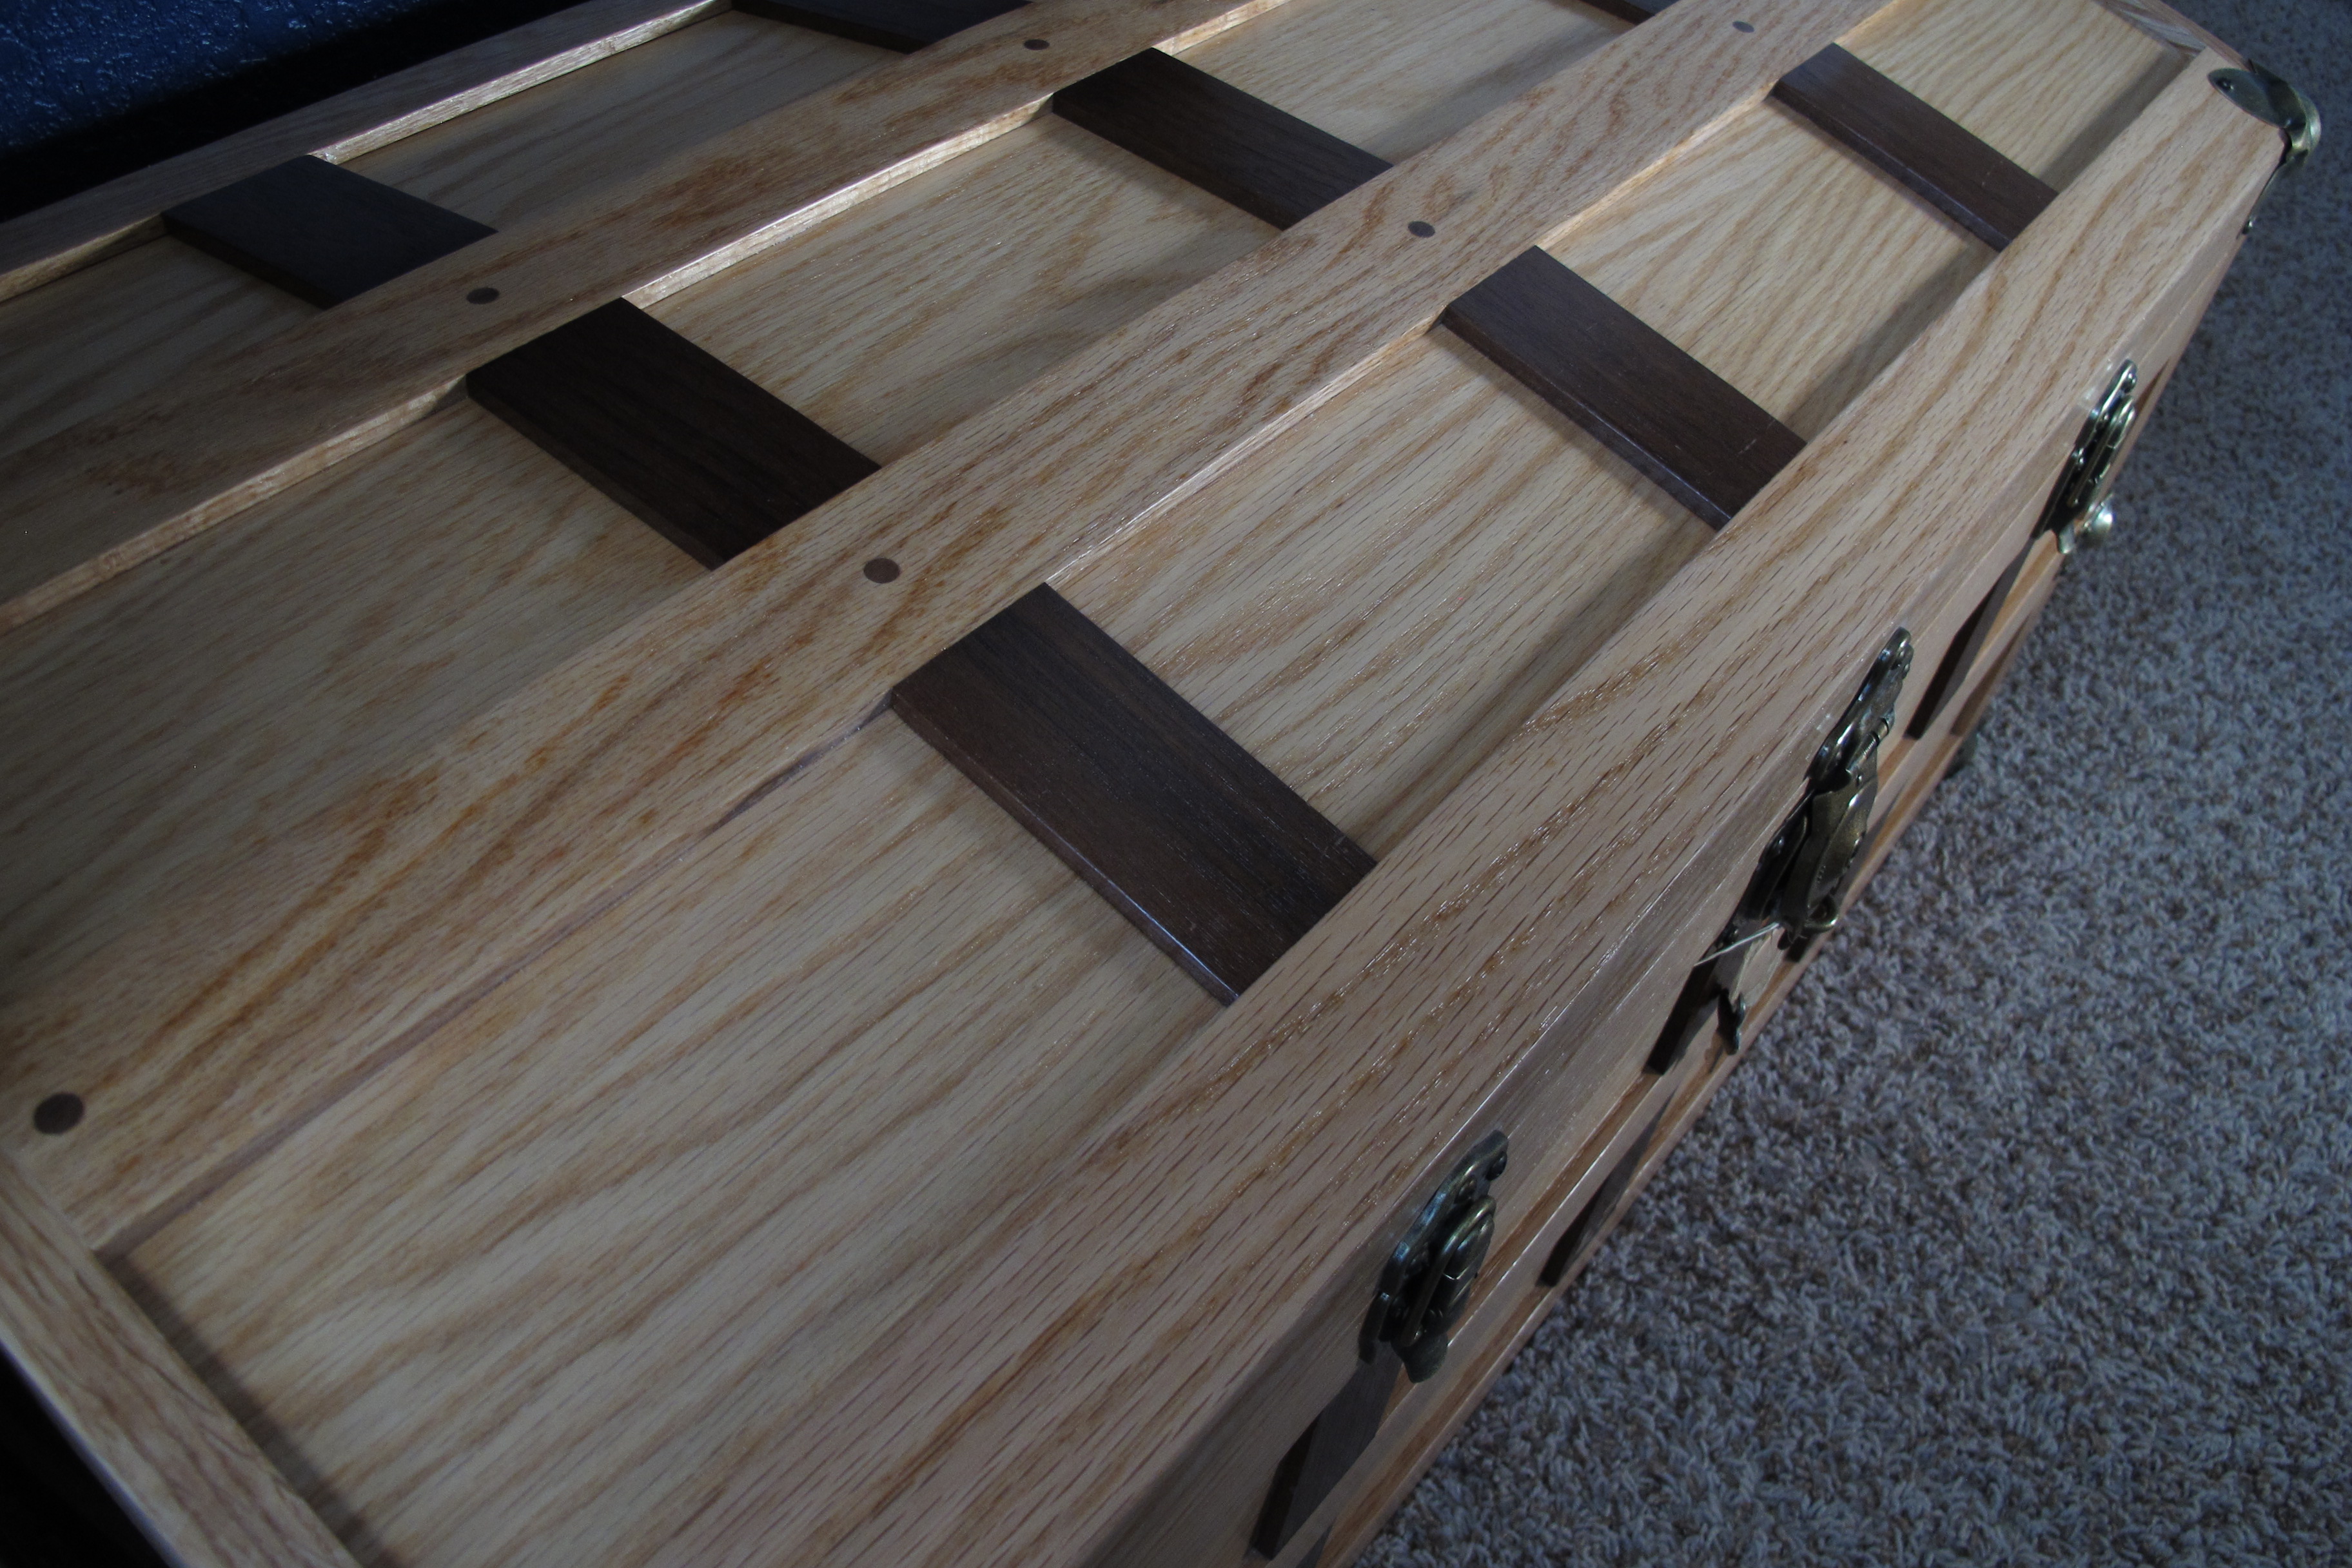
Stunning, right?
He made this FROM SCRATCH. It’s something that will hopefully be in our family for many generations. I absolutely love the details on top when the trunk is closed, but because we’ve been using it as a toy box, it’s pretty much stayed open from the get-go. My goal in organizing this wall was to instill enough alternate storage so that 1) Lucas’s toys would still be easily accessible to him and 2) we could empty the toy box enough so that the trunk can be closed when Lucas isn’t actively playing.
We tossed around the idea of open shelves and shelving units, but weren’t really sure what we wanted. And honestly, open shelves and their climbing potential had me a little nervous after this experience. Then, during our recent trip to The Mothership (Ikea to those who dont already know), we checked out the Expedit line of storage units. We liked that we could customize our unit of choice with drawers, or leave the shelf cubbies open, and they had a variety of different shapes and sizes to choose from. We played around with a few different ideas, like these totally not-to-scale renderings…
Option #1:

Option #2:

…both of which required two 5-shelf units and one 4-shelf unit. Rather than spend hours deciding at Ikea, we decided to simply buy those three items and determine their final arrangement at home.
Once we got everything unloaded, I began by assembling the two larger units. But then I got to this point of the instructions and froze…

What do ya mean, we can’t hang the long shelves on the wall???!!
That’s how they were displayed in the store so we assumed that that was an option. Which meant adios, Option #2. So, option #1 it was. At this point, I rushed to open our smaller unit’s box to check the instructions. And we were good to go. The 4-shelf unit could be hung on the wall.
Once assembled, I placed the tall shelves next to the toy box…

…And realized that adding the 4-shelf unit above the trunk would be too much. A bit too heavy visually (and literally if it ever fell). So, this is when we decided that we would DIY two simple shelves between the units instead. We haven’t gotten there yet, but soon. I’m thinking that I might white-wash them so that the wood grain shows through.
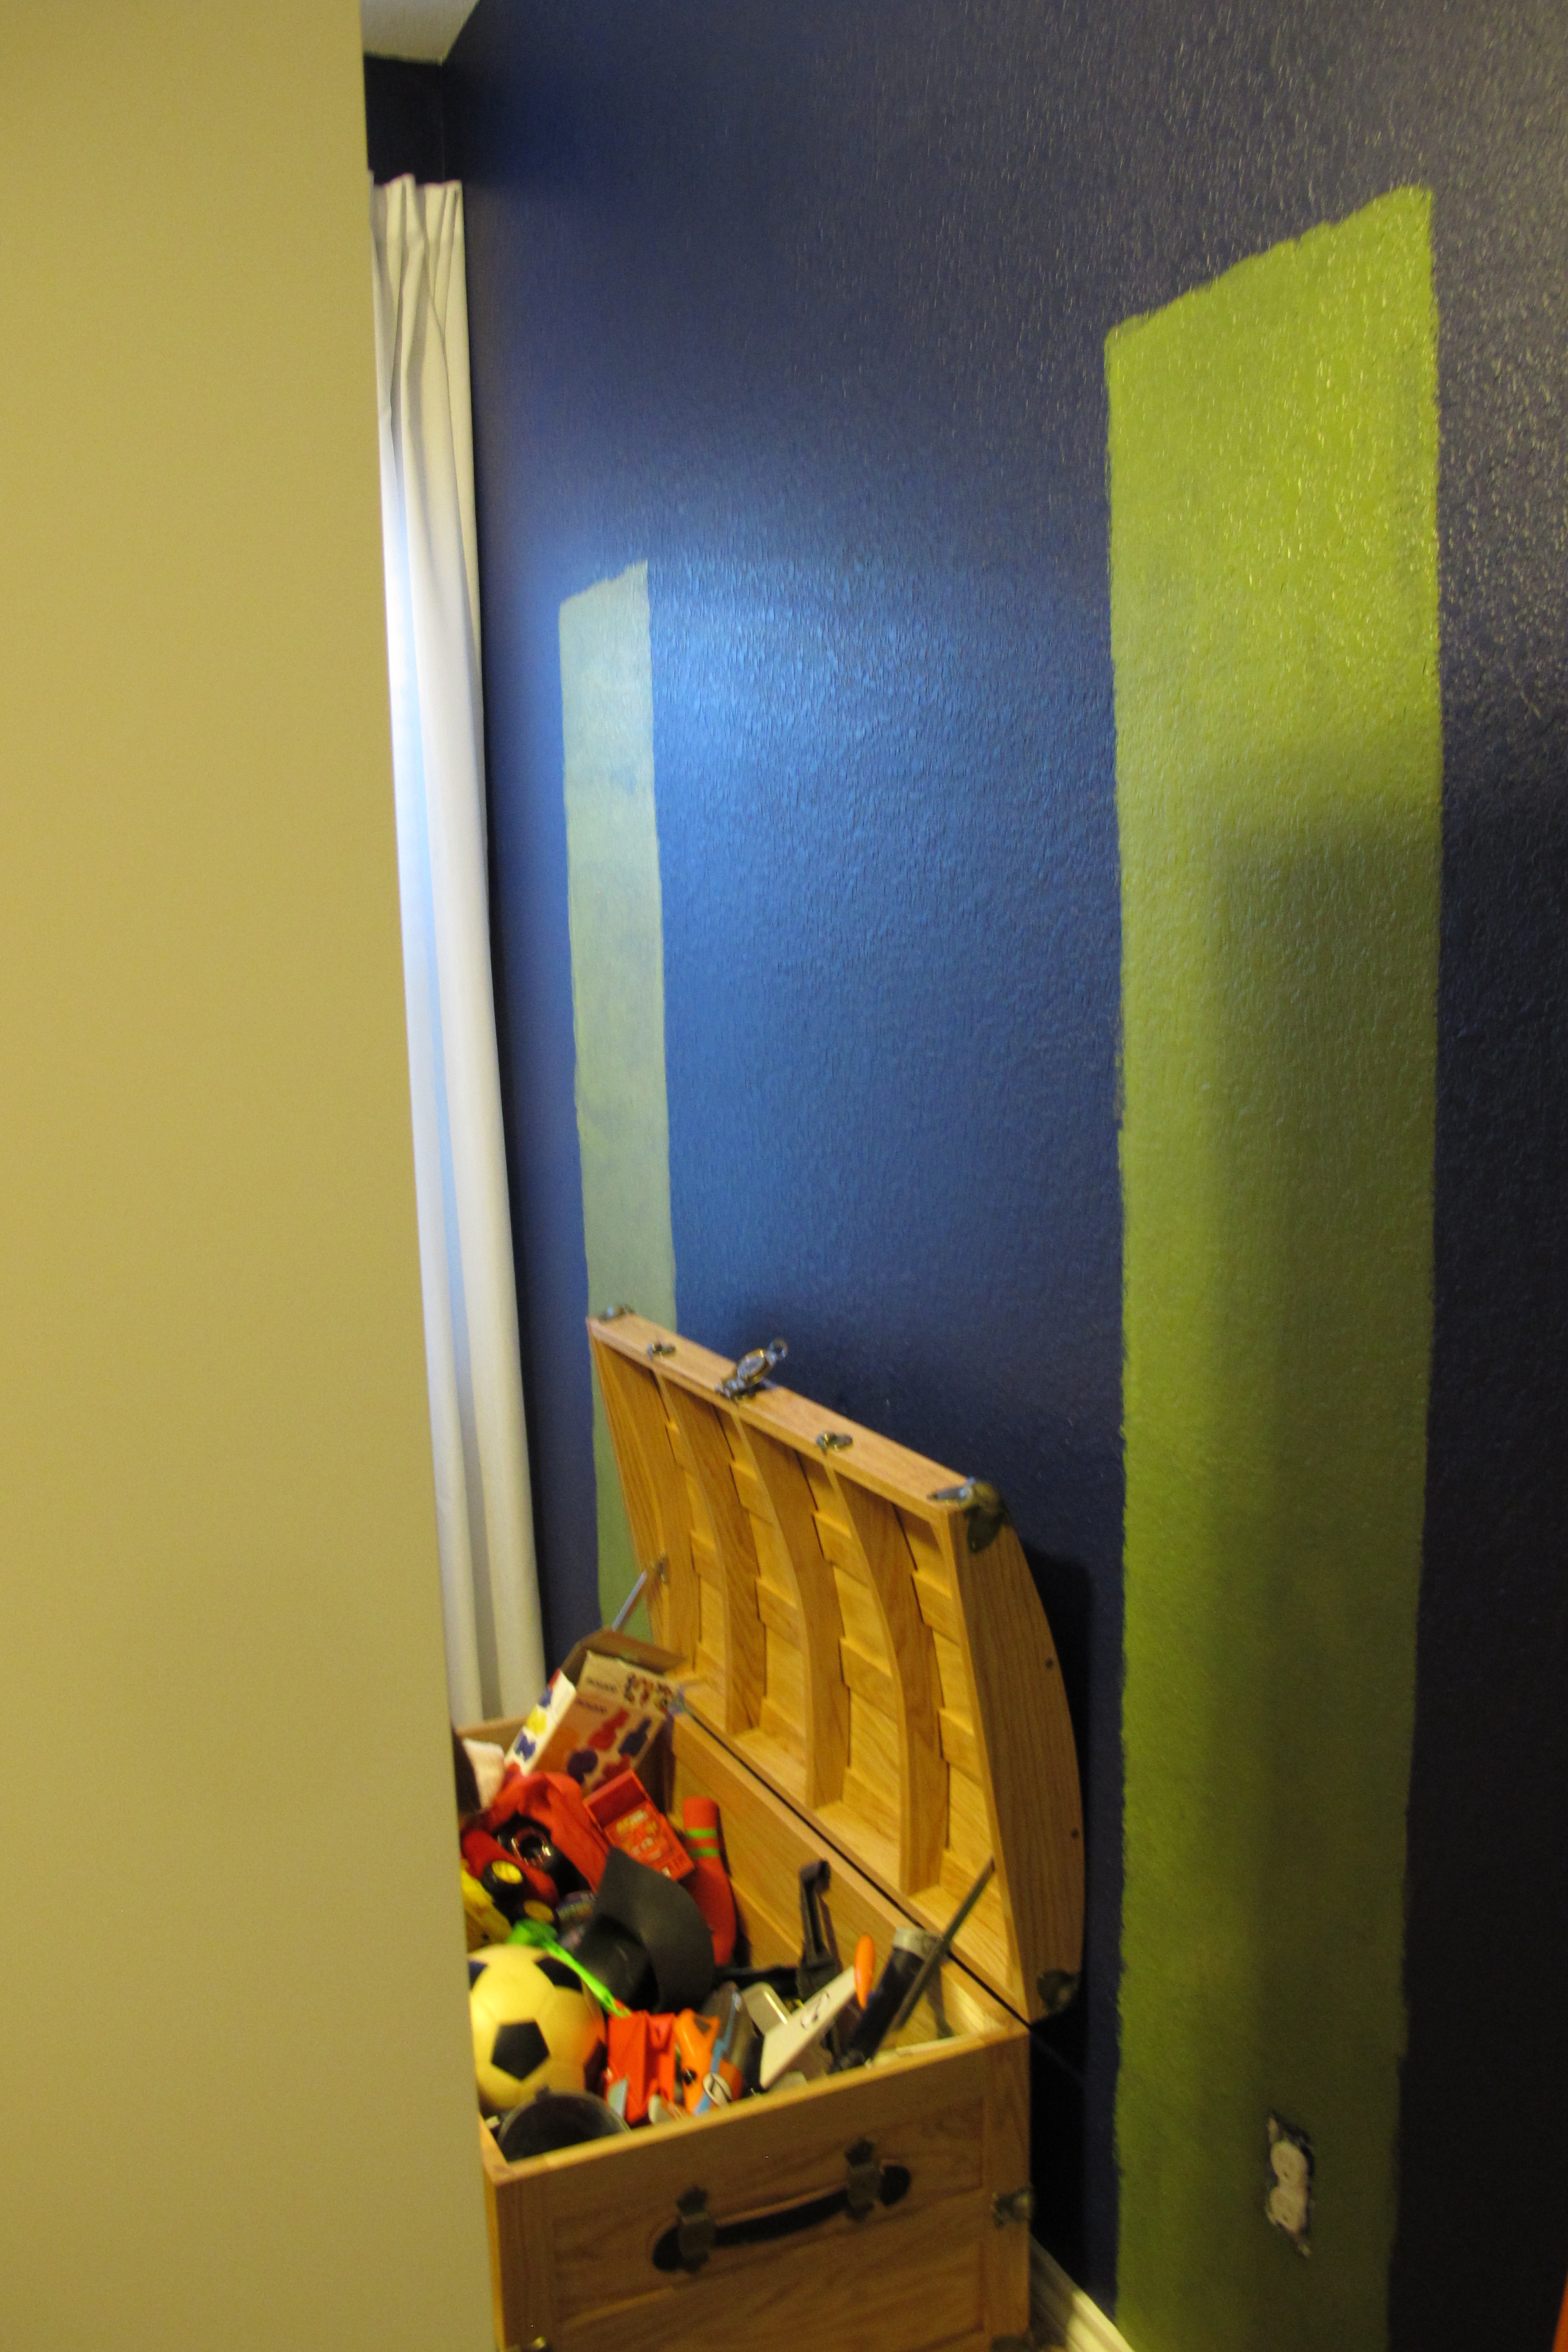
As for the Expedit shelves, I decided to add a splash of green behind them for a little interest. I’d picked up a test pot of Valspar’s Jungle Thicket for $2.98 the last time I was at Lowes and also had an Oops paint that was a chartreuse green color. I couldn’t decide between the two right off the bat, so I decided to paint some test swatches. First, I used a light colored prismacolor pencil to outline the opening of my shelf…

Then, I painted about one square’s worth of paint between the lines…

I replaced my shelves, stepped back and immediately realized that Jungle Thicket was the victor. The Oops paint appeared way too yellow. So, I used a small roller and paint brush and applied three thin coats of paint within my rectangles….
Once it was dry, I moved the shelves back and anchored them with heavy-duty anchors to the wall. Then, Lucas struck a pose…

And, we filled the shelves. Me and Lucas. Together. He was so cute. He talked to himself as he did it. “And this is gonna live there…”, “And this car goes here…”. It was awesome. He really loves his shelves. I’ve caught him on multiple occasions, just pulling stuff off and putting it back. For FUN. I hope he keeps this up indefinitely. Well, the putting-up part anyways.
Here are a few finished pics…


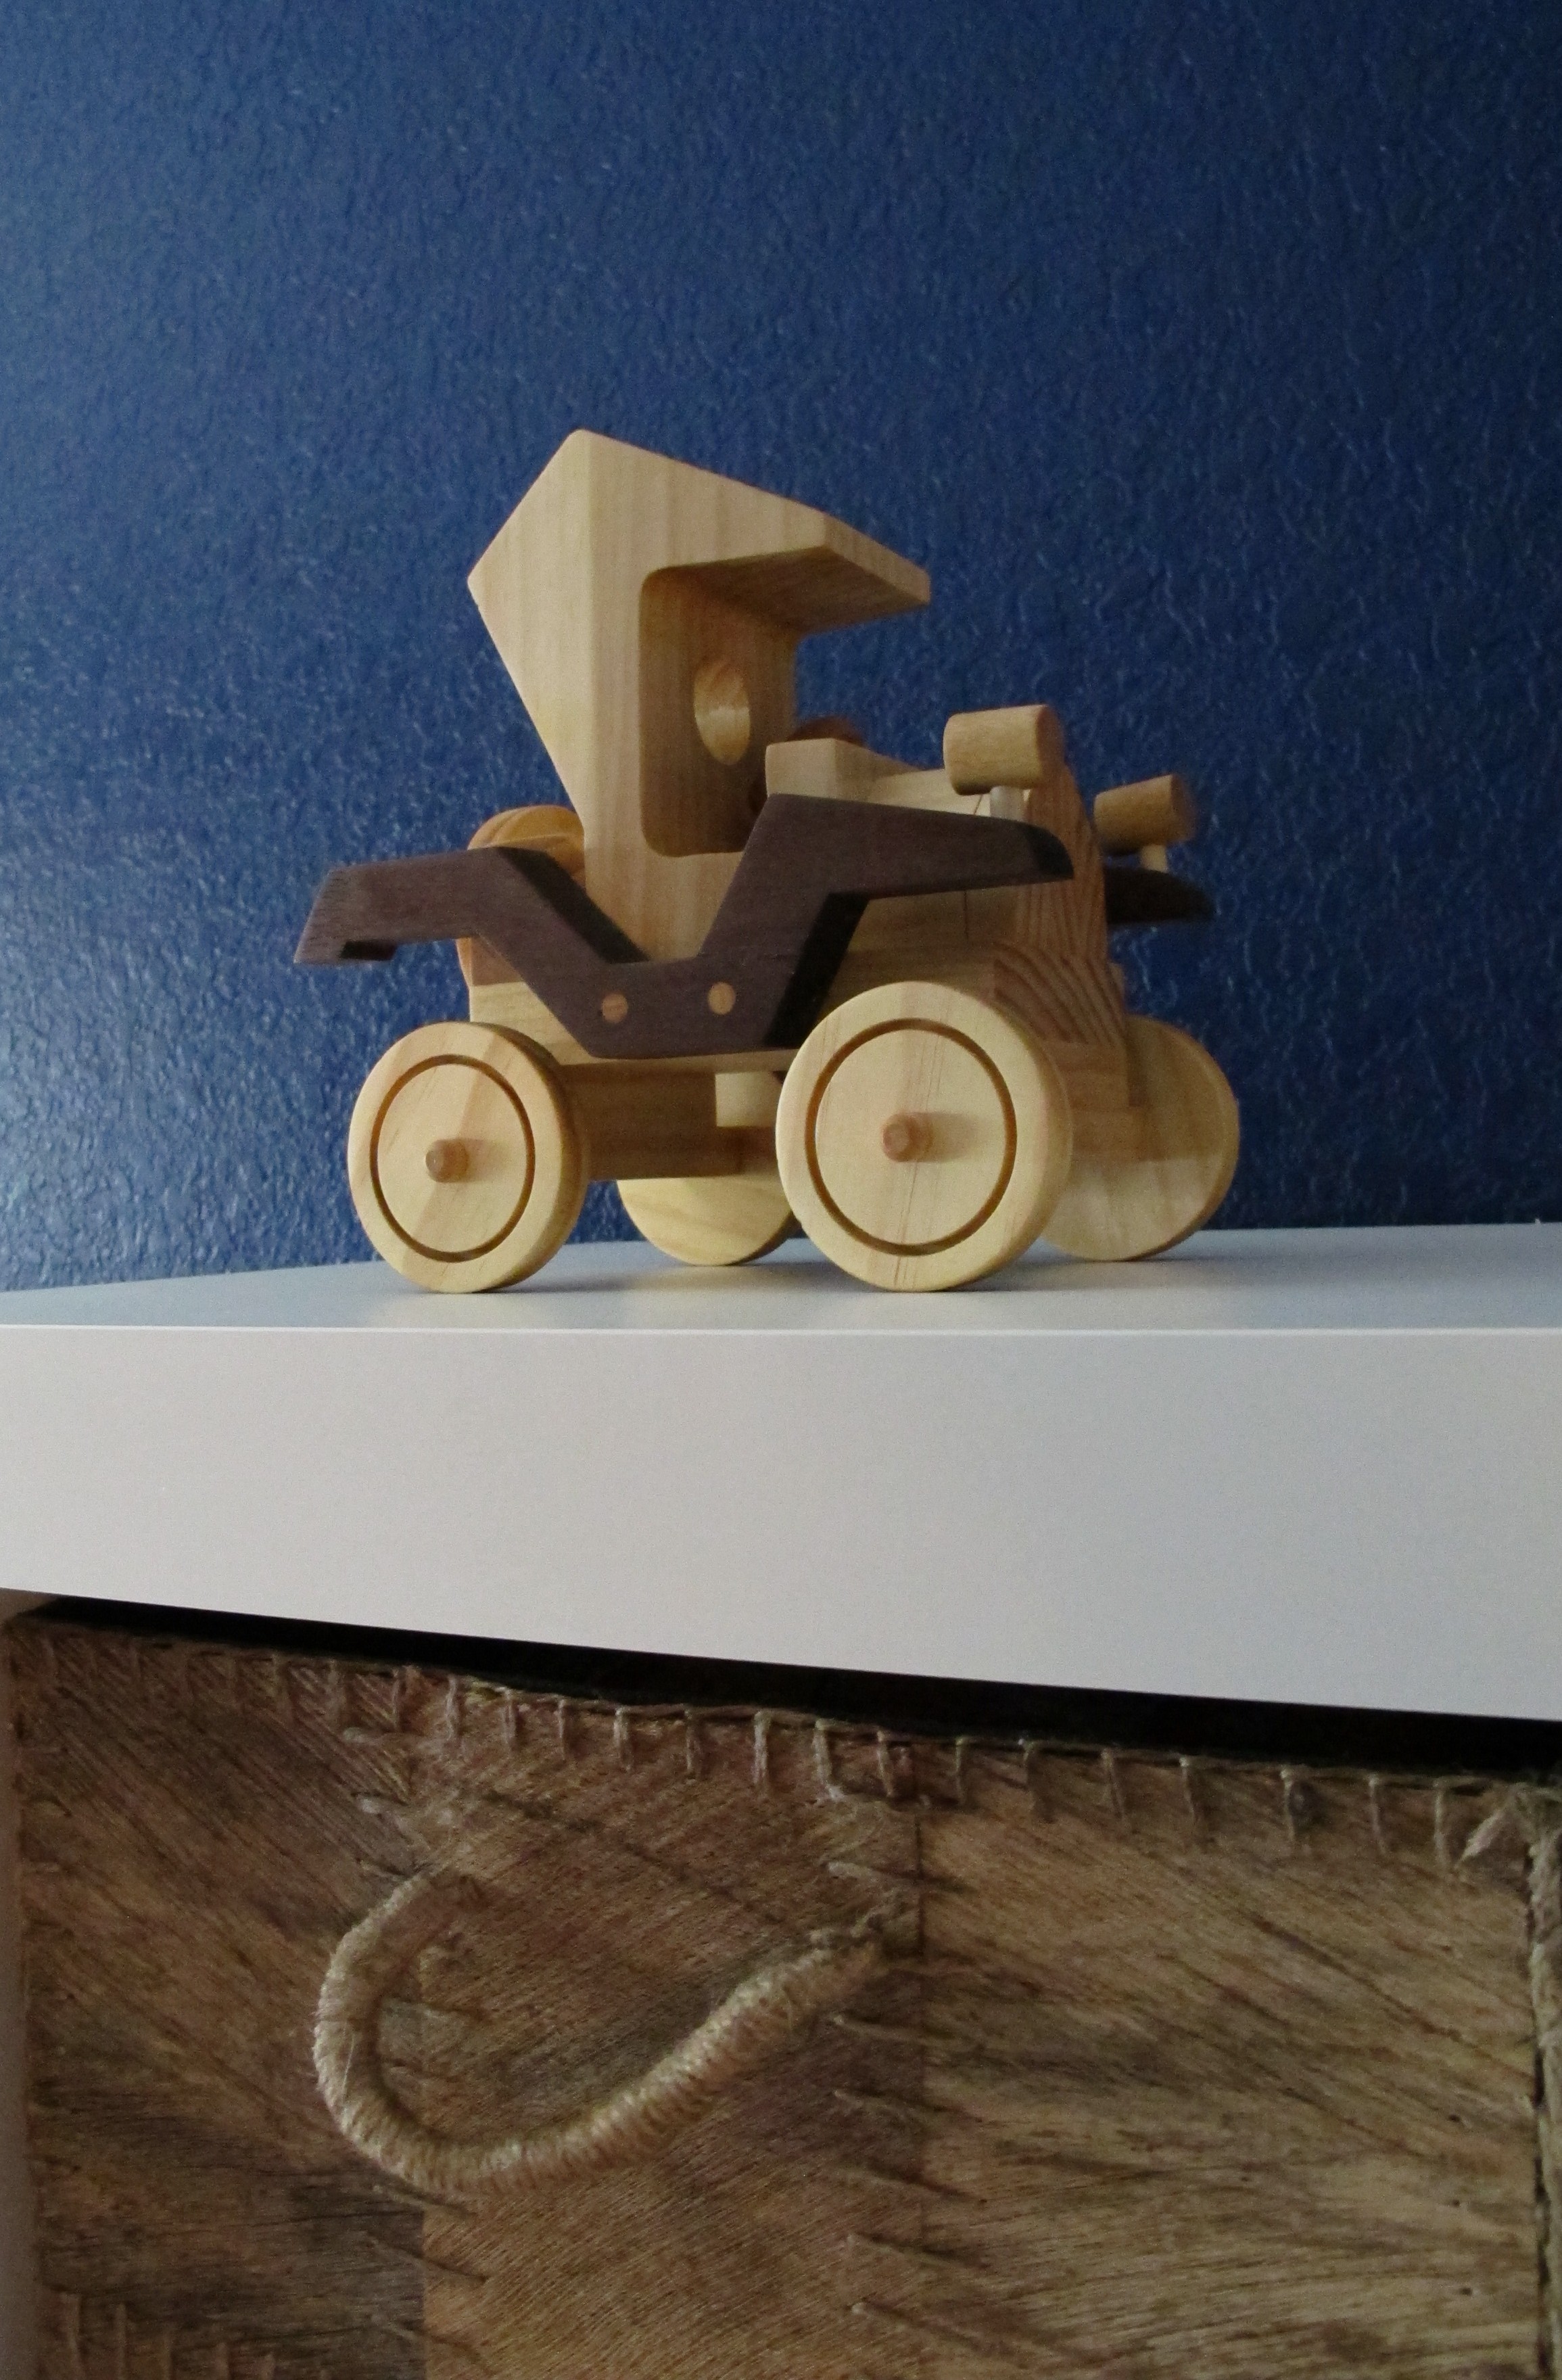
The green background is more obvious in person than in these pics. We stashed his train tracks in one of the bottom white boxes and his Legos in the other. His favorite books and puzzles are now easily within reach, and his model cars that he loves to play with look nicely displayed when they aren’t in use. The top baskets hold “needs supervision” activities, like paint, clay and other arts and crafts stuff. And then, of course more “Pop” art on top…

So, next will be creating the shelves between the units. Then, maybe I’ll finally get a move on the license plate wall. I don’t understand myself sometimes. I have everything I need for that project (and have for months now), and yet I’m constantly putting it off. I’m starting to annoy myself. Maybe getting on the play-zone part of the room will provide the motivation I need. Fingers crossed.
So, tell me about some fun ways you’ve organized the toy-zone? Any fellow Expedit users? Any tips to share? Anybody else procrastinating a project?

now, if you only had some accent lighting….just kidding! Looks great!
I know! I was thinking about that! I have some battery-powered push lights that I thought would be cool to illuminate the shelves. Ikea also has these awesome overhead lights for shelving that I LOVE. Once I get the middle shelves in, I’m gonna look at some lighting options for sure. It’s a bit dark over there.
It looks beautiful! You are so unshelfishly talented!
Haha! Good one!!!
I agree Peggy! You take a great idea and add another twist to make it fabulous! I love the idea of painting the wall behind the shelves green.
Thanks, Jessie! 🙂