A curious finding

Okay, so it all started with this guy…

IMG_3172  IMG_3173

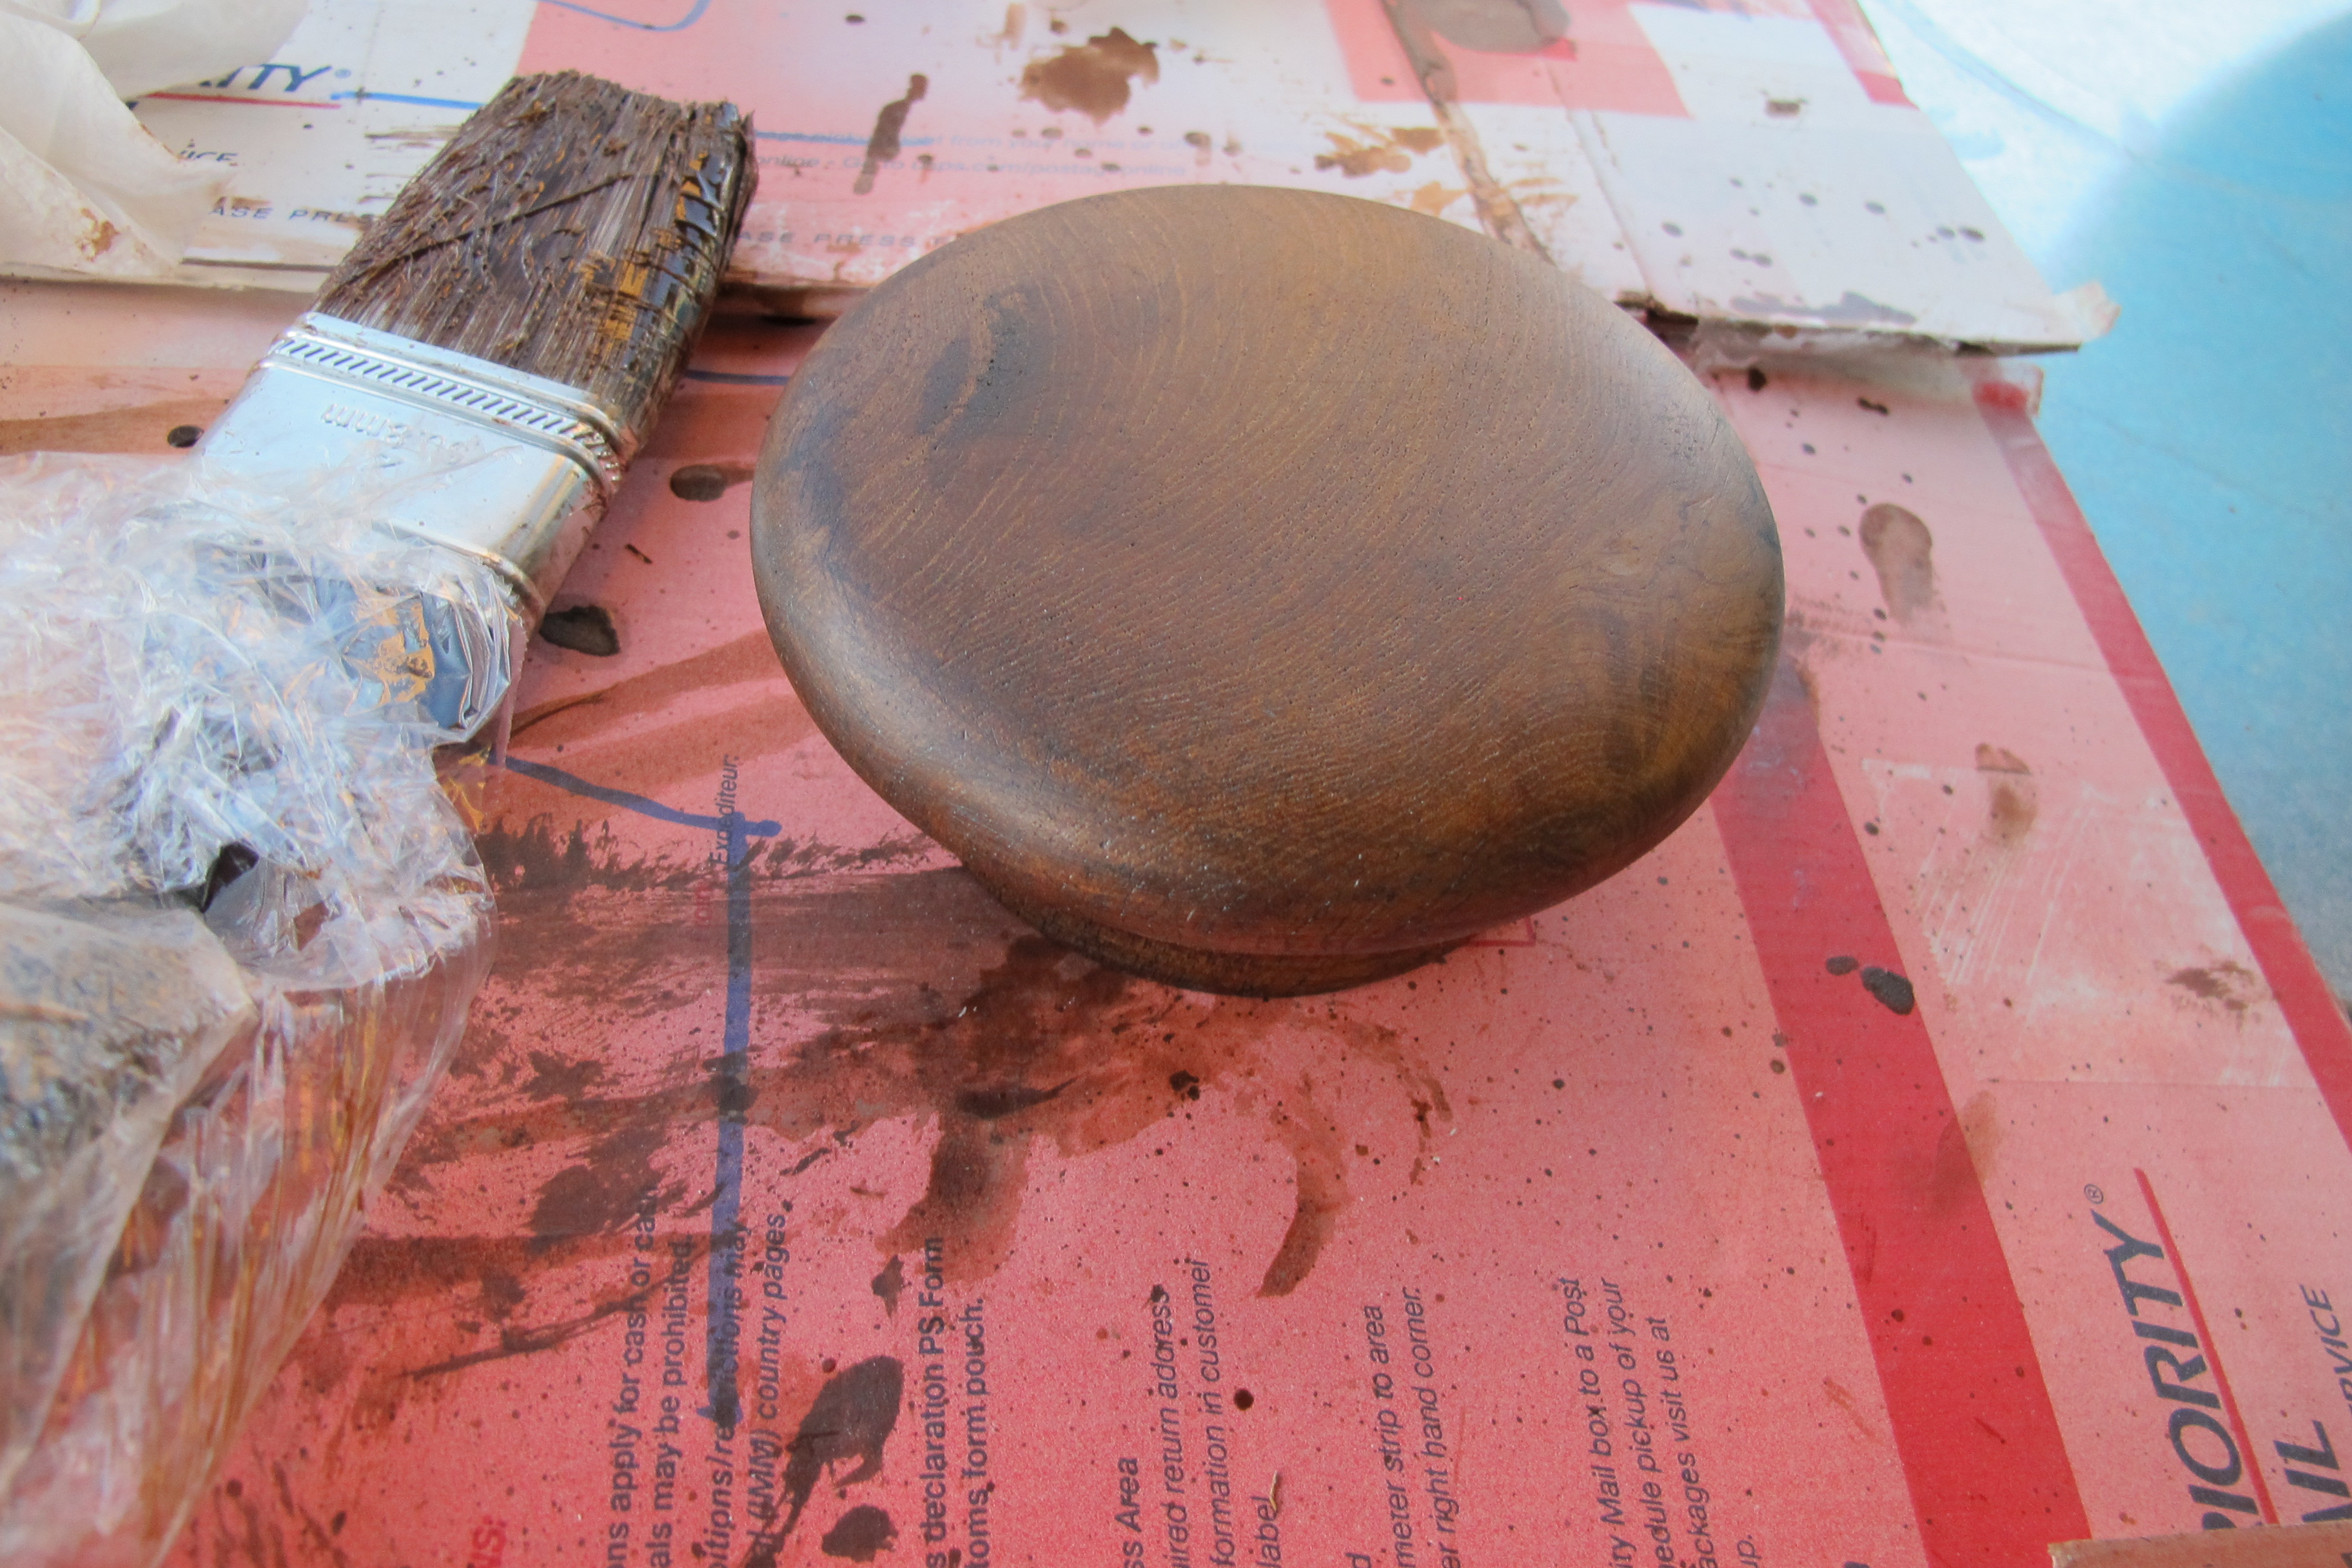
A wood-lidded jar that I found at Goodwill for 4 bucks. I liked it, but wasn’t totally digging the orangey tone of the wood. So, I decided to darken the stain. I sanded the lid with medium grit sandpaper and followed it up with fine grit to smooth it. I didn’t really worry about sanding with the grain like I normally would because I wanted a more rustic, aged look.  Then, I stained it with some Ebony stain that I had on hand.

IMG_3176

Which left this…

IMG_3601

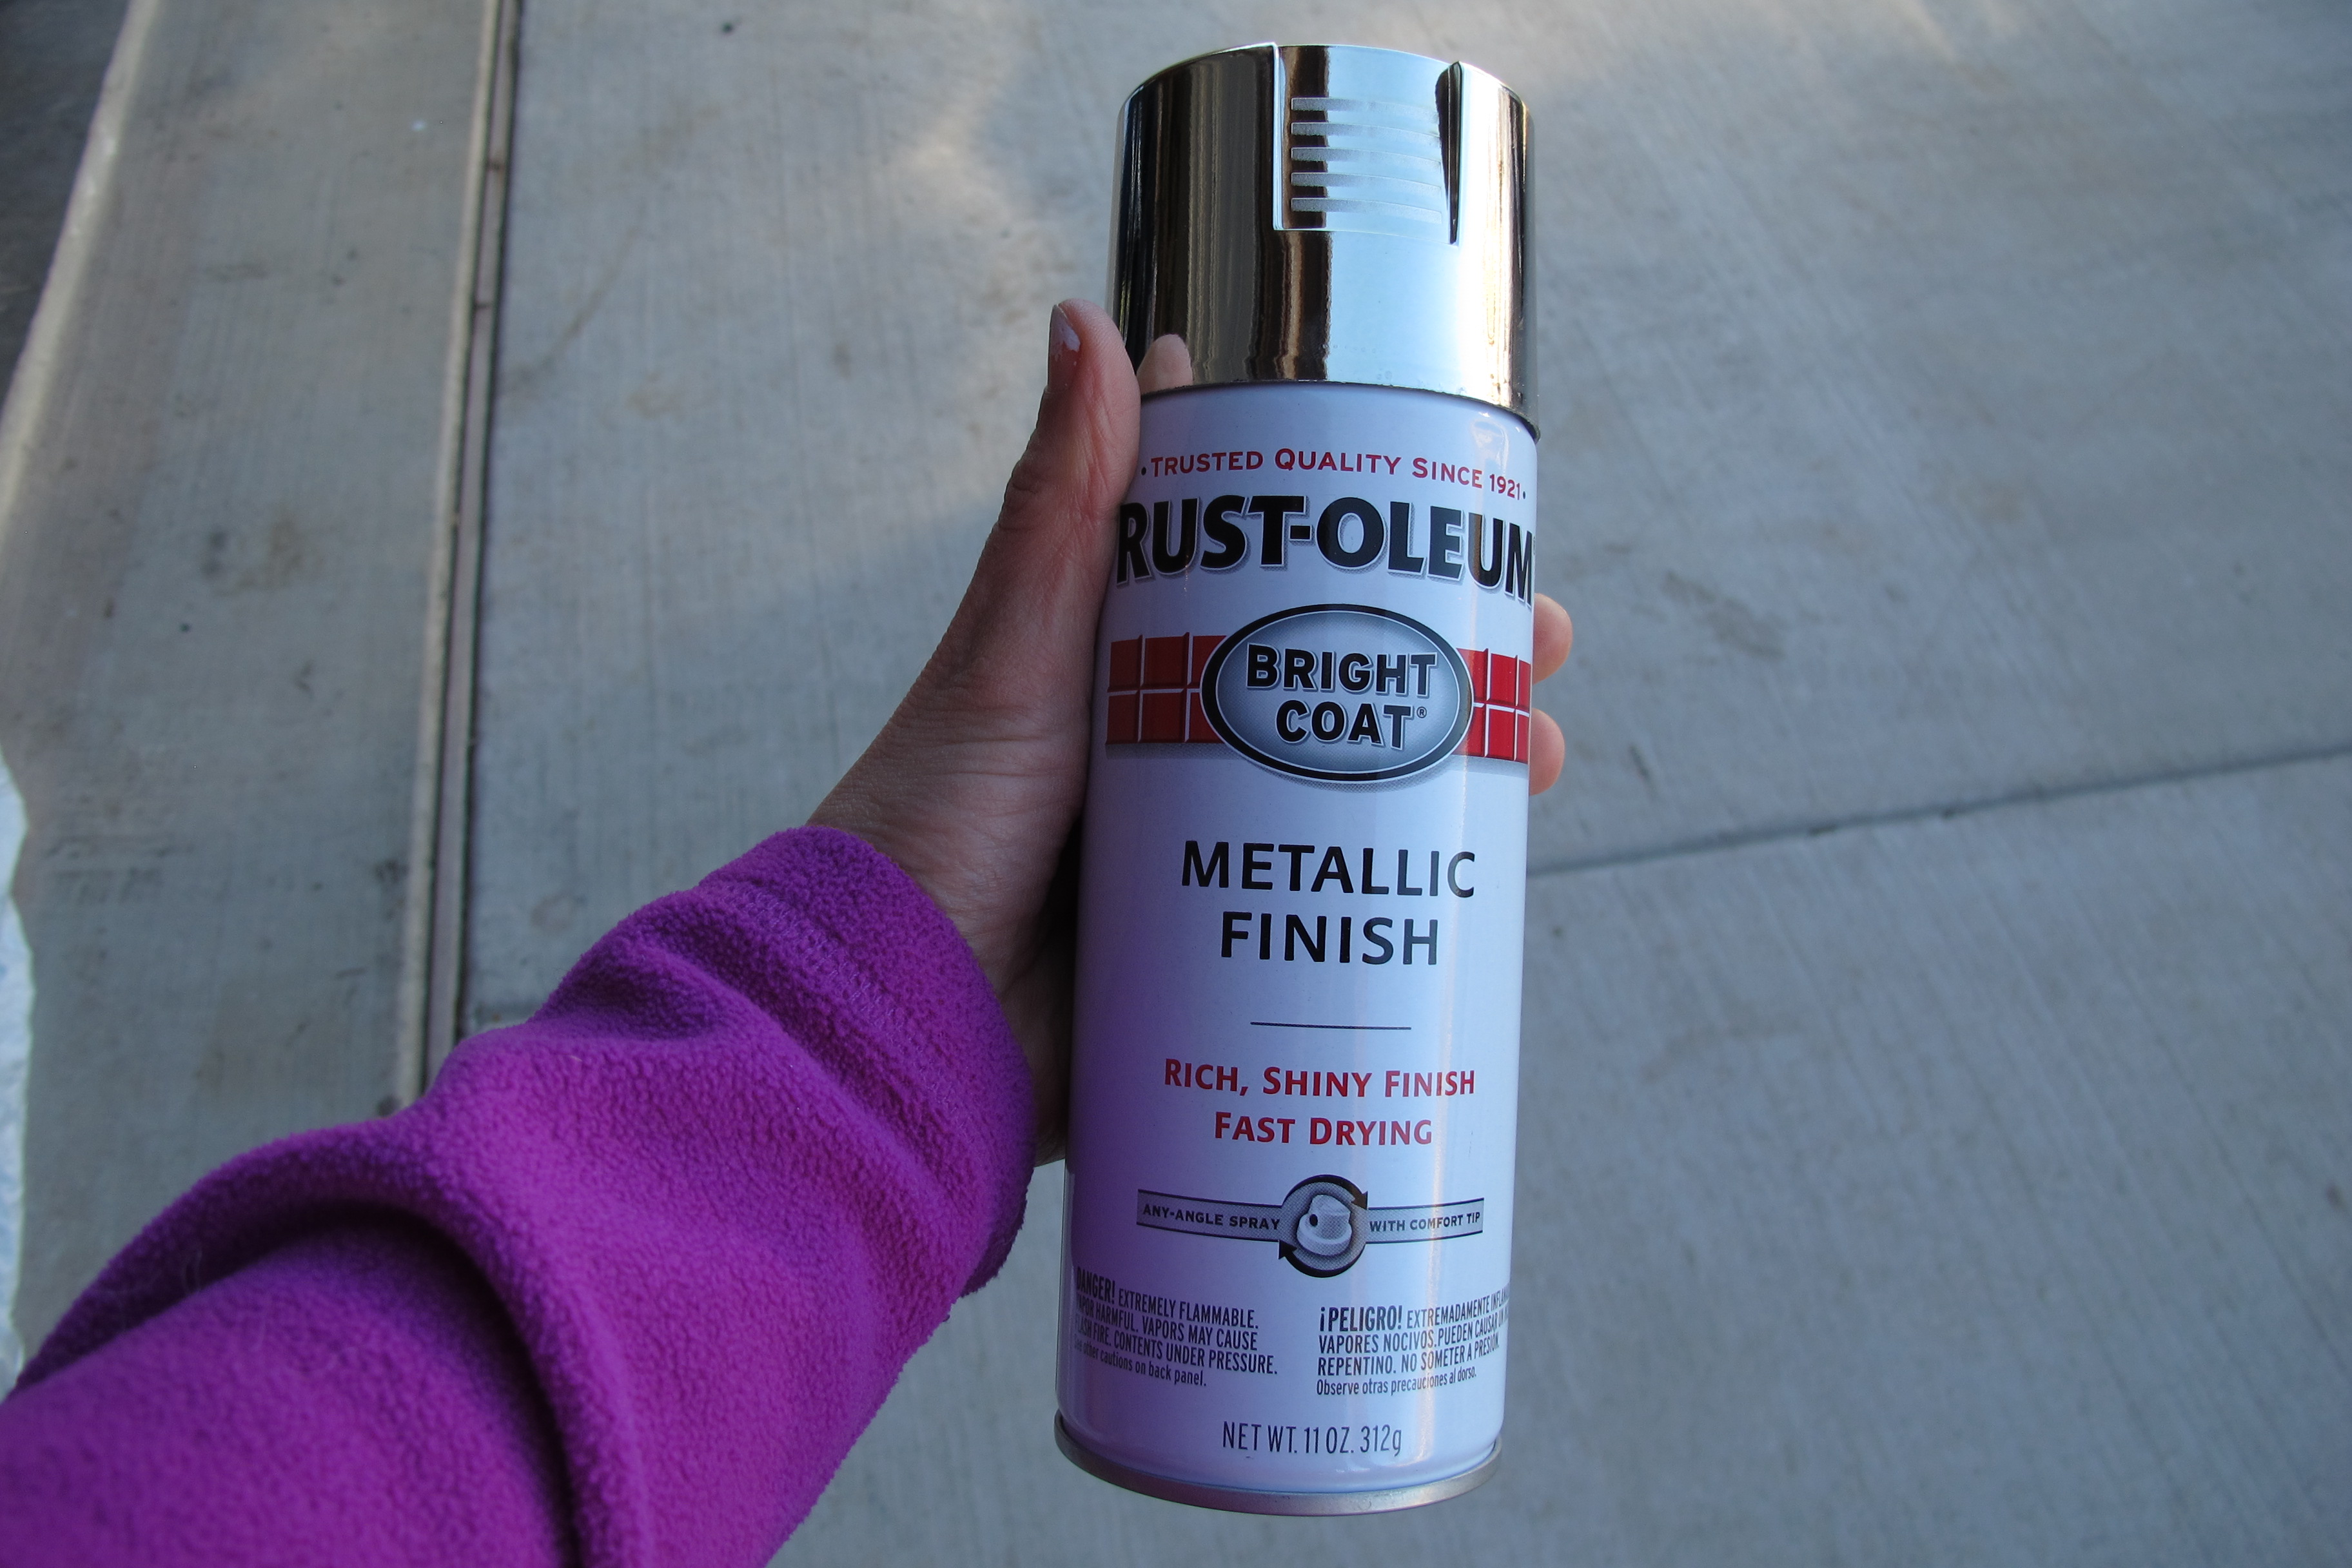
I liked this darker version just fine, but decided to add something a little more. A little bling. I used this metallic spray-paint….

IMG_3560

Taped off a strip in the middle with painters tape….

IMG_3558

Spray-painted my lid with one thin, even coat….

IMG_3561

(I was also spray-painting a seen-better-days wood candlestick holder that I got at Goodwill for a buck… I forgot to take a before pic of that one, though. My bad.).  I left the lid in the garage for three days to cure up.  Which left this….

IMG_3563

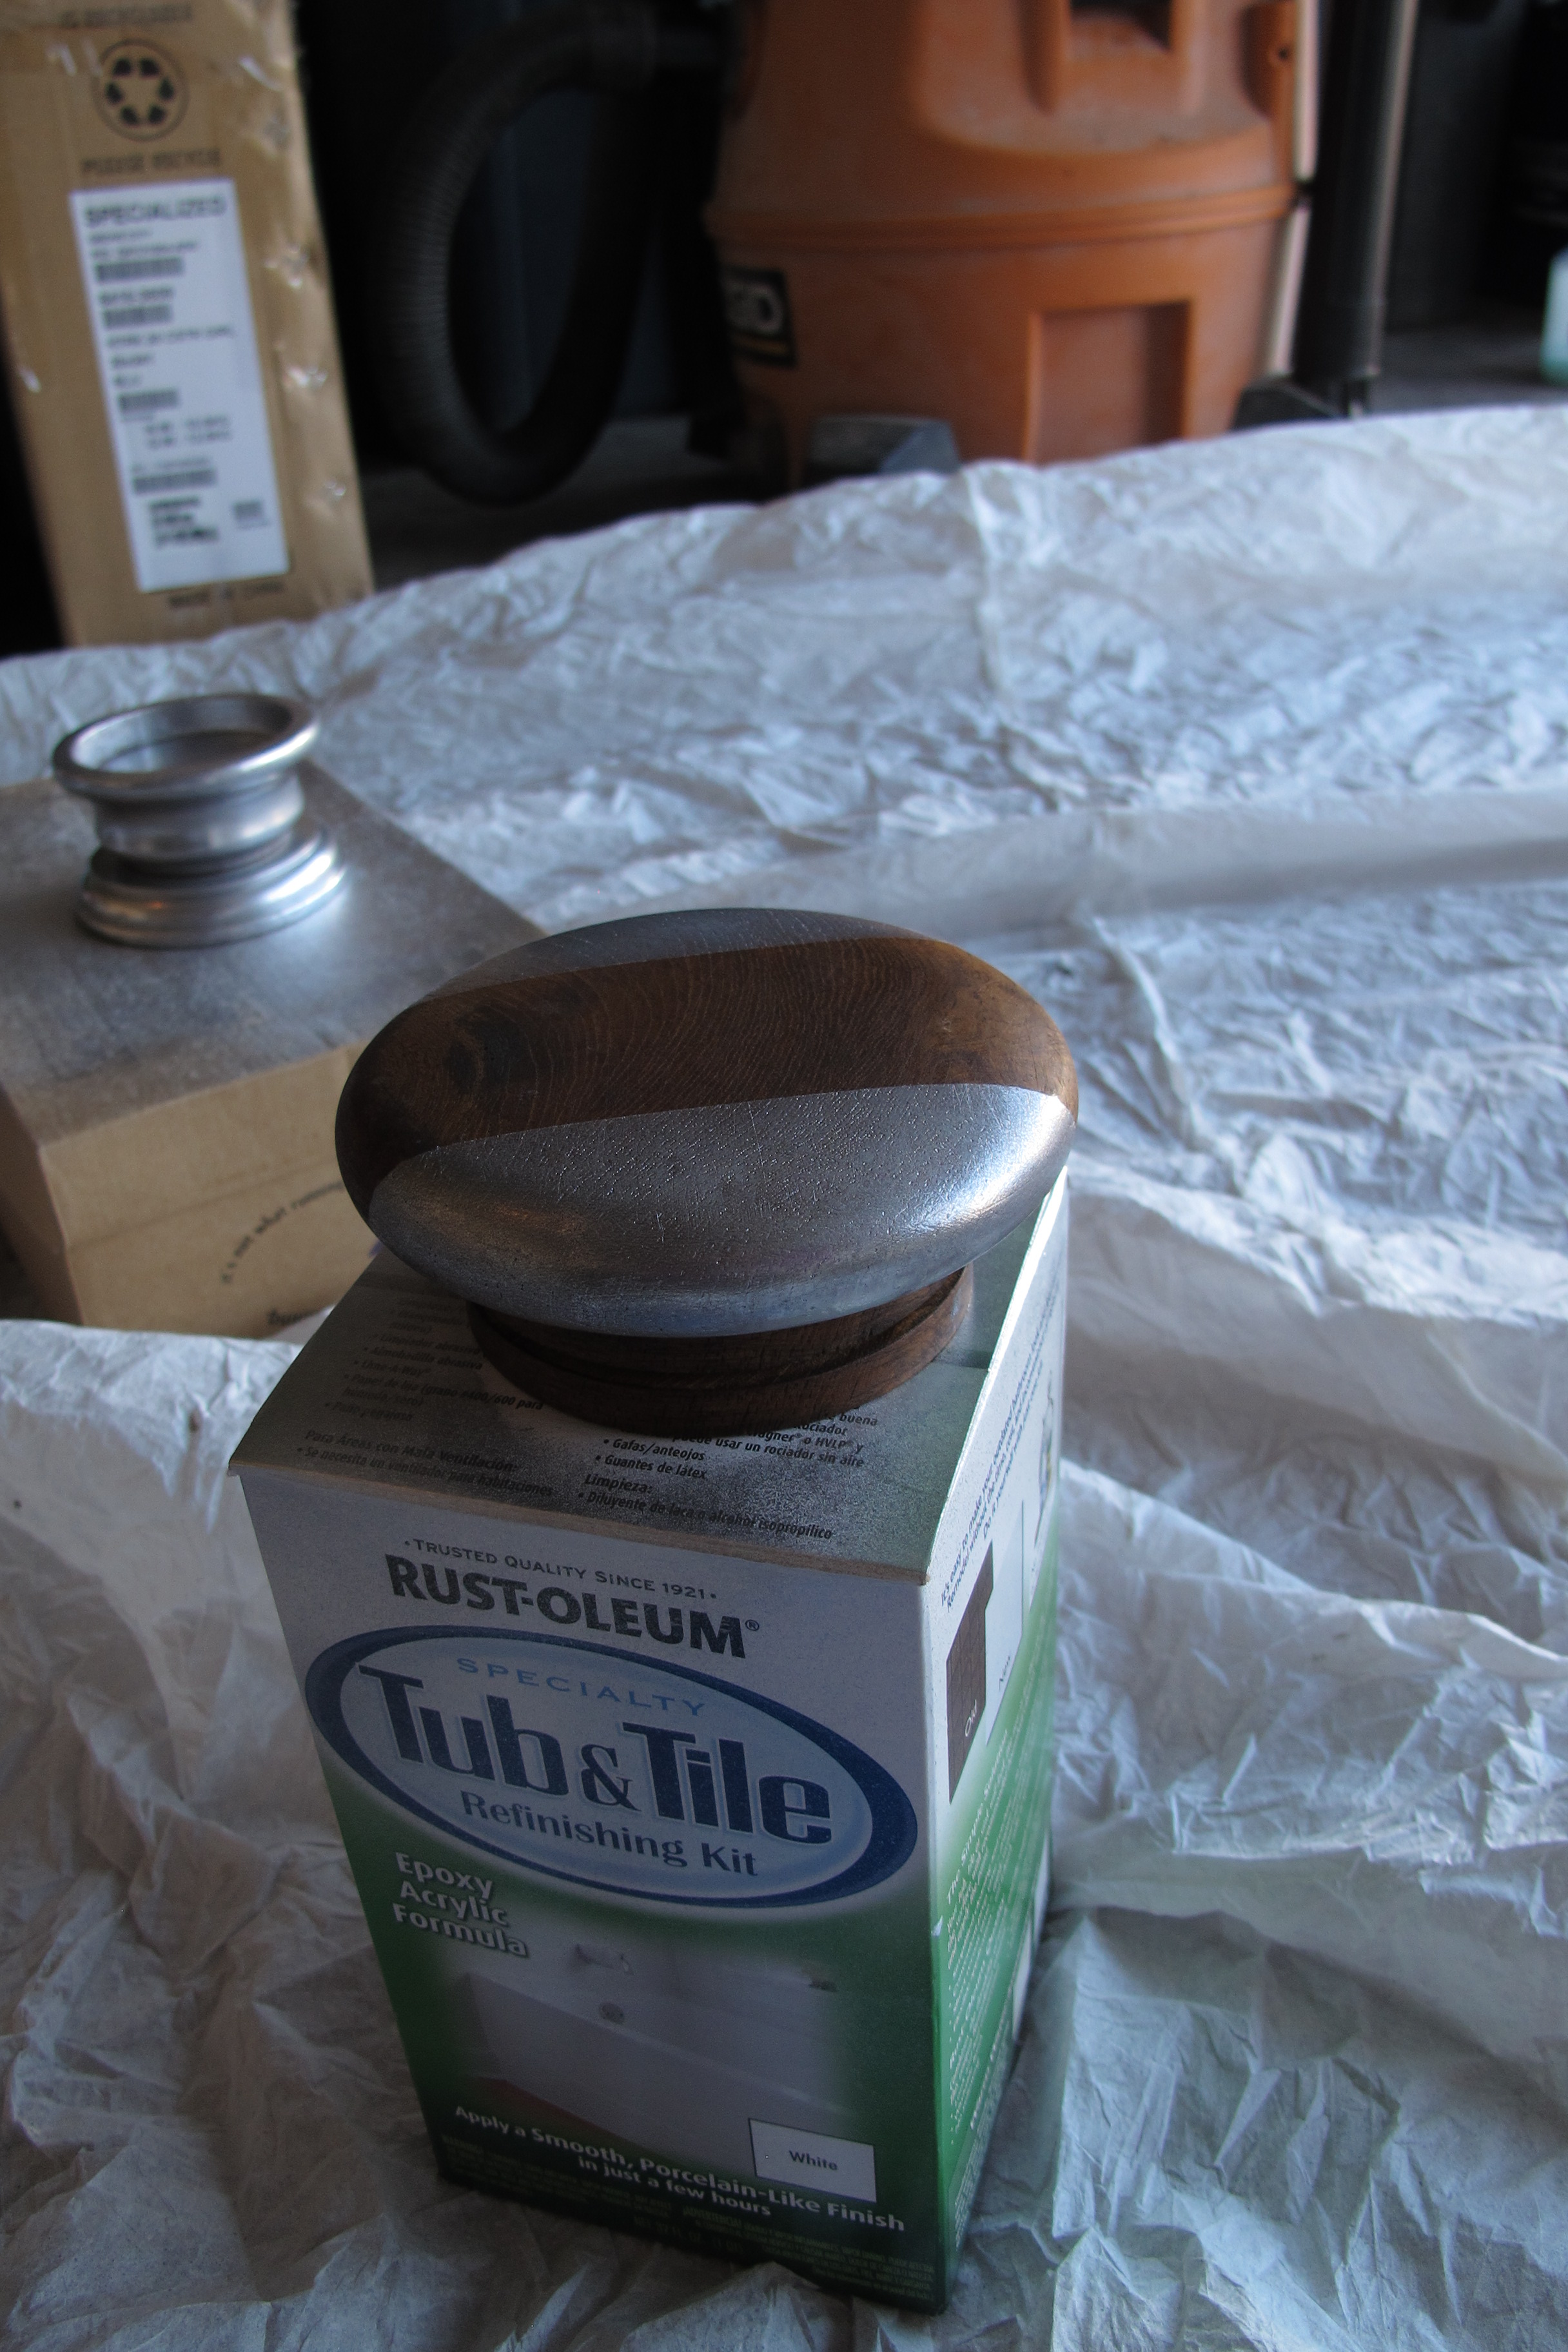
At this point, I decided that the silver was too crisp for what I was going for, so I sanded it a bit with 220 grit sandpaper….

IMG_3573

Which left this….

IMG_3575

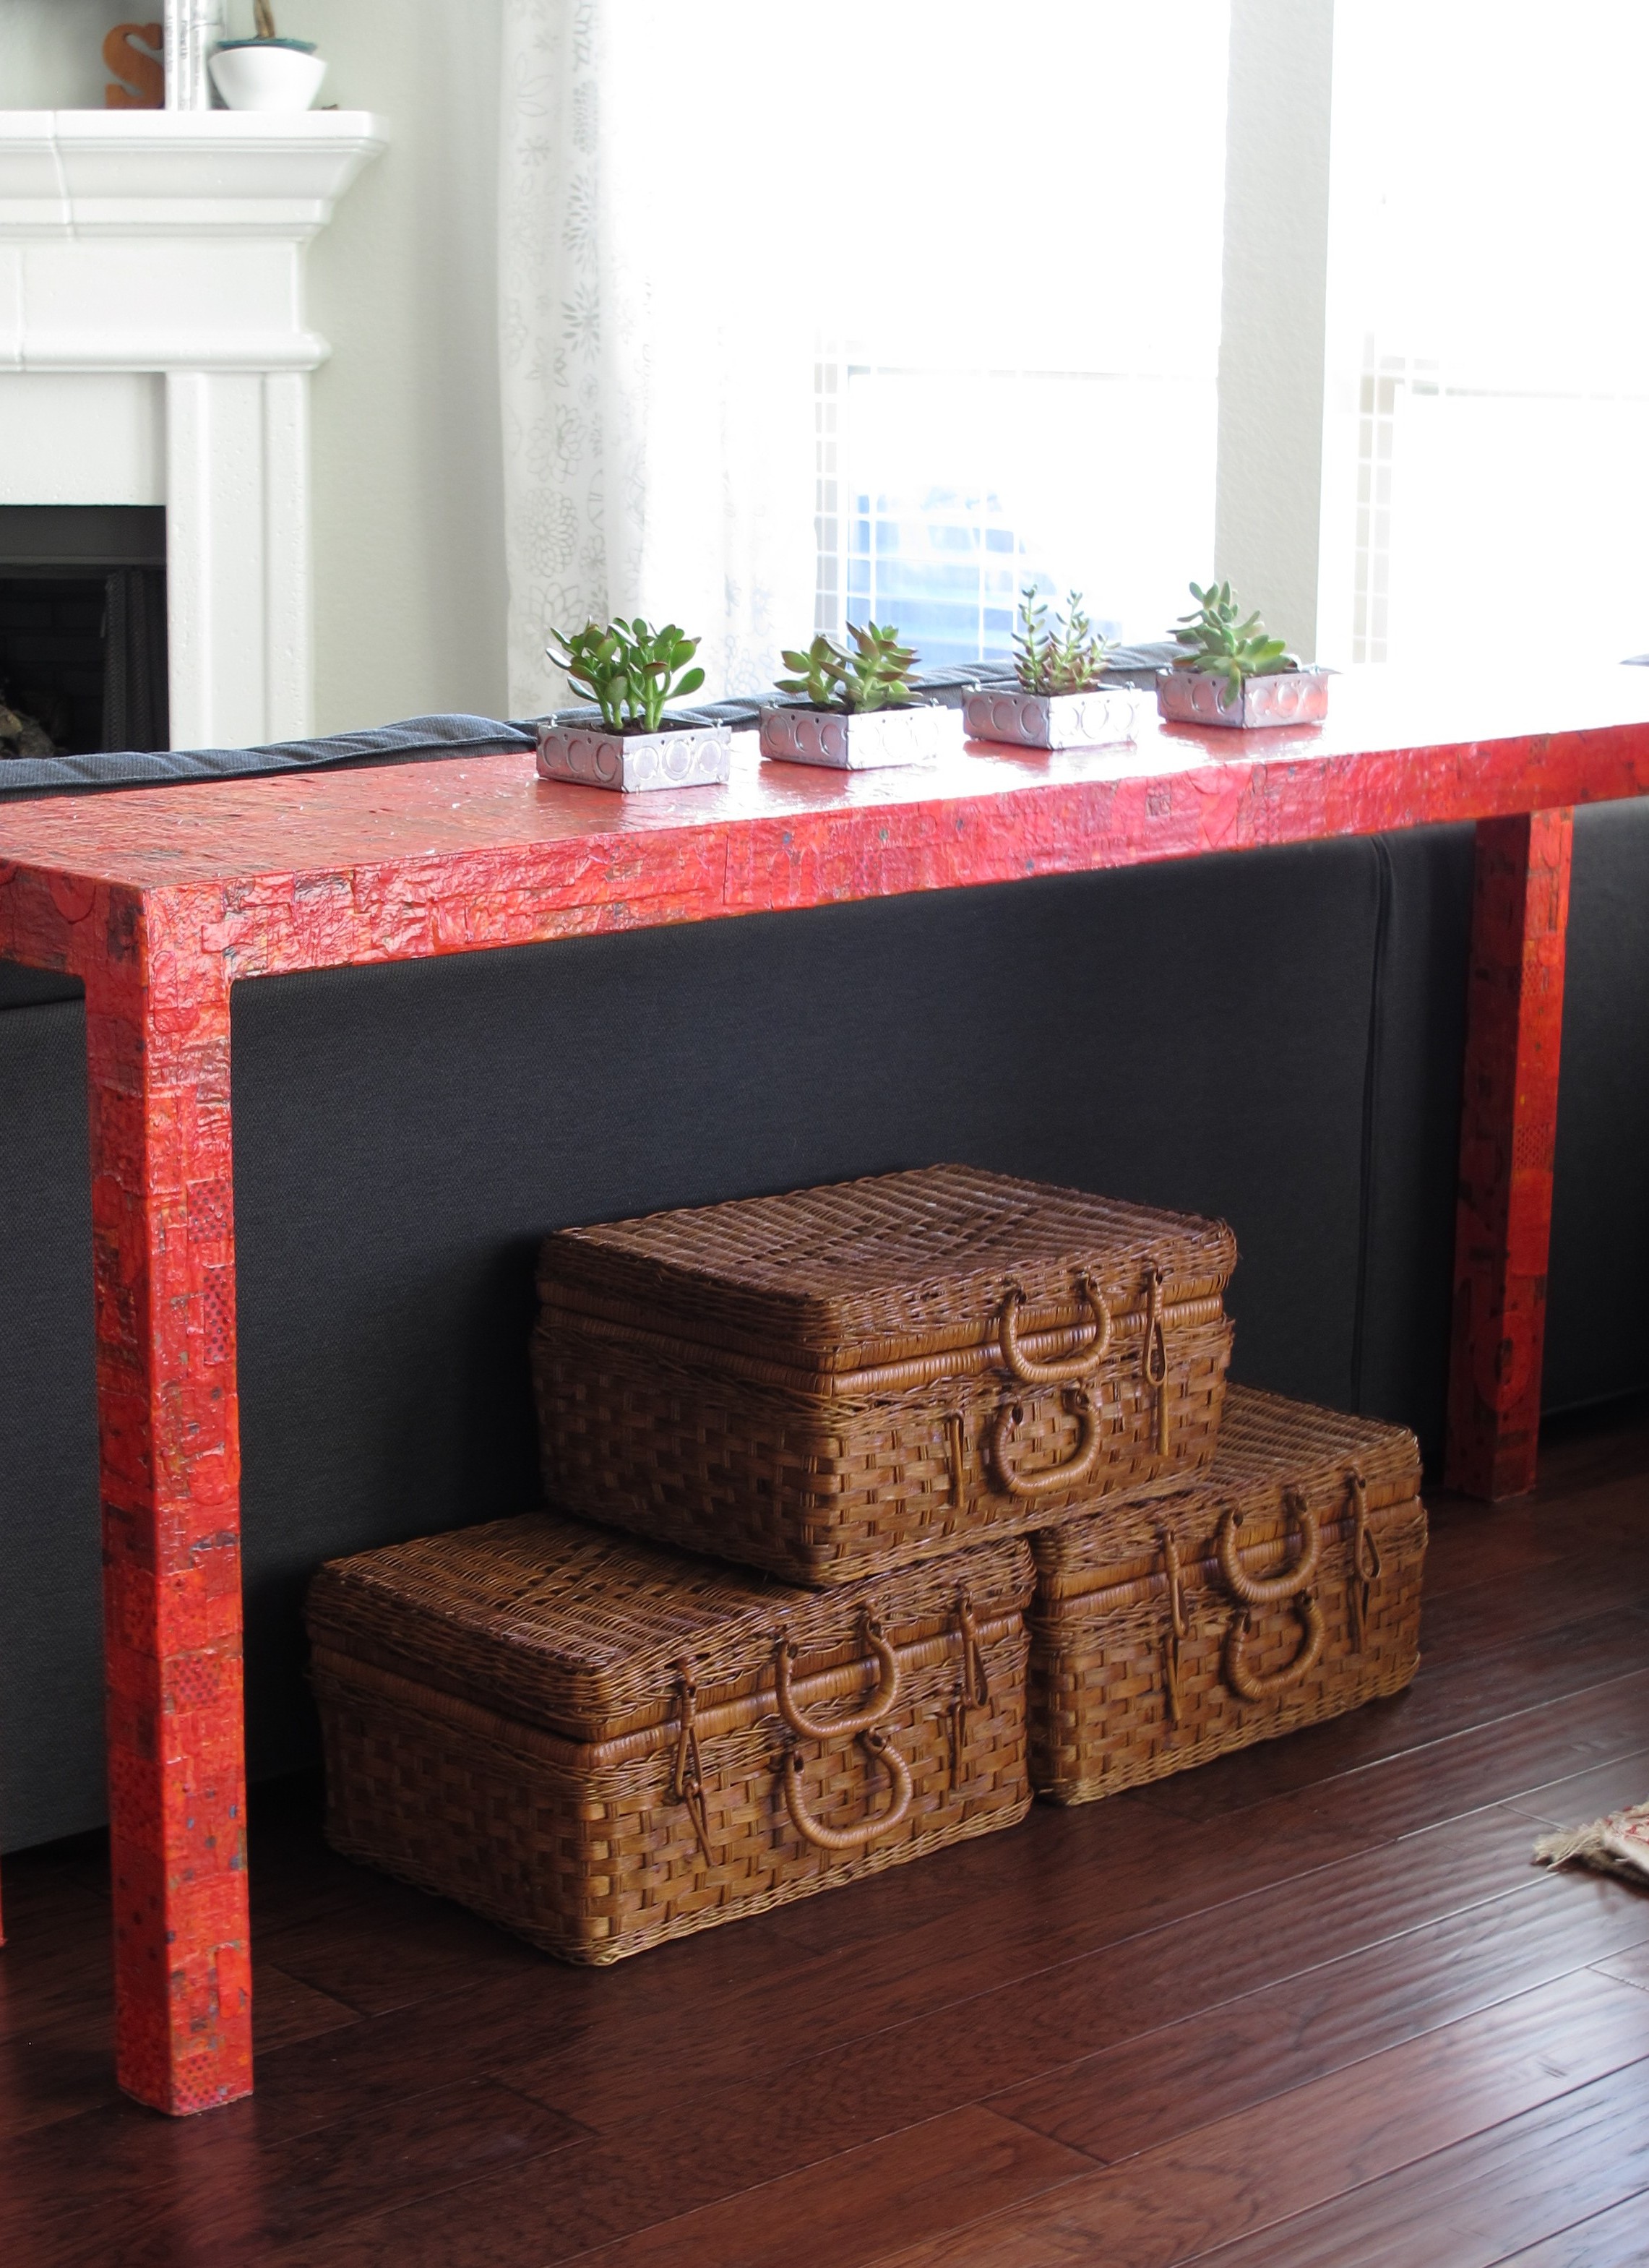
Then, since I already had my Polyshades out for my basketcases…

IMG_3576

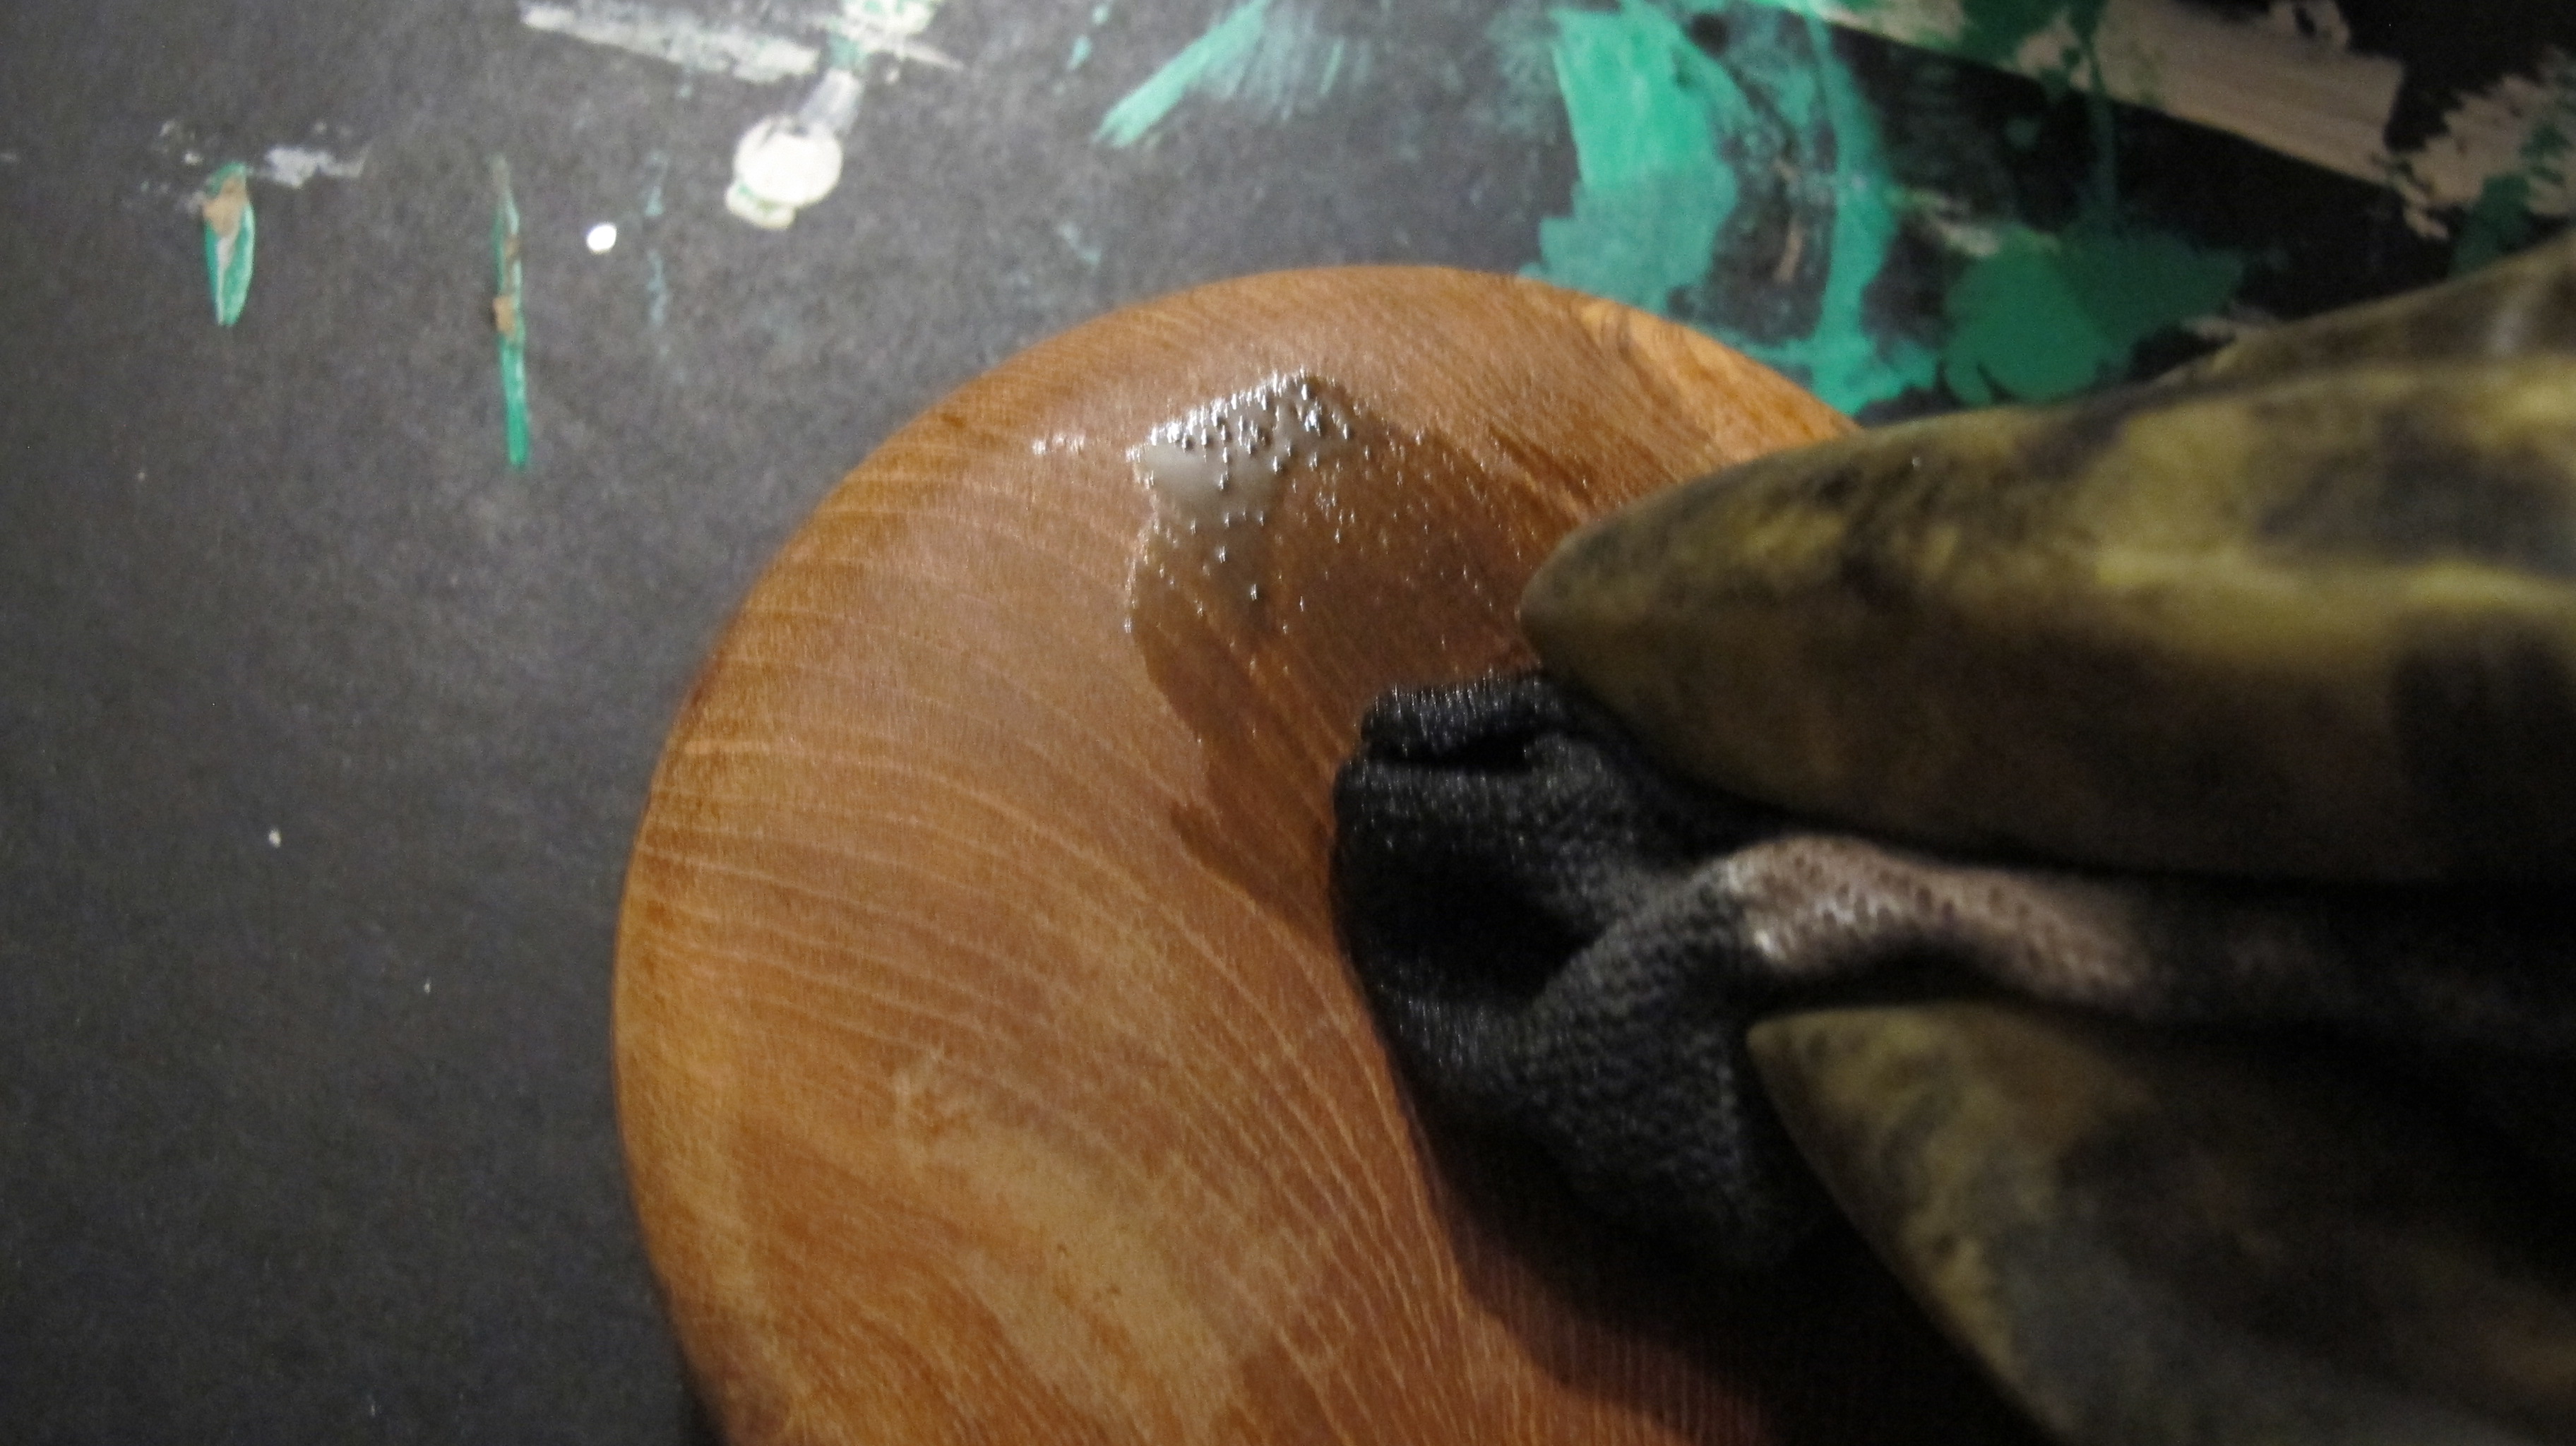
….I decided to apply a coat to my lid to further age the silver patina and to seal the entire surface. I applied the stain+poly mixture with a brush and immediately noticed that my silver spray-paint started to bleed into the wood portion of my lid (sorry, forgot to take a pic). So, I used a paper towel to remove the excess Polyshades (thinking that it would simply clean up the wood portion).  But what it really did was (ready for this?)…..

[scroll down]

[keep scrolling]

[scroll away]

[aaaand scrolling]

[tired yet?]

[almost there]

[and here it is….]

IMG_3579IMG_3581

That’s right. It REMOVED EVERY TRACE OF SPRAY-PAINT!!!!!!! Fully cured, dried-for-three-days spray-paint. And, I just want to stress this point…. I did not scrub the lid with the paper towel in the slightest. I gently wiped the Polyshades off (’cause remember, I was only trying to clean up the wood portion) and all spray-paint went with it. Every bit!! I mean, I’ve seen some paint-bleeding in my life… I’ve seen dry paint rub off  after being exposed to wet paint to some extent.  But ALL of it?? So easily???  Never.  Never in my life.  I nearly fell over. But decided to talk to myself instead. “What the…???  Are you Serious?? O.M.G!! No. Friggin’. Waaaay.” could be heard coming from our backyard if one was prone to listen.

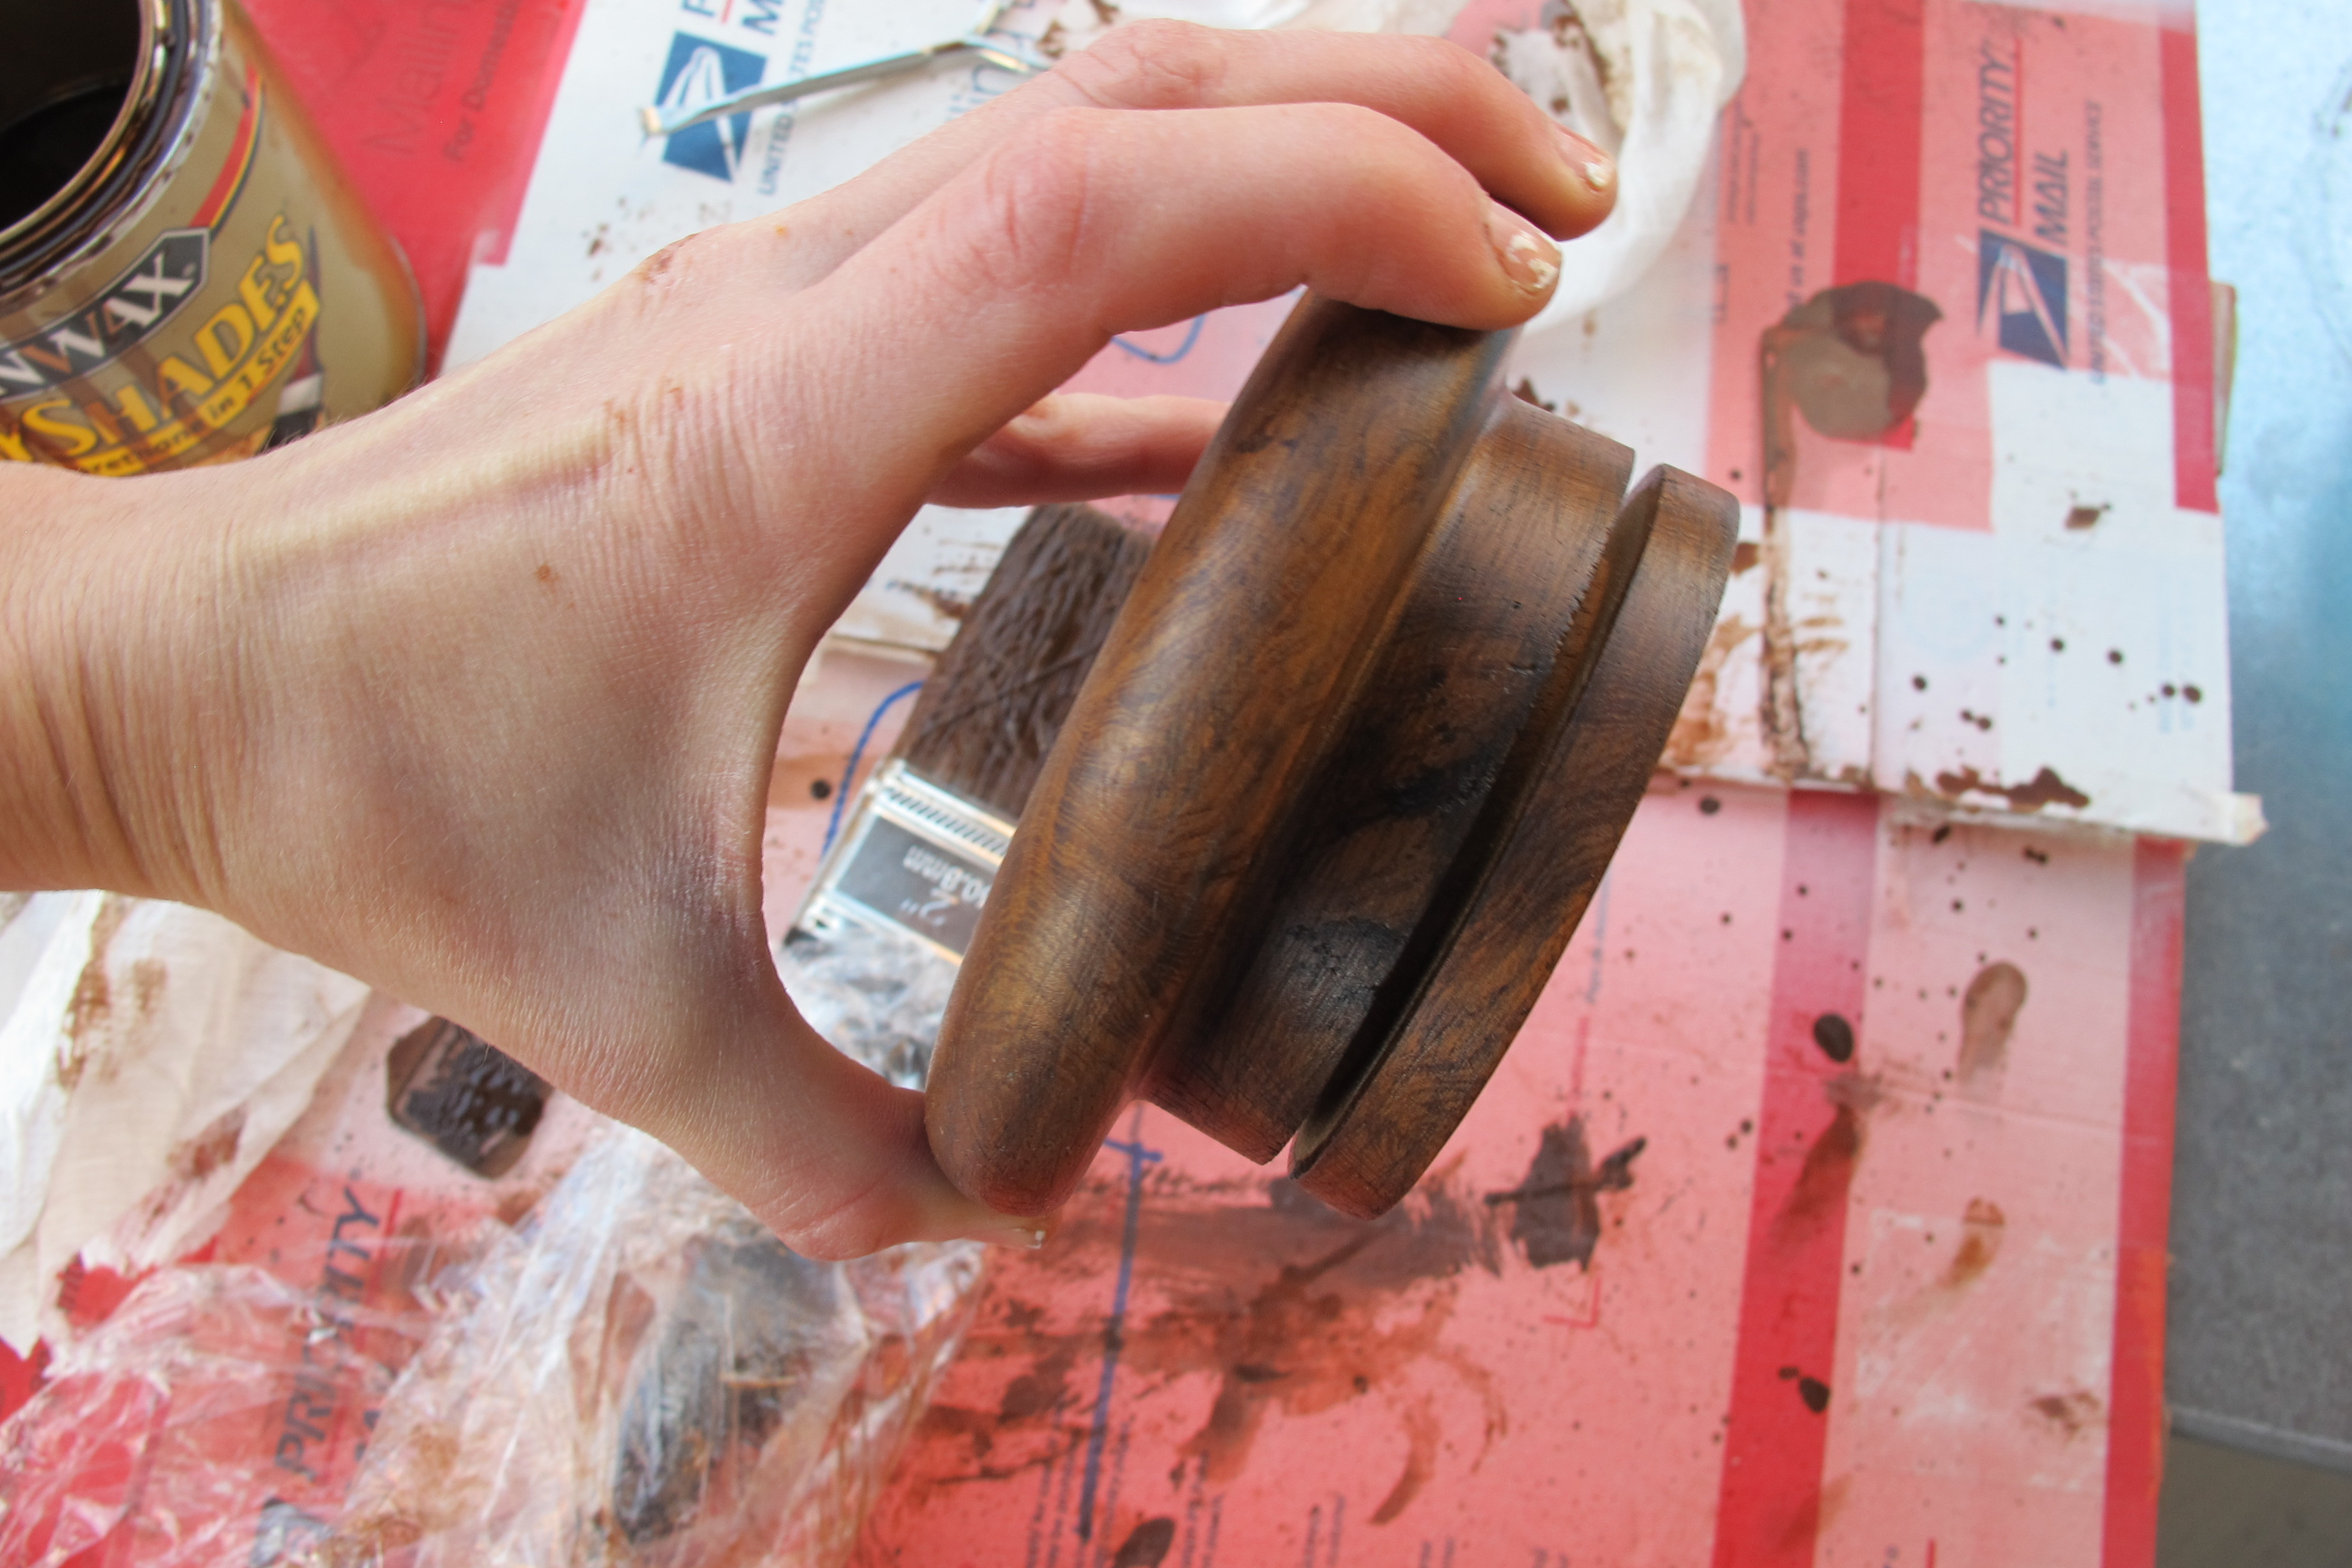
So, I’m taking this experience as a cue from the decorating gods that the lid should stay without embellishment. Which leaves me with this….

IMG_3601

Which is fine. At least it’s not the ugly orange color anymore. And I learned not to apply Polyshades to a painted surface. Unless I want to remove the paint. Jeepers.

A basketcase! A basketcase, I tell ya!!

No, literally, a basket-case. It’s a suitcase that’s a basket. See???

IMG_3472

Obviously this pic was taken in No Mans Land.  Our resident dumping-ground.  Anyways, it’s Spring-cleaning time at Joey’s parents house and Mac no longer needed these suitcase baskets, so I was more than happy to take them off her hands. Woo-hoo for neat, free stuff!!

They’re casual but cool. And I like ’em. I thought they’d be a neat texture for under the sofa table. The only problem was that they were a lighter, more yellow tone than we currently have going at our house.  So, (cracks knuckles) I decided to change that. I picked up a can of this glorious stuff for 12 bucks at the store…

IMG_3565

Polyshades. A stained finish plus poly requiring only a light sanding to rough up the surface. NOT requiring that every trace of varnish be removed (And angels sang). Where were you, polyshades, when I was refinishing our eight dollar chairs? I definitely would’ve saved myself some grief if I’d known about this product then. For sure.

Anyways, the only parts of the basketcases with a glossy finish were the handles and trim, so I gave them a light sanding with 220 grit sandpaper. Then, I applied one coat with a brush…

IMG_3567IMG_3566

And the following day, I applied another…

IMG_3569IMG_3568

It’s hard to tell the difference in tone in these pics because of the lighting change (I applied the first coat in the evening and the second the following morning when it was light and bright with lots of shadows), but just trust me when I say that there was a significant increase in richness with the second coat.  Here’s what we started with for reference…

IMG_3564

…And dunzo. Shortest tutorial ever, eh? It was that easy. I definitely recommend applying this stuff outside as it’s pretty fumey, but aside from that I have no other notes. It was straight forward and easy to use. I let the basketcases sit outside for a good day and then brought them in and put them to work. And here they are in action….

IMG_3594 IMG_3586  IMG_3591

Their actual color is definitely closer to the farther pics… the close-up shot makes them appear way more yellow than they are in real life.  I have to say, I smile every time I see them.   They add some great natural texture to contrast the sleek metal-encased succulents. And I love that they aren’t just another basket. They have interest and detail. And the new rich tone goes SO much better with our coffee table and media cabinet. Plus, they provide additional storage!  Three cheers for that!! Now, if only the perfect chair for the head of our table would enter my life… Then, this area would be pretty complete (for now, anyways).