Hello! I’m Christina… wife to Joey and mother to an energetic 2 year old named Lucas. I’ve decided to start this blog because my obsession with DIY has reached astronomical proportions and I need an outlet to share as well as gather ideas from anyone willing to share back. I’m definitely an amateur when it comes to decorating and DIY and I’ve just been learning as I go. Sometimes it works, sometimes it doesn’t. Either way, it’s been fun trying!
I’ve tossed the idea of starting a home-related blog around for a while now, but was always a little daunted by the prospect. I had this grandiose idea that I must make this incredible introductory post with amazing pictures showing full house tour. So I stalled. A lot. Then today, I finally threw in the towel to that idea and decided to JUST DO IT(Sorry, Nike) and post what I have so far.
So, here’s our story… Last year, after looking for an older home with character that needed a little love (and coming up empty-handed thanks to a very competitive market), we decided to have a home built. I know. Total 180 from what we had wanted initially. We thought that it would be sweet to get to choose our finishes, and that we would have just as much fun DIYing in an effort to add character that many new construction homes lack (in our price range anyways). Plus, being beginners, we liked the idea of mainly performing cosmetic changes, rather than potential budget-busting structural, electrical or plumbing improvements that define the term “WOMP-WOMP.”
Our house is a little under 1900 square feet, 3 bedroom, 2 bath with an office. The counters, cabinets, flooring and tile were chosen by us. Other items, such as lighting and plumbing fixtures are standard builder-grade and doomed for replacement. As for paint, we had very limited choices. We went with white for the trim and beige on the walls since those were the easiest to paint over (Enter maniacal DIY cackle. Heehee! We’d planned to repaint the entire place before the drywall was even up. And at this point, all but 2 rooms have been painted).
To start, some of my posts will be retrospective as we’ve already done a lot to the house. It will be the ‘Catch-up” phase, if you will, mixed with any current projects that we happen to be working on. These rooms have each been through several evolutions to get to their present state. I don’t consider any room to be finished (although they may never well be).
A little aside: The color is a little off in some of these pics… the reds and yellows feel a little neon to me and many pics appear lighter than they are in person (any tips from camera buffs are appreciated). 🙂
Without further adieu, here is a mini-tour….
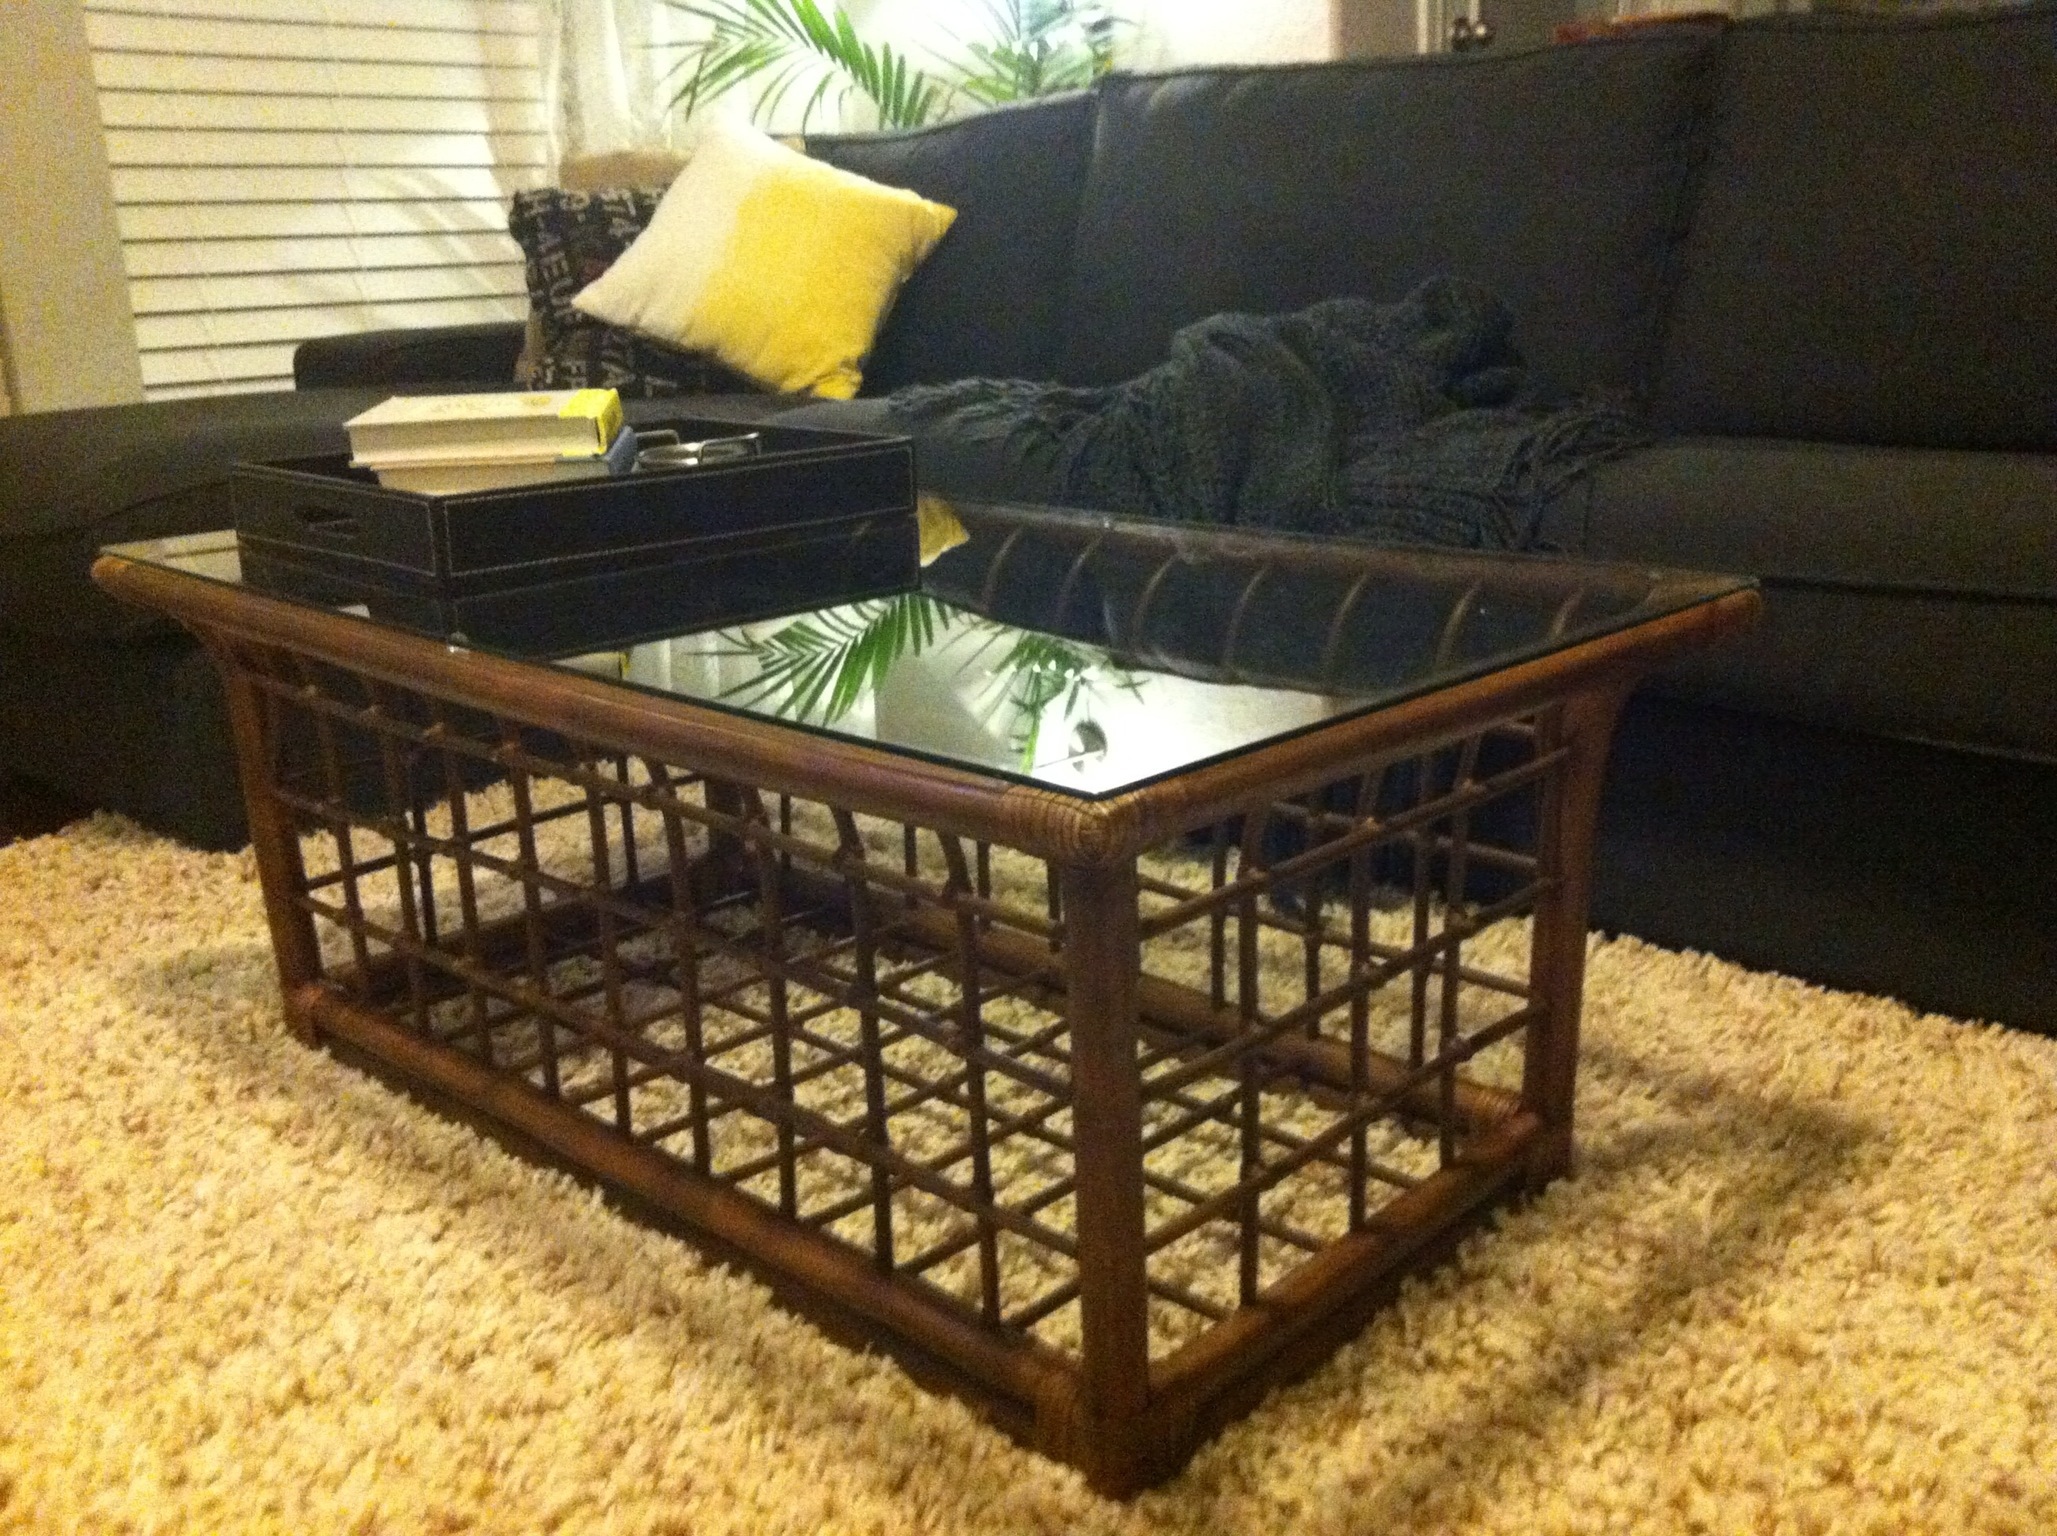
This is our living room with a little peek of breakfast nook in the background.
The other side of our living room (taken from behind the couch).
A closer detail… (The cabinet was a thrift store find that I refinished and added legs to for a grand total of $50. It now houses our media equipment.)
A farther view for a little perspective (taken from next to the dining table)

Our breakfast nook and entrance to back patio…
Our front room that serves as an office/guest room. (The middle of the “L” in the L-shaped couch slides out and pops up to make a full-sized bed).
The office portion of our front room….
Our mudroom (Excuse the tools on the dryer… I actually only took this pic on my phone to send my hubby an update with the new hooks I had mounted.)
Master bedroom, from the doorway.
Other view of the master (Many plans are in mind for this view…. it feels a little dark and crowded right now)
Kitchen taken from the living room…. (This is what I mean by light pics…)
Kitchen from the other side (cabinets are blacker in person)
Guest bath… Aside from hanging some art, nothing has been done to this room. Oh, the plans! We plan to paint the bath tile surround with white epoxy paint, paint the walls, replace fixtures, DIY some rustic towel hooks, frame the mirror, and reaccessorize. Now if only mother nature would send some cool weather our way so I can actually ventilate the house enough to get a move on. Can you tell I’m pumped about this? I’m so pumped. For real.
Other view of the guest bath. Not offensive, but a little beige for our taste.
Aaaaand then we have No Man’s Land. Our now spare catch-all room that has yet to find a purpose. Oh blank canvas. My dorky DIY brain is overflowing with ideas.
I’m missing pictures of Lucas’s room, our master bath, foyer and backyard, but those will come later. So that’s a little peek into what we have going so far. There’s definitely more projects in store (as I type with paint splattered hands), so stay tuned. 🙂
Like what you see? Please share!!