House and vacay updates

GUUUUUUYYYYYYYSSSSS!!!   This month has completely flown by… wait.  Did I say this month?  Last month.  That’s what I meant.   Sheesh.   😉

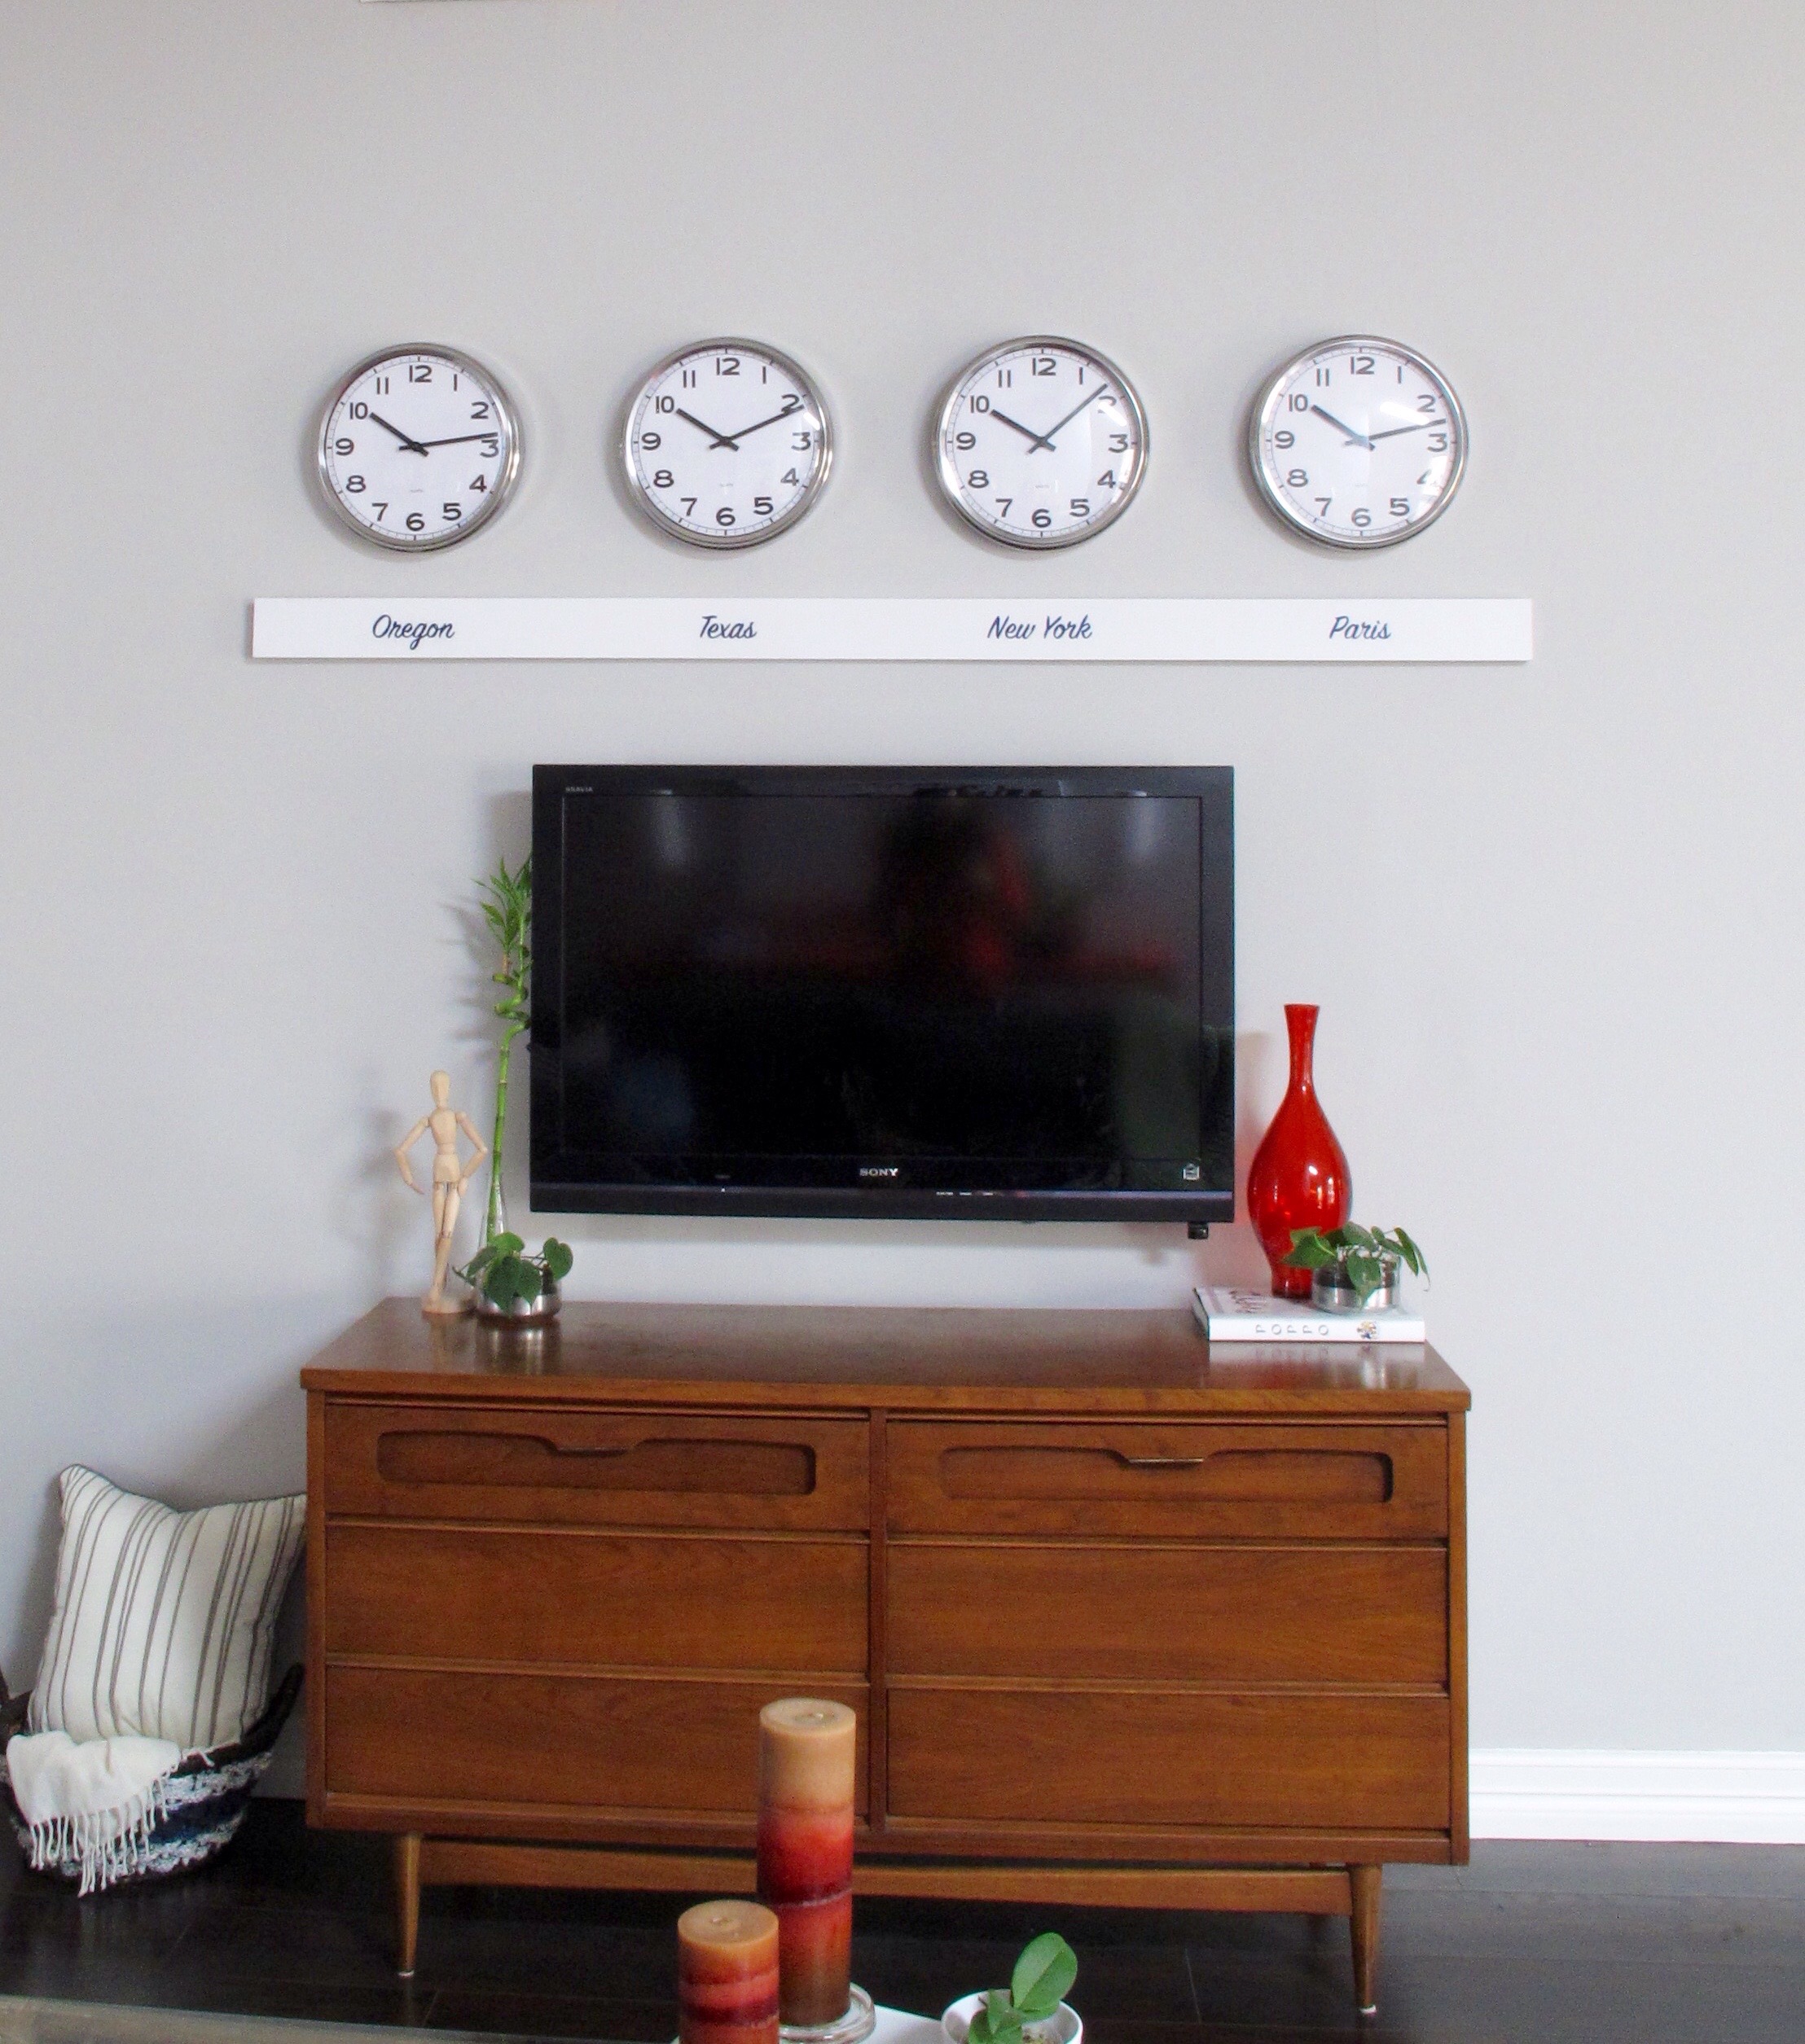
I know January is usually a busy month for most and for us it was no different.   We’ve had a smattering of smaller house projects/additions that I didn’t think were truly worthy of full blog posts, so I’ve been posting on Instagram to keep y’all updated.   Right now, I’m working on a, well… unexpected project.  You may have seen (if you follow me on Insta), that we recently transformed our front bedroom into a workout space.  I’ve only shown tidbits of the room because I wanted to put together a full post about it.  And I would’ve had that post for you right here and now, except, well….
d14b1d54-6df5-41ad-b9a4-b8e0f8ab8992

I.CANNOT.BE.TRUSTED.

Most people rest when they have gnarly upper respiratory infections.  Me?  I get bored and start picking at things.

It’s a problem.

I need to sort it out.

But, I won’t.  😛

IMG_7335

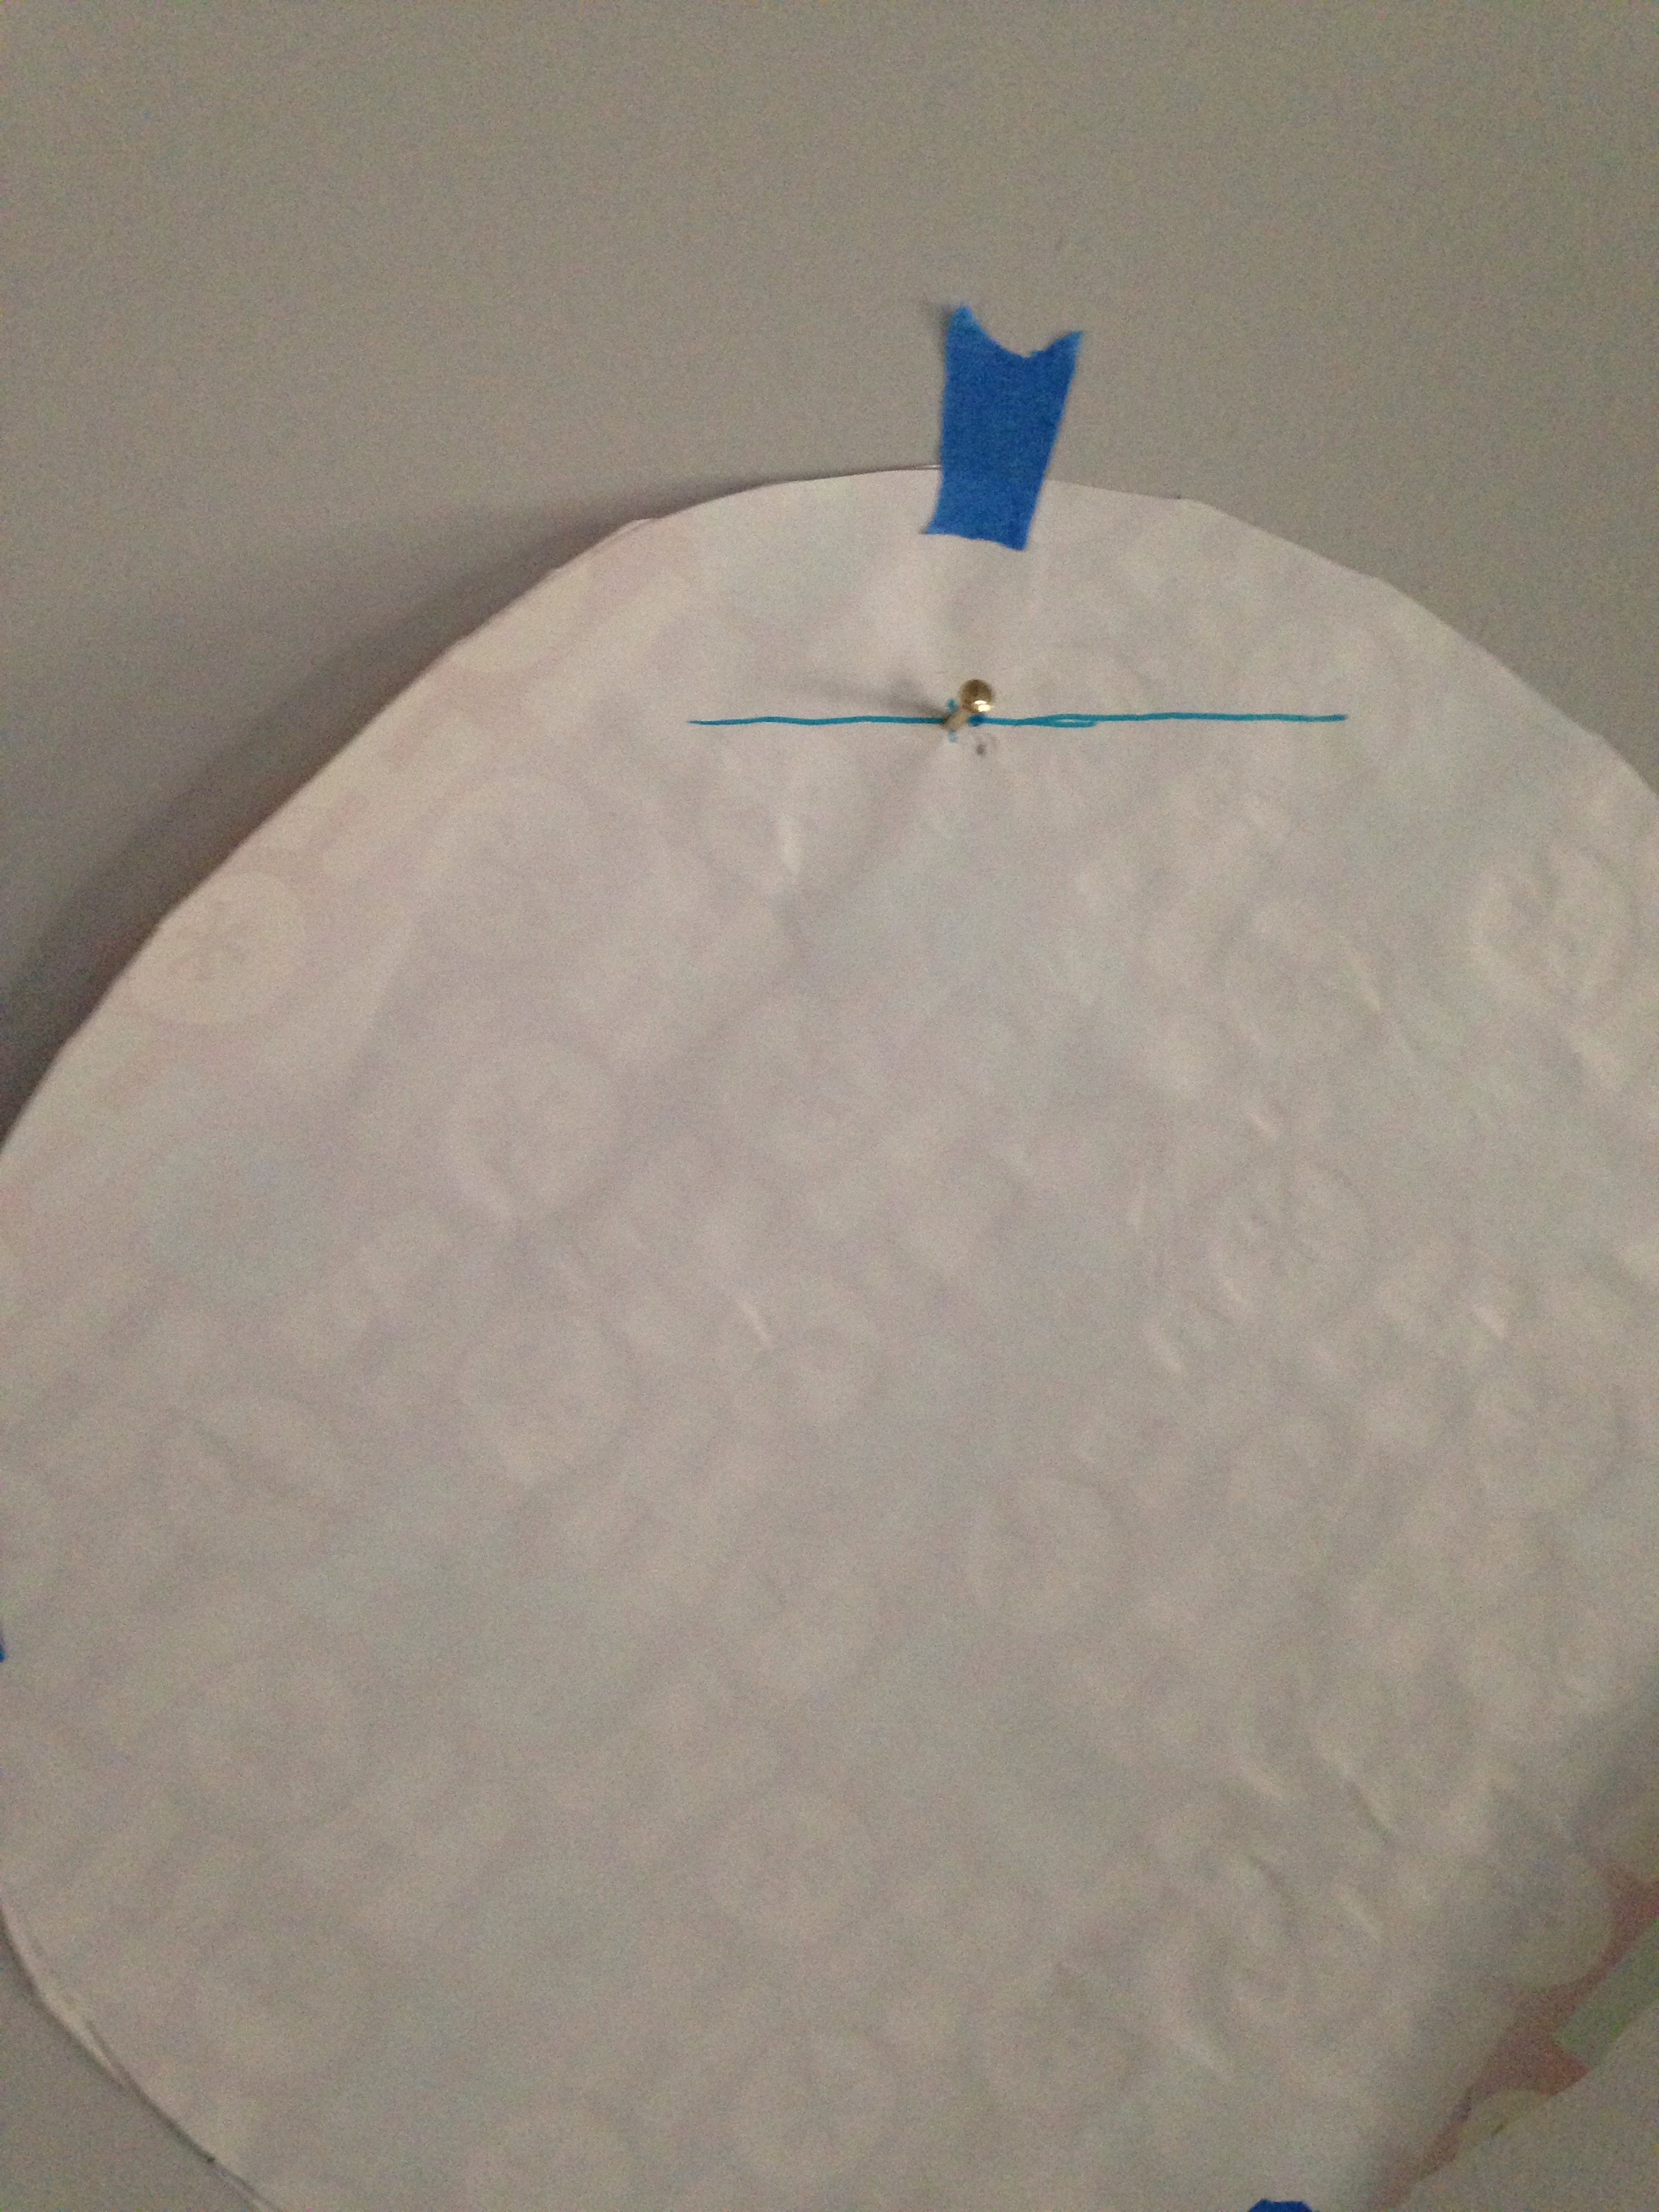
This pic is one that I recently posted on Instagram of the new workout space.   But, ya see.. The desktop shown in this built-in above has always irked me.   Well, lets be honest… the BEIGENESS of the entire built-in irked me.   I’d always guessed that the paint job was of poor quality judging by the many chips in the paint, so I wondered how much effort it would really take to strip the desktop to bring it back to it’s original beauty.  On a whim, I chipped away at the paint in a corner with my fingernail.   And the paint came up easily.   So, I grabbed some tools and continued this quest.  And the paint practically FELL OFF with the exception of one teeny spot.  It was embarrassingly simple and literally took no strength.   Just a little exact-o knife with a flat blade (it was all I had)…

IMG_7398

Yes, that’s me Vanna-Whiting an Exact-o knife. I’m not sure why. I guess, in my medication-induced haze, I suspected that this is usual practice in the stripping of desktops?  We will never know.

On a funny note, as I was working on this, I thought I might need stripper for that stubborn tiny spot up front (I didn’t) and the following conversation ensued:

Me (to myself): “I think I need a stripper.”

Lucas: “He’s outside.”

Me: “Who?”

Lucas: “Daddy.”

I nearly keeled over laughing.  I swear, he does NOT know what a stripper is at five years old.  I’m not sure what he thought he heard, but it sure played out beautifully.

So anyways, back to the project, I’d love to tell you that I have a neat before and after for you this post, but thanks to this little chipping-of-the-paint discovery, I’m mid-project restoring the wood top.  AND IT’S FLIPPIN’ SPECTACULAR.   I mean, don’t get me wrong, I get covering up ugly 1970’s wood tones, (like I did here and here) but this desktop is pah-retty.

I’m going back and forth as to whether to paint the beige built-in’s white first, or just to show y’all the space after I finish the desktop and do that later.   I guess it depends on how excited/patient I am. Thus, I’ll probably just show you when it’s done.   Because… ME.

232323232-fp83232-uqcshlukaxroqdfv3833;-nu=3396-6-9--78-WSNRCG=3647475578346nu0mrj

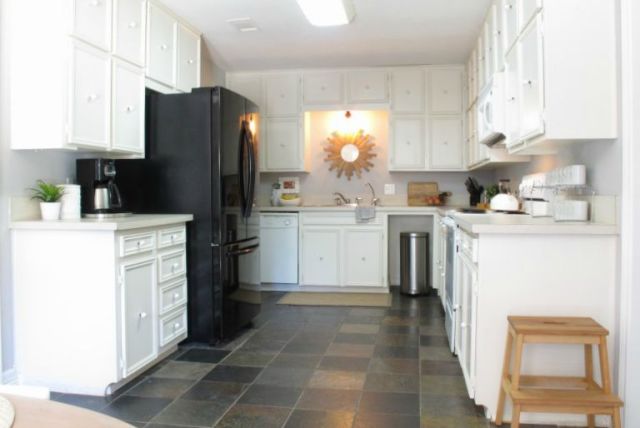
Second update: Joey’s SOMEHOW convinced me to embark on a full-gut renovation of our kitchen.

Like, everything GONE.

All new cabinets, counters, appliances, lighting, backsplash, paint, you name it.   I was all for painting the cabinets and updating everything else, but he made a good case for stripping (harhar) everything and starting fresh.  Plus, the clincher was when I experimented with the Ikea Kitchen Planner and discovered just how affordable their cabinetry is.  I mean, I’d always heard it was but when I actually planned out an initial version of what we may want, the total cost was WAY below what I’d thought it’d be.  Sold.  Well, soon to be sold anyways.  We want to hold out for their annual kitchen sale to pull the trigger.   We’re still in the planning stages, but once we actually get closer to getting started, I’ll fill y’all in on the plan.  I’m scared.  Seriously.  The thought of not having a working kitchen for (potentially) months is totally unnerving for a cook-at-home gal like me.  It’ll all be worth it in the end, I’m sure, but gah…

Lastly, one of the more exciting adventures we’ve had lately was a family trip to Puerto Vallarta.   Joey’s grandparents celebrated their 50th wedding anniversary and took all of their children and adult grandchildren to a gorgeous all-inclusive resort.   It. Was Stunning.

IMG_7220

And I’m not gonna lie, I miss waking up to this view…

08ff7c28-db1f-49fd-956c-4a5b64172a18

And gazing at this from outside the elevator…

IMG_1025

This vacation was so relaxing and MUCH needed.   Joey and I got some great quality time together and we got to hang out with his family which was a blast.   We decided not to go on any excursions in favor of relaxing at the beach and pool, and I didn’t take a ton of pictures while we were there, but on the last day, we had Joey’s cousin Christine take some pics of us on the beach.  This is one of my faves…

IMG_7303
And I doubt you’ll find a pic that more accurately defines us than this one…

70512812-fd96-4aac-8f0f-e2762da5ccc1

Seeing these pics makes me wish I was here (warning: crummy iphone quality (but still fun) pic alert) …

FullSizeRender

…On our first day of vacay.  Enjoying our first meal with the entire stay in store.  But, that’s okay.  Being back home means we’re with Lucas, who was definitely missed on our trip, though adults-only is really nice upon occasion for sure.  On a side note, I’m not normally a hat person, but for whatever reason I didn’t take that hat off much during our trip.  Weird.

Anyways, so now we’re now back to reality and ready to properly tackle 2016.  Let’s do this.  🙂

What are your goals for 2016?   Any recent trips or adventures?  Any DIY plans happening anytime soon?

I’m BAAAA-aaaack!

Woot!

I’m totally back!

And happy to be here!

We got a brand spankin’ new laptop last week and I couldn’t be more stoked to be typing, uploading, and saving at a normal, nay, dare I say… rapid rate thanks to this fine piece of machinery.

It’s been so long since I’ve blogged that I’m almost overwhelmed as to where to start to catch you guys up.    If you’ve been following me on Instagram, you probably have a good general idea of what’s been happening decor-wise, but for the sake of continuity, I decided to take some (waitforit) non-grainy shots with my trusty ole’ camera.  You have no idea how long I’ve waited to type those words.  Wait.  Yes you do.  Two months.  That’s how long since I’ve been able to UPLOAD PICTURES.  All caps really says it all regarding my excitement level here.

So, in organizing my thoughts here, I’ve decided to basically brain-dump all the decor stuff that’s gone on over here lately over the next few posts.   I’m gonna start with a project that I recently finished in the living room.  After that, in no particular order, I’ll be showing y’all some dining/foyer updates as well as our nearly finished breakfast nook.   I just took all the pictures I need and am SUPER excited to show you guys everything.  GIDDY, even.

So, let’s get started, shall we??

It actually took me quite a while to get to this project even though it wasn’t super difficult.   You may remember from my last post that I herniated a disk in my back a few months back, which was a huge reason for my recent break.   For a while, even the easiest of tasks felt insurmountable, but after a few months of physical therapy, I’ve had a pretty decent improvement.   I’m still not running or anything, and I occasionally have exacerbations if I’m not conscious of my movements, but for the most part I’m feeling WAY better.   So, you can say that getting started on this project was like a breath of fresh air (aka. normalcy).

Remember this blank wall over the TV??

blank tv wall

Well this wall stumped me for the longest time.   I had no idea what I wanted to do with it.

Then, one fateful day at Ikea, I spotted the Pugg wall clocks, and it was all over.

I had a plan.  I purchased my clocks and went on my merry way.  See, what I wanted was to hang four clocks to designate each of the time zones that mean something to us.  Oregon (where Joey’s from), Texas (where we live), New York (where I’m from), and Paris (one of the coolest trips we’ve taken).

Now, please excuse the next few progress shots.  They were taken in a rush (and many at dusk) with my phone.

Anyways, once I got started, the key was getting them lined up perfectly.   And I’m proud to say that I managed to do it without punching a single excess hole in the wall.   And here’s how…

First, I traced the clocks on wrapping paper, cut them out, and used these templates to determine roughly where I wanted them above the TV…

Then, I used a laser level and a yard stick to measure the exact center (at the location where the hanging holes in the clocks were).   This is where I would punch my holes.  It turns out that my holes were exactly 18″ apart from each other, so I simply measured and marked along the laser level line every 18″ and marked them on my templates…

Then, I hammered my nail in through the paper.   I tore off the paper and hung my clocks…

They turned out perfectly aligned and straight.   I couldn’t believe I’d actually succeeded in this the first time around.  That almost never happens.   See that blue painter’s tape in the pic above?  This would be the next part of my project.  And this was the part that I had to wait FOREVER to get to because of my back.   It was literally up there for about 6 weeks.  And weirdly enough, it started to grow on me.   Heehee!  So strange.

Anyways, once I felt well enough to go for it, I went to Home Depot and had a 1″ x 4″ cut to the length of my painter’s tape (73.5″).   I sanded it with 220 grit sandpaper to smooth it out, then gave it 2 coats of white paint. I mounted the wood to the wall using 2 claw hangers.  Then, I waited.

Because this was the point where I needed to print, but we hadn’t replaced our computer yet.  Oy.  So many blogging barriers that I’m happy to have busted through lately.

So, basically that blank piece of white wood hung in place of the painters tape in a state of limbo for another 2 weeks.

But then, BAM….

And it was on.   I’ve seen this technique on many blogs before, and have always wanted to try it, so…

I chose a font that I liked ON MY NEW COMPUTER (:D) and printed my labels on plain computer paper in my preferred color, cut them out, then scribbled lead on the back using a pencil…

IMG_03892

I perfected placement of them on my wood with scotch tape, and chose the color of oil-based paint pen that I wanted (as seen in the scribbles above the wood)…

IMG_03912

I removed the wood from the wall, then traced the outline of my font with a ball-point pen, giving decent pressure…

IMG_03962

Which left this…

IMG_0393

Then, I used this navy blue paint pen to fill it in…

IMG_03982

And cleaned up the excess lead with a gummy eraser.  Once this was done, I rehung my wood, which left this…


IMG_04042

And as per usual, I can’t NOT put a before shot from when we gained possession…

IMG_7239

Gosh, I’m a fool for before and afters.   And here’s the other direction…

IMG_04102

You can see that I replaced the Fort Worth print above the chair with a vintage painting that I found for $7 at a thrift store.  It’s PERFECT there and helps tie in the hanging planters on the other side of the doorway.   Plus, I love that the vintage style contrasts with the more modern clocks.

A view of that entire side of the room….

IMG_0409

And a before…

IMG_7227

And a few closer-up shots of that newly revamped corner…

IMG_0413
IMG_04232

I scored that plaid pouf at Target in clearance for $14.98.   That was a happy day for me. #andcheaposrejoice

Here are some more close-ups of the new clock wall….

IMG_04172

I LOVE that technique for transferring font.  Now, I want to monogram everything in my possession.

IMG_0416

IMG_04192

Now, I just need to actually put batteries in the clocks and set the times.   Joey keeps joking that for a room with so many clocks, we never seem to know what time it is.  Haha!

Anyways, I am super thrilled with how this turned out.   It’s exactly what I wanted.   Something a little different that suits us and is actually meaningful to us.    I think finally deciding on this project as our wall decor was well worth the year long decision-making process.  Yes.  It took a YEAR.  And many, many ideas until this one came about and stole the show.

Oh!  And just to update y’all on the last issue from my last post… The roof patch worked!!!!!!   (fingers crossed that it continues)  AND we had a new drain system with industrial-strength sump pump installed in the backyard, which meant ZERO flash flooding with the last storms we experienced.   So, although our roof is old and will eventually need to be replaced, we’re now hoping that we can hold off for a while (please) and get to some other fun projects instead.  So, it’s good news all around!!!

So, anyways, I hope y’all have had a fabulous holiday weekend!  And thanks for not giving up on me.  🙂