White paint for everyone!
All the things will be painted white!
All.The.Things.
At least that’s how it seems lately, anyways. And I’m not complaining. This lightly-shaded mayhem began with the transformation of our dining table, and now our built-ins have gotten the blanco treatment. And there’s more to come. Just you wait. 😀
White is one of those lovely shades (remember in school when they referred to white and black as shades, rather than colors?? This has never left me. I remember the weirdest things.) Anyhoo, regardless of the verbage, white is classic, clean, and still leaves plenty of room for character to seep through while modernizing the item in question. And that was exactly my goal with the built-ins. Maintain character while modernizing and brightening the space.
As a refresher, when we purchased our home, the built-ins looked like this…

They were stained a 1970’s wood tone… and don’t even get me started on those nose-cabinets. Not only this, the finish was a thick, high-gloss shellac that was drippy and uneven….

The instant we saw these built-ins during our initial showing, I knew they needed to be white. They were SCREAMING for it. And so was the fireplace. After all, he was the showstopper of the space. The built-ins were basically zapping him of energy, what with them matching almost perfectly. The fireplace deserved to be the star-attraction and painting the built-ins white would allow him to fulfill his destiny.
So, after more than a few pep-talks (3monthsworth) to motivate myself, I got going. I’ll admit, I was sort of dreading the process. The finish used on the built-ins was super glossy and clearly oil-based. This meant that they would require mucho prep work to ensure an even, long-lasting finish.
I started by removing all the doors and labeling them both on the door behind the hinge (because I knew I wouldn’t need to paint over it)…

I also labeled the brown paper used to protect our floors under each corresponding cabinet….

Then, I sanded.

My goal was to rough up the surface so that my primer would adhere well. I used my orbital sander with 220 grit sandpaper and hand sanded the crevices. I sanded the doors and shelves outside to help minimize the dust indoors….
To be on the safe side, I also wiped down the entire piece with some liquid deglosser (as shown in this old pic)….

I simply wiped off all the dust with a few Swiffer rags first, then applied a nice, generous coat of deglosser (I just wiped it on with a lint-free rag). Once it was dry, I carefully cleaned everything off with some tack cloth to remove any residual dust and dirt.
Next, came my favorite primer…
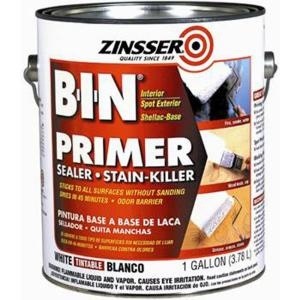
Zinsser shellac primer. It sticks to anything, prevents bleed-through like a champ, and you can topcoat it with anything. Plus, it dries fast and can be topcoated within 45 minutes. Ever since this experience, I’ve used this primer on any project that I’ve ever painted white and have yet to be disappointed.
Once the primer was dry, I topcoated it with this paint in Extra White Semi-gloss….
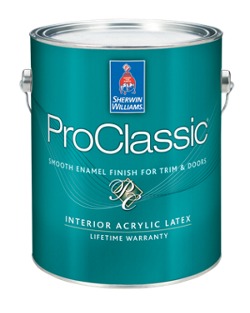
Now, I’ll admit, I wasn’t so kind to this paint in this post when I first tried it, but it’s grown on me. It really is very good paint that leaves a relatively smooth finish. Plus, this one gallon has lasted me through many a project. I ended up doing 3-4 thin and even coats with a foam roller to get everything perfectly uniform (3 on the doors, 4 on the unit). I used a 2 1/2 inch angled brush for the crevices and to edge the units. My favorite is the Wooster brush… it just covers so well and with great accuracy.

Once all was said and done, I let everything cure for 5 days before putting it all back together. I usually wait at least a week to be sure, but my impatience got to me this time (baddiyer!).
So you don’t have to scroll back up, here’s the before again…
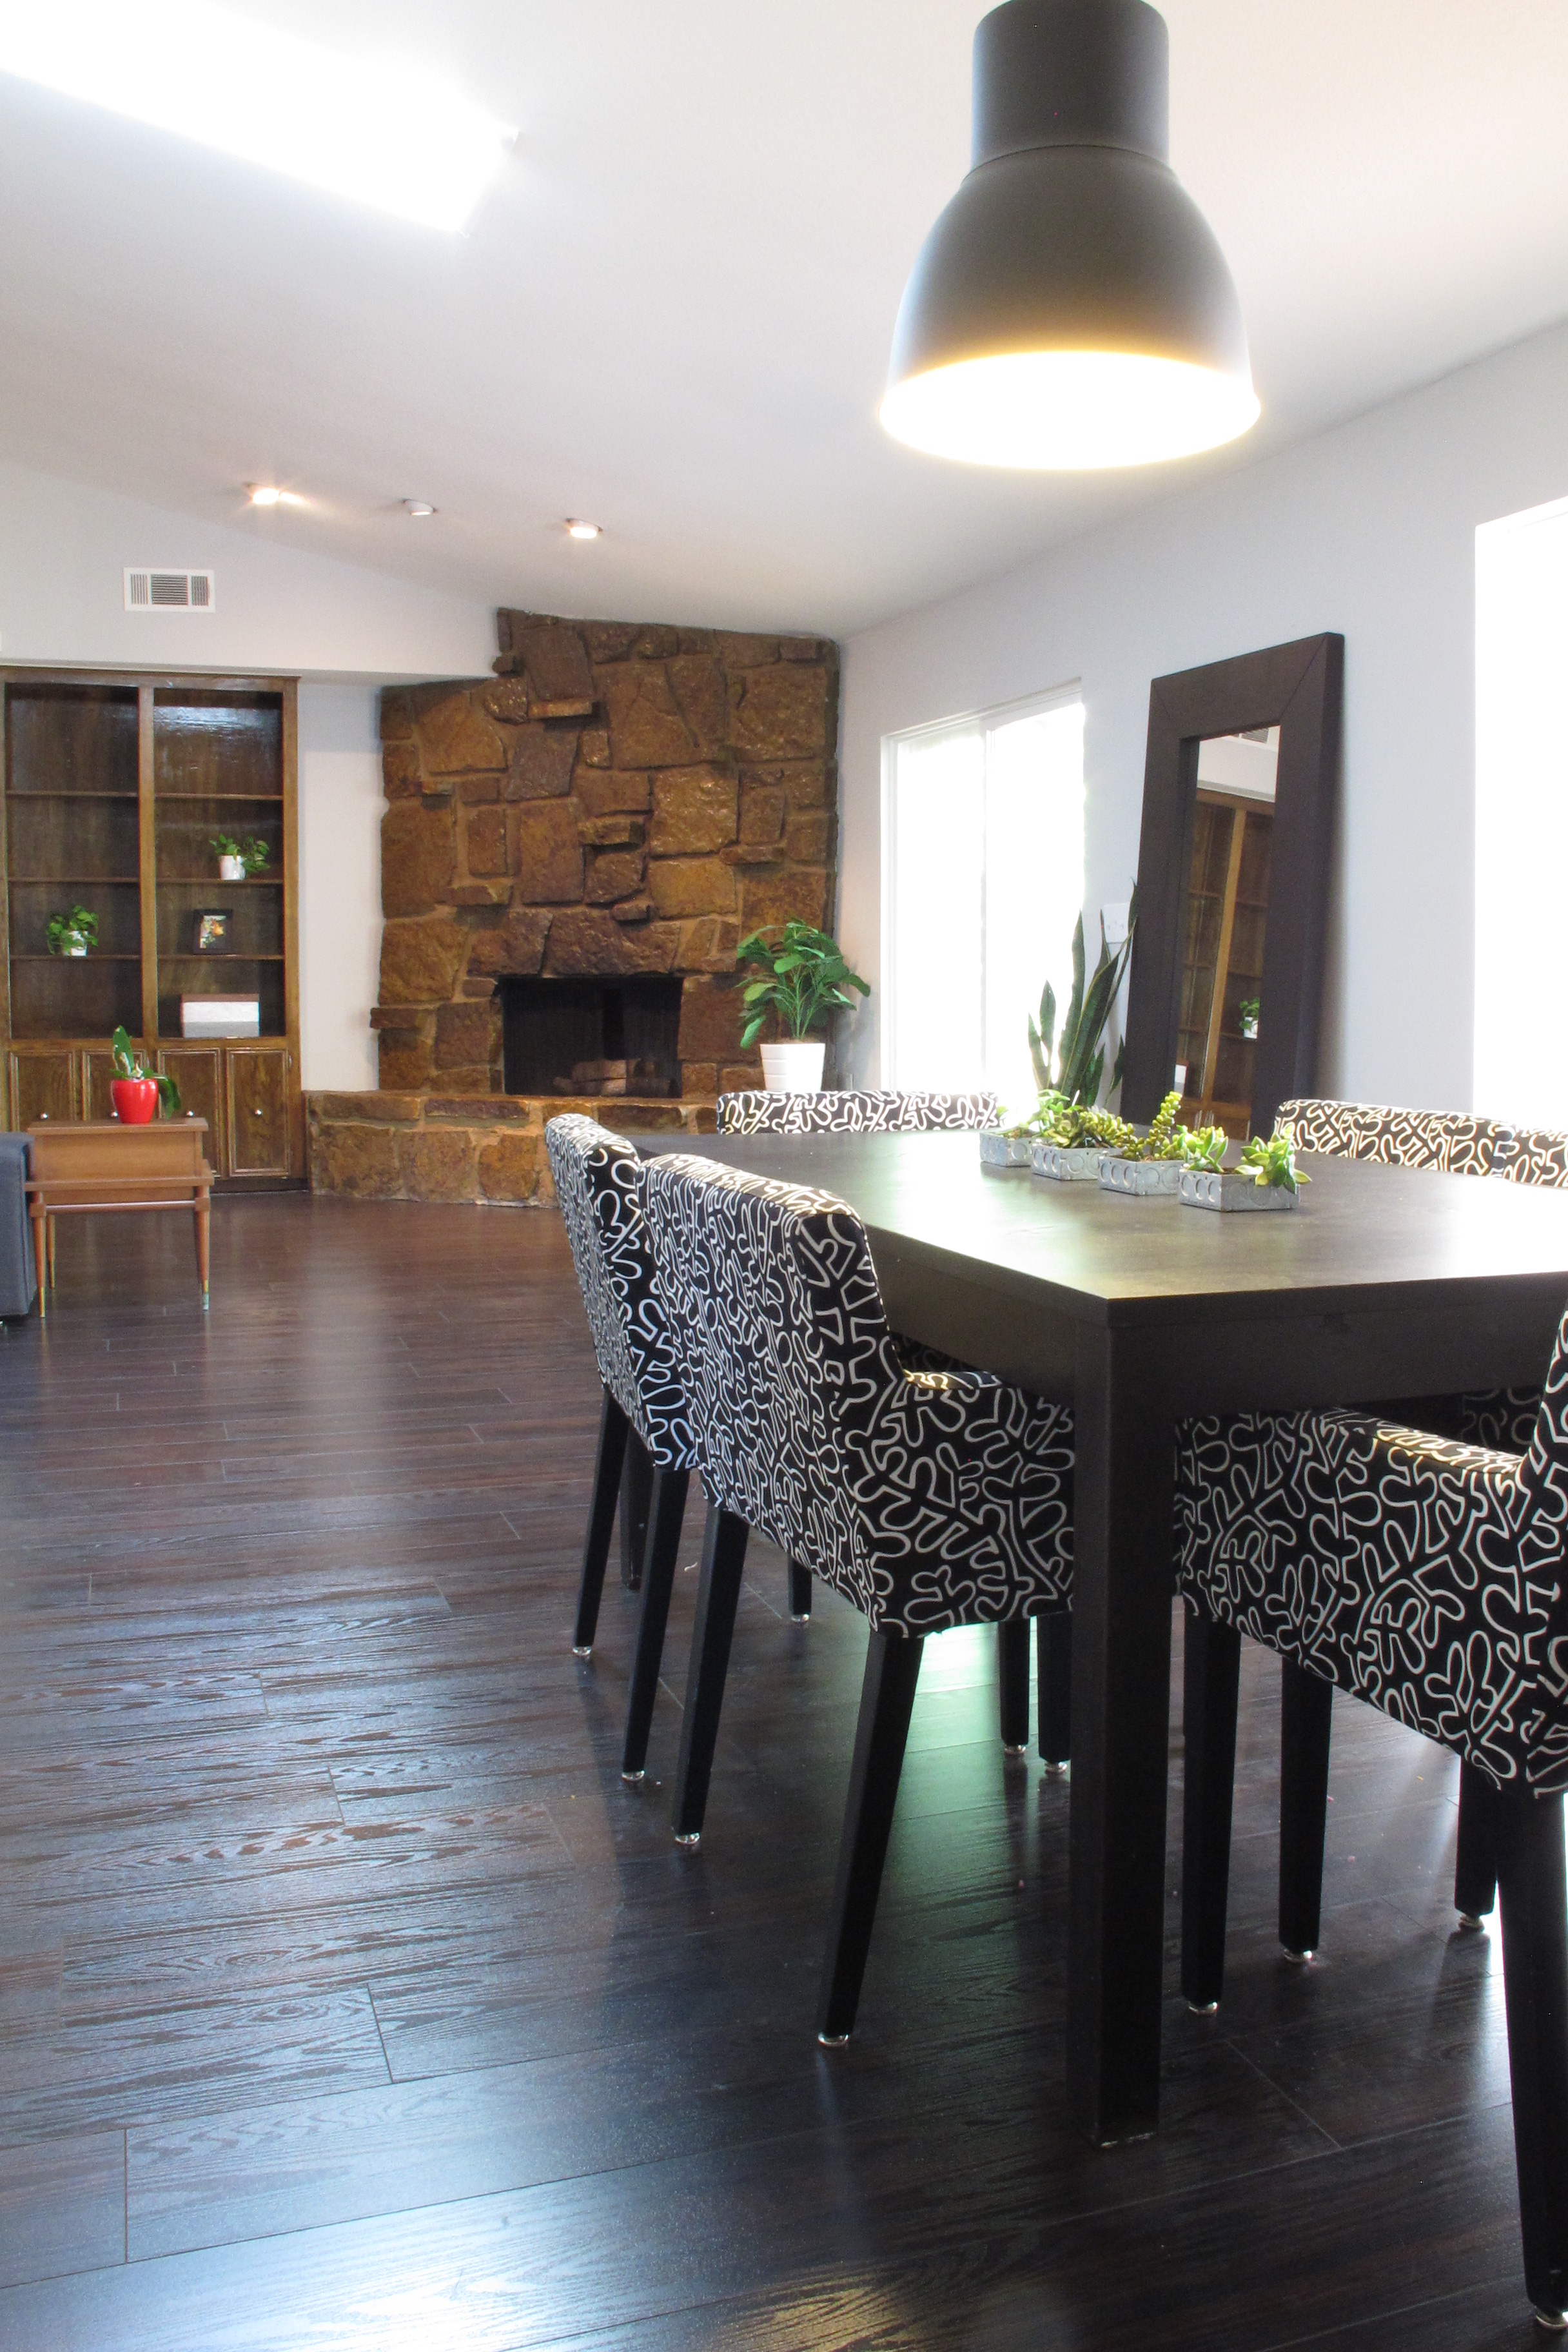
And here she is now…

This view from the dining space is now SO much brighter…


Being that it started out here..
And this view of the living room is less brown now as well…


What’s funny is, I’d totally planned on filling in the middle hardware holes and drilling new ones at more traditional placements, but once I found the streamline knobs from Anthropologie and tried them out, I decided to keep the holes as is.

Both Joey and I were sold. They just looked so cool in the middle of the door. Sleek. Different. Color me shocked by this revelation.


Seriously, though. Aren’t they snazzy? And I have to admit… I feel pretty swanky now that I own something from Anthropologie. Heehee! Are you impressed by my trendiness?? 😉 The knobs were a bit pricier than I’m used to at $6 a pop, but they MAKE the piece. In my eyes it was totally worth the splurge. Plus, this makeover was pretty cheap overall since I already had the paint and primer. And I decided to reuse the original hinges since they meshed with the new knobs (which was another money-saver).
I just love how the units now contrast with the fireplace, making both elements pop in their own way…

As for styling, I tried to keep it simple to prevent the unit from becoming too busy. I used mainly neutral colors with a few pops to tie everything in to the surrounding rooms…


I couldn’t be happier about how these built-ins turned out. They’re light, bright, but still have some of that 1970’s charm. And now they royally put our wet-bar to shame…

Being that this guy is on the opposite wall in the same room, he’ll be painted next to match. And I have a fun idea to try with the counter top as well. Things are happening, guys. Things are happening… 😉
And now I’m signing off… Until next time! 🙂


Excellent!
Thanks, Mac!
What a HUGE difference it makes! Oh my gosh it looks great now and I love the way you styled it!
Thanks so much, Bre! I’m so stinkin’ excited about it! There *may* have been a victory dance involved when I finished. Haha! (itinvolvedfistpumps) 😉
You are awesome! I’m so glad we’re related! Great job!
Thanks, mom! 🙂
Peggy, you’re funny.
What a transformation! It makes such a difference now that it’s not competing with the fireplace. I’m so impressed by your re-finishing skills. You save yourself so much money!
Thanks Jessie! I really enjoy it, too. It’s very therapeutic. 🙂
OH my goodness I LOVE how this turned out! You’re so right – it was meant to be white. And the hardware is perfection. I’m basically in love with everything about this!
Haha! Thanks, Erica!! We are, too!! I seriously think this is one of the most satisfying projects I’ve done in a while thanks to the difference it made. 🙂