I thought today would be a good day for a virtual tour of our backyard (since its too hot to actually enjoy it in person).
Lets start from where we began…

This is right after they sodded the yard (and is the only true before pic I have). Our backyard came with grass only (no landscaping except for the front yard). We chose to upgrade the patio so it would extend an additional 2 feet out from the house (10 feet total), and out to meet the west end of the house.
Here are a few more before-ish pics that were taken after we completed our first plantings in February….


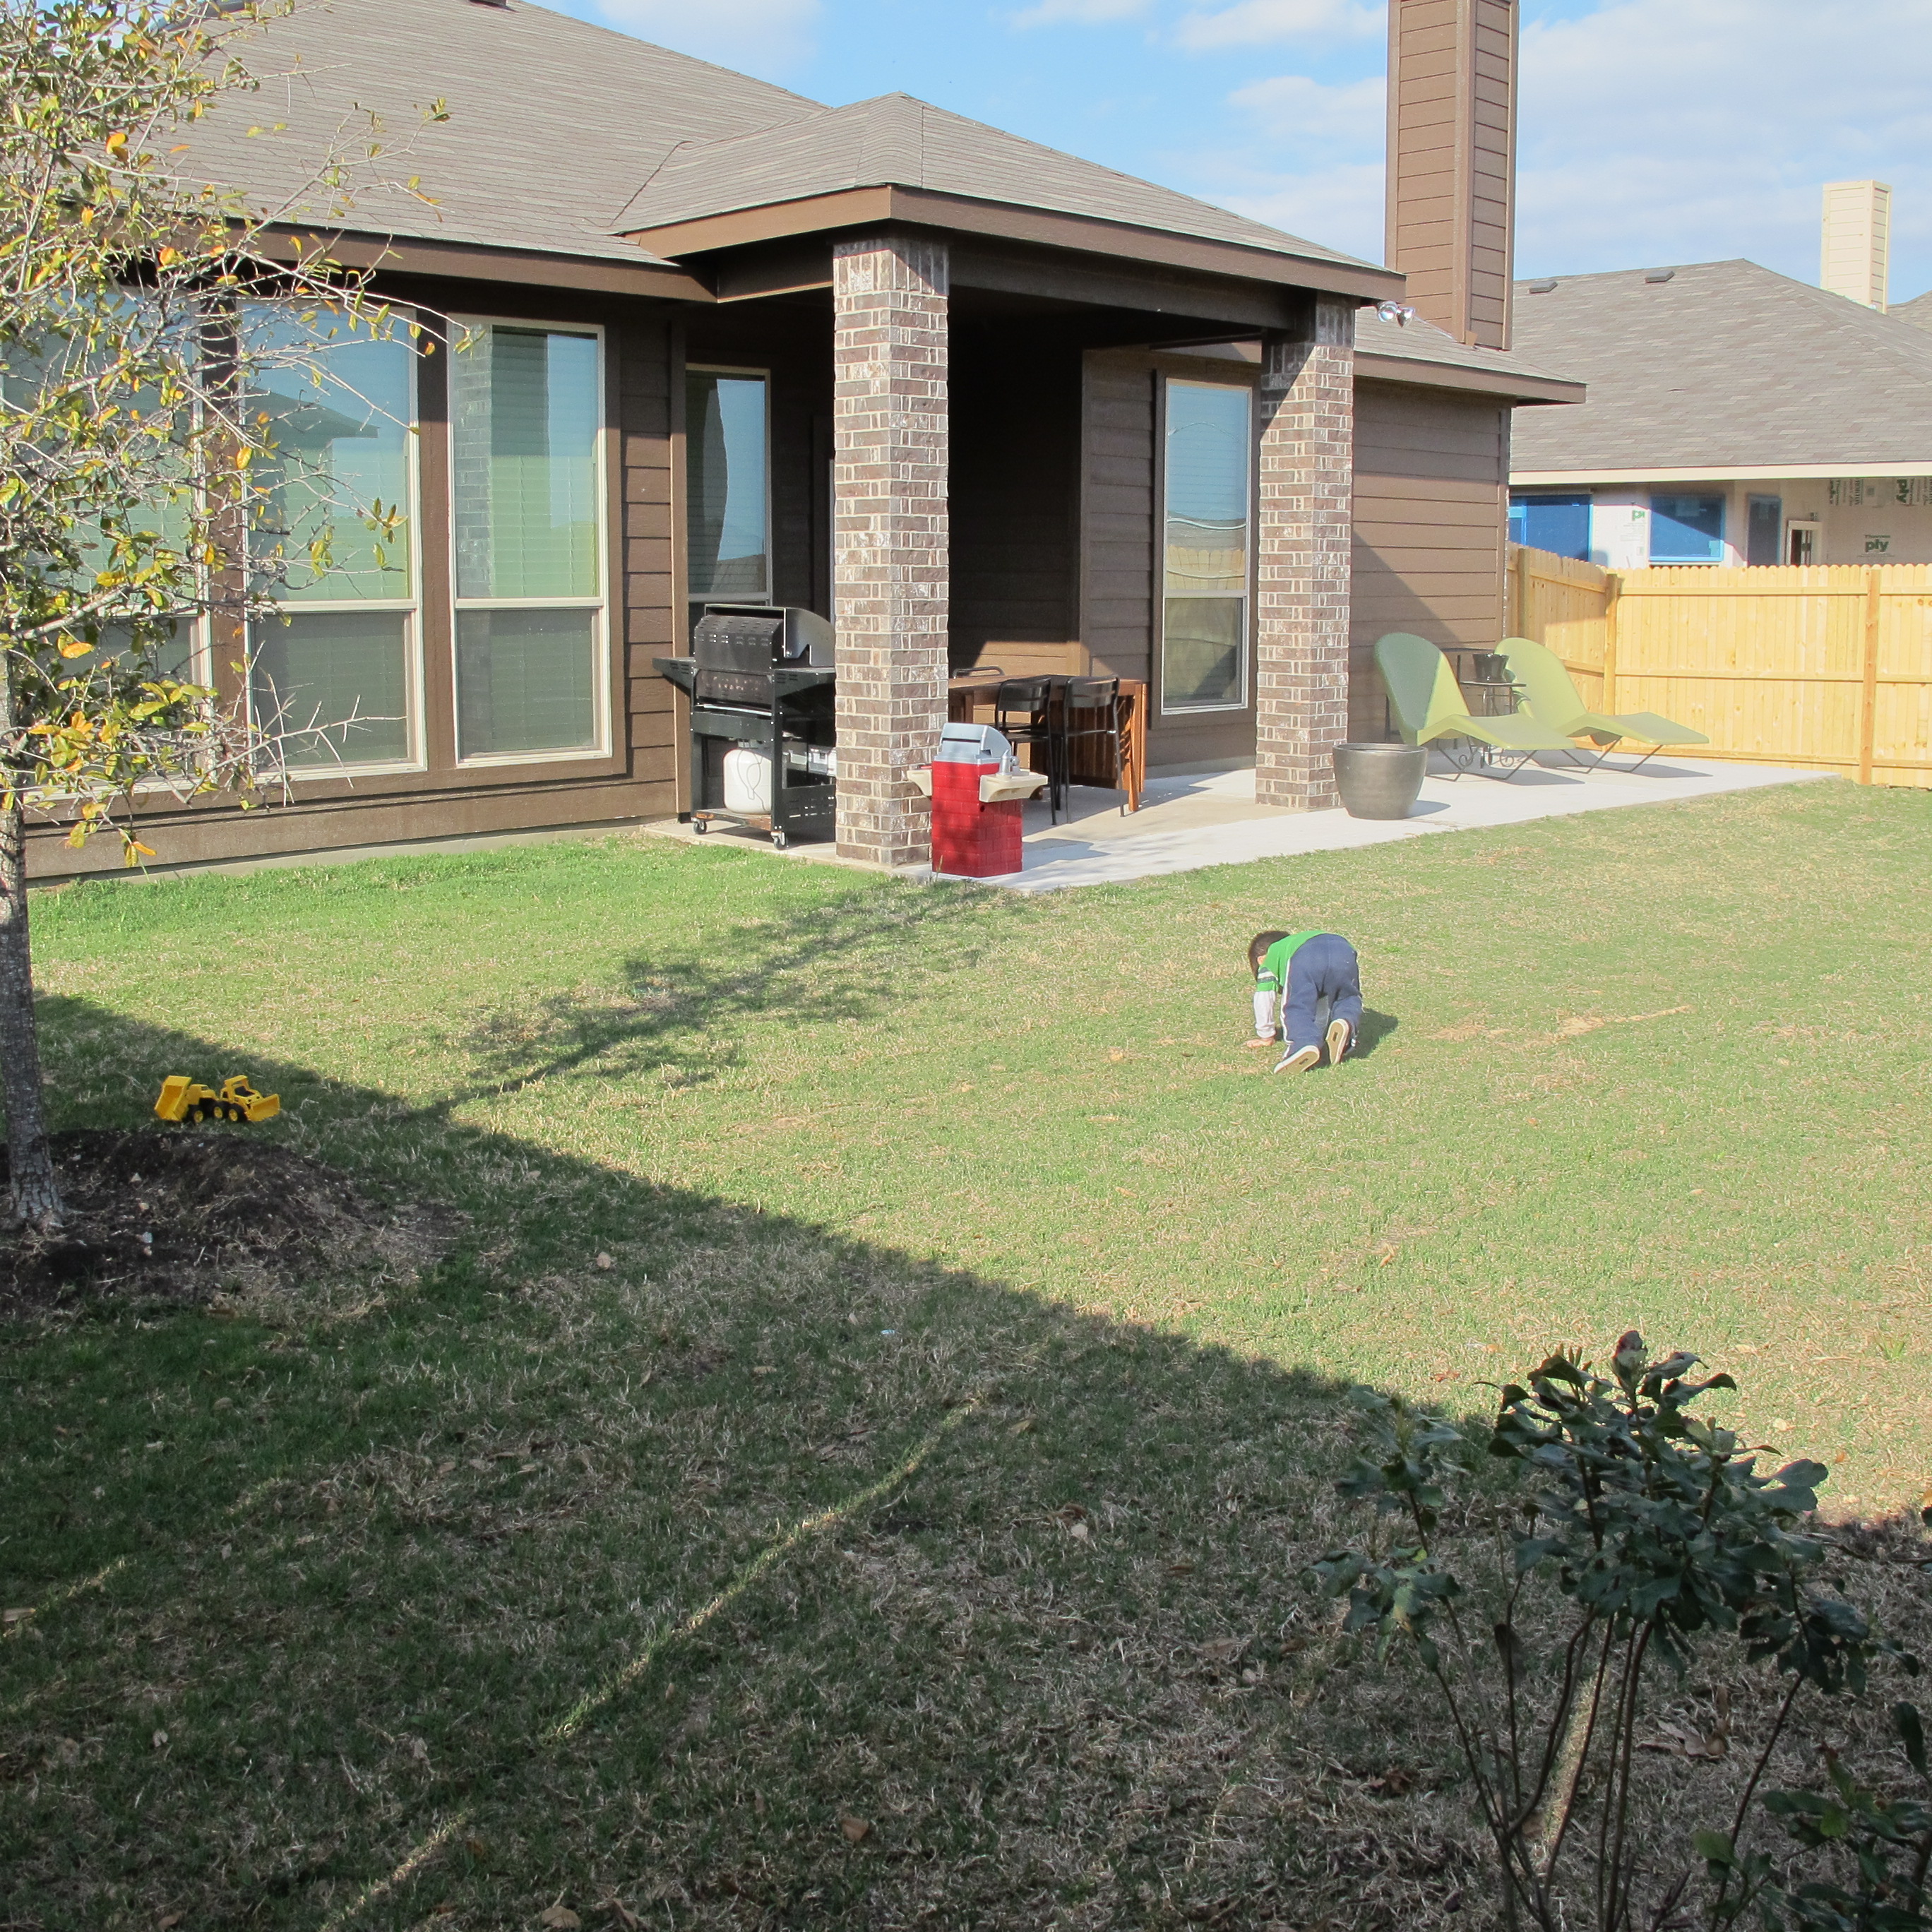
We knew that building a house within our budget meant having a smaller yard. We weren’t sure if we’d like it, but to our surprise, shortly after moving in we discovered that we LOVE having a smaller, flat yard. It’s less upkeep and more useable space than our last yard (which had a steep hill that came towards the house. Not exactly kid friendly.). Plus, it just feels more cozy, especially when sitting under the covered porch. And we’re happy to report that we’ve utilized this yard more in the last 7 months than our last yard over 4 years.
So, what’s the downside, you ask??

Howdy Neighbor.
Lack of privacy. Yeah. Kind of a downer.
After we moved in, we initiated Mission Block Out Neighbors. Our wonderful family gifted us with a beautiful live oak tree and eight southern wax myrtles as housewarming gifts.
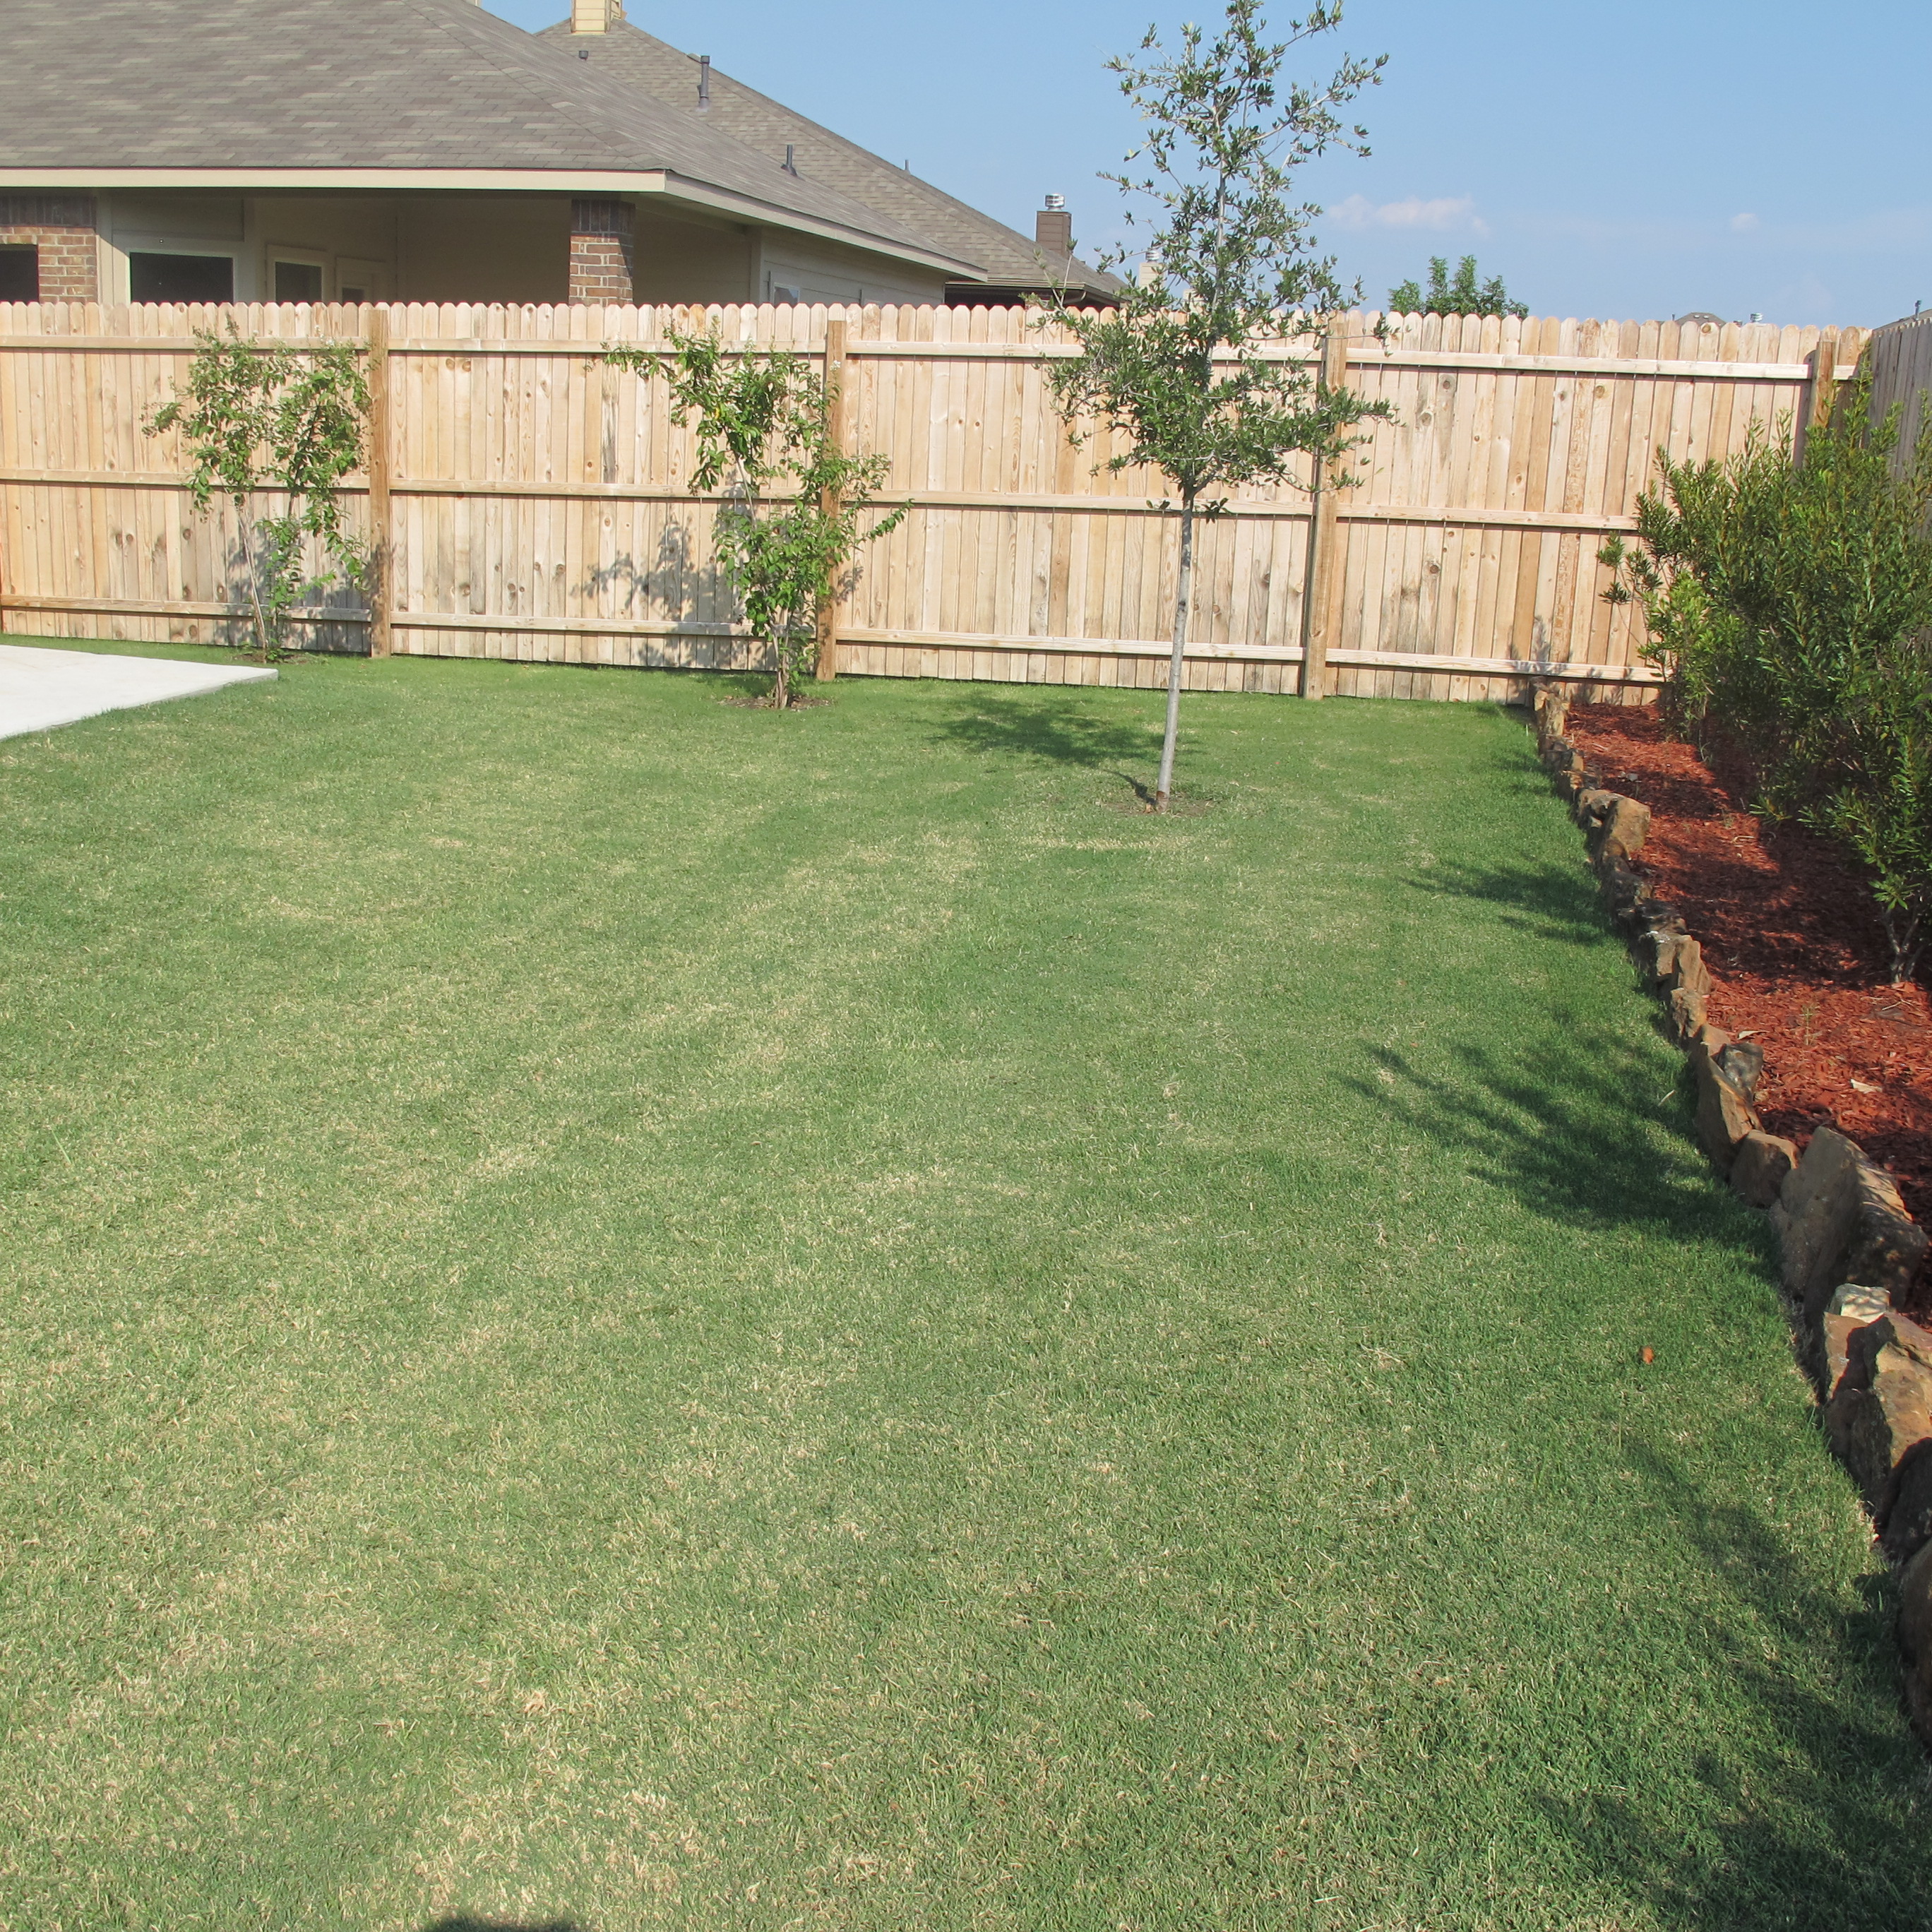
The wax myrtles were planted along the back fence to eventually form a tall hedge. At first we just planted the bushes, but after they proved to be a challenge to mow around, Joey covered the grass with landscape fabric, then added mulch and bordered it with moss boulders. He ended up having to go back and add cardboard under the mulch as well, since our grass would apparently survive a nuclear explosion. Yep, eventually only cockroaches and Bermuda grass will rule the earth. Anyways, the tree was planted towards the side of the yard in hopes that it will eventually provide a nice shady canopy and privacy for the master bedroom windows. (P.s. I called the tree farm about the leaves turning brown. Apparently, it’s under stress from the heat and unintentional under-watering (despite our best intentions). We were instructed to water it for 90 minutes, three times per week, using a 1/4″ stream, which I’ve been doing religiously since then).
Then, we added another live oak on the other side of the yard and 2 crepe myrtle trees to block out those neighbors. We know that crepe myrtles lose their leaves in the winter, but they’re pretty. And we like them. So we added them even though they wont be year-round privacy.
Next to the patio, we planted 3 rosemary bushes.

They look unevenly spaced in this pic for some reason. I think it’s the way the wind was blowing or something because they look even in person. Joey boxed in the bushes using treated 1×6 inch boards. He covered the existing grass with cardboard to kill it off and then topped it with mulch (inside the boards) and gravel (outside). He bordered in the gravel with more moss boulders. Then, we put Lucas’s sandbox in the middle of the gravel. We plan to add one additional planter box on either side of the sandbox to fill with herbs and veggie plants.
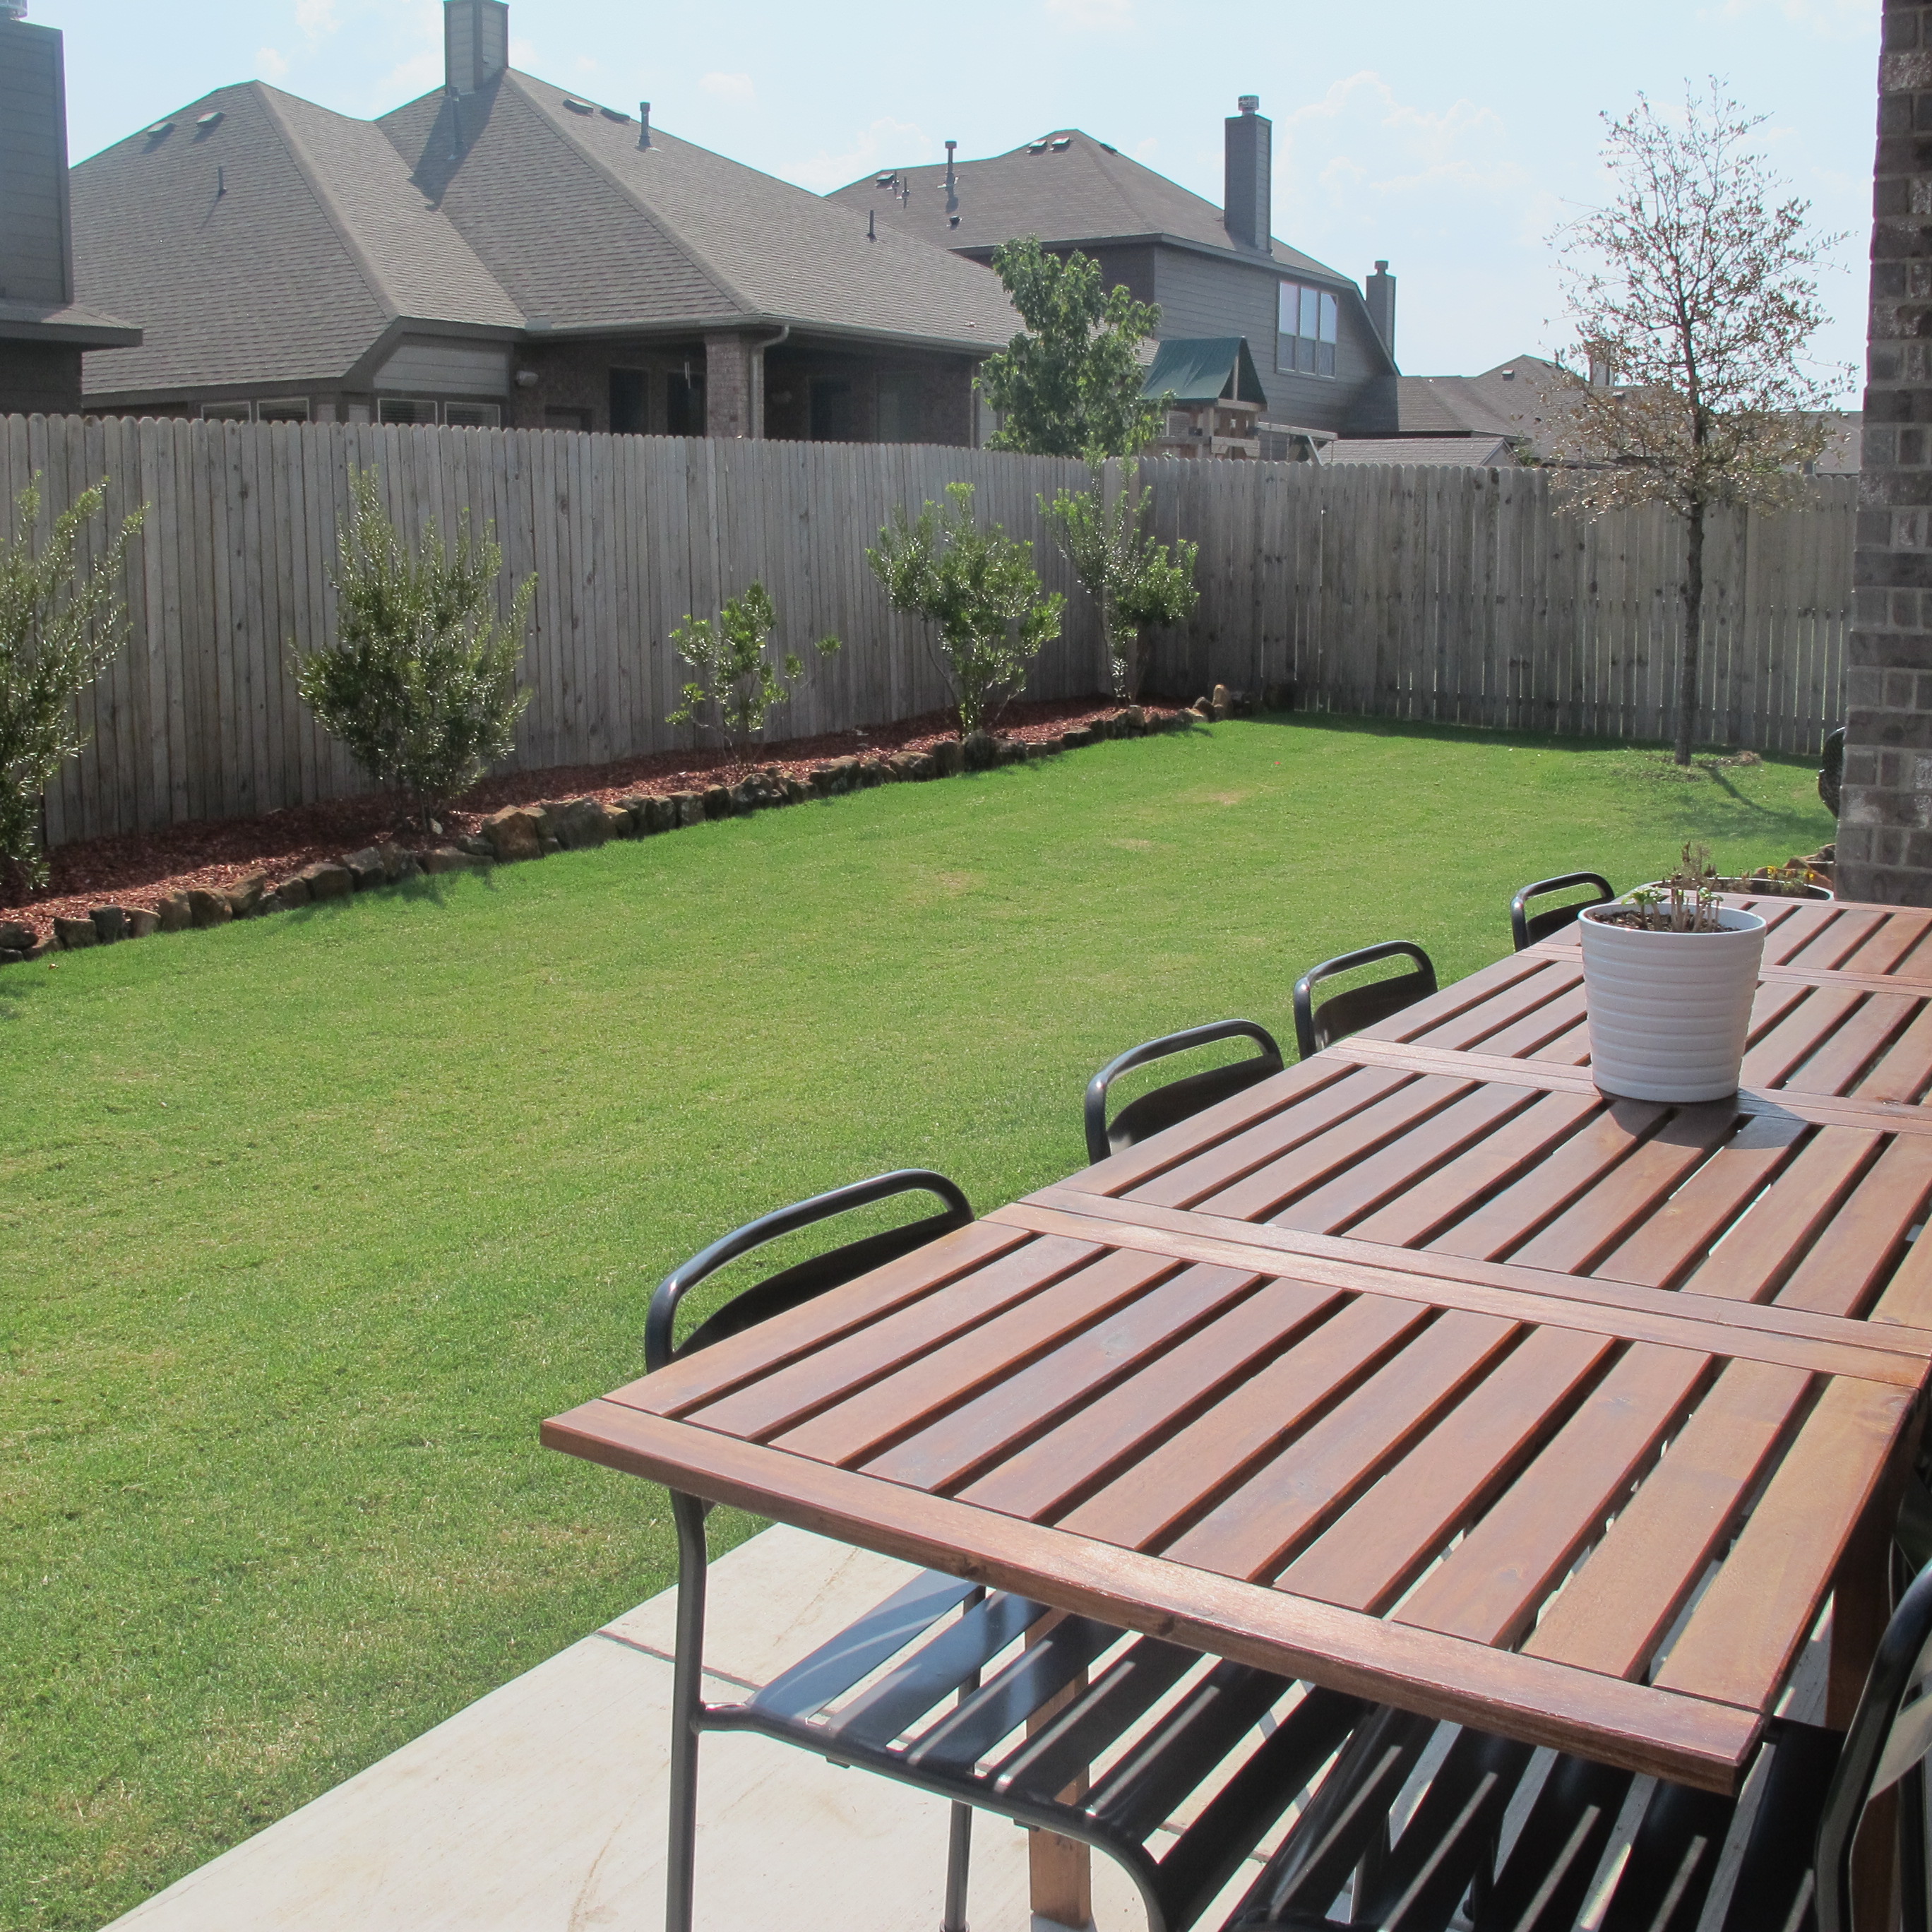
As for our patio furniture…

…the table and chairs are from Ikea. We chose to mix and match rather than buying a complete set. I treated the table with Teak Oil to help protect it from the Texas heat and sun, and so far, it’s been faring well.

The love seat and chairs are actually from Walmart of all places. We got them on clearance because I thought I could do something fun with them. They were a country brown color, so I spray painted them glossy black. Then, I sold the matching coffee table and replaced it with two water heater stands. They are galvanized steel, durable and cheap at 38 bucks a piece at Home Depot. I love that the the sleek, industrial look of them contrasts with the curvier seating. I also think they help to tie the more traditional wicker love seat and armchairs in with the modern style of our dining table and chairs. I plan to recover the cushions with a bold, geometric fabric and do away with the tufting on the back cushions to “modern” them up a smidge. Fun throw pillows are also in order as well as some shiny ceramic garden stools for end tables. I also plan to add some pretty mums to the planters once it becomes cool enough to where I might be able to keep something alive.
More plans include:
- staining the fence a nice cedar color,
- building a pergola over the uncovered part of the patio,
- adding lighting in the plant beds,
- adding a ceiling fan under the covered patio,
- staining the concrete,
- adding more privacy foliage on the east side of the yard,
- moving the front fence on the west side of the house closer to the front of the house.
And once the fence dies… we will be considering an 8 foot replacement. (Is it dead yet?)
As for the privacy issue, these wax myrtles have been AMAZING. Take another look at this pic, taken shortly after we planted them a mere 7 months ago.

…and here they are today…..

They’ve just about doubled in size!!! (Well, aside from that one guy.) Even in this crazy heat!! And take a look at this…..

What, you say? You don’t see it? Here, lets take closer look….

Get a load of all that privacy.
At this rate, we’re hoping that at least a small part of our neighbors house will be blocked out by this time next year (knock on wood!). So anyways, that’s our backyard! All-in-all, we’re pretty happy with how far we’ve gotten with it in the past 7 months and we feel like it will be a private, cozy little haven once everything has a chance to grow and mature.
Does anybody have any words of wisdom or yard experiences they would like to share??


