Foyer Plans

So, while we get the guest bath completely wrapped up (the faucet part still hasn’t arrived.  Two-day shipping, my foot, is all I have to say.), I’ve moved onto planning my next victim project…  Ever since posting our house tour page, I’ve been absolutely, positively itching to tackle our foyer.   It currently looks like this…

IMG_2009

Our foyer houses leftovers from our last home which looked great there, but no longer fit our style preferences. With the mahogany-toned floors the collection really makes the foyer seem dark and disjointed.

These cabinets were the end units of our media cabinet of yore…

image

I just squished them together and called it a day.  I’ve mentioned before that I’d like to replace them with something with more character.   And I would.  But I’m tired of waiting for the perfect piece to enter my life.  So, I’ve decided that I’m gonna try my hand at tweaking these guys to make them suit our current style a bit more.   My thoughts are:

1. Refinish them with glossy white paint

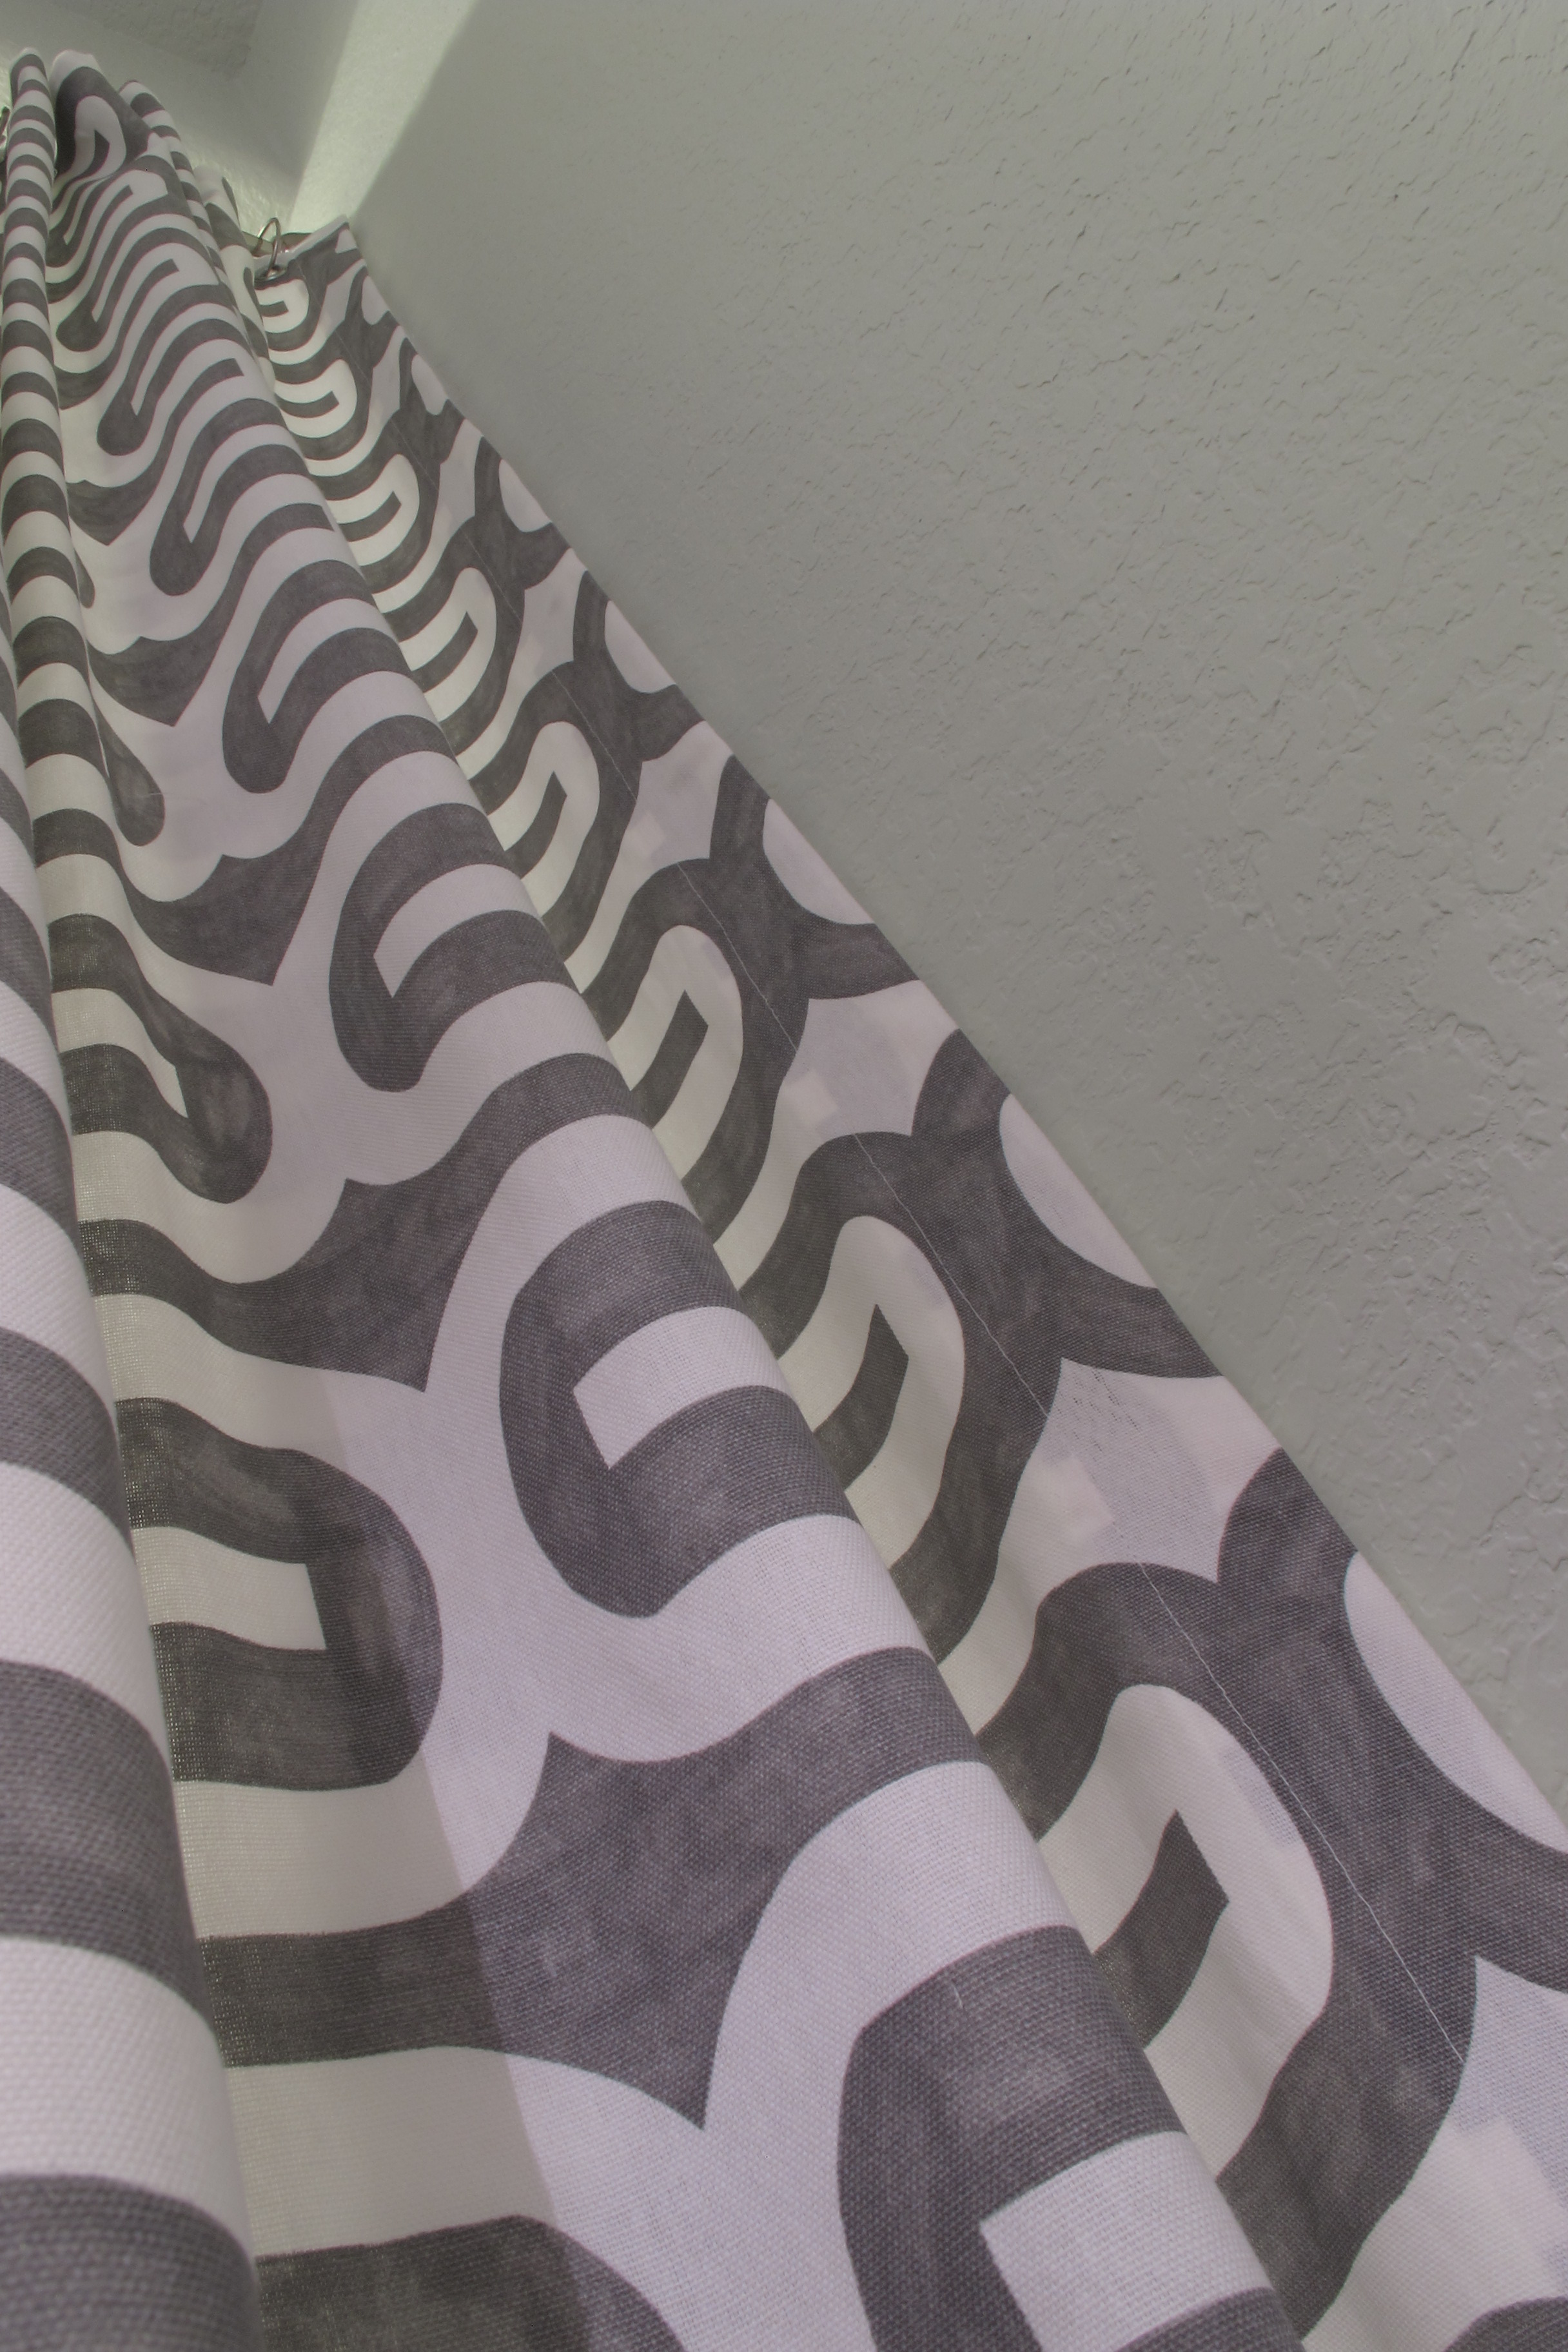
2. Remove the rice paper glass film and replace it with a bold fabric, like the one that I used for our new shower curtains….

IMG_4199

3. Replace the stainless knobs with some sort of oil-rubbed bronze handles. Maybe something like these or these.

4.  Remove the baskets beneath the units to make them feel less heavy.

Then, I definitely want to address the art over top…

image

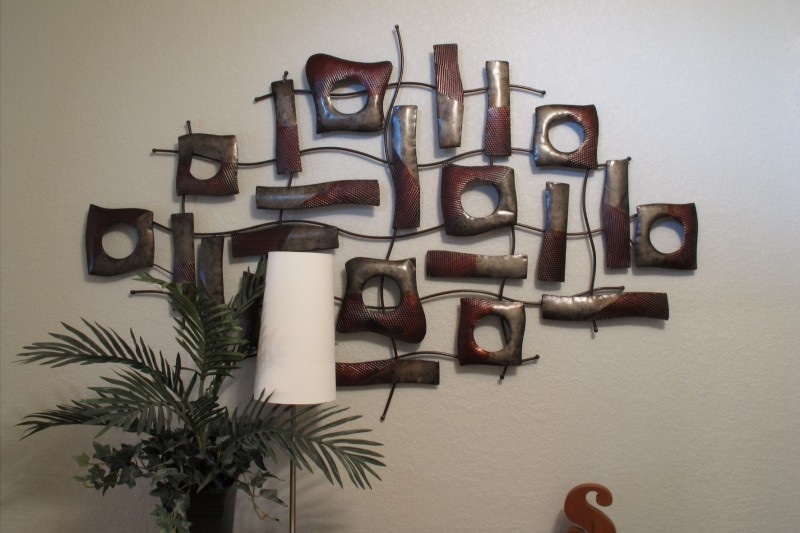
This guy was a Ross find years ago, and again… although, he’s nice, he’s not really my style anymore.  So, I have two thoughts.   First, spray paint him a bold color (or maybe brass?).  Second, send him off to greener pastures and replace him with something bold and modern (Like a large colorful marquee-like letter or some sort of bold, colorful painting).   I’ve also considered painting thick, white stripes on this wall behind the units.   The result would be subtle because our Dolphin Fin grey paint is so light and soft, but it would definitely add oodles of interest.  For some reason, this thought has always been on my mind for this space.   Maybe I should just go with it.

Next, this rug…

First, it’s seen better days as one of the corners is unraveling.   Second, this is probably my longest-retained piece of decor.  I purchased it over 8 years ago for my first non-college apartment.   Like the other items in this foyer, it’s not really jiving with the style or color palette of the rest of the house.   I really, really want to replace it with a round jute rug that would be centered under the light fixture.   I always see rugs like that at Homegoods and Marshalls, but go figure… they’re nowhere to be found for me right now since I’m actually looking for one.   Hopefully, soon.

Speaking of the light fixture….

It’s nice and it came with the house, but alas, a boob-light is still a boob-light.   I would love an oil-rubbed-bronze lantern-type fixture to replace it.   Or maybe a capiz pendant of some sort.

On this wall…

IMG_2374

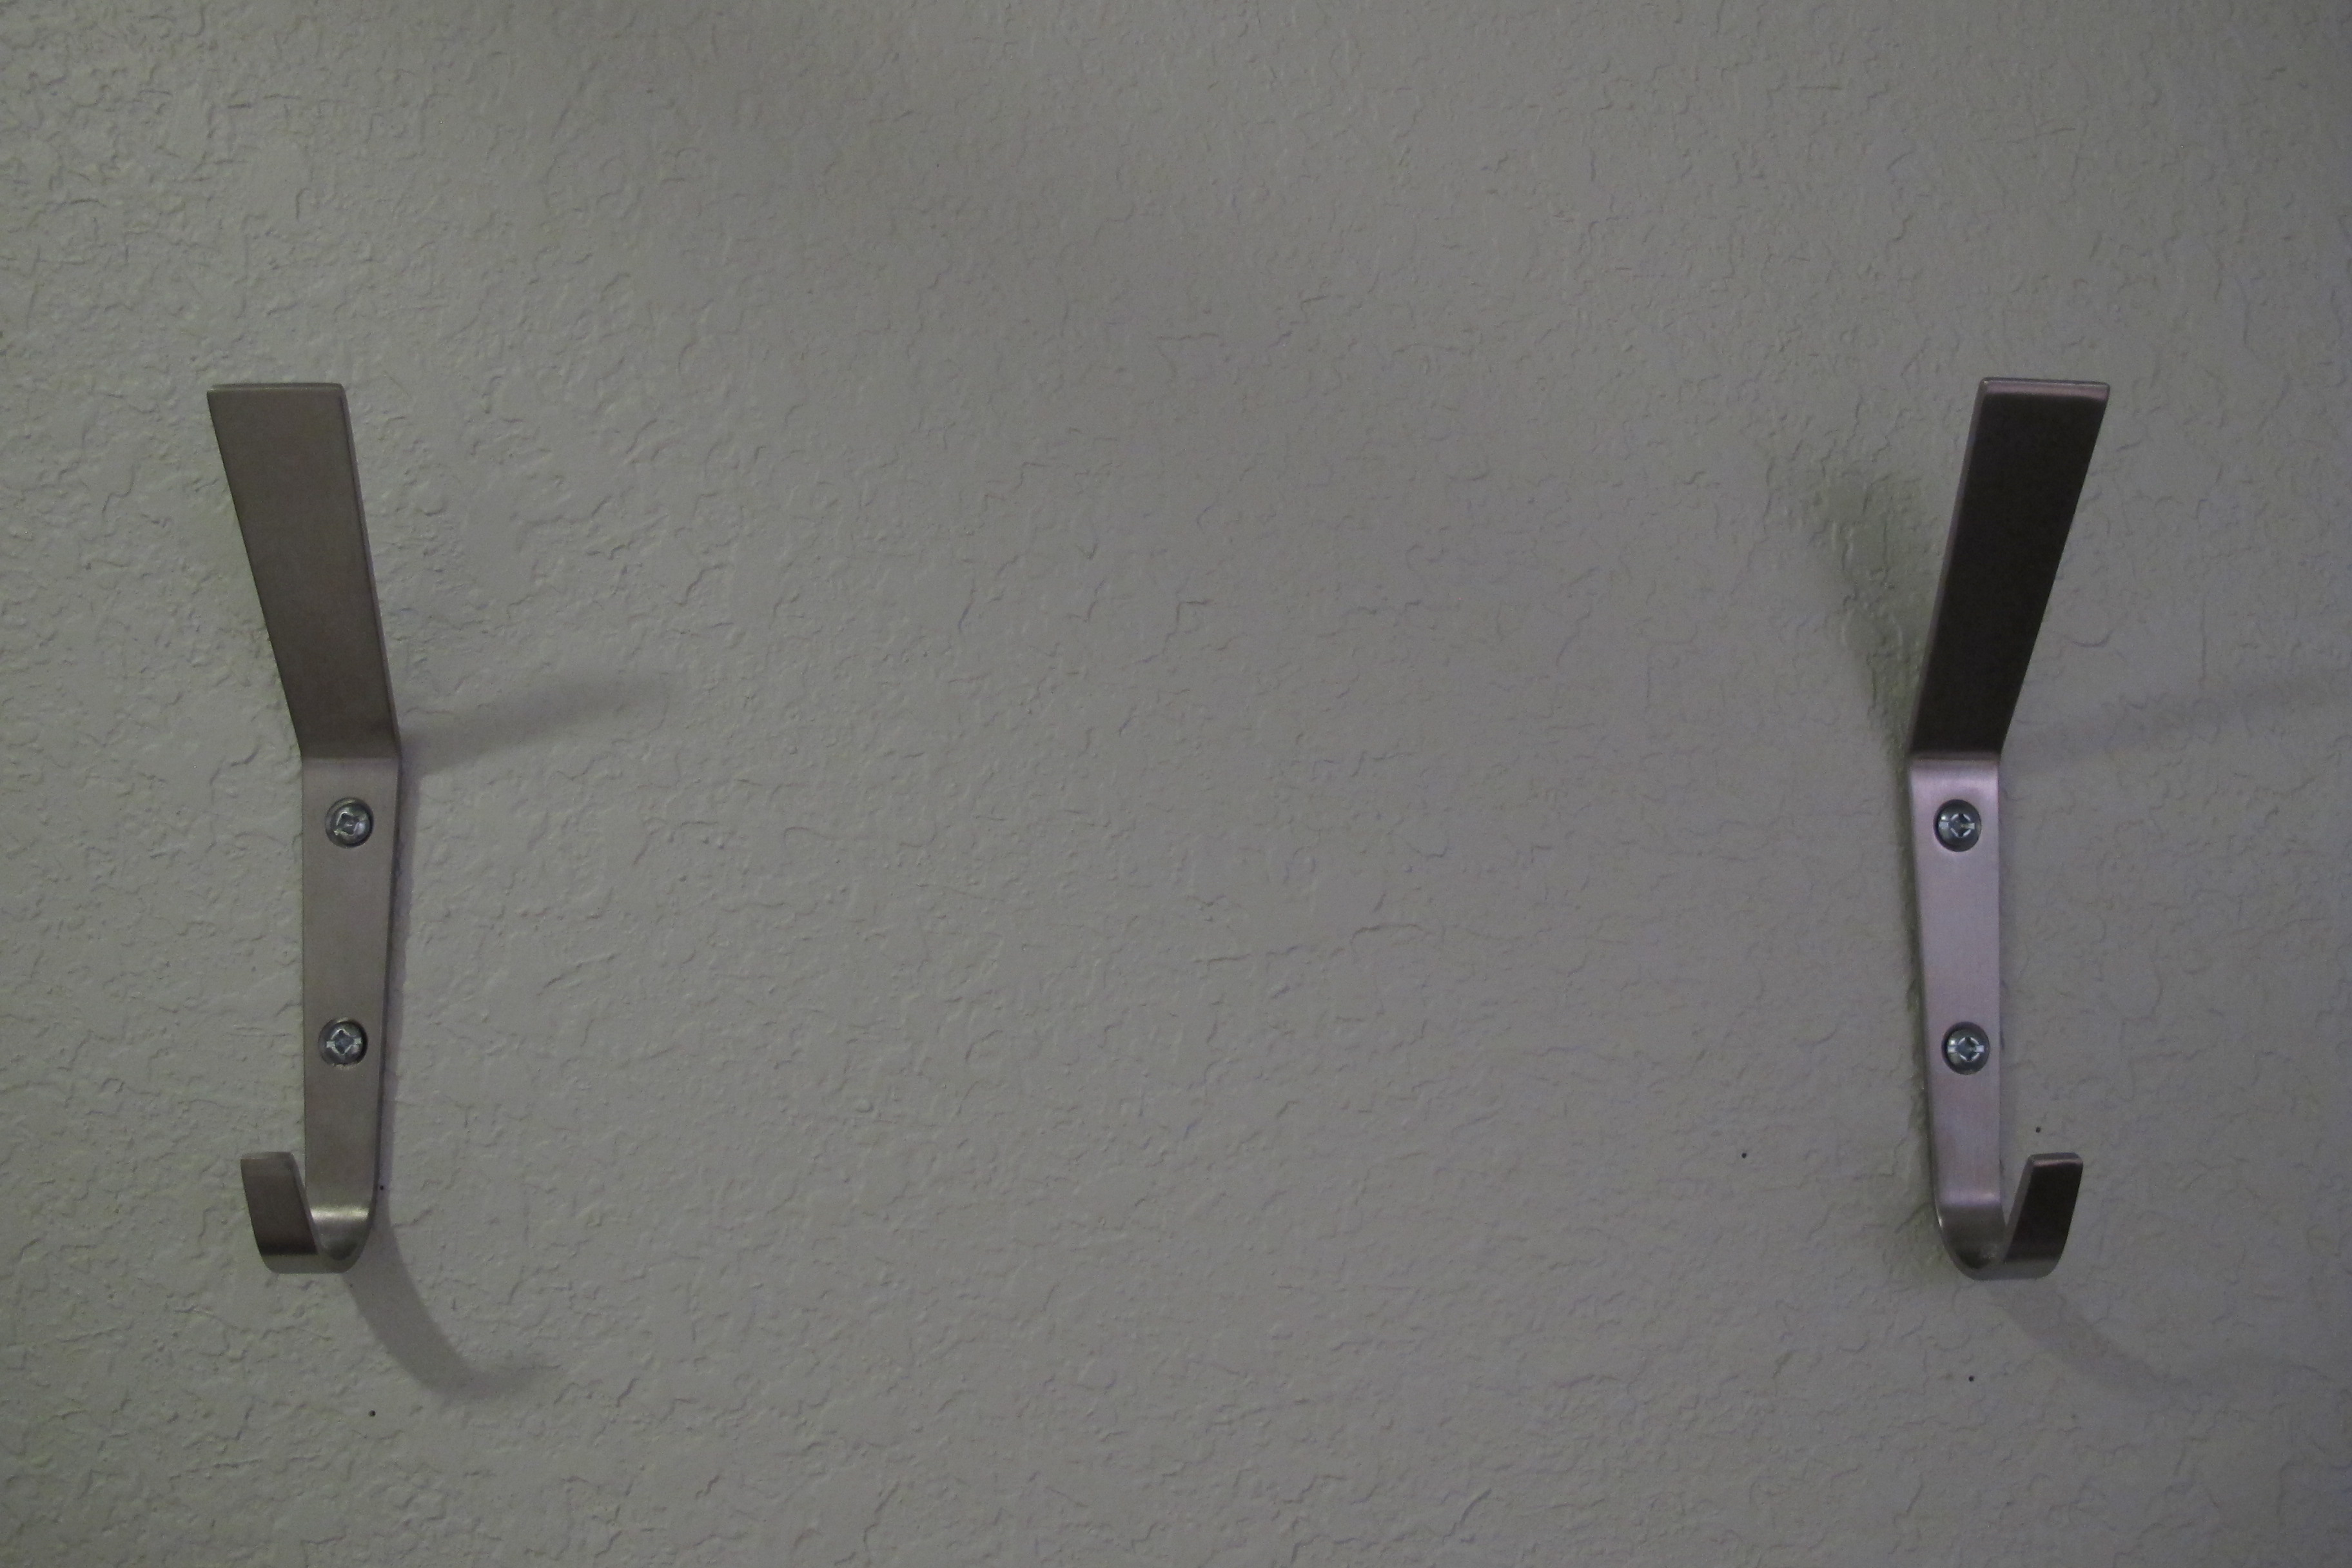
I’m liking the leaning mirror, but think it would be more practical to have a small mudroom-ish area to sit and remove shoes, hang coats, etc.   I’ve mentioned this before, but still haven’t officially decided how I want to do it.  We’ll see what comes of that since, down the line, we’d like to add tall horizontally-planked wainscoting to all of the foyer walls.   On which I’d like to mount hooks and stuff for said mudroom.   I’m just not sure when we’ll get that done, so I don’t want to guarantee it as a “will be done soon” sort of project.  But it’s on the agenda eventually.

So, that’s what I’ve cooked up so far.  Anybody have any ideas to contribute?

Details, Details

So, our guest bathroom makeover is moving right along.  We’ve had a little faucet snafu that still needs to be squared away, and then I’ll be ready to post some reveal pics.   In the meantime, I’ve been working on some of the smaller details.  And as I installed them, I realized that hanging them posed a few minor challenges.  So, I thought I’d post about how I dealt with them.  Again, I’m no professional (clearly… keep reading), but it ended up working out in the end.

First, our towel hooks.  We went with the Blecka hooks from Ikea because they’re modern and simple.  

I wanted to hang them side by side, which meant that they needed to be perfectly level and straight or else they’d look slightly off thanks to their linear shape.   I started by using a level to make two marks on the wall with a pencil to ensure that my top screws were inserted at exactly the same height.

Then, I held the level perpendicular to my first pencil marks and basically drew a” T” shape…

The top hole in my hook would be mounted at the cross of my “T”…

Now, I’m fully aware that I take the long route when installing anchors… I screw the nail in and unscrew it, leaving my pilot hole (I know, I know.  Just use a drill, right?  I think about it every time. But. never. do. it. Don’t ask me why.).

In this case, once I had my pilot hole created for the top screw, I laid my hook over it with the bottom hole lined up with the bottom line of my “T”.  I marked it with a pencil and created my bottom pilot hole.   I forgot to take pictures of this whole part.  I was way too enthusiastic about this project apparently.  Next, I screwed in my anchors into my pilot holes…

IMG_4494

And after lining up my hook, I installed my screws into my anchors…

IMG_4497

Tah-dah!   The lighting and angle of this shot makes them look a little off, but they’re actually straight and even.

IMG_4489

I also changed out this more ornate toilet paper dispenser….

…with the Grundtal model from Ikea for a sleeker vibe.  The challenge I faced here was this…

The previous toilet paper dispenser left quite the impression.   I simply used our Minwax Ebony stain pen (which I posted an ode to here), to cover up the blemishes….

Which left this…

Then, I lined up the new dispenser over the existing holes, drilled pilot holes for my screws (See?? I’ll do it here, but not for an anchor.  I’m so weird.) and screwed this puppy in place….

Easy fix.  The new dispenser completely hides the holes and looks like it’s always been there.

Lastly, I purchased a little wall rack from the kitchen section of Ikea to hang next to the sink.  It’s the Grundtal rail, Grundtal S hooks and Bygel wire basket.  Joey was sleeping when I wanted to install it and I was impatient and wanted it done since I was on a roll.  So, I used thumbtacks and my camera to determine placement all on my lonesome.   I know this method isn’t for everyone since it requires putting holes in the wall.  But, they’re small holes.  And I already had a few holes to patch and touch up anyways, so I figured, “Hey, what’s a few more?”

I wanted to figure out a good height and whether to center the rack on the wall, or on the countertop.  So, I played.  And used my pictures as a guide to determine what I liked best.

Higher…

But this was at face level (for me) and felt too cluttered.  Lower, centered on the counter…

This was okay.  Lower, centered-ish on the wall…

But, I realized with this placement that I couldn’t completely center the rack on the wall without crowding the light switch.  And if the rack couldn’t be perfectly centered on the wall, I might as well center it with the counter.   So, lower, centered on the counter won out.   And you’ll see the final result in my reveal post.  🙂

So, there you have three smaller installation projects.   I’m crossing my fingers that the part that we’re waiting on for the faucet arrives soon so I can show ya’ll the entire room.   Soon.