Painting our rusty metal gate

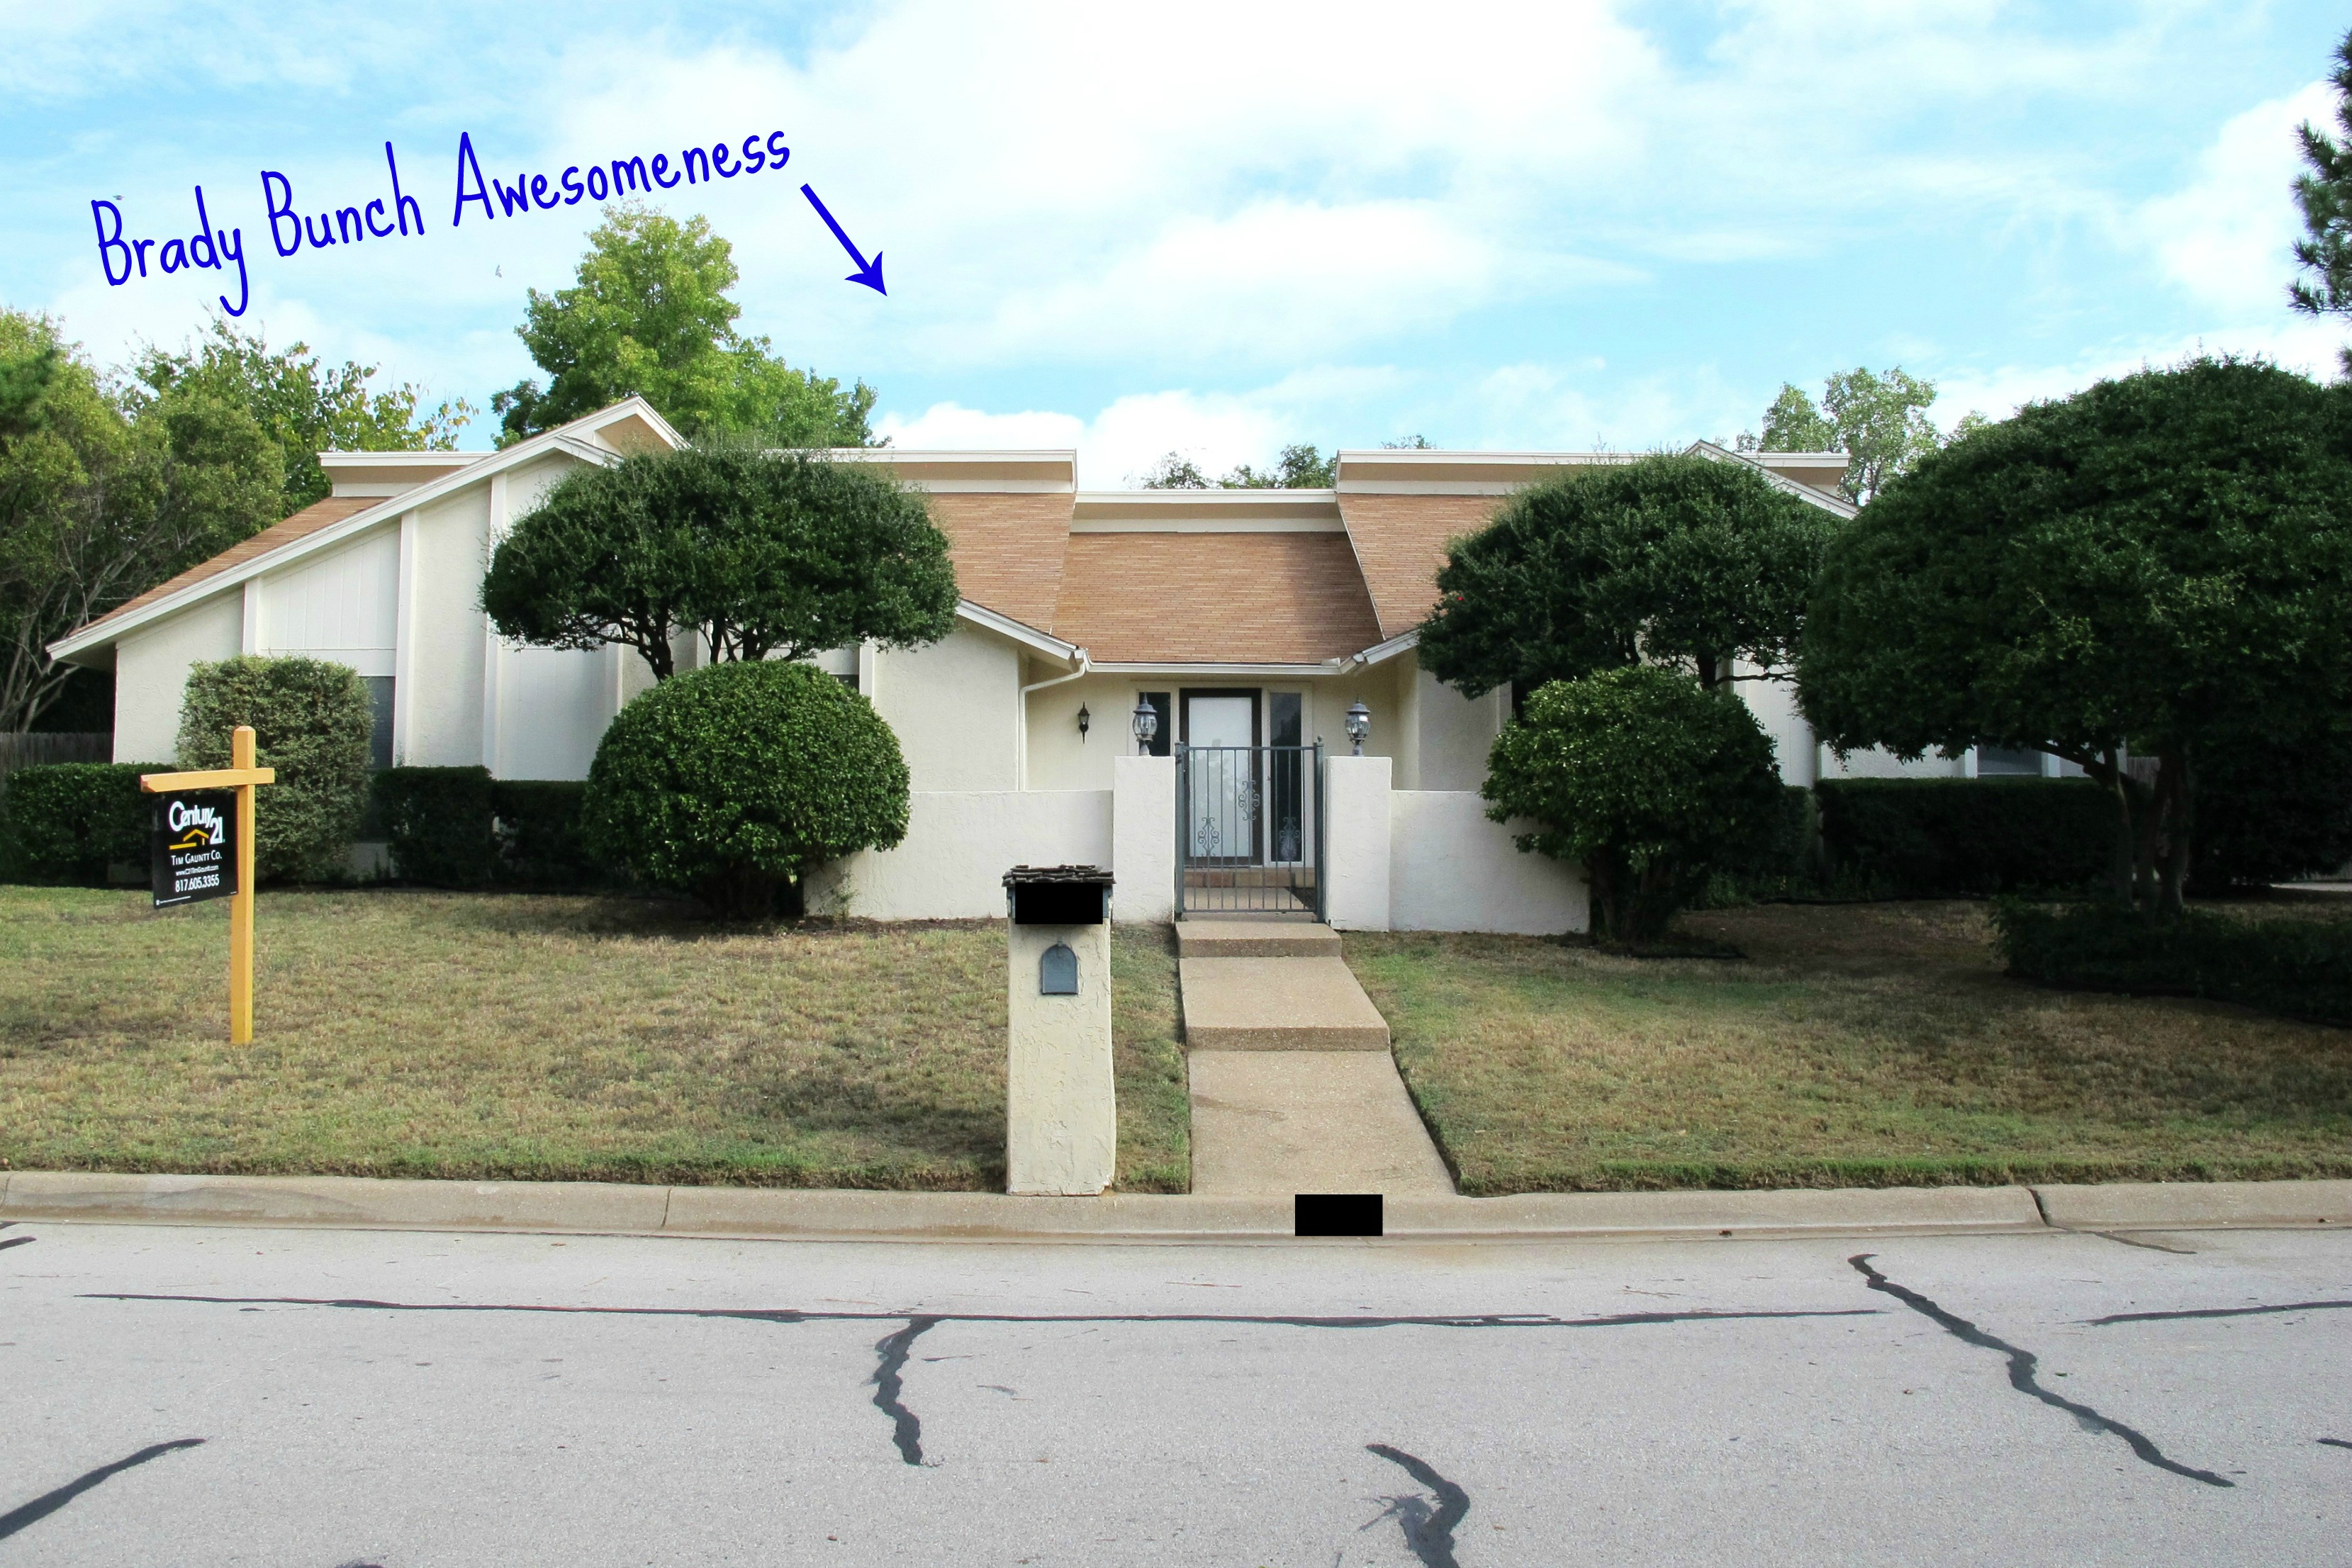
Hey y’all!  So, I’m back with a how-I-did-it post about painting our metal gate.   As you can see here, it was not in the greatest shape…

It was faded, rusty, didn’t stay closed due to a broken latch, and one of the gate caps was broken…

Not so hot.  It basically sucked the life out of our curb appeal.  It’s amazing how a seemingly small element can do that.

Our first order of business was to find some gate cap replacements.  Apparently, both Home Depot and Lowe’s have discontinued sale of most of these items, but we were lucky enough to find some simple plastic black caps at Home Depot before they sold out…

Capture

I googled them as well and discovered that you can also order them online from several different retailers.   Once we had these on hand, I went about prepping the gate.  First, my trusty dad came over with a friend and welded the gate latch so that the gate would actually close (I took no pictures of this… sorry).

Then, I taped and protected the surrounding stucco and flooring around the gate with paper and got to brushing the rusty areas with a wire brush to loosen any rust particles and peeling paint…

232323232-fp83232-uqcshlukaxroqdfv39786-nu=3396-6-9--78-WSNRCG=36369645-;346nu0mrj

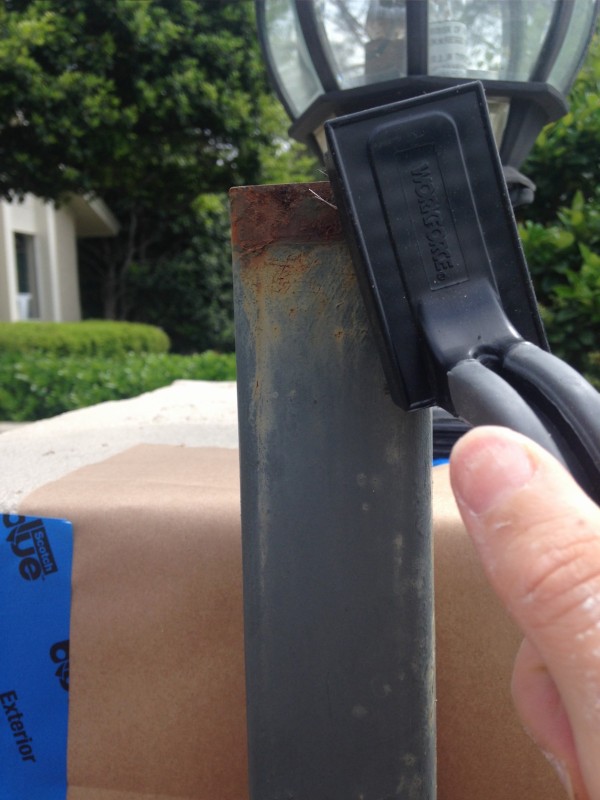
For the more stubborn peeling areas, I used various sizes of putty knives to scrape off the offending paint…

I apologize for my putty knife.  I have no excuse for (1) the fact that it’s gross or (2) that I chose to photograph it anyways.  Ha!  Sometimes I just get so involved in a project that I quickly snap progress pics, and then decide when I look back at my photos later that I must’ve temporarily lost all sense of vision.   In any case, despite it’s appearance, my unattractive well-loved putty knife was highly effective in removing the paint, which is the most important thing.

Once I was finished scraping, I moved on to using low grit sandpaper followed by high grit to try and further smooth the surface.   Honestly, the gate was in such bad shape in spots that I had no illusions of getting it smooth.  My goal was to simply get it slightly less wonky.

I wiped the gate clean with tack cloth and then it was time to attach my end caps…

(P.S. The above shot was actually taken before I started, so I definitely sanded down those paint drips and rough spots before painting) To attach the caps, I simply set them up there (as shown) and then tapped them into place with a rubber mallet.  It was a perfect fit.

Now, it was painting time.  Before beginning this project, I’d completed some research and found  that a good method for painting rusty outdoor metals was to apply a rust-inhibiting primer followed by an oil-based rust-inhibiting paint, so I went with Rustoleum brand products, which I found at Home Depot.  I primed my surface using this…

And no, I didn’t follow Rule #1 of Home Improvement 101: Wear Gloves.  And yes, this was another what-was-I-thinking shot that’s causing me embarrassment (rightnow).  And yes, I still chose to post it anyways.  Honesty.  It’s a virtue that I try impart on this blog if it means you might learn by my mistakes.  So, please, for the love of Lucy, don’t follow my lead.  Please wear gloves and protect your skin.   That is Recommendation #1 of things to do differently than me in this post.

To spray my primer, I simply kept the can about 10 inches from my surface and kept my arm moving the entire time, applying a light, even coat to all surfaces of the gate.  I held a large piece of cardboard behind the gate as I sprayed to limit the over-spray (hence the crazy amount of paint on my hand… I never claimed to have great aim). 😉

After the gate was primed, it looked like this…

Already a huge improvement, right???

Next, I used Rustoleum’s oil-based paint in gloss black…

I don’t have any pictures of the painting process because about a quarter of the way in it started to lightly drizzle.  I was literally hauling bootie to finish.  Fortunately, it was only a VERY light sprinkling of rain and it stopped quickly, but it put the crazy-woman-panic in me to where I was just trying to get ‘er done before the skies decided to open up again (which they didn’t).  Since I was using an oil-based paint, the water did nothing to the finish whatsoever, but really…. I consider myself lucky.   If it had rained any harder I may not be able to claim that.    So, Recommendation #2 of things to to differently than me in this post: Check the weather forecast before painting outdoor items.

As for how I applied the paint, I simply brushed it on with a paint brush and it worked like a charm.  I’ve never worked with oil-based paint before and, aside from the fumes, it was amazeballs.   It covered like a dream and smoothed right out leaving a glossy hard finish.

Like I mentioned before, I knew that our gate would never be completely smooth. You can see in this shot that there were areas where the metal was just too eaten away because of neglect over the years. Fortunately, these rough spots aren’t too noticeable unless you’re right on top of the gate inspecting it (or staring at a high resolution photograph.  Lol.).   We’ll eventually have to replace the gate, but in the meantime, hopefully priming/painting the metal has inhibited further rust damage enough to extend its life and make it look more presentable.

In any case, despite the bumpiness, it still looks way better than it did before with that rusty, decapitated gate cap.  This is the same post, but with the gate open…

I plan to add a second coat of paint to the gate eventually which will hopefully smooth out the surface more.  The coat that I did covered really, really well, so at the time, I didn’t feel like I needed a second, but we’ll see.  Added protection couldn’t hurt.

A shot of the gate before so you don’t have to scroll up…

And now…

You can see that the old/wrong front door was in when I started this project, and I’d already started painting the new/correct front door when I actually got around to taking “after” pictures.  I love seeing the evolution of things.

Here’s the other view from when we closed on the house…

That’s how the gate stayed for months since it didn’t lock.  After we moved in, the courtyard quickly turned into a weed-fest since that mulch that you see above was only applied in a very thin layer (probably just for showing the house).   Since then we’ve added layers of cardboard to smother the weeds, topped with decomposed granite.  And I’m happy to report that it’s so far, so good on the weed front.   We also had the house painted (which included that stucco wall).  Its a slightly darker color with more of a grey tone to it than before….

The courtyard is just so much neater. I have to say that I really like the simpler gate caps.   They really streamline the gate to make it feel slightly more modern.  And I love the crisp blackness.   It adds much needed contrast and sophistication to the courtyard.   Now to address those faded lanterns. Funny how making one thing look good, makes another look just awful.   So, we’ll be addressing those at some point soon.   Eventually we want to add a nice, stained wood wrap-around bench around the perimeter of the entire courtyard and maybe some pavers underfoot to give this space some additional function.  Eventually.  We’ll get there.  🙂

In any case, the courtyard is much more presentable now and I couldn’t be more thrilled.

TDC Before and After
Advertisement

Our front door.  The exterior. FINALLY.  

Howdy, folks!   So, I’ve decided to jump out of order with my posts this week because I’m SO ready to show you guys some updated exterior pics of the front of our house.  Ya see, first I painted the rusty green gate to the courtyard a crisp black, then I painted our front door once it was installed… but I’m showing you the front door and exterior shots first.  Because I’m excited.  And it’s my blog. 🙂  Then, I’ll go back next post and give y’all a tutorial on painting our metal gate with befores and afters of that project.

So, onward…

If there’s one thing I’ve learned throughout this front door process it’s this.   I am not meant to paint exterior doors.  And also, some projects seem like they’d be straightforward… but they aren’t.

Either that or I just simply haven’t discovered the right paint yet.

Part of the problem, well, most of the problem is that our new door has no texture.  It’s perfectly smooth.  I love this about our door, but it definitely posed a problem when it came to painting it.

Painting the interior side of our door was a piece of cake thanks to the self-leveling property of the Proclassic paint by Sherwin Williams, but I didn’t realize until I was in the trenches with the outside of our door that most exterior paints don’t do that.

I’d thought about removing the door and spraying it, but it has a specific type of hinge that doesn’t allow the pin to be removed, and I was VERY hesitant about removing the hinges from the door frame after our old door practically fell off due to a stripped frame.  So, I decided to go the old-fashioned way with a brush and foam roller.

Colorwise, I decided to paint the door the same charcoal color that I’d painted our old door (Black Bean by Behr) in their Exterior paint + primer.   It worked well with our old door, but then again… that door had texture to it, so I never really noticed textural issues with the paint.

I followed the same process as when I painted our old door, but after 2 thin and even coats, I had brush strokes galore…

It doesn’t look that bad here because of the lighting, but trust me.  It was visible from the street.  Easily visible, in fact.

So, I decided to splurge on a $30 quart of Sherwin Williams Resilience paint matched to the same color…

Prior to painting, I busted out the sanding block and smoothed the finish across the entire door…

Then, I applied one thin and even coat of the SW paint…

Although there were still some roller marks visible, it was WORLDS better than finish with the Behr paint.  Now, I should’ve just stopped here (an old joke in which a head of cabbage should’ve “quit while it was a head” is rattling around my brain right now).  But, like many Americans these days, I figured that if one was good, two must be better.  So, I painted another coat to “make it perfect”.

And I was wrong.  So wrong.   In my attempt to further annihilate the roller marks, I made them, like 50 times worse than they were with the Behr paint.

IF ONLY I COULD MAKE YOU SEE WHAT IT REALLY LOOKED LIKE.  This picture doesn’t even slightly do it justice…

Again, you could clearly see the roller marks from the street.  And it looked BAAAADDD.  I think part of the issue is that our front porch isn’t shaded.  We have only about an 18 inch overhang above it, so differences in sheen are more punctuated with the sun bouncing off of it.    As for that fourth coat,  I think my mistake was that I applied too much paint, thinking that it would self-level.  It.DID.NOT.   Plus, it had a very stippled, coarse texture to it.

At this point, I was quite dramatic.  And I apologize to the cookies that will never again see the light of day.

That next morning, I woke up bright and early and busted out the sanders.   This sander for the areas around the molding…

And the orbital for the flat areas…

I did as much of the sanding as possible with the door shut to limit the dust inside, then I opened it to get around the edges.  I finished up with a sanding block to get any remaining rough areas…

My tips for painting prep post-sanding are as follows…

1. Remove as much dust as possible from your surface with a Swiffer rag first.  This will prevent your final step (tack cloth) from getting gummed up faster than it needs to.

2. Clean all the dust around prior to painting.  Everywhere.  Shake out your drop cloths, vacuum loose dust.  Just get rid of it.  Fully clean prior to painting.  Nothing is more frustrating than applying your paint only to have a random gust of wind or someone messing with your drop cloth accidentally blow dust onto your finish.

3. Right before applying paint, use tack cloth to remove all remaining specks of dust and debris from your surface.  Tack cloth is magic stuff, my friends.   It’s sticky and gets up everything.  Keep a supply on hand.

After I’d completed all of the above steps, I applied another thin and even coat of paint to the door.   This time, I applied the paint and then used LONG strokes from the top of the door to the bottom to eliminate as many roller marks as possible.

The result was better but still not perfect…

…but at this point, I basically claimed defeat and decided to leave it.   I accepted that it would just have to be imperfect for the time being.   And I was at peace.

But alas, the paint gods laughed at me.

I left the door open for ELEVEN hours (I finished painting that last coat at 9:30 am, and finally closed the door at 8:30 pm).  And when I woke up the next morning, I opened the door (STTTTIIIIIIIIIIIIIIIIICCCCCKKKKK!!!!!! <- The door screaming at me).  Aaaaaaand small bits of paint came off around the edge of the door.  What the deuce???!!!   After all of the coats that I’d painted before (after which I’d only left the door open for 4-5 hours post-painting).  The paint DIDN’T BUDGE.  But after I finally was okay with leaving the door as is (and after I’d left it open for almost half a day), it stuck and I lost bits of paint.

Oy.  #morecookiesplease

So, I still need to paint another coat.

But in the meantime, the missing spots aren’t terribly obvious, so I’m gonna wait for my interior cheerleaders to reassemble and motivate me to repaint the door without crying.

And I’m gonna smile anyways and show you what I will call “after” pictures (as I listen to the smallest violin in the background).   First, though lets look at the doorway when we closed on the house.

Now, it looks like this…

Painted gate, new front door, neater courtyard.   Joey basically laid down cardboard to smother the weeds and then layered decomposed granite on top.   The fact that the painted door looks better here than it had, just tells you what it looked like before.   All in all, though, the courtyard is feeling more modern and much better kept.  Eventually I’ll add some potted plants and such to gussy it up and add some color and softness.

We found that random brick (next to the door) in the courtyard after we moved in.  It says “ST JOE” on it.   Clearly the yard knew he was comin’.  Haha! 😉 Sooner or later we’ll change out the lighting fixtures, but I’m being really picky since they’ll have to coordinate with the lanterns we choose.  And honestly, I’m fine with them until I find the perfect replacement.

The hardware is this exterior door set that I picked up from Home Depot….

It’s modern and sleek and everything that I wanted for our door.

A view of the outside of the courtyard….

232323232-fp83232-uqcshlukaxroqdfv34553-nu=3396-6-9--78-WSNRCG=3636;9-4-4346nu0mrj

I think one of the BEST things Joey could’ve done was add that rock border and the nandena bushes to soften up the front.  It’s so good.  I need to either paint or replace those lanterns since they now pale in comparison to the gate.   I was hands-down gonna paint them, but recently one stopped working.   If we can fix it, I’ll paint it, if not, we’ll have to replace them.  Like I mentioned before, we’ll eventually replace them anyways, but in the meantime they may as well look nice.

And now a before and current view of the house.  Here she is on closing day…

IMG_7156.jpg2

And now…

We’re working on getting the grass to green up and we have a bit of hedge-trimming in store, but aside from that, things are starting to coming together. The orange roof is even starting to look slightly less offensive.   It’s just amazing how the front door really makes such an impact.  It was exactly what this house needed, in my opinion.   I want to give the mailbox a little makeover with some of the charcoal paint (instead of that brown) to tie it in to the house, and the rotting wood shakes on top need to be replaced as well (I have some fun ideas for that). But these are relatively little things that we’ll knock out as we have the time.

So, that’s our exterior house update at this point.  Does anyone have any suggestions for getting that front door more uniform?  Since I have to do another coat anyways I’m open to all suggestions.

TDC Before and After