Details, Details

So, our guest bathroom makeover is moving right along.  We’ve had a little faucet snafu that still needs to be squared away, and then I’ll be ready to post some reveal pics.   In the meantime, I’ve been working on some of the smaller details.  And as I installed them, I realized that hanging them posed a few minor challenges.  So, I thought I’d post about how I dealt with them.  Again, I’m no professional (clearly… keep reading), but it ended up working out in the end.

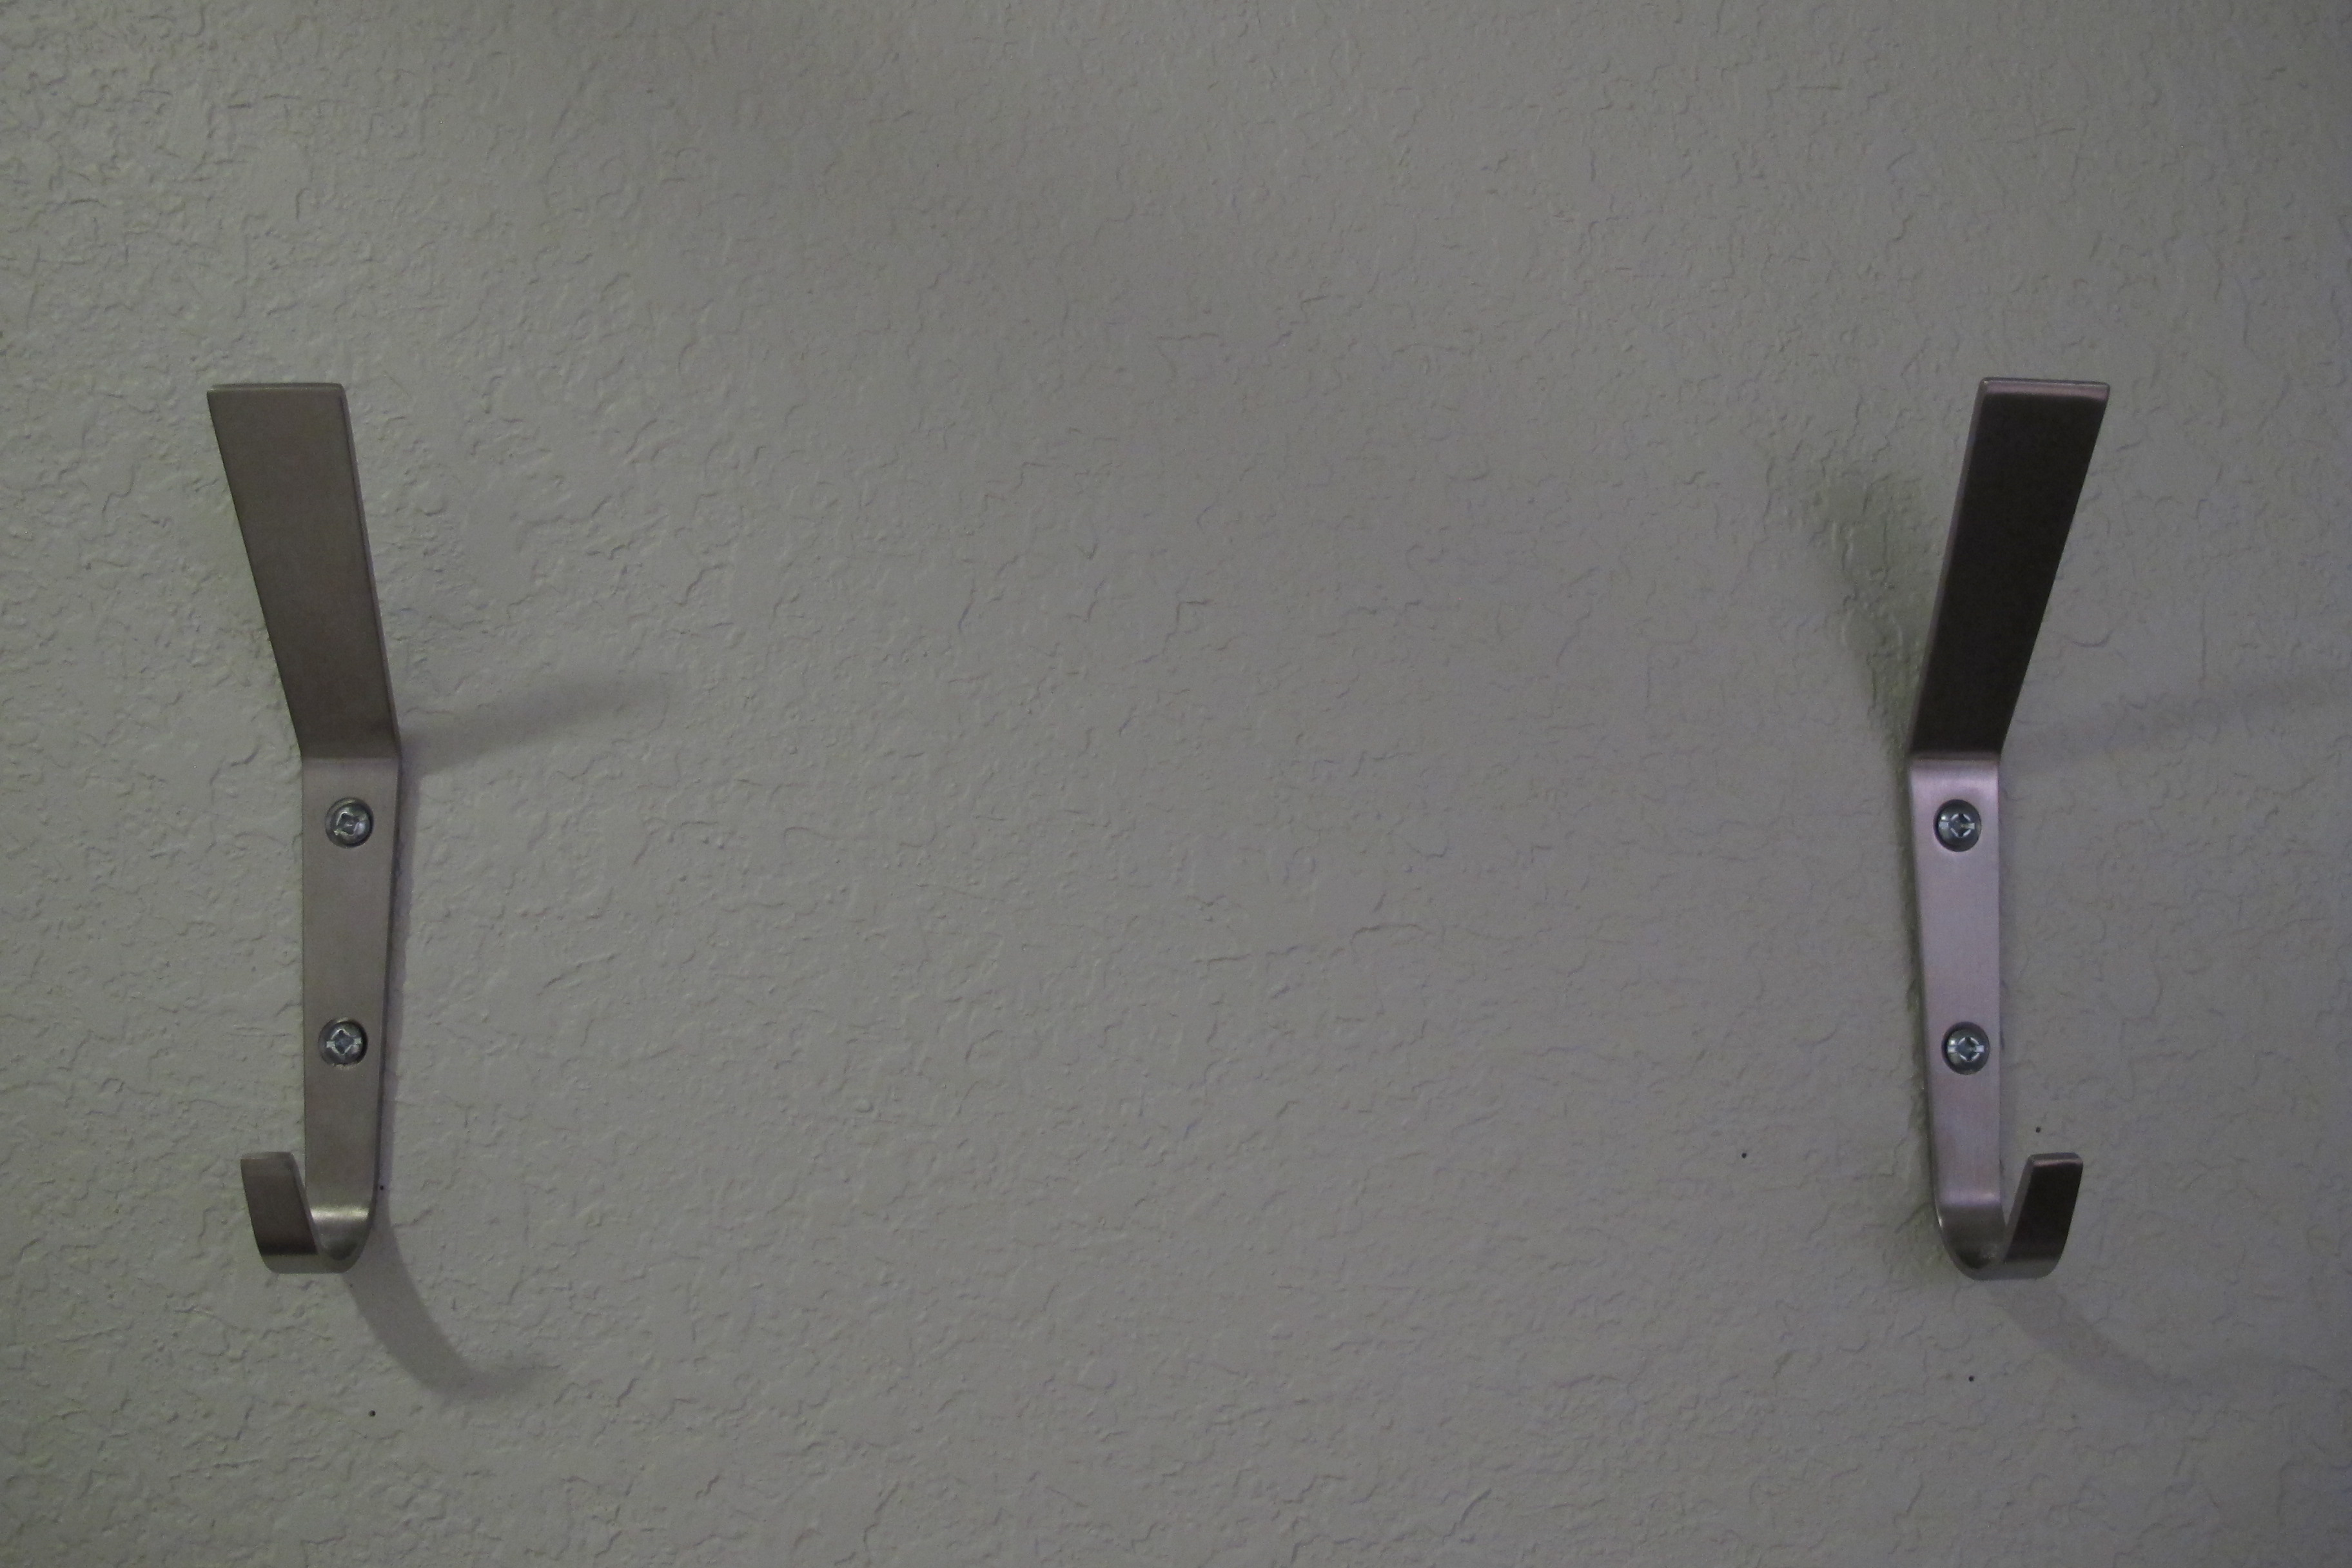
First, our towel hooks.  We went with the Blecka hooks from Ikea because they’re modern and simple.  

I wanted to hang them side by side, which meant that they needed to be perfectly level and straight or else they’d look slightly off thanks to their linear shape.   I started by using a level to make two marks on the wall with a pencil to ensure that my top screws were inserted at exactly the same height.

Then, I held the level perpendicular to my first pencil marks and basically drew a” T” shape…

The top hole in my hook would be mounted at the cross of my “T”…

Now, I’m fully aware that I take the long route when installing anchors… I screw the nail in and unscrew it, leaving my pilot hole (I know, I know.  Just use a drill, right?  I think about it every time. But. never. do. it. Don’t ask me why.).

In this case, once I had my pilot hole created for the top screw, I laid my hook over it with the bottom hole lined up with the bottom line of my “T”.  I marked it with a pencil and created my bottom pilot hole.   I forgot to take pictures of this whole part.  I was way too enthusiastic about this project apparently.  Next, I screwed in my anchors into my pilot holes…

IMG_4494

And after lining up my hook, I installed my screws into my anchors…

IMG_4497

Tah-dah!   The lighting and angle of this shot makes them look a little off, but they’re actually straight and even.

IMG_4489

I also changed out this more ornate toilet paper dispenser….

…with the Grundtal model from Ikea for a sleeker vibe.  The challenge I faced here was this…

The previous toilet paper dispenser left quite the impression.   I simply used our Minwax Ebony stain pen (which I posted an ode to here), to cover up the blemishes….

Which left this…

Then, I lined up the new dispenser over the existing holes, drilled pilot holes for my screws (See?? I’ll do it here, but not for an anchor.  I’m so weird.) and screwed this puppy in place….

Easy fix.  The new dispenser completely hides the holes and looks like it’s always been there.

Lastly, I purchased a little wall rack from the kitchen section of Ikea to hang next to the sink.  It’s the Grundtal rail, Grundtal S hooks and Bygel wire basket.  Joey was sleeping when I wanted to install it and I was impatient and wanted it done since I was on a roll.  So, I used thumbtacks and my camera to determine placement all on my lonesome.   I know this method isn’t for everyone since it requires putting holes in the wall.  But, they’re small holes.  And I already had a few holes to patch and touch up anyways, so I figured, “Hey, what’s a few more?”

I wanted to figure out a good height and whether to center the rack on the wall, or on the countertop.  So, I played.  And used my pictures as a guide to determine what I liked best.

Higher…

But this was at face level (for me) and felt too cluttered.  Lower, centered on the counter…

This was okay.  Lower, centered-ish on the wall…

But, I realized with this placement that I couldn’t completely center the rack on the wall without crowding the light switch.  And if the rack couldn’t be perfectly centered on the wall, I might as well center it with the counter.   So, lower, centered on the counter won out.   And you’ll see the final result in my reveal post.  🙂

So, there you have three smaller installation projects.   I’m crossing my fingers that the part that we’re waiting on for the faucet arrives soon so I can show ya’ll the entire room.   Soon.

Chicken wire ikea hack

This is gonna be an Ikea hack kinda week. I’m just feelin’ it. So, I’m gonna ride that feeling to Happinessville.

Remember this cabinet?

IMG_3833

I briefly referenced it in this post.  We originally purchased it to be our media cabinet for the living room. And it was purchased during this time period, when I was highly confused about what furniture and layout would work best in our oddly-shaped living room.  I’d erroneously convinced myself that we needed a teeny media cabinet since the room is smallish. But, honestly, I never really liked the darn thing.  Sure, we needed something. But, it’s just so… Blah. And boxy. And brown.  I tried to jazz it up with the spigot faucet knob from Hobby Lobby. I even painted the back panel on the inside grey and navy for a splash of color (although, it’s kind of hard to tell).   Once we adopted our current media cabinet, ole’ plainface here was demoted to the front room where it’s been holding down the fort ever since.

Now, although this cabinet isn’t my fave, we never really had a reason to part with it. After all, it’s the perfect size for its current home, it provides storage and is a good place to keep our cable/internet/modem/router thingie thanks to the glass door. I was just never particularly excited by the sight of it.

So, the other day, as I was doing a yoga video in the front room, I completed one fateful upward dog, glanced at the cabinet and exclaimed “EUREKA!!!”. Yoga must’ve brought me clarity or something. Unexpected bonus, right there. I realized that the cabinet simply needed a bit of organic detail. Something rustic and curvy to offset the plain, square lines. And, the detail needed to allow our wireless modem to still function. So, preferably something meshy, with holes.  “CHICKEN WIRE, YOU FOOL!!” I exclaimed.   How had I never thought of this before??!!

So, I hit up Home Depot and grabbed a roll of chicken wire for just over six bucks…

IMG_3840

Once I got home, I removed the door from the cabinet and took off the door knob….

IMG_3843

I measured the window, allowed about another inch on each side and the cut my chicken wire down to size with some wire cutters…

IMG_3842

I did my best to flatten out the chicken wire by bending it against the arch (caused from it being rolled up). It was easiest if I stepped on it while bending it in the opposite direction with my hands. Then, I used my trusty staple gun and stapled the chicken wire to the inside of my door…

IMG_3844

I will warn… Chicken wire is feisty stuff. I highly recommend wearing protective gloves. My hands got scratched up all over during this process. After attaching the chicken wire, it looked like this….

IMG_3845 IMG_3847

Which, I liked.

But, then I decided that if one is good, two must be better.  So, I cut out a second piece of chicken wire, but in the perpendicular direction to my original (so that the honeycomb shapes were turned 90 degrees). Then, I stapled the second sheet over the first…

IMG_3849

I trimmed all of the excess chicken wire around the edges, reattached the door and handle. And I was left with this….

IMG_3855

IMG_3877

IMG_3852

A little side-by-side before and after action…

IMG_3833 IMG_3875

It’s exactly what I was going for. A bit of rustic detail in a more freestyle pattern to break up the blockinesss of the cabinet. It gives some subtle interest and style. All for under 6 bucks (if you consider that I still have chicken wire left over for other projects).

Even Lucas liked it….

IMG_3859

So, anyways, this project was quick and easy… it took under an hour to complete and I couldn’t be happier with the result.

Also, on another note, I’ll tell ya’ll….. I’m getting excited about the bathroom. I finally found fabric for the shower curtain, so now that I’ve gotten that, a paint color has been chosen and I’m hoping to get my paint on next weekend. YEAH!!!! Fingers crossed and knock on wood that all goes to plan. 🙂