A few weeks ago, I found this wooden box at goodwill for $3.15.

It was unfinished and just begging to be revamped. Then, I remembered this awesome wooden DIY box created by my friend Emily and her husband, Jason….

It was the first thing I noticed when I walked in their door and I immediately admired it. I loved that it was rustic, yet feminine at the same time with the addition of the flowers. Just gorgeous. They built the box from scratch then stained it and filled it with mason jars. Such a cool idea. So, when I found this little unfinished goodwill box, I decided to create a smaller, “semi-homemade” version using theirs as inspiration.
I wanted the box to look somewhat beat up, so I started by hitting it with a hammer, chisel, plyers….anything that would dent/scratch it up. It was pretty fun. All frustrations were alleviated. So, thanks box! I feel like I owe you a co-pay. Anyways, in the end I ended up with this texture….

Next I used this stain, in Ebony….

I’ve had this one can of stain forever and have used it for various projects along the way. I applied enough stain with a clean rag to be sure that all of the dents and nicks were saturated, then I immediately used a clean rag to wipe off the excess. This whole process took maybe 10 minutes total.

Now, I’ve been absolutely loving all the stenciled numbers I’ve been seeing on Pinterest lately so I wanted add one to my box. I settled on “3” to symbolize the number of people in our family. I went online and found a number that I liked. This one was what I ended up going with…

I pasted the pic into a Word document, cropped out the “3”, enlarged it to the proper size (I wanted it to be about 4 inches tall), and printed it on computer paper. The edges were a bit fuzzy since I had enlarged it so much, so I used a sharpie to outline the number to create a sharp edge.

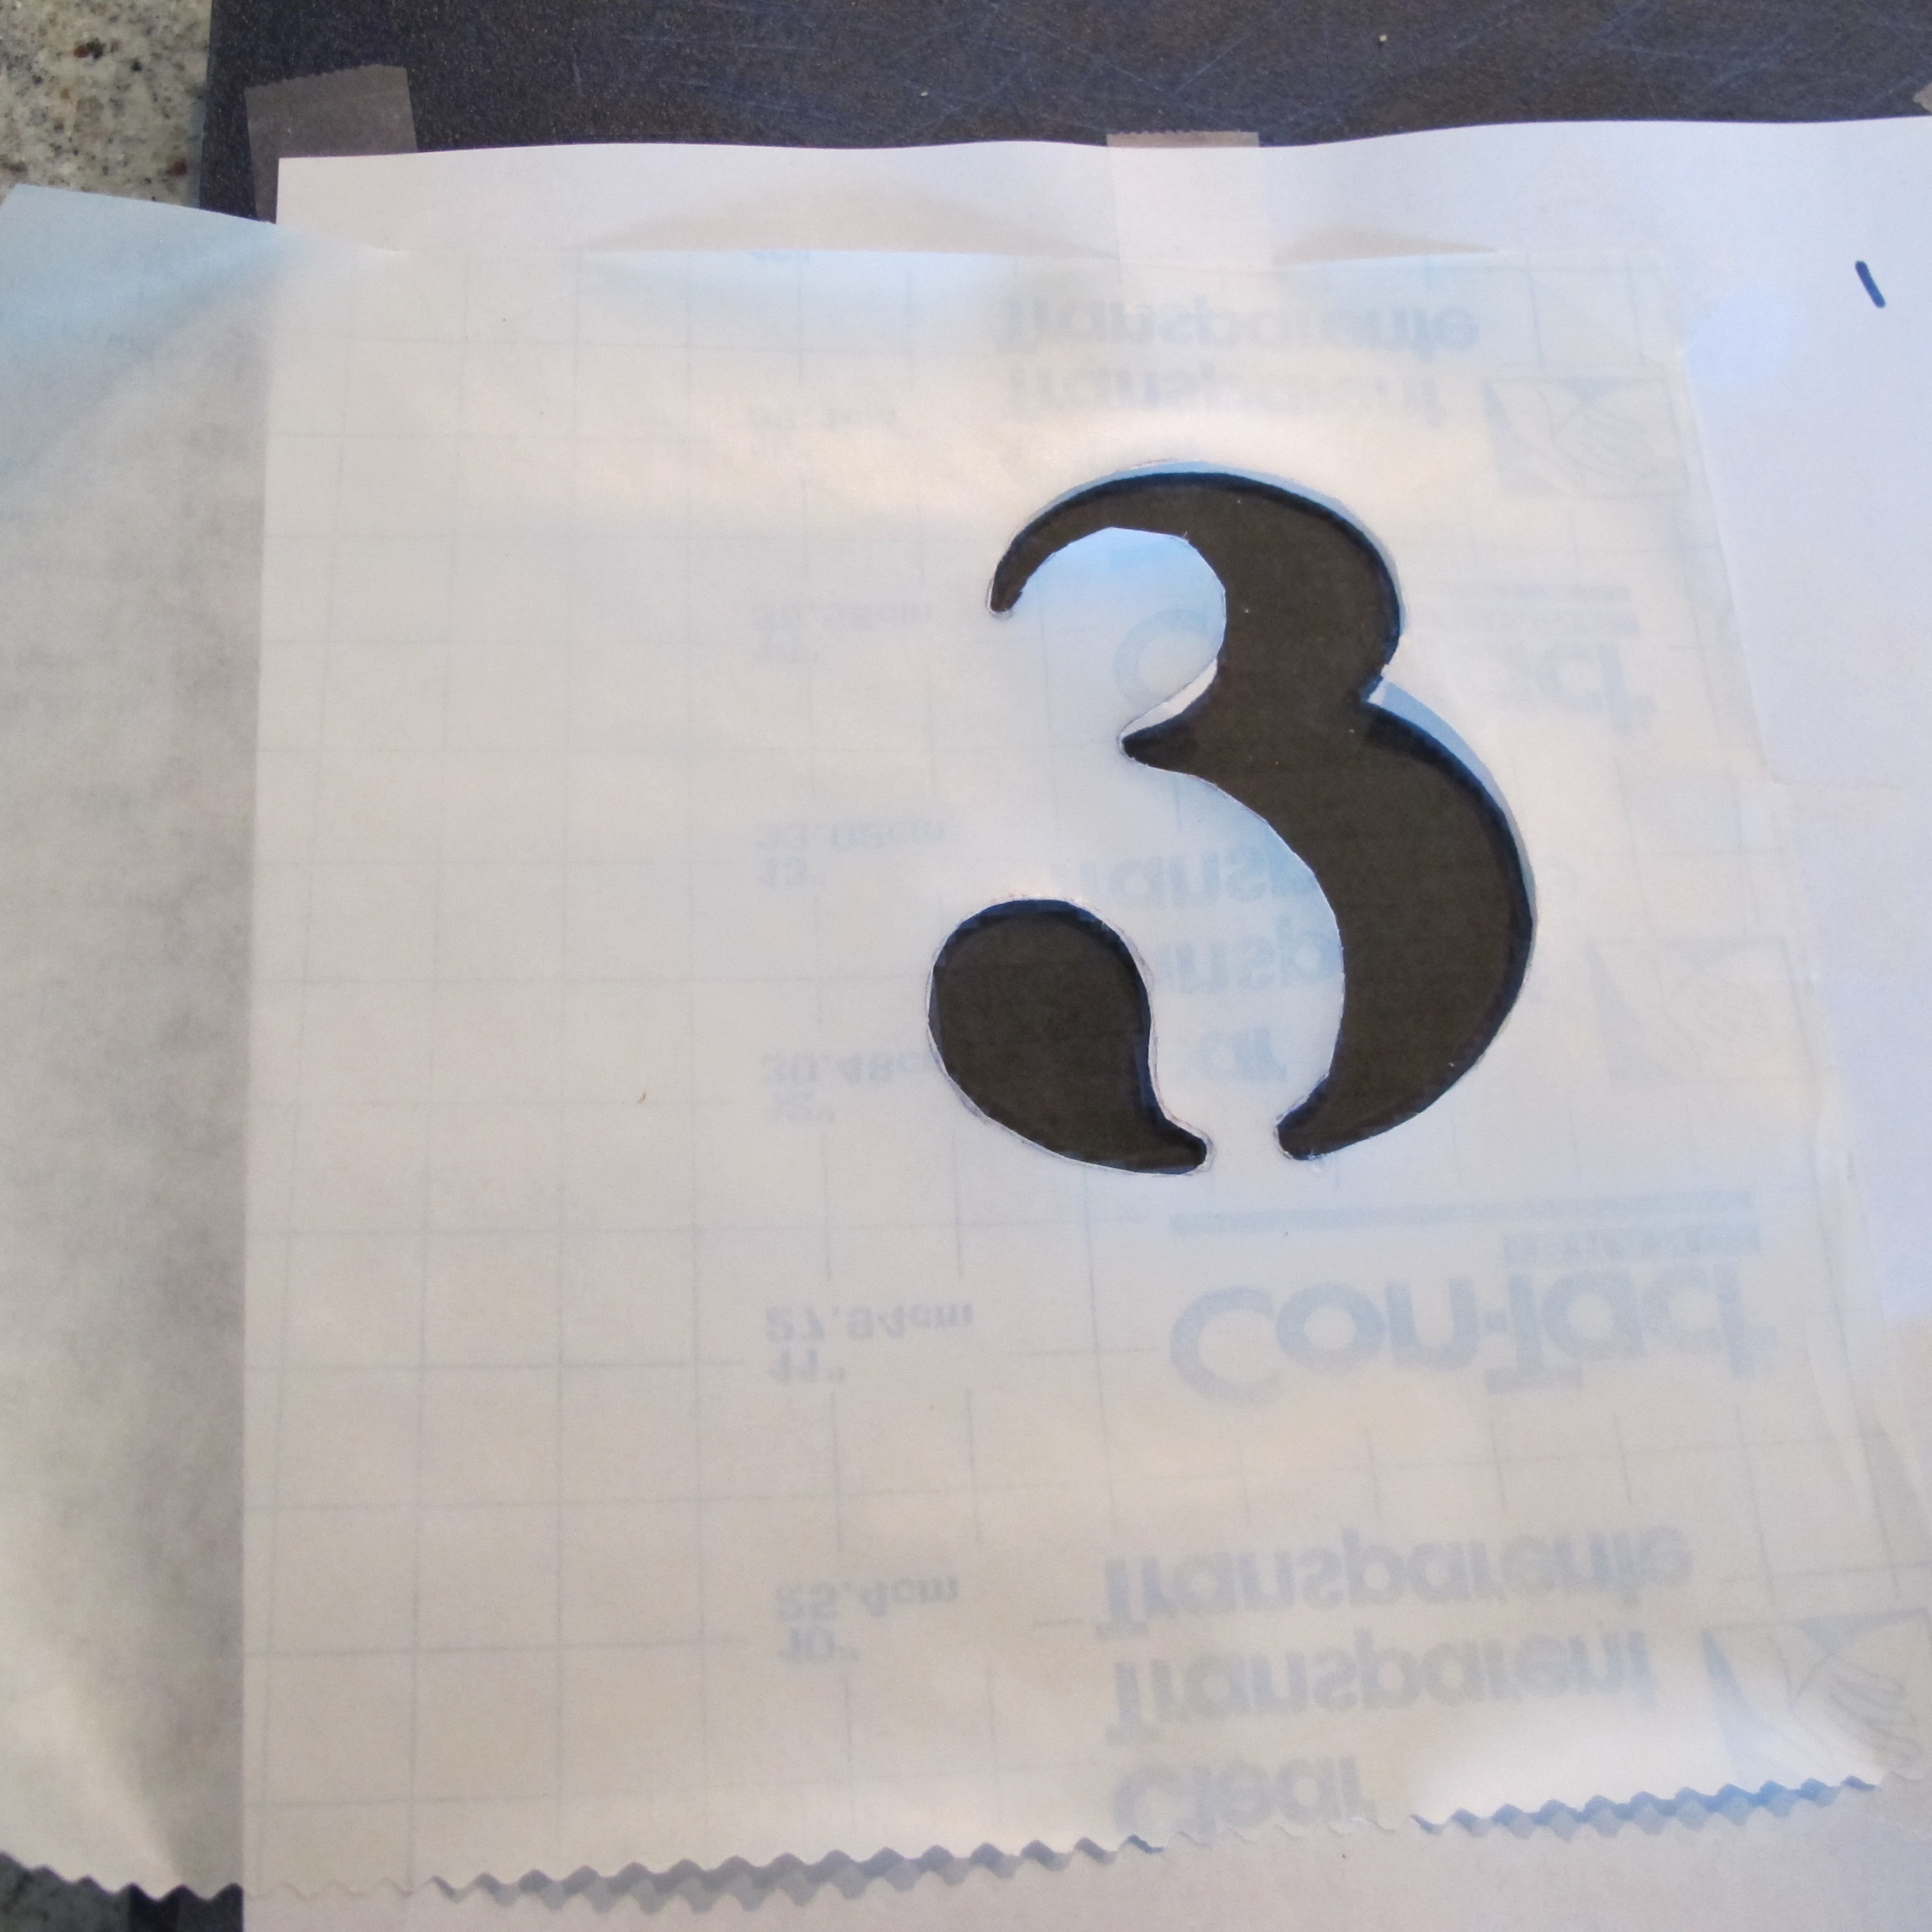
I laid the paper on top of a plastic cutting board, placed a small piece of contact paper on top and taped everything down to keep it stationary.

Then, I cut out the number with a razor (…can you tell I’d been spray-painting? Heehee!)…

I ended up having to trace the outline of my number with a pen because it was hard to see through the contact paper at certain angles when it fell into shadow. When it was all sliced, I popped out the middle. Which left me with this…
The next day (to allow adequate dry-time for the stain), I gathered all my tools… My box, some flat white primer+paint that I had on hand, my stencil and a flat topped sponge brush.
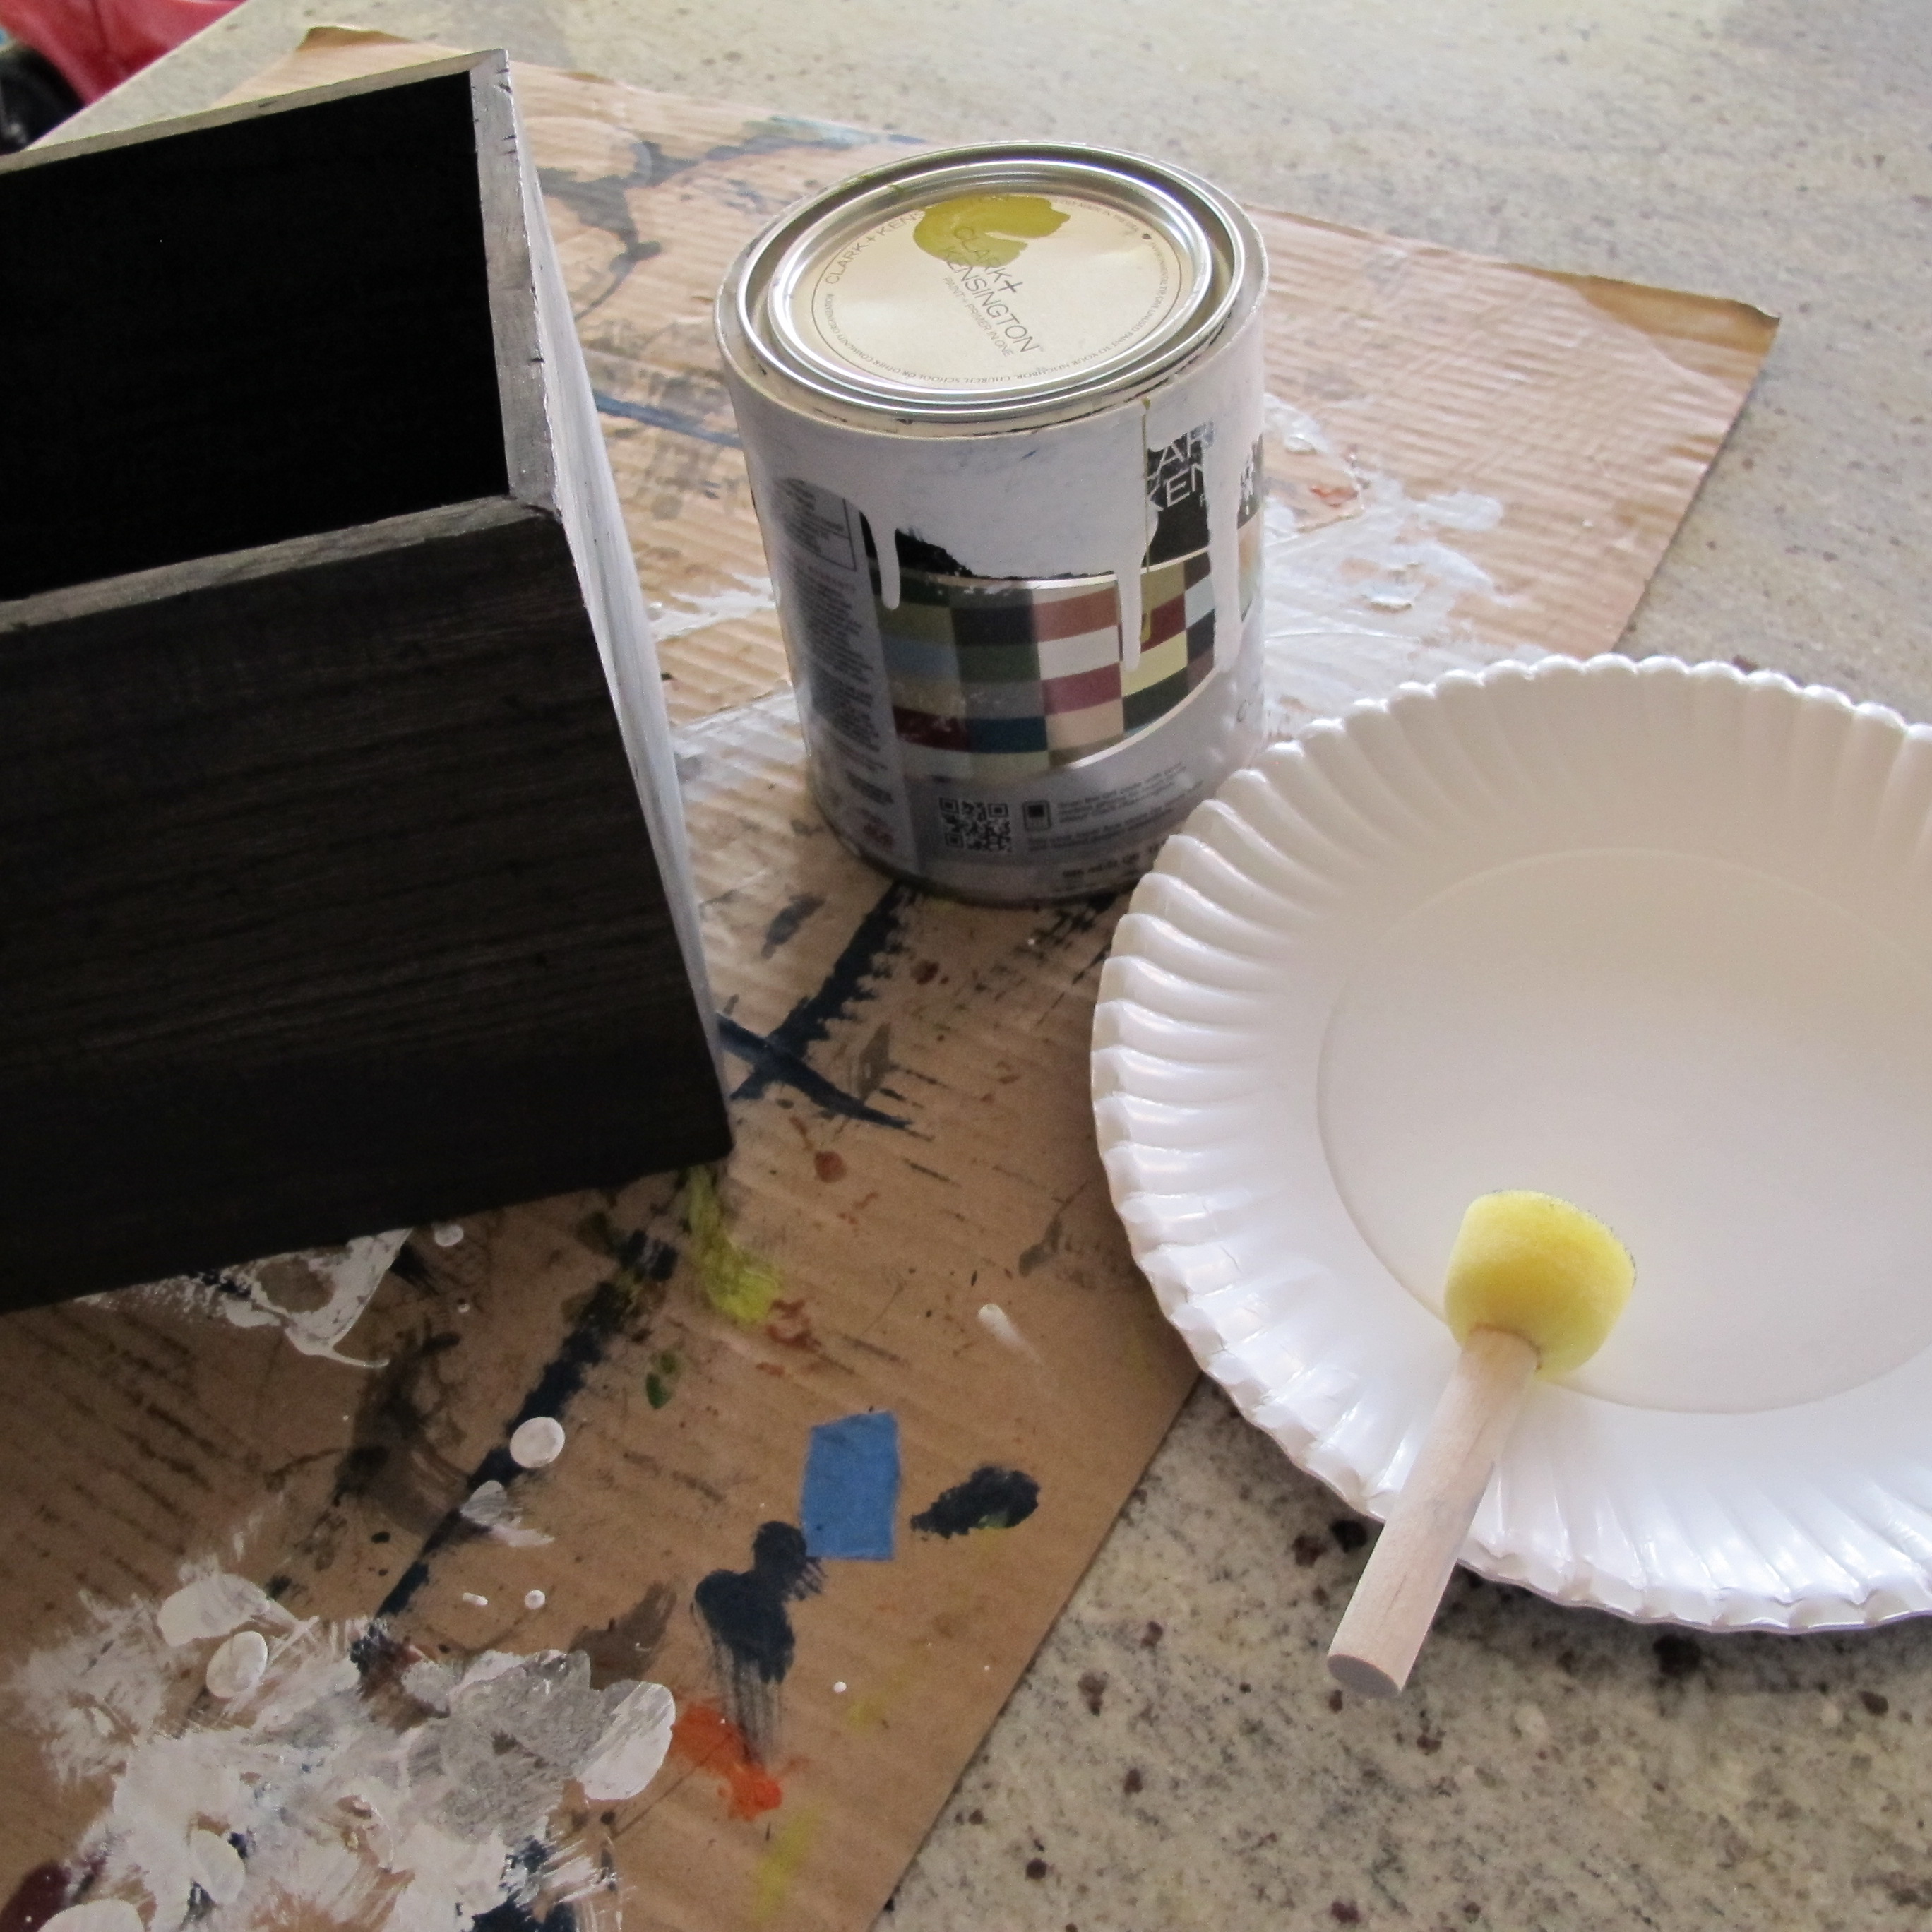
I simply peeled the backing off of my contact paper stencil and adhered it to the box in my desired location…

I used the sponge brush to lightly stipple paint into the stenciled area….

I wanted it to look somewhat worn, so I didn’t fill in the stencil uniformly. Then, while the paint was still wet, I carefully removed the contact paper. And jumped up and down in glee when I realized my plan had worked…
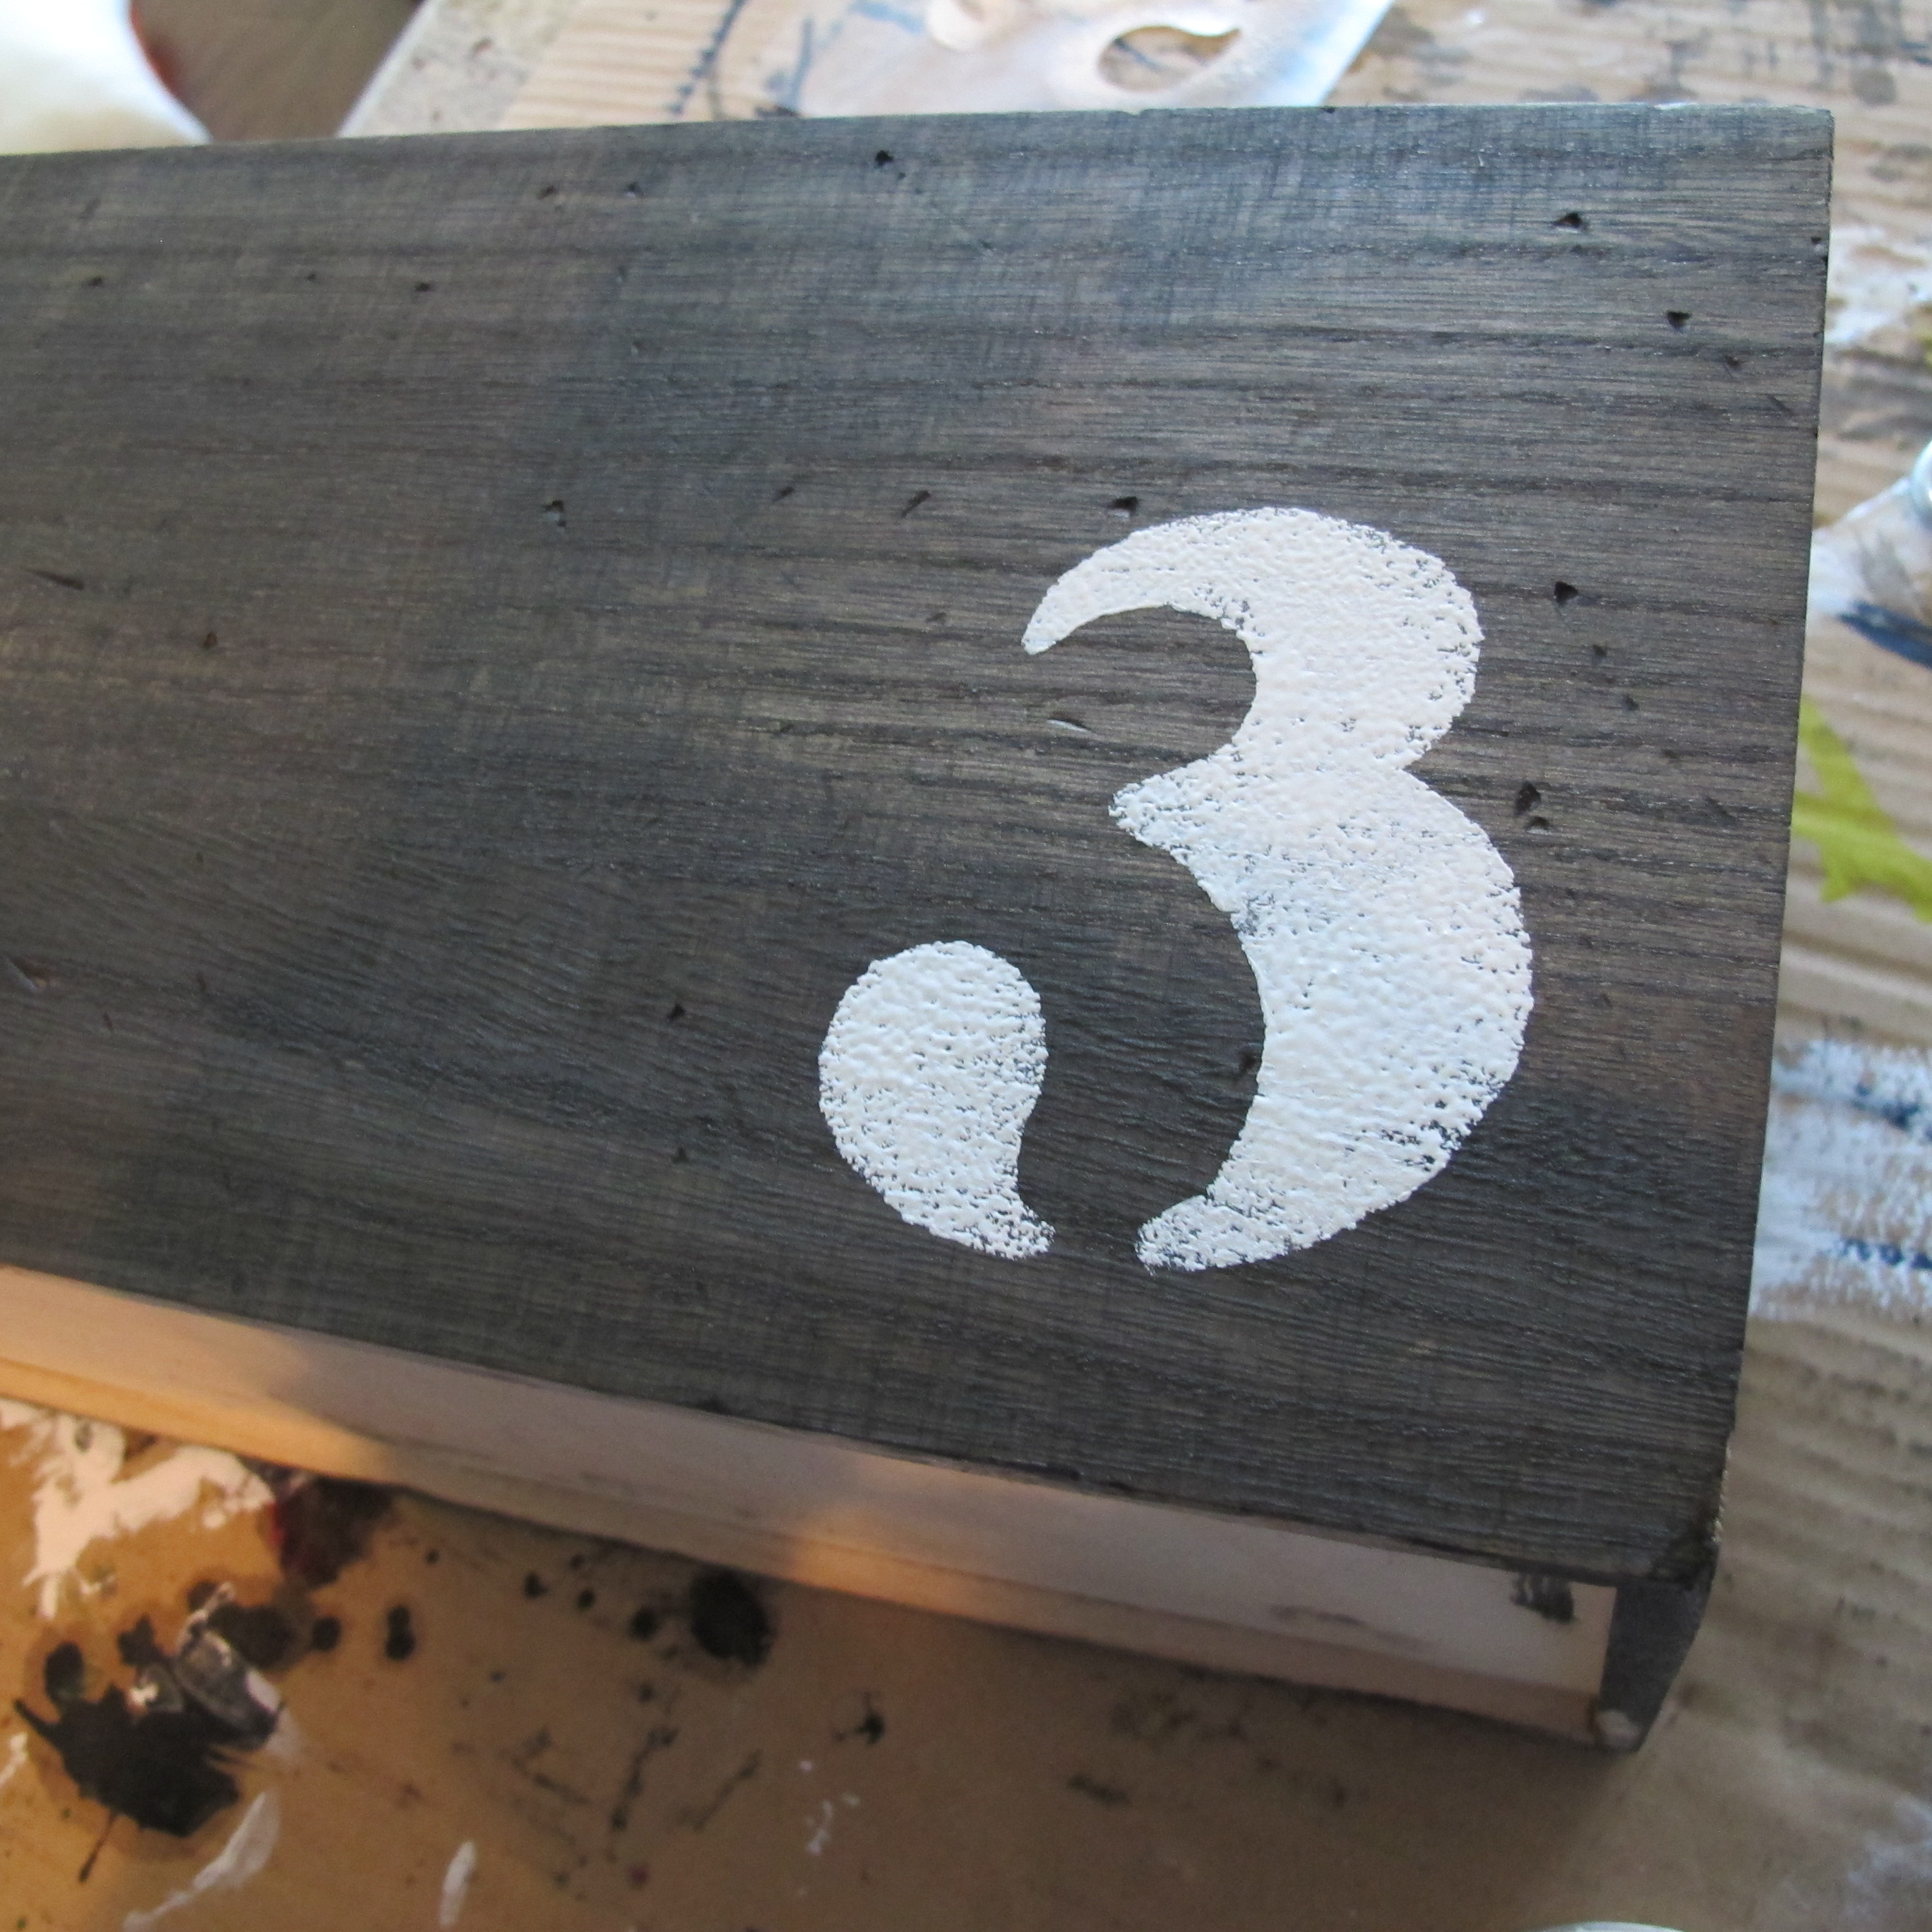
I still may go back and sand the number a bit just to make it appear a smidge more worn, but I’m still deciding. In the meantime, after the paint had dried, I added mason jars and candles. I decided to leave the stainless steel rings on for a more of an industrial feel. And here’s my finished product….


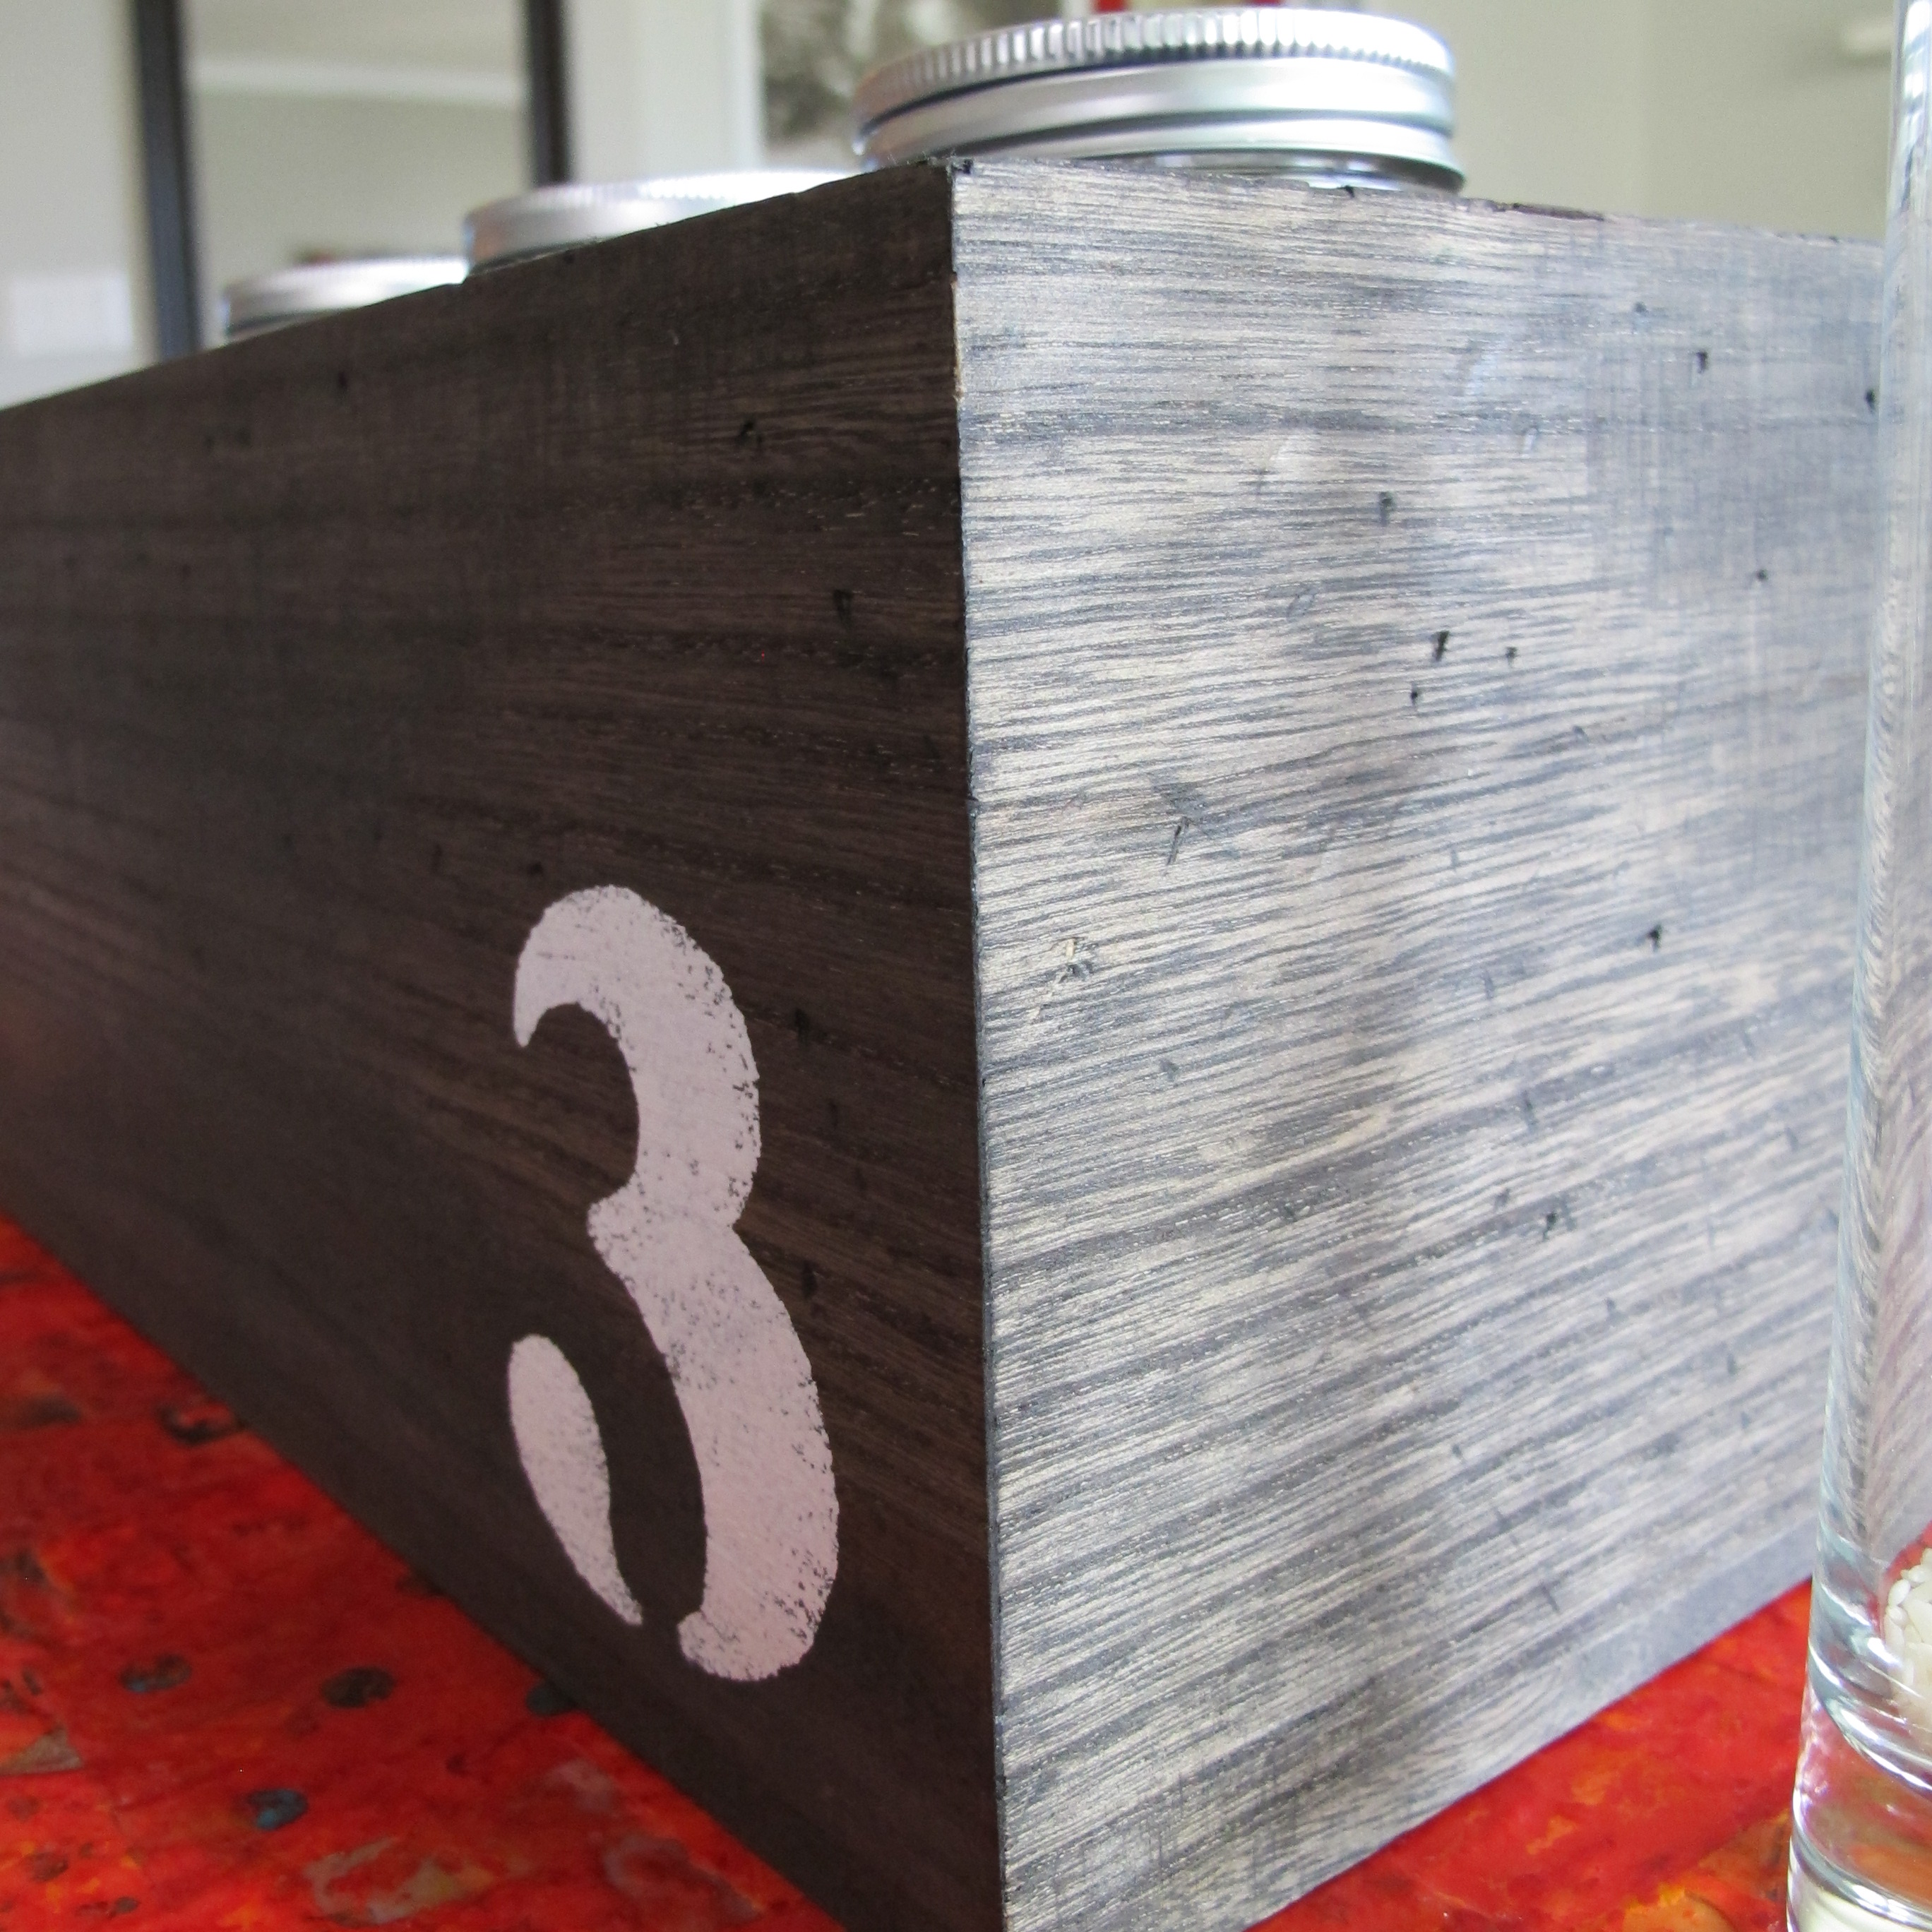

I’m really happy with it (smile).
All-in-all, I spent around $6 and less than one cumulative hour of work on this project (not counting dry-times). Easy, cheap and painless. The only items I purchased were the wood box for $3.15 and the mason jars for around a buck a piece (50% off at Joann). I already had the stain, paint, contact paper and candles.
So, thanks to Emily and Jason for the stunning inspiration and for allowing me to include their sweet box in this post. 🙂

this is very cool, creative and impressive! Nice work!
Thanks Dad!
As usual..everything you do is great!!
Haha! Thanks.
Love it!
Thanks!