Piz-ainting? Why yes, that’s a little gangsta speak for your Friday reading pleasure. Word. 😉
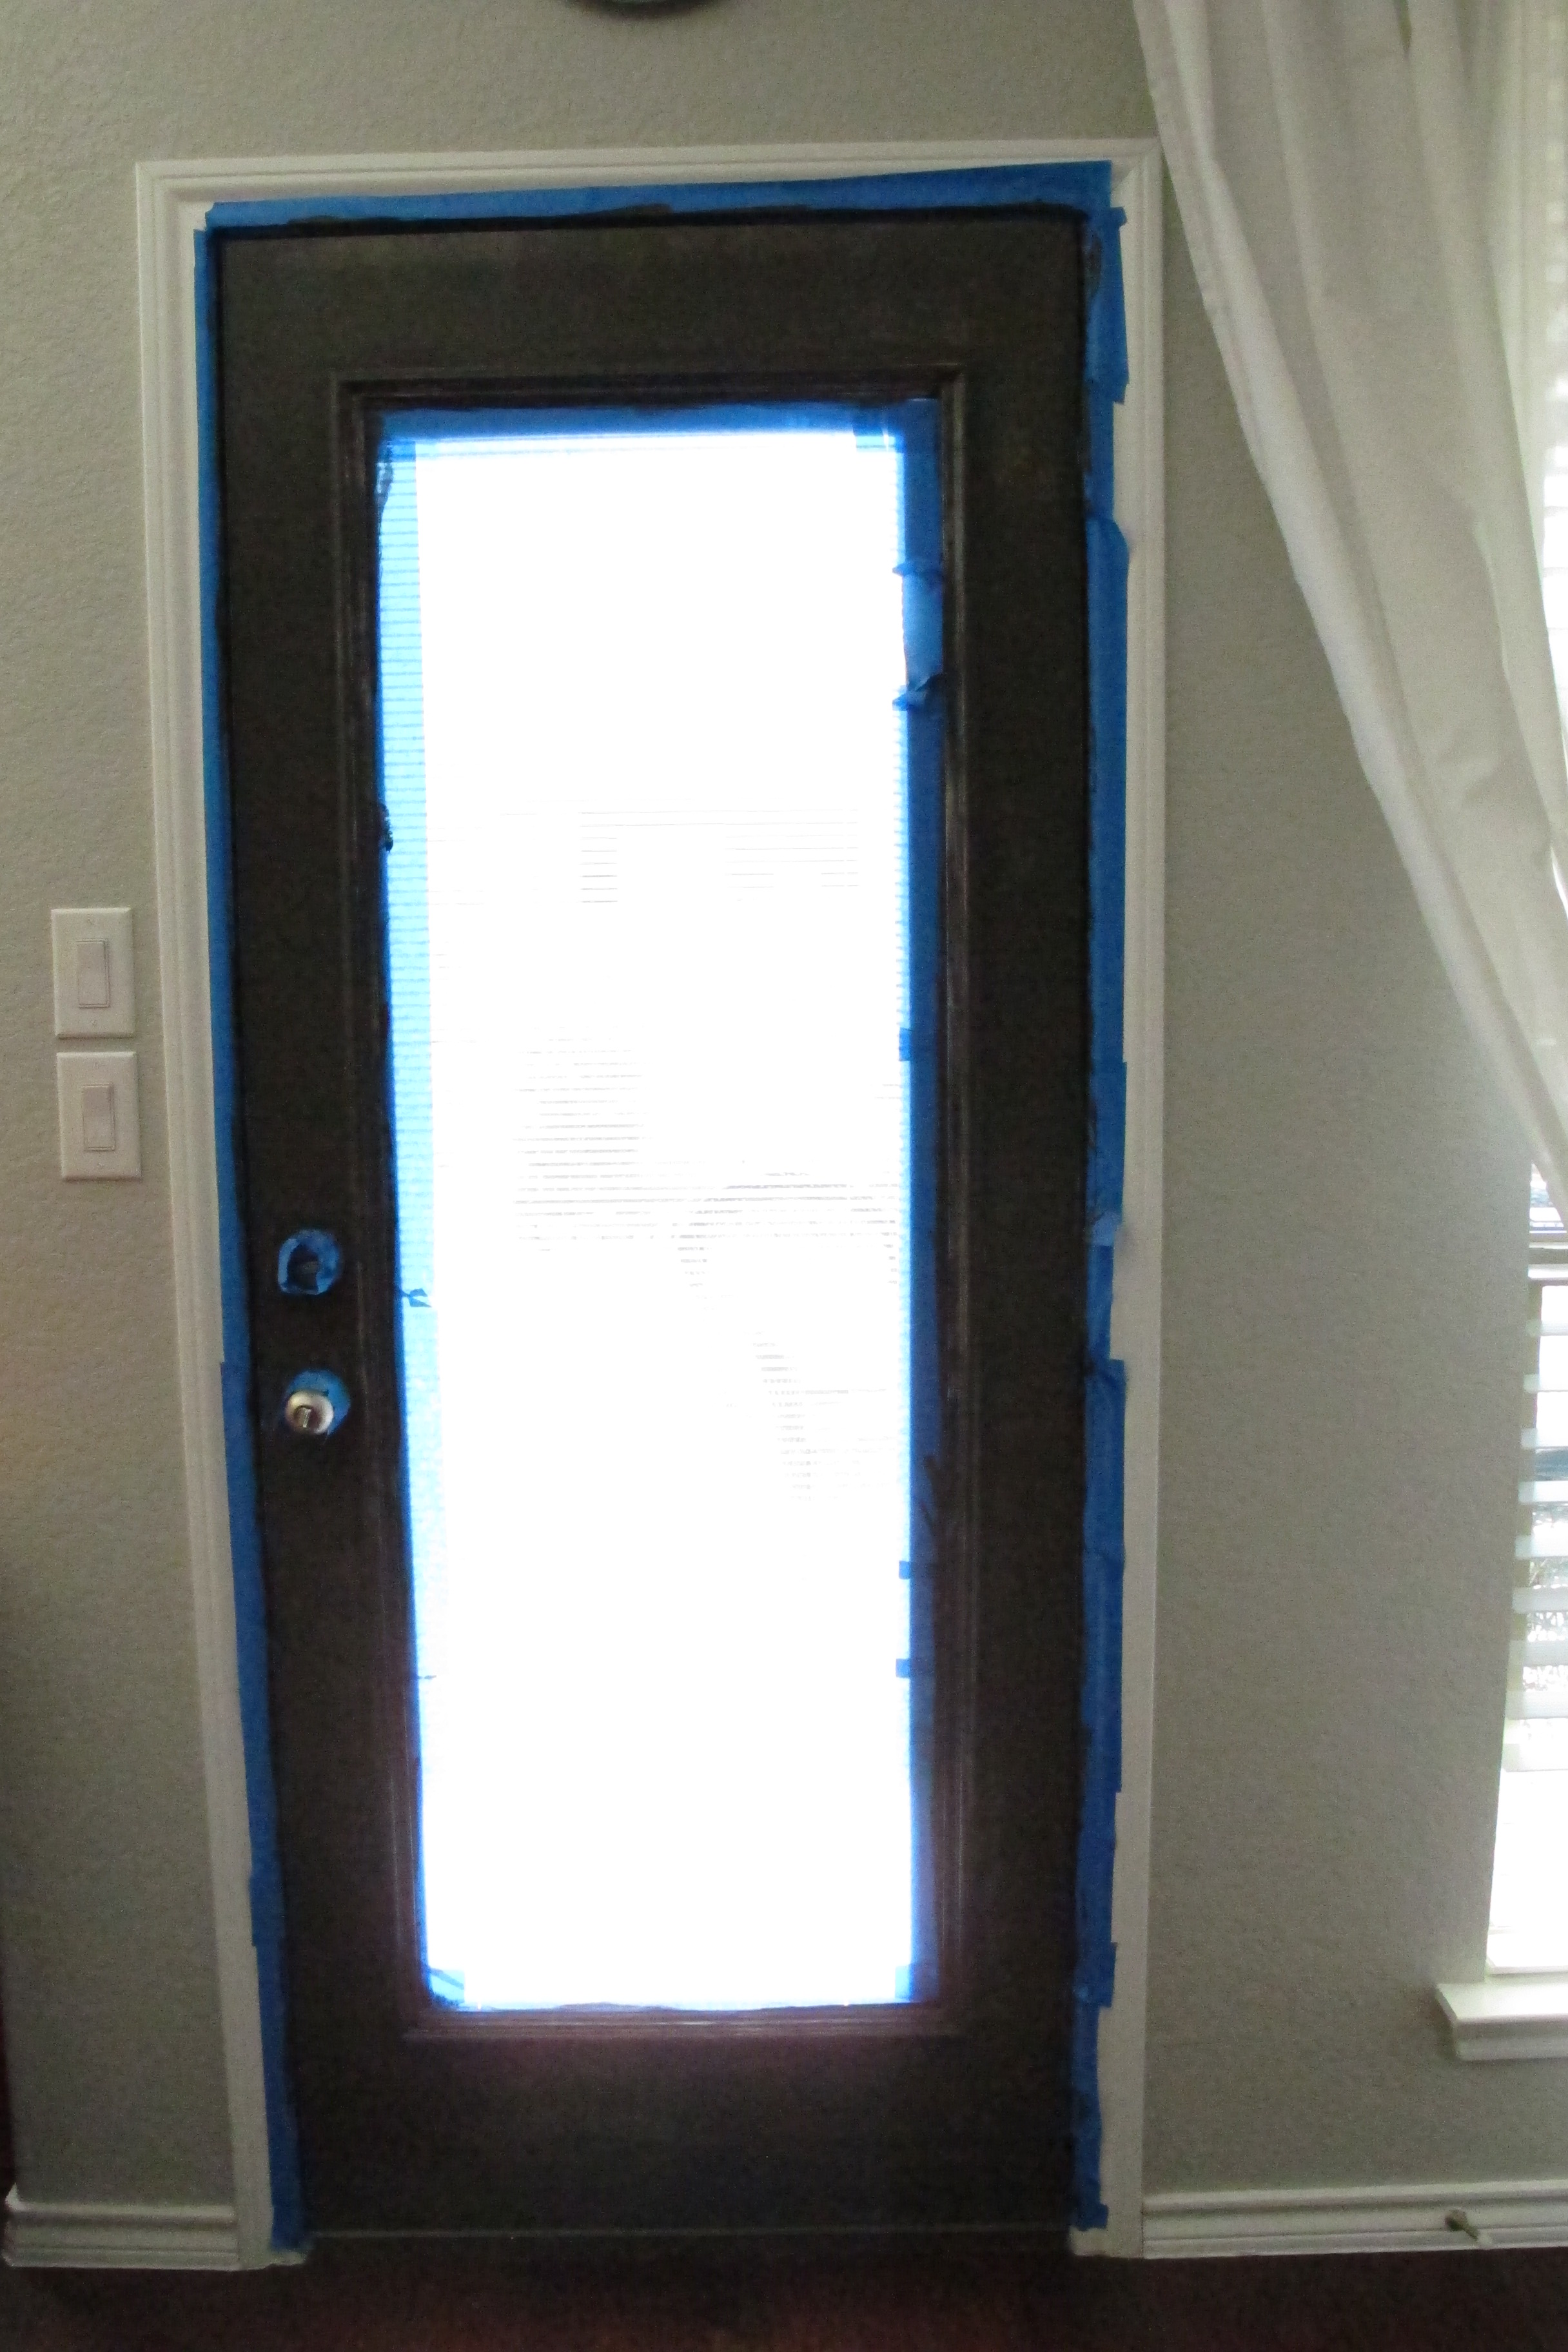
So, what is this painting of which I speak? Why, let me introduce you to our back door….
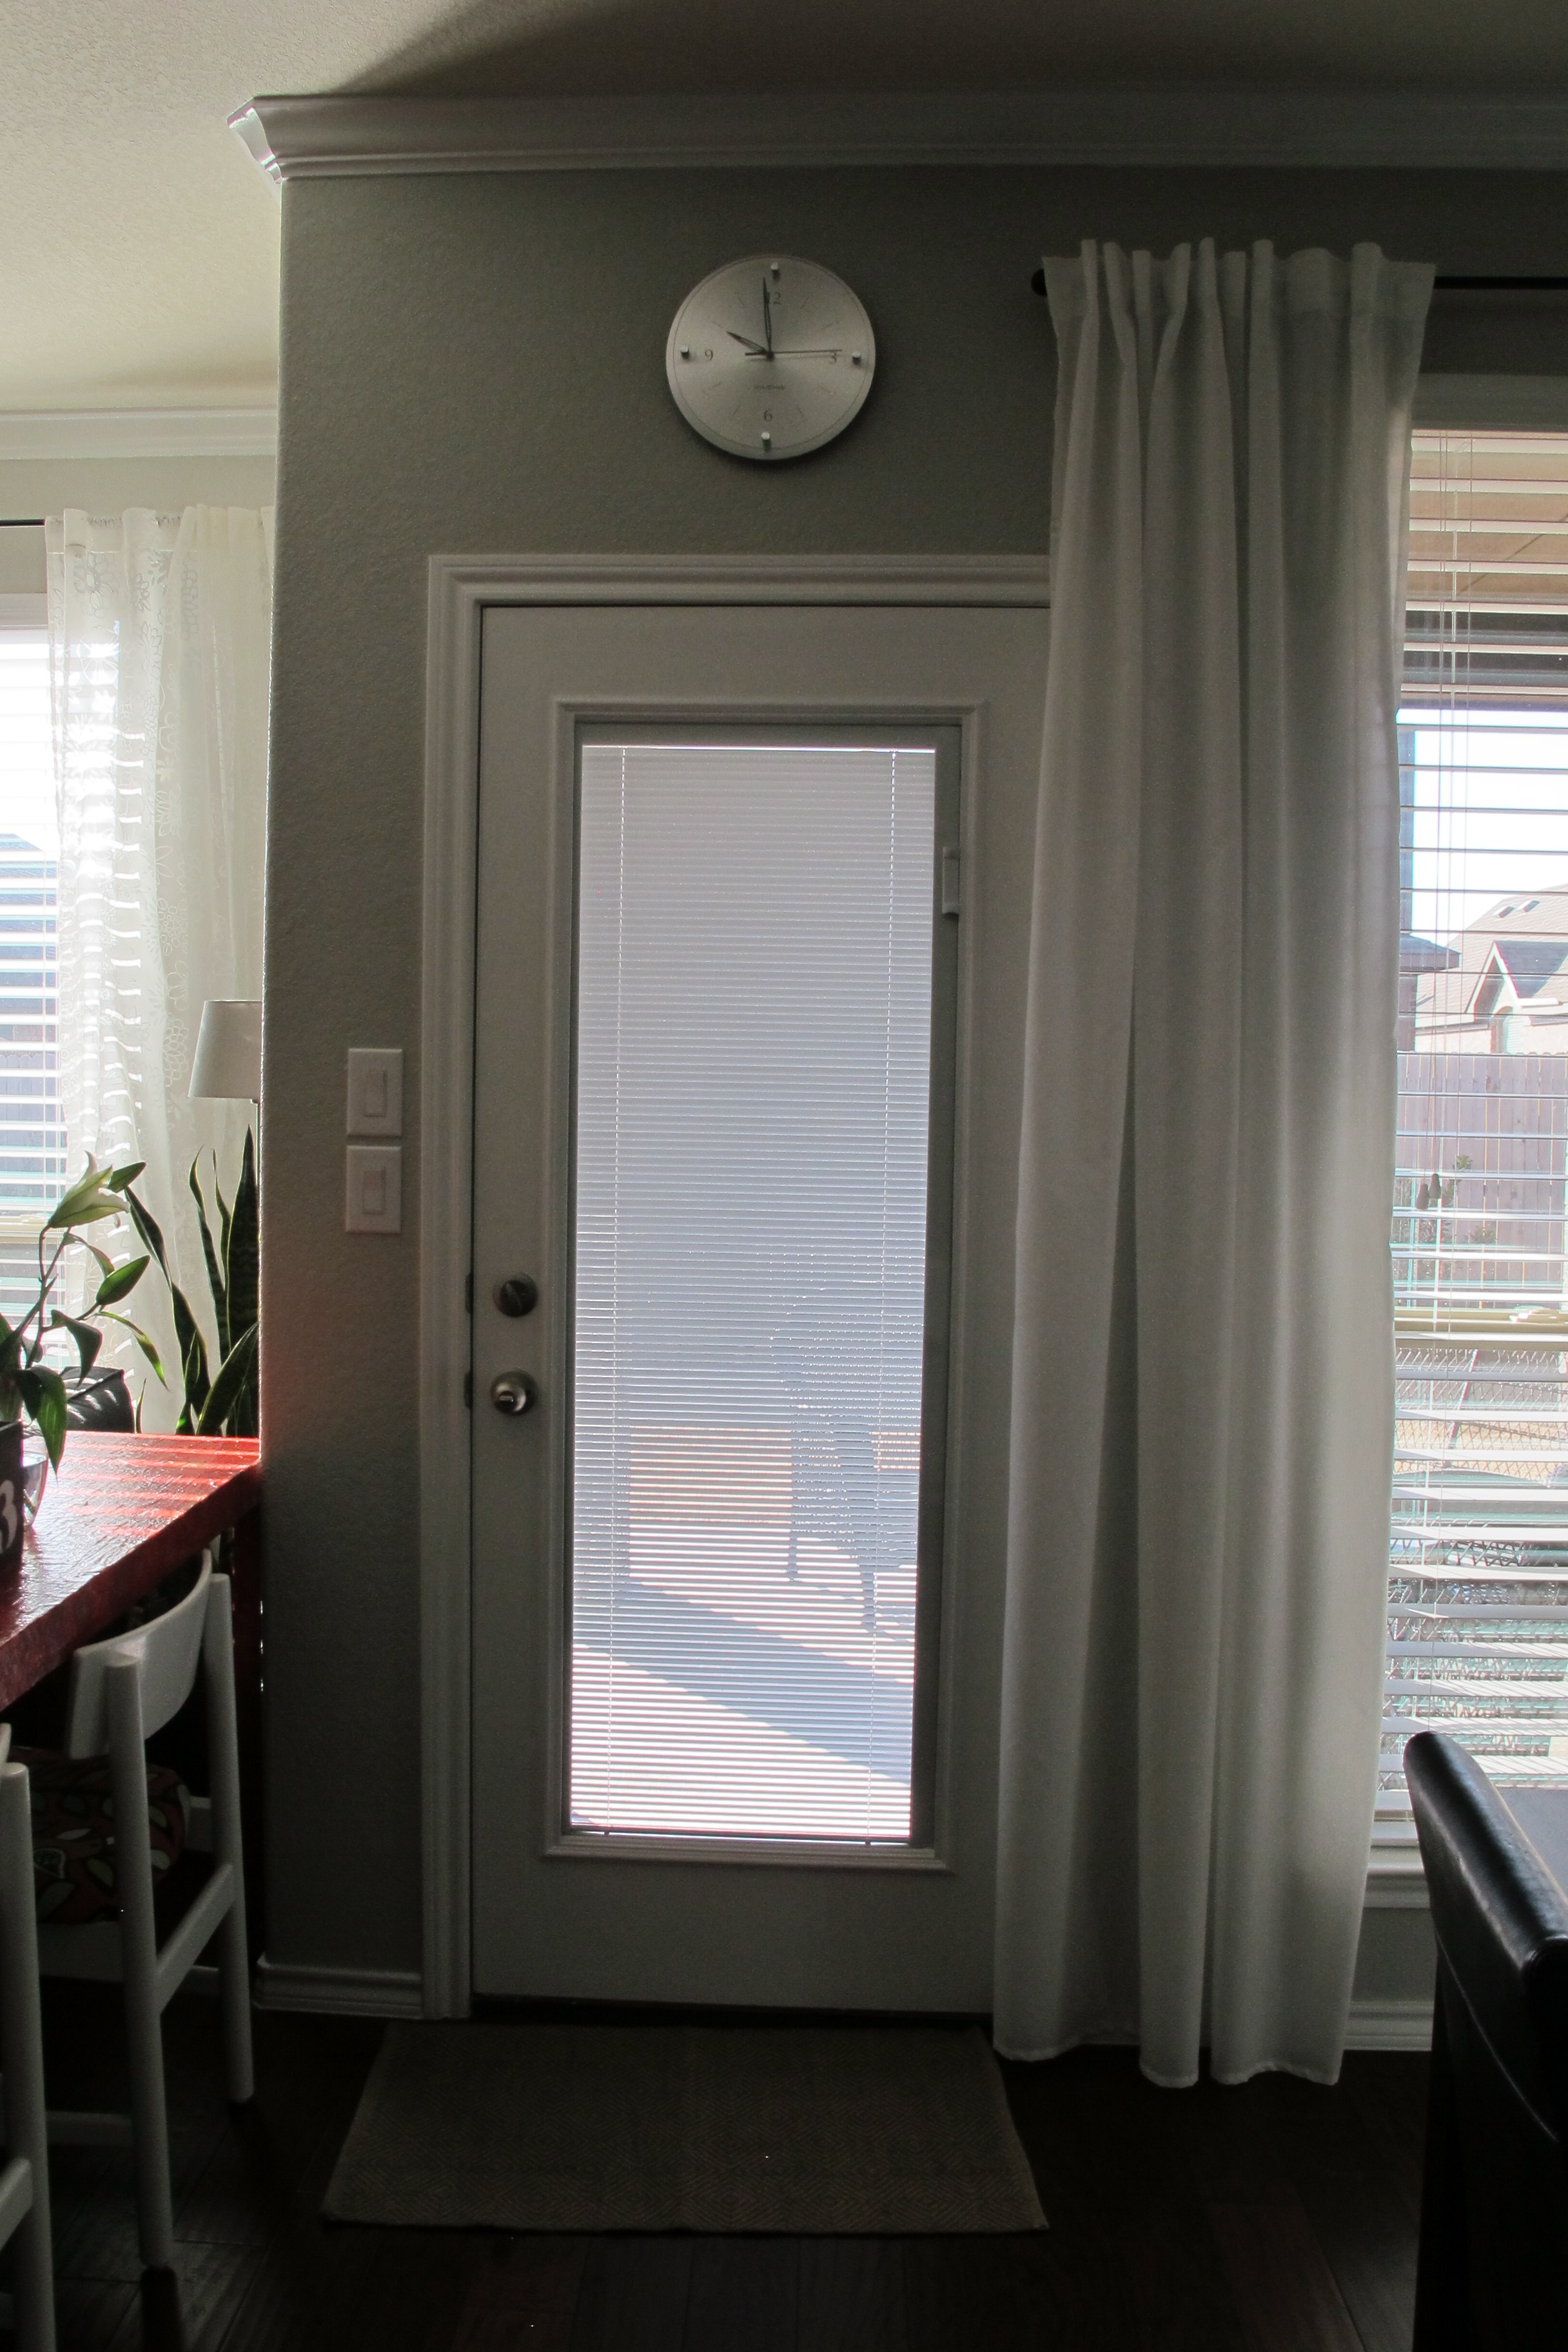
He’s a likeable guy. Functional. Happy to provide privacy when needed. He’s quiet. Not much of a talker. Which suits me just fine. Only problem… He’s a little dull.
Don’t get me wrong… white doors are nice. We’ve got plenty of ’em. Its just, when you take in the room from this standpoint….
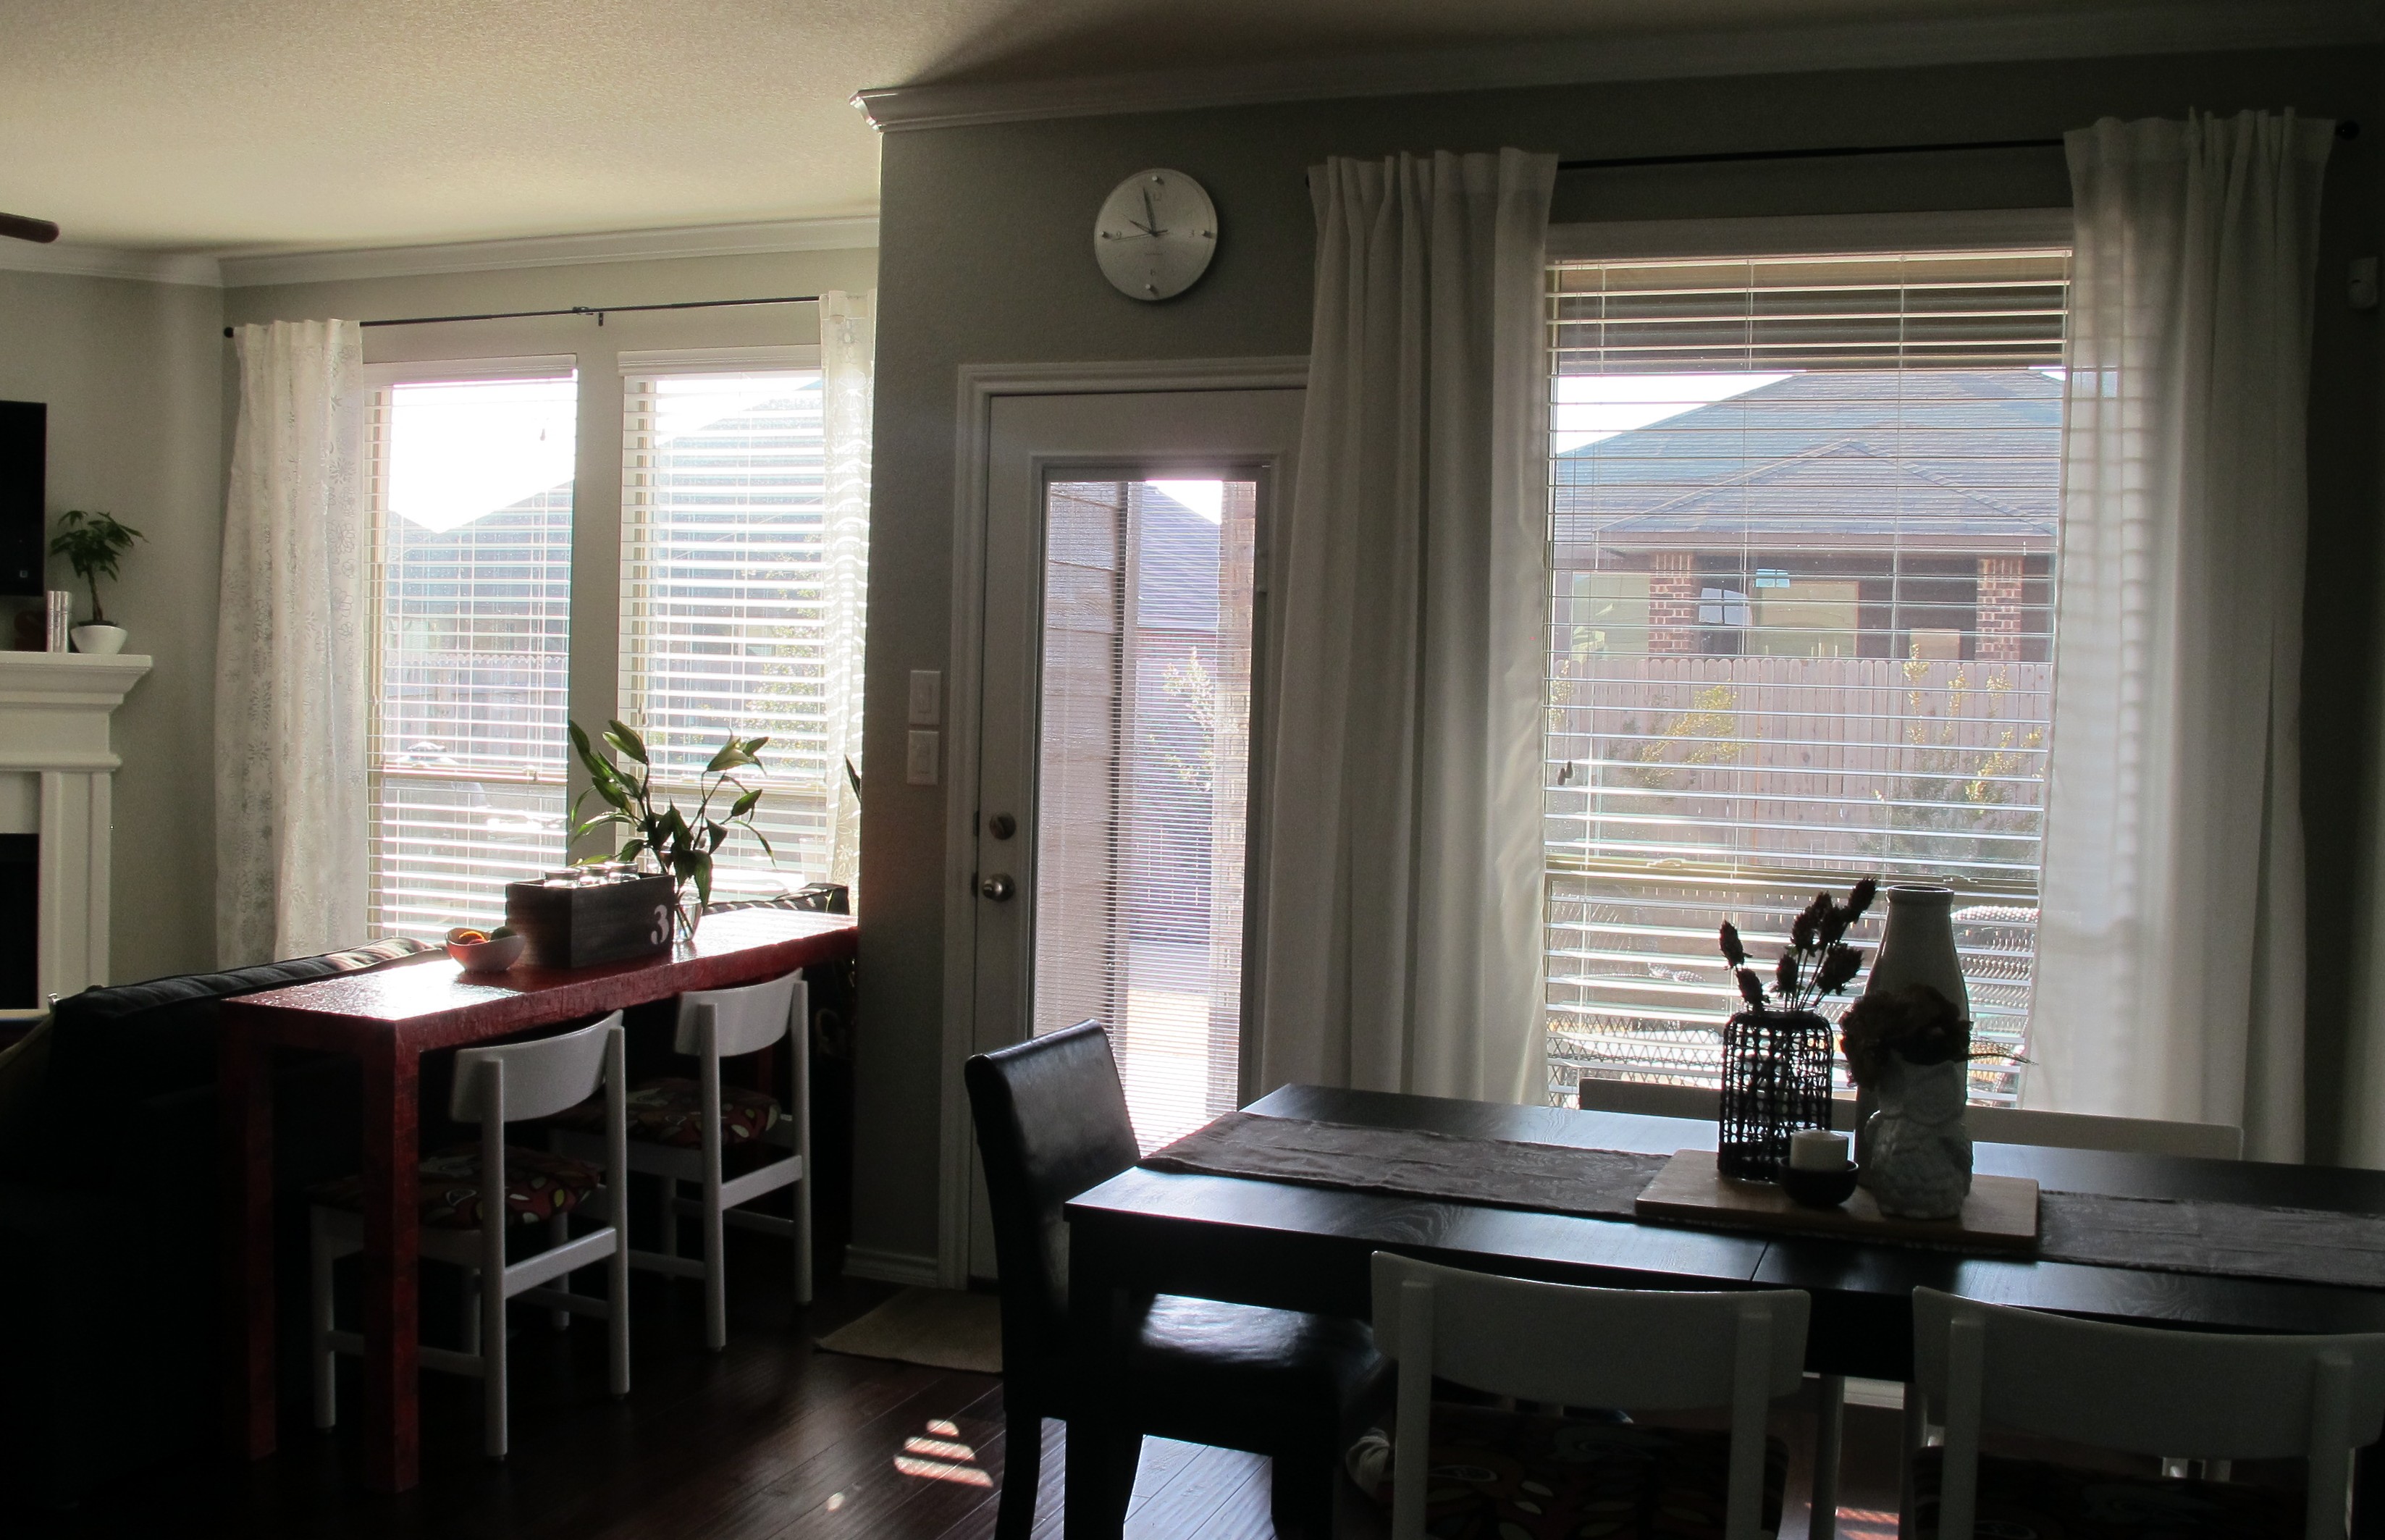
It’s a lot of white. White curtains, white blinds, white trim, white door, white fireplace. Now, I like white. A lot. Obviously… I mean, it’s everywhere in our house. But I LOVE contrast. Pop. Excitement. So, I decided that this quiet soul deserved a makeover. A charcoal makeover. I decided that charcoal was the man of the hour because it’s a fun contrast, but it’s more casual than a deep elegant black. Plus, since our front door is stained an ebony color, I thought the charcoal would bring in a nice consistency among our exterior doors… Darker-toned but not quite black.
A while back (as in, pre-blog days) I’d planned to paint our fireplace a dark color (and have since changed my mind). I purchased a quart of deep grey paint (Rockport Grey by Clark & Kensington) for this very job but never ended up using it. Since I already had the paint on hand, I just assumed that I’d use it to paint our back door. But, then I hesitated. It’d been a while since I’d seen the actual color and I wanted to be sure. To be on the safe side, I painted a swatch of Rockport Grey onto a piece of cardstock and taped it to the back door. And boy am I glad I did…

It’s hard to tell from this awful pic, but the undertones of the Rockport Grey (which are more blue) don’t go with our Dolphin Fin wall color (which has more of a green undertone). It’s crazy how colors can read so differently in another room (or another part of a room in this case). The angle of our fireplace and the difference in lighting due to the large windows in the living room allowed the Rockport Grey to take on more of a green cast which went great with our wall color when it was displayed on the fireplace. Our windows are Low-E windows which have a slight green film to them (you can see it from certain angles when you stand outside) so the larger and brighter the windows, the more of a green cast the light provides. The smaller windows in our breakfast nook don’t provide as much light because they’re under the covered porch, so… less green. Which explains why the Rockport Grey appeared more blue in this part of the room. If there’s one thing I’ve learned since moving into our house it’s that it’s always a good idea to hang paint swatches in multiple areas of a room (during multiple parts of the day) to make sure your chosen color is truly what you want.
After realizing that my paint was a no-go, I headed to Lowes and picked up a bunch of charcoal swatches and taped them to the door. Enter the three finalists…

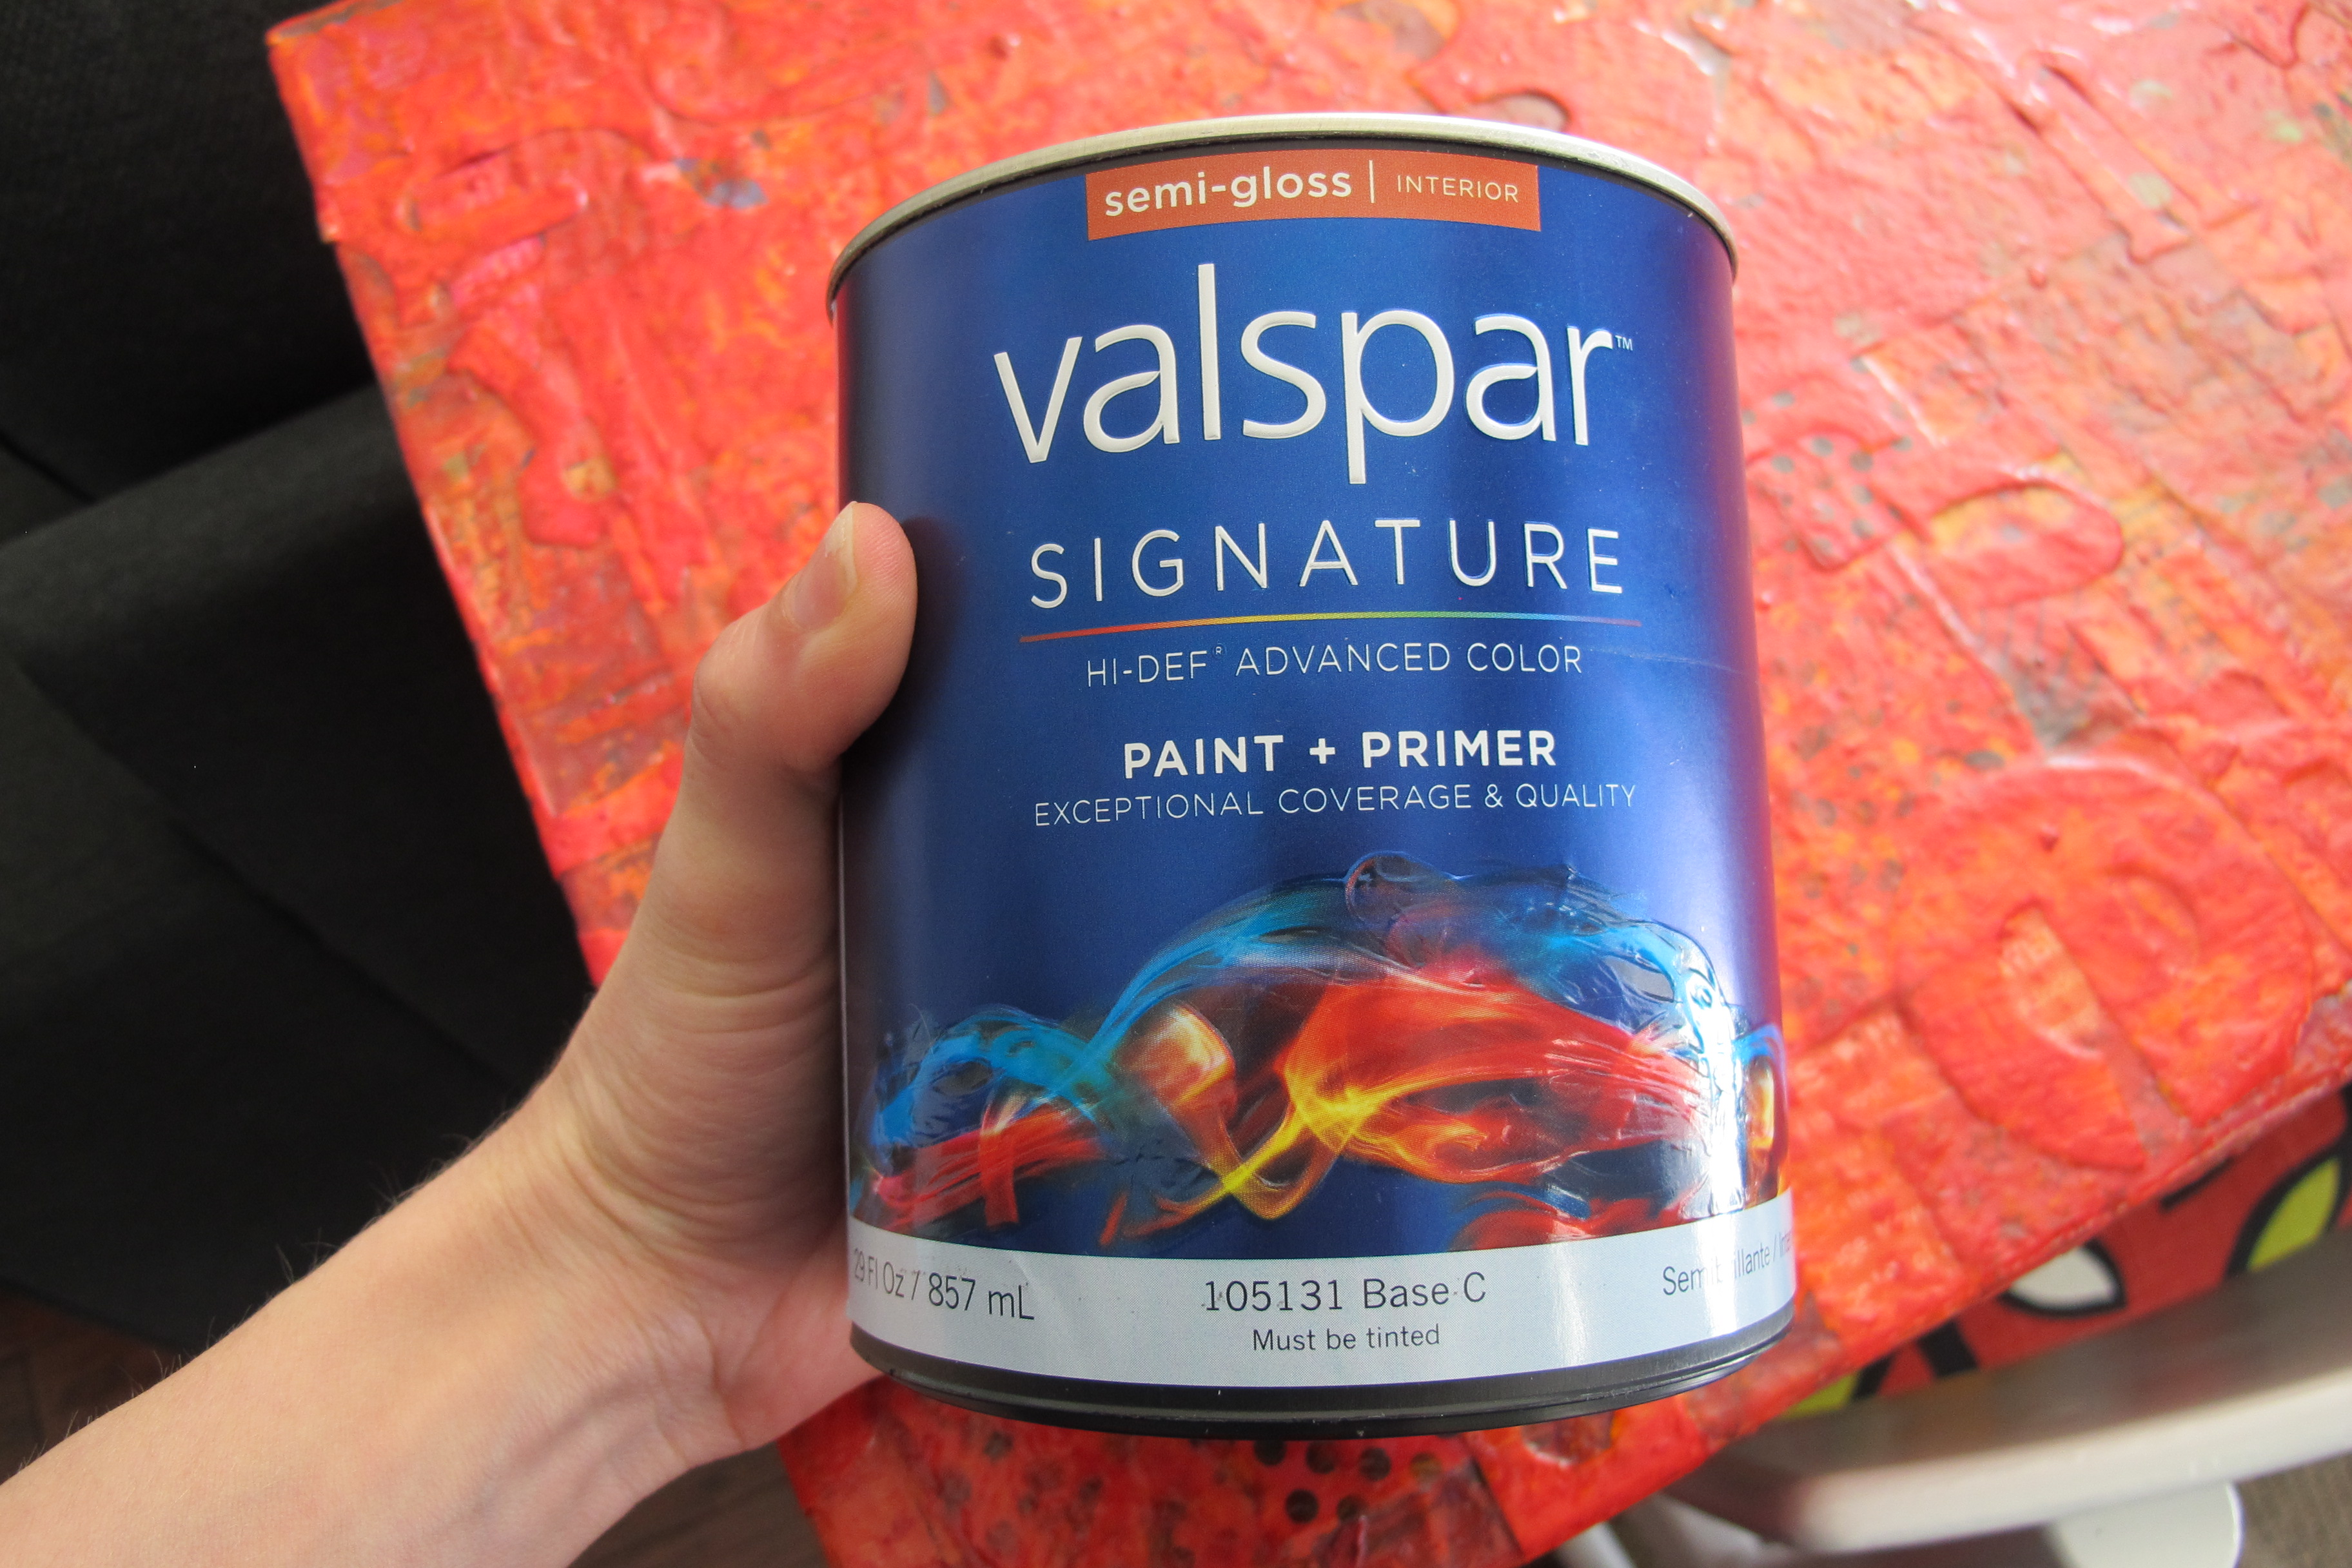
They stayed up there for about a week because I wanted to be sure that I liked my pick in all types of lighting. In the end, the winner was the top swatch (Ebony Field by Valspar). I went back to Lowes and picked up a quart of primer+paint in semi-gloss to save me a priming step…
I prepped our door by thoroughly cleaning it with my water/vinegar spray to remove any dust or dirt, then I wiped it down thoroughly with a deglosser (which is basically liquid sandpaper). I taped around my hardware, window and door with painters tape…

In a perfect world, I would’ve removed my hardware, but it was a really windy day and I was afraid that the door would swing open and ruin my paint job if I removed them. Also, I’m still very much a beginner in the photography department so I’m sorry about how dark some of these pics are. I’m working on it for sure! 🙂
Now, it was time for painting. I used my favorite angled brush and a small foam roller. I brushed around the trim…
and rolled the flat parts…

I applied a thin and even coat of paint, being careful to avoid drips. Then, I allowed the paint to dry thoroughly. Once it was dry (here it is after one coat)…
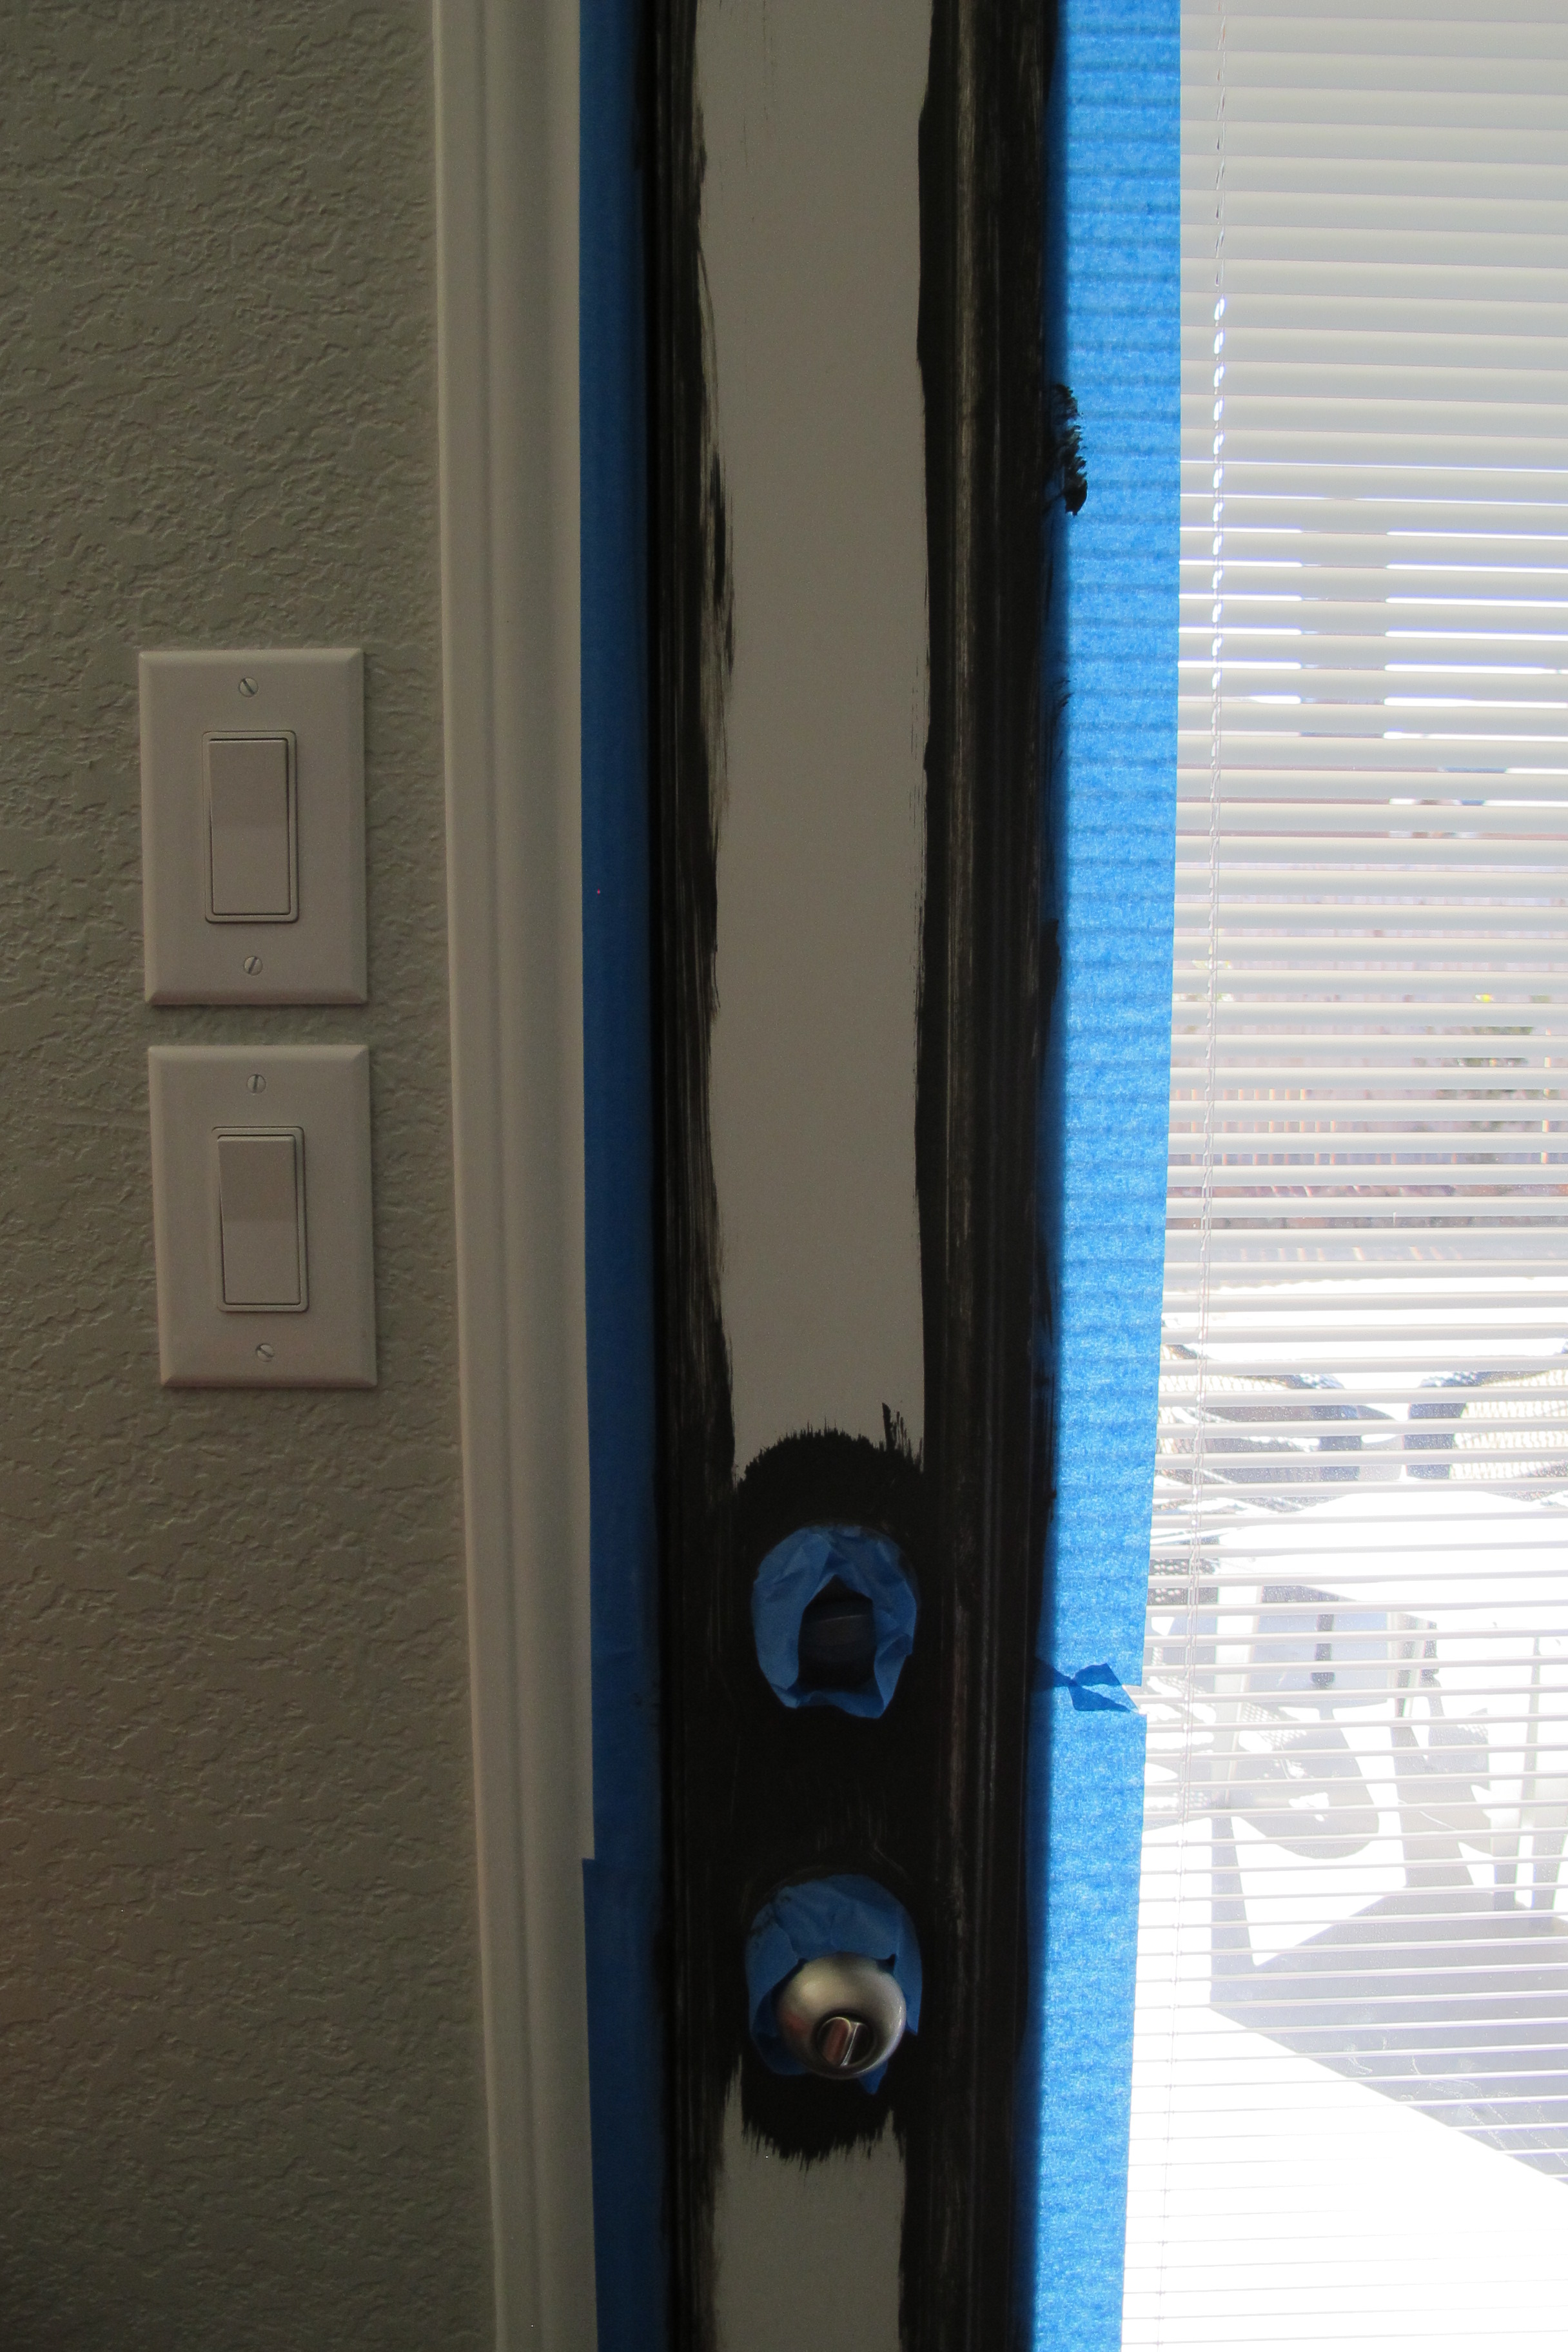
…I began to brush a second coat onto the window trim… which is when everything fell apart. Sort of. I tried to remove a small piece of painters tape from the window. And a large portion of my freshly-applied paint peeled off with it.

Oh no.
That’s when I realized that the trim around the window is plastic, not wood as previously thought. And apparently, our builder had painted white, water-based paint over it without properly prepping the surface. Oy. So, I had prepped MY surface well. My grey paint stuck to the white paint just fine… The white paint just had nothing to cling to in return with all that slick plastic beneath it. So, when it was moistened with wet paint it totally bailed.
Needless to say, I was a smidge on the frustrated side at this point (understatement).. I explored the door further and realized that the peeling was only an issue on the trim around the window. The actual door was fine. So, I used a razor to score the paint between the trim and the door and then scraped the rest of the paint off the trim with my fingernail. It practically fell off. In large clumps, too. Which left this…

Attractive, huh? I used 220 grit sandpaper to rough up the plastic and dispose of any small bits of paint that were left. Then, I wiped down the trim with a deglosser (again). And I busted out the big-gun shellac primer (Zinsser BIN primer) and applied an even coat to the trim with a foam brush. Then, I called it a day and watched How To Lose a Guy In 10 Days for the hundredth time.
The next morning, after enjoying my giant cup of coffee (whilst whispering sweet nothings into my cup), I got on it with my next coat of paint. I brushed paint onto my newly prepped trim and boy did it go on easy. I should’ve been whispering sweet nothings to my primer, ’cause that stuff rocks. Then, I rolled on another coat of paint to the flat planes with my foam roller. … And I started to get excited. I could see the final result starting to shine through. Nothing feels better than that moment where you see a project starting to come together and realize that you’ve made the right decision. I’ve never wanted to hug a door more in my life.
Anyhoo, I waited for the paint to dry and then applied one more thin coat (for a grand total of three thin coats). I scored the painters tape with a razor (just to be safe to prevent additional peeling). Then, I used the razor to remove any rogue paint that had gotten on the glass. Once it dried it looked like this….
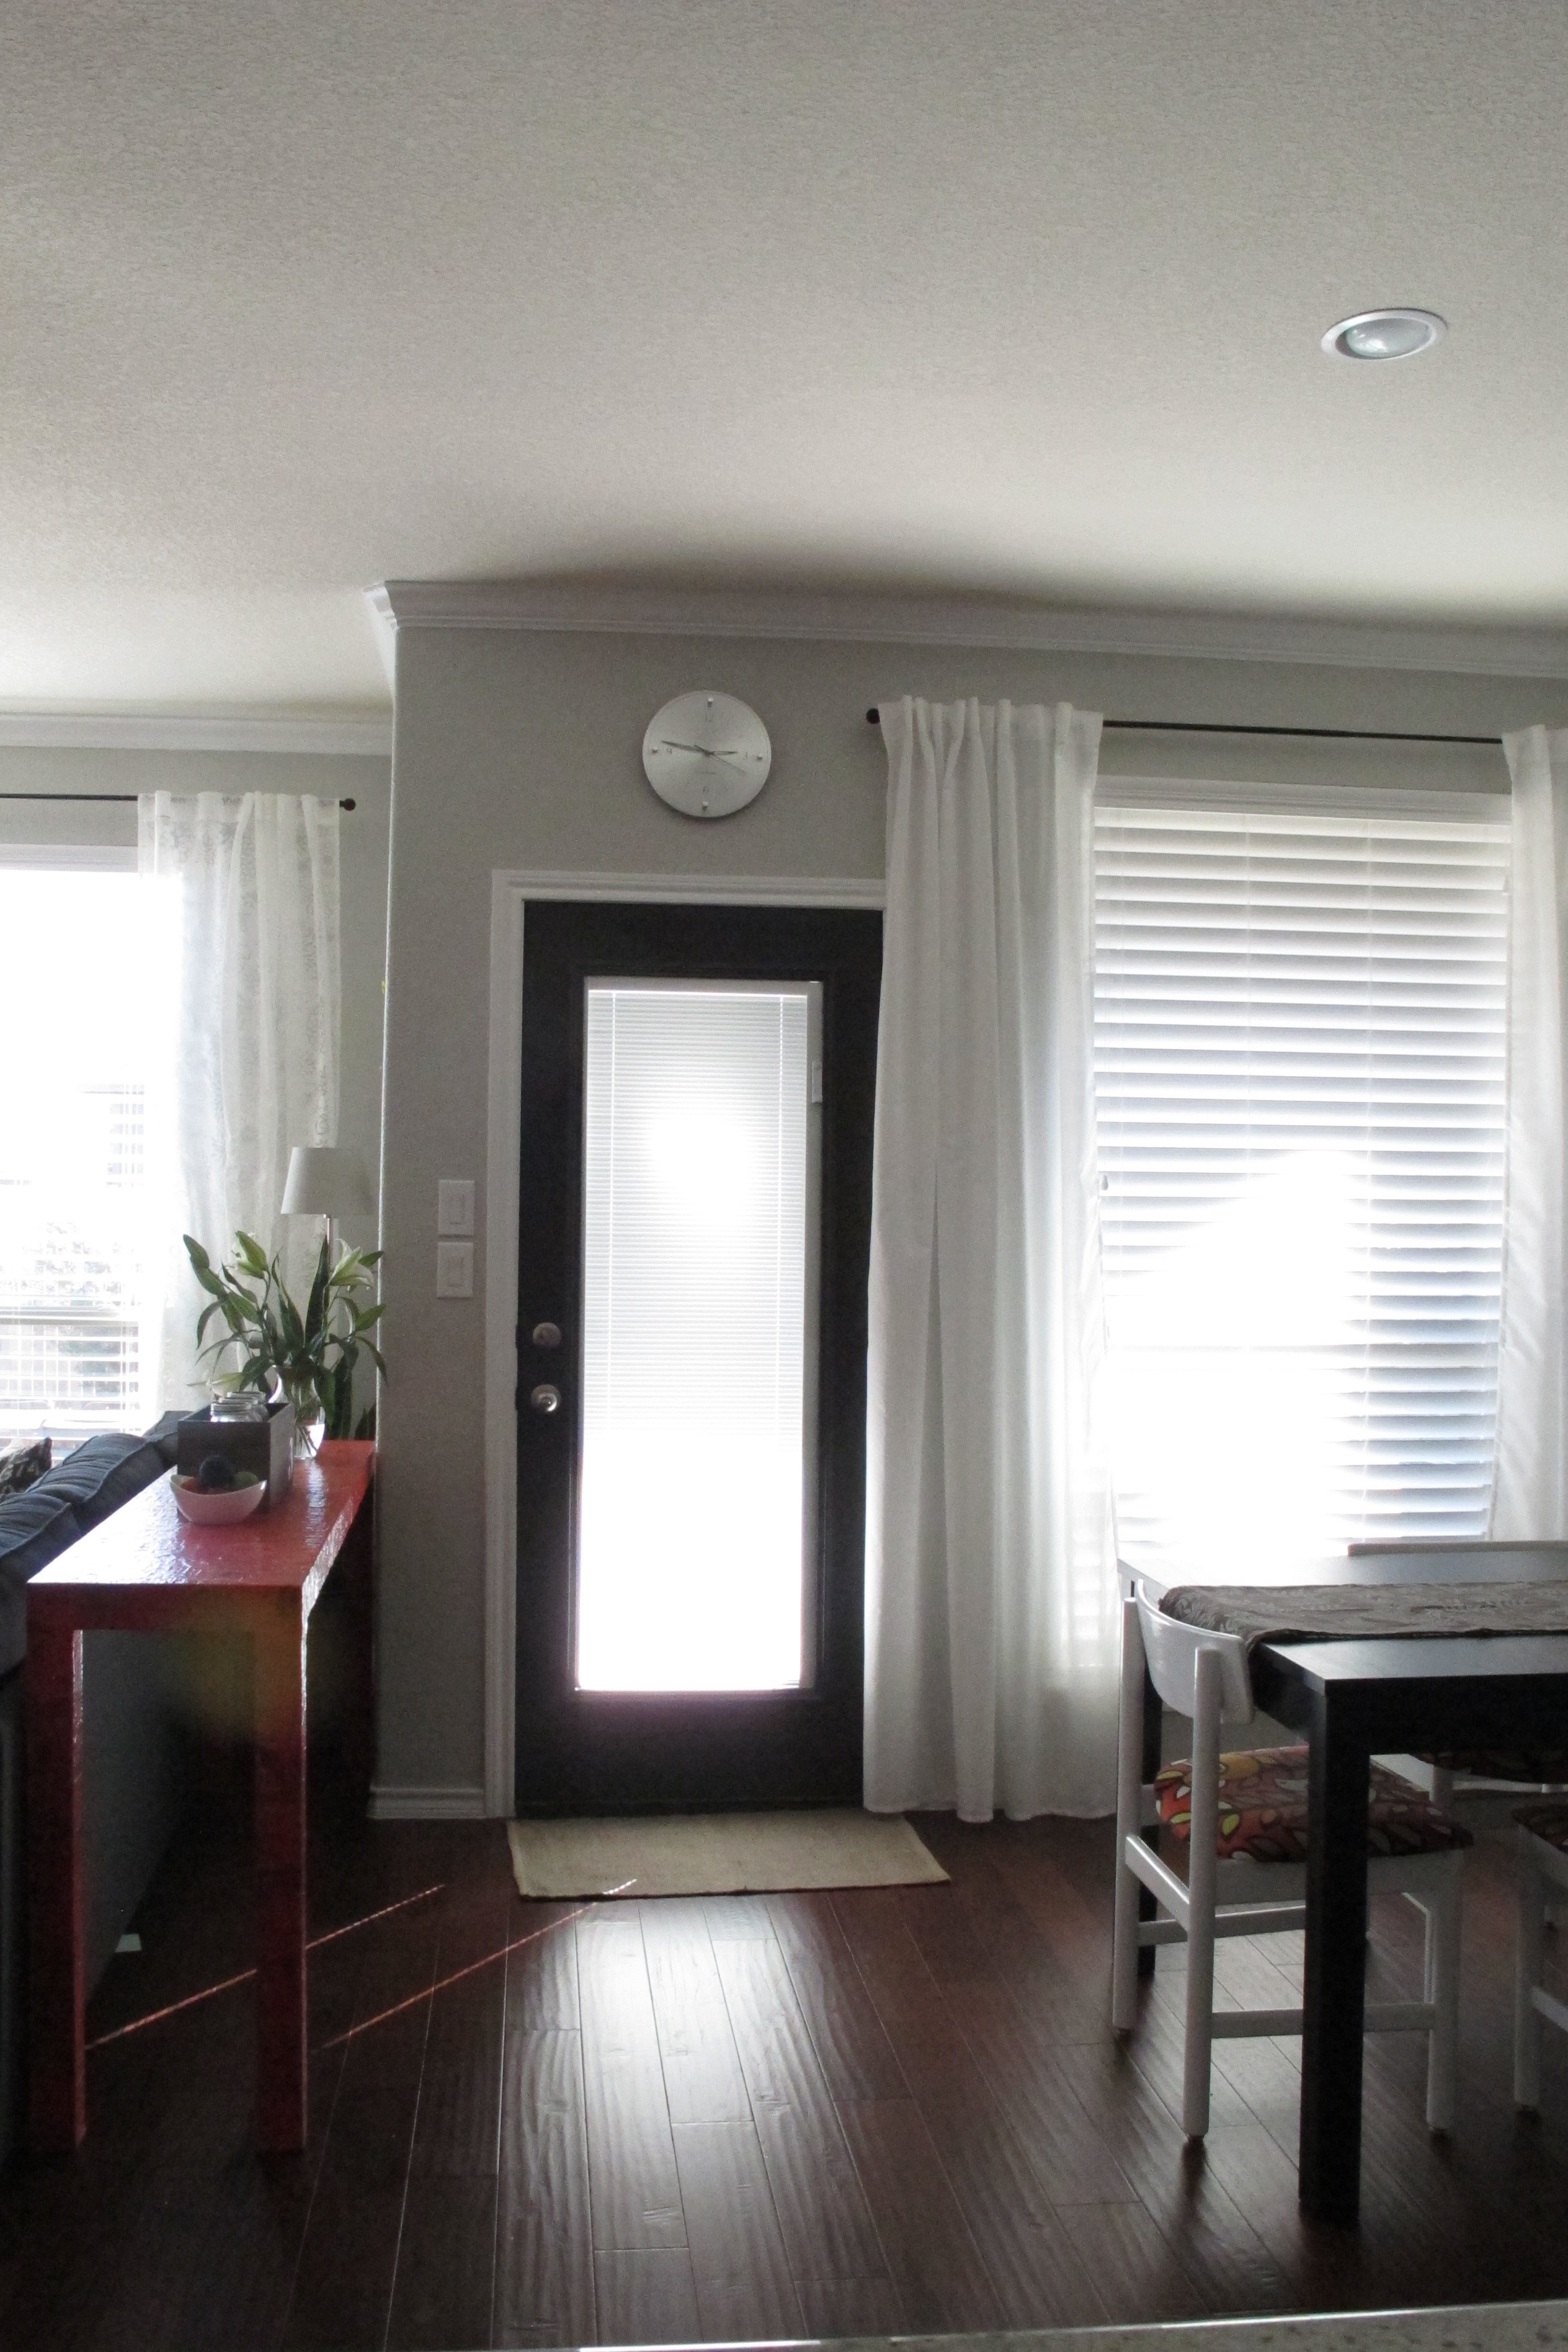
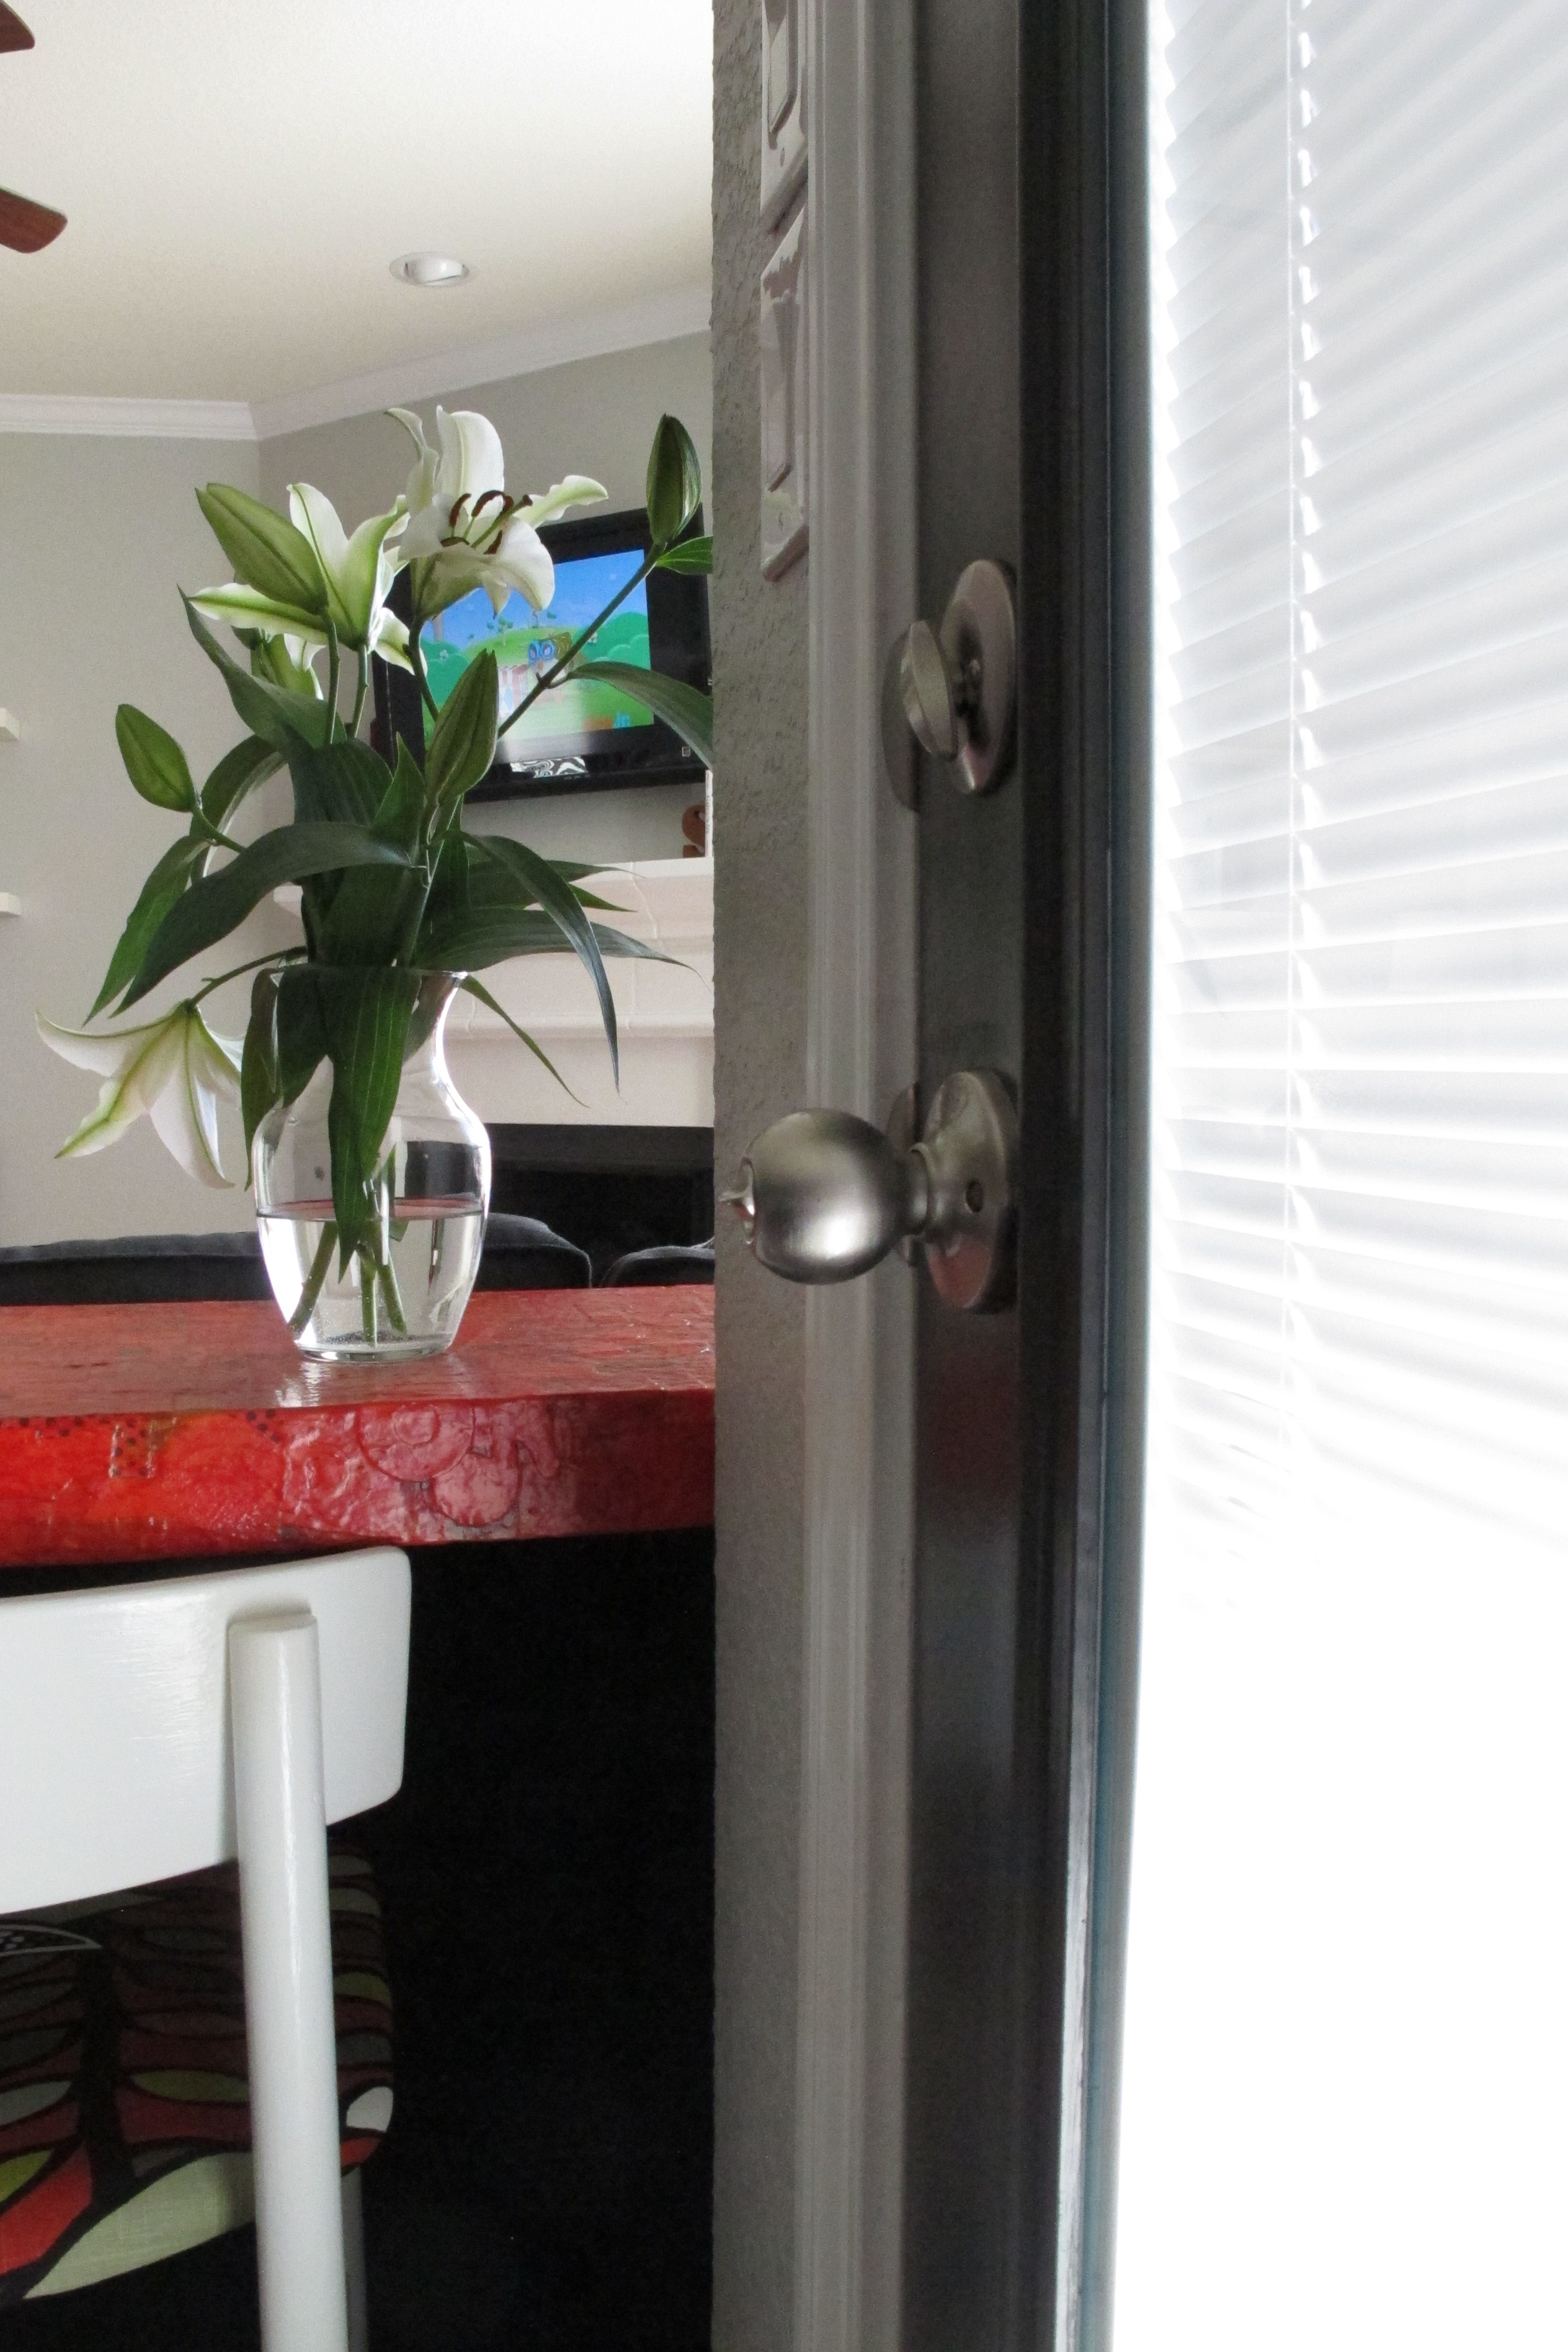

Hello, lover.
I need to redecorate a smidge around this area now to allow the door to shine. In the first shot, I experimented with placing one of our bird chairs at the head of the table (instead of our black leather parsons chair). Doing so definitely confirmed that a lighter, brighter chair is needed to replace the black one. I ended up moving the black parsons chair back to the table afterwards since five bird chairs in one place looked far too busy, but now I’m definitely on the lookout for something new. Different light, bright styling atop the sofa table is on the agenda as well. I can’t wait to play! So fun.
So anyways, that’s my door-painting adventure. As with most of my projects, a few twists and turns made an appearance, but I reached my goal in the end (albeit in double the time expected). It’s all par for the course, though, and I learn something new every time a project goes askew so it’s all very worth it in the end. 🙂


If you need to take photos in a dark place, increase your ISO and perhaps aperture (if it is a still object). That should brighten up the photo! (I use this all the time to take pictures of sweet babies sleeping in their dark rooms, because I am a creeper mom.). Love the door paint. I am also impressed it does not have Lucas handprints!
Haha! Thanks! The Lucas handprints took some effort since he kept trying to “help”. And thanks a bunch! I’ll try that next time. The “auto” setting will be the death of me, so I’ve REALLY been trying to shoot in manual lately but there’s a big learning curve for sure.
Not sure what brand of camera you have (we have a Canon 6D) but there should be loads of tutorials on the manufacturer’s website. When I first started playing with the settings, I used this as a guide. http://makezine.com/craft/manual_photography_cheatsheet/ (I have to say that four years of pregnancy and post partum have left me dimwitted and picture graphics are a must! LOL).
Haha! I hear ya. Thanks for the link! We have a Canon as well. I’ll check it out.
Very Nice! We’re soon coming out with an app that lets you compare different doors in your own doorway using the camera feature on your phone.
That’s awesome!!! Do you know when it’ll be available? I’d love to try it!
The app should be available in a couple weeks but it could be available as soon as one week. It has been sent off to apple for approval and is in their hands now. The name of the app is AR Doors.
Awesome! Thanks!
Hey Christina! Just wanted to update you the app is now already in the iTunes App Store. AR Doors
Awesome! Thanks! I’ll try it out!