So, I’m now finally getting to the LAST never-been-seen area of our home. Our master bath (dahdahdah-DAH!). So, hows about a tour?
Ya see, our bathroom started out looking like this….
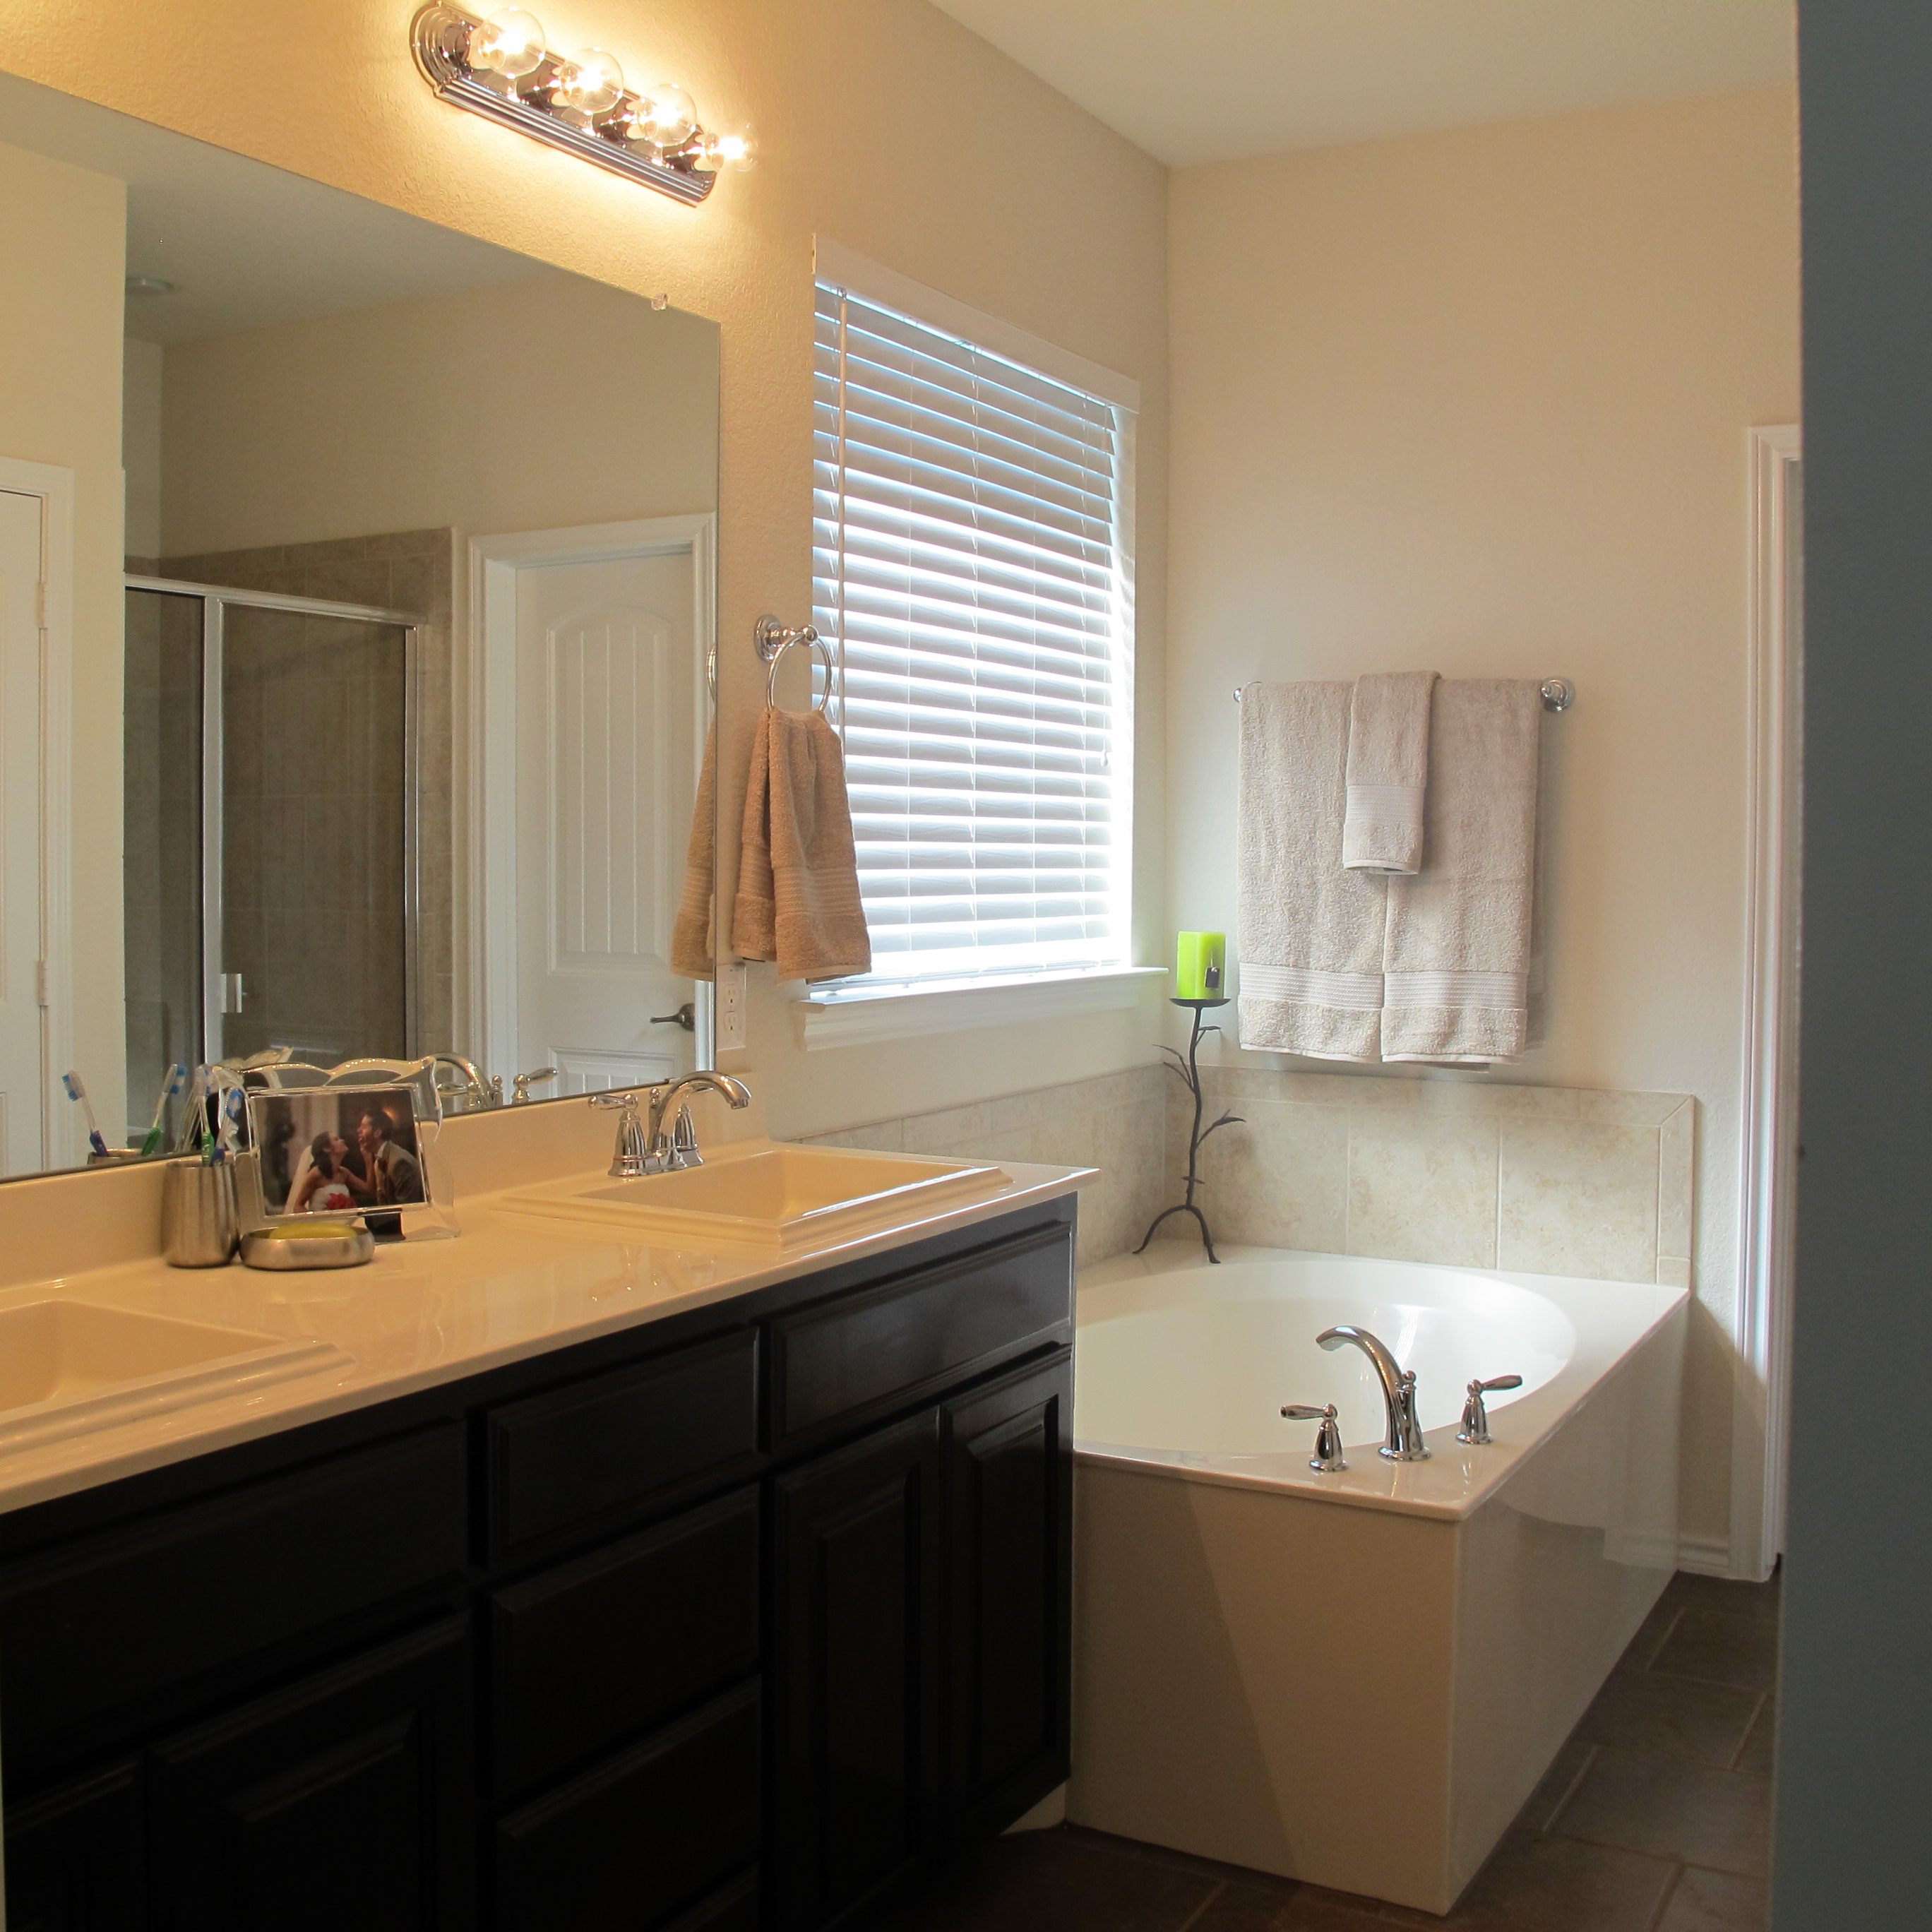
Like our guest bath… not bad. But basic. A lot of beige going on. After painting our bedroom with Glidden’s Driftwood Grey, this tone quickly became my favorite color EVER. With its deep grey hue and racy green undertones. Oh, Driftwood Grey, please tell me… do you rent? or own?? Those wings. You angel. (Name that reference!!)
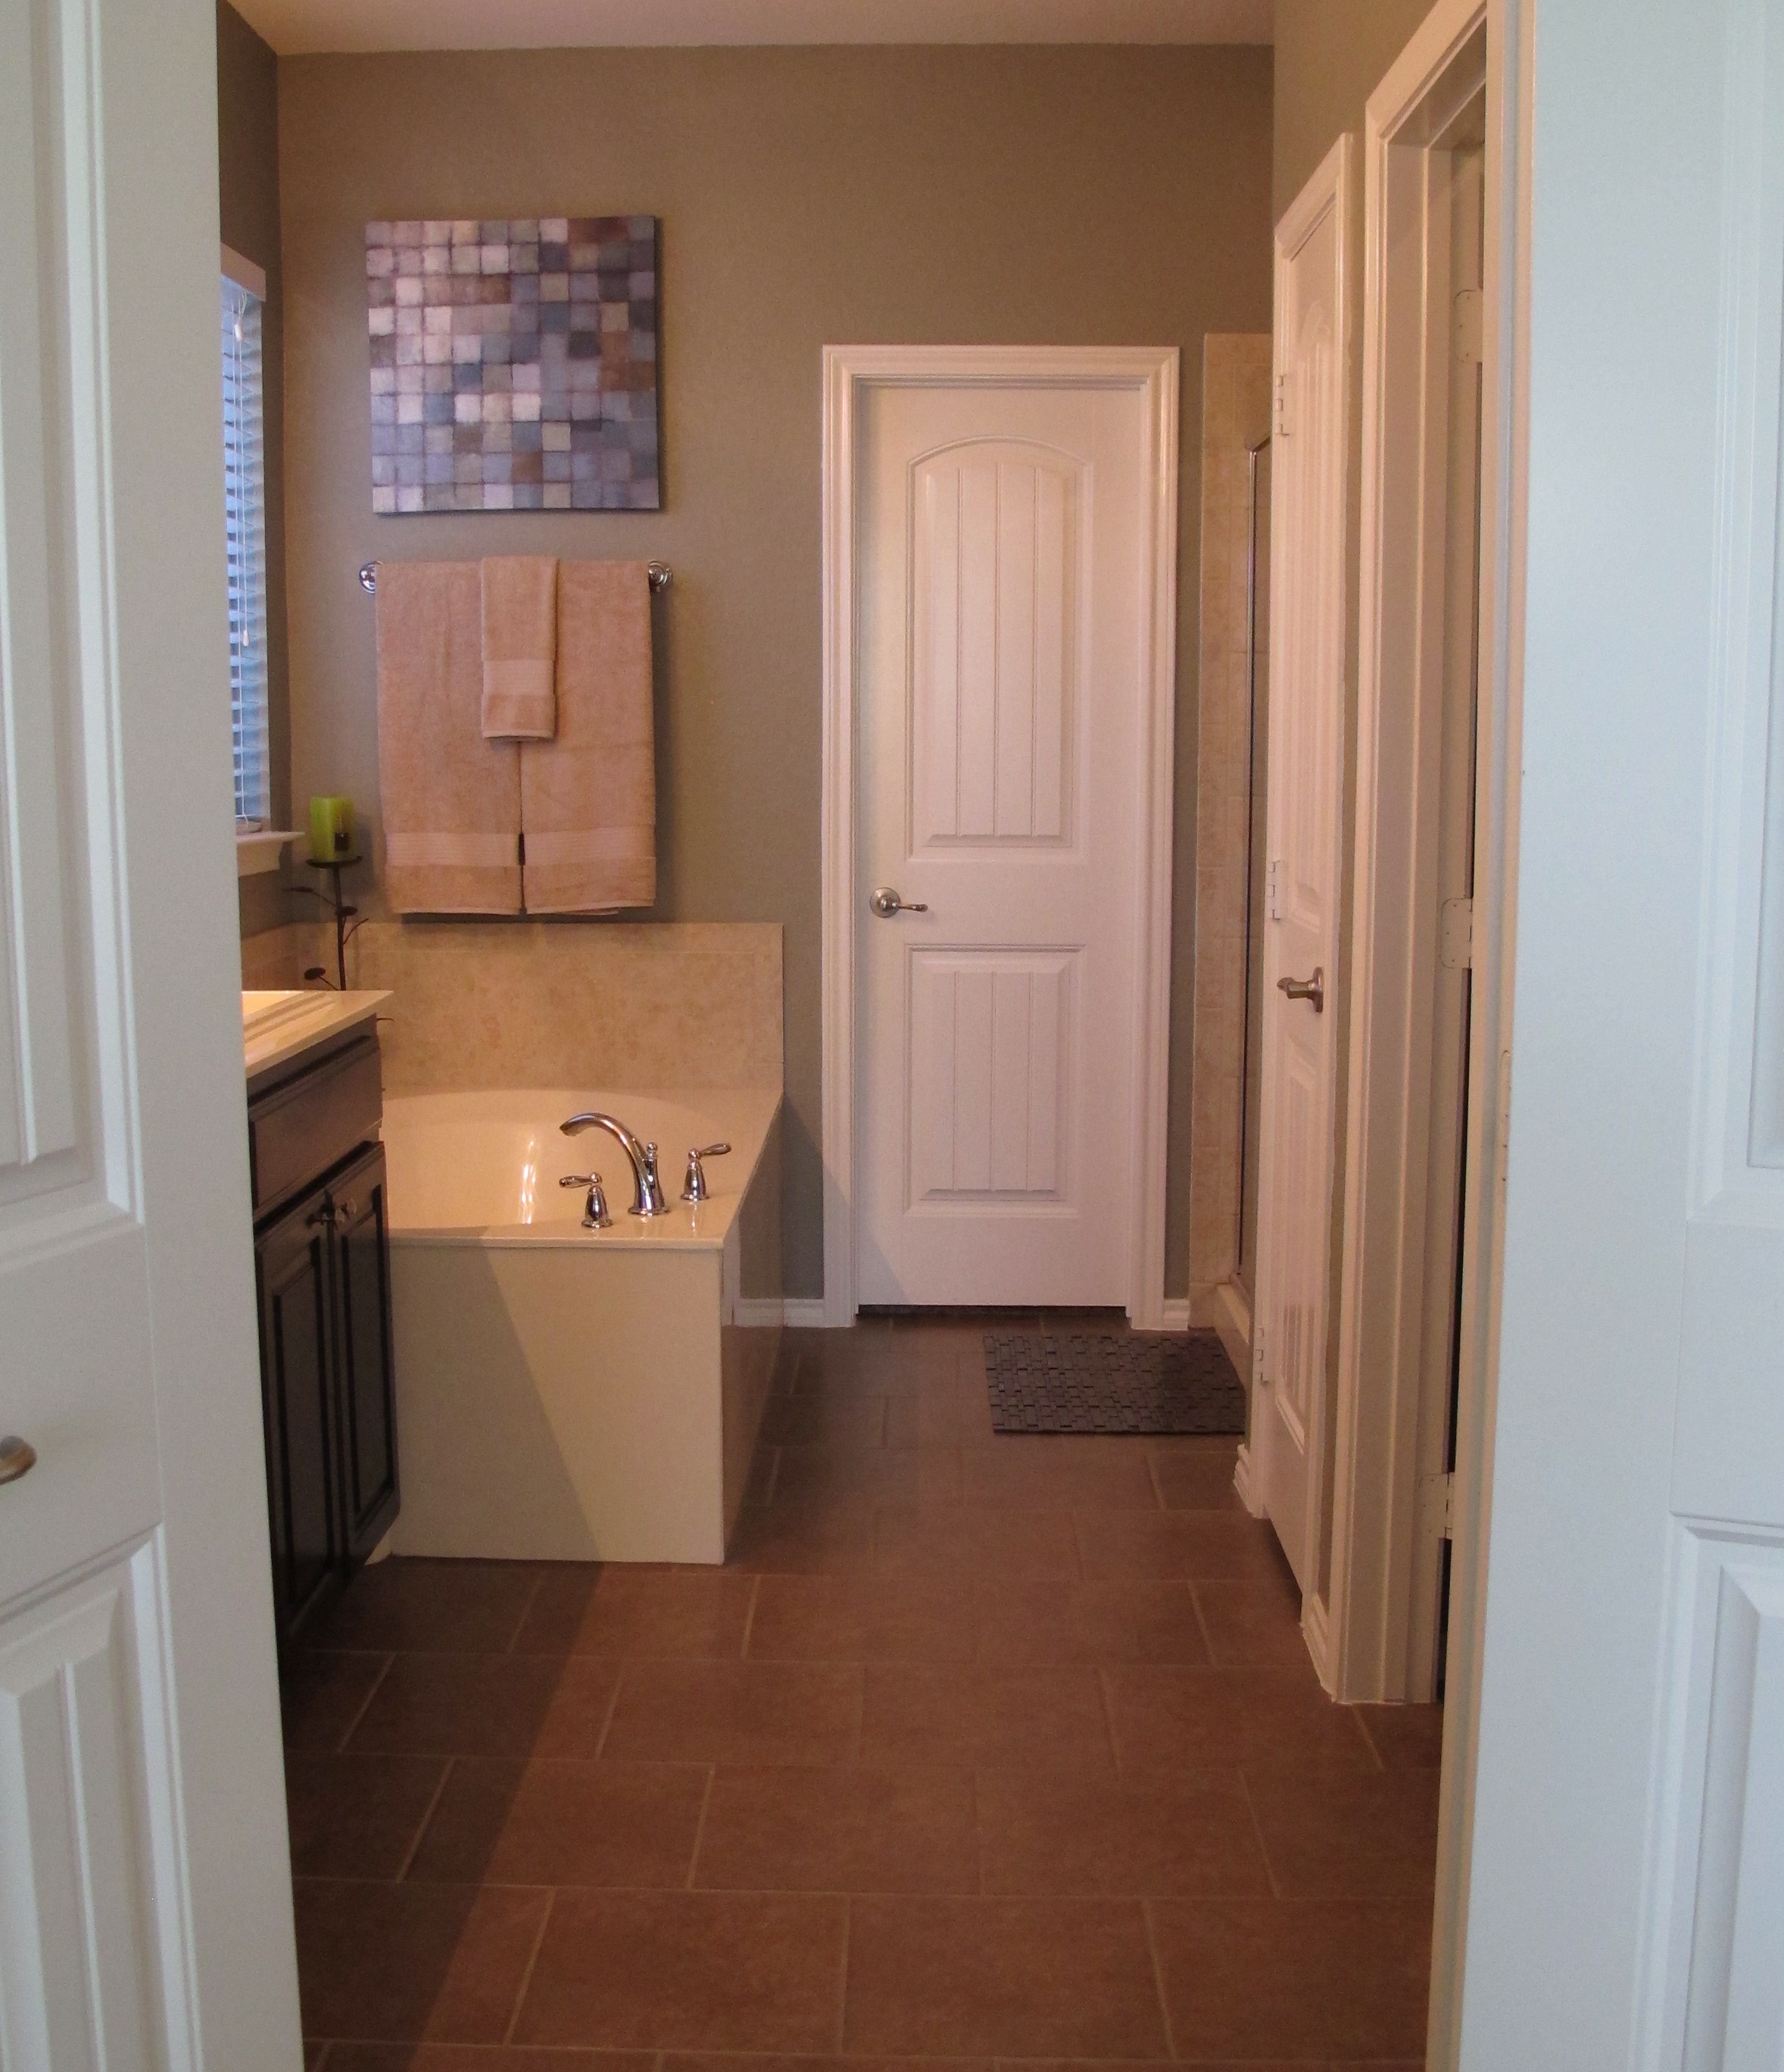
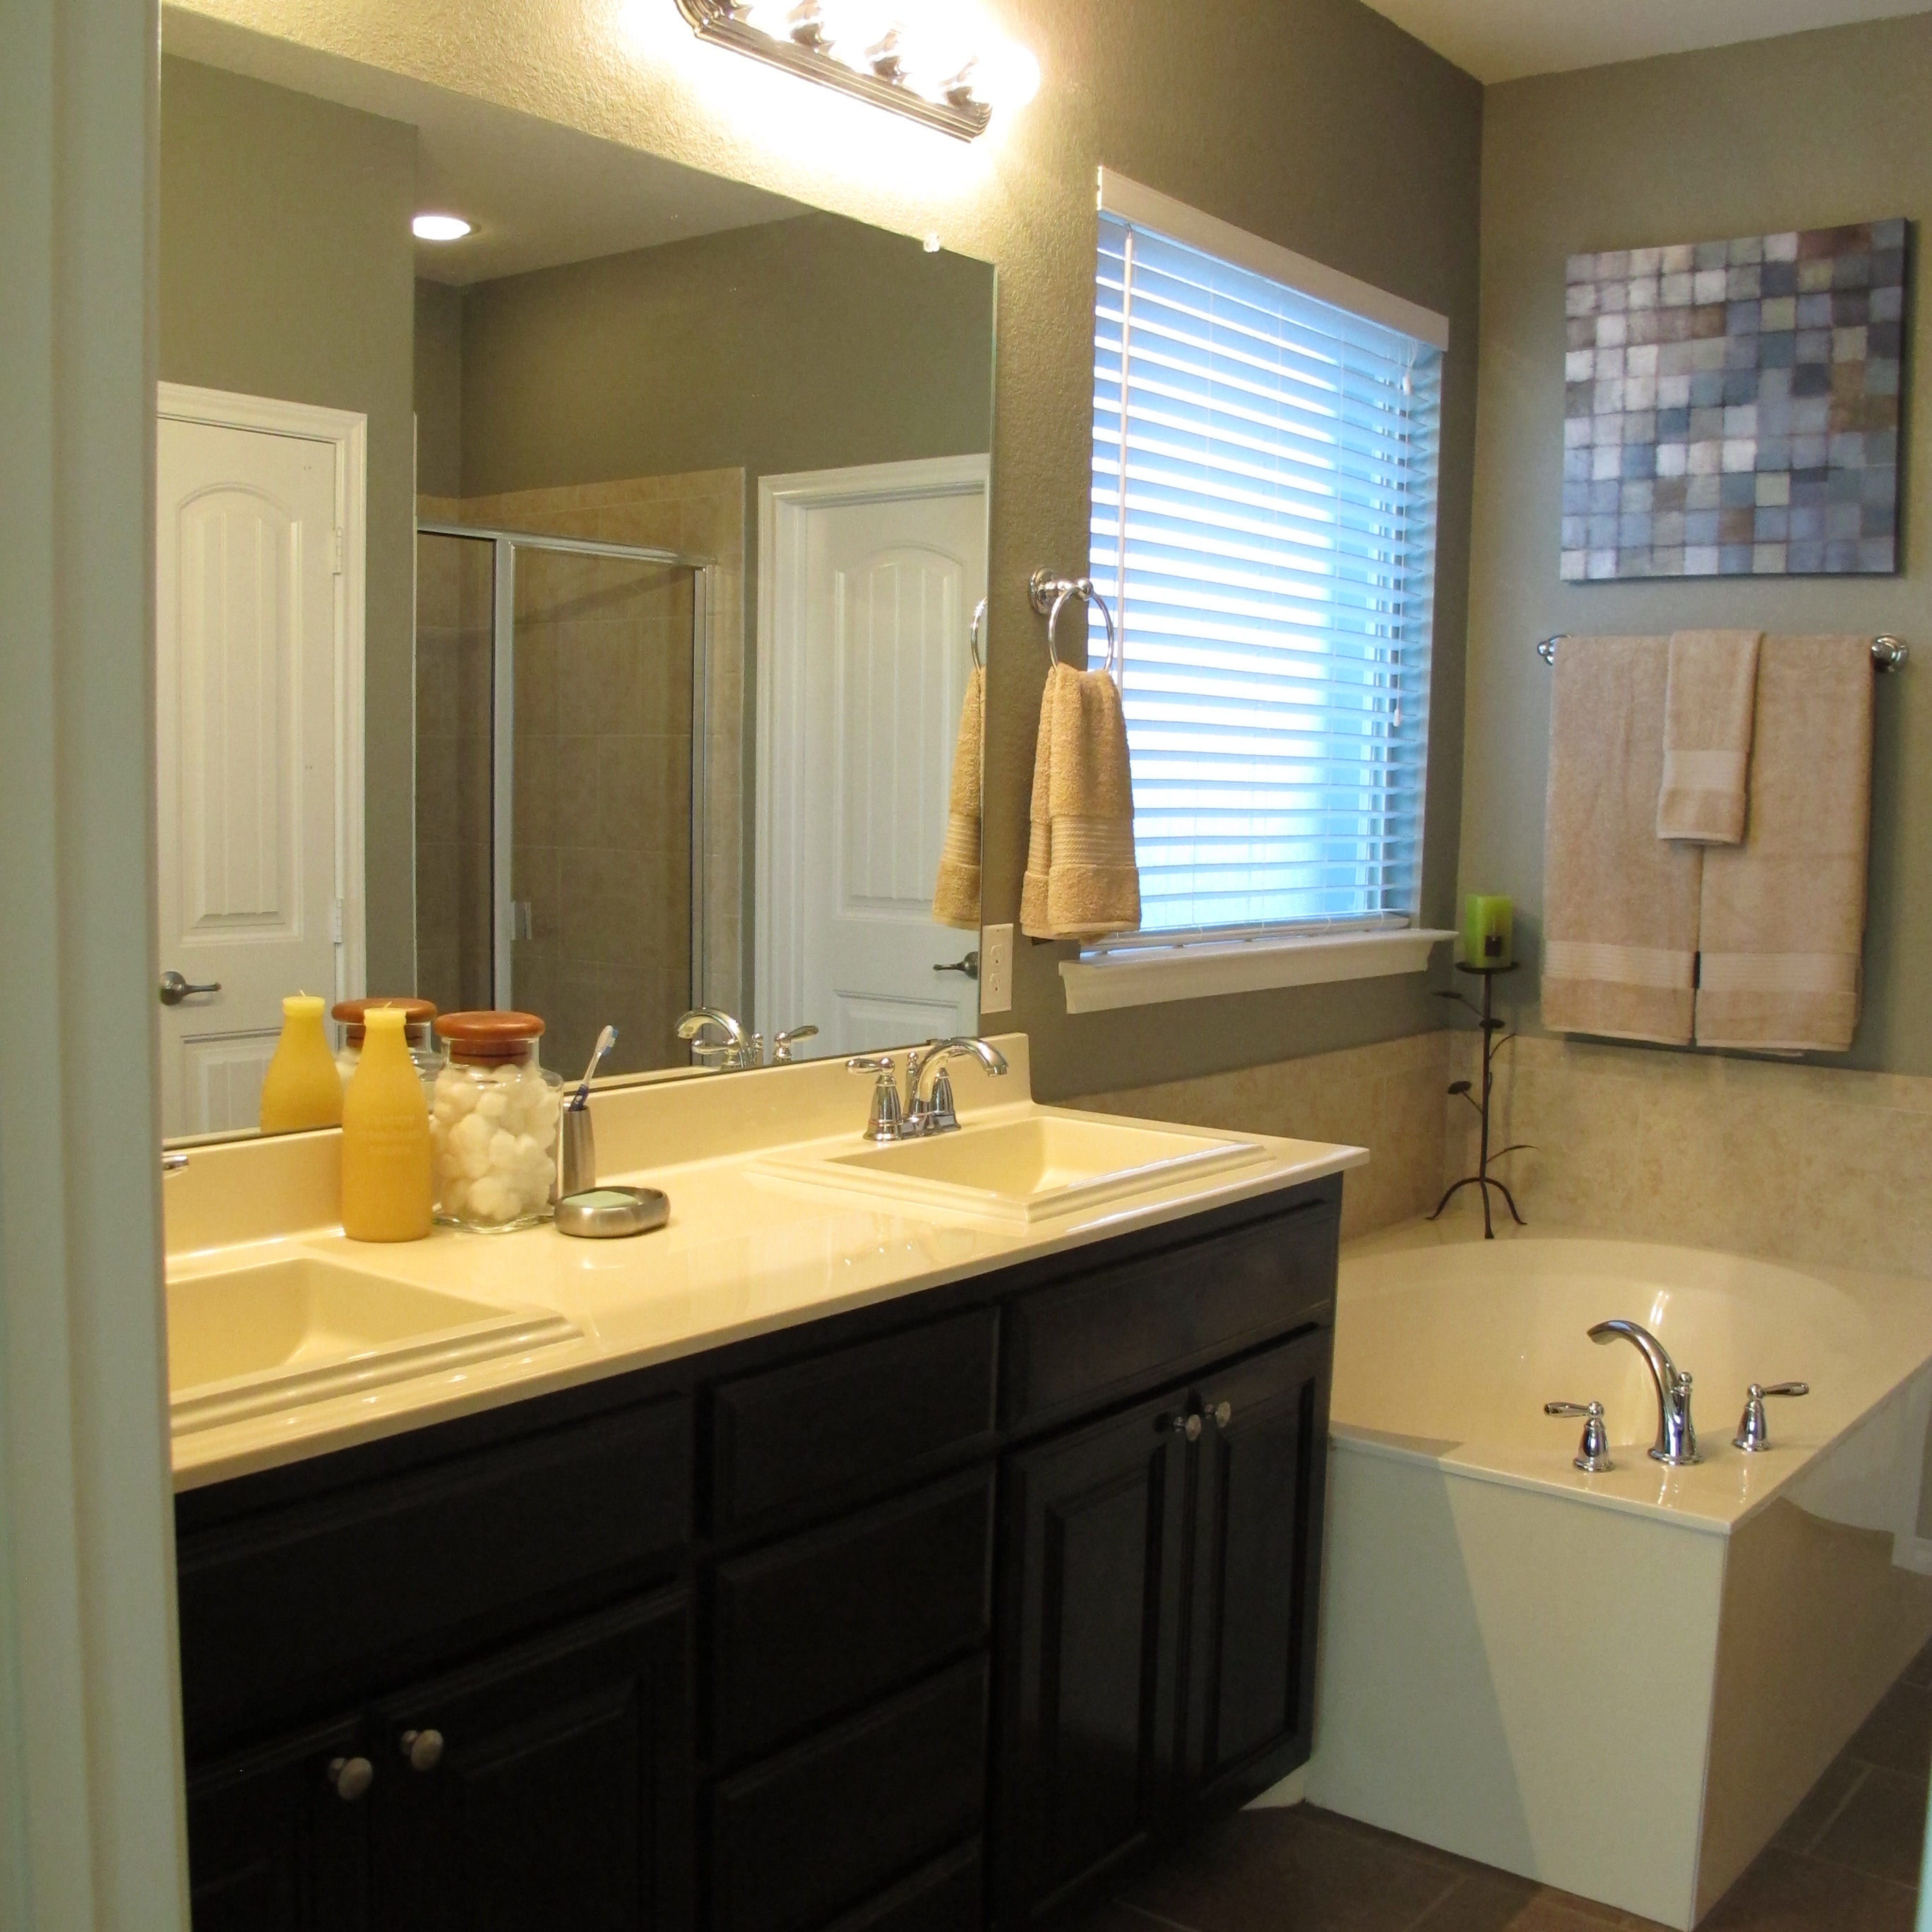
So, anyways, I loved the paint color so entirely that we decided to extend it into the bathroom. Doing so, not only made me drool happy, it unified the two rooms to make them feel like more of a cohesive master suite.
I added some art and towels as well as some accessories that I already had from our last house (which are actually much more muted in person. They’re looking a little “color-kaleidoscope” in the pics below. It all goes in person, swear.). We opted for square sinks, but unfortunately, the builder we used no longer supplied white countertops, tubs, toilets, shower basins, etc. Their color of choice was biscuit. Which pretty much looks like the food. It’s basically an almond tone. I would’ve preferred white, but it is what it is (until we change it? Eh, Joey??).
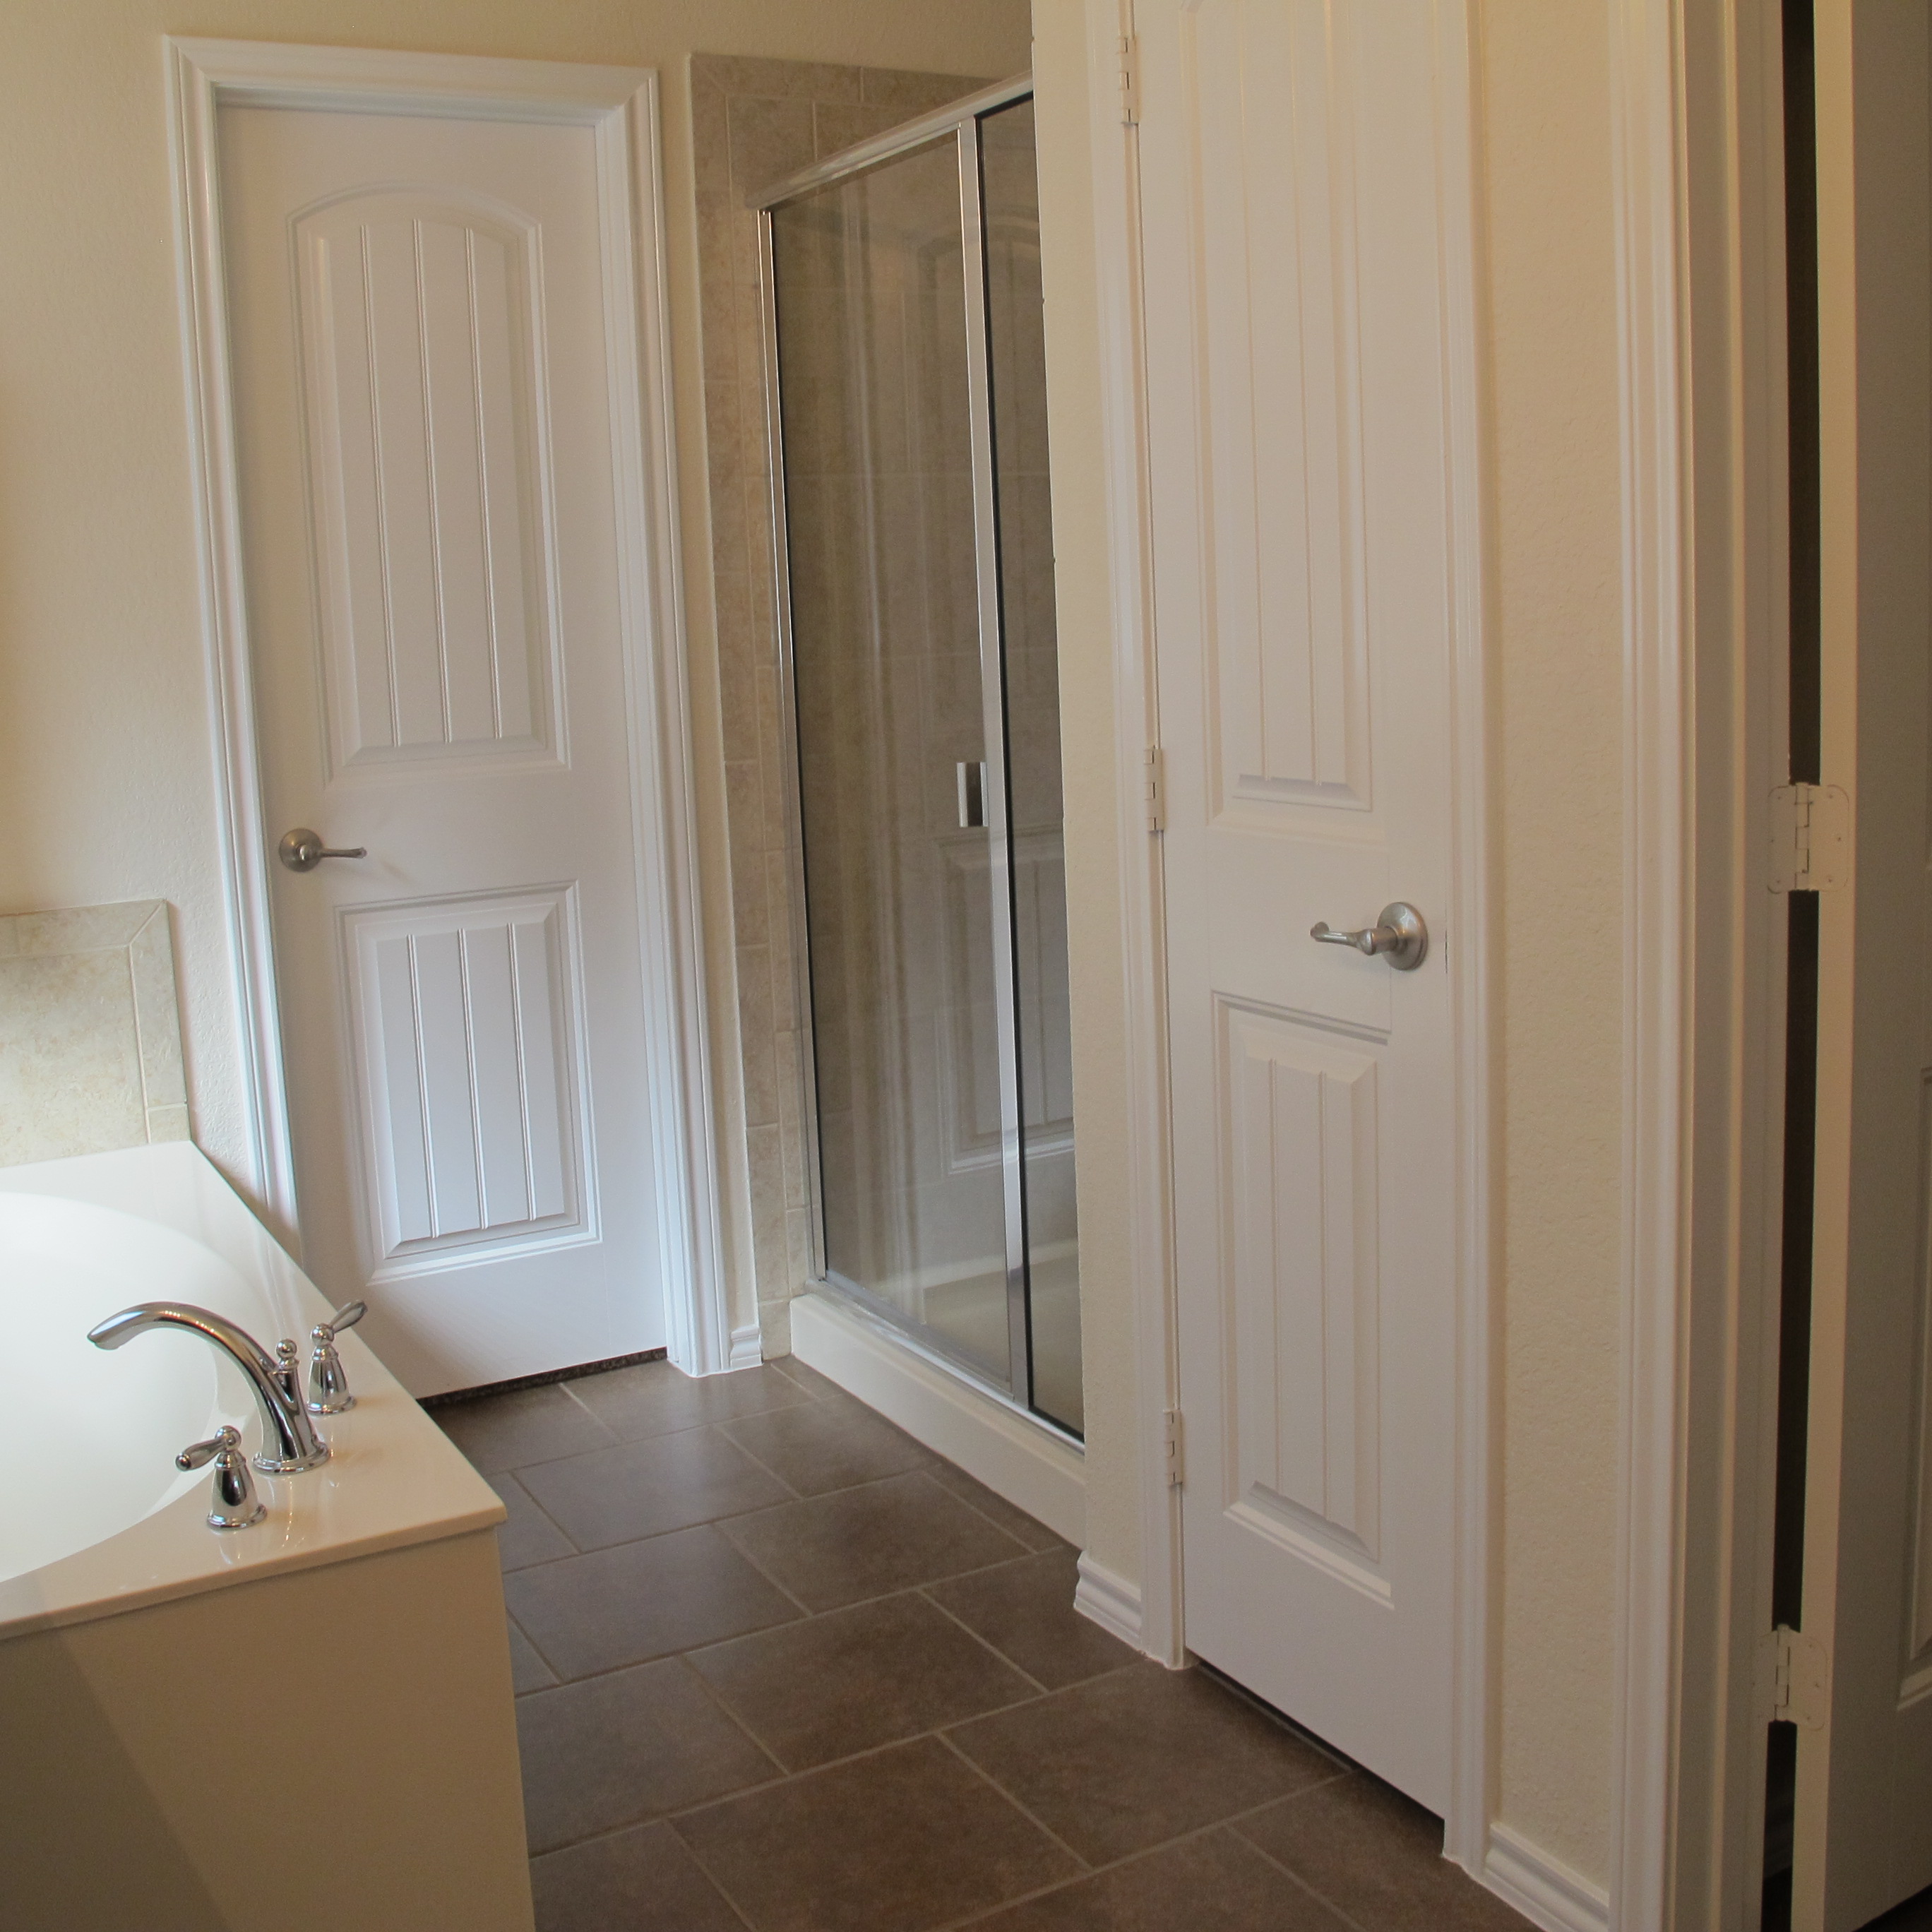
The door straight ahead in the photo below is our closet. Then, we have a small linen closet beside the shower. I’ll tell ya, they did good with this floor plan’s master suite when it comes to storage. No complaints there.

Onto the toilet room. It started out here….
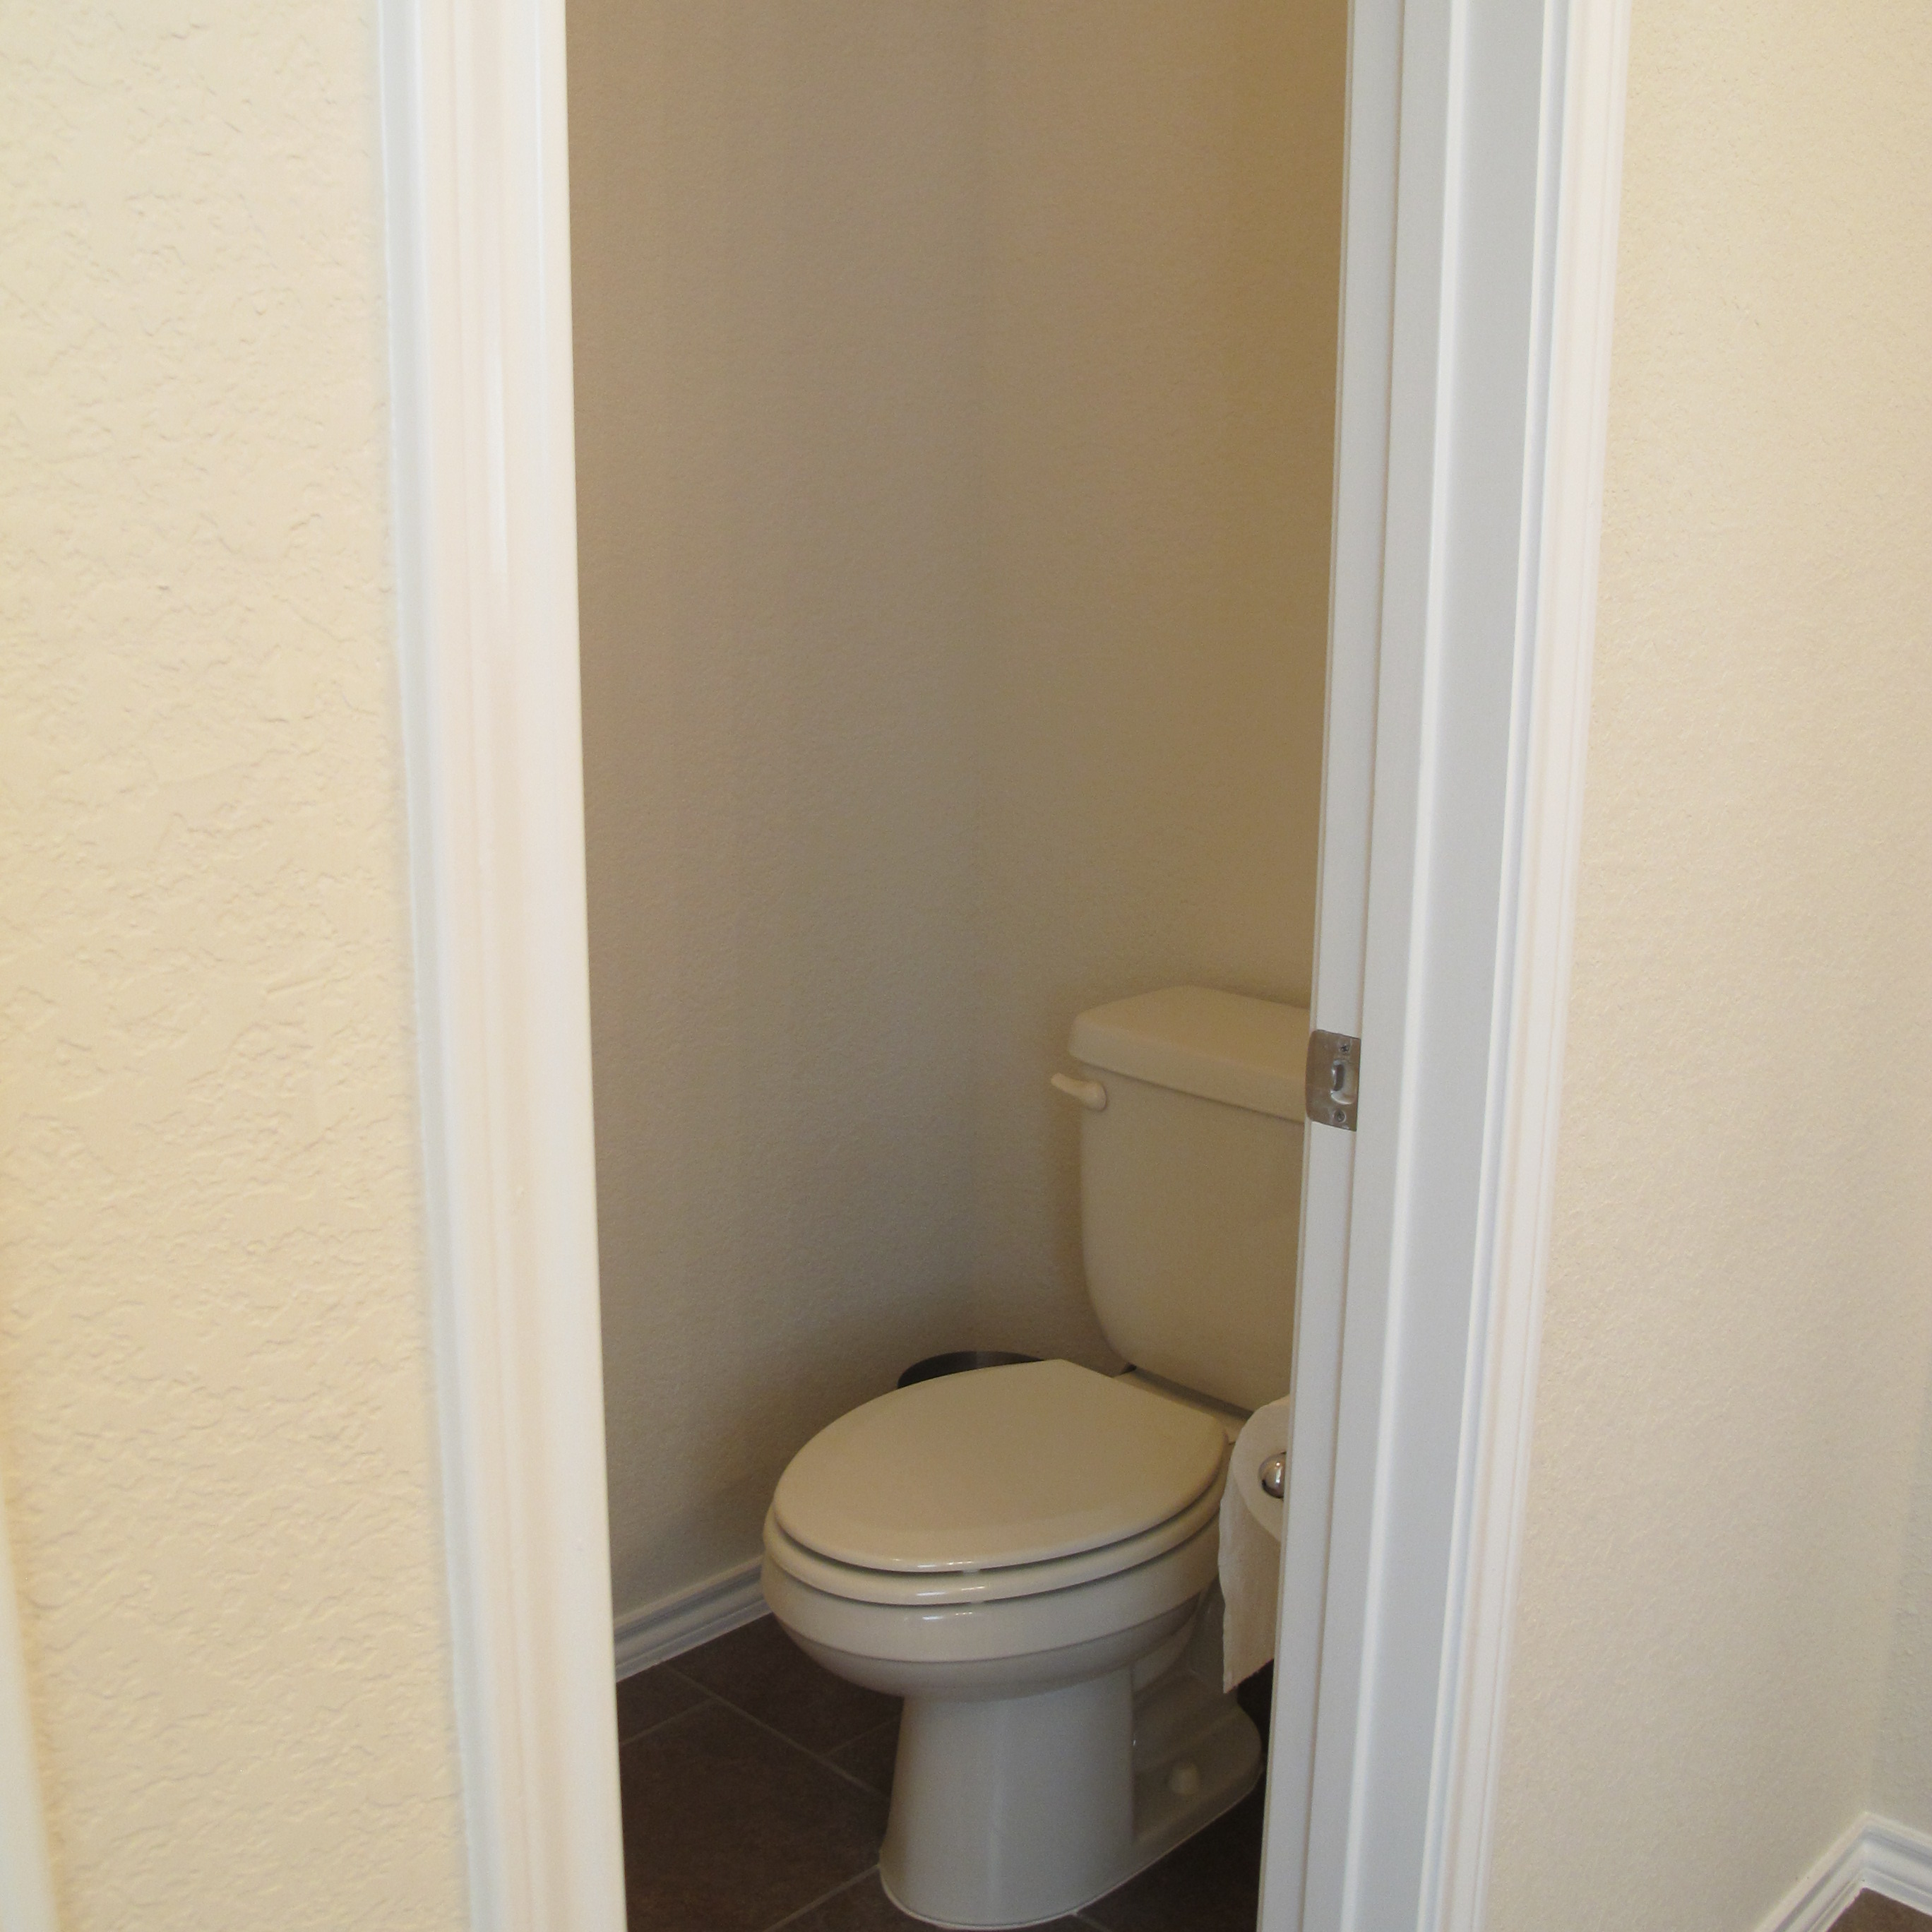
And now is here…

Meet My Pretties (aka. our shelves).

Sorry about the pics. This room is so small that photographing it is really difficult. Here are a few close ups, to give you a better idea…


We DIYed our shelves using 1×10″ boards from Home Depot. We had them cut down to size for free right there at the store (We decided on one inch shorter than the room’s width to allow for 1/2 inch on either side). Once we got them home, we sanded and stained them with ebony-toned stain, then mounted them atop these unfinished brackets from Ikea for 3 bucks a pop….

…which we stained the same color. We ended up spending roughly 10 bucks per shelf (including the brackets) by going this route. And I love the custom feel they give due to their perfect size in comparison to the nook. And the rustic aesthetic is the bees knees. We didn’t polyurethane the shelves because we liked the matte, low key feel that they gave with just stain. My only complaint is that when I dust the shelves, the knots hold onto some of the fuzz from my Swiffer sheet. I’m sure there’s a solution to this problem, but I haven’t been bothered enough to find it.
Here’s a slightly different view of the toilet room…
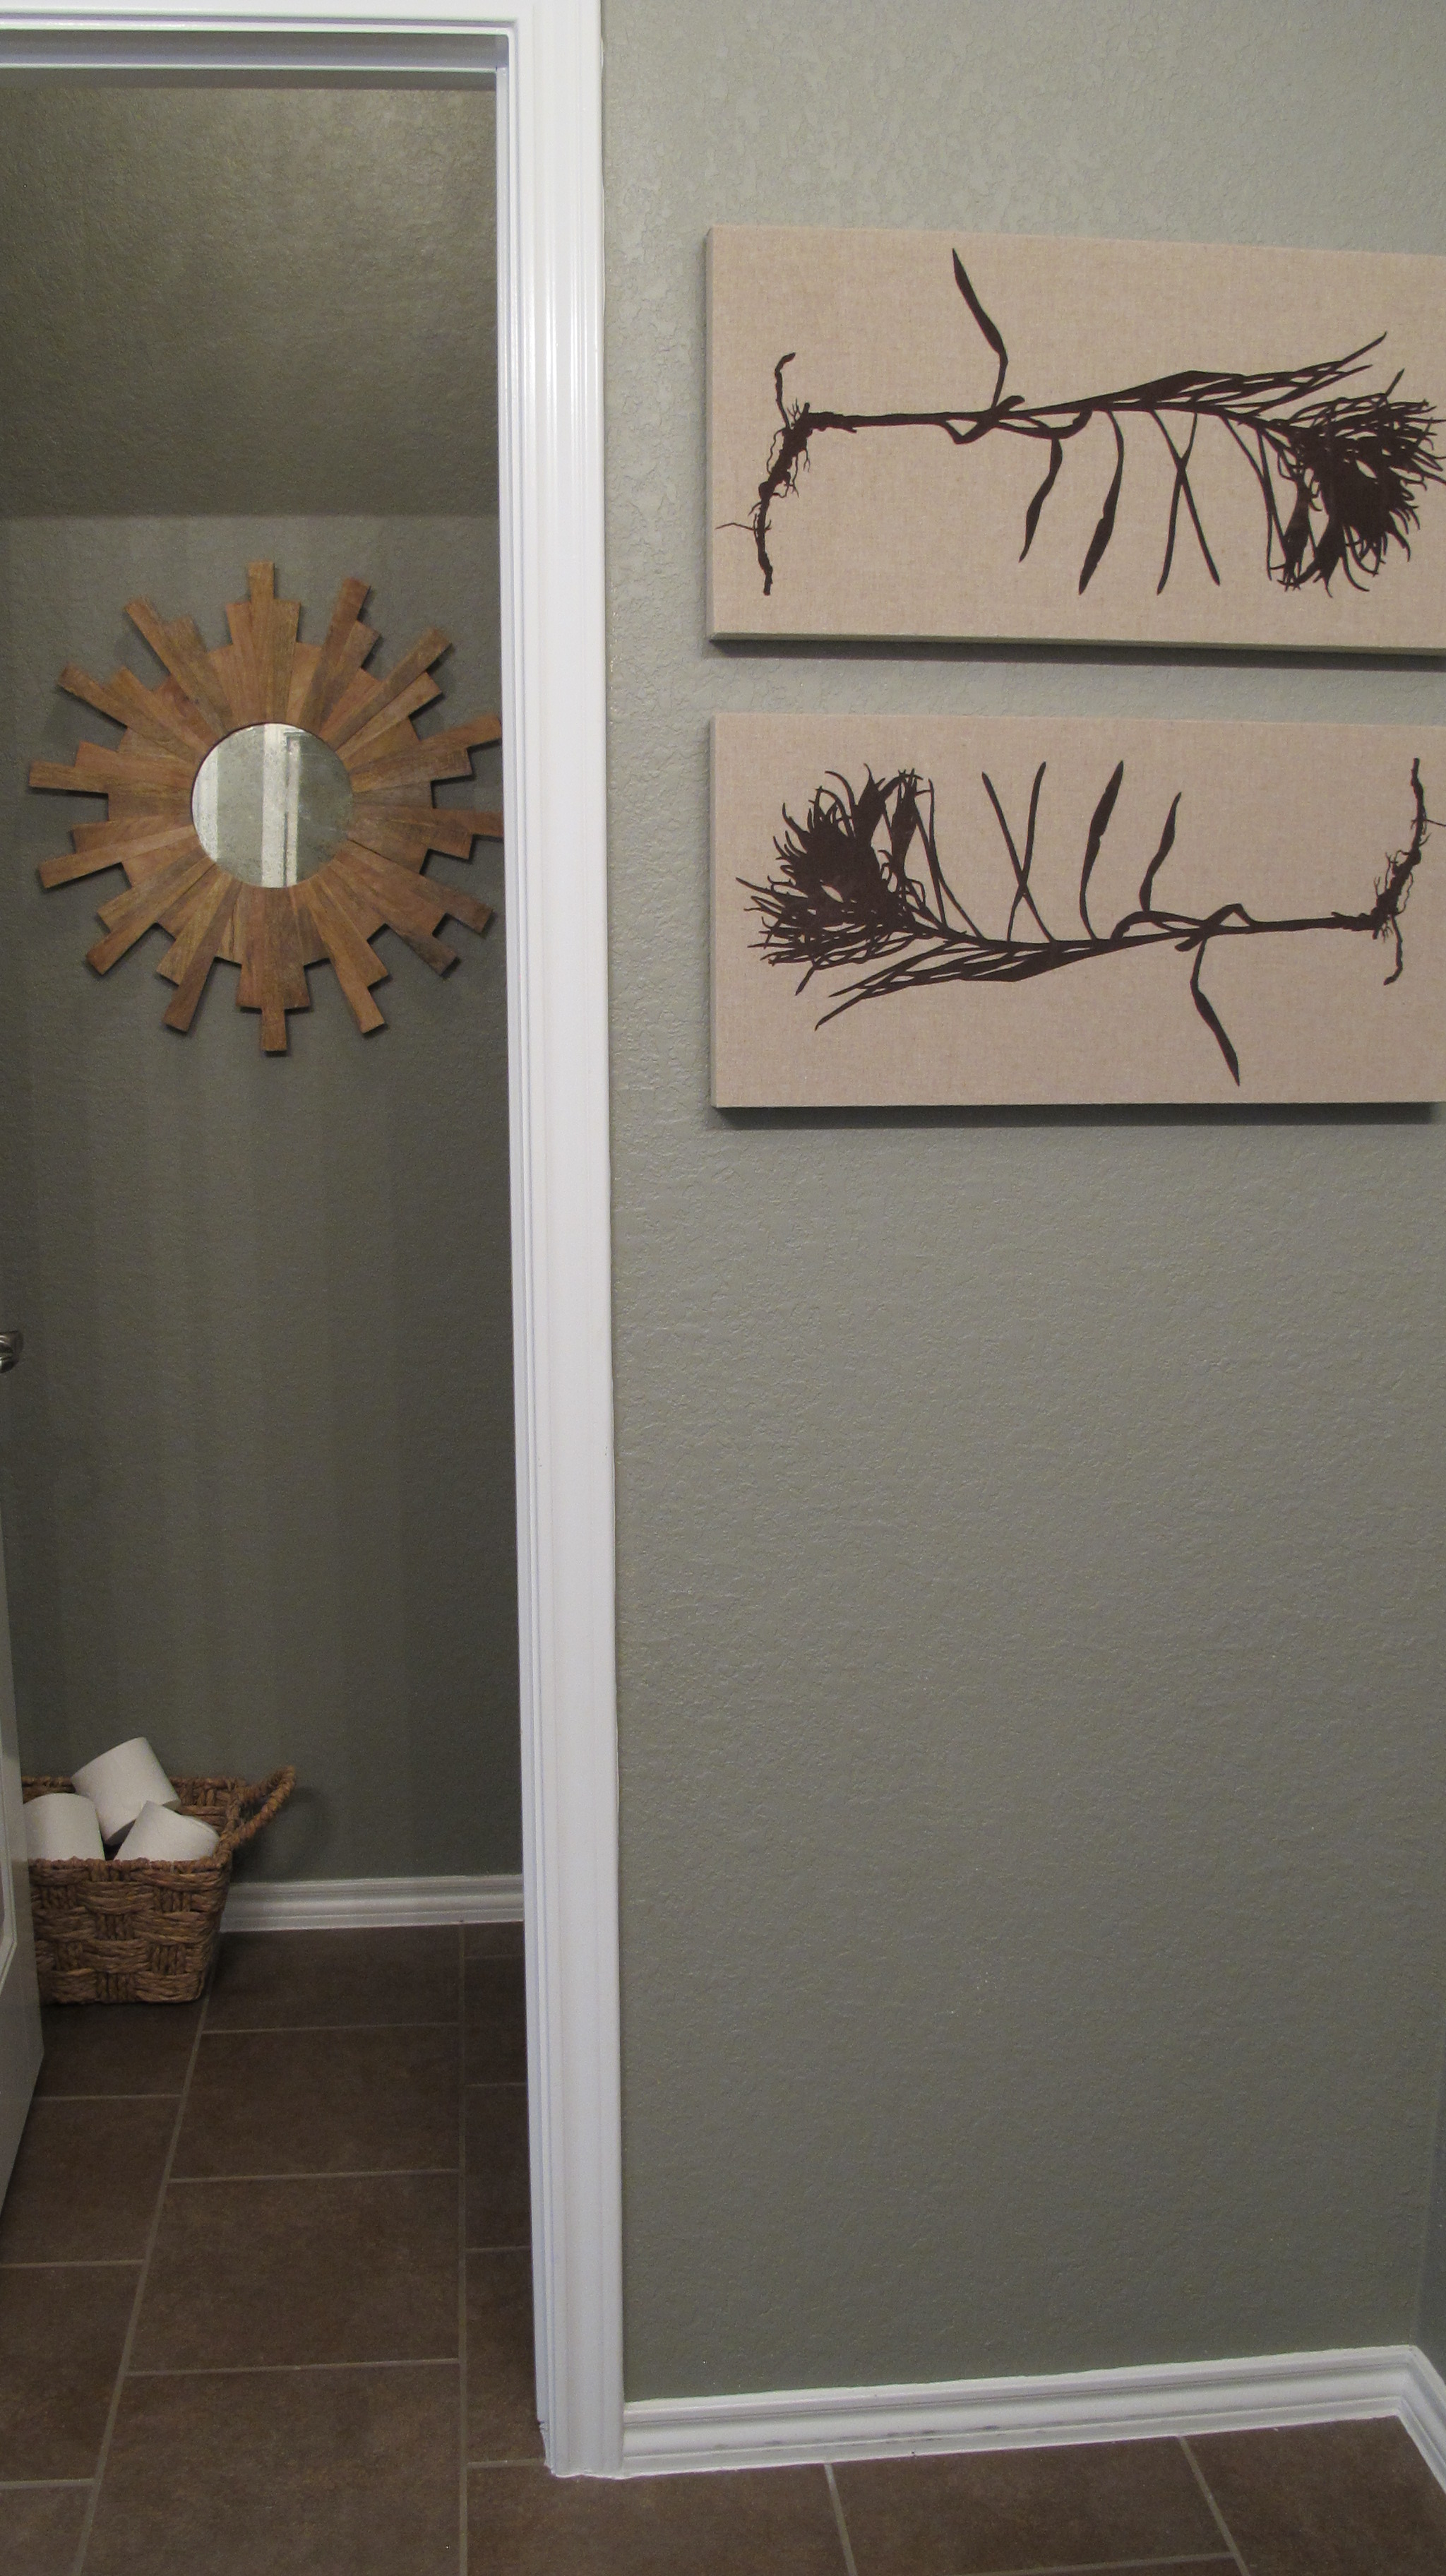
The mirror is from Target. It was originally $49 bucks. I stalked it until it went on clearance for $14.98 and then, with a “whoop!” of victory, I made it mine. The paintings hung in our last home’s front room vertically. I originally got them from Kohls for $3.98 a piece… they were exactly the same picture so I just relocated the hanging hardware on the back of one of them so I could hang one upside down and one right-side-up. I decided to hang them horizontally here to better fill the space. I simply relocated the hardware on the backs again and hung them with a few nails.
And here’s the view of the bathroom from the closet…

Now, there’s definitely more to go with this room. And here’s the plan…
- Add a faux DIY roman shade to the window in a fun pattern
- Change the builder towel rods and rings for hooks
- Either frame out the current mirror or replace it with two mirrors with shelves in between
- Bid adios to the current light fixtures over the mirror and replace them with something more “us”
- Hang a fun chandelier in the toilet room?
- Replace all faucets with sleeker, simpler versions
- Add pulls to the drawers
- Possibly switch out the cumbersome double doors (not shown) in the entrance of the bathroom with a sliding barn door?
- Add an area rug.
Lots to do here, but all completely doable. I can’t wait to get going on this. Our guest bath will be first (If the weather will stay mild enough for me to paint the dang tile surround. I’ve got all the stuff and everything!!), but this one’s been on my mind for a while so hopefully we will get started on these changes at some point soon.

u two are doing great work…looks good and so do u!! Love ur new pic
Thanks a bunch! 🙂