Remember my friend Lisa?

We started her guest room makeover a few months ago in one action-packed day (which you can read about here). Basically, we went a little backwards for the sake of usability. That day, we cleaned, decluttered, shopped, figured out a more functional layout and assembled the room. Thus, the room could immediately accommodate guests. This time around, we painted the walls. Woo-hoo! I’m that weird breed of human who loves to paint, so this was right up my alley.
The plan was to paint the walls a deep grey and Lisa happened to have almost a full gallon of Glidden’s Seal Grey on hand (which she’d used in her bathroom). So, we went for it. Her boyfriend helped out immensely by moving all the furniture to the middle of the room. A task which would’ve taken us forever, literally took him minutes. Conveniently for me, it was done by the time I arrived. (Bonus!) He also helped us replace the furniture once we were done. And boy, were we glad he was there. I don’t think I was prepared to take on that beast of a piano again. Not that I was much of a help the first time around. Anyways, I’m getting ahead of myself as per usual… Backtrack to ‘the furniture was moved to the middle of the room’ part… And go… So, we removed all of the outlet covers and got to work. We opted not to tape off the trim and windows for the sake of saving time. After many moons (and lots and lots of practice), edging freehand has become quicker and easier for me than spending forever-and-a-grandma taping only to discover unsightly paint bleeds later.
Here are a few ‘in progress’ shots…

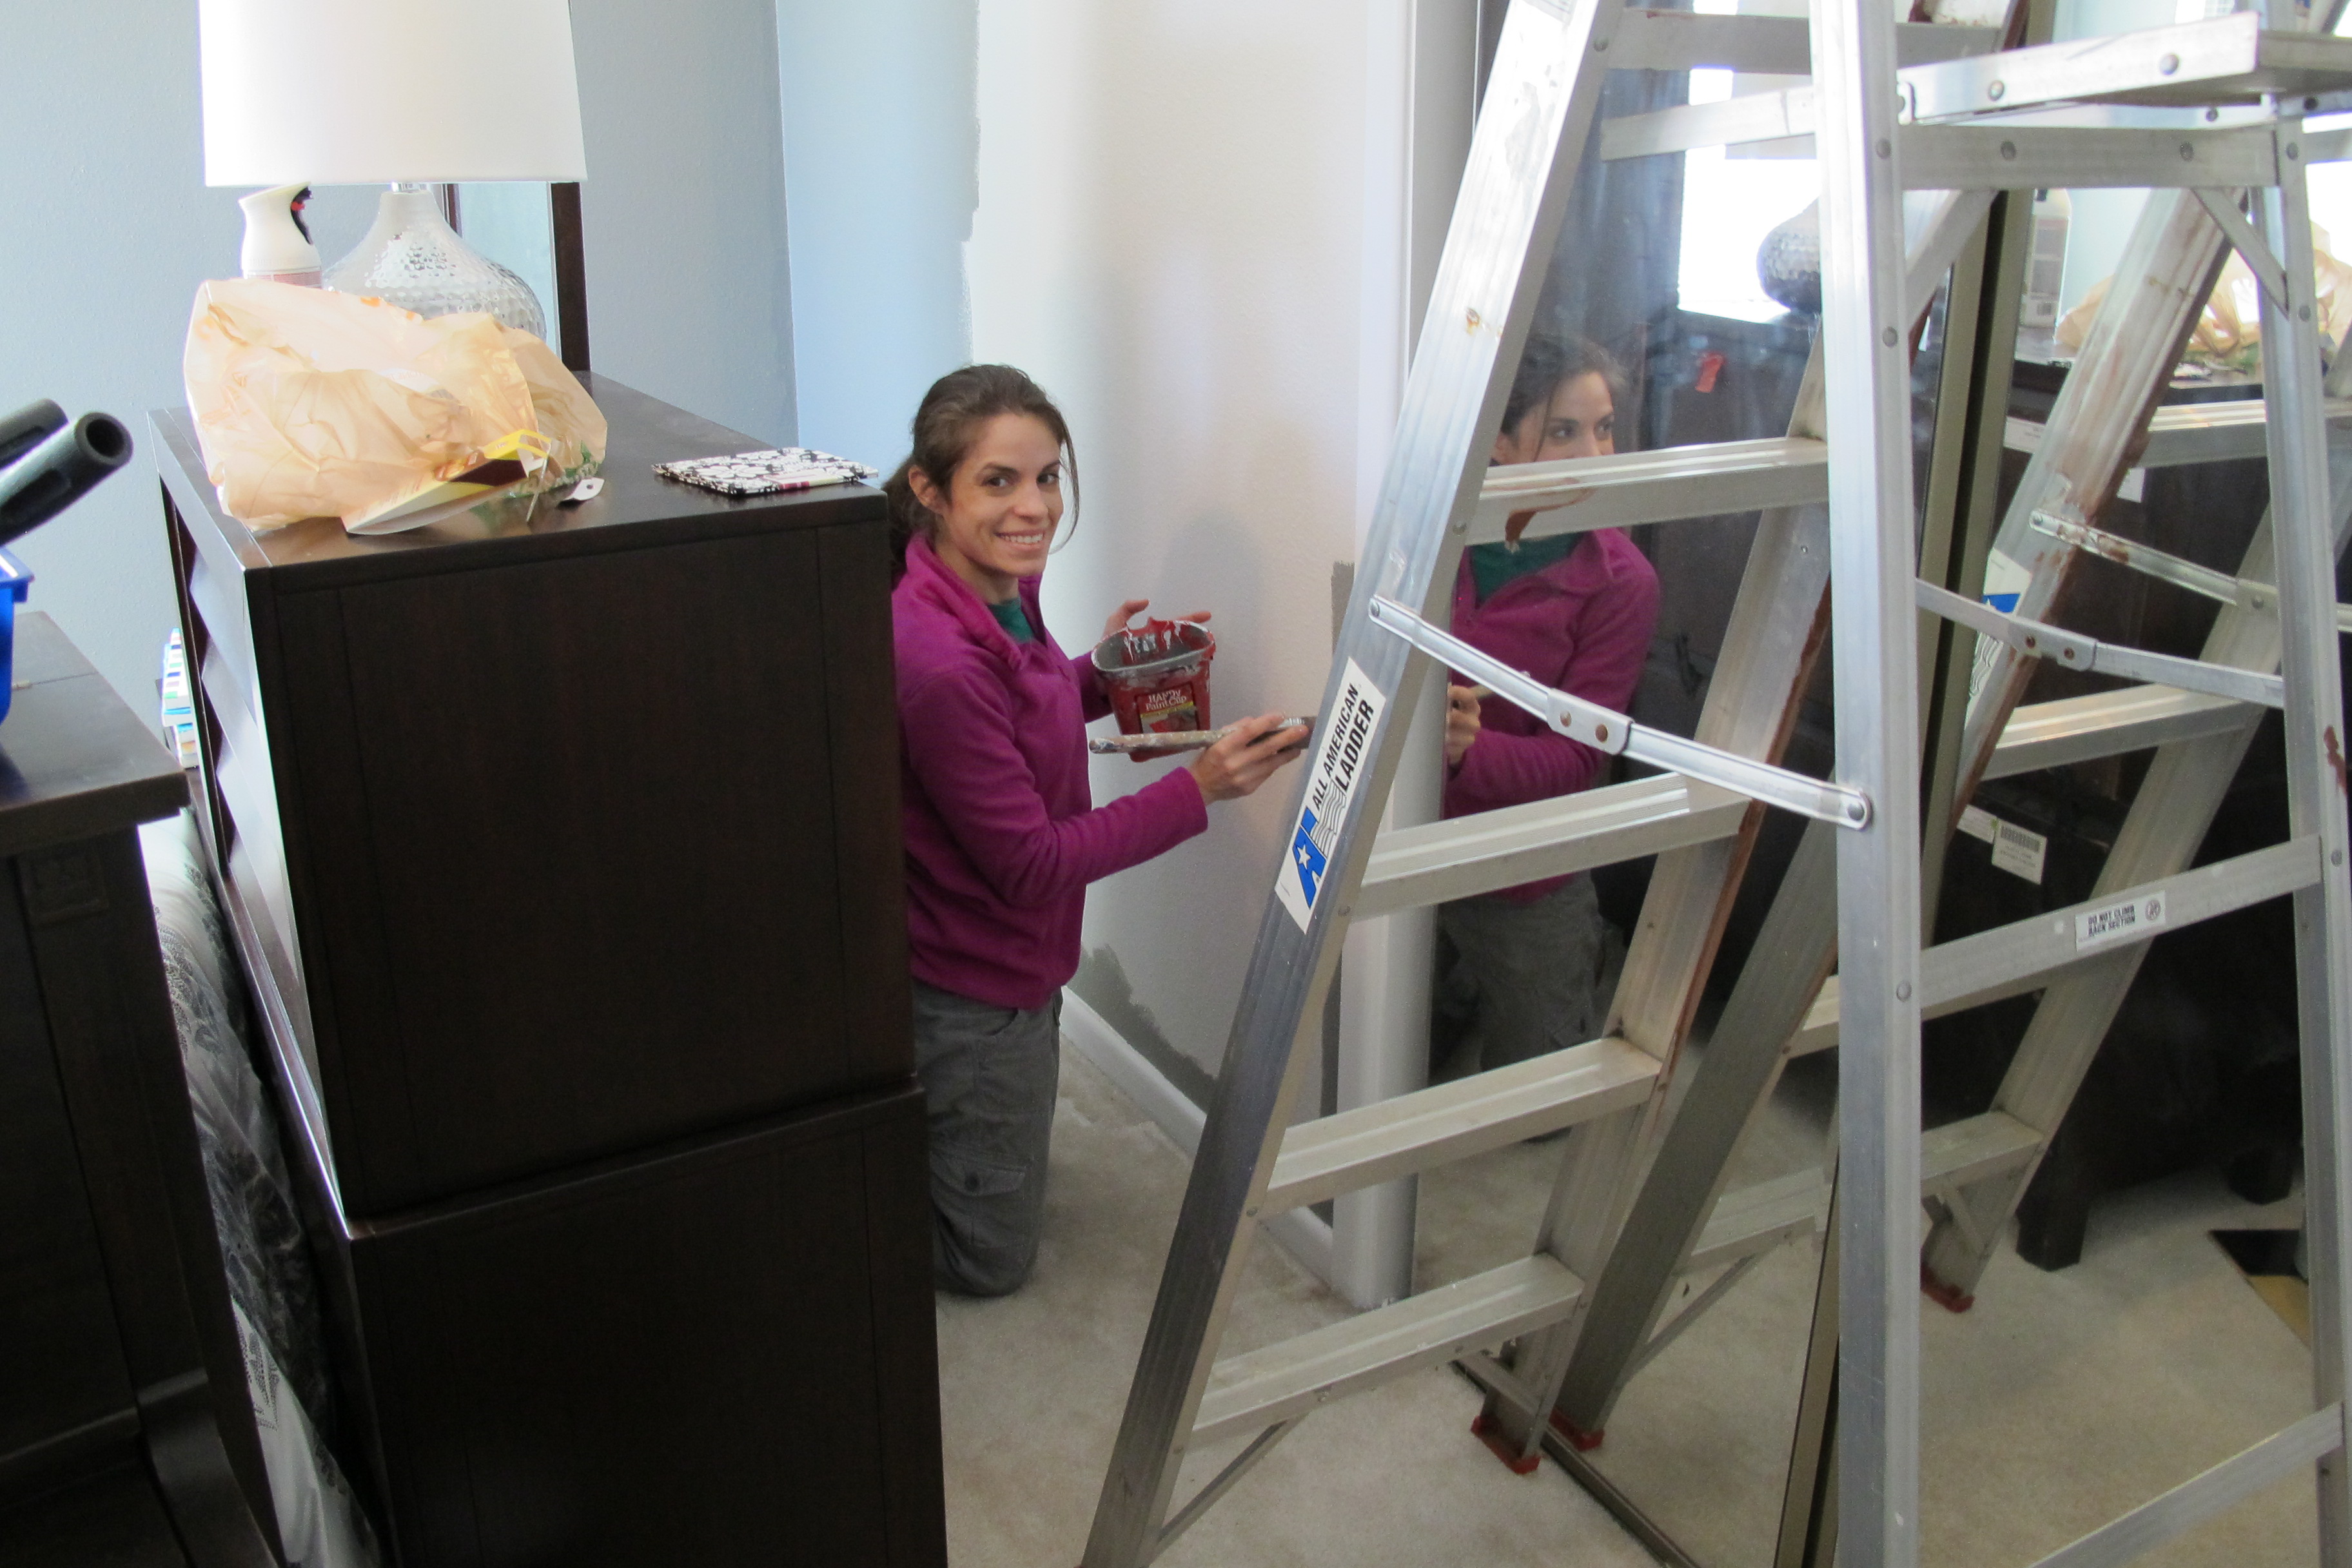
I cut in and Lisa rolled. It took us about 3 hours from start to finish.
Once we were done painting, we decided to take on the piano bench as well…

The fabric on top had seen better days and the base was a bit scratched up and possessed more of a red undertone than the piano, so it didn’t quite mesh. This little guy had terrific bones, though, so he was definitely worth keeping. We roughed up the base with 220 grit sand paper, then used Rustoleum Universal spray paint in Satin White, and gave this baby several thin, even coats….

We recovered the the cushion with some of the same fabric that I used to update this tray (sorry, forgot to take pics of this part)….
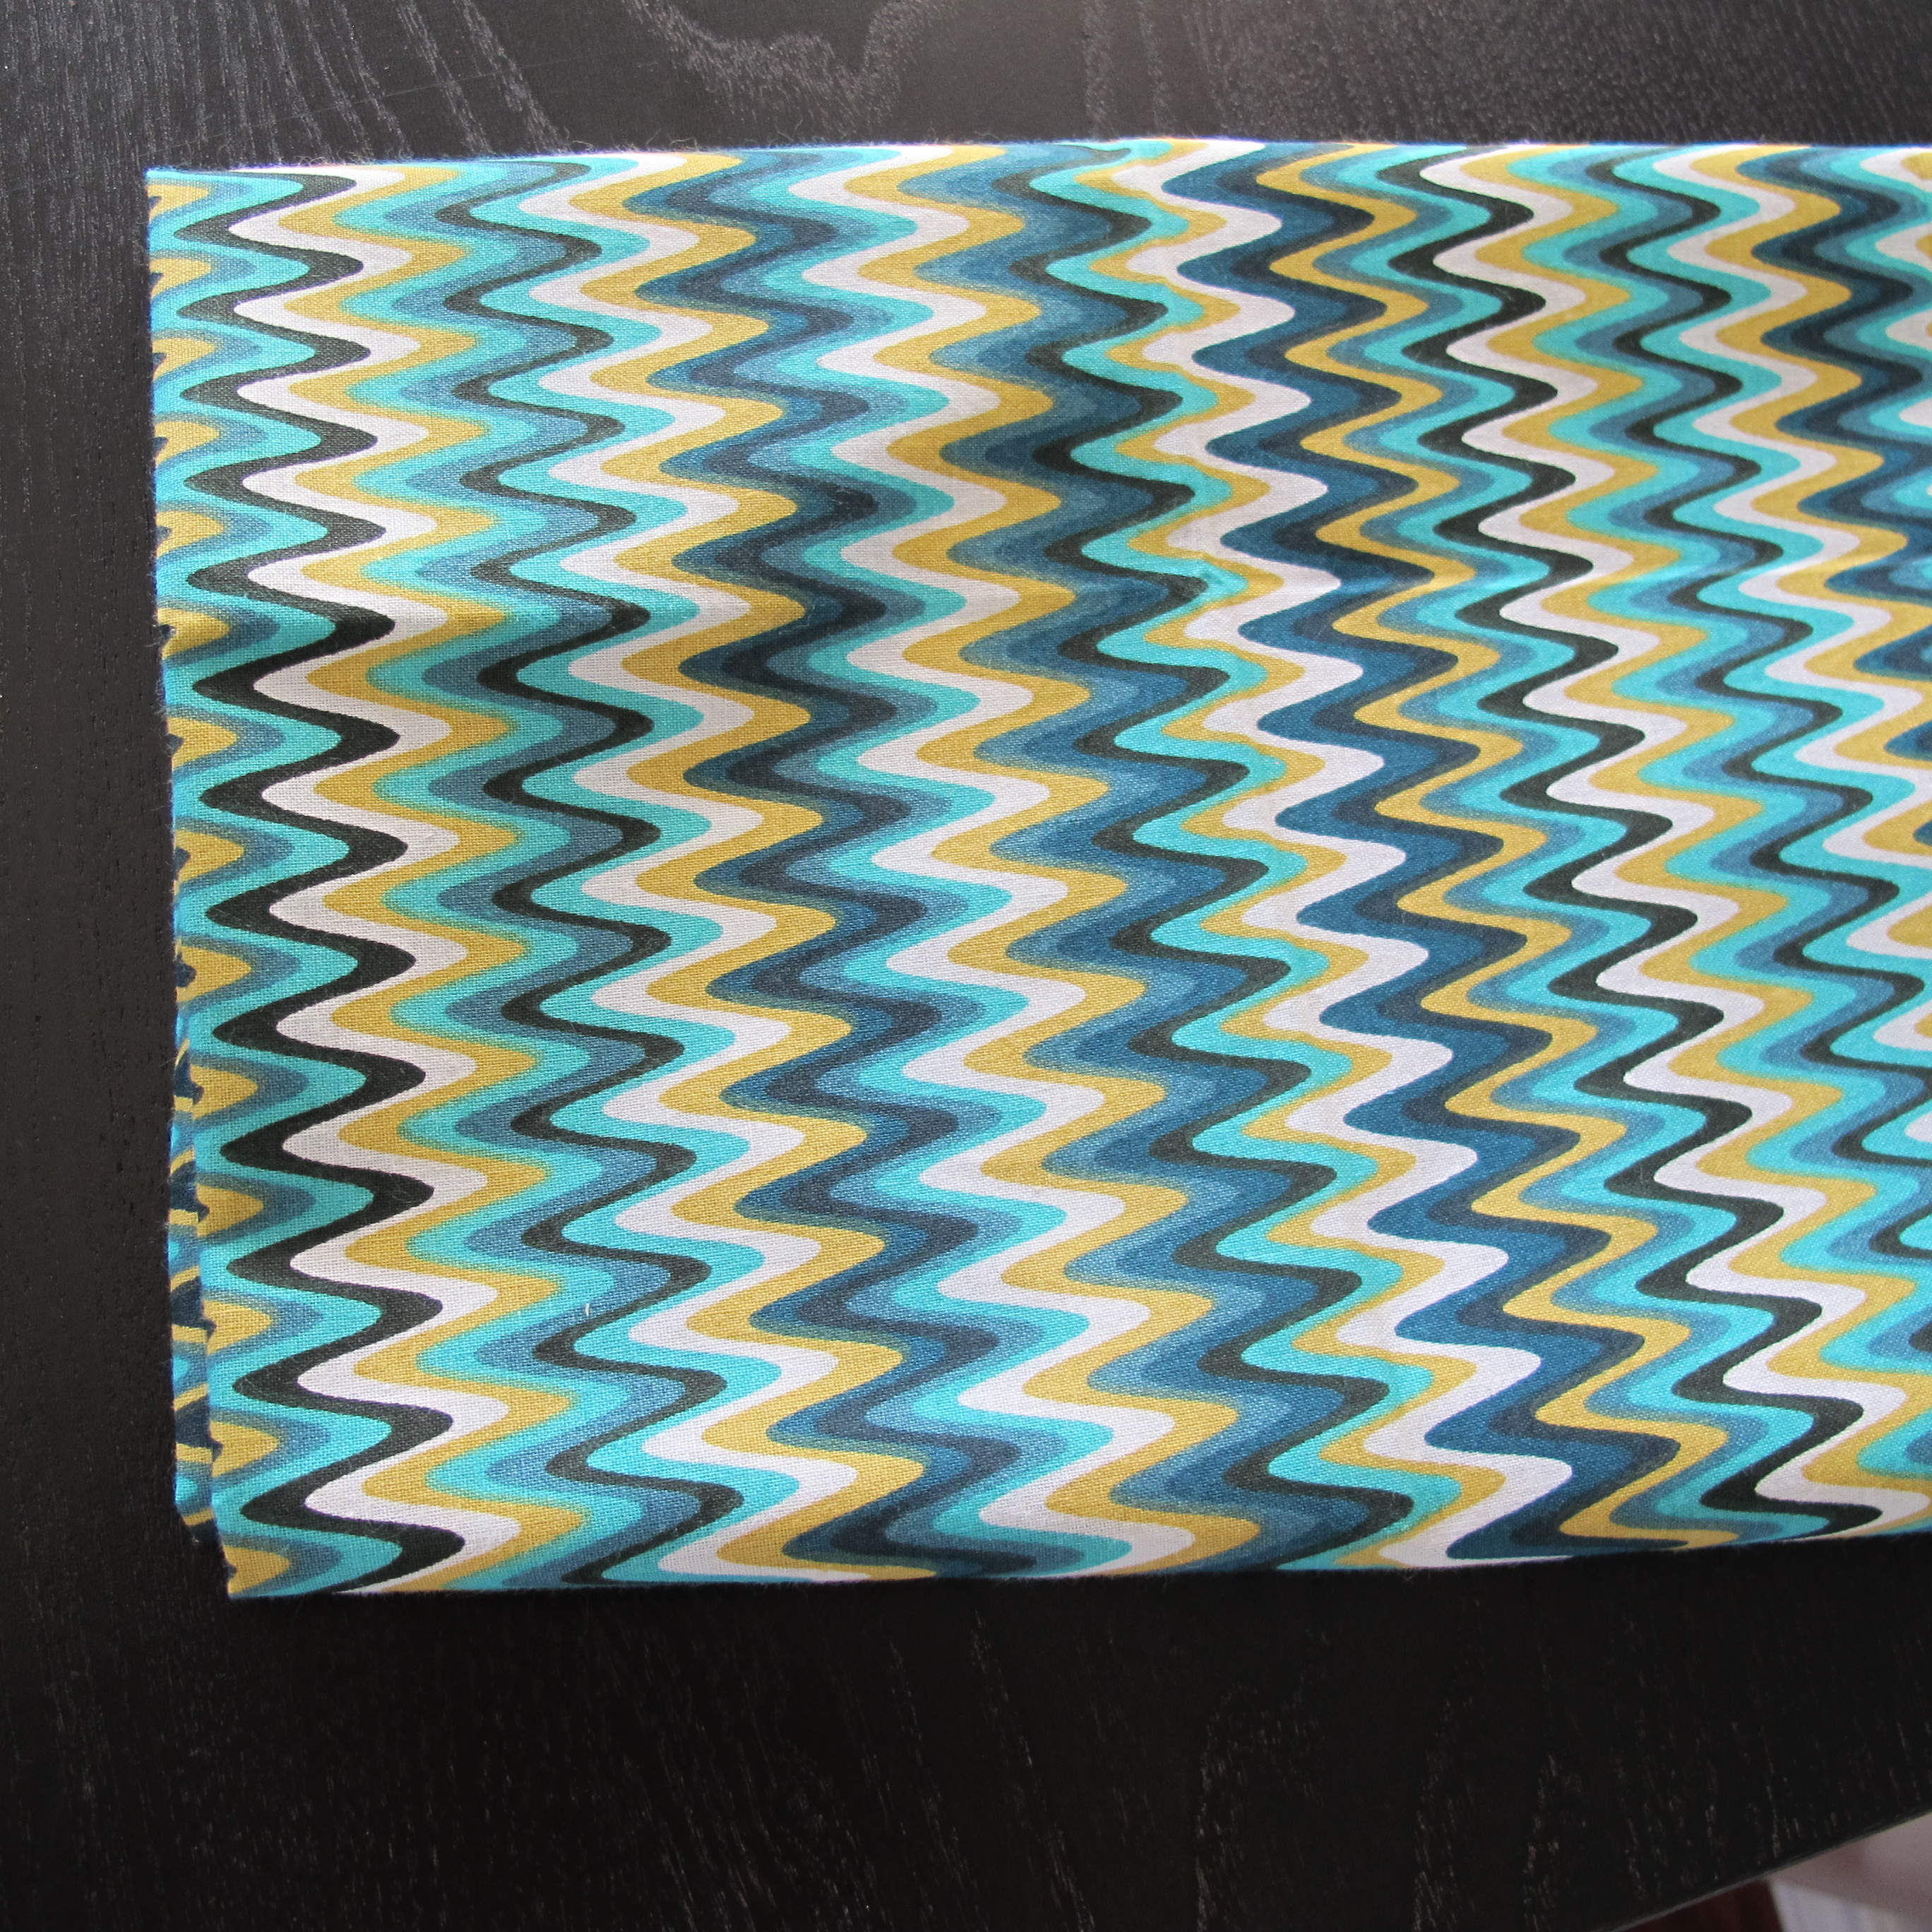
I purchased a quarter yard from Walmart for 99 cents and thanked my lucky stars that it was the perfect size to recover this small bench. I utilized the same method for recovering this cushion that I described in detail when I recovered my eight dollar chair seats.
And here’s where we ended up….


Cute, huh? I just love it. It’s quirky, fun, and brings some turquoise and feisty-ness over to this side of the room.
With our little bench complete, we reassembled the room, ironed the curtains, hung those babies up, and then I went mad snapping pictures. And without further adieu, some before-and-after shots for your viewing pleasure:
The music side of the room started here….
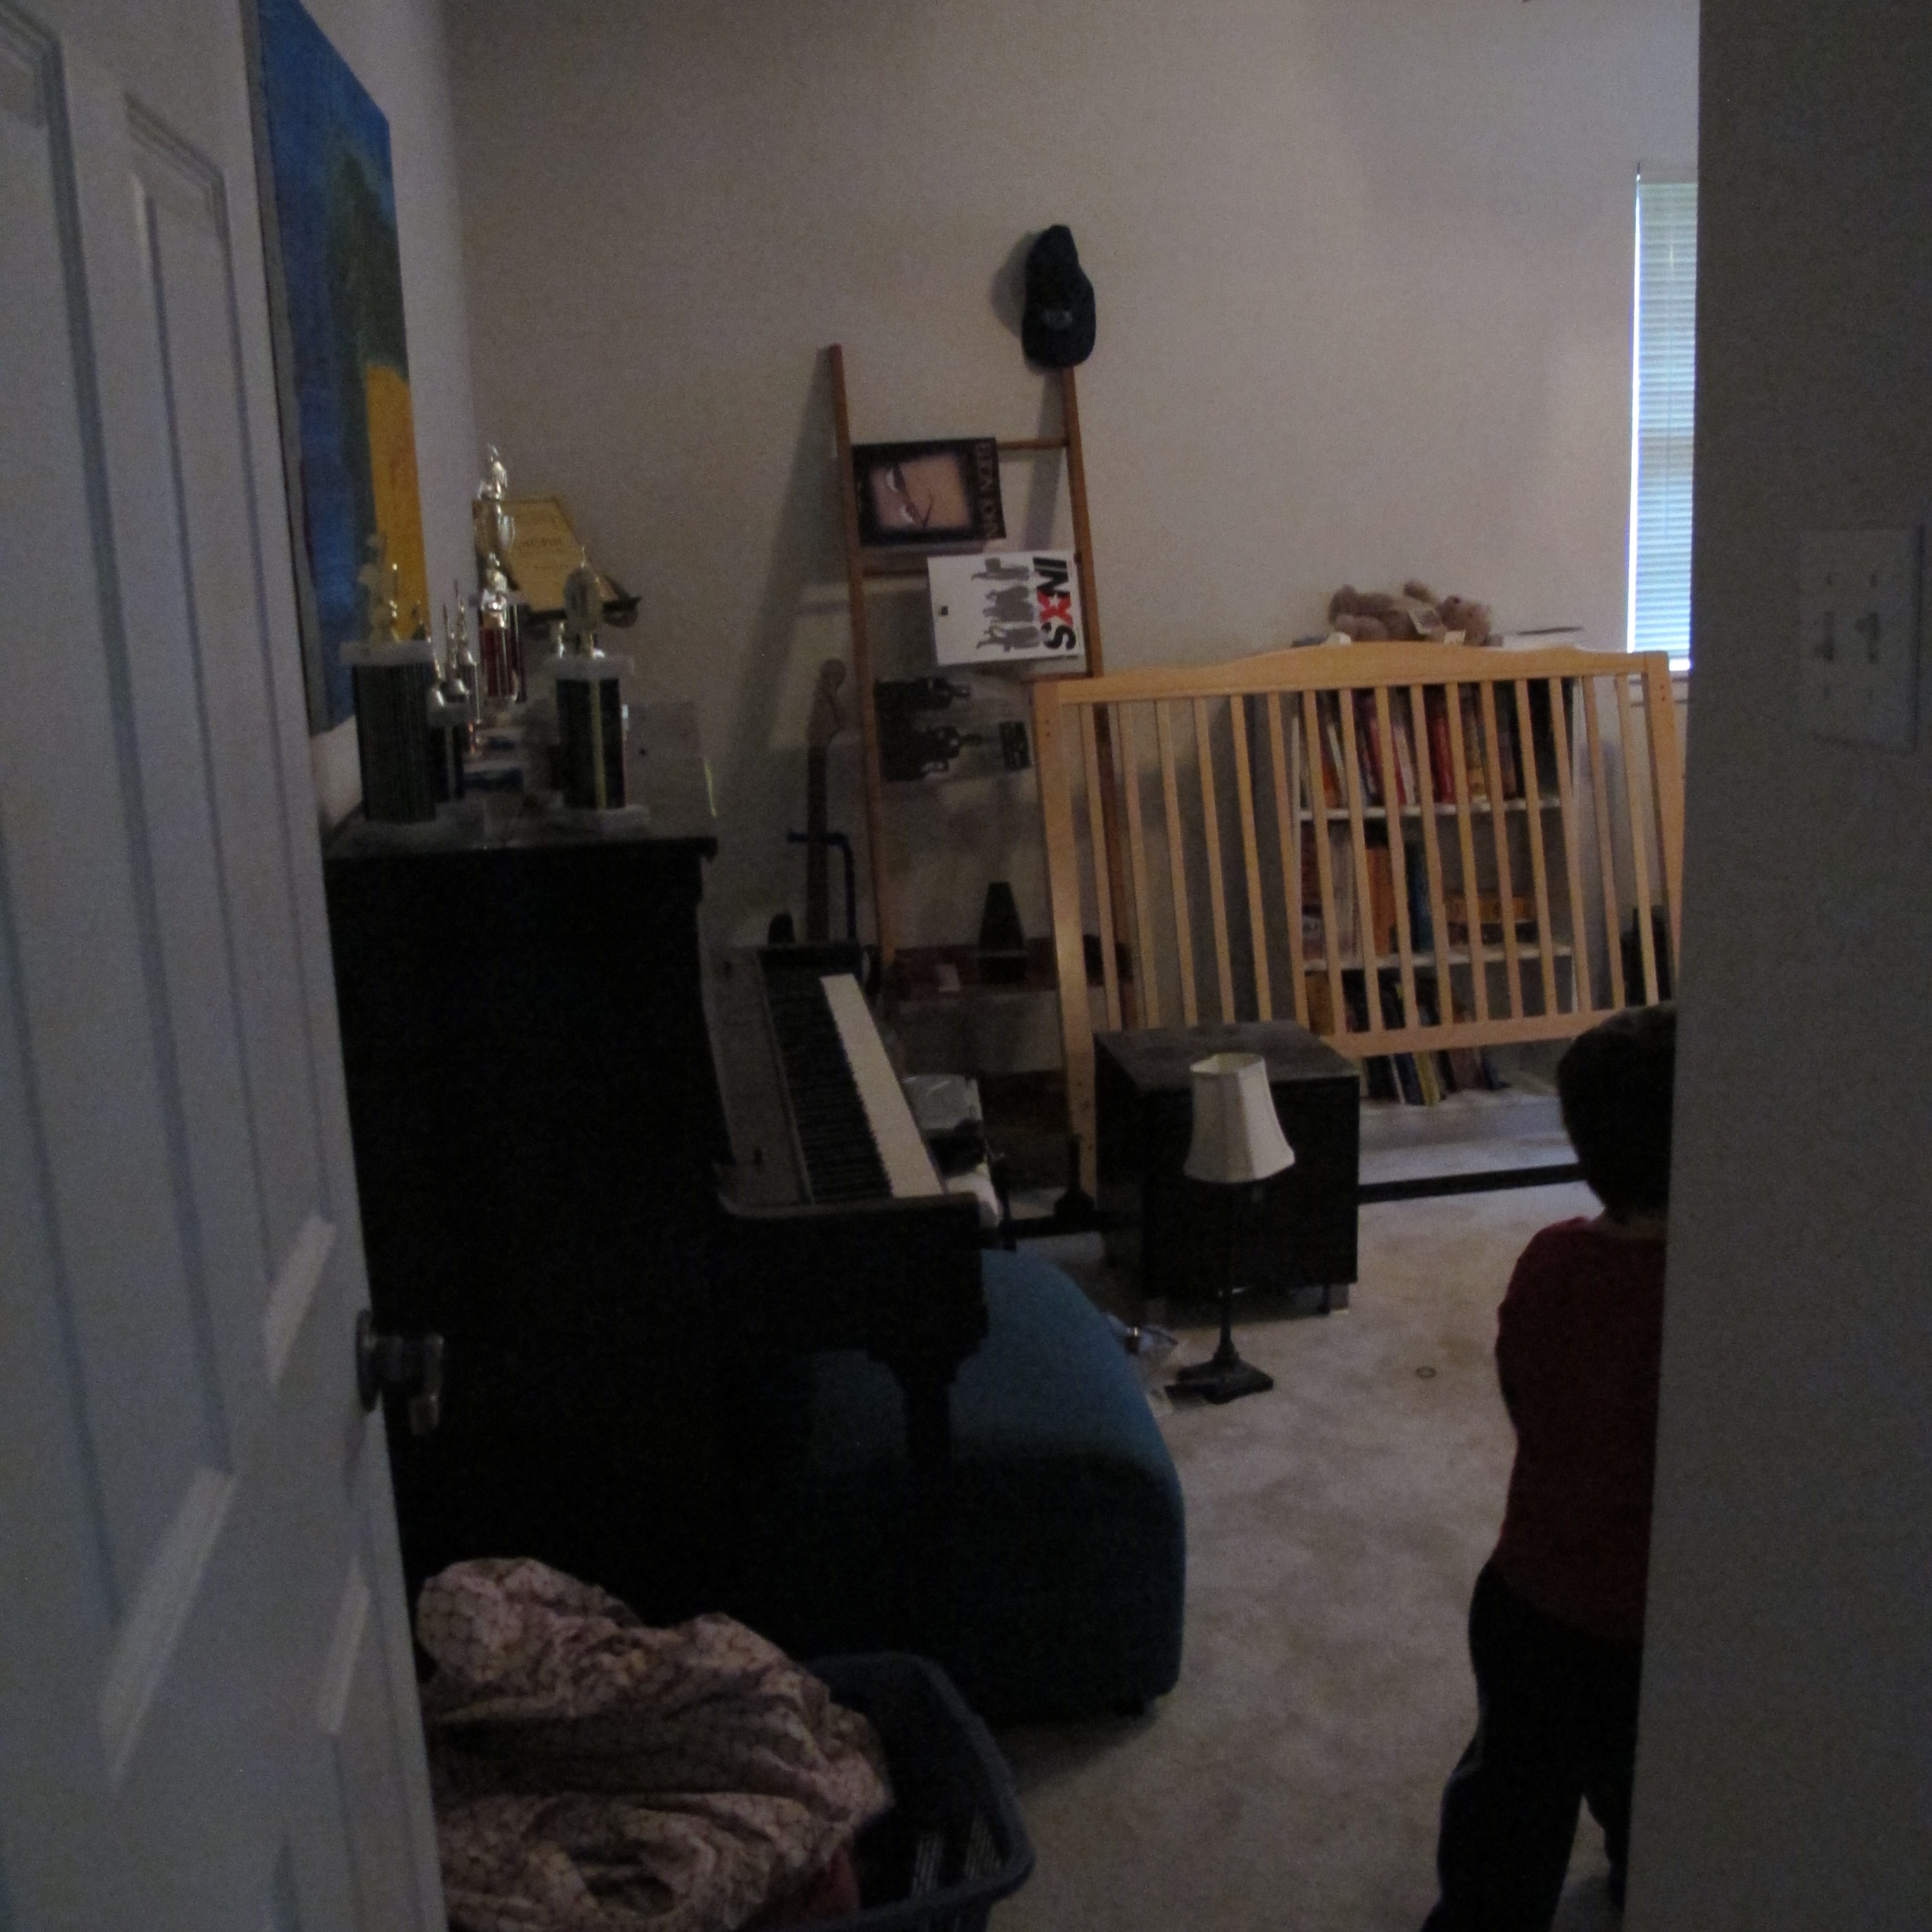
After Day One (sorry for the smaller shots in this post… I forgot to shoot a few angles while I was there, so Lisa sent me these on her phone) …

After Day Two…

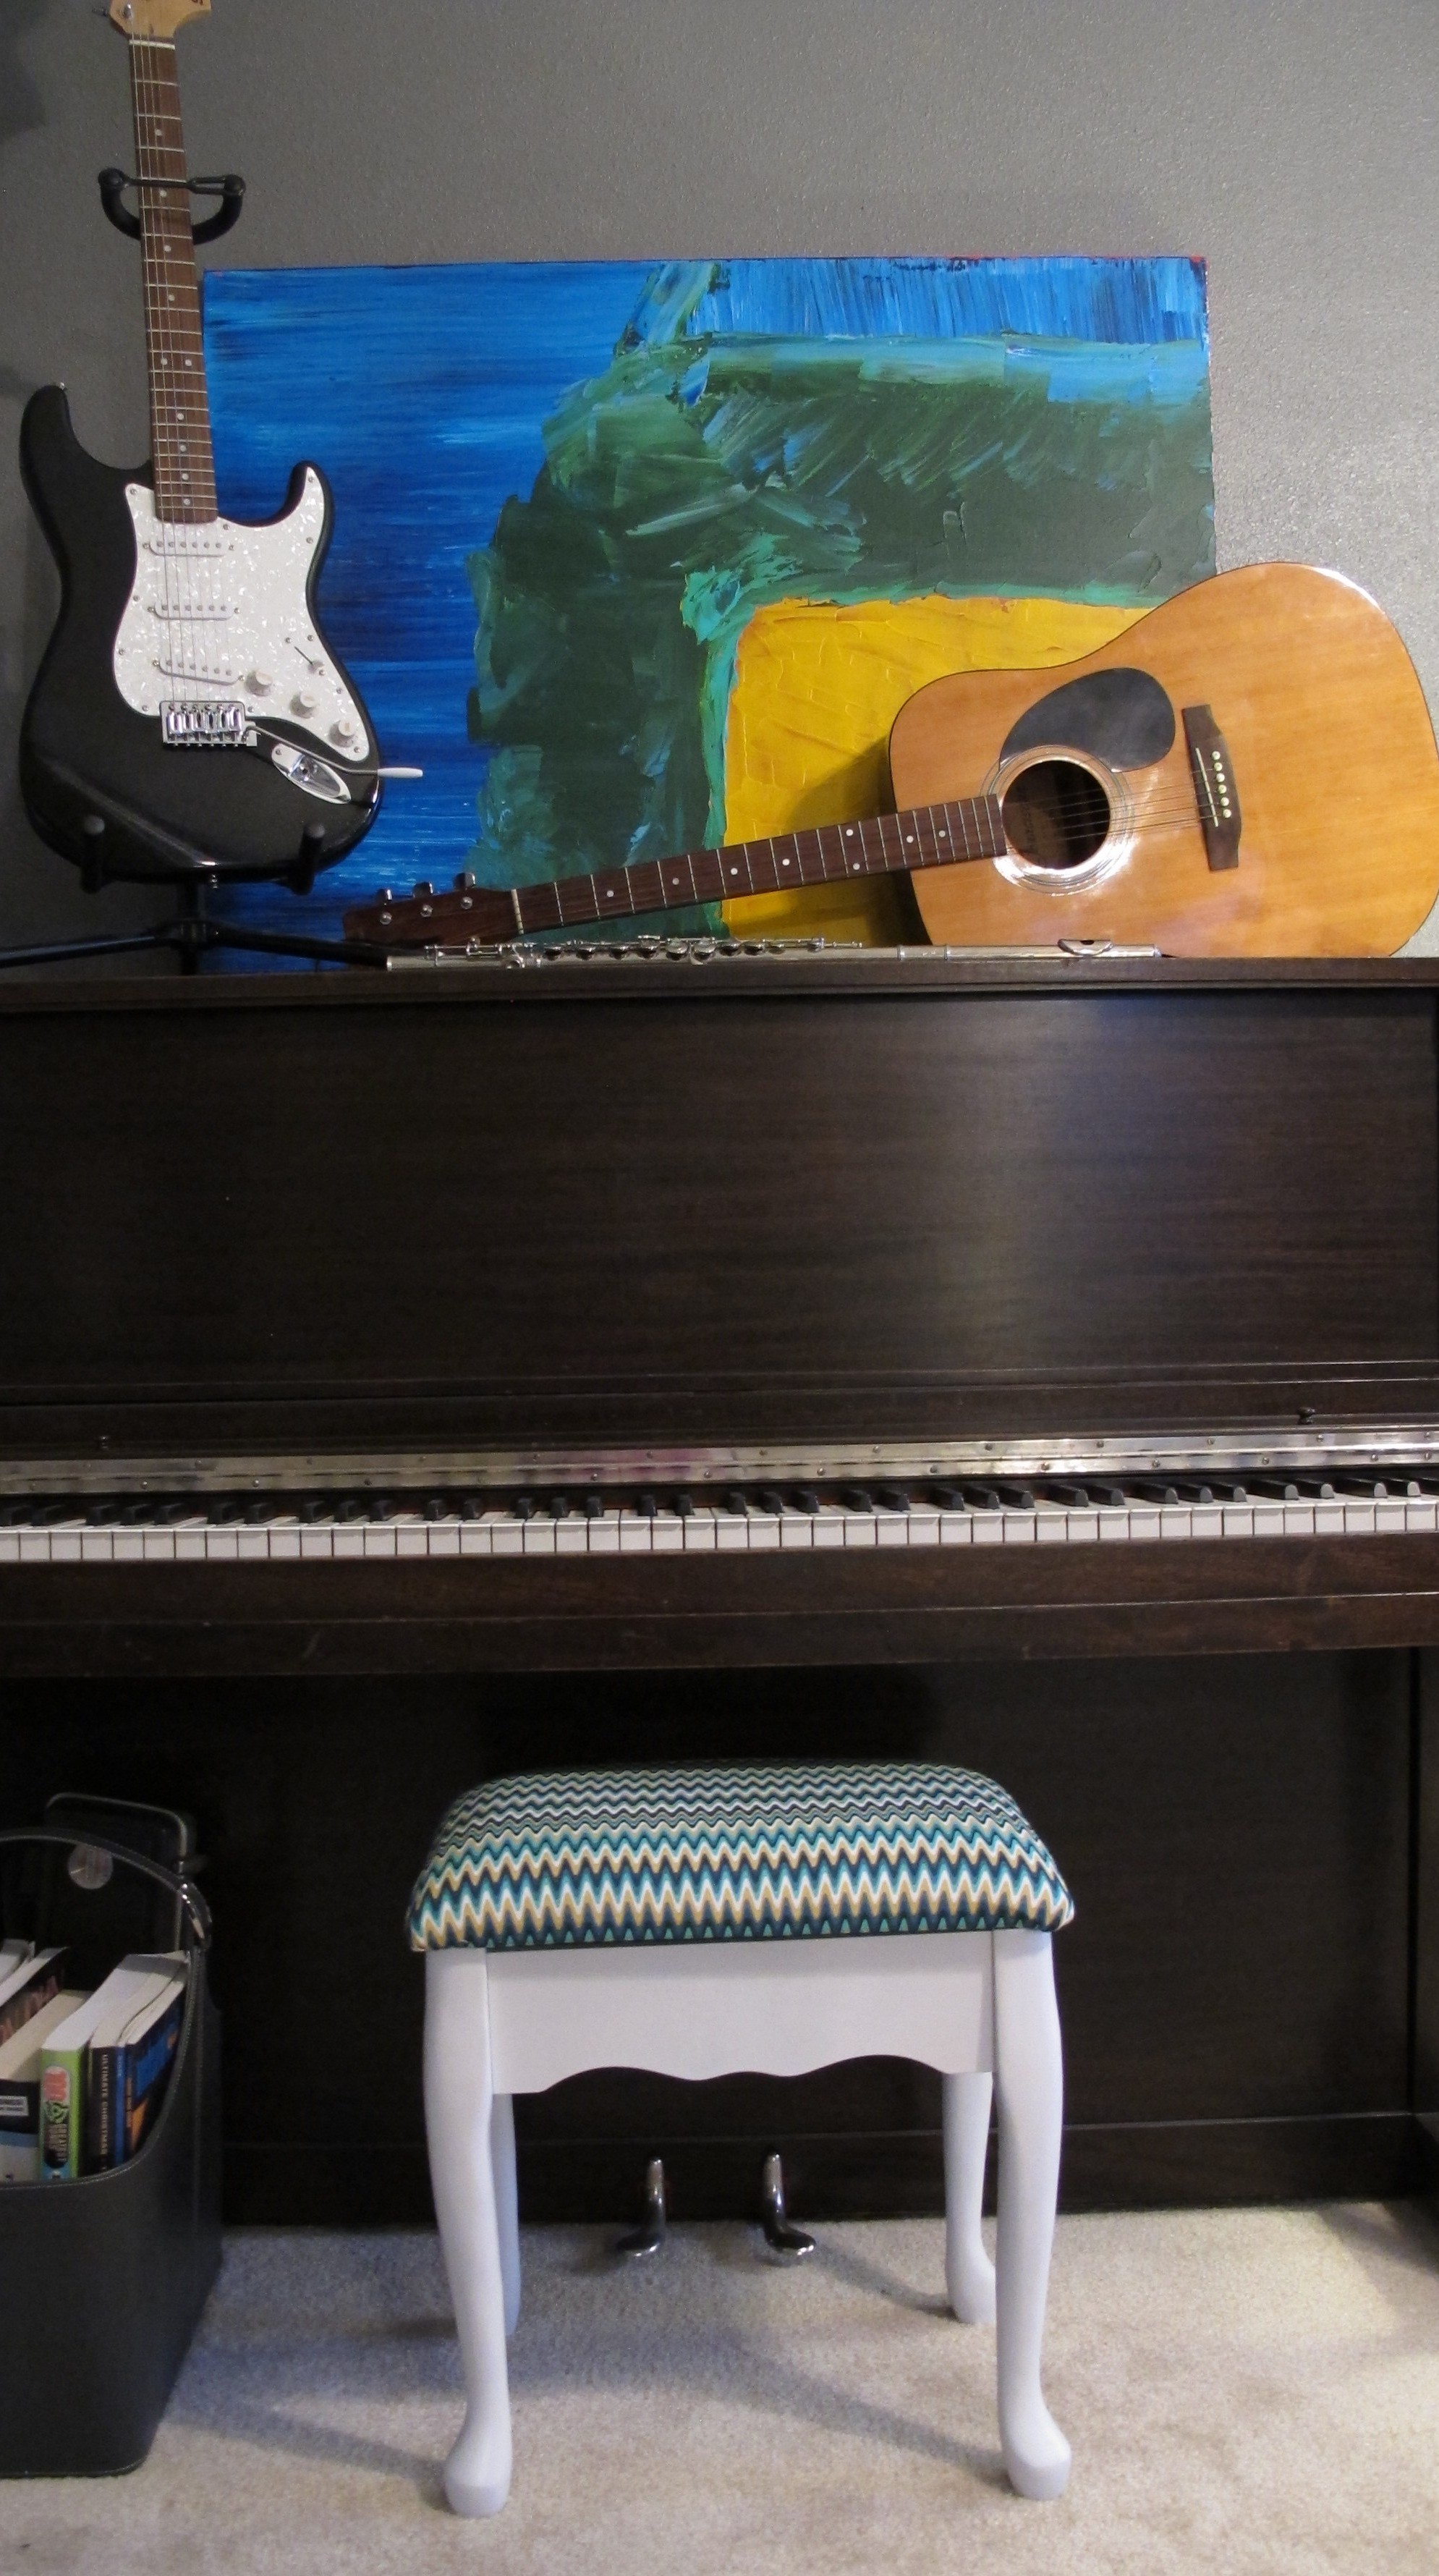
Obviously the red painting had to go. It just didn’t jive with the rest of the room. This blue painting works perfectly though. And our adorable piano bench adds a punch of personality as well. I added another quarter yard of fabric as a makeshift table scarf for the storage bench to bring a touch of black and white pattern to this side of the room. It balances the graphic bedspread on the opposite side really well. We still need some artwork for above the storage bench, but that’s a project for another day.
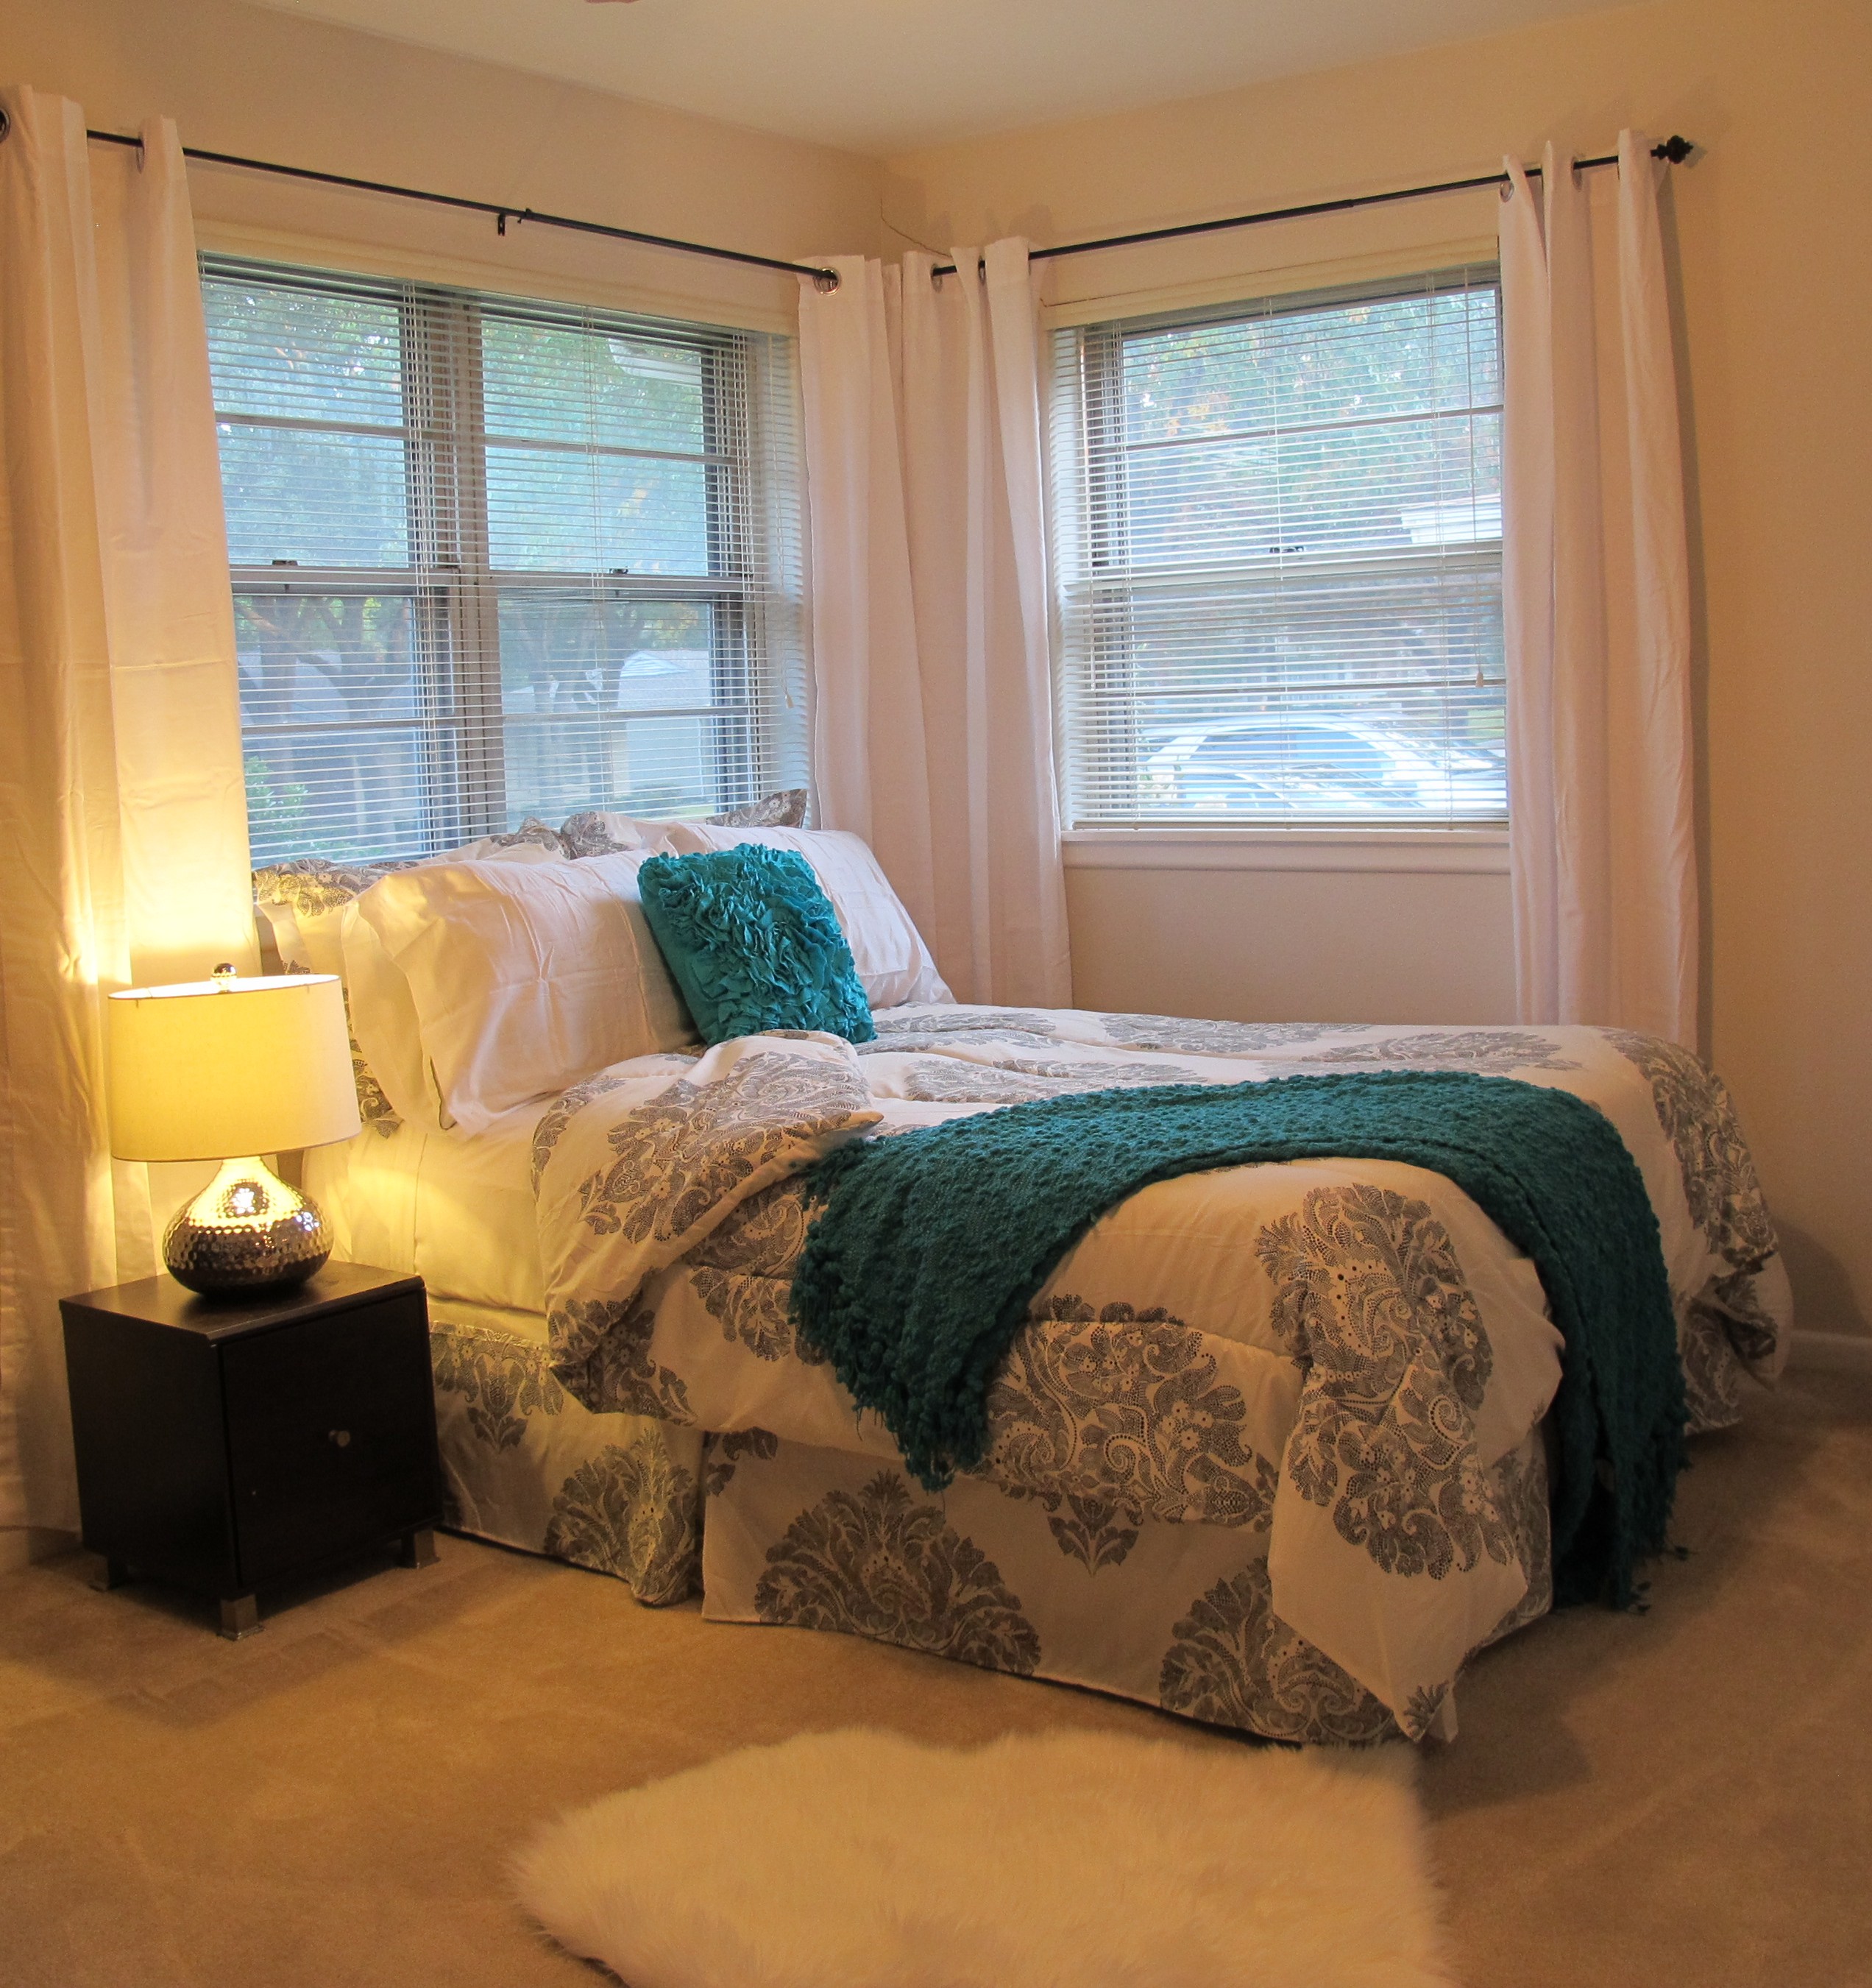
The bedroom side of the room started here….

Day One…
Day Two…
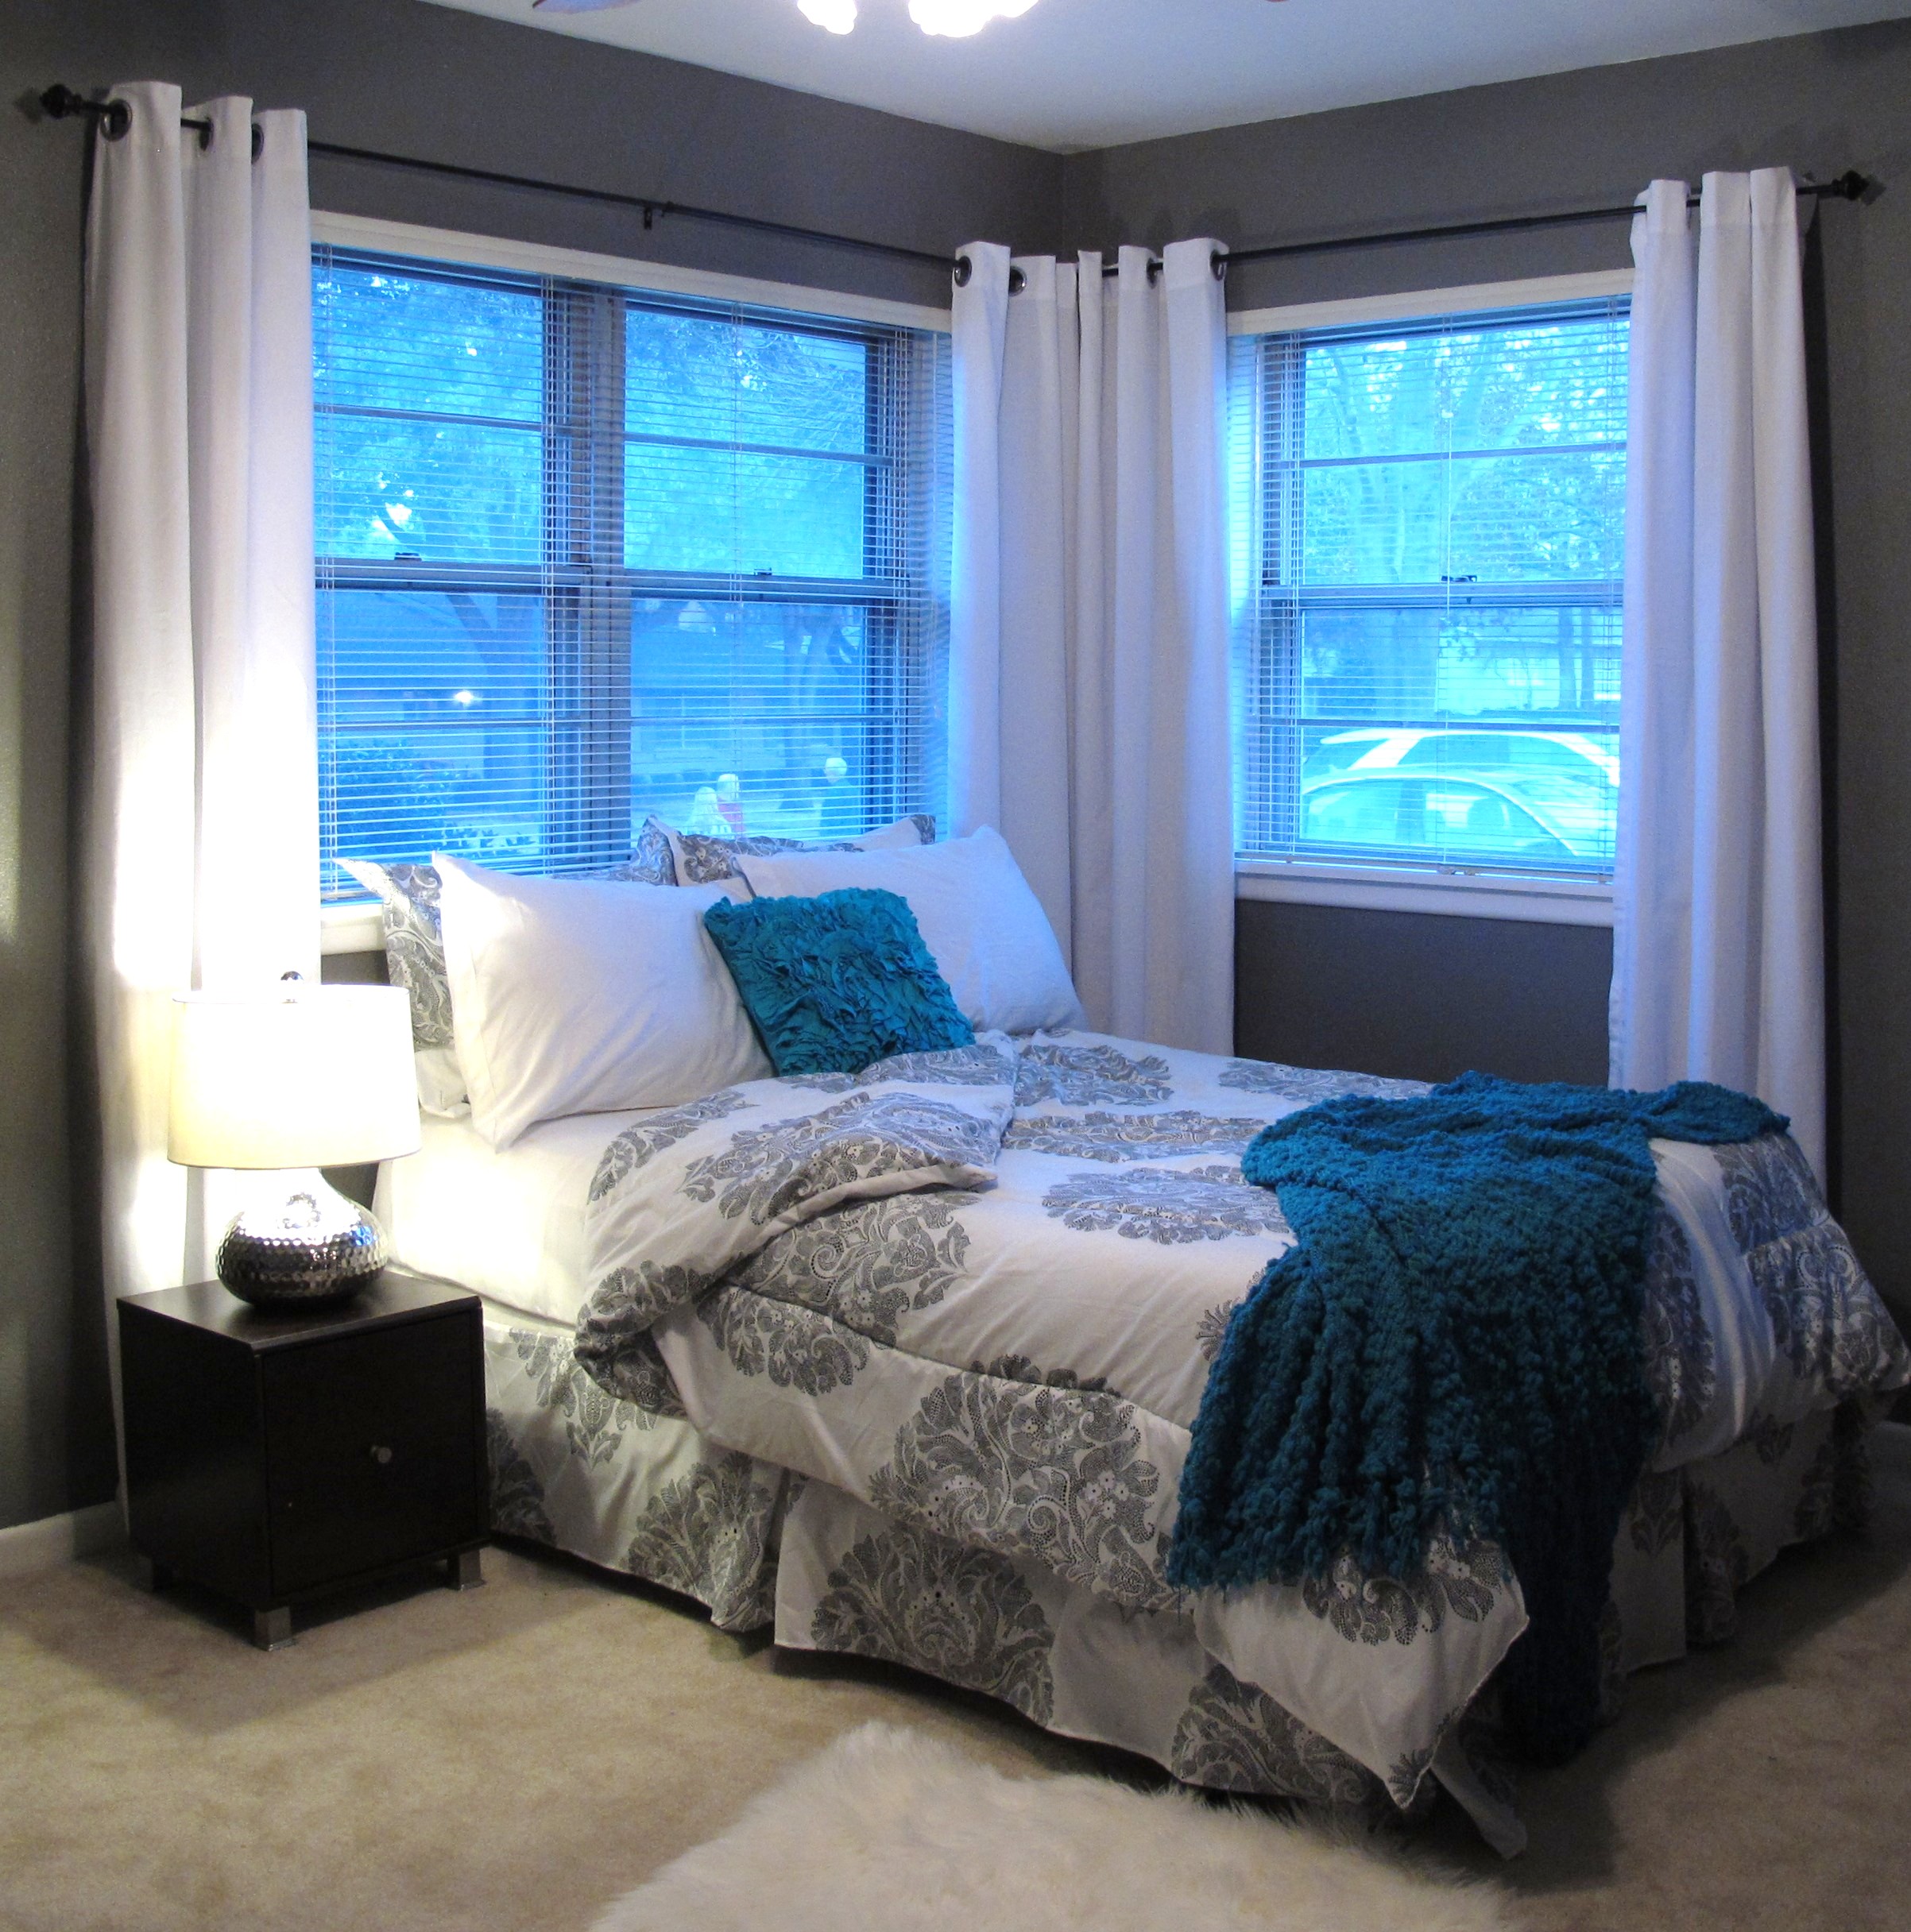

This side of the room stayed pretty much the same except for the wall color. But the deep grey tone makes all the difference. It really allows the curtains and bedding to pop and the room seem so much cozier in general.
Lastly, the dresser side started here…
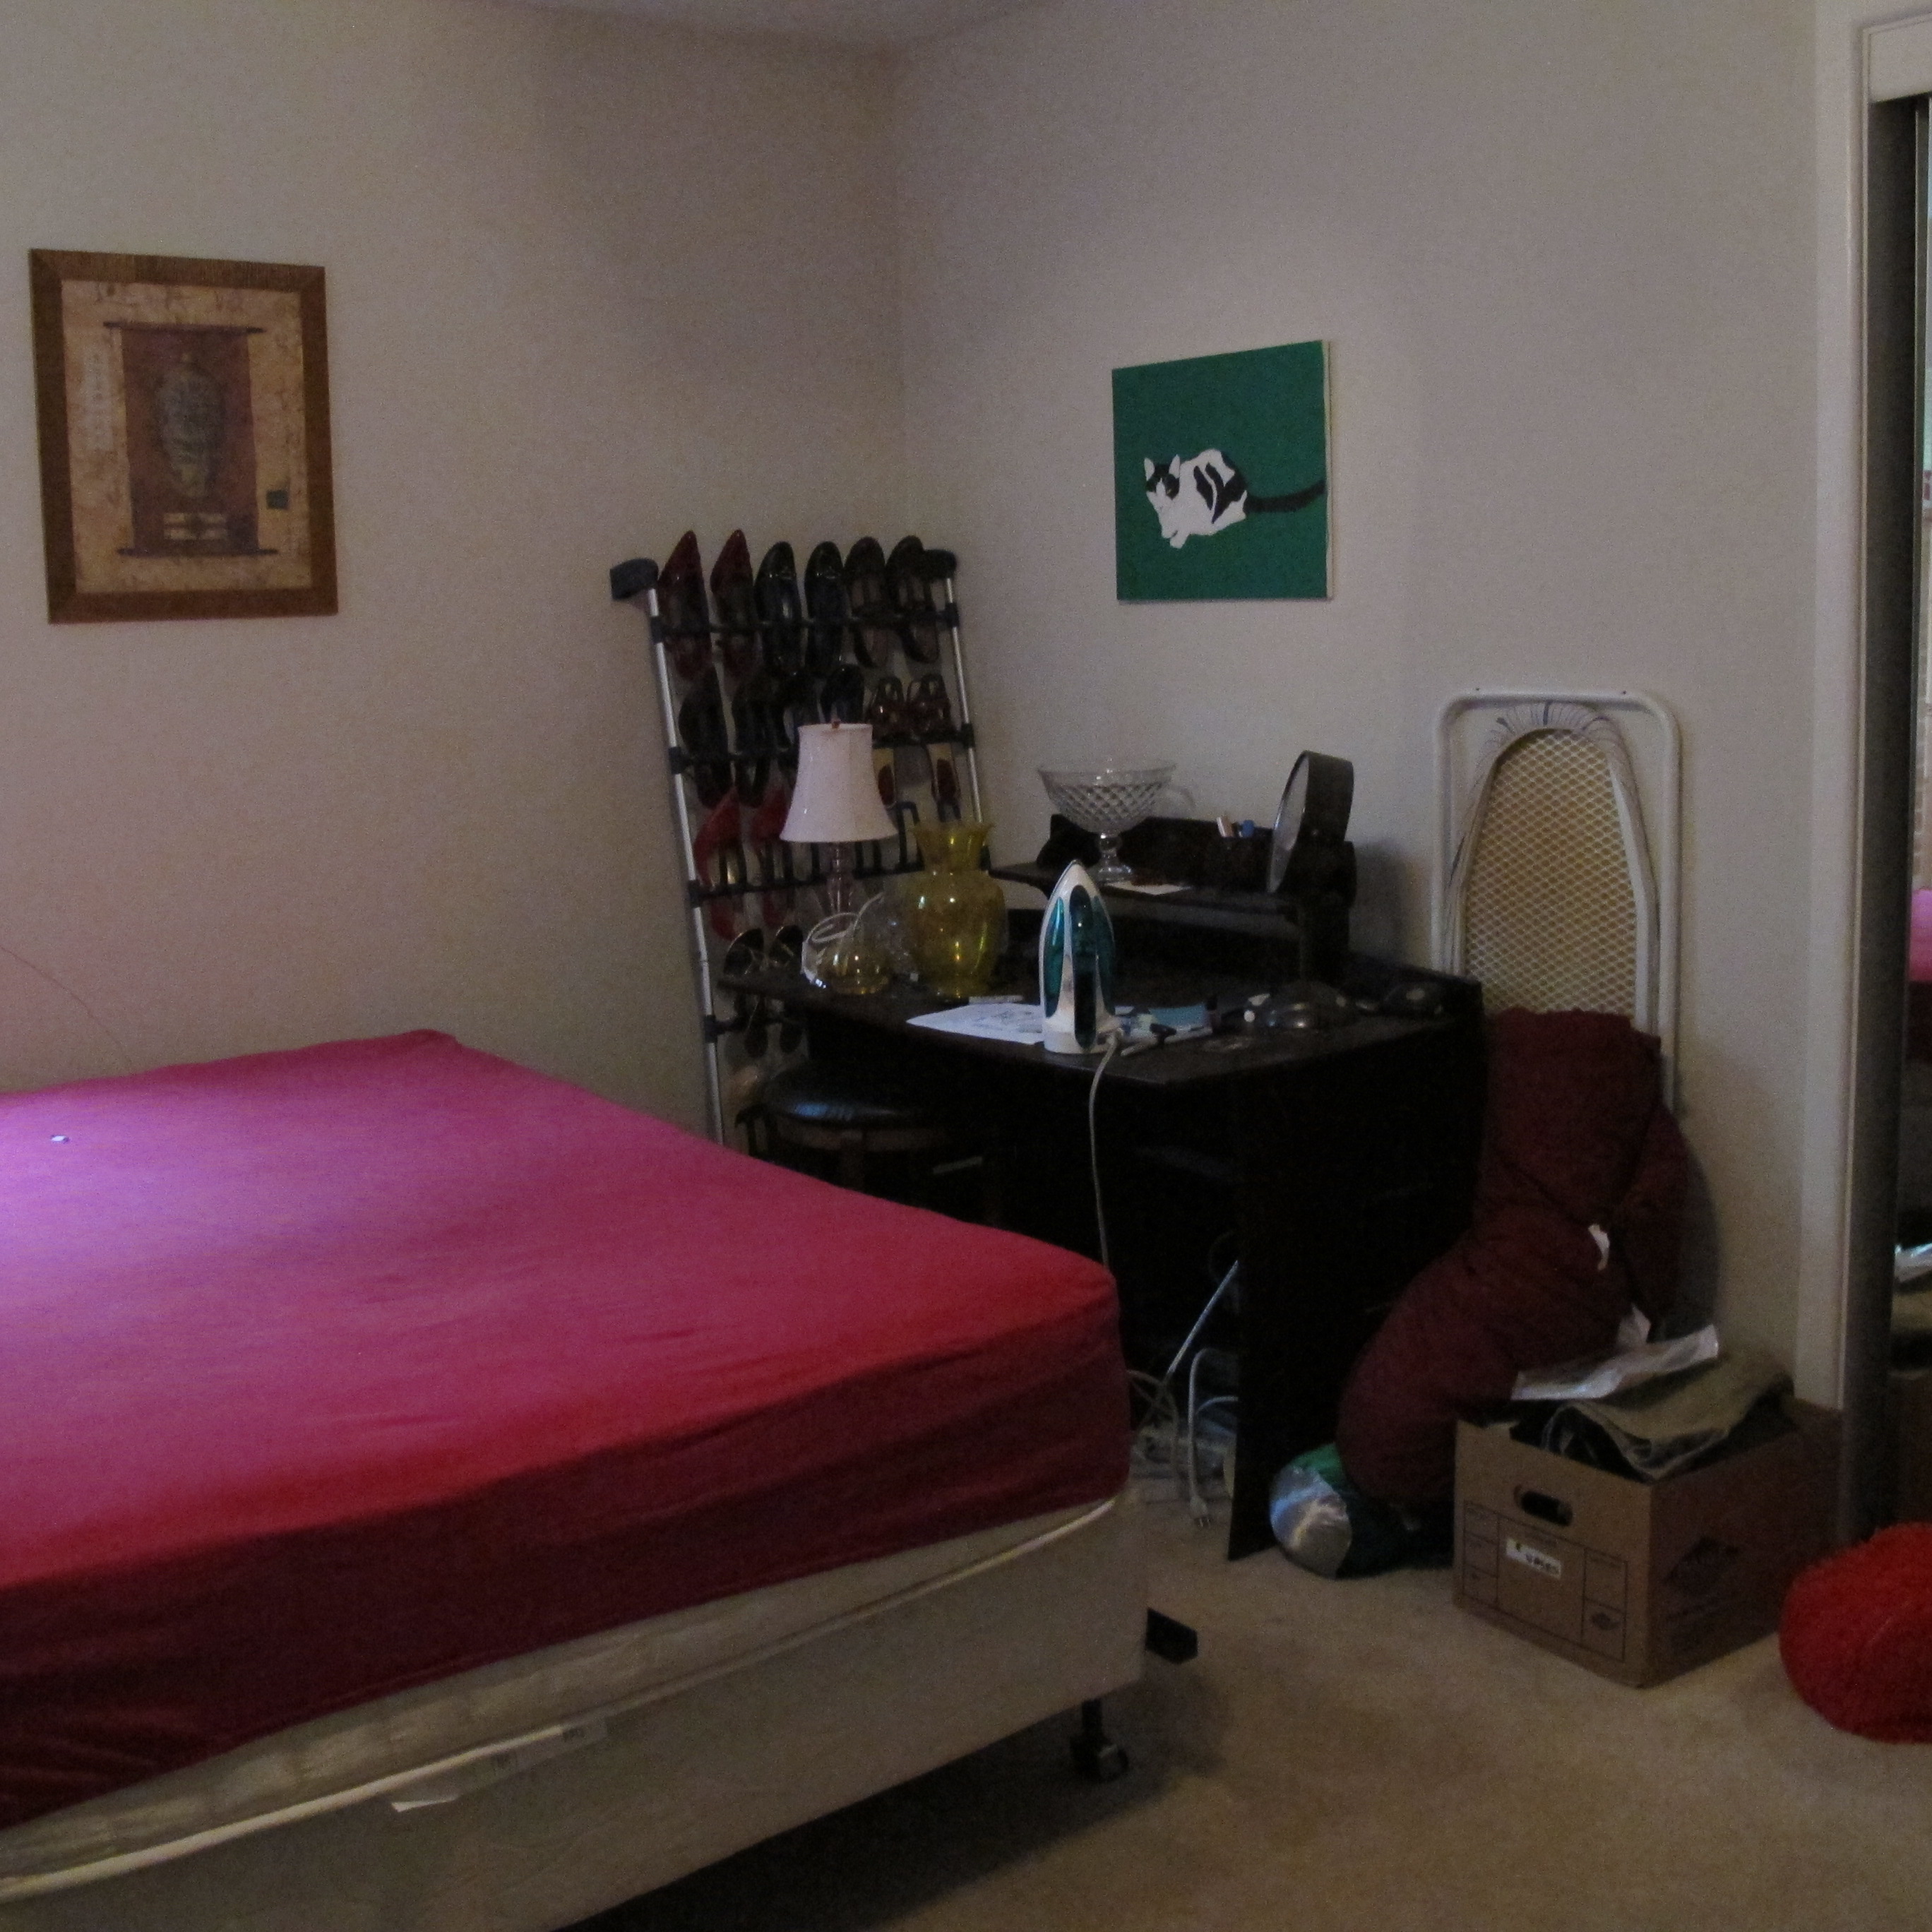
Day one…
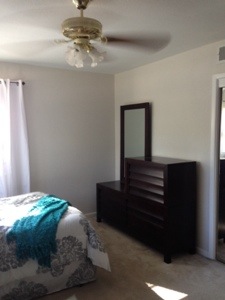
Day Two…

Again, only the paint color is different, but it sure complements the deep walnut dresser. We still need to accessorize and hang some artwork, but it’s definitely a step in the right direction.
Here’s a wider view so you can see how the room ties together a bit more…

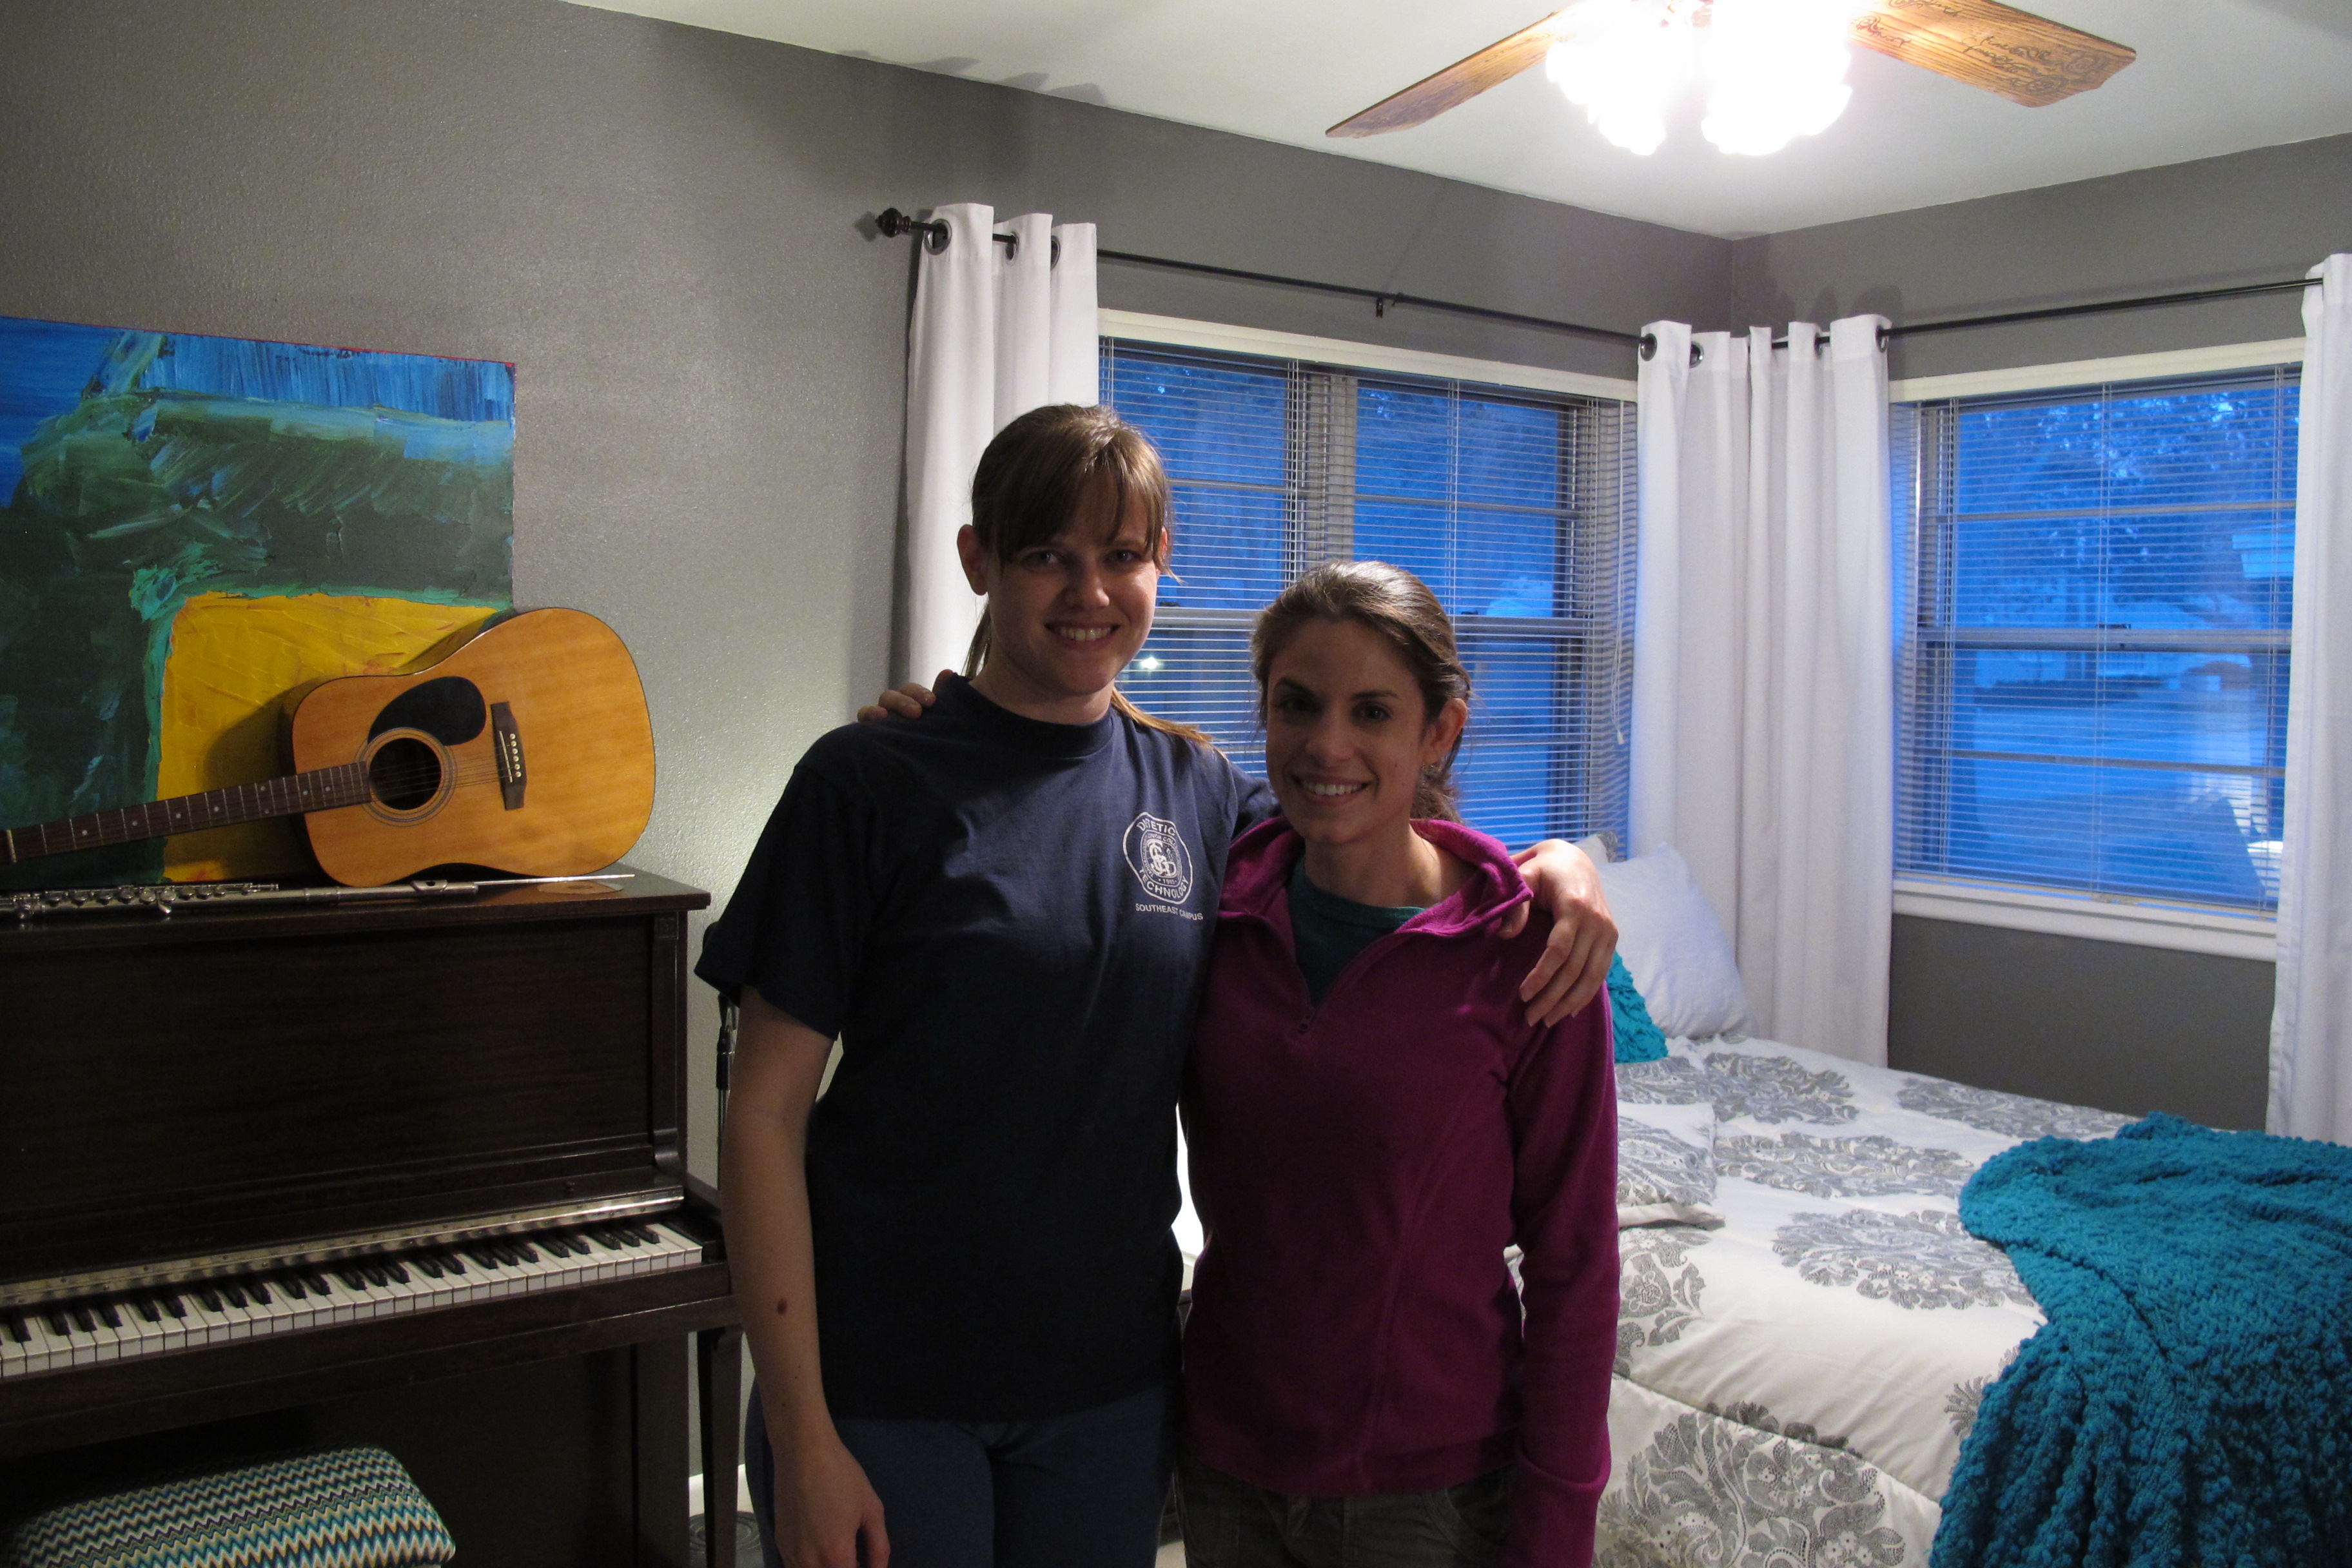
And the obligatory, proud-of-our-progress shots…

I just love paint. It’s amazing how something so cheap and easy packs such a wallop. Anyways, we’re almost there, but still have a bit more to do.
So, for Day Three of this makeover we’ll be…
- revamping this ceiling fan…

- creating some art for the walls
- adding some accessories
I’m not sure when we’ll complete these things, but we’ll get ‘er done for sure at some point. And of course, I’ll post about it when that time comes. So, does anybody else have painting projects going on right now?

Love it!! Bed looks really great against the grey!! Great Job..bet Lisa is thrilled!!
Thanks a bunch!
Wow, what a transformation with using what she had and embellishing it. I love the paint color!
Thanks Jessie! The paint color was all Lisa! 🙂