We did it! Well… Joey did it. We came up with the plan together, went shopping at Lowes, then Joey executed the frame-building while I watched, took pictures and helpfully pointed out if things didn’t line up (There was only one time, and he fixed it). Kudos to my man! First time framing out a mirror and he blew it out of the water.
Before taking on this project, I’d read countless tutorials on Pinterest about how to frame a builders mirror. I researched everything from gluing molding on with adhesive, to screwing in the pieces around the mirror, to a combination of the two.
In the end, we decided to go with the “screws” version since I’d read a few updates where adhesive didn’t always hold the molding securely on its own (I’m entirely sure this depends on the type and weight of molding, the amount and type of adhesive used and the amount of moisture in the room, as I know many people have had success with this method as well). But, since I tend to be the poster child for Murphy’s Law, I figured that I’d likely be in that unsuccessful percentage. Thus, we decided to err on the side of caution.
Our original plan was to use the pallets that we had leftover from our outdoor rock delivery, but since they were left outside and we had snow and rain recently, we decided to just spring for new wood rather than wait for the pallets to dry out.
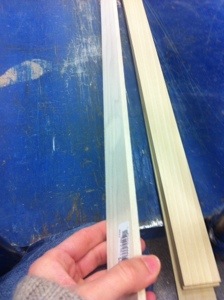
Once we were at Lowes, we meandered around the lumber aisles in search of suitable wood. We ended up picking up a few whitewood 1″x4″s and a few of these 1/4″x2″x4′ sticks…
Once we got home, Joey measured and mitered the edges of all the wood…
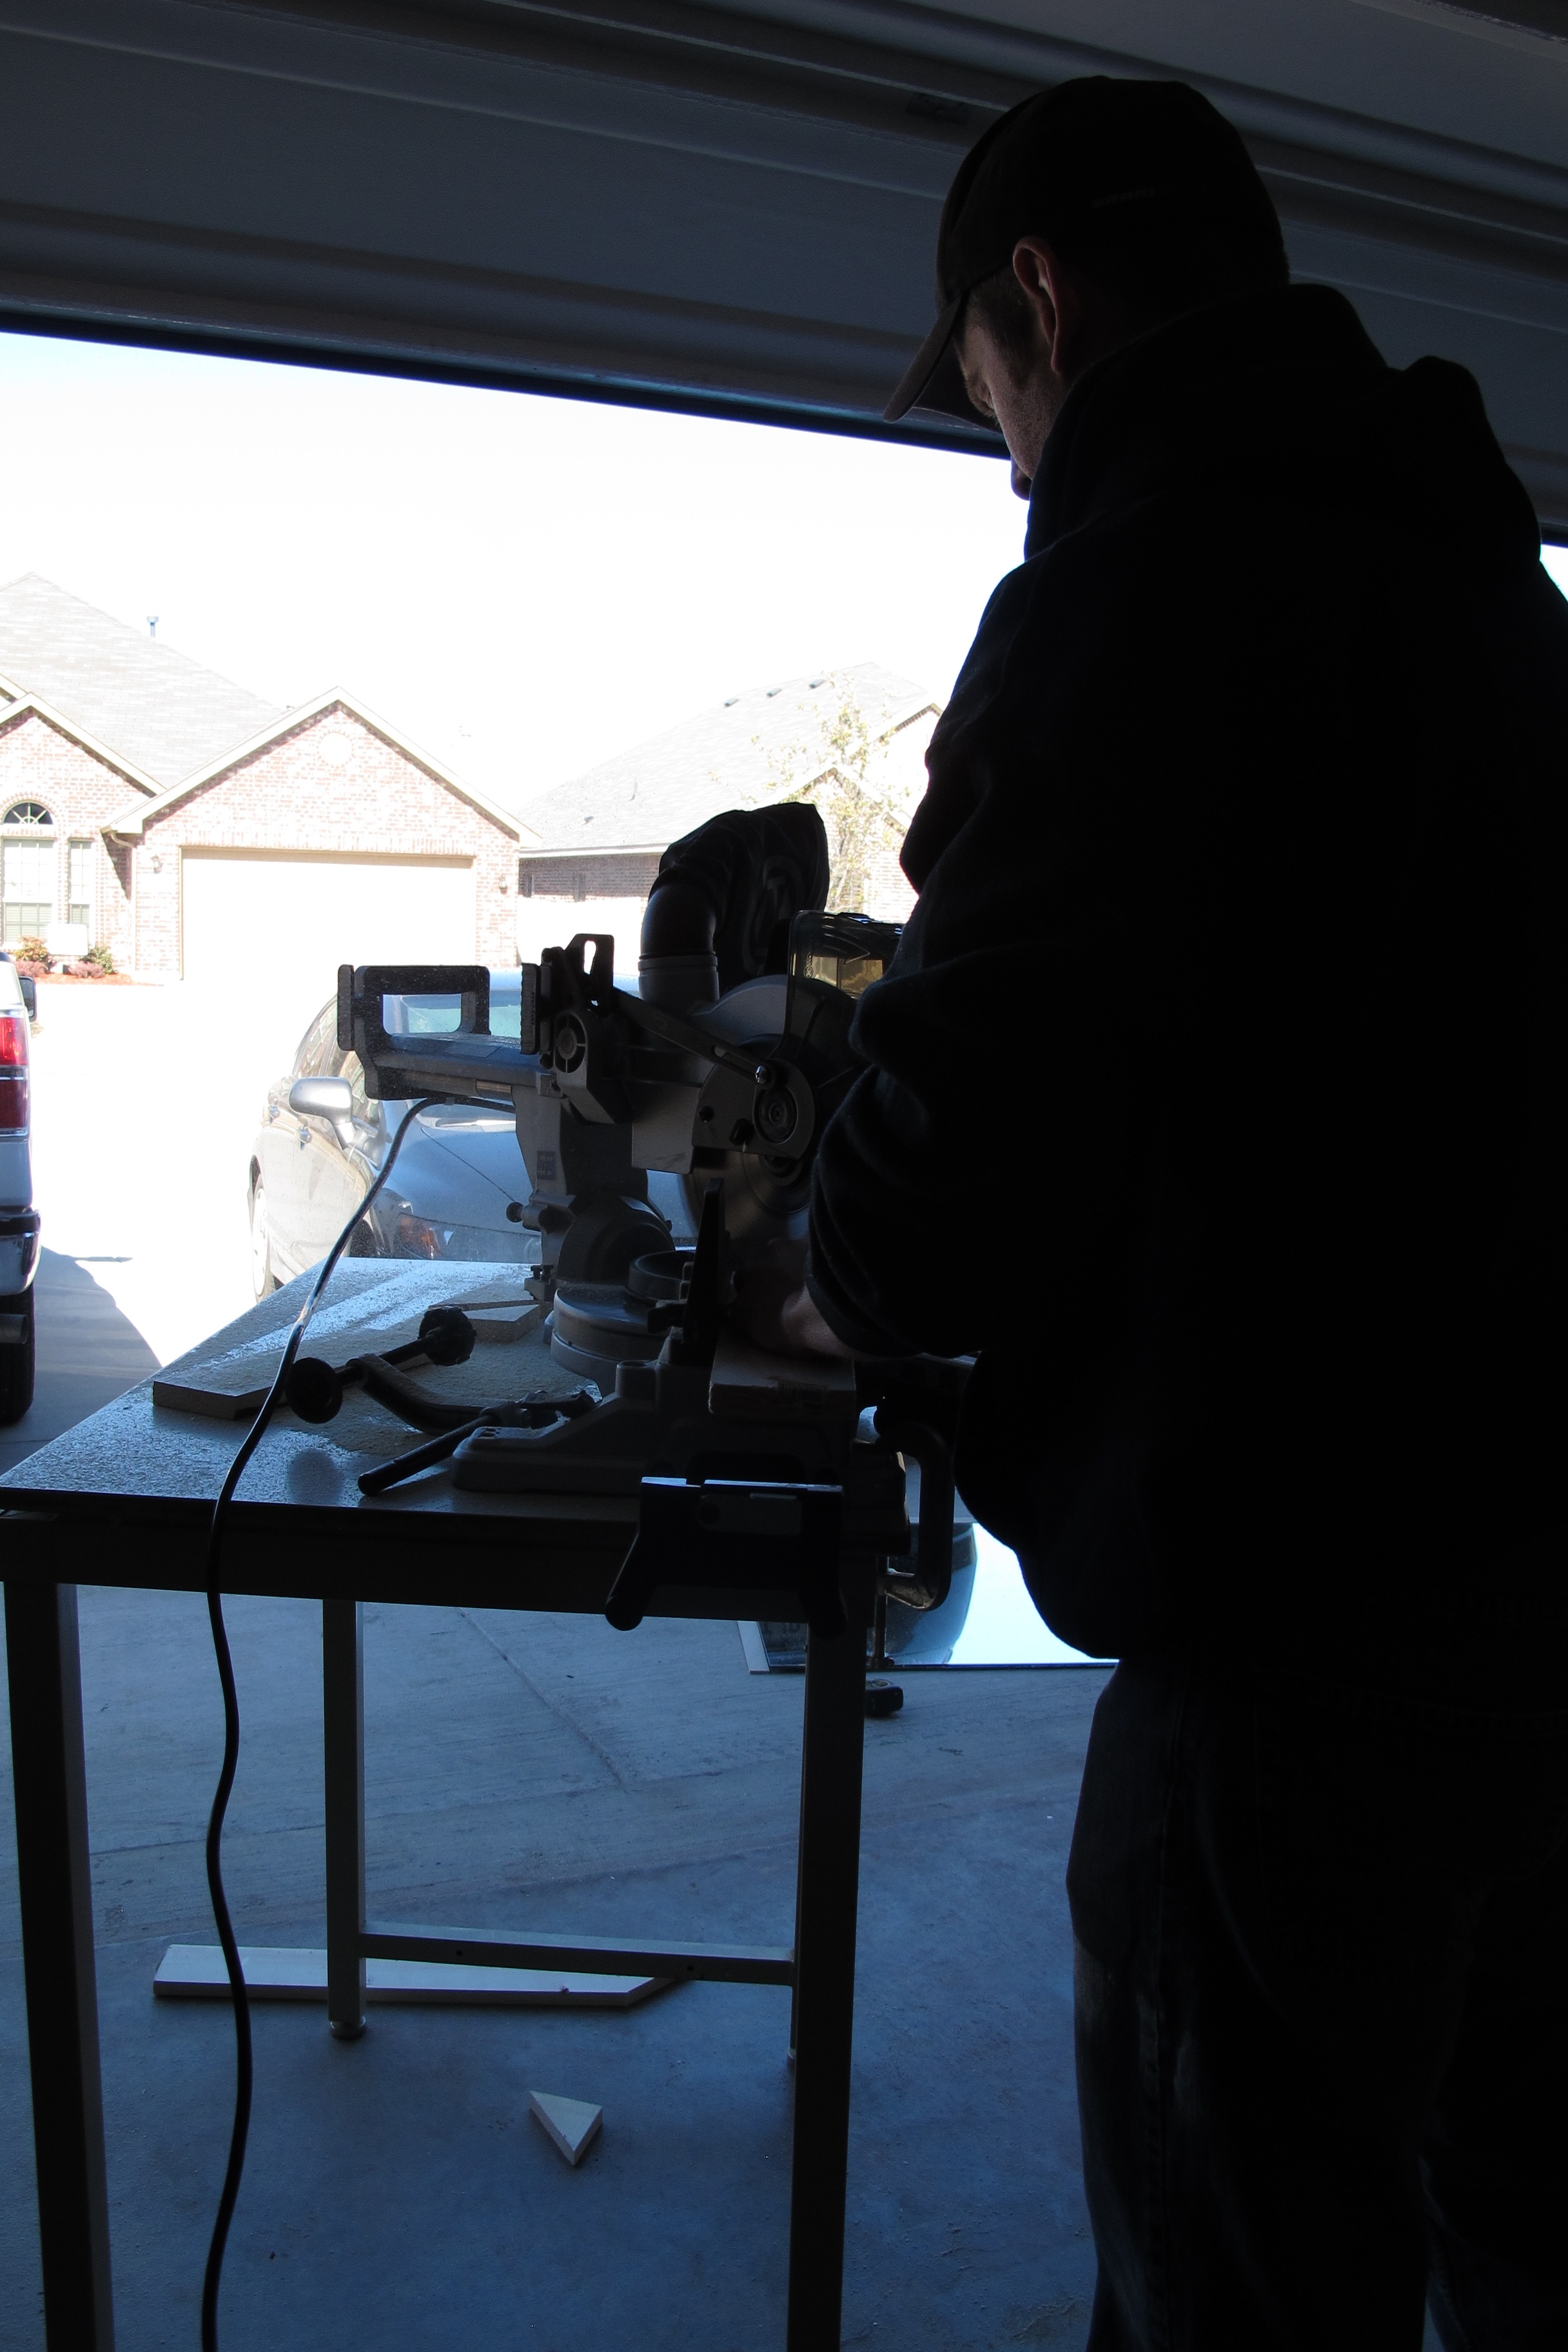
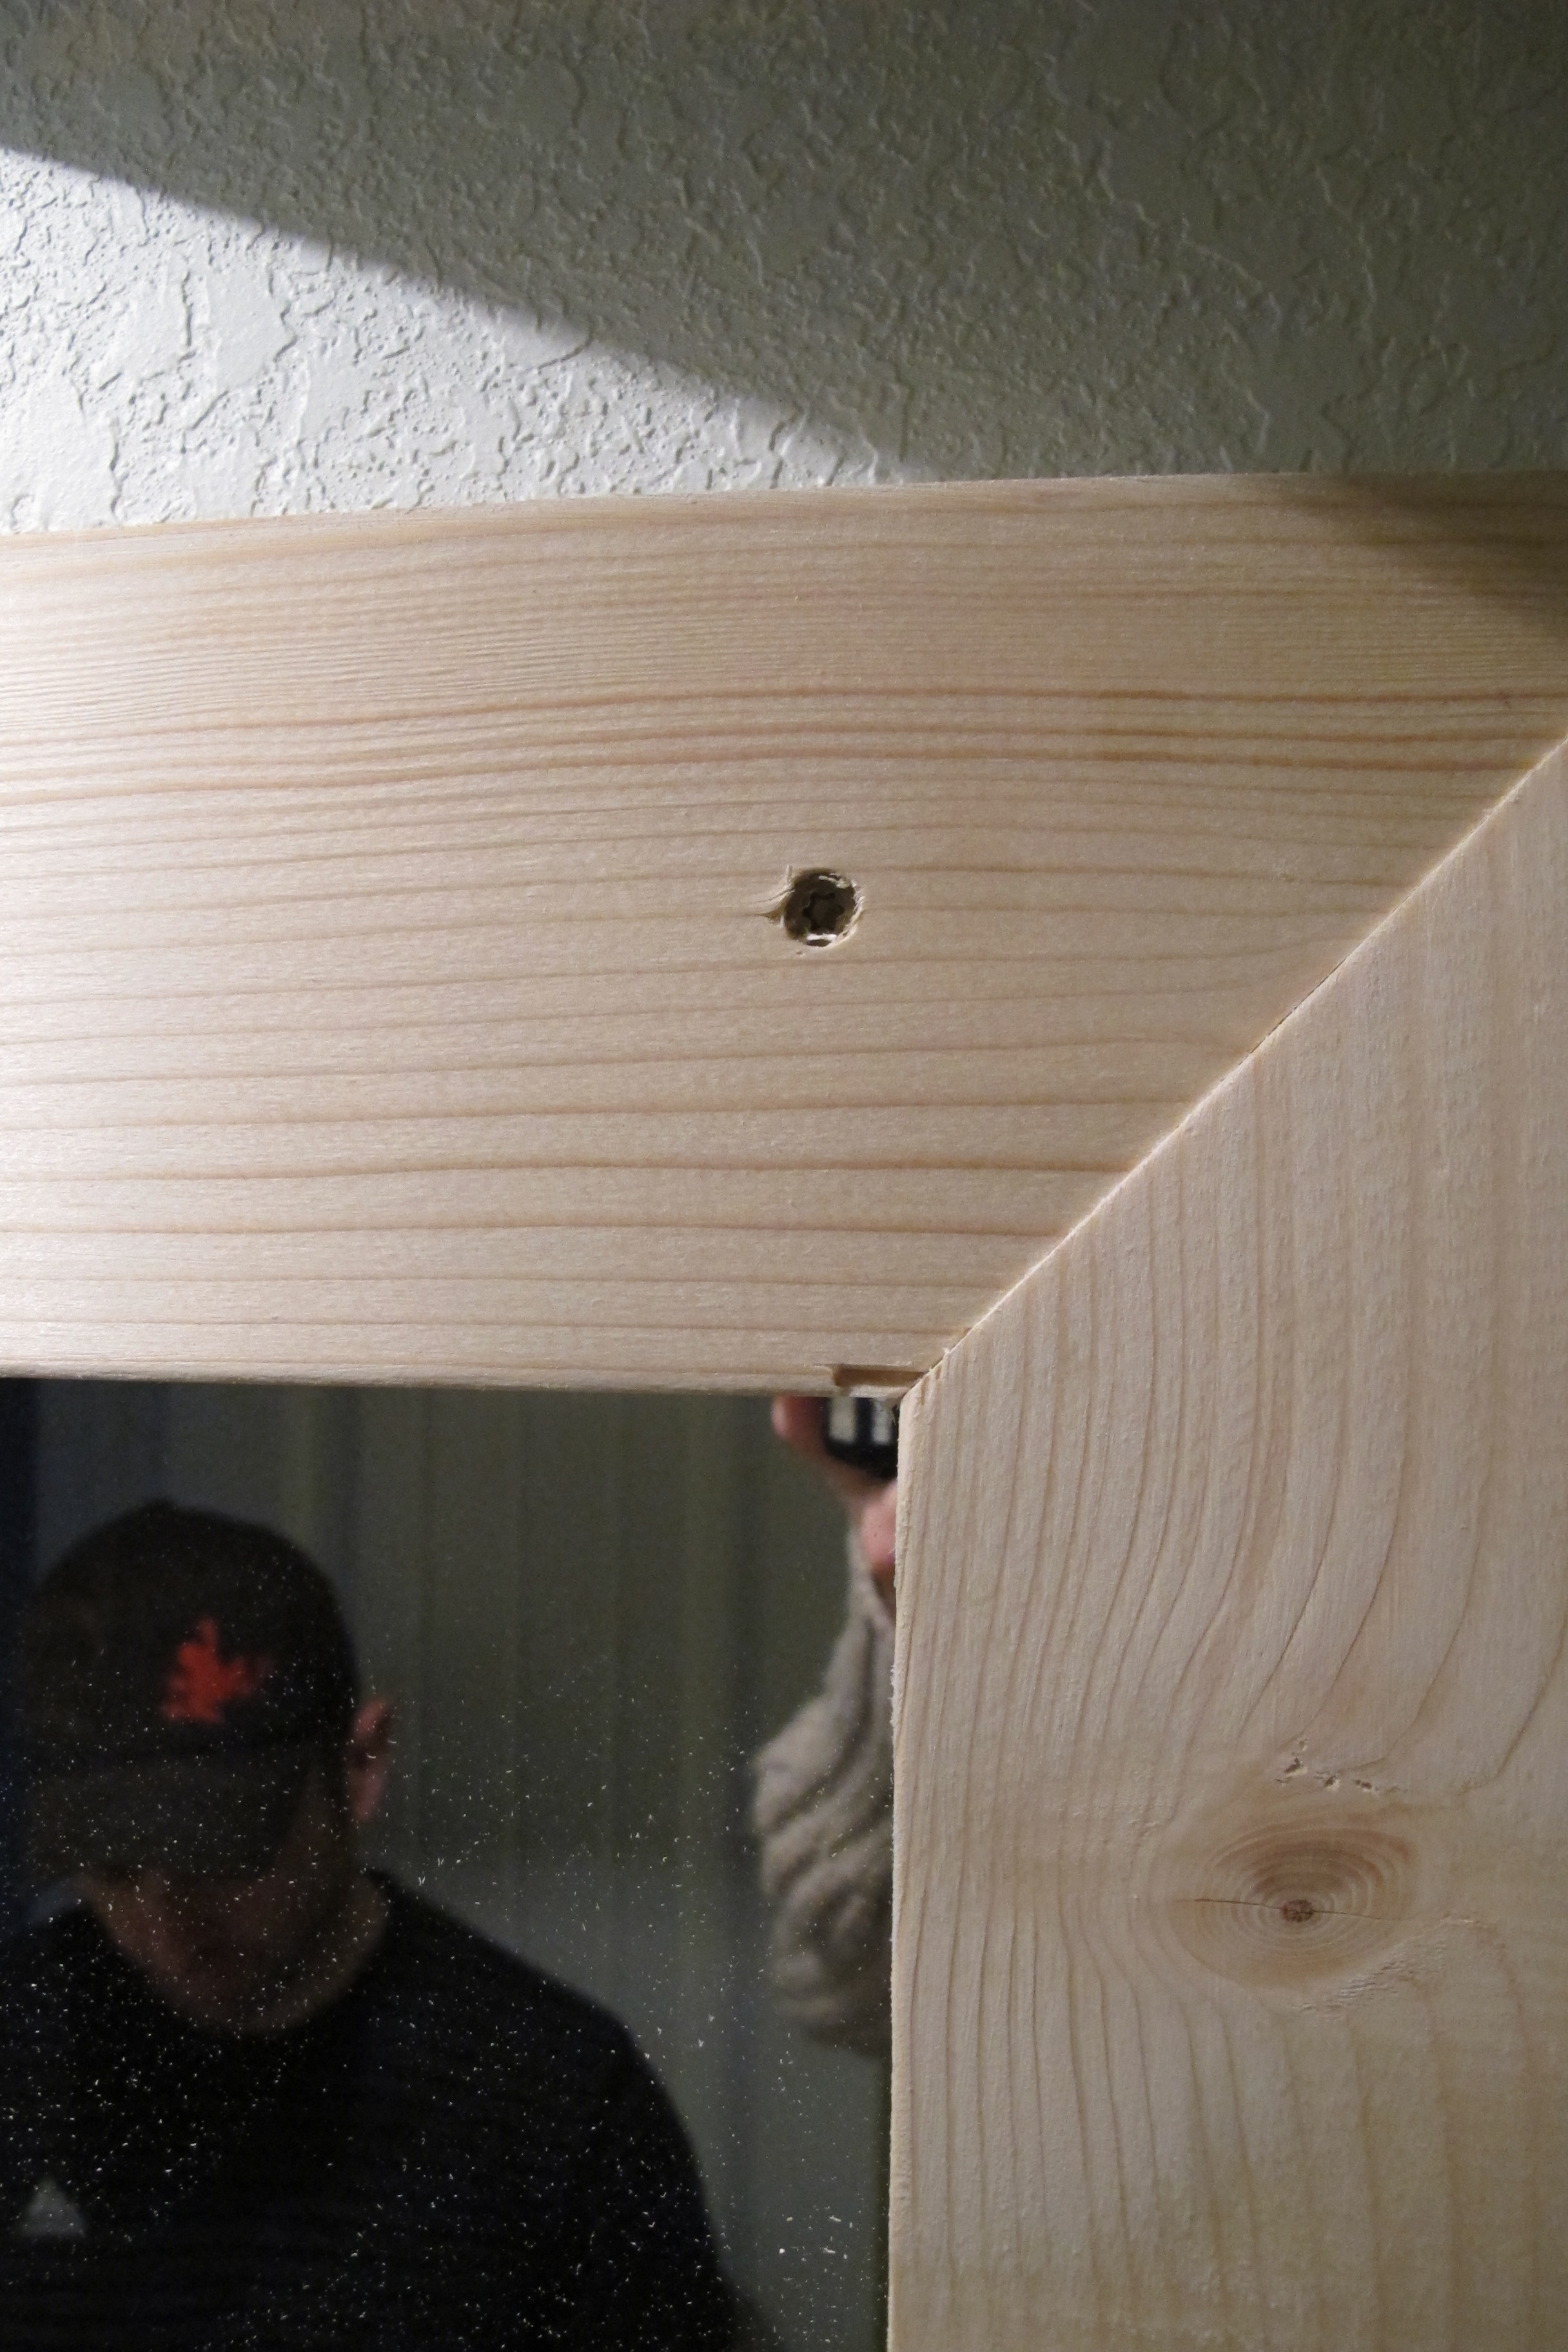
Then, he screwed the edges of the 1″x4″s together to make a frame. He recessed the screw heads into the wood and only installed screws on the top and bottom edges to help camouflage them….
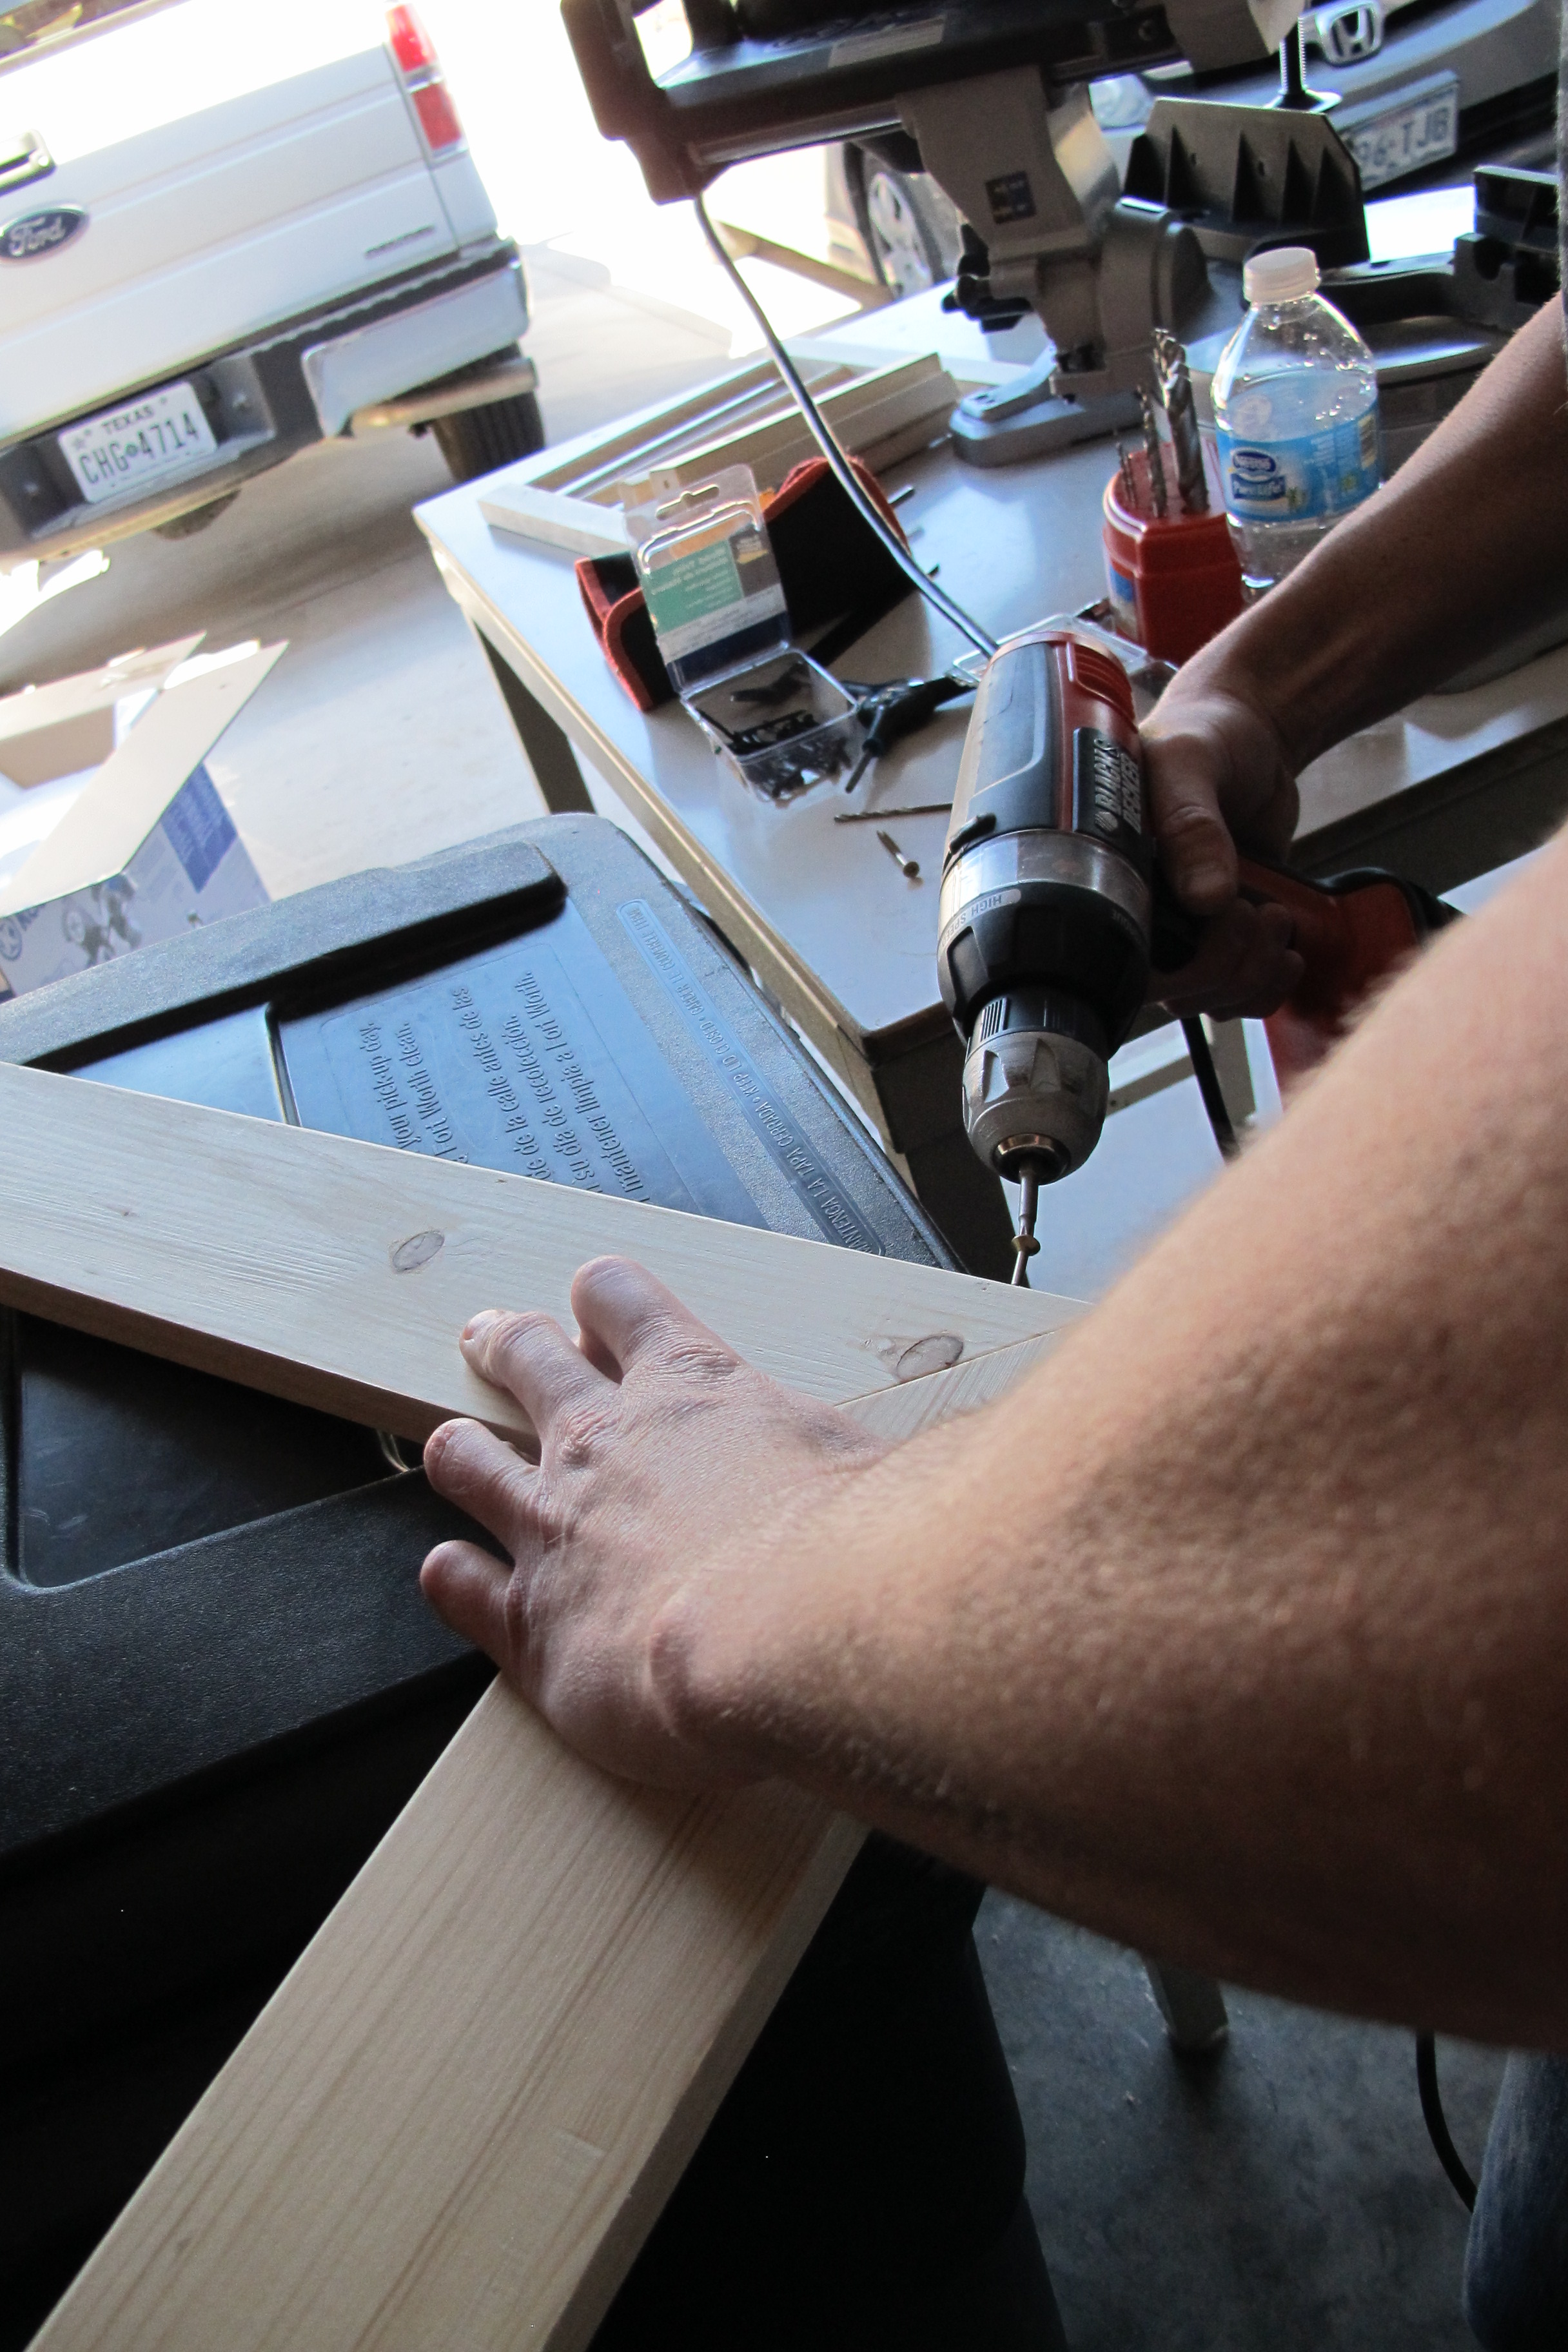
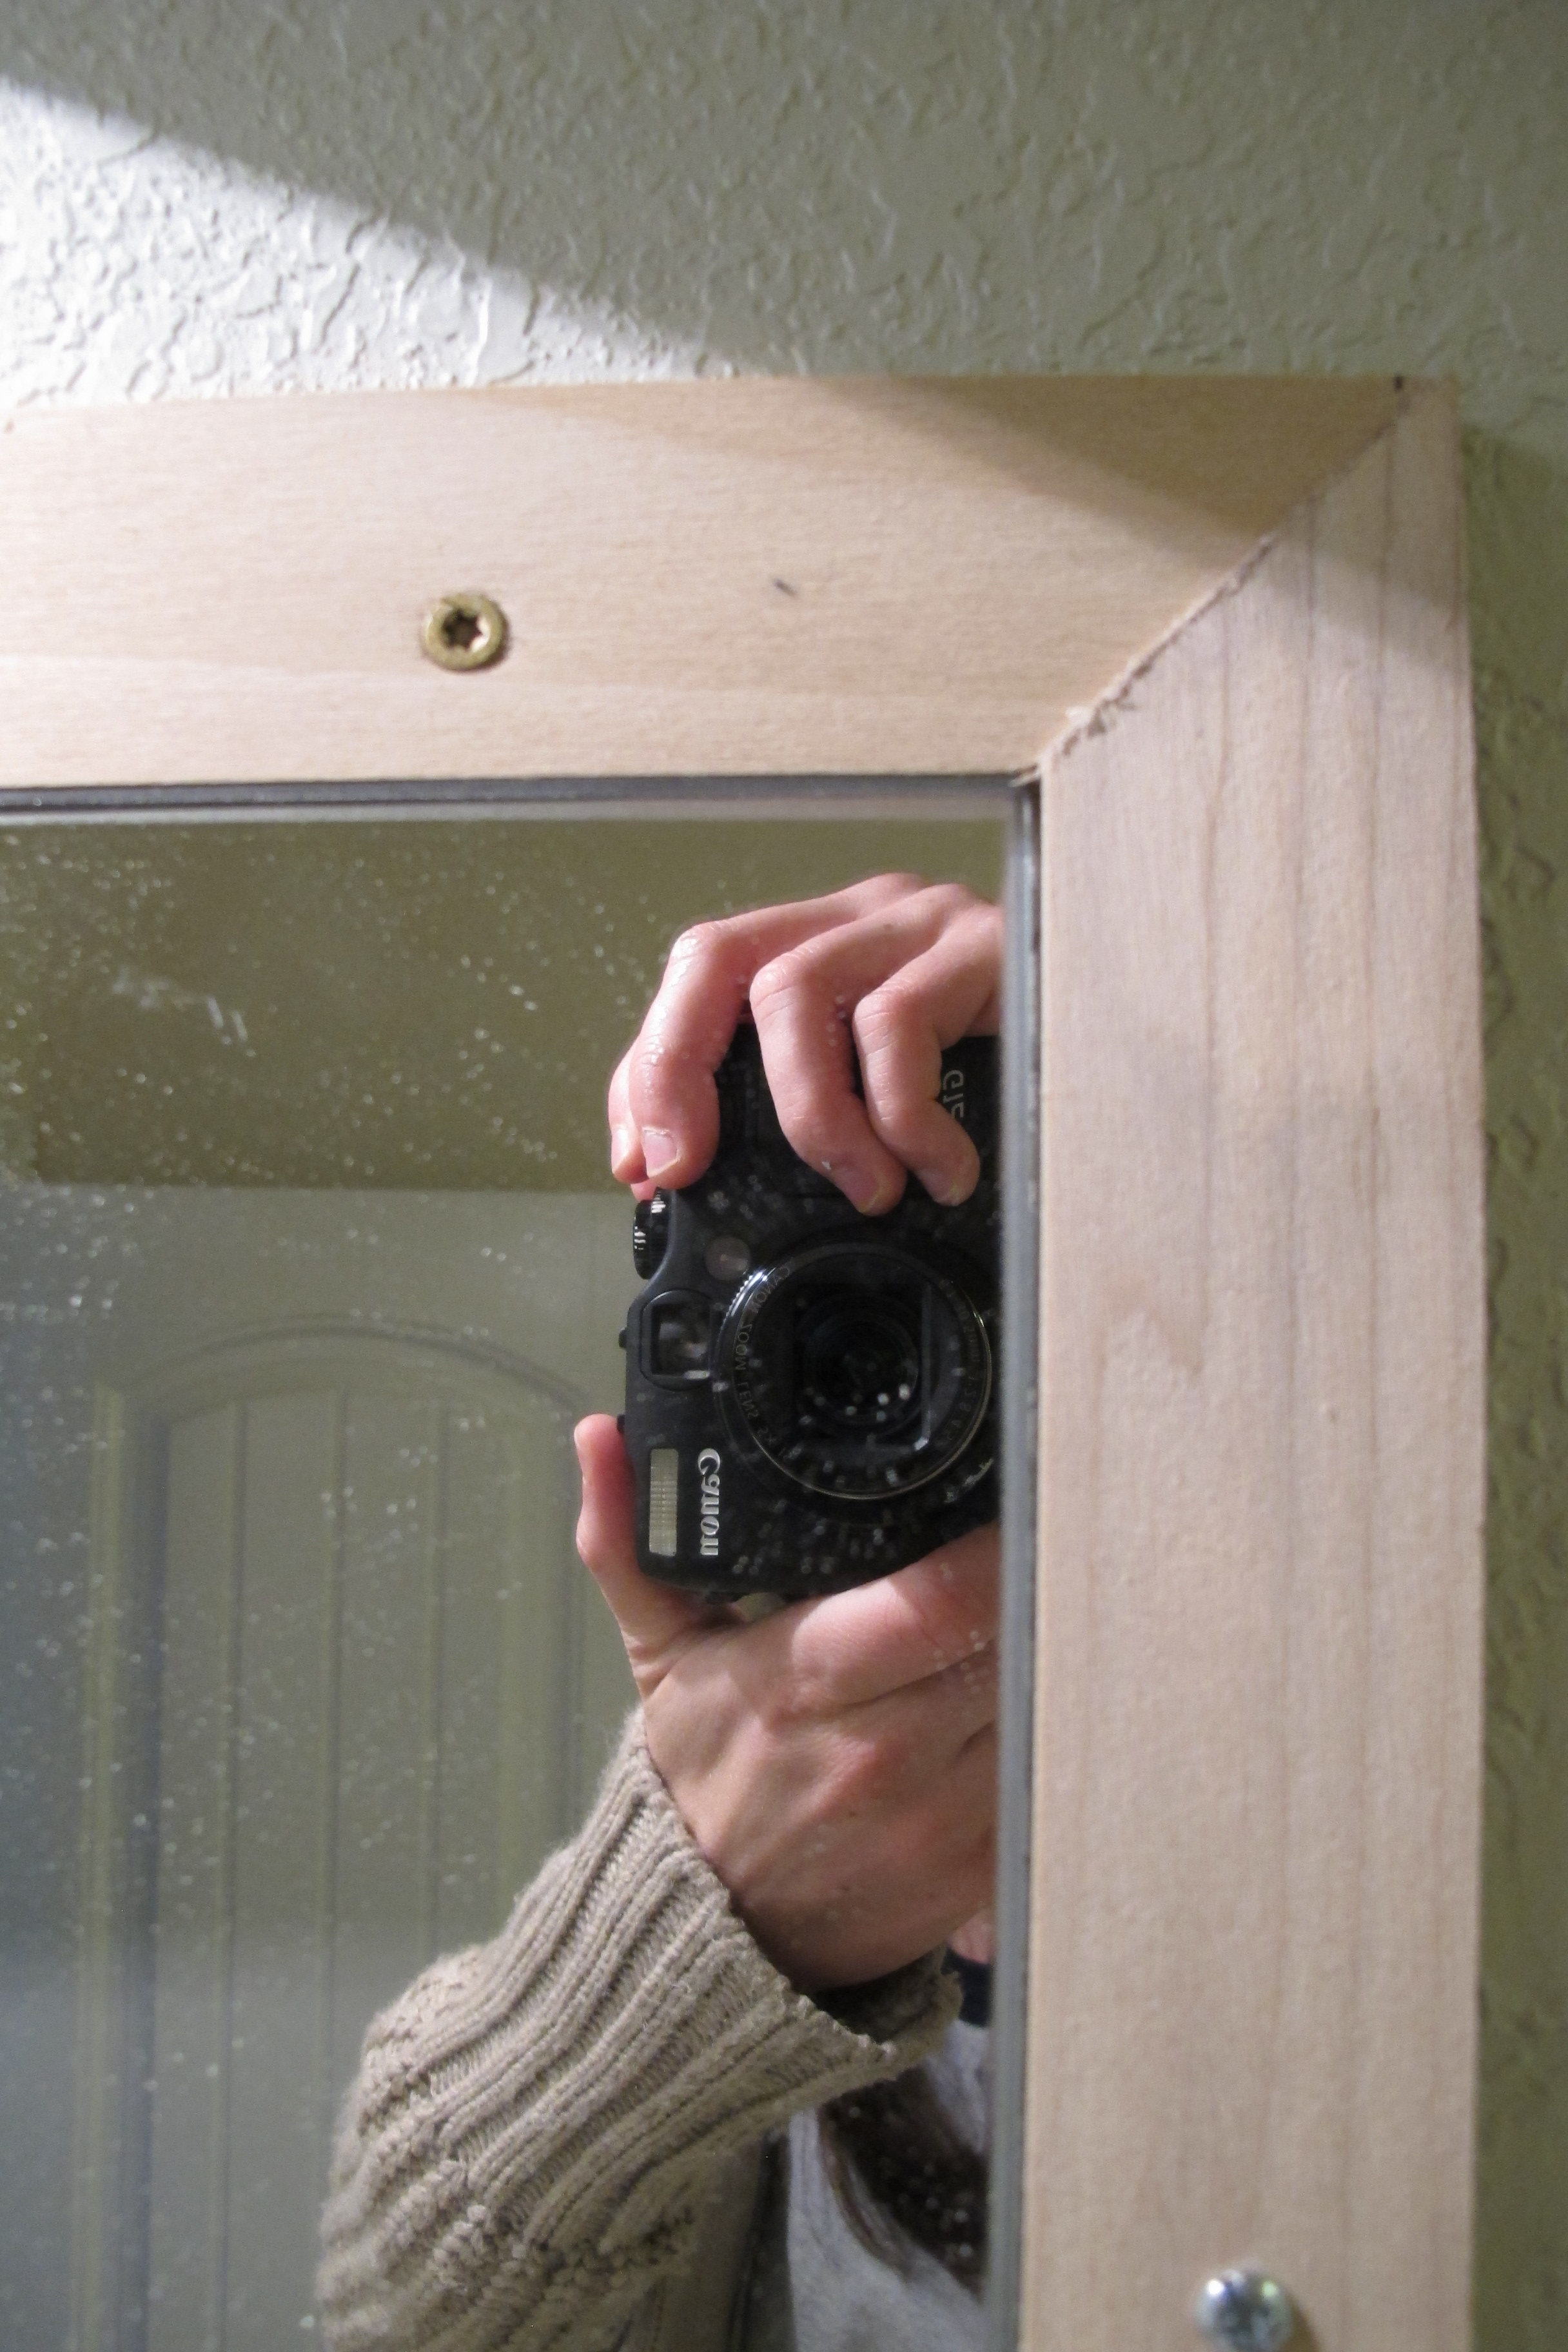
Then, he mounted the 1/4″x2″ sticks around the mirror using screws….
These would serve to bridge the difference between the thickness of the mirror and the wall and give us a nice level surface to secure our 1″X4″ frame to. We decided to forego the little plastic brackets up top, since once the frame was mounted, it would hold the mirror securely to the wall. Along one edge, there was no stud. So, Joey used anchors, which unfortunately came with these round-head screws. I forgot to snap a pic but you can kind of see one at the bottom of this shot (also note the flat-head screws he used on the other pieces)…
To compensate for the rounded screws and ensure that the frame laid flat once installed, I dabbed the screws with paint….

Then, Joey lined up the frame, and pressed it into place over the screws….

Once he removed it, we were left with two marks like the one within the red circle….

Which is where Joey drilled shallow alcoves that would lay over the raised screwheads. This would allow our frame to remain flush with the mirror and surrounding wood on all sides…

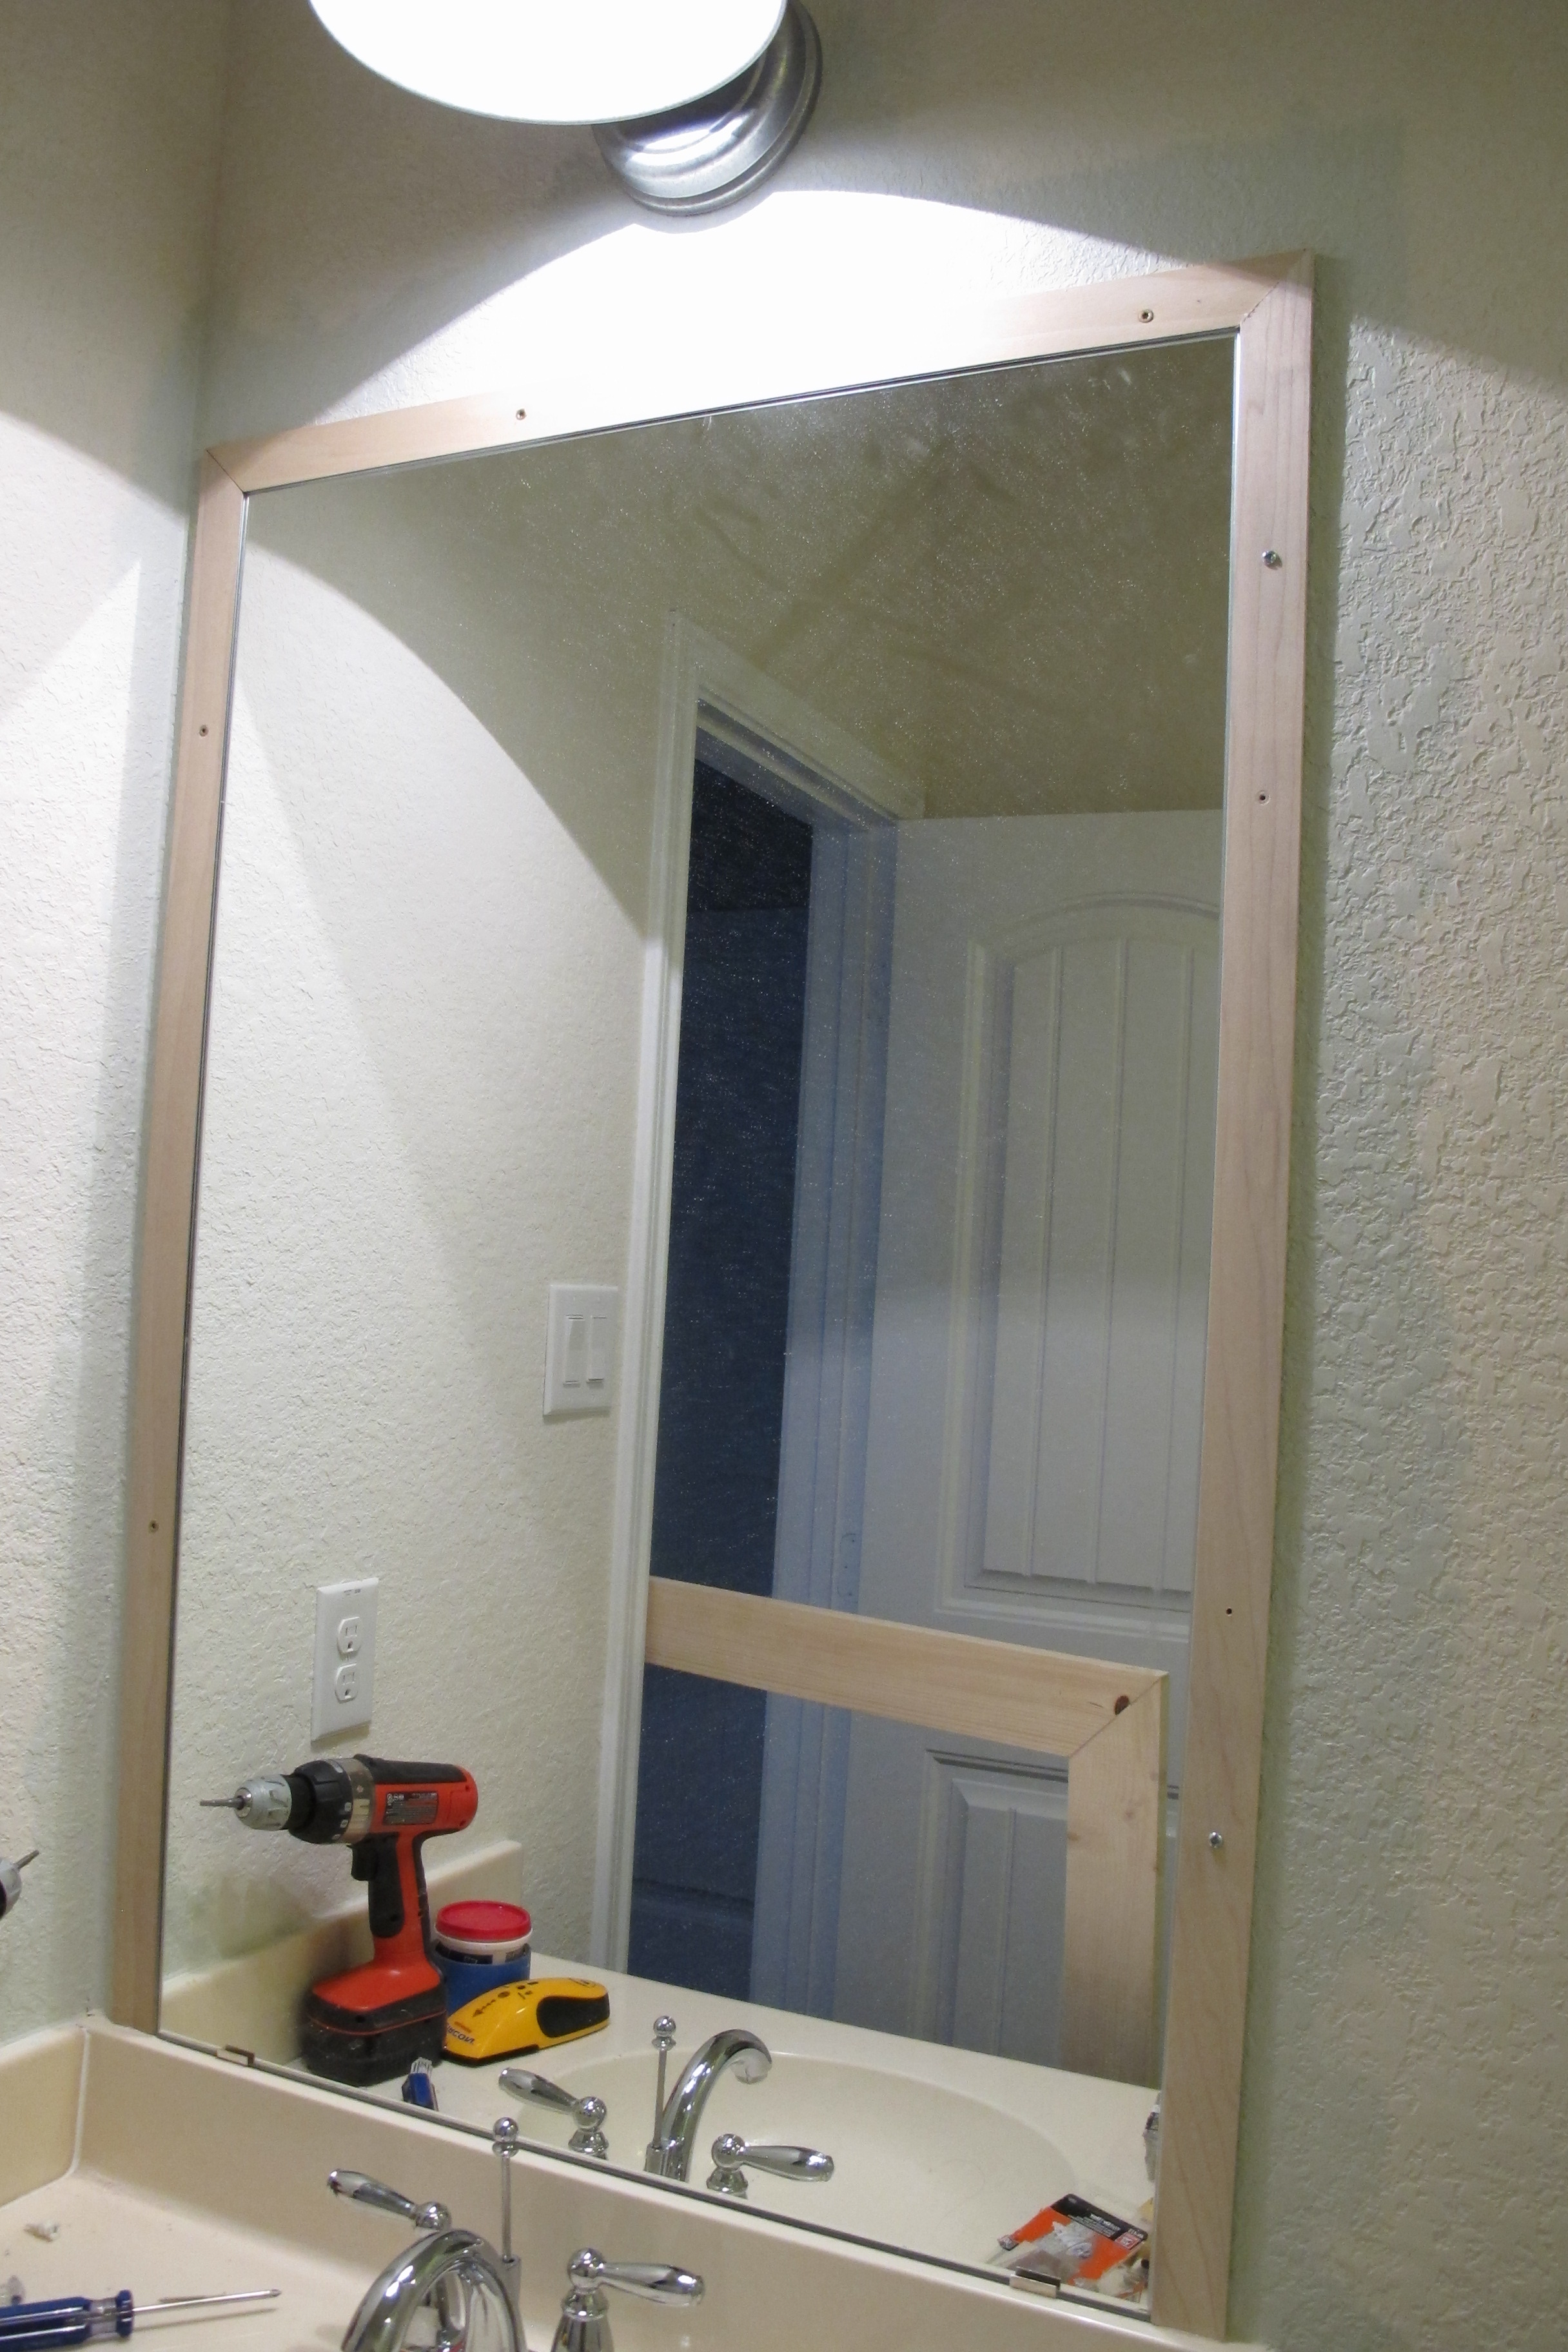
Next, came the matter of how to mount the frame to the mirror. We’d discussed glue and nails as this was the less obtrusive version aesthetically, but Joey was concerned because the wood was slightly imperfect. He worried that with all the moisture in the bathroom, the wood would eventually pop away from the mirror in the more curved spots and look sloppy if we used nails. So, we went with screws and decided to recess them into the wood. The plan was to leave them exposed for a rustic look if I decided to stain the frame or to fill the holes with wood-filler if I decided to paint it.
So, that’s what we did….
I hadn’t yet sanded this area of the frame when the pic was taken, but I cleaned up all visible screw-holes afterwards. Which left us with this….
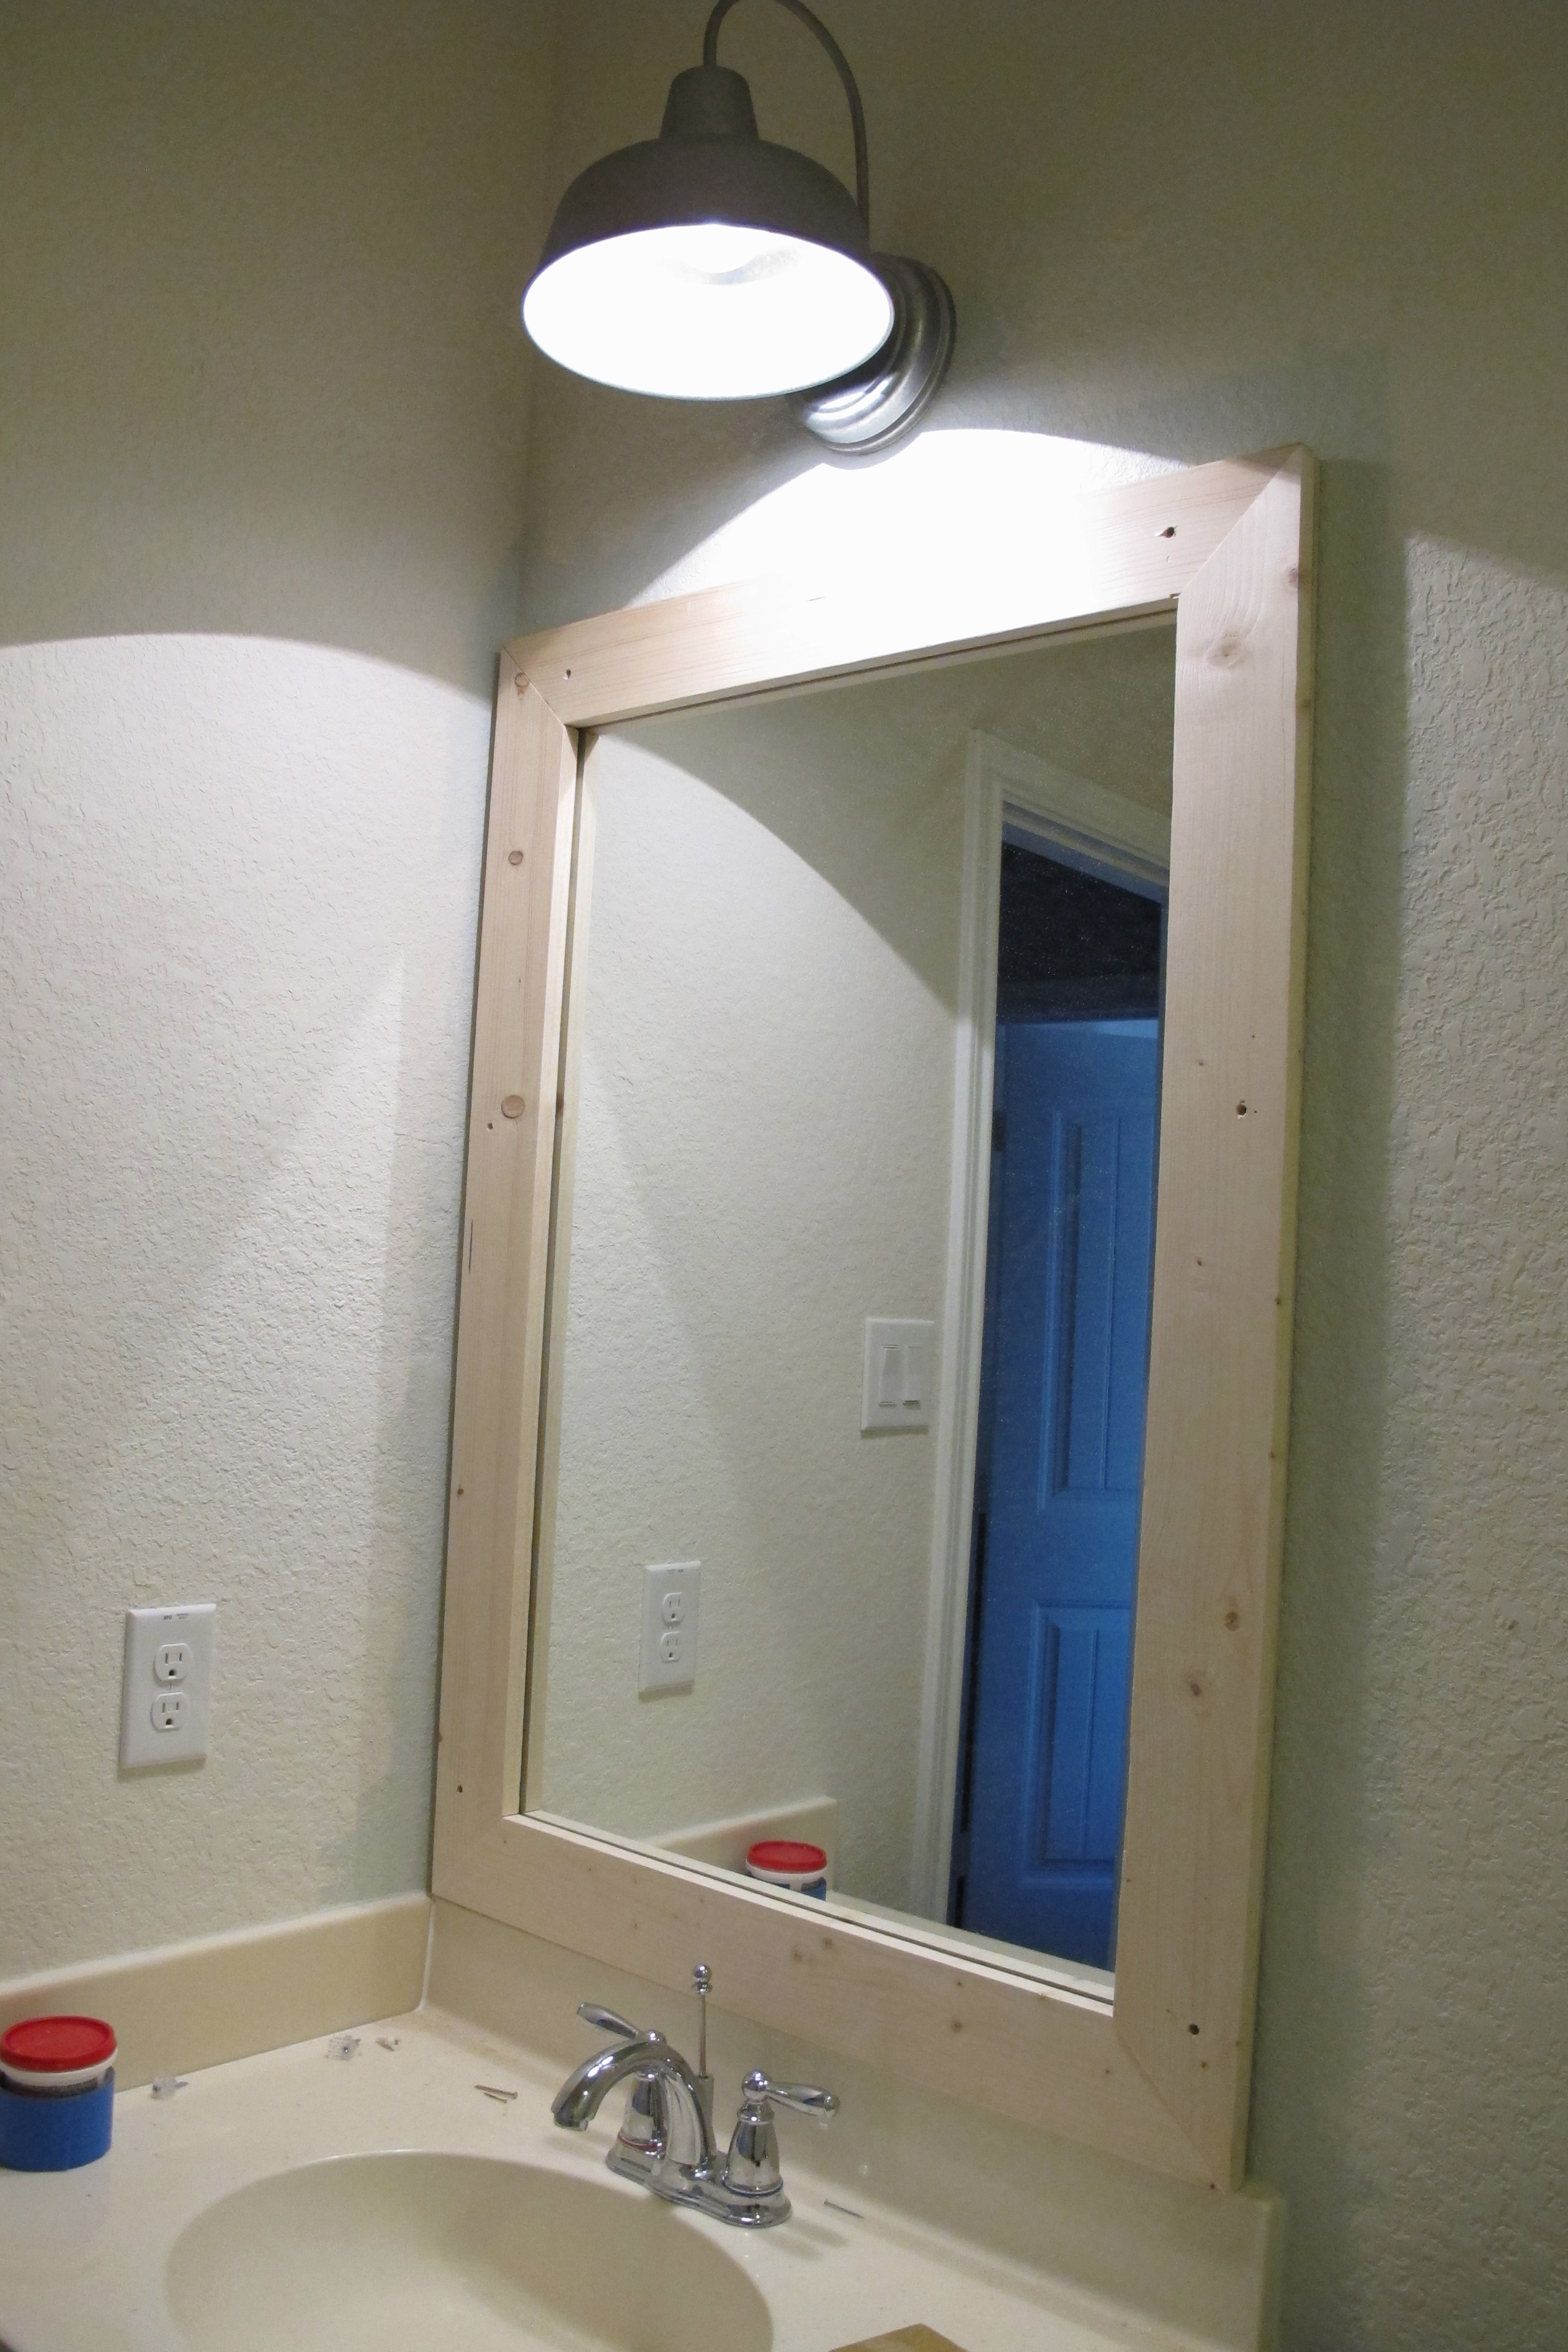

I haven’t finished the frame yet paint/stain-wise. I wanted to paint the walls first and then make my decision about how to proceed. I’ll tell you this, though…. The room is now painted (which I will go into in my next post). And I’ve made my decision. But, I’m gonna leave you hangin’ since I haven’t gotten to it yet. I’m hoping I’ll have a chance to crank it out sometime this week.
So, anyways, this was a completely inexpensive project and it took just a few hours to install. Here’s the breakdown of cost (I rounded to the nearest dollar for simplicity-sake).
2- 2″x4″s – $10
3- 1/4″x2″x4’s – $6
Screws- $5
Anchors- Already owned
Total- $21
Way cheaper than buying a mirror this size for sure!!!! One thing that’s not mentioned in the breakdown is the paint or stain that will be used to finish the frame. Even though it’s not done yet, I can tell you that I already own the stuff so it’s free for me, but if you needed to buy them, you could get away with 3 bucks for a test pot of paint or around 4-5 bucks for a small can of stain and the same for a small can of poly (if you decided to use it).
Anyways, we’re happy about how our frame turned out. It’s rustic, yet simple vibe jives with the barn light and is a nice contrast with our glossy painted tile. My only advice is that if you decide to use 1″x4″s, look for the straightest boards you can find. There is one tiny area that Joey is bothered by. It looked perfectly straight and flush when he assembled the frame, but when he secured it down around the mirror, one edge popped up slightly because of a mild warping in the board. It doesn’t bother me at all because we were going for rustic anyways, but if this is something that would drive you crazy, heed my advice.
So, anyways, I hope you all have a great week!
(P.S. You can find posts on our bathroom progress so far here and here. And our tentative plan here. )


Nice work Joey…and Christina!
Thanks!
The Dynamic Duo! Great job on the mirror, Joey! Christina, can’t wait to see what color you decide to paint it! I read somewhere that creativity and talent are genetic?
Haha! Probably so. 🙂