Shower curtain. Boom! Nailed it…
Well, them actually. But, really, I should start from the beginning. Allow me to introduce you to Dusty (aka. My sewing machine)…

Mac bought him for me shortly after Joey and I got married (almost 6 years ago) and (ahem!)… I’ve used him once. Well, twice if you count the time Mac helped me with a project shortly after giving me the machine. The other time, I attempted to recover an ottoman, didn’t even change out the leftover thread on the bobbin, sewed a few lines, then resorted to creative folding because I’d done such a poor job sewing. And that was it.
Until now.
Now, remember this inspiration board?

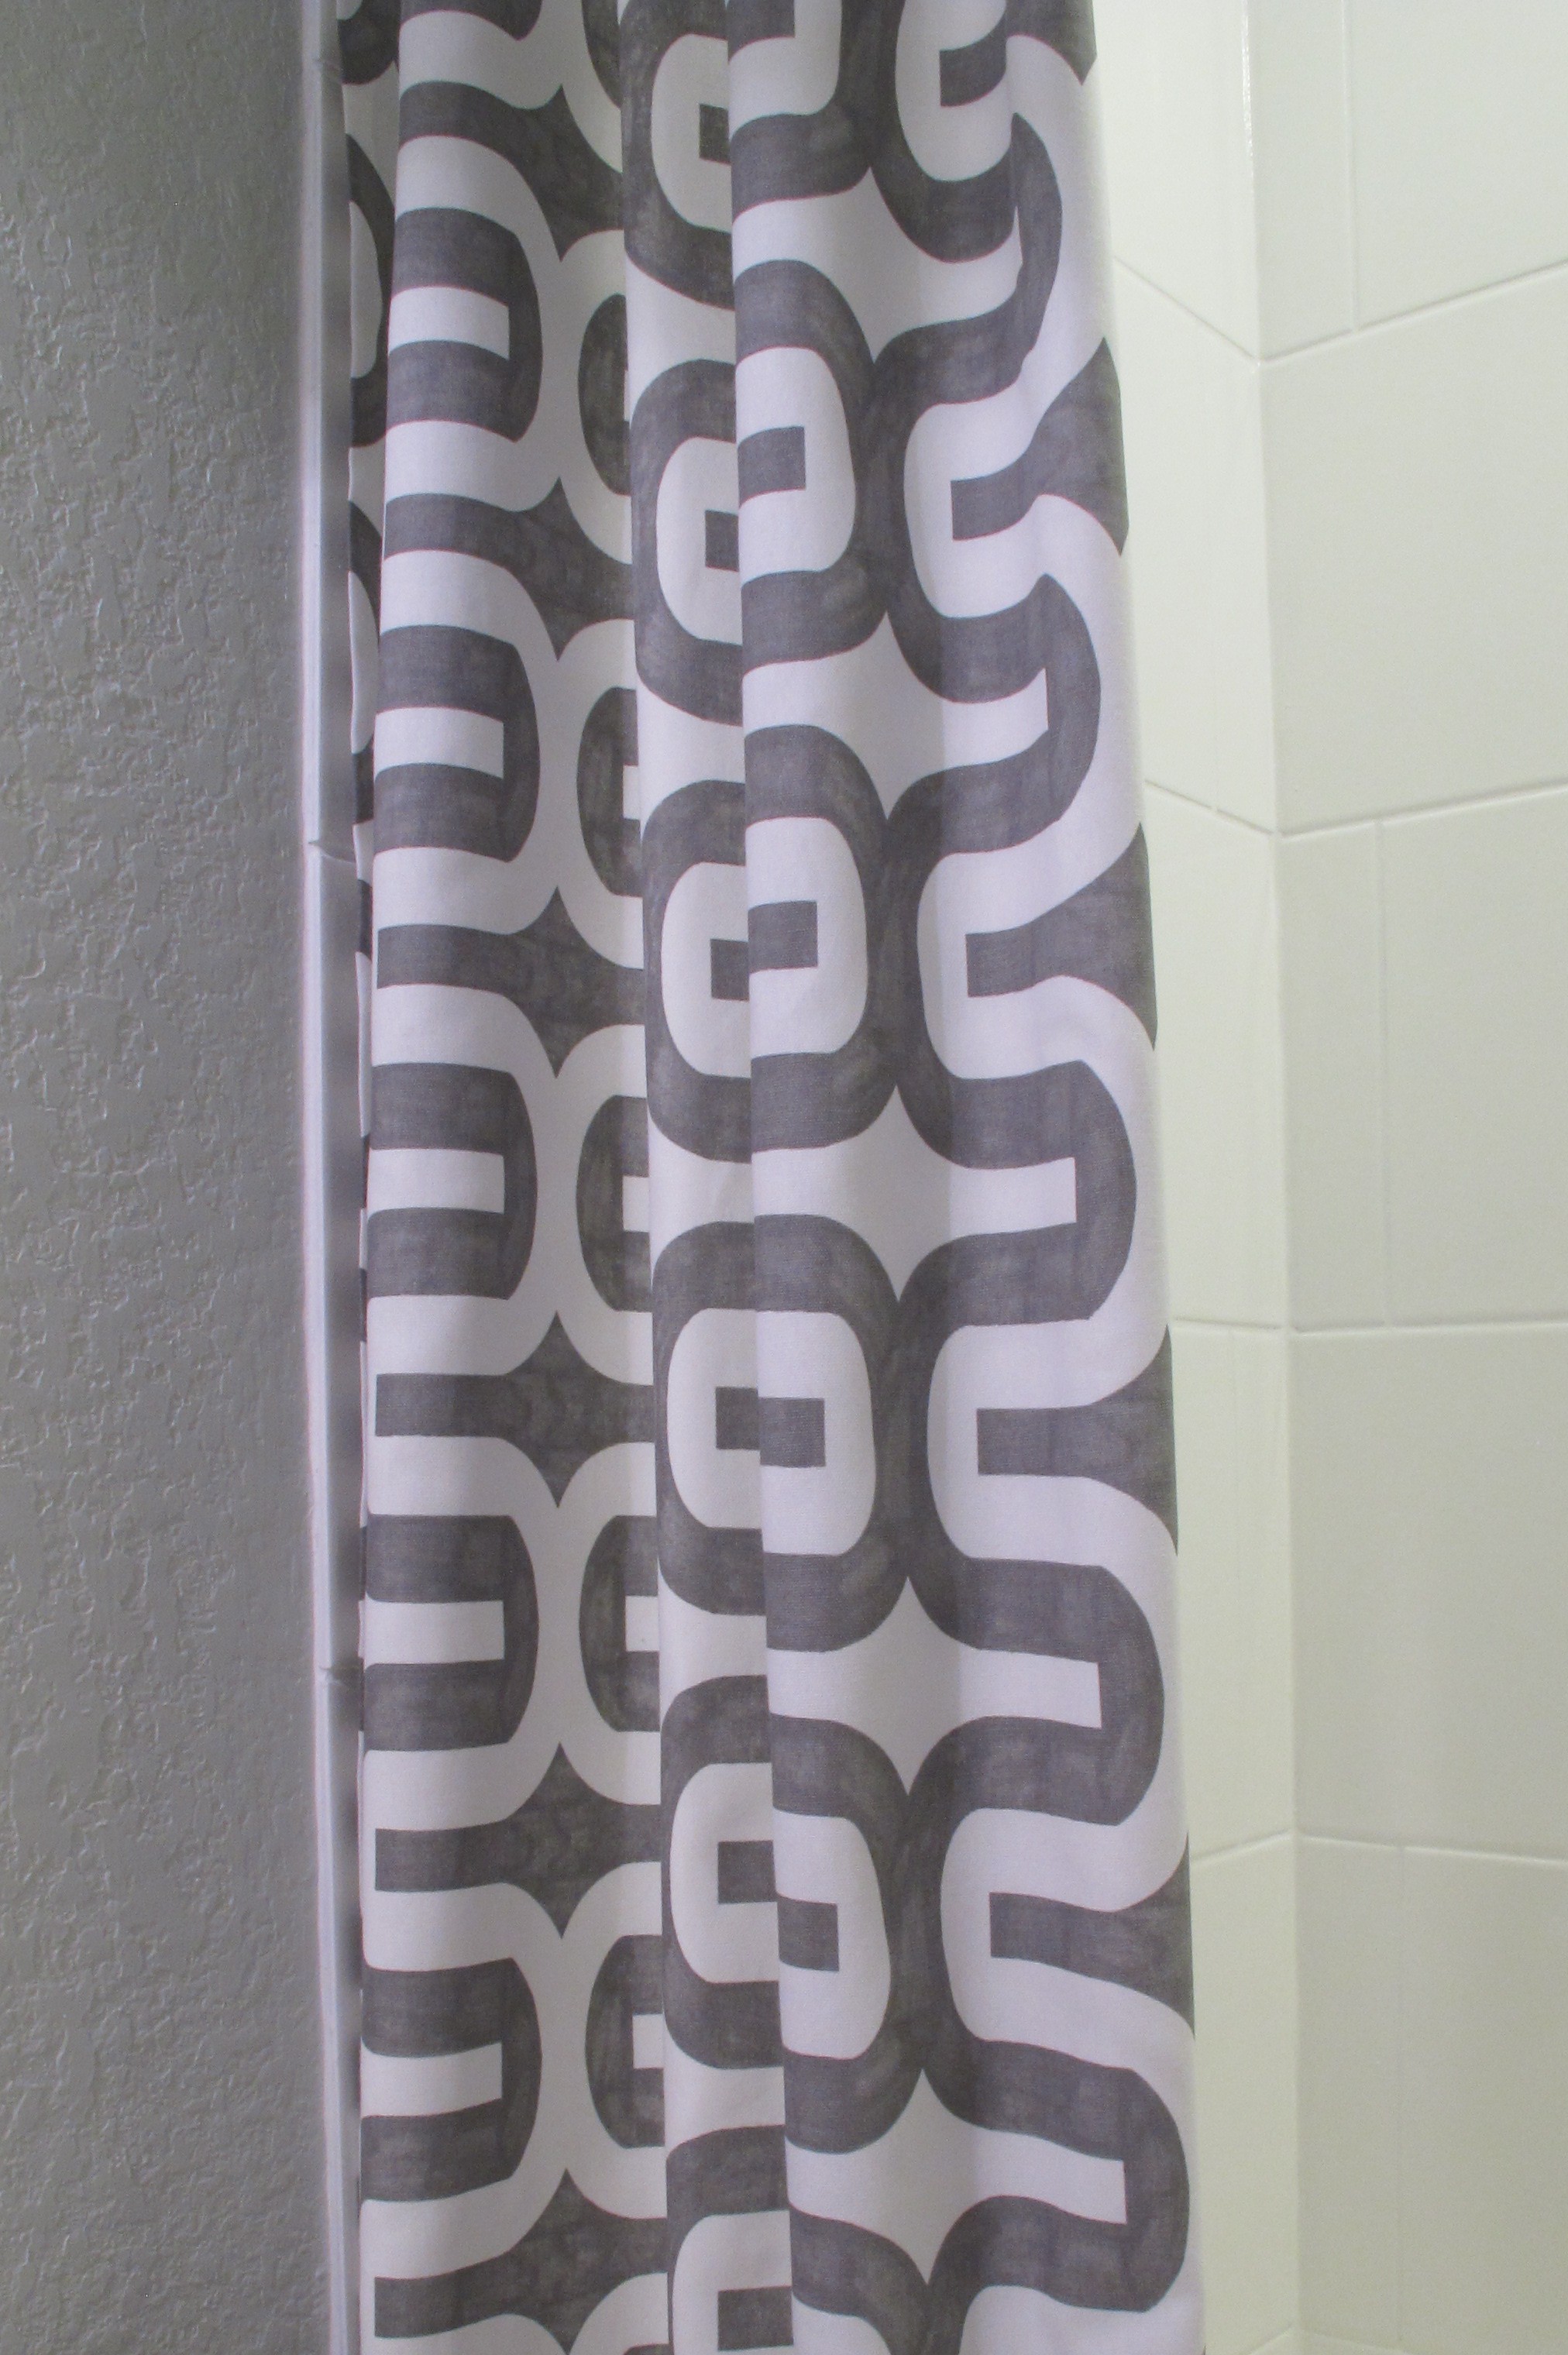
And how I loved the striped shower curtain, but it was too short? and how I was having trouble finding an affordable alternative? (I complained about that here). Well, I went to Hobby Lobby, spied this fun fabric and was enamored…

(sorry about the crummy pic)
It’s not stripes, but it’s grey and white with the bold, modern pop that I was looking for. Plus, the curvy print would add some contrast and interest to the otherwise straight lines of the room.
Since the fabric was only 45″ wide, I purchased 6 yards to yield two curtains which would flank the tub. It was priced at $8.99/yard, but with a 40% off coupon, I spent a total of $33 for the fabric.
Next, I enlisted Mac, my mother-in-law. Mac is a wiz at sewing. In fact, she was the only reason that I had a dress to wear on our wedding day after the dress shop botched the job. Picture two people squeezing the dress closed as a third wrestled to zip me up, only to yield a nearly busting seam and dizziness on my part as I feared that breathing would break my dress. Turns out that instead of taking in my dress one inch in the bodice, they’d taken it in almost THREE. Then, when I’d pointed out that it was still too long, the alterations guy told me (and I quote) “just try to walk like a horse”. Why yes, sir. I do want to perfect my Mr. Ed impression on MY WEDDING DAY. Sheesh. So, Mac swooped in and saved the day. I should have just asked her to alter the dress to begin with. It was perfect in the end.
So anyways, she came over and helped me out (while simultaneously giving me a great sewing tutorial). We started by measuring. I wanted my curtains to reach the top of the tile, so we hung the fabric over the shower rod and Mac pinned the fabric just above the floor. I wanted the curtains to be about as wide as the standard 72″ wide shower curtain when closed. So, around 36″ wide a piece. We didn’t actually end up cutting the the sides. Mac ironed the edges of the fabric over once to create a crisp edge. Then, added iron-on hem tape beneath the fold and ironed again (with our little cheerleader rooting her on)…
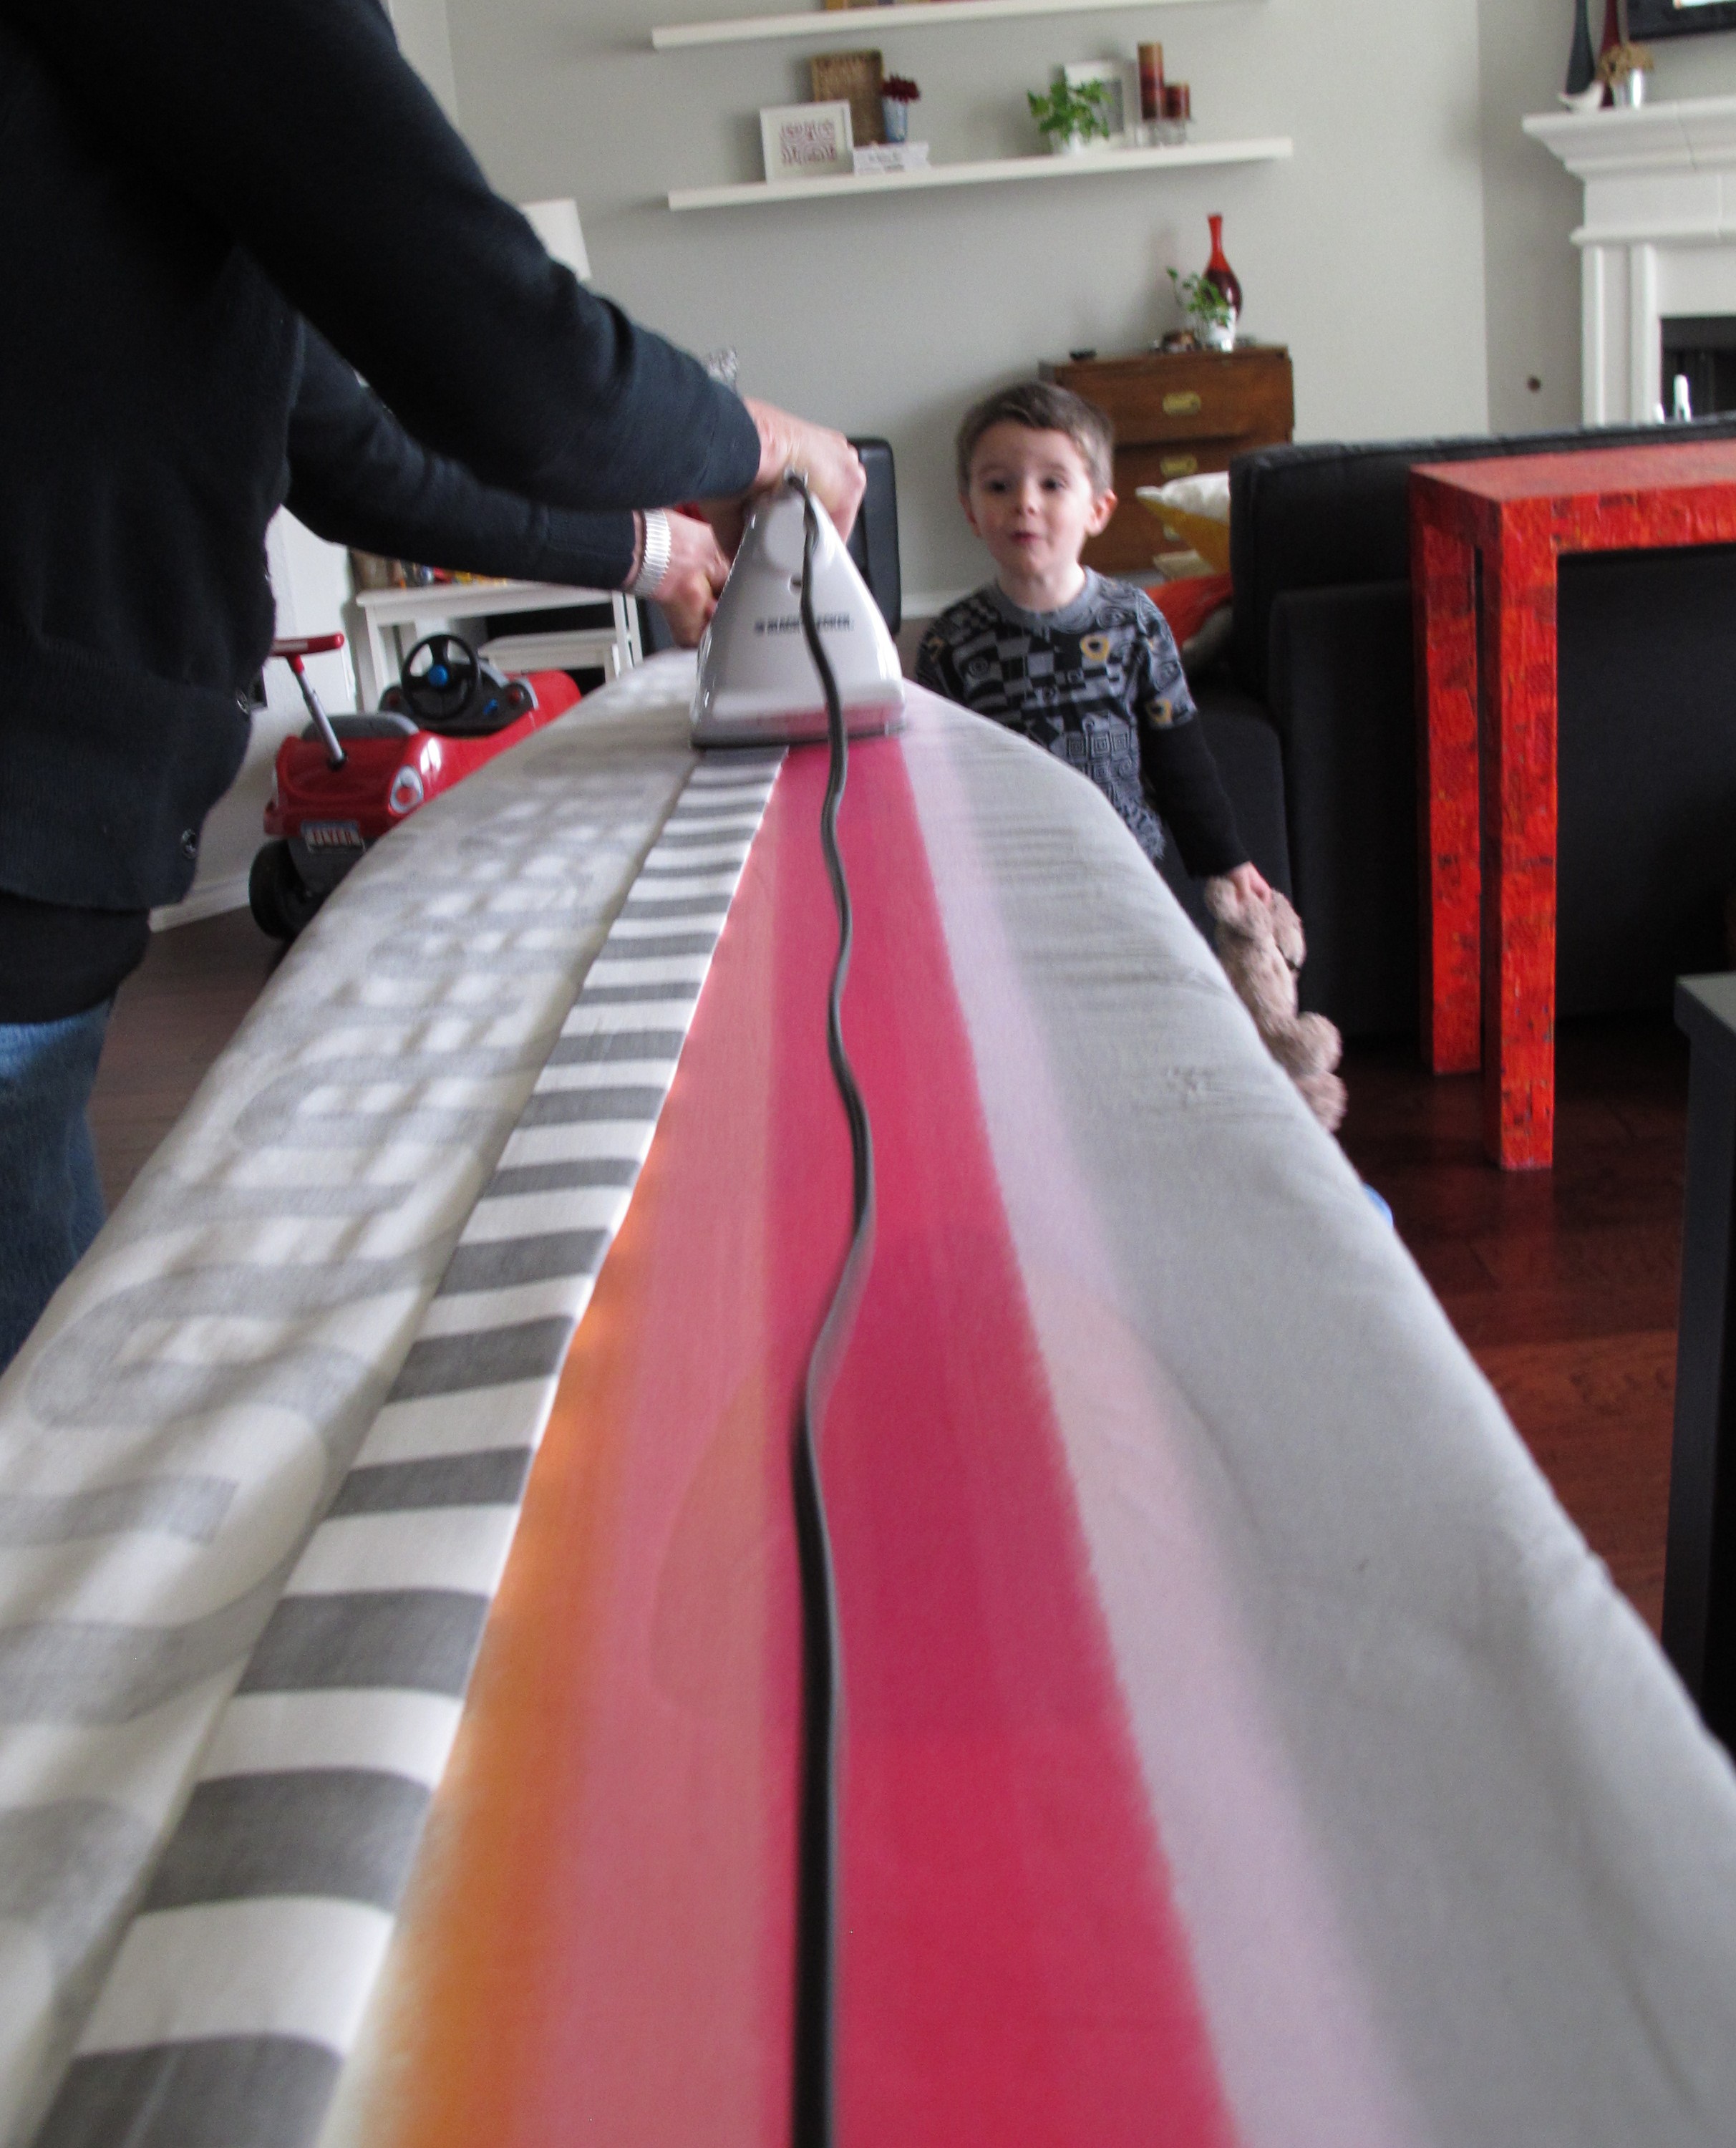
The purpose of the hem-tape was to keep the side edges more rigid so they wouldn’t curve or act flimsy when hung. Mac gave me a run-down on how to thread my sewing machine, then had me practice on a scrap piece of fabric.
I have to say, I’m not sure why I was so intimidated by my machine. Granted, I’ve only sewed a few straight lines (and not well). But, actually doing it was simpler than I’d previously imagined. After my practice was complete, Mac had me sew over the hem-taped edges on all four sides of the curtain…

When I was finished, Mac folded over the edges that I’d just sewed a second time and repeated the ironing process. Iron, hem-tape, iron. Then, I sewed over the edges again on all four sides to create a nicely finished edge…

I forgot to take a picture of the completed panel. Sorry! We repeated this process for the second curtain.
Next, came the grommets. I’d purchased two packs of these from Joanne with 40% off coupons so they came to about nine dollars for both packs…
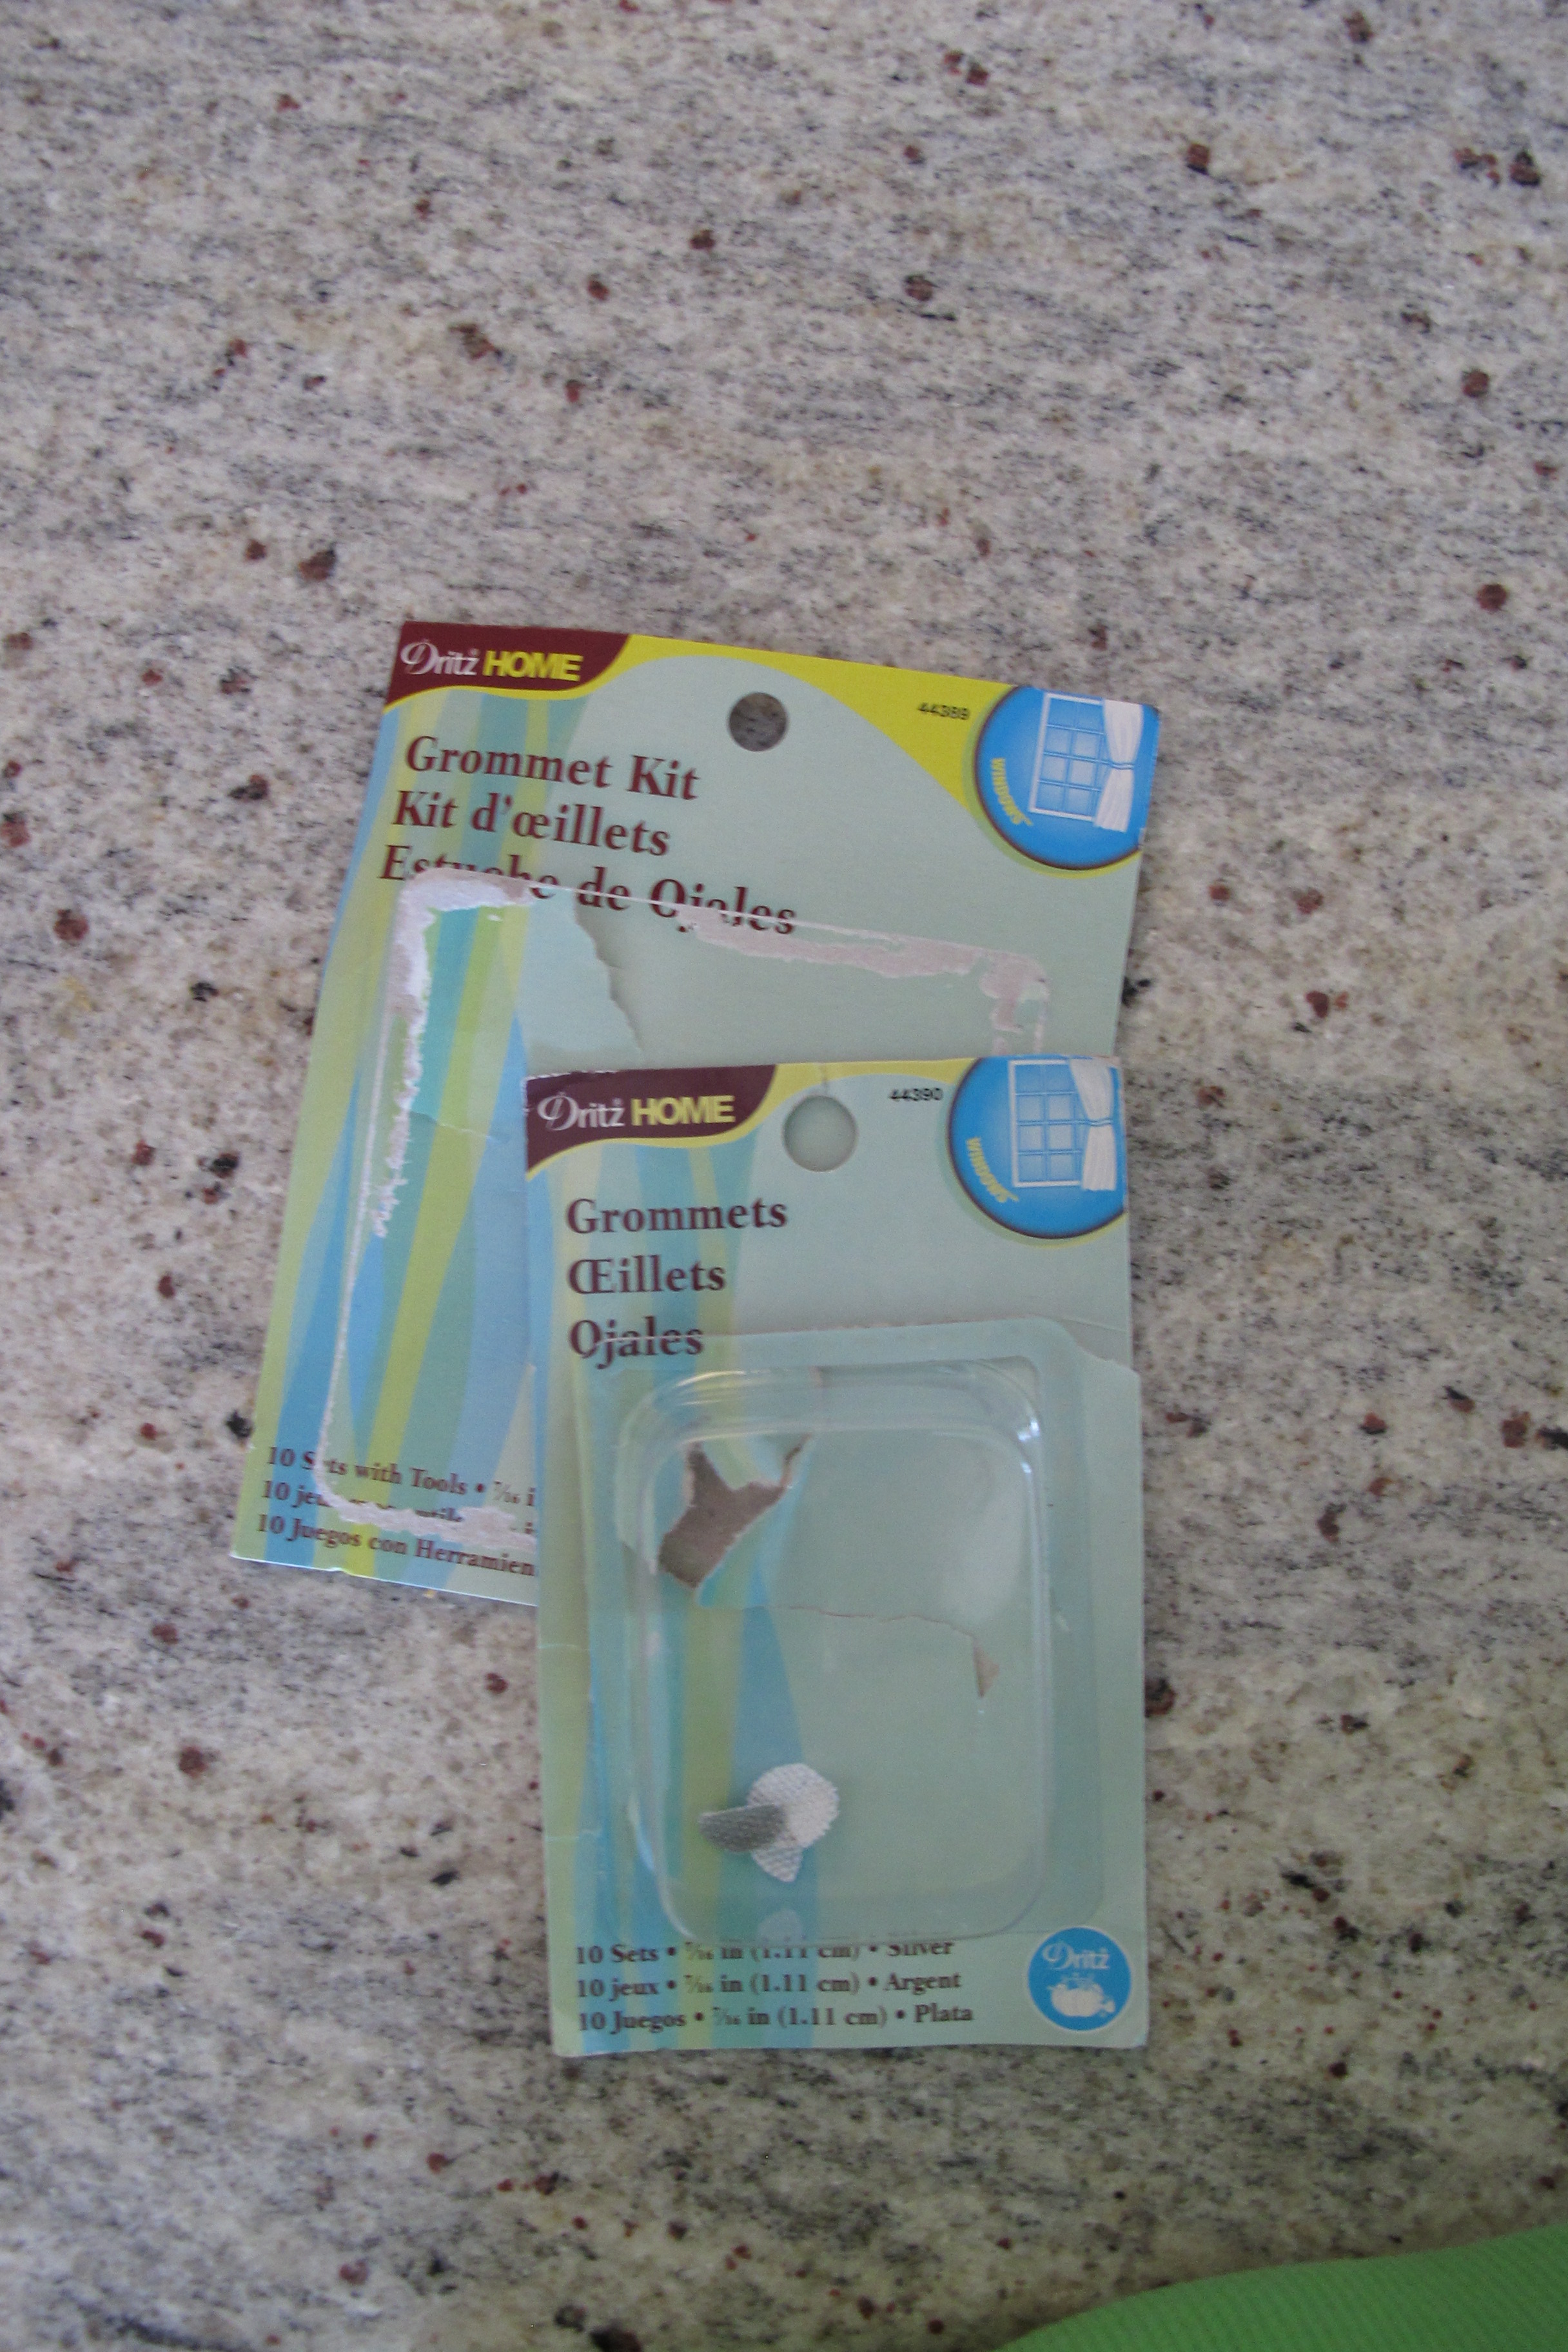
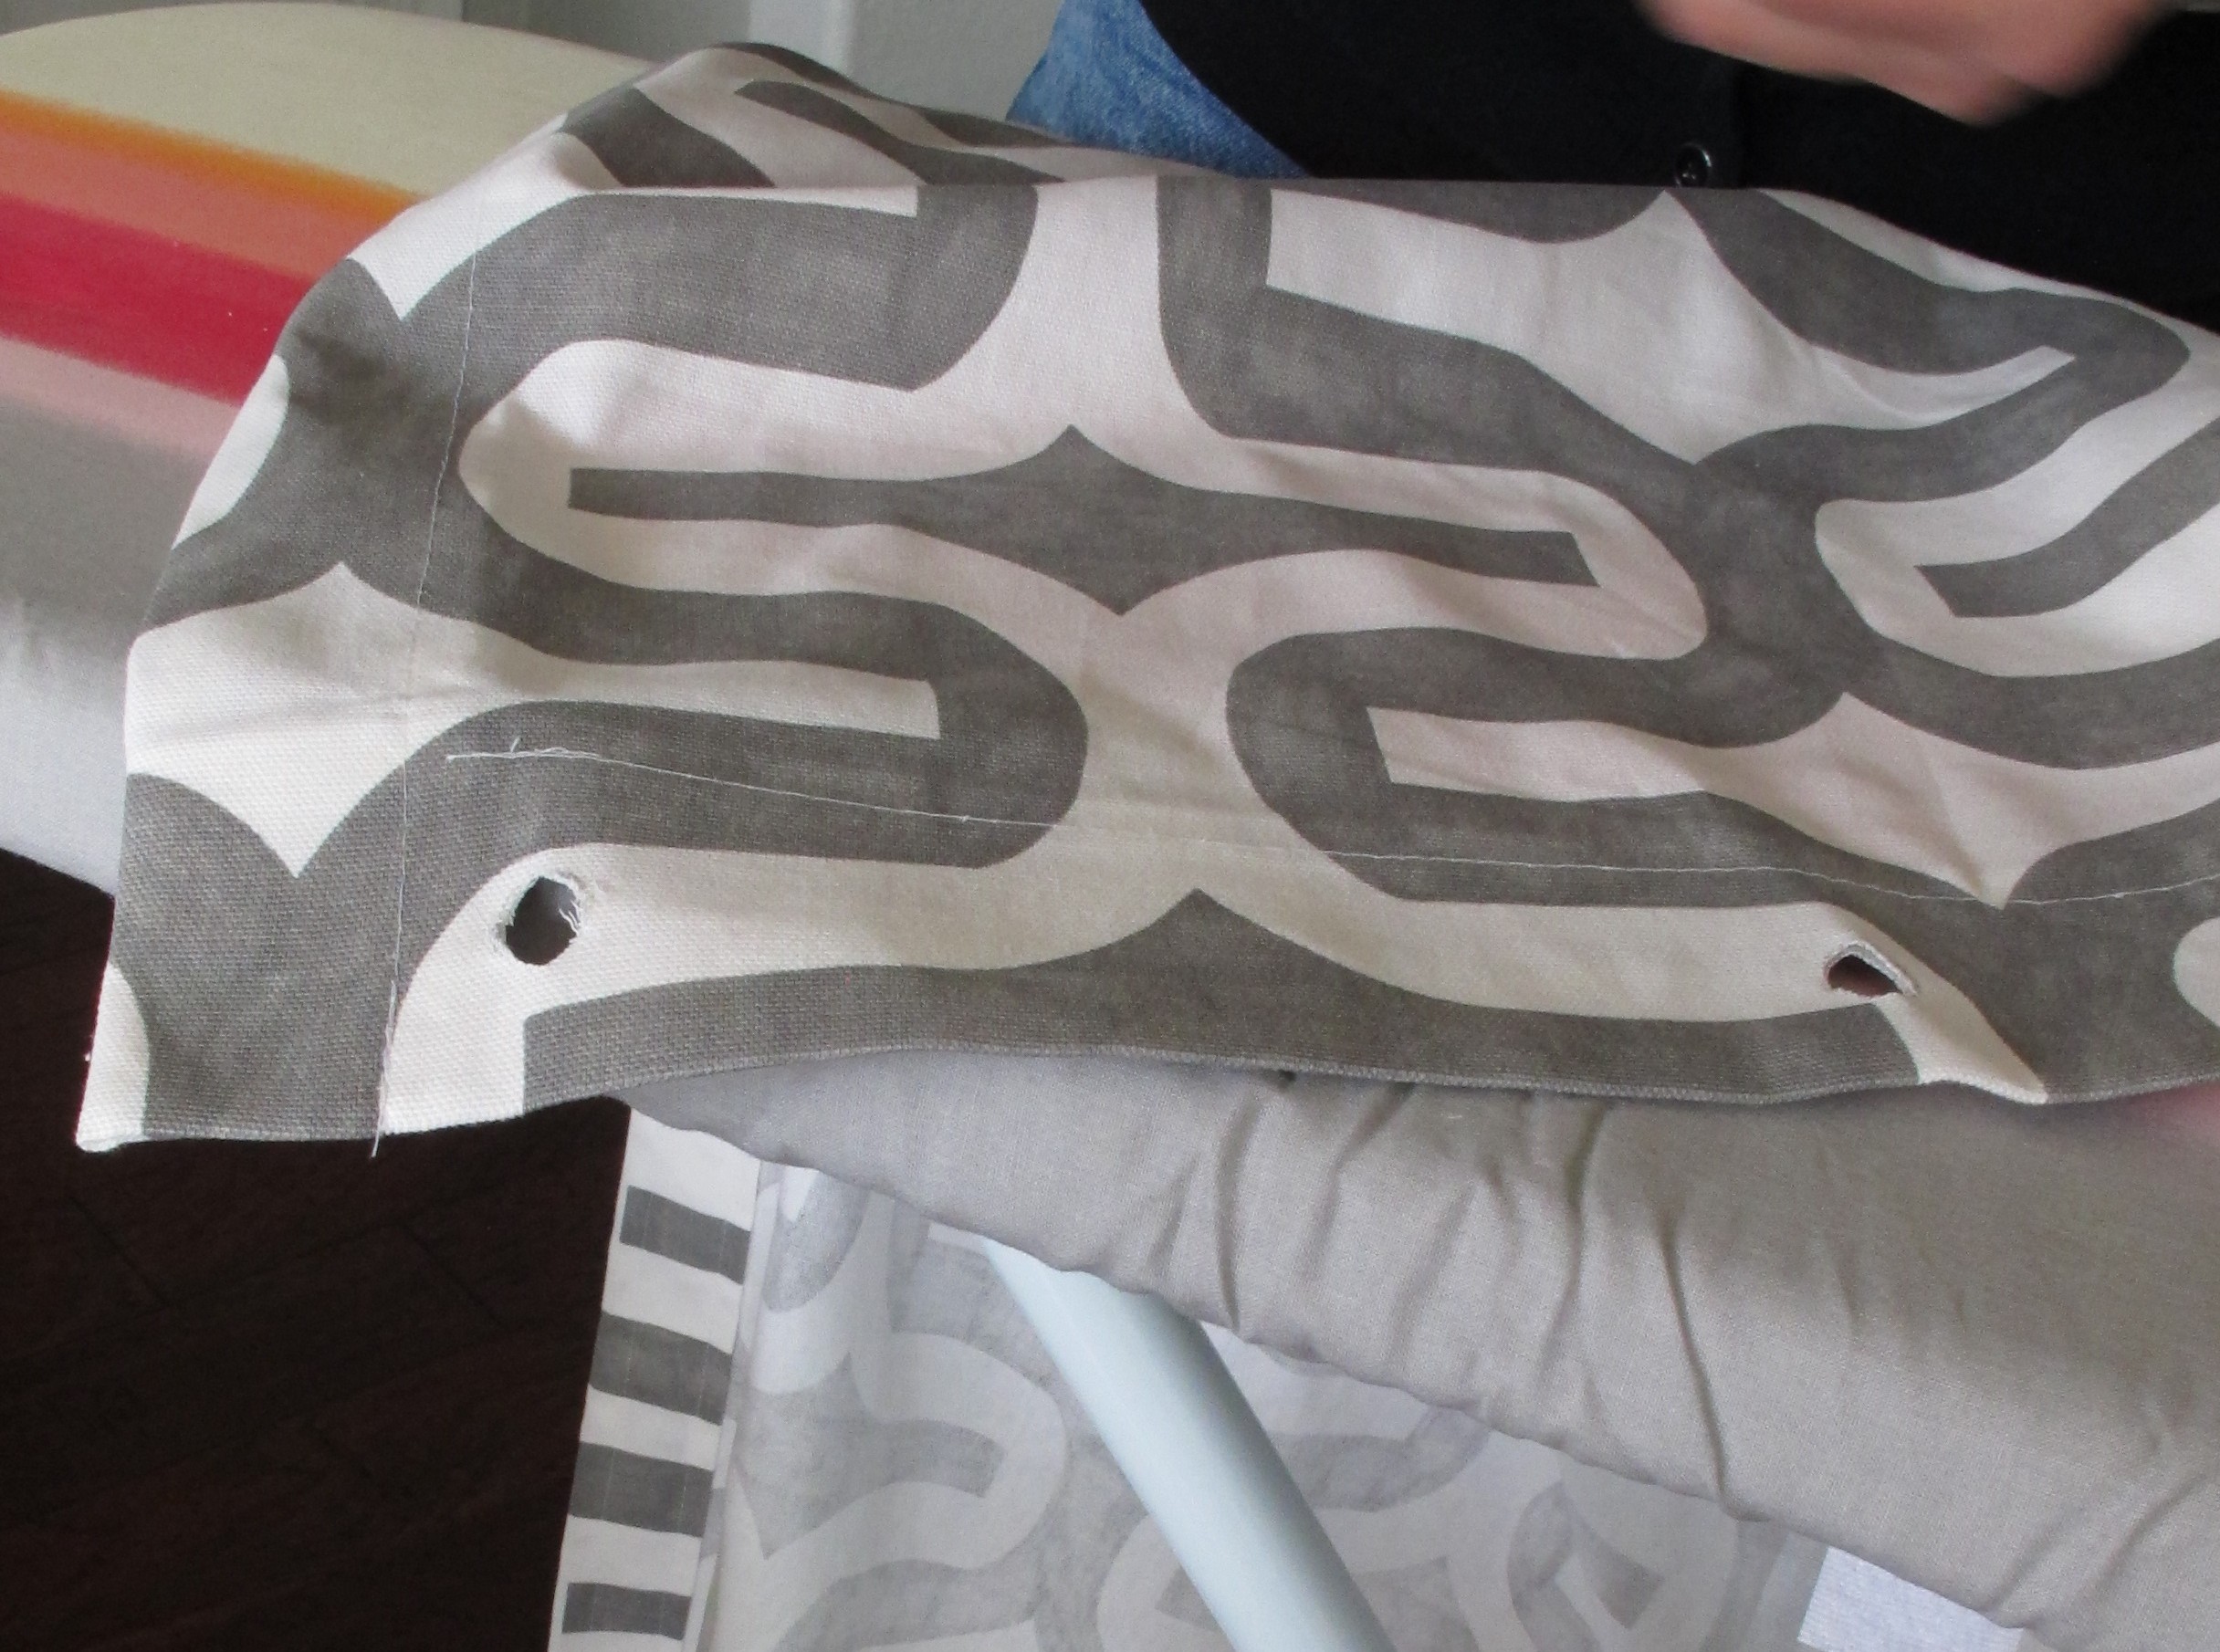
It’s important to get at least one grommet kit if it’s your first time. The kit comes with an anvil and setter which allow the grommets to be installed. Mac started by marking where our grommets would be placed (see the circles?)…

They were just under 6″ apart which would equal 6 grommets per panel. We decided on this number because most shower curtains have 12 holes for curtain rings. Then, she cut out the circles with a sharp pair of scissors…
Next, I placed the anvil (the heavy donut-thing) on the floor under my fabric. We worked on top of a few magazines to protect the floor…

Then, I threaded the eyelet (the doohicky with the tube) through the pre-cut hole and stacked it on top of my anvil. The eyelet will be the front of the grommet, so I was careful to put it through the front of my fabric…
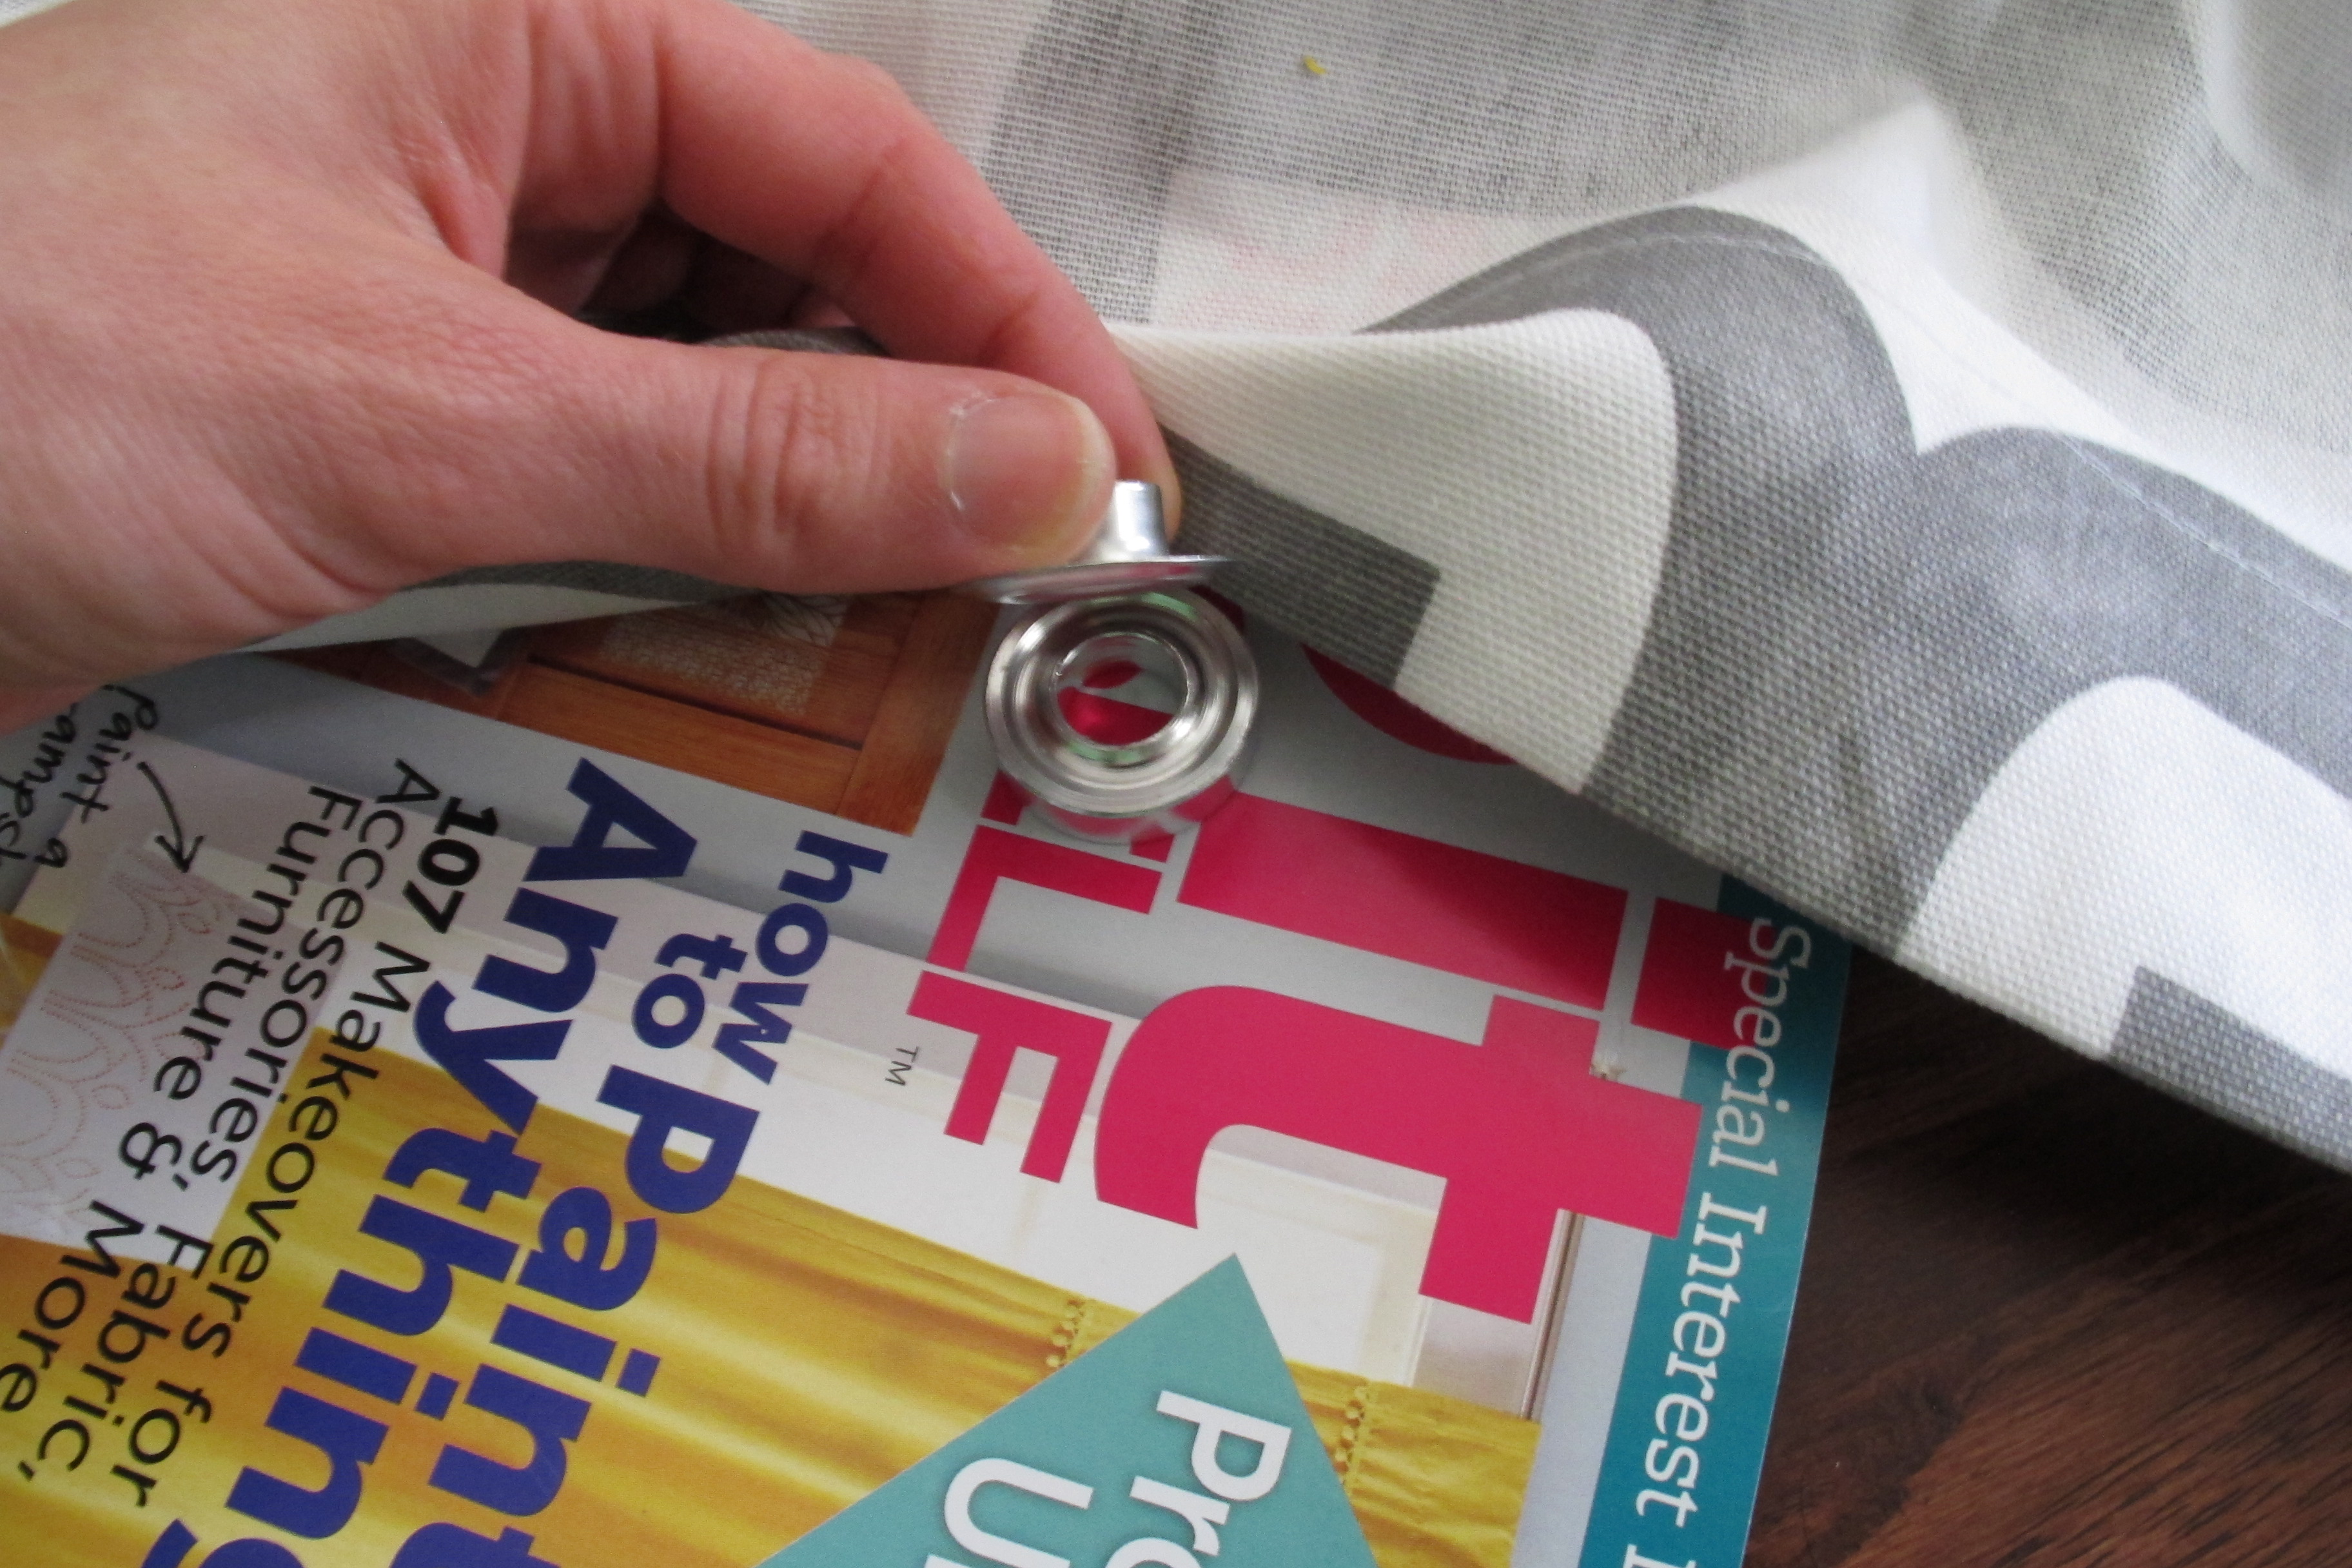

The washer (the back of the grommet) goes on top. I pressed it down with my fingers to allow the little teeth in the middle to sink into the fabric…

Then, I placed my setter over top (although that’s Mac demonstrating for me… she walked me through the process the first time). The middle of the setter slides into the hole of the grommet which helps keep everything lined up…

And I pounded away with a hammer until the middle tube of the eyelet basically curled under and secured the grommet to the material as seen here…

I repeated this 11 more times. Then, we ironed and hung up our curtains.
…Which is when we realized that we had forgotten to check that the pattern of our material was lined up between the two curtains. It was off just enough to be bothersome. So, we removed one curtain.
Mac cut off the strip of grommets at the top with scissors and removed the bottom seam. She lengthened the curtains by adding strips of fabric to the top and bottom and sewing them together. We lined up the pattern correctly and then Mac ironed and rehemmed the top and bottom of the panel to match the other curtain to a T. Seriously, the woman’s a genius. You can’t even tell. The only difference is this…

One very neat and hidden seam on the back of the curtain by the top and bottom folds. And I have to say that I was thoroughly impressed with how fast she fixed it. I’m sure this correction would’ve taken me all day to muddle through… and the result wouldn’t have looked a fraction as good.
Thankfully, I’d over-bought on grommets, so I had plenty for a do-over. I re-grommeted the top of the curtain, then we rehung them…
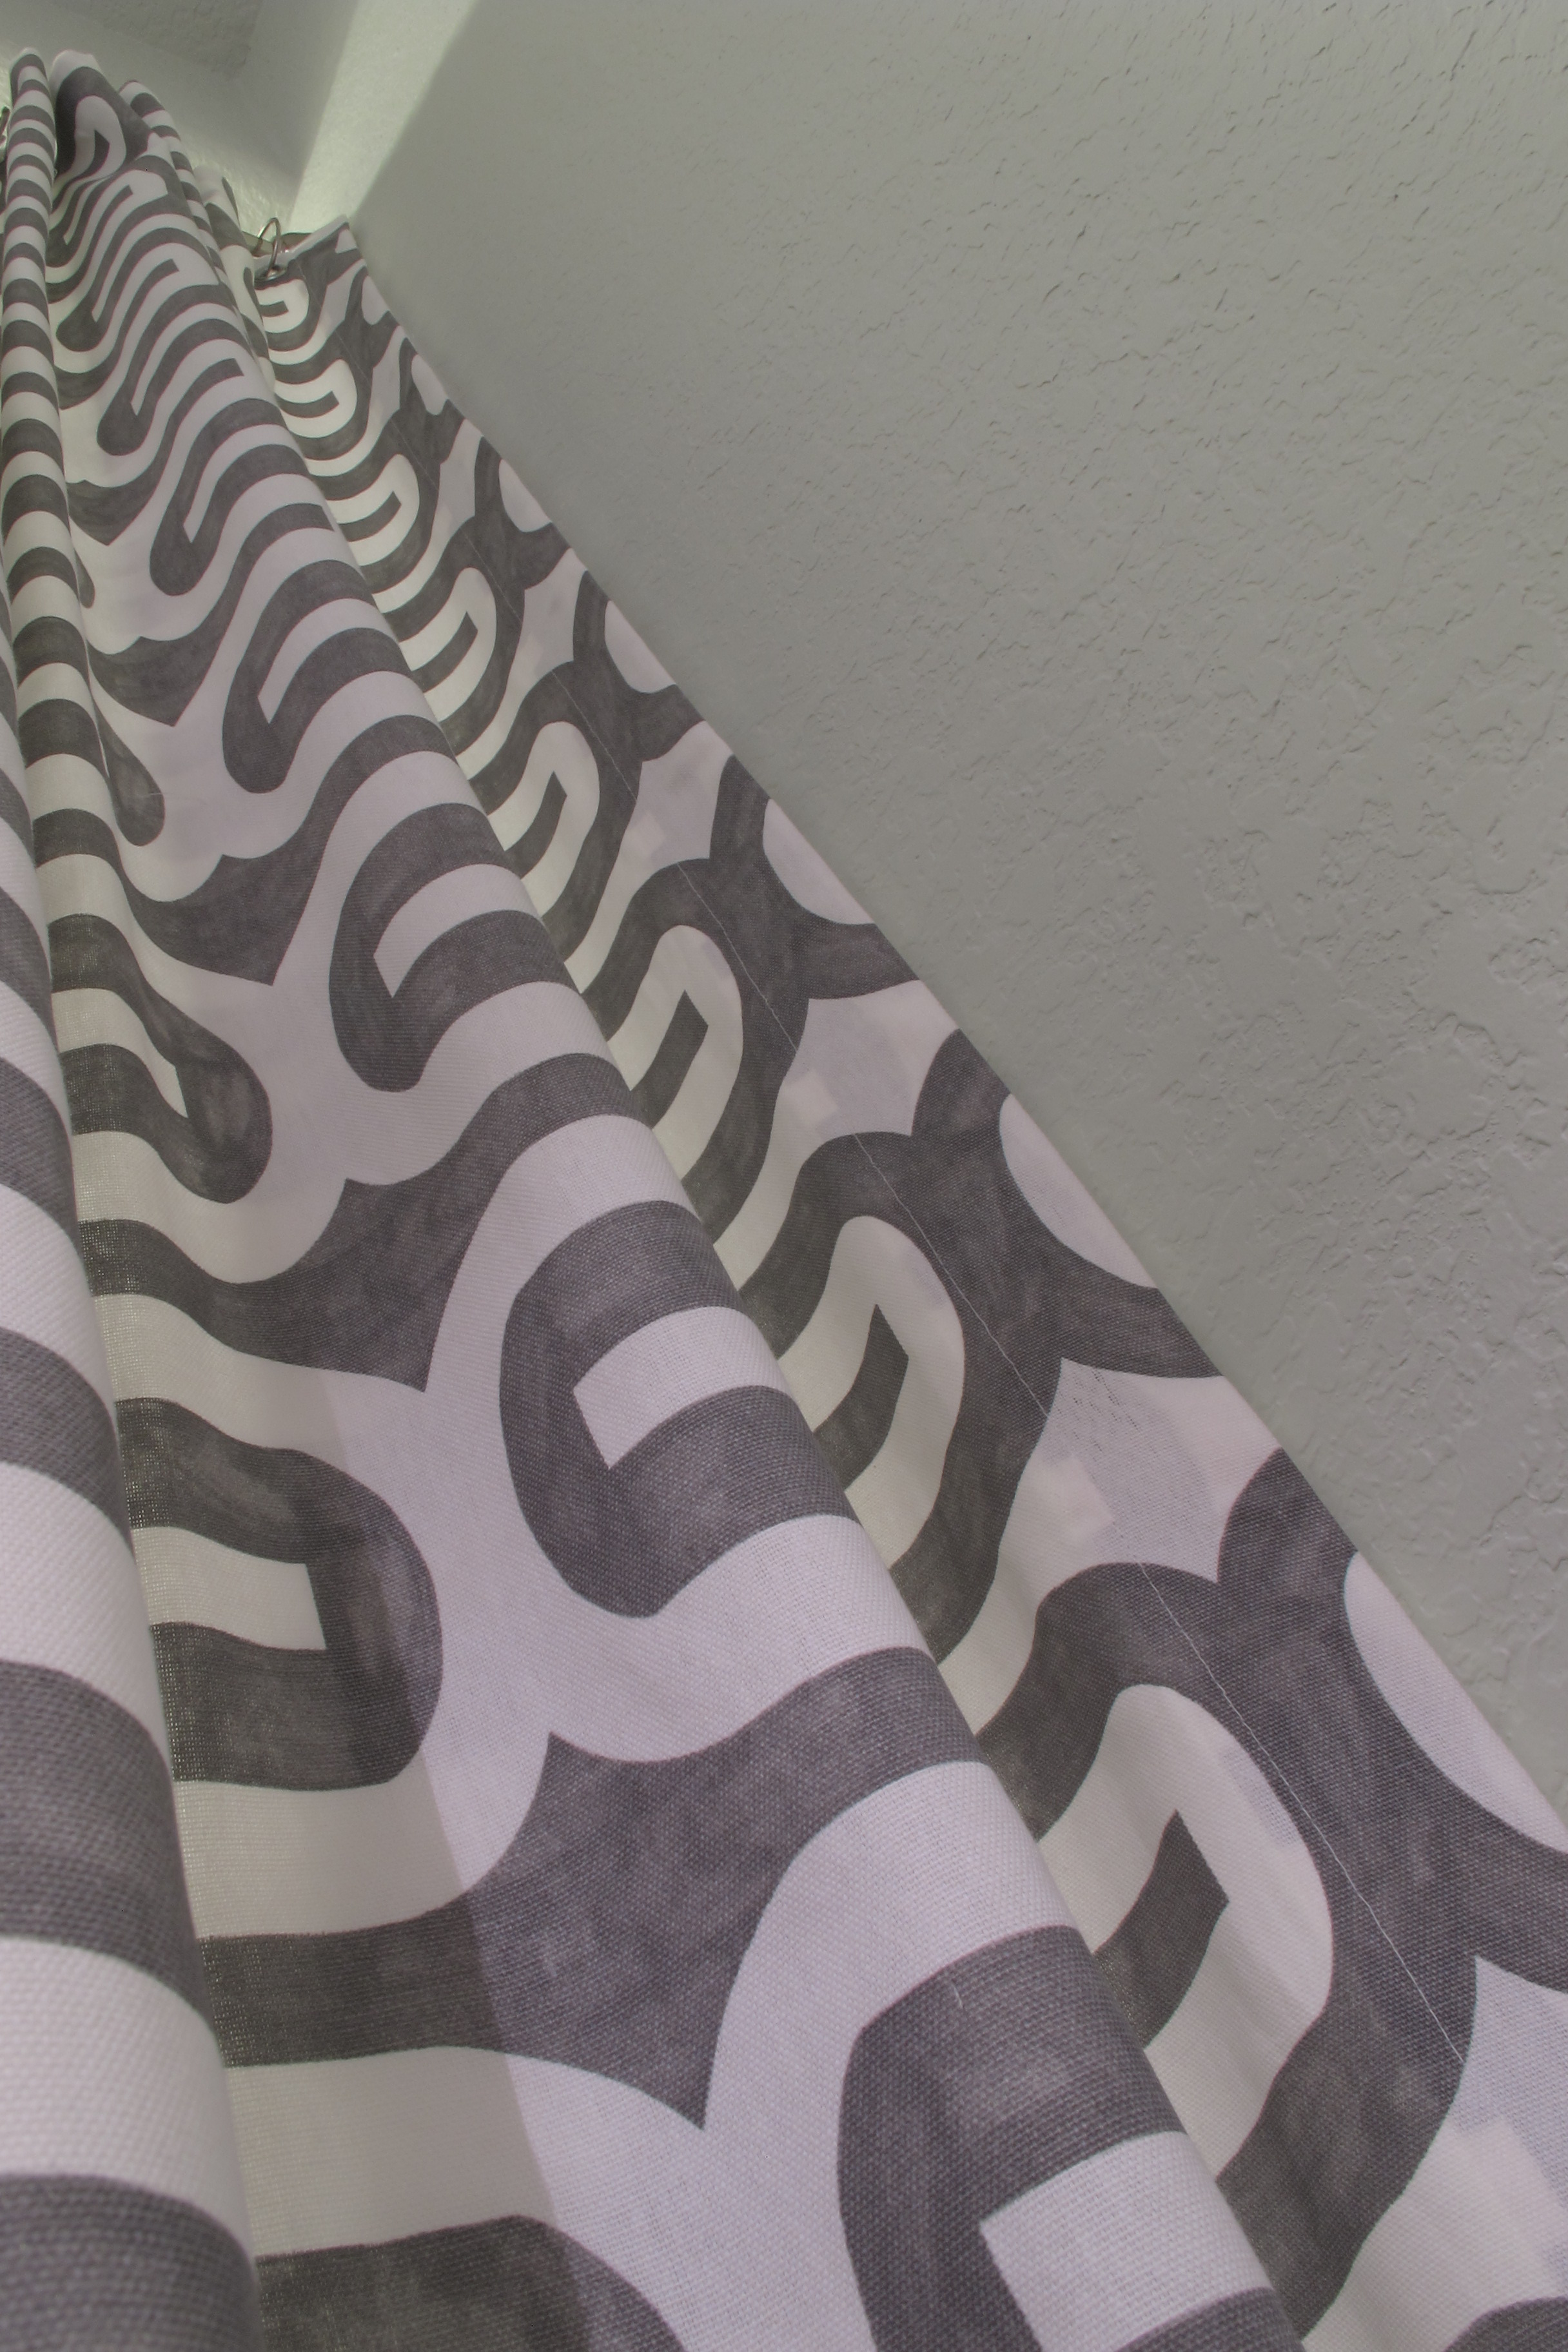
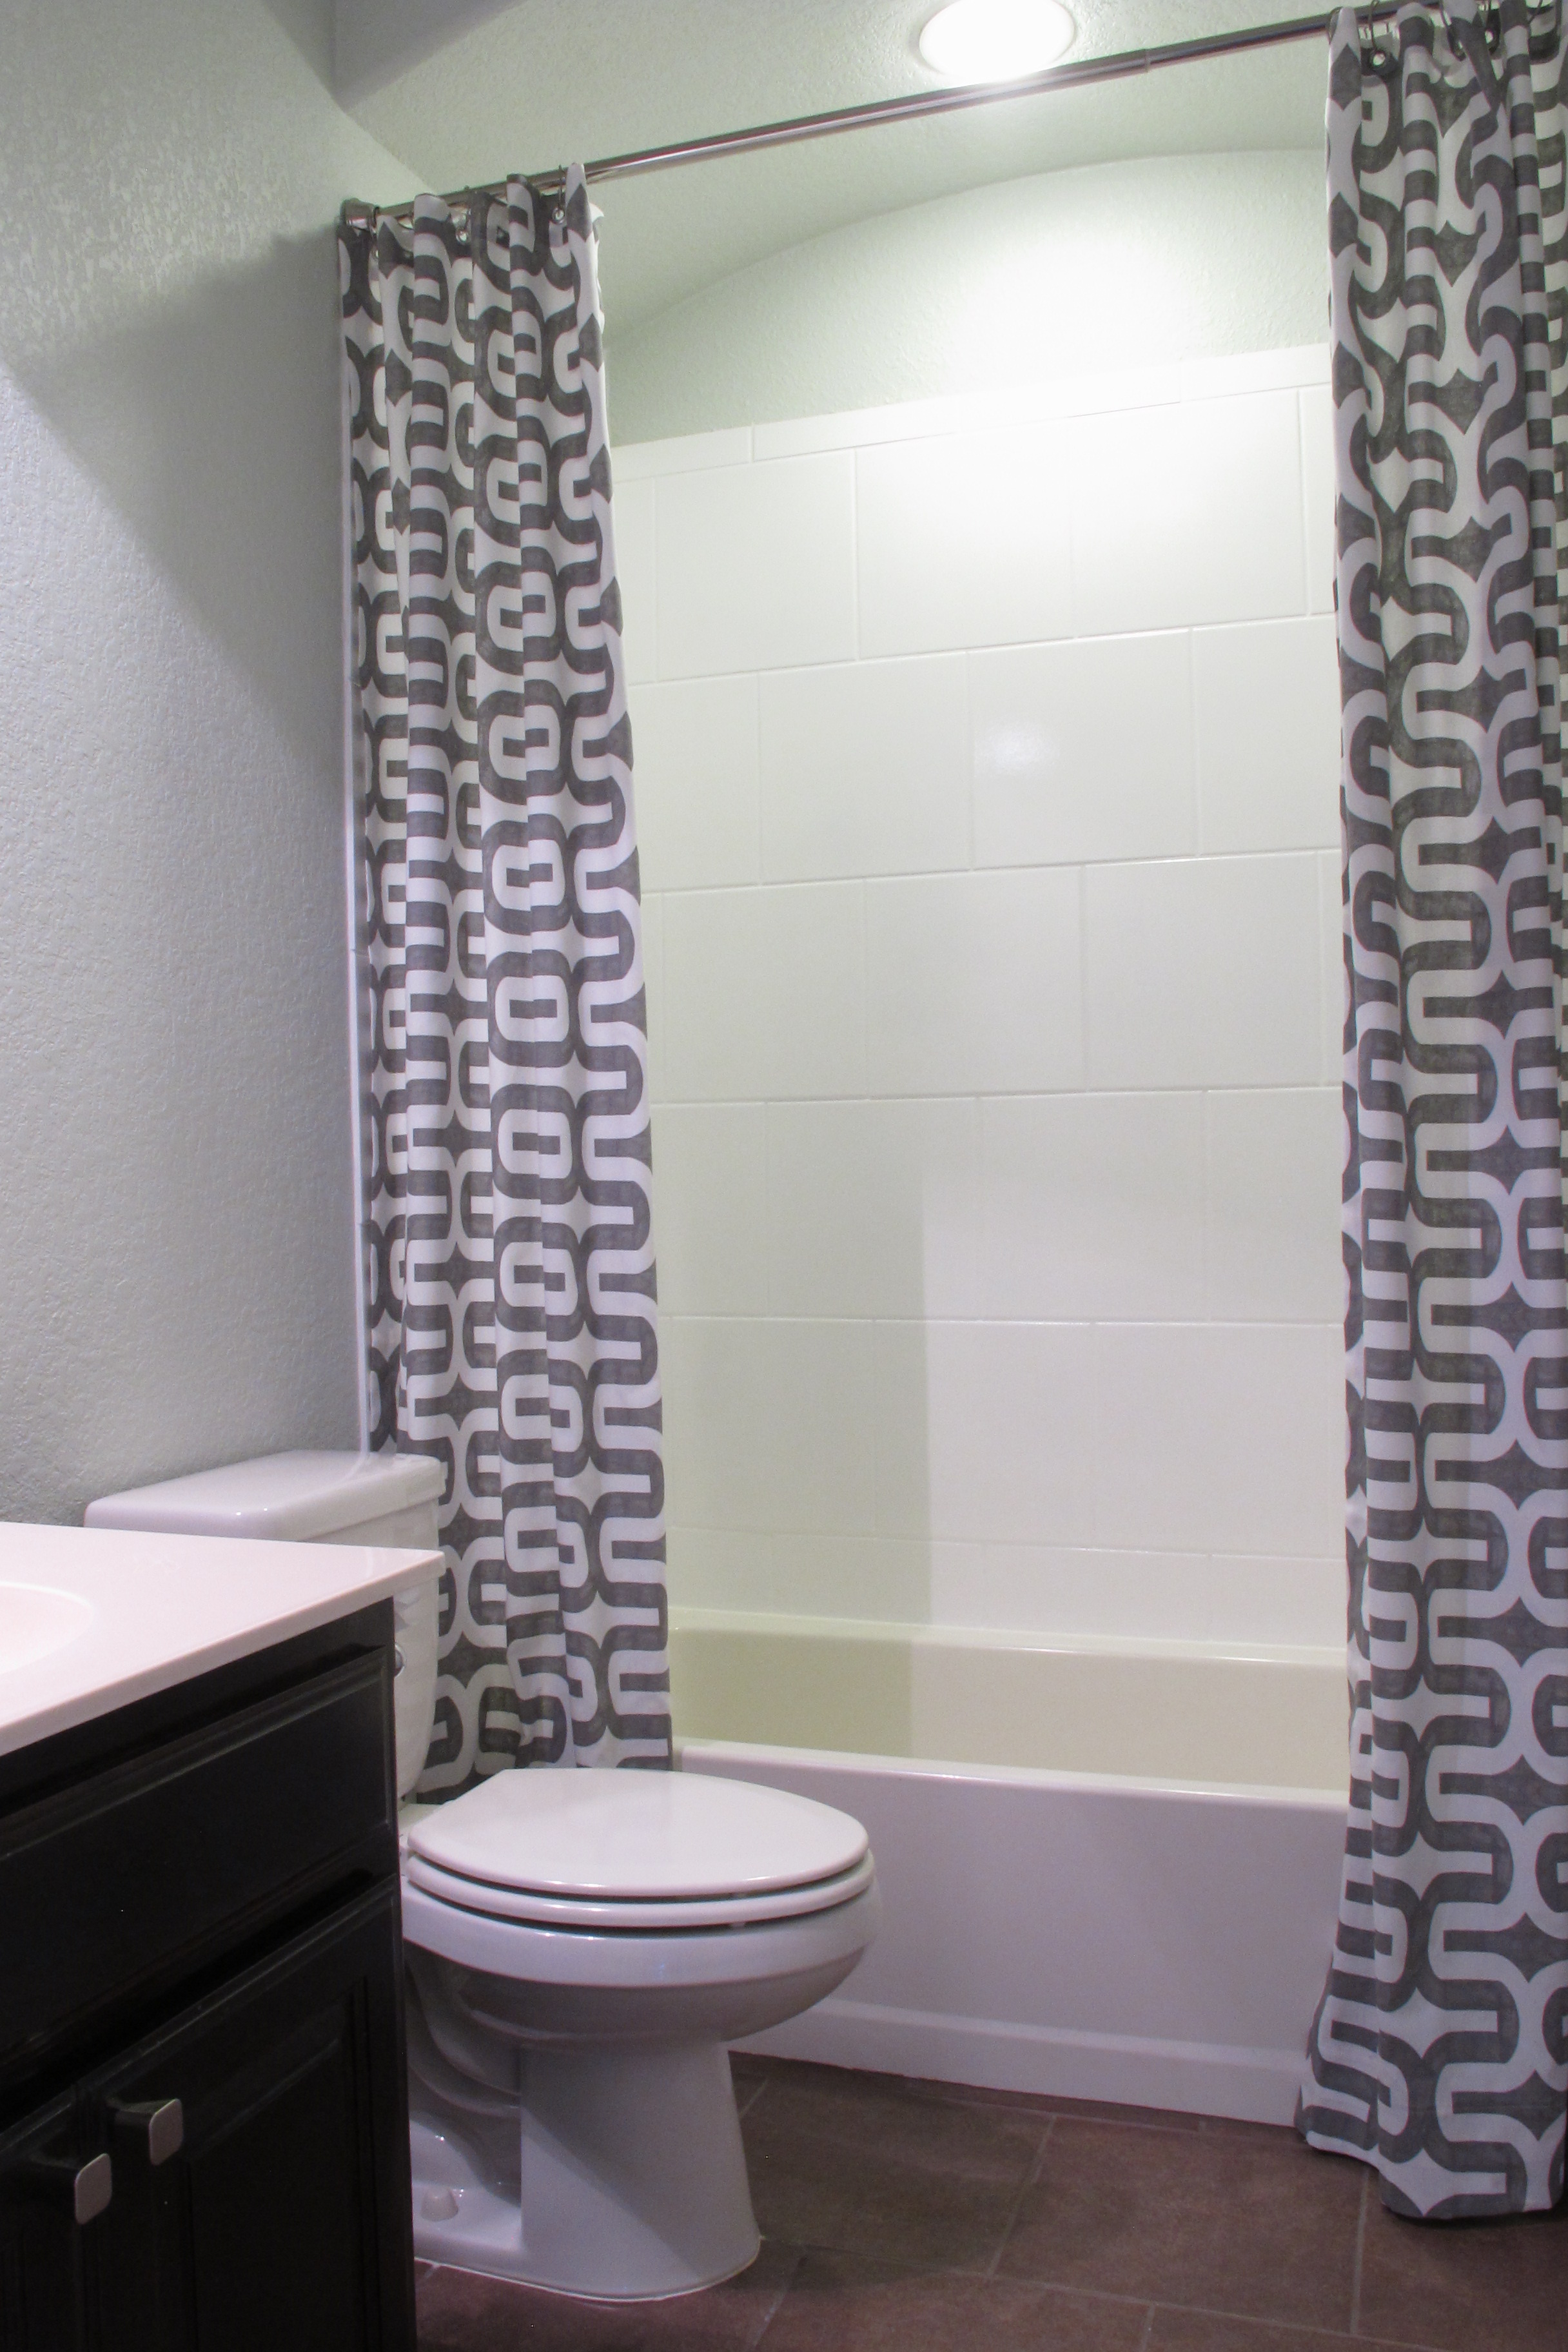
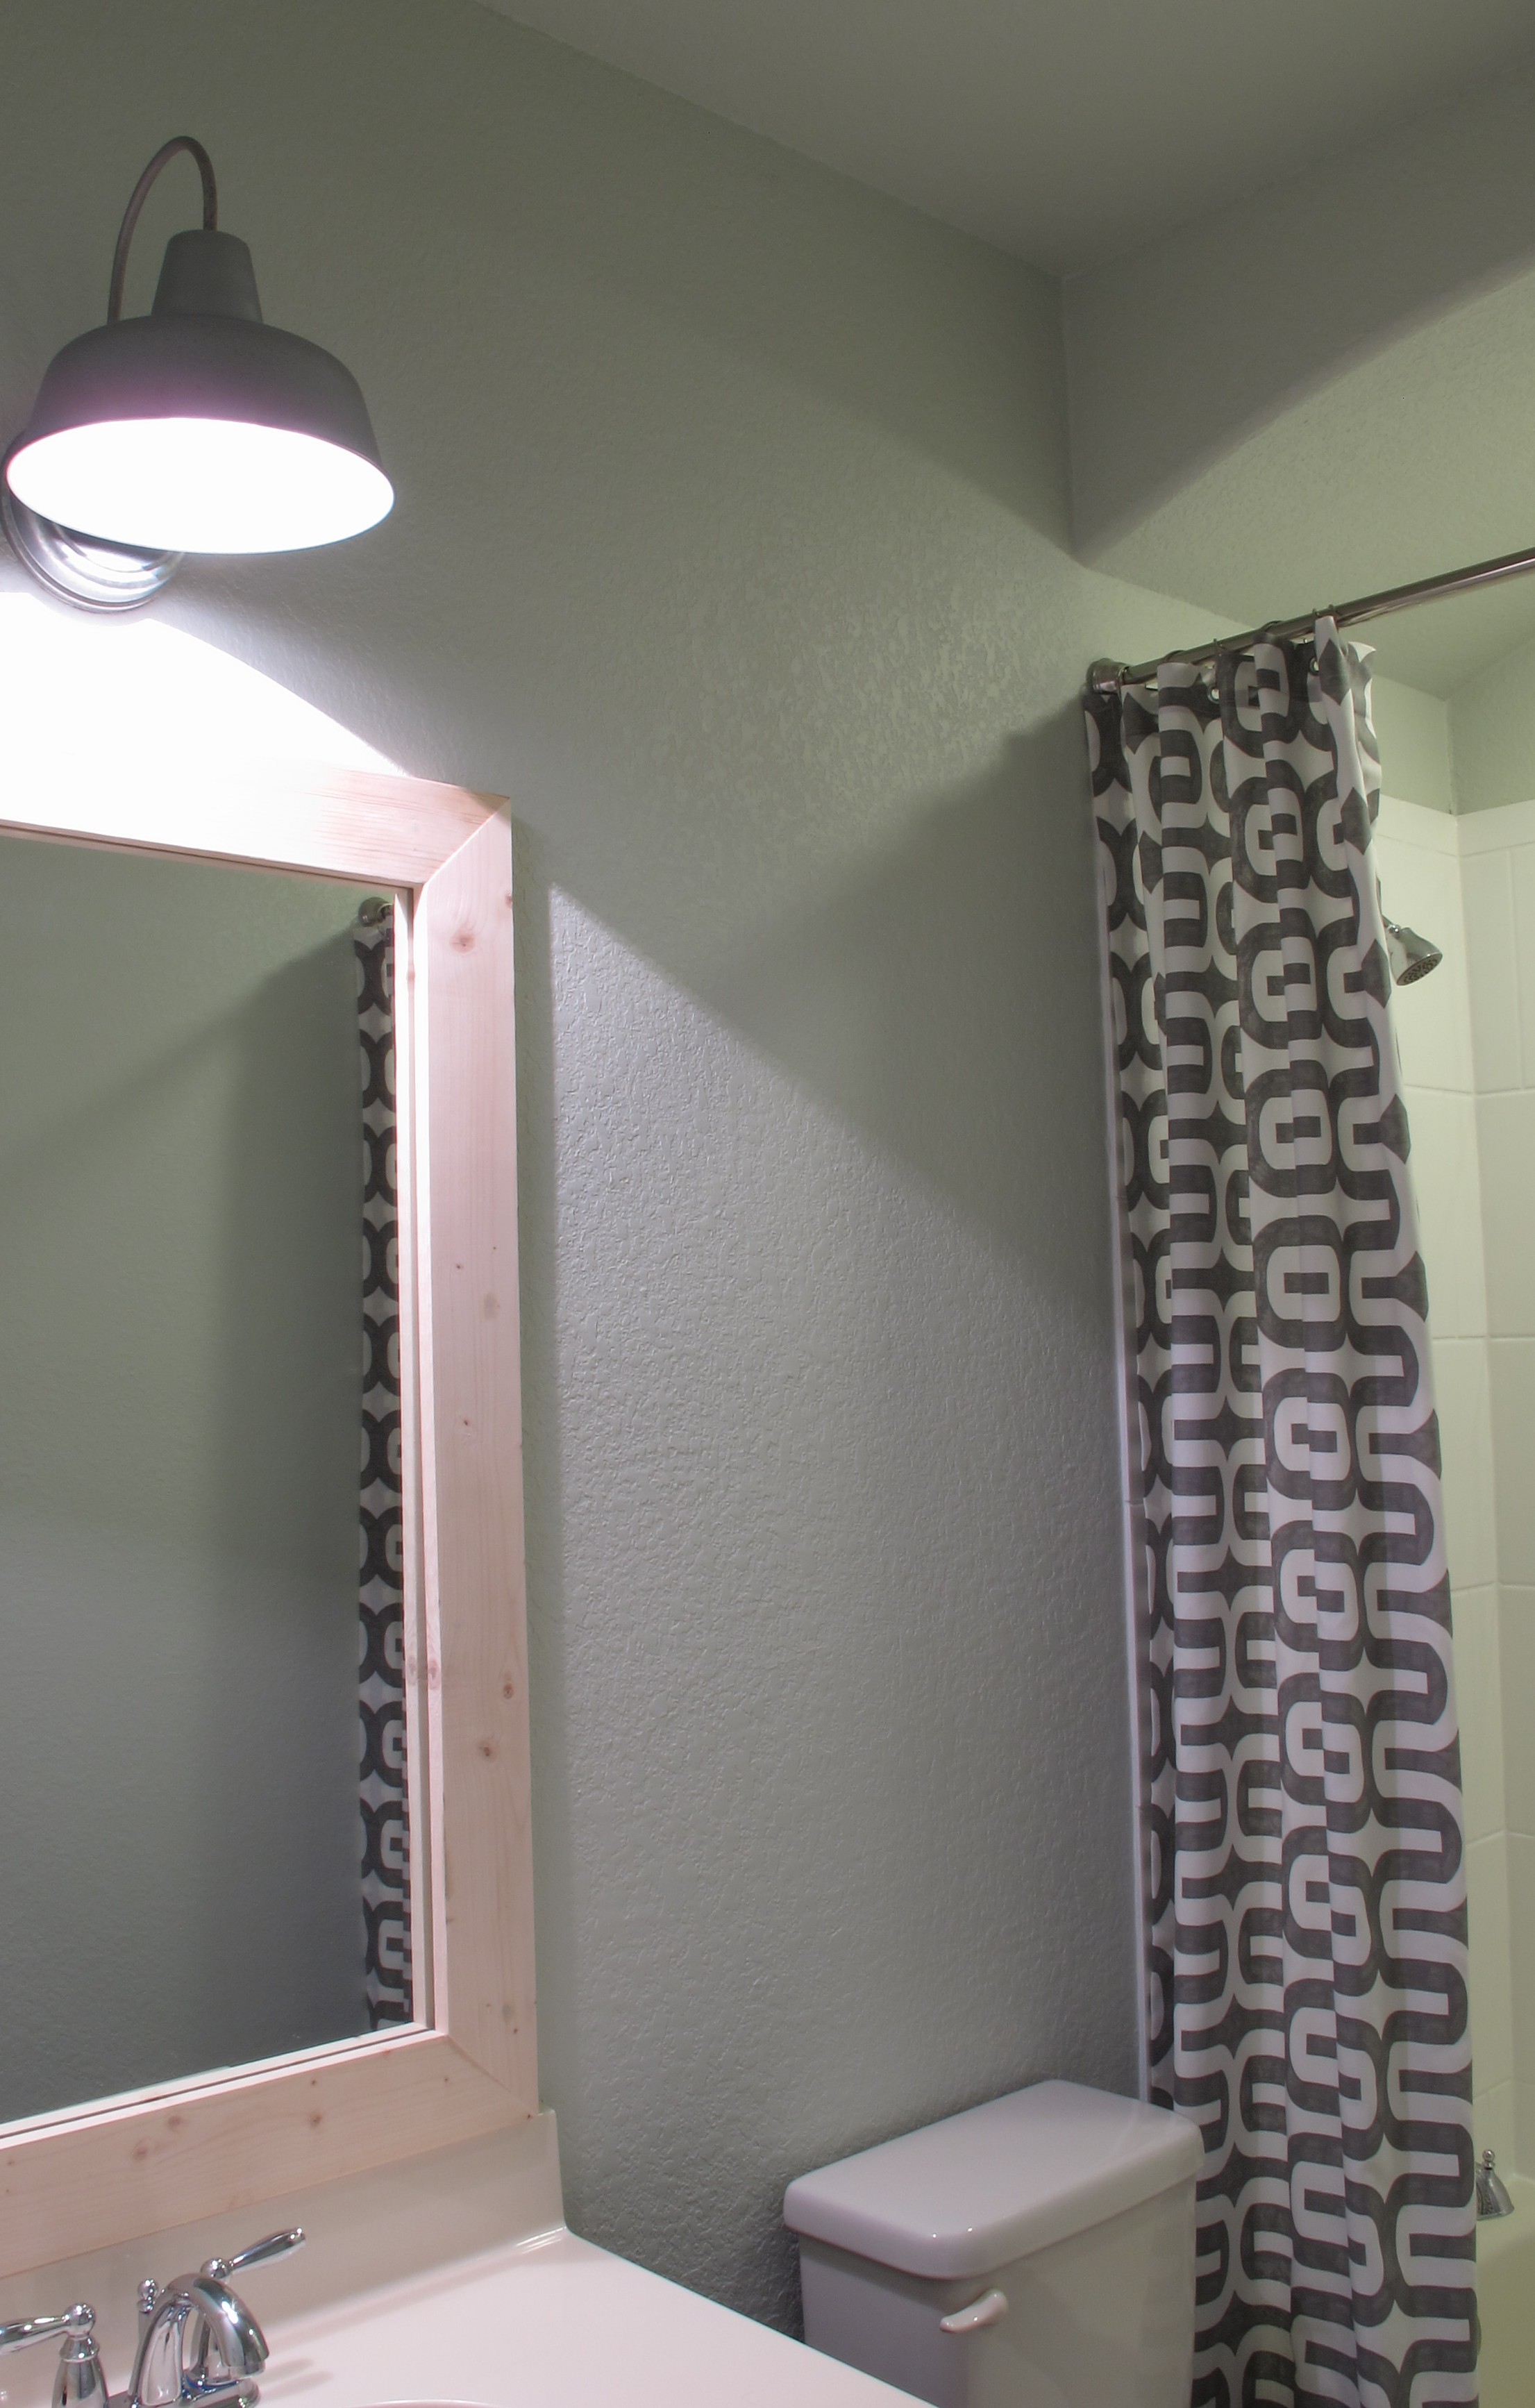
(Again, ignore the unpainted mirror frame. I’m almost done with it, swear!) And here’s a shot of them closed, although they’ll probably only be closed when the shower is in use…

I LUUUURVE them. The bold, fun pattern gives exactly the effect I wanted. I think stripes would have felt a bit too formal now that I see the new curtains up and running. The fabric softens up the room so much. I cant wait to start accessorizing the joint. This bath is just BEGGING for some fun pops of red!
I still have to buy an extra long shower curtain liner. I thought that I’d be able to make do with the liner we had, but it was too short. So, really, my curtains aren’t functional yet, but they will be soon. Woo-hoo!
I’m so glad that I decided to take on this project rather than settling for something that didn’t exactly float my boat. Now I’ve got shower curtains that I love AND and I’m no longer afraid of Dusty (although, I’m hardly an expert). At least I’ll be willing to try another sewing project in the future which is leaps and bounds from where I was last week.
So, what do ya’ll think?? Anybody else take on any sewing projects recently? Anybody else afraid of their sewing machine? 🙂

Would’ve scored 10 points if I’d remembered to match the two panels BEFORE we cut and sewed!
It was a great lesson, though! I’ll remember to check that next time (and if I miss it, will know how to fix it). 🙂