Hello all! This is me. Typing on my computer. Eagerly awaiting the getting-of-the-keys for our new house. The sellers will be out on Wednesday… they negotiated a 7 day lease-back after closing to allow them time to move. It’s so weird to know that the house is ours, but we can’t visit it yet. A deal is a deal, though… but, dang, is this torture (forme). So, in the meantime, we wait. And as I wait, I’ve thought about our lives over the past 6 weeks. A large part of which was spent was prepping and staging our home to be sold. After having our home on the market (and having seen many homes on the market), I definitely have a fresh appreciation for staging. We’ve gone through the process of listing a house twice at this point, and I’ve learned a ton each time. So, I thought I’d share my favorite tips. You may have heard a few of these before, but I can’t emphasize their importance enough. Seriously, they’re worth the time and effort. So, with that said, here we go…
1. Organize!! You saw this process first-hand when I organized No Man’s Land, the craft closet, mud room and Lucas’s closet. I also organized our master closet, hall closets and drawers/cabinets as time allowed. I just didn’t write posts about them. I started this process WAY ahead of time. I knew that we were house-hunting, but I had no idea when we would actually find something. So, better safe than sorry. And I can’t even tell you how glad I was that all of that was done when we found our new house. It made staging our home so much quicker. Plus, because our secondary closets are small, I’m especially glad that I staged both Lucas’s closest and the craft closet in different ways to demonstrate their usability.
2. Purge!! Get rid of anything that’s taking up precious space. If your rooms are cluttered with extra furniture or tchotchkes, clear them out. You want your home to look put together and cozy, but not cluttered. With our first home, we actually rented a storage unit and moved any excess furniture, boxes, and extraneous stuff there.. It helped a lot. Especially with the closets. We only kept items in the closets that we used frequently to allow them to appear spacious and organized. All lesser-used items went into the storage unit.
3. Plants. Although you want an uncluttered space, you don’t want it to appear cold. Keep out some nicer accessories as well as house plants. Plants warm up spaces and make them appear loved. So, include them. Also, our first realtor told us to leave a bowl of green and red apples on the kitchen counter or table. She said it evokes a feeling of health and well-being, so I did that both times. Whether or not it had an effect is beyond me, but I figured it was worth a shot.
4. Personal pictures. I know that most experts say to remove all personal pictures/accessories. I’m personally on the fence about this as I think it depends on how the pictures are displayed. Huge poster-sized wedding pic above the fireplace?? Yeah, I’d probably change that out. Something like our asymmetrical frame wall??

I left it. Why?? Because I felt like the overall style and placement of the gallery wall was the star of the show here. Not the personal photos so much. Since the larger frames contained more neutral art, and only some of the smaller photos were of us (and theses pictures were artsier candid shots for the most part), I felt like the frame collage only enhanced the space and showed how this wall could be used. Now, I will clarify that this is the only place in the house that we have family pictures. If they were displayed in every room, I’d definitely consider changing some of them out so as not to overwhelm the buyers with our smiling faces.
5. Clean EVERYTHING. And keep it clean. I started this process several weeks prior to listing our home. Begin with the less frequent tasks like cleaning your oven, windows, fridge, etc. Clean your fridge even if you’re taking it with you. Buyers look at everything and you don’t want anything to turn them off. Plus, it’s less for you to do later. Knock a few chores off your list each day until you’re left with your more frequent tasks. Then keep those up. Not much of a cleaner? Hire someone to do a deep-cleaning once, then simply maintain it.
6. Fix anything that’s partially done or needs maintenance. We had a water spigot and some drywall that needed repair in the exterior/garage. We knew that an inspector would flag that during the home inspection and that if the buyers requested for us to fix it, we would have to hire a licensed plumber to stay in compliance with our contract. This equals increased expense. It was a simple fix that Joey was more than capable of doing himself, so he knocked it out before the house was listed. Now, don’t get me wrong… A licensed plumber/electrician/HVAC person, etc., should be hired for more technical fixes, so I’m definitely not recommending attempting something beyond your skill set… But this was an easy item that Joey had done a number of times. So, he did it himself to save a buck.
7. Come up with a toy system if you have kids. Pack up any toys your kids don’t play with regularly to reduce clutter. Lucas sort of did this himself this time around when he decided to donate most of his toys, but with our first home, I simply put most of his seldom-used toys in storage. And seriously, y’all… he didn’t miss them. Since the living room was/is his most common play-spot and his toys usually end up here….
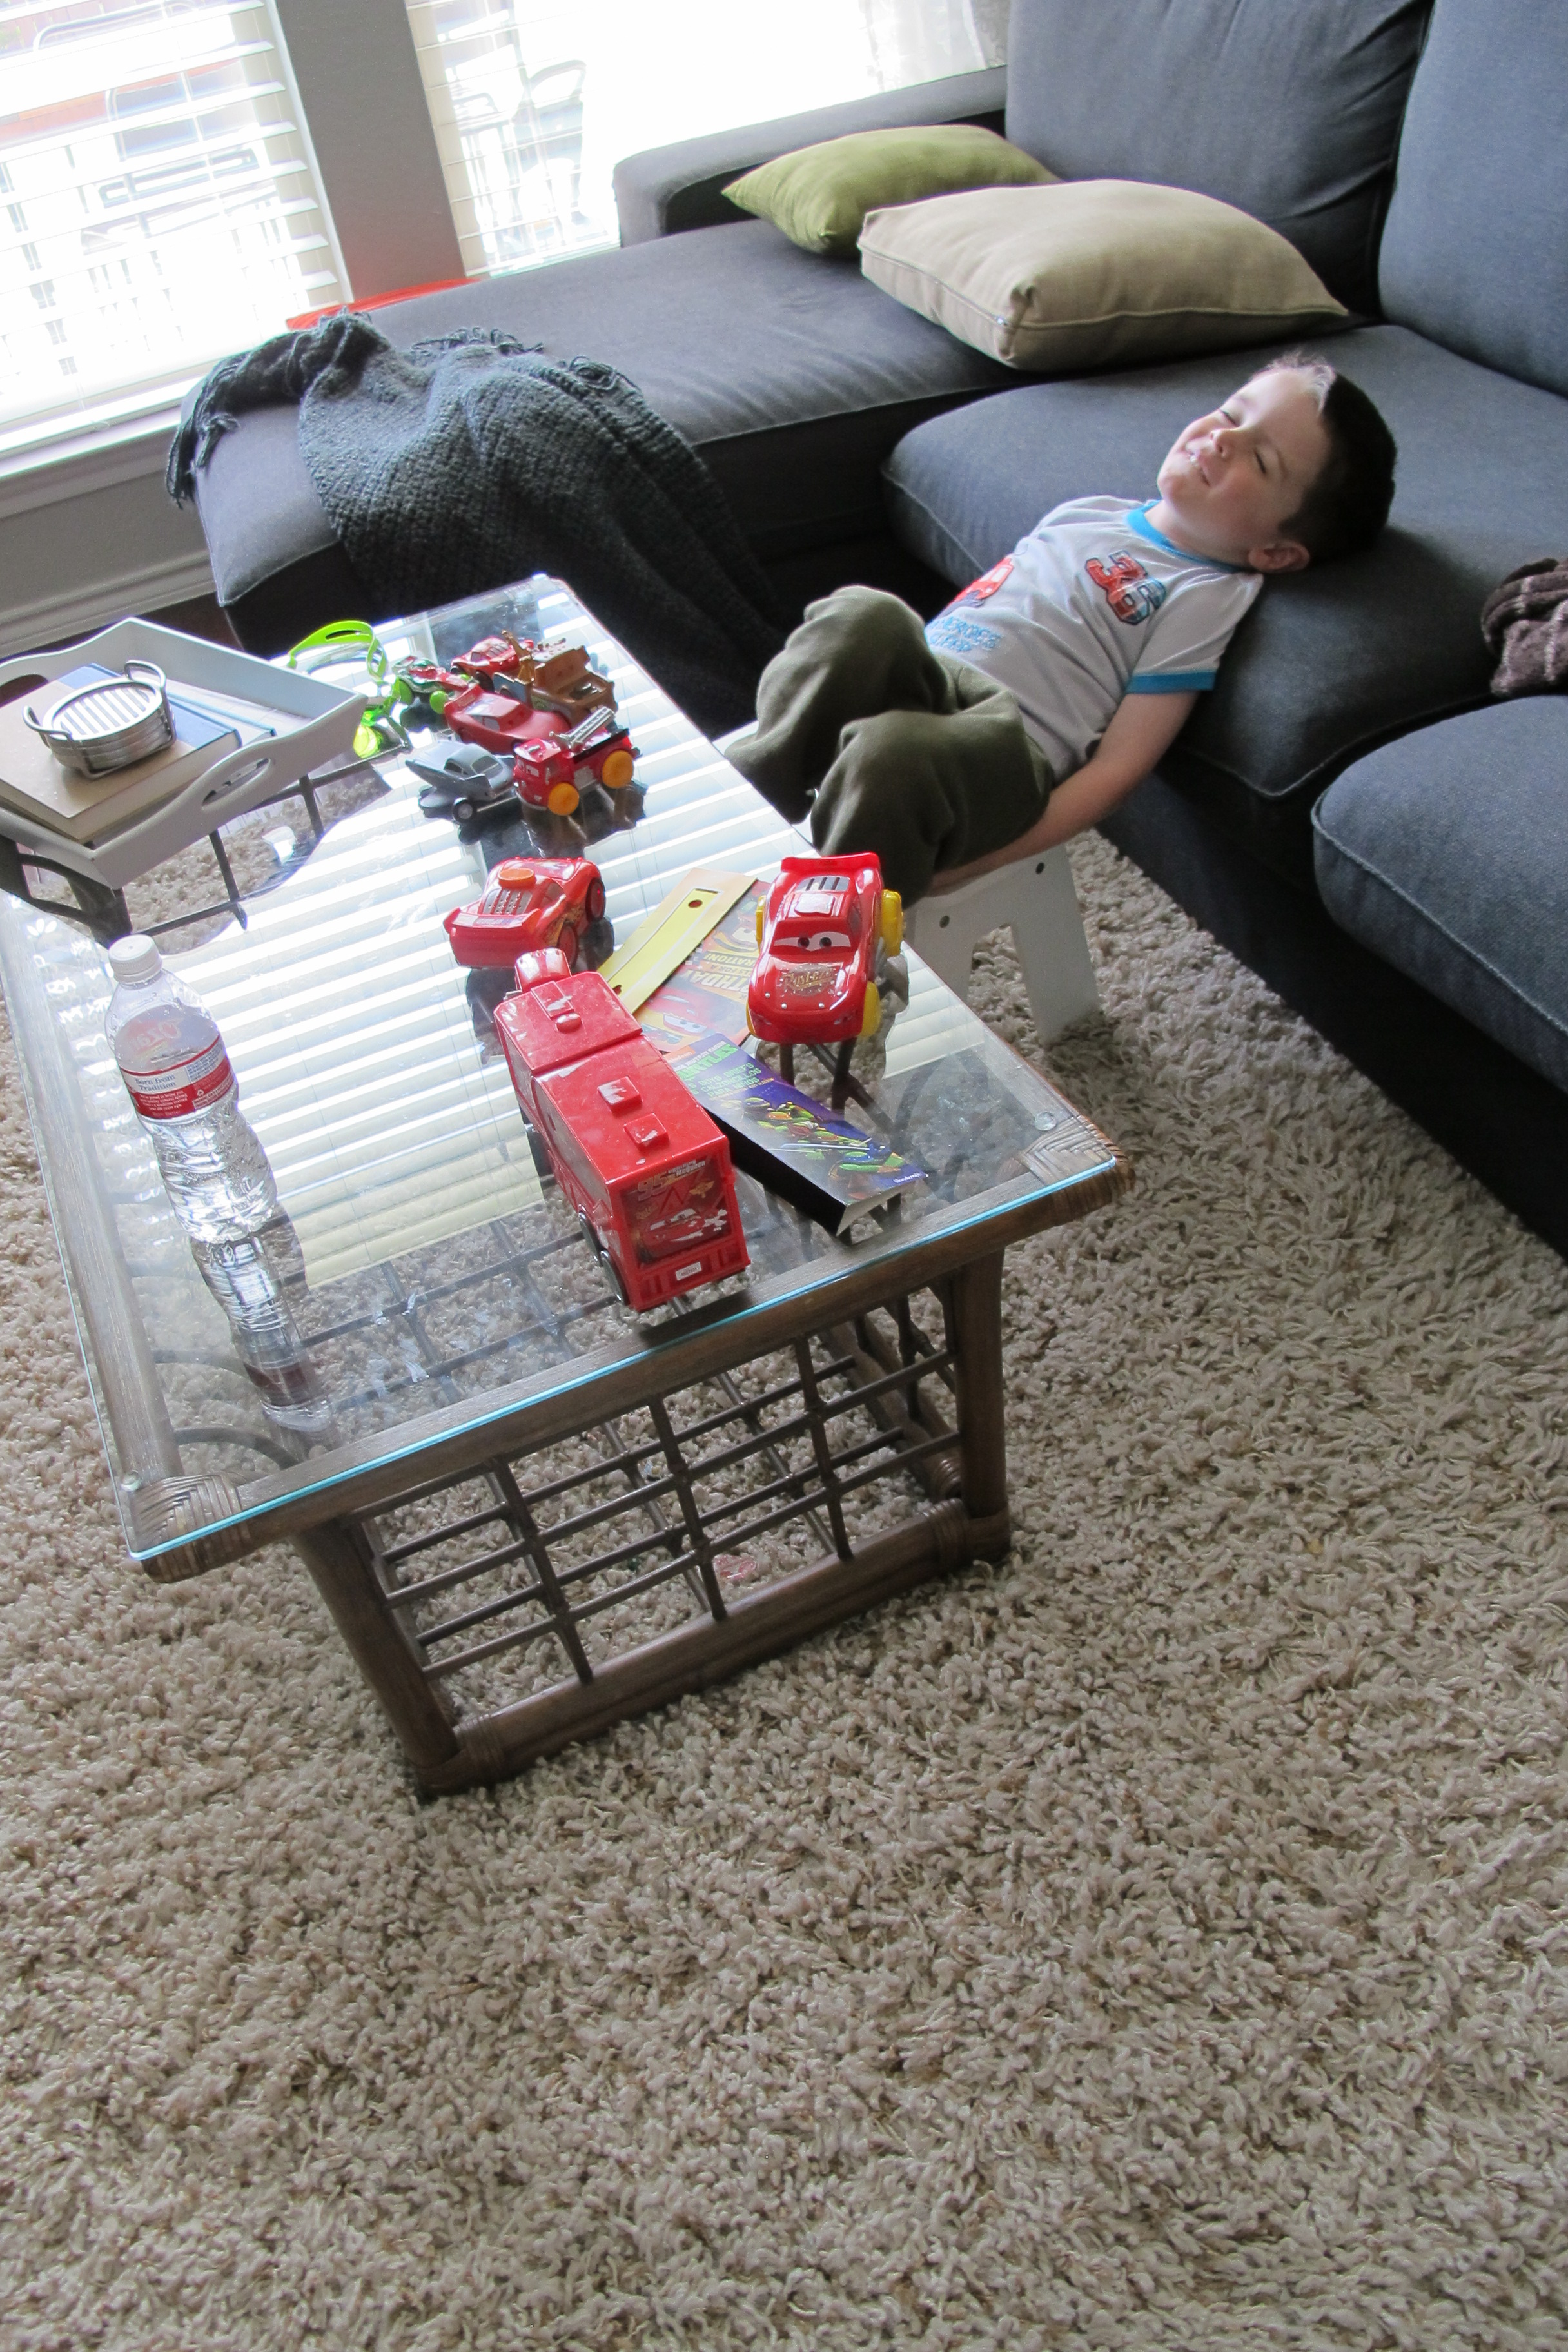
I grabbed an extra basket that I had on hand and had him put his toys in there when he wasn’t playing with them. Having the basket available was super handy if we needed to get out of the house fast for a showing. I just scooped them all in there and placed it under his white table. I also emphasized that he was to only play with one thing at a time. That he needed to put away toys when he was done before pulling out something new. This took a good deal of reinforcement (AGOODDEAL), but worked out in the end and made last-minute showing prep so much less stressful.
8. On that note, keep things available for an easy escape. We kept all purses, shoes, wallets etc. right by the garage door so that we could just grab ’em and go if we got the call. No more, “Lucas, where did you put your shoes??!” “Mom, they’re not shoes, they’re sandals!” (Arg! Beside the point, man!). We’d asked for one hours notice for showings beforehand, but that time goes awfully quick in a pinch.
9. Remove any attached item that you don’t want to sell. If you have a certain lighting or plumbing fixture that you want to take with you, replace it before you list your house. Otherwise, you’ll likely have to leave it. Also, in many states, if you don’t specify otherwise, all window treatments are included with the sale of the house as well as any shelves attached to the walls. This came as a total surprise to me the first time we sold our house. I thought only the window blinds conveyed, so I removed all curtains and curtain rods and packed them. Imagine my annoyance when I found out that those stayed. I had to unpack and rehang them, which was the last thing I wanted to take time to do in the midst of packing. This time around, I made sure to specify in the listing that the blinds conveyed, but curtains, curtain rods, and the shelves in both the living room and Lucas’s room were not included in the sale of our home. I don’t get why the buyers would even want your curtains, especially if they don’t go with their stuff.
10. Tout any improvements from the rooftops. Bring the buyers attention to these things… It helps them equate these improvements to the amount of work they DON’T have to do upon buying your house. Create lists, frame them, and display them prominently in your home…

I did this with the sale of both of our houses and it worked great. In fact, after 3 weeks of having our first house on the market, I finally displayed a list of improvements, and our house sold to the very next showing. Success in my book (even if it wasn’t the list that entirely did it)! This time around, since we had our house built, I created two lists… One was a list of upgrades included during construction, the second was improvements added since construction. I didn’t include dates this time around since we’ve only lived in the house for a year and a half, but the first time I included the months/years that the improvements were made.
11. Make your house smell good. Bake cookies, heat up cinnamon on foil in the oven, use a Scentsy, whatever. Be sure your home smells welcoming. Nothing is a bigger turnoff than a musty, stinky house. So, don’t go nose-blind. Take action!
12. Don’t underestimate lighting. Put on fresh eyes. Pretend the house isn’t yours and walk through with the eyes of a buyer. Add lighting to any area that seems dark or unwelcoming. Move a lamp, or simply make sure the lights are on when you leave the house for a showing. It really makes a huge difference. You want the home to feel light and bright from the second a buyer walks in. I literally turned on every light/lamp in the house for every showing this time around. The one exception was the overhead light in the master bedroom. I wanted the master to seem cozy and serene and the overhead light just seemed glaring (plus, the wall of windows allowed in plenty of natural light anyways). I simply turned on our bedside lamps in that space and called it a day.
So, that’s pretty much what I’ve got. I’m not gonna lie… keeping a house show-ready (especially with kids) is no joke. But it can be done. Hopefully getting a jump on a few things will help keep the process easier to manage.
And with that said, I must return to my original obsession: I’m positively antsy to get access to the new place so that I can take some house tour pics to share with ya’ll. Hopefully, if I play my cards right (ahem! If I can tear myself away from our new, currently-internetless house for long enough), I’ll have something up later this week. So, with that, I say adieu for today. I hope ya’ll have a great week! Catch ya on the flip side! 🙂
Shared at:


I’ve been saving your posts so I’m late to the game here…trying to get caught up! Of course, I know you have already moved, but let me say CONGRATULATIONS!!! I think your house looks awesome!! Ours was built in 1964 so we have all mid-century stuff throughout our house. Your Brady Bunch style has me smiling and a bit envious–I love the 70s architecture. As for not getting to go in your house when you close–apparently here in Oregon a closing is only a “soft” close and you don’t get to take possession until a few weeks later. FEW WEEKS! I was freaking out! So I feel ya…completely… Great tips too for staging your home!
Thanks, Steph!!! I can’t imaging having to wait a few weeks!!! One was enough in my book… and that’s considered long here in TX!! Crazy!!! 🙂
good tips…need to do a few things that you have mentioned!!
Love the idea of framing the improvements you’ve made!
Thanks! It’s a simple thing that really makes a huge difference! 🙂