Yes, that title is to the tune of JT’s classic jam. Anybody else awkwardly bobbing their heads to the music in your brain? Just me? That’s okay. Anything for JT. 😉
So, anyways, I’ve decided that I should never make statements like “I’ll (maybe) write that post today”. Heehee! Every time I do that it seems like life gets in the way and it doesn’t happen. So, from now on if I make preposterous ambitious statements, I give you permission to insert a well-intentioned eyeroll. At least I threw the “maybe” in there, though. Just sayin’. 😉
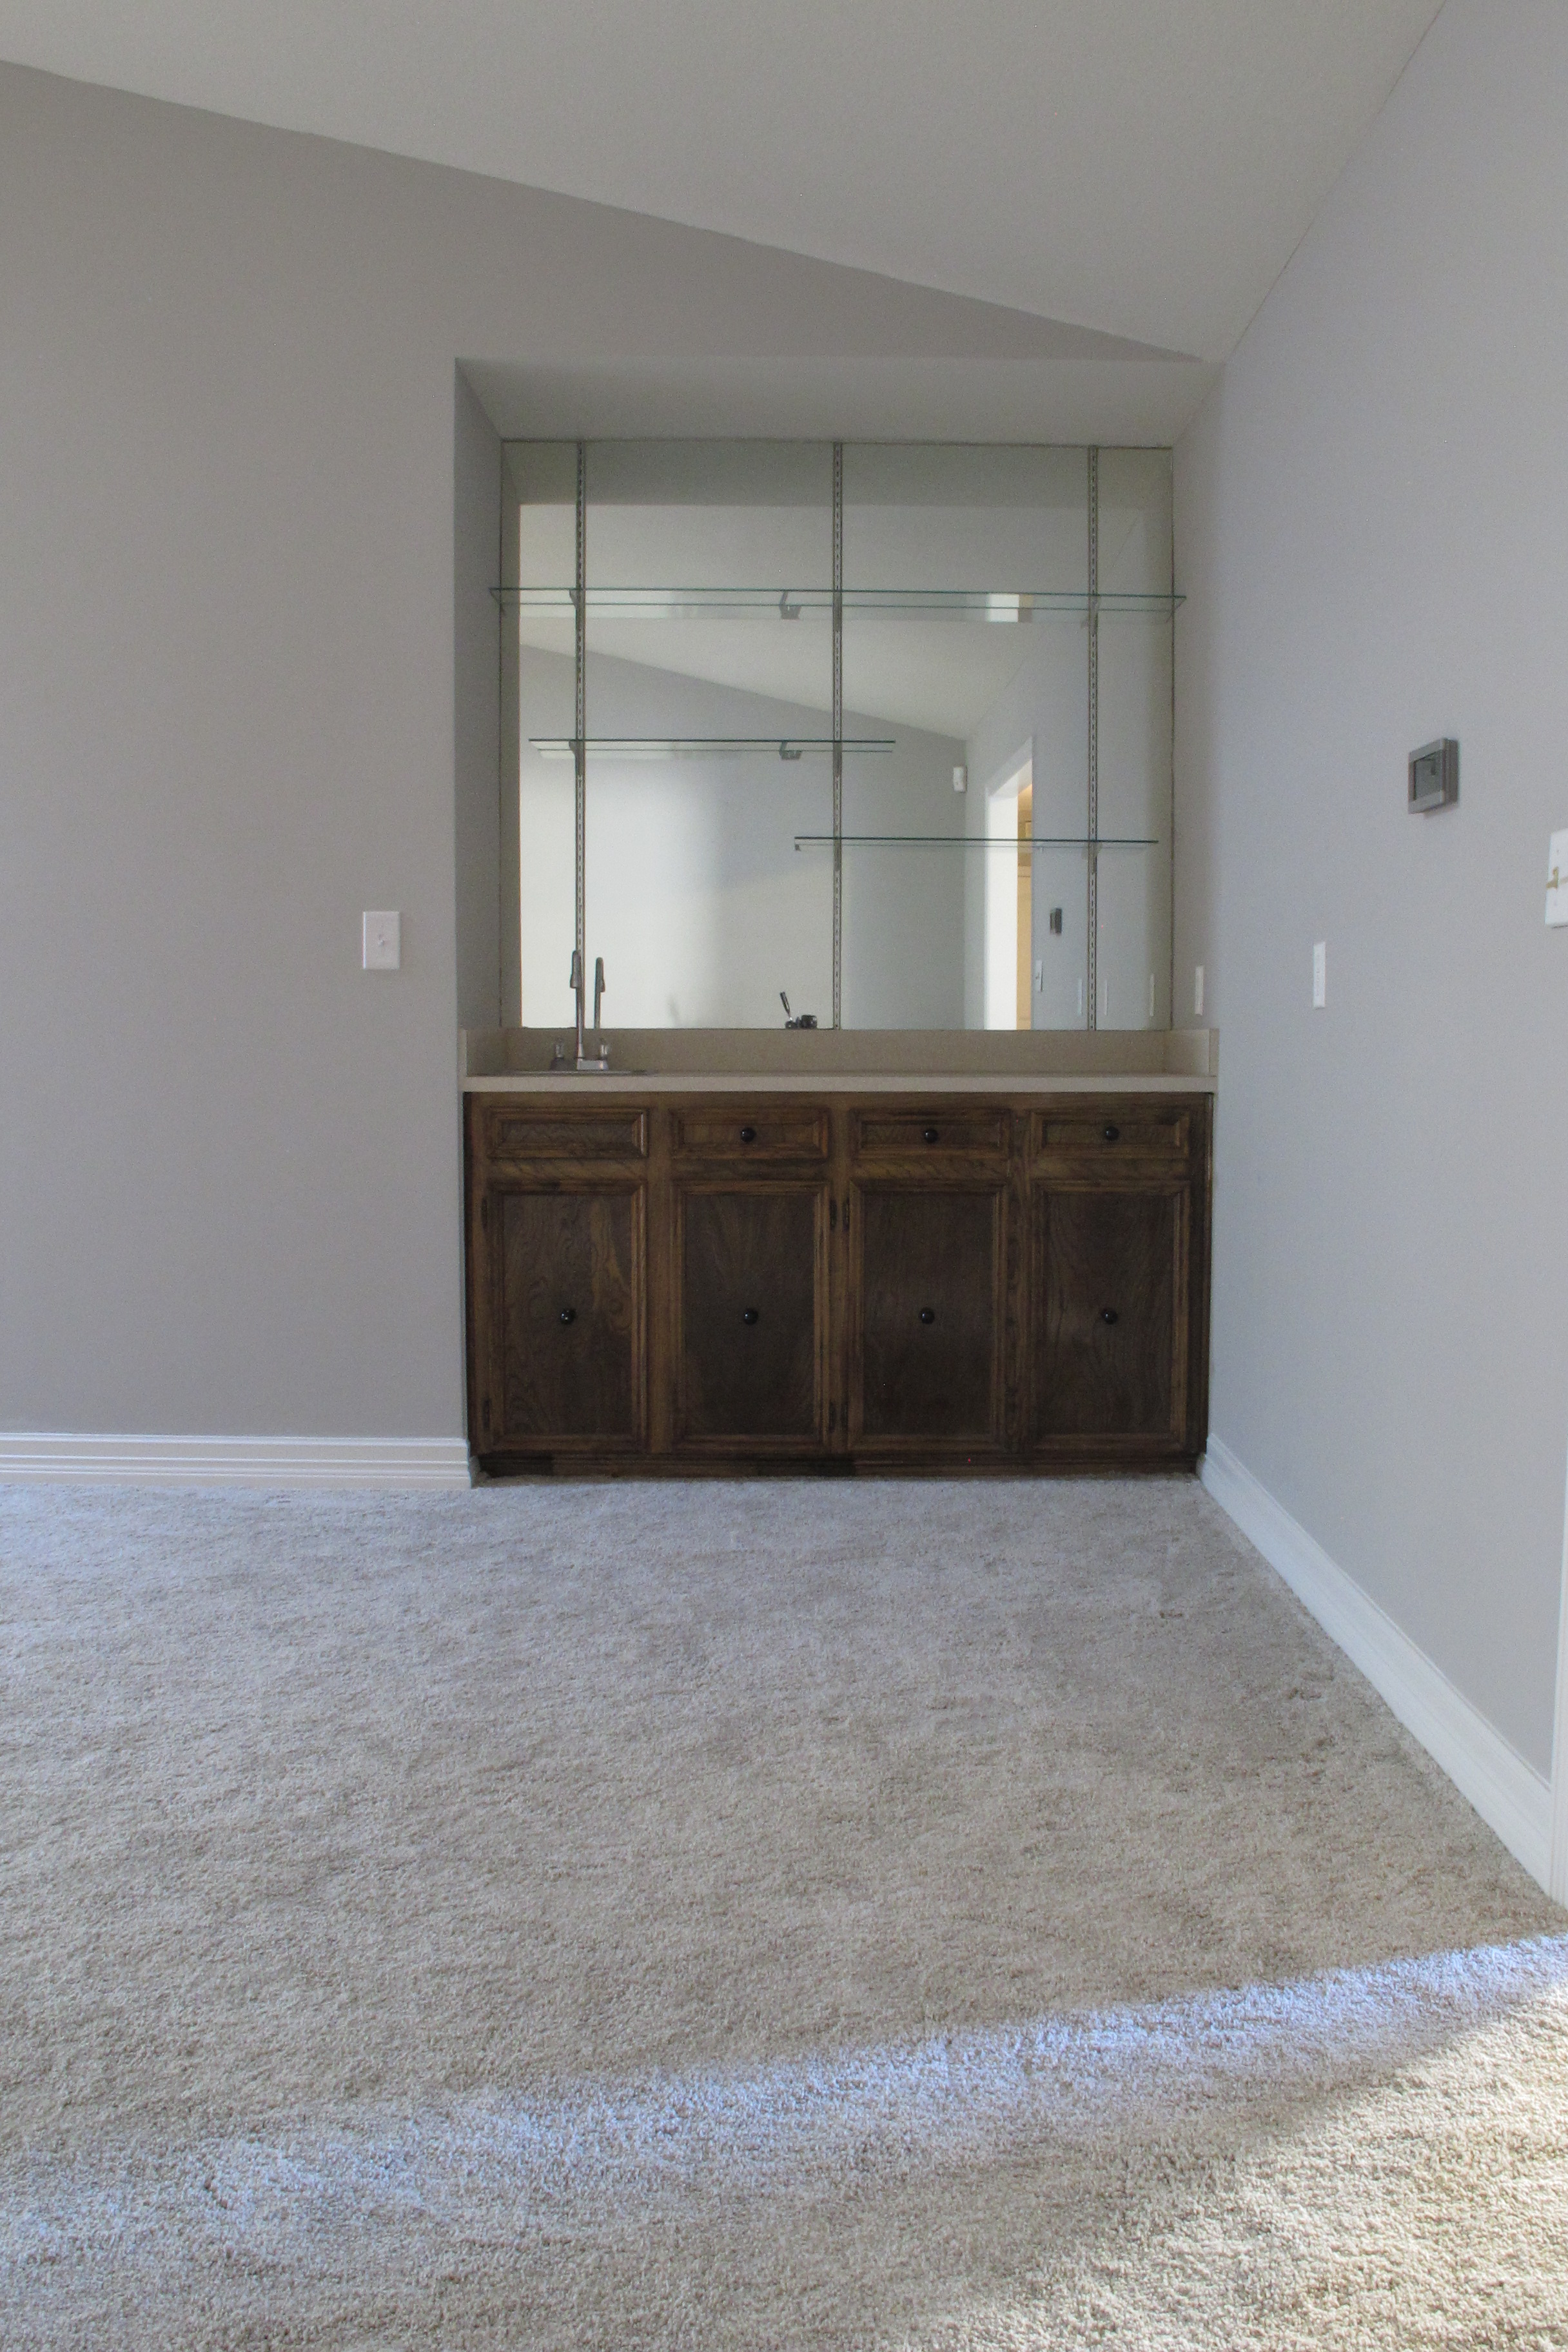
If you’re new to my little blog here, you can check out this post to get caught up on our wet-bar progress thus far. To summarize, we started out here…
Then, I painted the cabinetry white, ripped off the backsplash/sidesplashes, mirror, and the seizure-inducing wallpaper we found beneath it. I patched/primed and painted the wall, and updated the dated faucet. (although, this next shot was taken before the faucet switcheroo)…

So, next the plan is to to add a concrete coating to the countertop, tile that back wall, hang a mirror in the center, and mount two pendant lights overhead. But until those projects commence, I decided to style the wet-bar to look as nice as possible. I never mind putting in the effort to accessorize a space, even for a short time, if it means I get to enjoy the pretty in the meantime. So, I collected a bunch o’ stuff that I already owned and got to it. At one point, I got here…

…and, to be honest, I wasn’t super happy with it. I mean, it was o-KAAAAYY. Just not exciting for me. I think it was the mirror. I’ve had that mirror since my very first apartment and I felt like it just wasn’t right for the space. It was a smidge too traditional, whereas I felt that something either more modern or vintage-y would be a better fit. Modern to contrast the new door/drawer pulls (which are the same ones I used for our built-ins) or vintage-y to accentuate them. Traditional just wasn’t really jiving with either goal in my opinion. Plus, I knew that once the countertops were grey concrete, they may clash with the frame color anyways. The next day, I hopped onto the internet to see what Sir Craig was offering in the way of mirrors and I came across this gem…
 A HUGE vintage mirror for $25!!!
The size was perfect for the wet-bar and I loved that the wood tone would play off of our mid-century media stand on the opposite side of the room. Plus, I felt like I was replacing the vintage mirror that we’d torn out with a BETTER vintage mirror. Vintage-lover-guilt officially stowed. I texted the seller, who stated that it was still available and that she could meet me in Fort Worth (which is halfway between us) the following day. I met her as planned, loved the mirror even more in person, and took ‘er home.

It was a bit dirty and the wooden frame had a few nicks and scratches, but it wasn’t anything a little stain, a craft brush, and some elbow grease couldn’t fix (Tip: Varathane’s Early American stain is the PERFECT mid-century-toned-brown. It matched the frame exactly.). The following day, my dad and Joey hung the beast. Which left this…


Here’s a detail shot so you can see the texture of the frame…

And here’s the wet-bar in the context of the entire wall. I took this pic on a dark and gloomy day and the lighting in this part of the room isn’t great (which’ll be remedied eventually), but you can see that the vintage mirror nicely offsets the more modern furnishings beside it. I definitely plan to hang the alphabet canvas higher now that the mirror is hung so that they’re at similar heights…

As for the bar styling, it’ll change. There’s a bit too much brown happening with the wine-rack, but it was all I had (fornow), so it stays until I either paint it or find something else. I can’t tell you how perfect the mirror is, though. I literally bounced around the house in excitement when I saw it in the wet-bar. I mean, the size couldn’t be better and the shape really softens the bar and makes it feel less square. Once the lighting situation changes with the addition of two pendant lights and that peach countertop bites the big one, the bar will appear much more balanced and bright. I really think that adding concrete to the counters will add some nice visual weight below and a cool contrast in color and texture which will further balance the space. I plan to use some sort of modern small mosaic tile behind it. Something simple that lets the mirror shine, but still adds a touch o’ bling. I have no idea what yet, but I’m tossing around a solid color square glass mosaic, or maybe a sleek penny tile. It really depends on how the space feels with the concrete counters and difference in lighting, so we will see.
Next up, I’ll be concreting the countertop (once time allows… probably not this weekend, maybe next), then we’ll get pendant lights installed, and finally, tile behind the mirror. It’s coming together, people! It’s coming together…


