Gifts or Bust

Get it??? Bust??? That’s what this post is about after all. When we were brainstorming about what to give our parents for Christmas, we thought and thought and thought. Then one day, I spotted these at Walmart….

IMG_2828

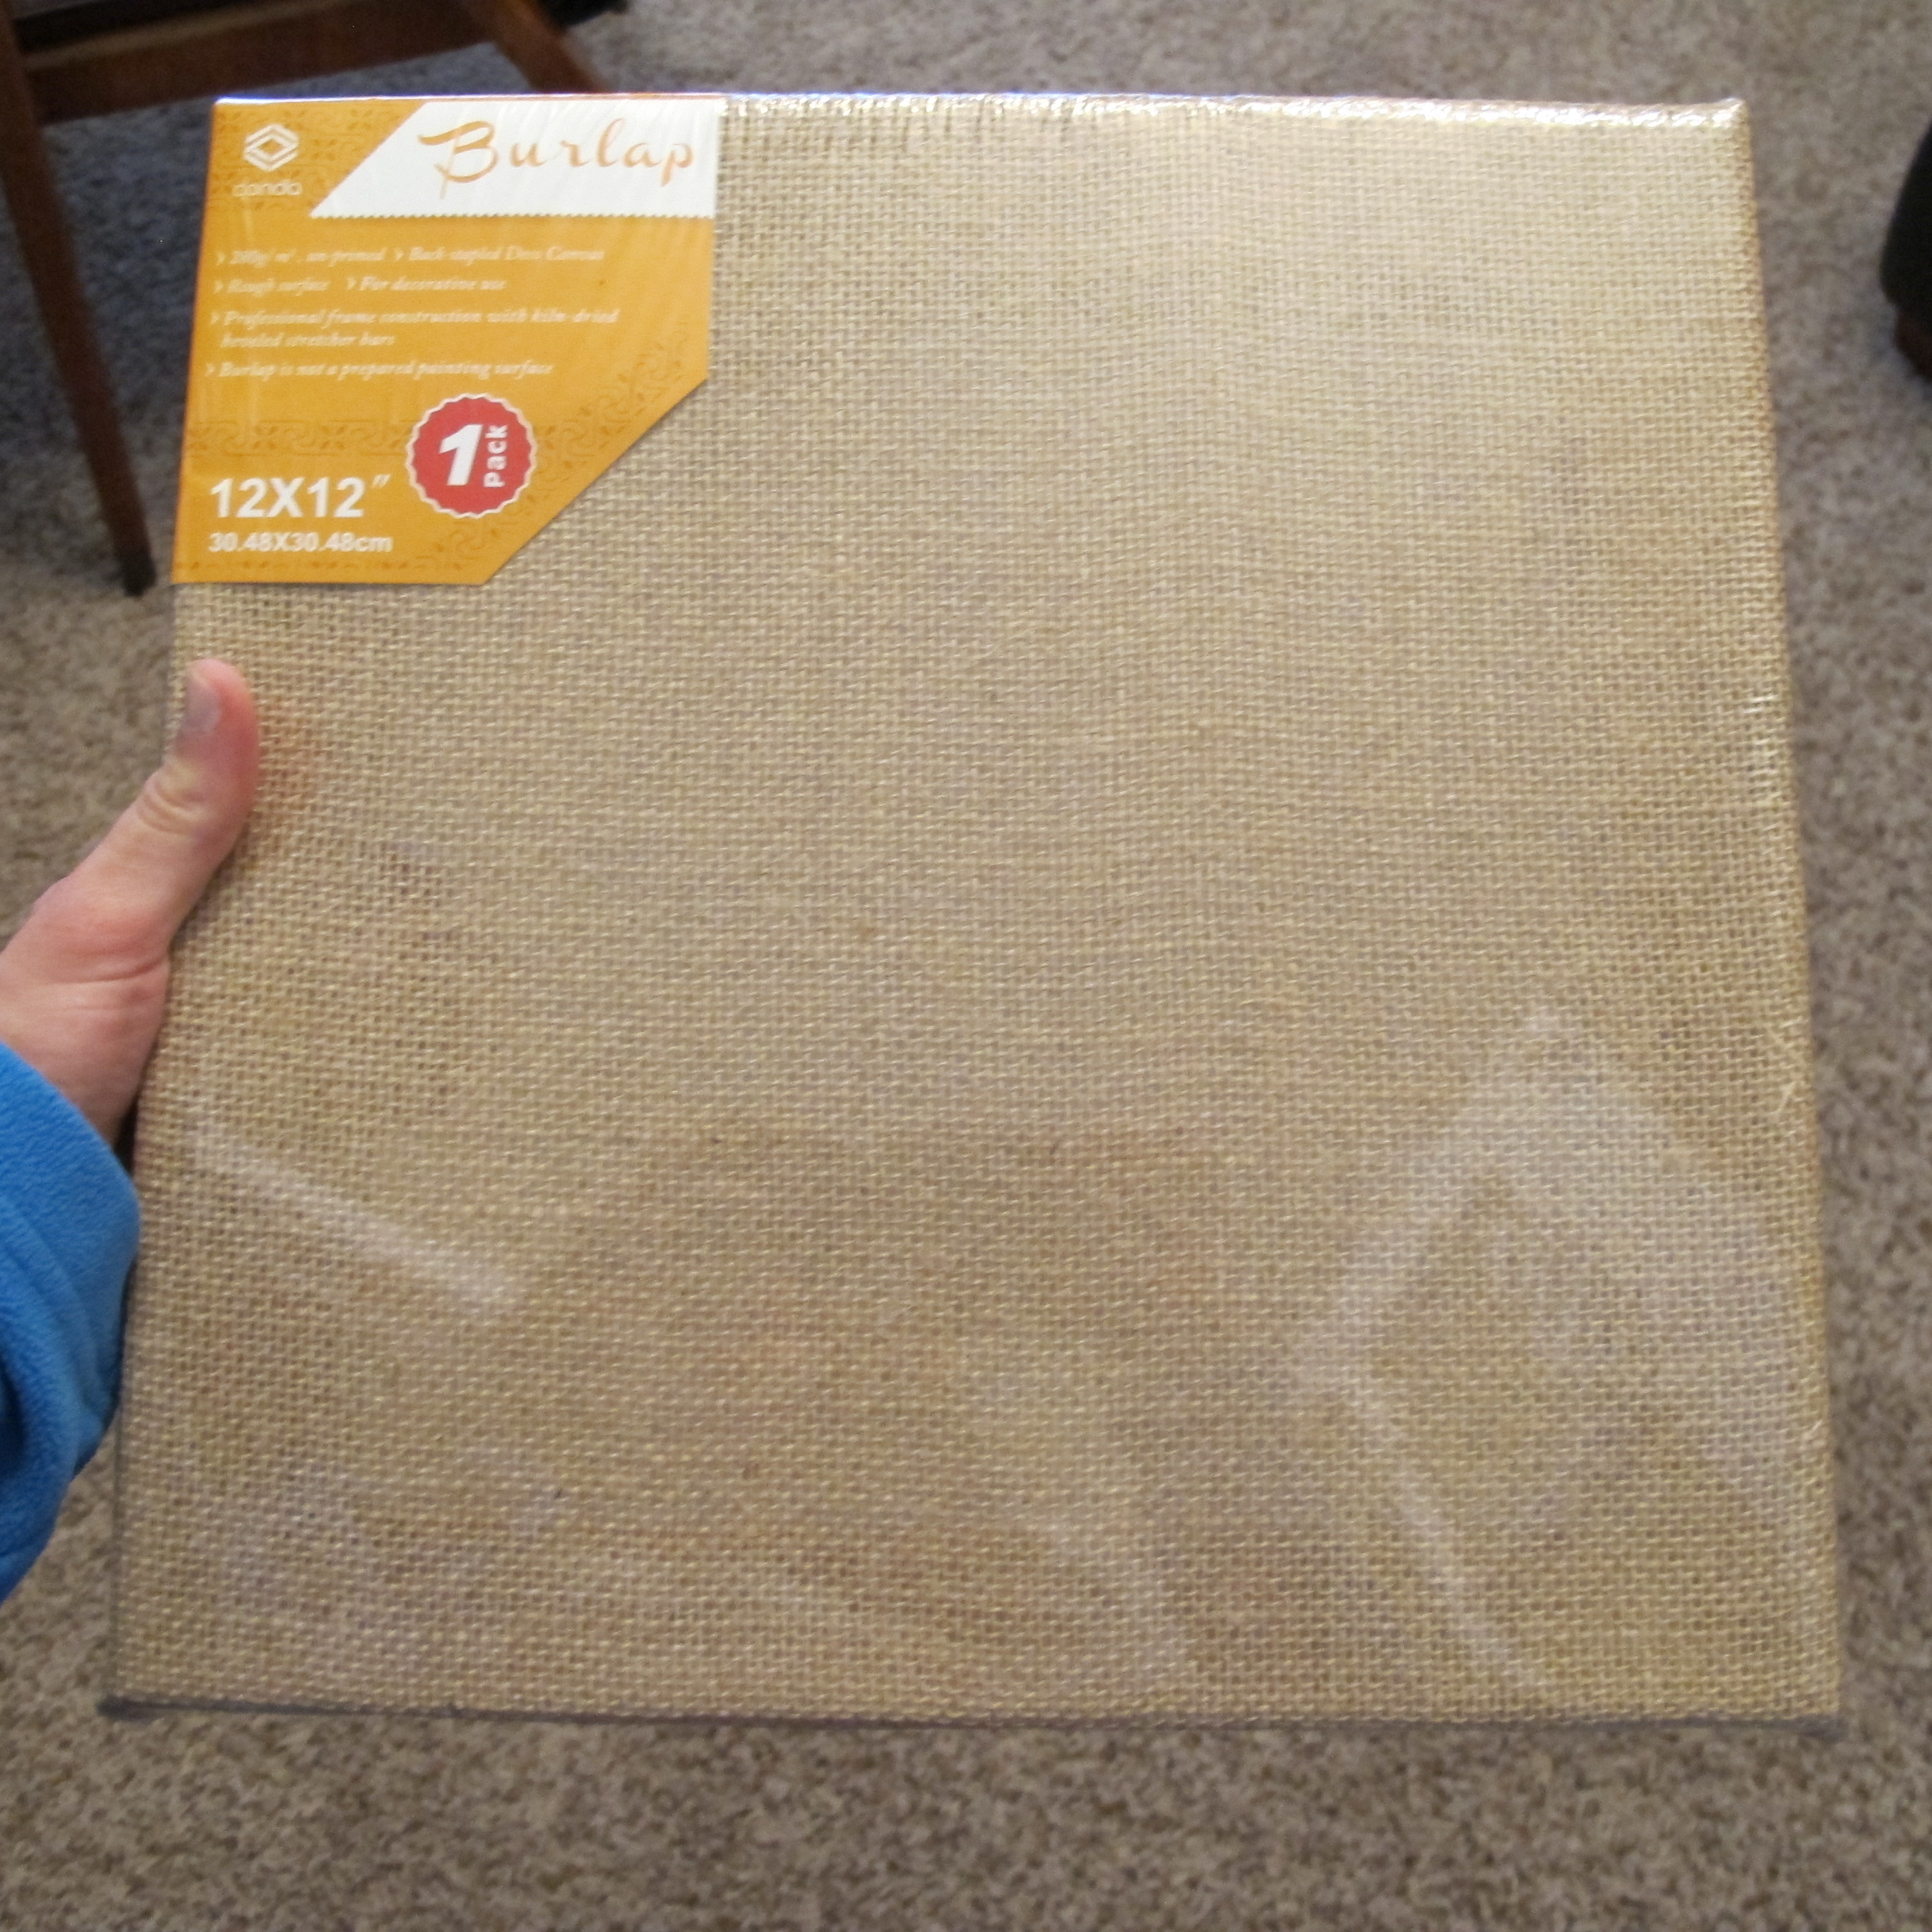
Burlap canvases for around five bucks a piece. And I asked myself… what do you get the grandparents who have everything??? Why, more pictures of Lucas, of course!!! I thought the burlap canvases would be the perfect backdrops for black silhouette busts of Lucas’s sweet profile.

In preparation for this project, I took advantage of a rare moment of stillness and snapped this shot of Lucas way back in September…

IMG_2829

Then, I procrastinated for three months. I tell ya, I always have good intentions. Every year, I try to plan presents early. It’s the execution part that I seem to have a problem with.  So anyways, when I finally motivated myself to get on it, I pulled the pic up on our computer screen and stared at it for a while as I decided how to proceed. Then, I held the burlap canvas right up to the screen and realized that thanks to our newly upgraded monitor, the pic was the perfect size for the canvas as is. Right there on the monitor. So, I held a piece of computer paper up to the screen and simply traced the outline of Lucas’s head with a pencil.

IMG_2830

Which left this….

IMG_2831

Worked like a charm.  I’ll bet you could do this on just about any monitor, too (as long as it’s big enough).  Just zoom in until you reach your desired size and use the screen as a lightbox of sorts.   I cut out my baby boy’s profile….

IMG_2833

And placed my paper template on my canvas. I used a fine-tipped black sharpie to CAREFULLY trace the outline of Lucas’s head onto the burlap. To be honest, I was sweating bullets during this part. When I lifted my paper after I’d completed my outline, I was pleasantly surprised…..

IMG_2836

YESSSSSSSS!!!! It looked like him and everything!!!! Then I used this multipurpose paint (which specifies that it can be used on fabric)….

IMG_2838

…to fill in the lines. I used a thin painters brush to do the outline. I filled right up to my sharpie line. NOT over it.

IMG_2839

Then, I used a larger brush to fill in the inside. This is when I realized that although burlap seems low maintenance, it’s really quite greedy. With paint anyways. It soaked up a surprising amount. Then, wanted MORE. Burlap, you little diva, you.  Anyhow, here’s how it looked after one coat of paint….

IMG_2840

I let that dry, then applied another. And here’s the finished product….

IMG_2877

After I was done, I waited a few days to be sure I was fresh, and repeated the process again so that both sets of grandparents would have a cute little Lucas profile.   

I have to say, I was pleasantly surprised with how quick this project was. I fully expected it to take longer. I used the same Lucas template for both canvases, which helped save some time. The longest part was simply filling in the lines with paint, which wasn’t bad at all. And in the end, both sets of grandparents seemed to really like them, so I’m calling this project a success!

So anyways, I hope everyone had a very Merry and safe Christmas (or Hanukkah or Festivus or whatever holiday you celebrate)! So, tell me, how’d Santa treat you guys?? Any fun DIY gifts in you’re parts?

‘Sup, Cupcake?

I’m not hitting on you, swear.

We had Lucas’s birthday party last weekend. And with party comes cupcakes. At least in my world. I’m a total nerd for cupcakes. Decorating cupcakes to be exact. And I want to clarify straight off the bat that I’m no expert. I just like to experiment with anything creative, cupcake-decorating included. I have no idea if this is the method used by professionals, but it’s worked for me so here I am.

Last year, I went all out on Lucas’s cupcakes. The theme for his party was the movie Cars. I followed this tutorial and created these little critters (sorry for the teeny pic… this was taken off my old phone)….

20131221-193753.jpg

Little Lightning McQueens.  I even went so far as to decorate a piece of cardboard with construction paper to make it look like a road. And I added green cupcakes to represent trees.

This holiday season has been much crazier than normal, so we decided to keep Lucas’s party simple. I just incorporated bright green, blue and red, some tablecloths, a few balloons… easy.  For cupcakes, I went with vanilla and chocolate. I know. Please don’t be bowled over by my creativity. I used store-bought cake mix and store-bought frosting.  Convenience was key. And it helps when convenience is tasty. Which according to the gluten-eaters, it was. Or maybe they were just being nice. Either way, ILL TAKE IT! So, thank you dear friends. 🙂  My mom and I both have celiac disease, so I usually try to incorporate some gluten-free cupcakes, but this year I just went with regular gluten-loaded goodness (no need to fret… We have PLENTY of GF goodies this time of year. Trust me. And there was no cheating to be had either. Promise.).

Despite the simplicity of his party, I wanted his cupcakes to look nice. Which is crazy-easy if you have the right tools. I prefer to pipe on frosting because 1. It looks snazzy, and 2. It’s super fast. Definitely faster than spreading it on with a knife. After some trial-and-error, I’ve discovered that the trick to pretty frosting is all in the decorating tip. Observe…

IMG_2909 IMG_2907

This is an extra large decorating tip. Extra large. That’s the secret. (And here’s where Joey would probably chime in with a “that’s what she said”. Am I right? I said, am I right?)

To prepare for the cupcake-decorating-palooza, I simply snip off the pointy end of my pastry bag with scissors and stuff the decorating tip into the narrow end of the bag.

IMG_2884

A snug fit is uber important to preventing the frosting from seeping out around the edges and ruining the desired effect. I fold the bag over my hand, like so…

IMG_2885

And spoon the frosting into the bag…

IMG_2887

Once the frosting is in there, I gently straighten up the bag and twist the top end to keep the frosting from spilling out as well as to control the rate of frosting.  I generally hold the bag with one hand around the twisted part to control pressure and the other towards the bottom to control movement.

IMG_2889

I start by doing a test pipe on my frosting lid. Just to make sure that the frosting is consistent and to hopefully rid the bag of air bubbles. I mean, sure, air bubbles make funny farting sounds, but they also spray the frosting out in an ugly way.  Not cool when you’re goal is purty. Best to rid of the gas from the start, chuckle into your hand, and move on from there.

So anyhoo, I begin at the outside perimeter of my cupcake and basically twist the top of the bag more to push the frosting out of the bottom.  I slowly pipe frosting around the outside perimeter…

IMG_2893

And spiral in towards the middle, giving consistent pressure to the pastry bag the entire time. Slow and steady to make sure there are no gaps between spirals.

IMG_2894

Once I reach the top, I simply release all pressure on the pastry bag and lift the tip directly upwards.

IMG_2895

That’s it.

IMG_2896

Super easy and effective. And repeat 40 more times.

IMG_2900IMG_2901

Here are the cupcakes after frosting….

IMG_2883 IMG_2902

I added some sprinkles as well….

IMG_2906

…but I was in a rush so I never got a shot of the chocolate ones.  I literally finished the cupcakes minutes before we had to leave.  Way to procrastinate, Mom.

As for little man, Lucas seemed to enjoy the cupcakes immensely. He ate the frosting ONLY (Alas, he is my son).  And my favorite quote of the day was when I asked him if he wanted a vanilla or chocolate cupcake and he stated very matter-of-factly in his little three-year old voice “No, thank you. I okay… I just wanna open presents.”  After I stopped laughing, I explained that he could do both. That we could sing happy birthday, eat a cupcake, then open presents. And it clicked. “OOOHHH! Choc.. No, VANIL… NO, No… VANIL…Chocolate. Chocolate.” It was like the excitement clouded his decision-making process. So. Funny.

So, we did. We sang happy birthday…

IMG_2954

Ate a cupcake (‘er, frosting) with no hands…

IMG_2964

Opened presents….

IMG_2983

And even got a little family shot in there (thanks, Susie!)…

IMG_2994

So, there you have it.  A little simple cupcake decorating with a smidge of party action.  Good times!!

Anybody have a favorite cupcake decorating tip or trick to share?