I warned you, though. Well, maybe “warned” is a bit strong. I didn’t really warn you. That was a lie. I did, however, state that I usually don’t plan a room from start to finish in this post for the guest bath. Rather, I plan as I go. And now I know why. Ya see, this blog is a total learning experience for me. I’ve always loved other bloggers mood-boards so I thought maybe giving one a shot would help me in my guest-bath-quest. But, alas, a mood-board person I am not. At least not when it comes to compiling ideas that I plan on actually sticking with. Or maaaaybeeeee, a mood-board would work if I actually had the items in my possession (and knew that I could follow through) BEFORE I posted it for all to see. Yeah, that’s it. Noted.
Anyways, I’ve been shopping around for stuff for our guest bath makeover, and I’ve gotta be honest… I’m at a standstill with this….

Here’s why I should’ve done more research before posting this mood-board:
First, the painted fixture… I’ve decided not to paint it. Not for lack of trying, though. I went to Lowes, Home Depot, and Hobby Lobby and between the three I brought home 4 different kinds of spray paint and two jars of multipurpose paint in various shades of sage/aqua. I compared and hemmed and hawed. But in the end, I just wasn’t comfortable with any of the options available to me. The colors just weren’t right. Some were too green, some too aqua. They just didn’t settle well. They weren’t the pretty, mid-centuryish tone in the pic above. And I didn’t want to mess up our new fixture with a “meh” paint color or experiment with mixing only to be disappointed. So, I’ve decided that I’ll mount the fixture in all it’s galvanized steel glory (…not that that’s actually done yet or anything. Soon.). And I know that I’ll always have the option to take it down and paint it later if I’m absolutely, 100% certain that painting it is the right choice.
Next, I absolutely adore the striped shower curtain from West Elm. But it’s only 74″ long. Because our ceilings are 9 feet high, our tile-work extends higher than in our previous house, which means that if the rod is hung at the correct height, 74″ leaves about a foot of flood insurance down below. High waters are not recommended in any capacity… pants, curtains or otherwise. So, I’ve been on the hunt for a longer alternative. When I started this process, I naively assumed that this would be an easy feat. I mean, stripes are classic, right? Yes, they are. But thick charcoal and white stripes in a horizontal orientation are apparently not.
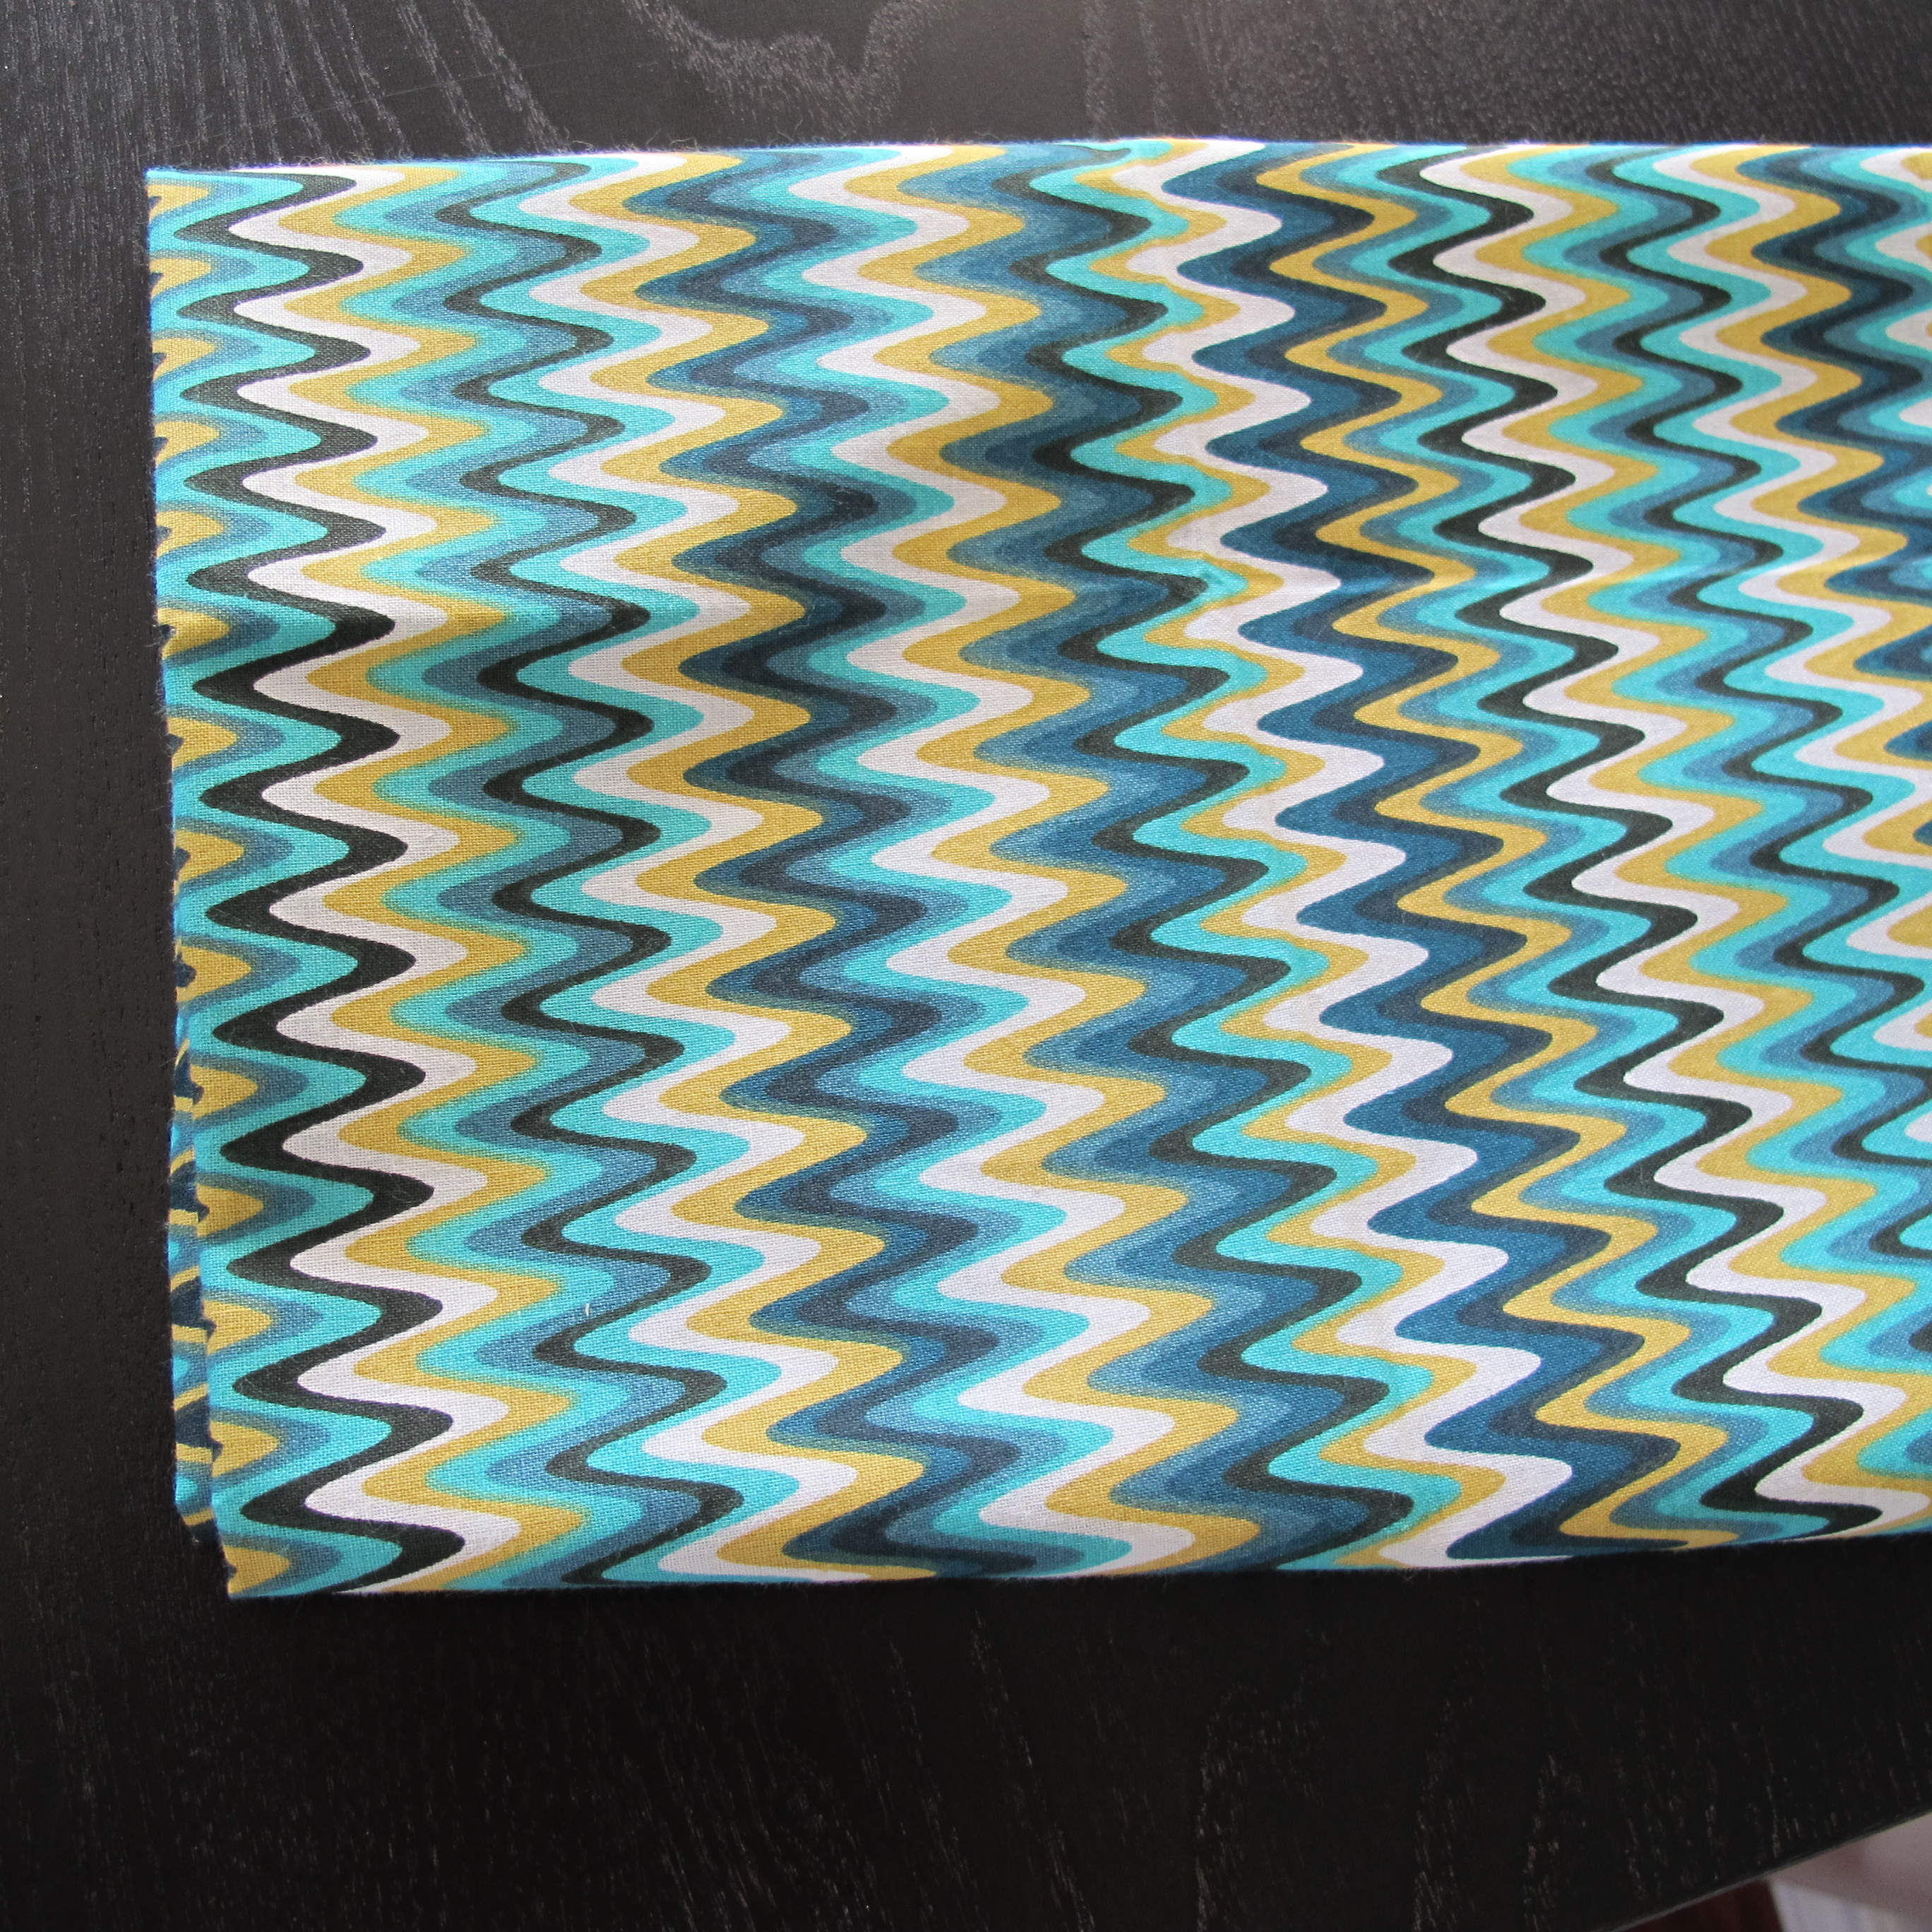
I’ve searched for regular 84″ window curtains with a similar print, but the cheapest I’ve found were around $90 per panel. And I’d need two. So, no. No, that won’t happen. I’ve looked for bedsheets. No luck. I found a duvet from Pottery Barn Kids, that could be adapted, but it’s $61, plus another$12 for shipping (has anybody noticed that their shipping charges are RIDICULOUS??), so I can’t justify that. I’ve looked for fabrics in similar prints but the only ones I’ve found have 3″ charcoal stripes which are too narrow/busy for what I was going for.
So, basically, if I was set on bold grey stripes I had two options:
1) I could break out my dusty sewing machine and try to sew stripes with white and charcoal fabric panels. Problem? I can’t even sew a straight line. And straight lines are imperative if I want to avoid unsightly puckering.
or…
2) I could paint stripes on plain white window curtains. The issue here is that bathrooms are moist. Between steam, splashes, and pee (I have a toddler. And the shower curtain is right next to the toilet) this sucker would need to be washable and moisture-tolerant. Thus, I don’t have confidence that a painted curtain is the right way to go in here. So, onward…
Now, here’s a confession… the mood board above isn’t the first one I came up with. This is the first…

Notice the similarities? Reds, soft blue/turquoise (my paint of choice would have a smidge more green than the paint sample above… more on the turquoise side for sure), greys and whites, bold pattern with a classic feel and rustic touches. This board boasts a round mirror… but I’m still preferring the pallet wood mirror in my top mood-board above. I also included two shower curtains because I wasn’t sure if I wanted bold stripes or classic white for the shower curtain. White is still a possibility in my eyes, especially with the shopping difficulties I’ve encountered.
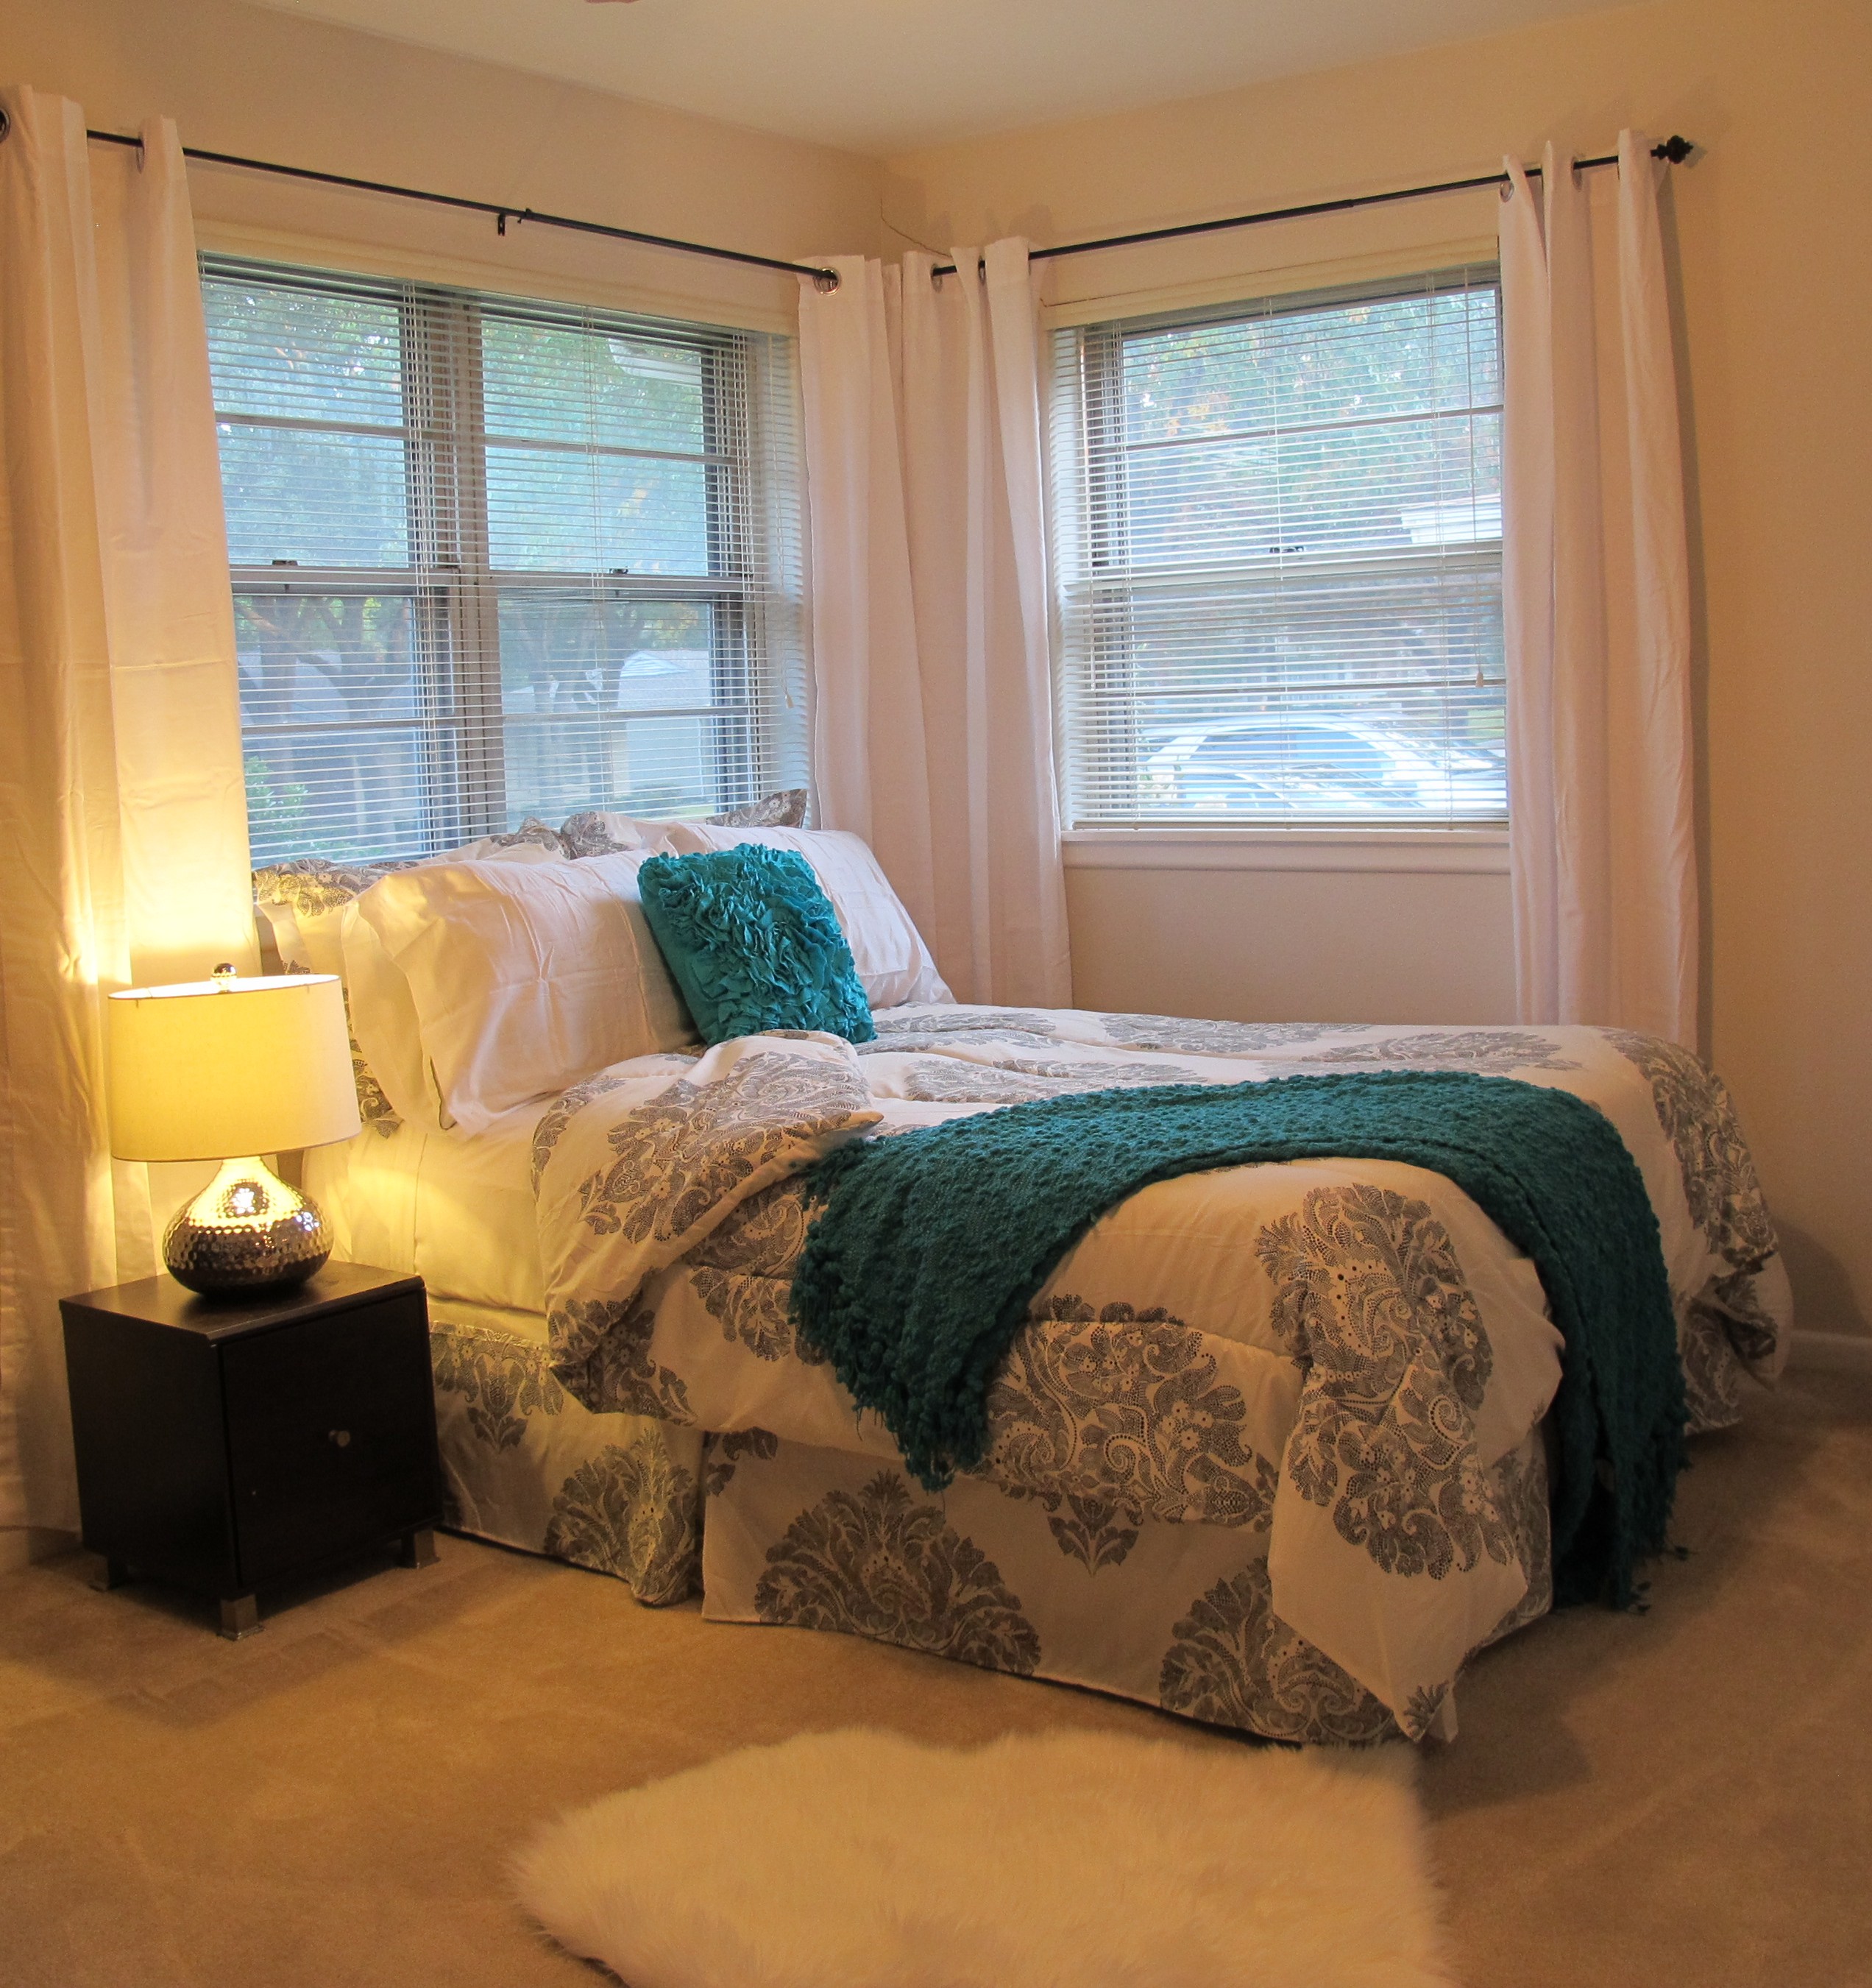
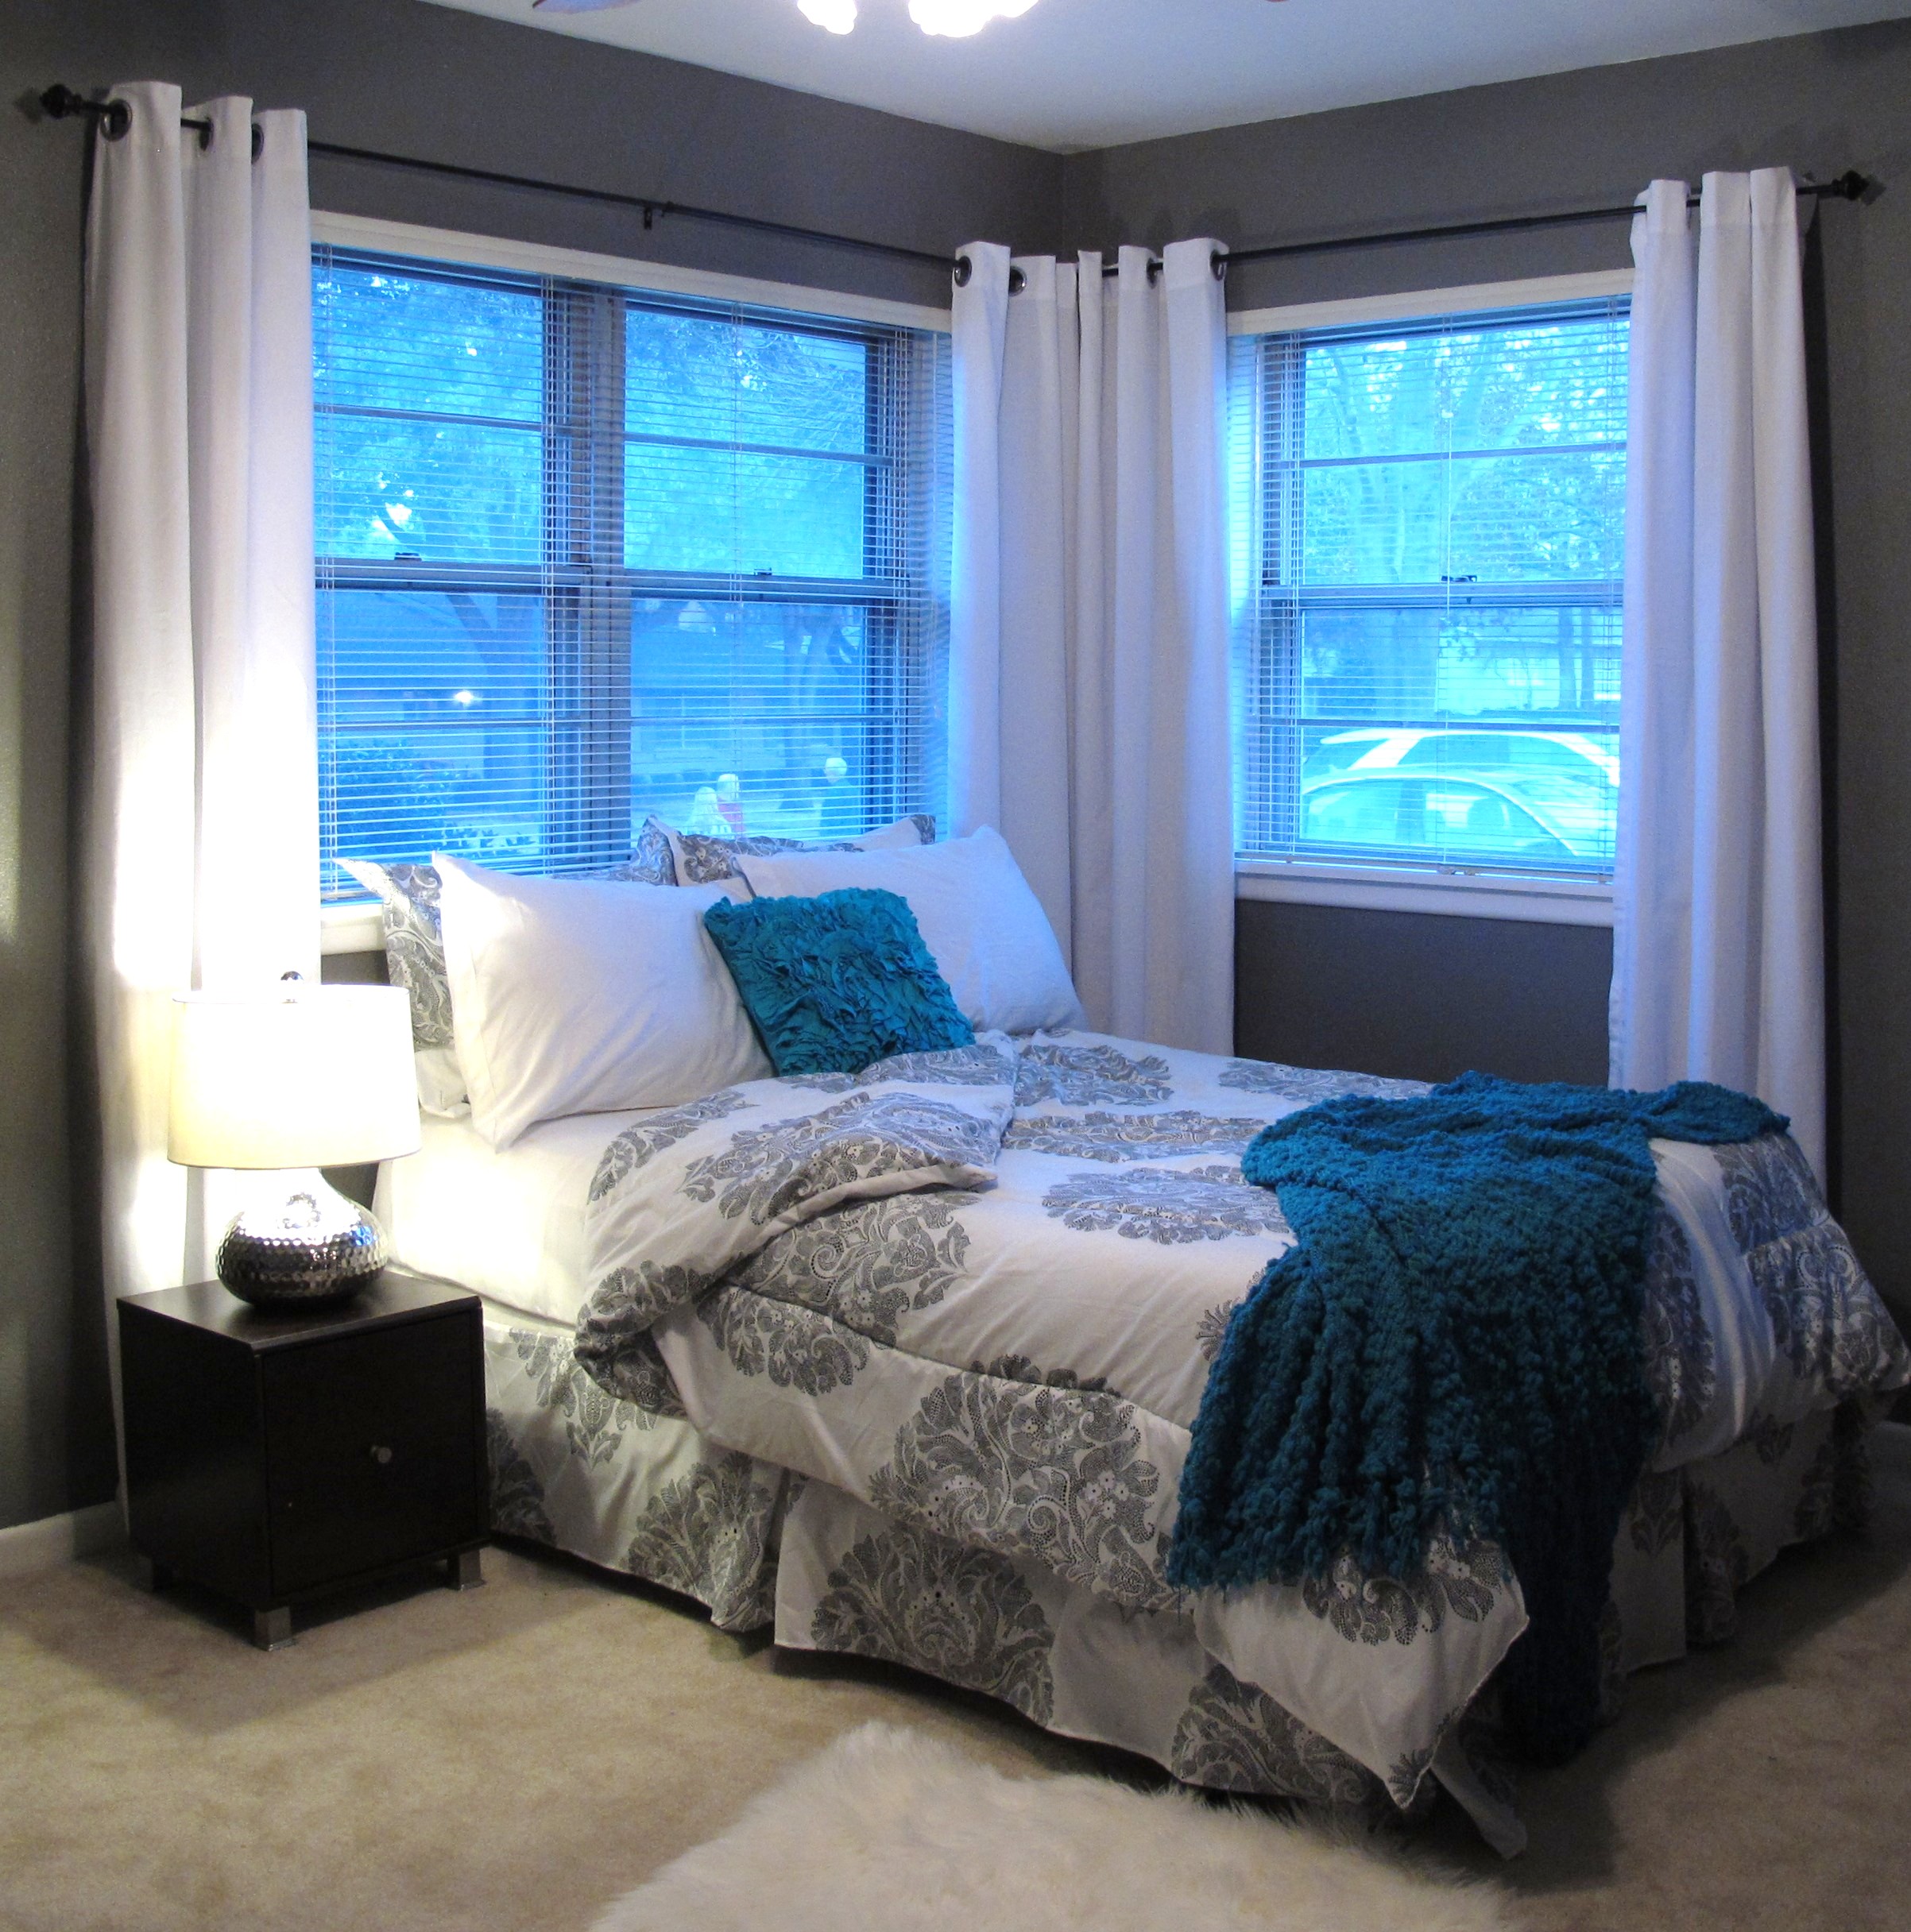
So, basically, I’ve decided to take these two boards as inspiration, nix the advanced planning (for now), but stick with my preferred color-scheme and do what I know. Which is plan as I go. FYI: Rhyming right there was a happy accident. A bonus, if you will. You are welcome. Anyhoo, there are two things that I do know at this point… The barn light is going up as is and I’m leaning toward a light turquoise-ish tone for the walls. I also want pops of red somewhere in the room. Wait. That was three things. Apparently, I count as well as I plan. ![]()
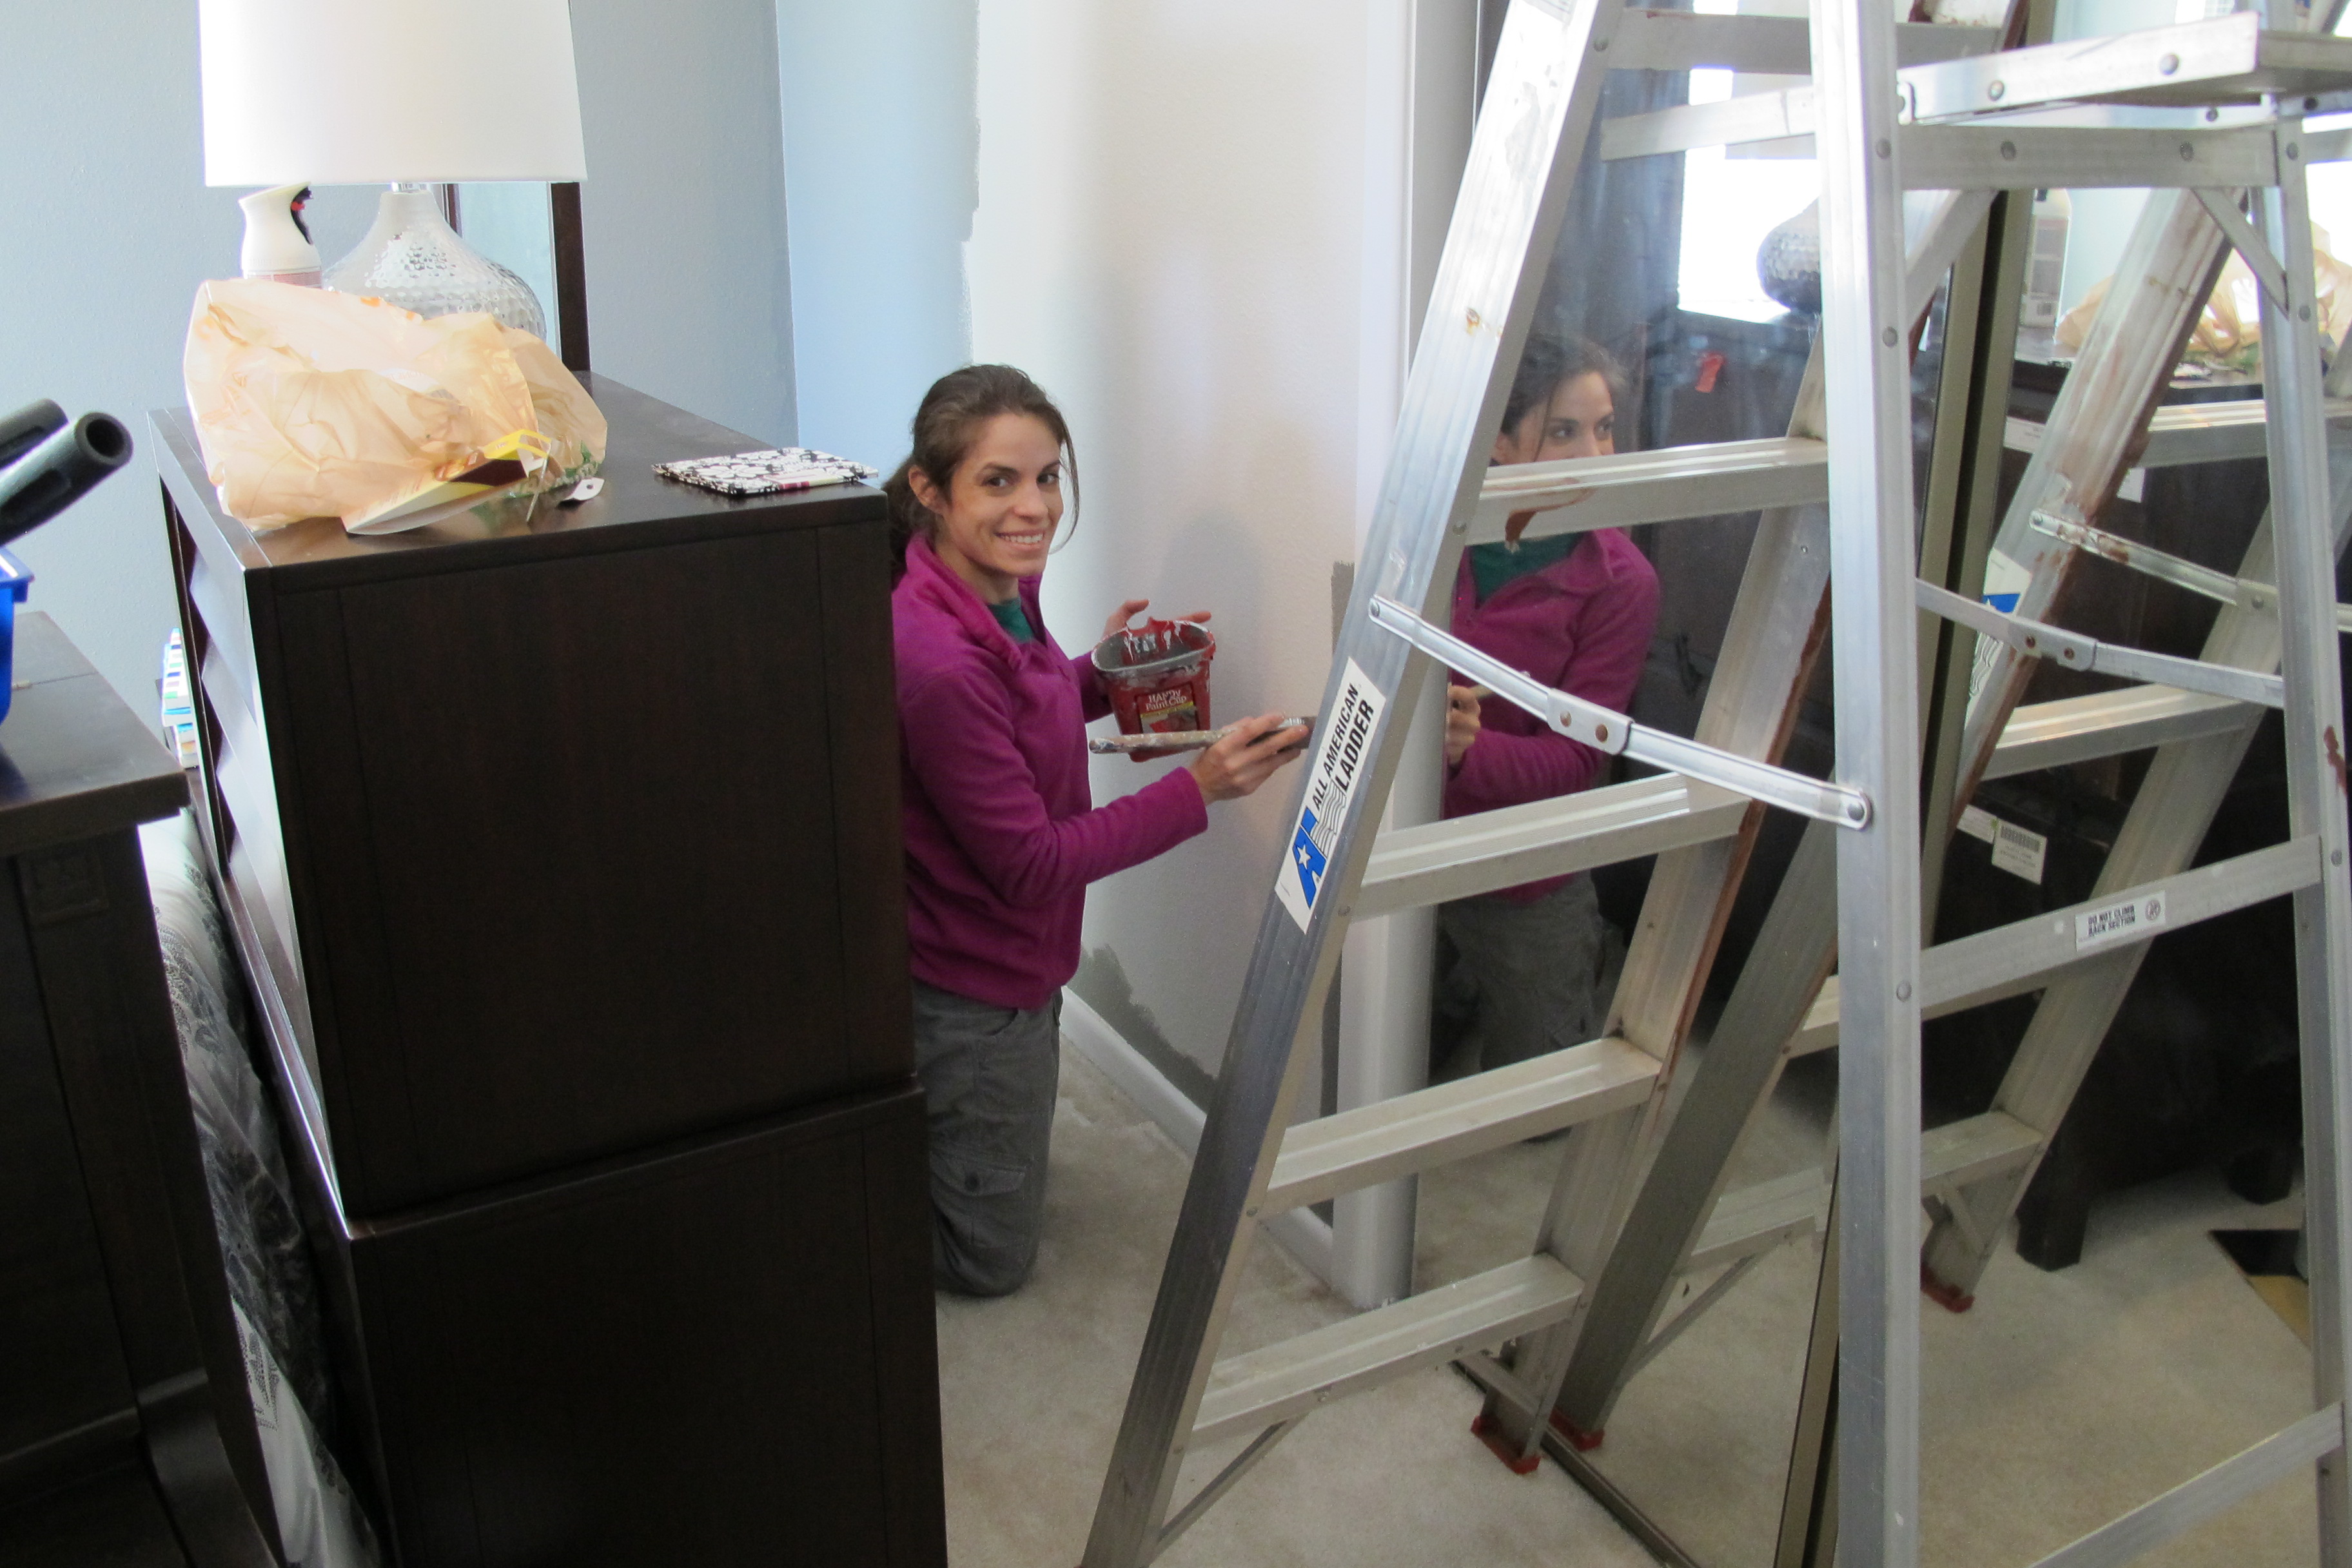
So, that’s where I am. I can tell you this, though… My painting muscles are getting twitchy. I want to paint this badboy. Soon. In the meantime, I’ve been doing all of the boring prep stuff. Caulking the tub, removing all decor, spackling holes, etc. And of course, once I get a move on the more interesting stuff I’ll update ya’ll. So, stay tuned…