Let’s hope the “self-destruct” mechanism is disabled on this one. Heehee! Fingers crossed.
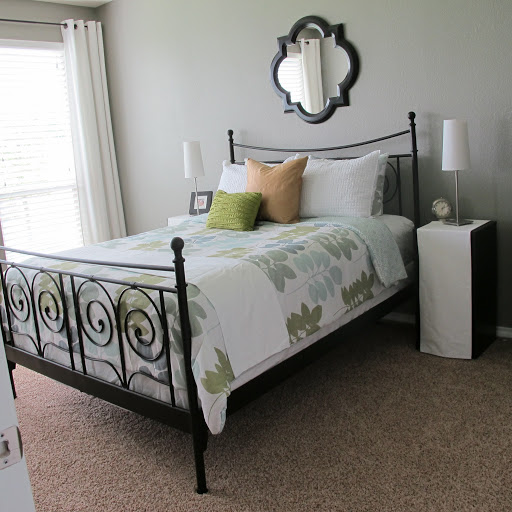
When last we left off on the small area behind Lucas’s door, it looked like this…
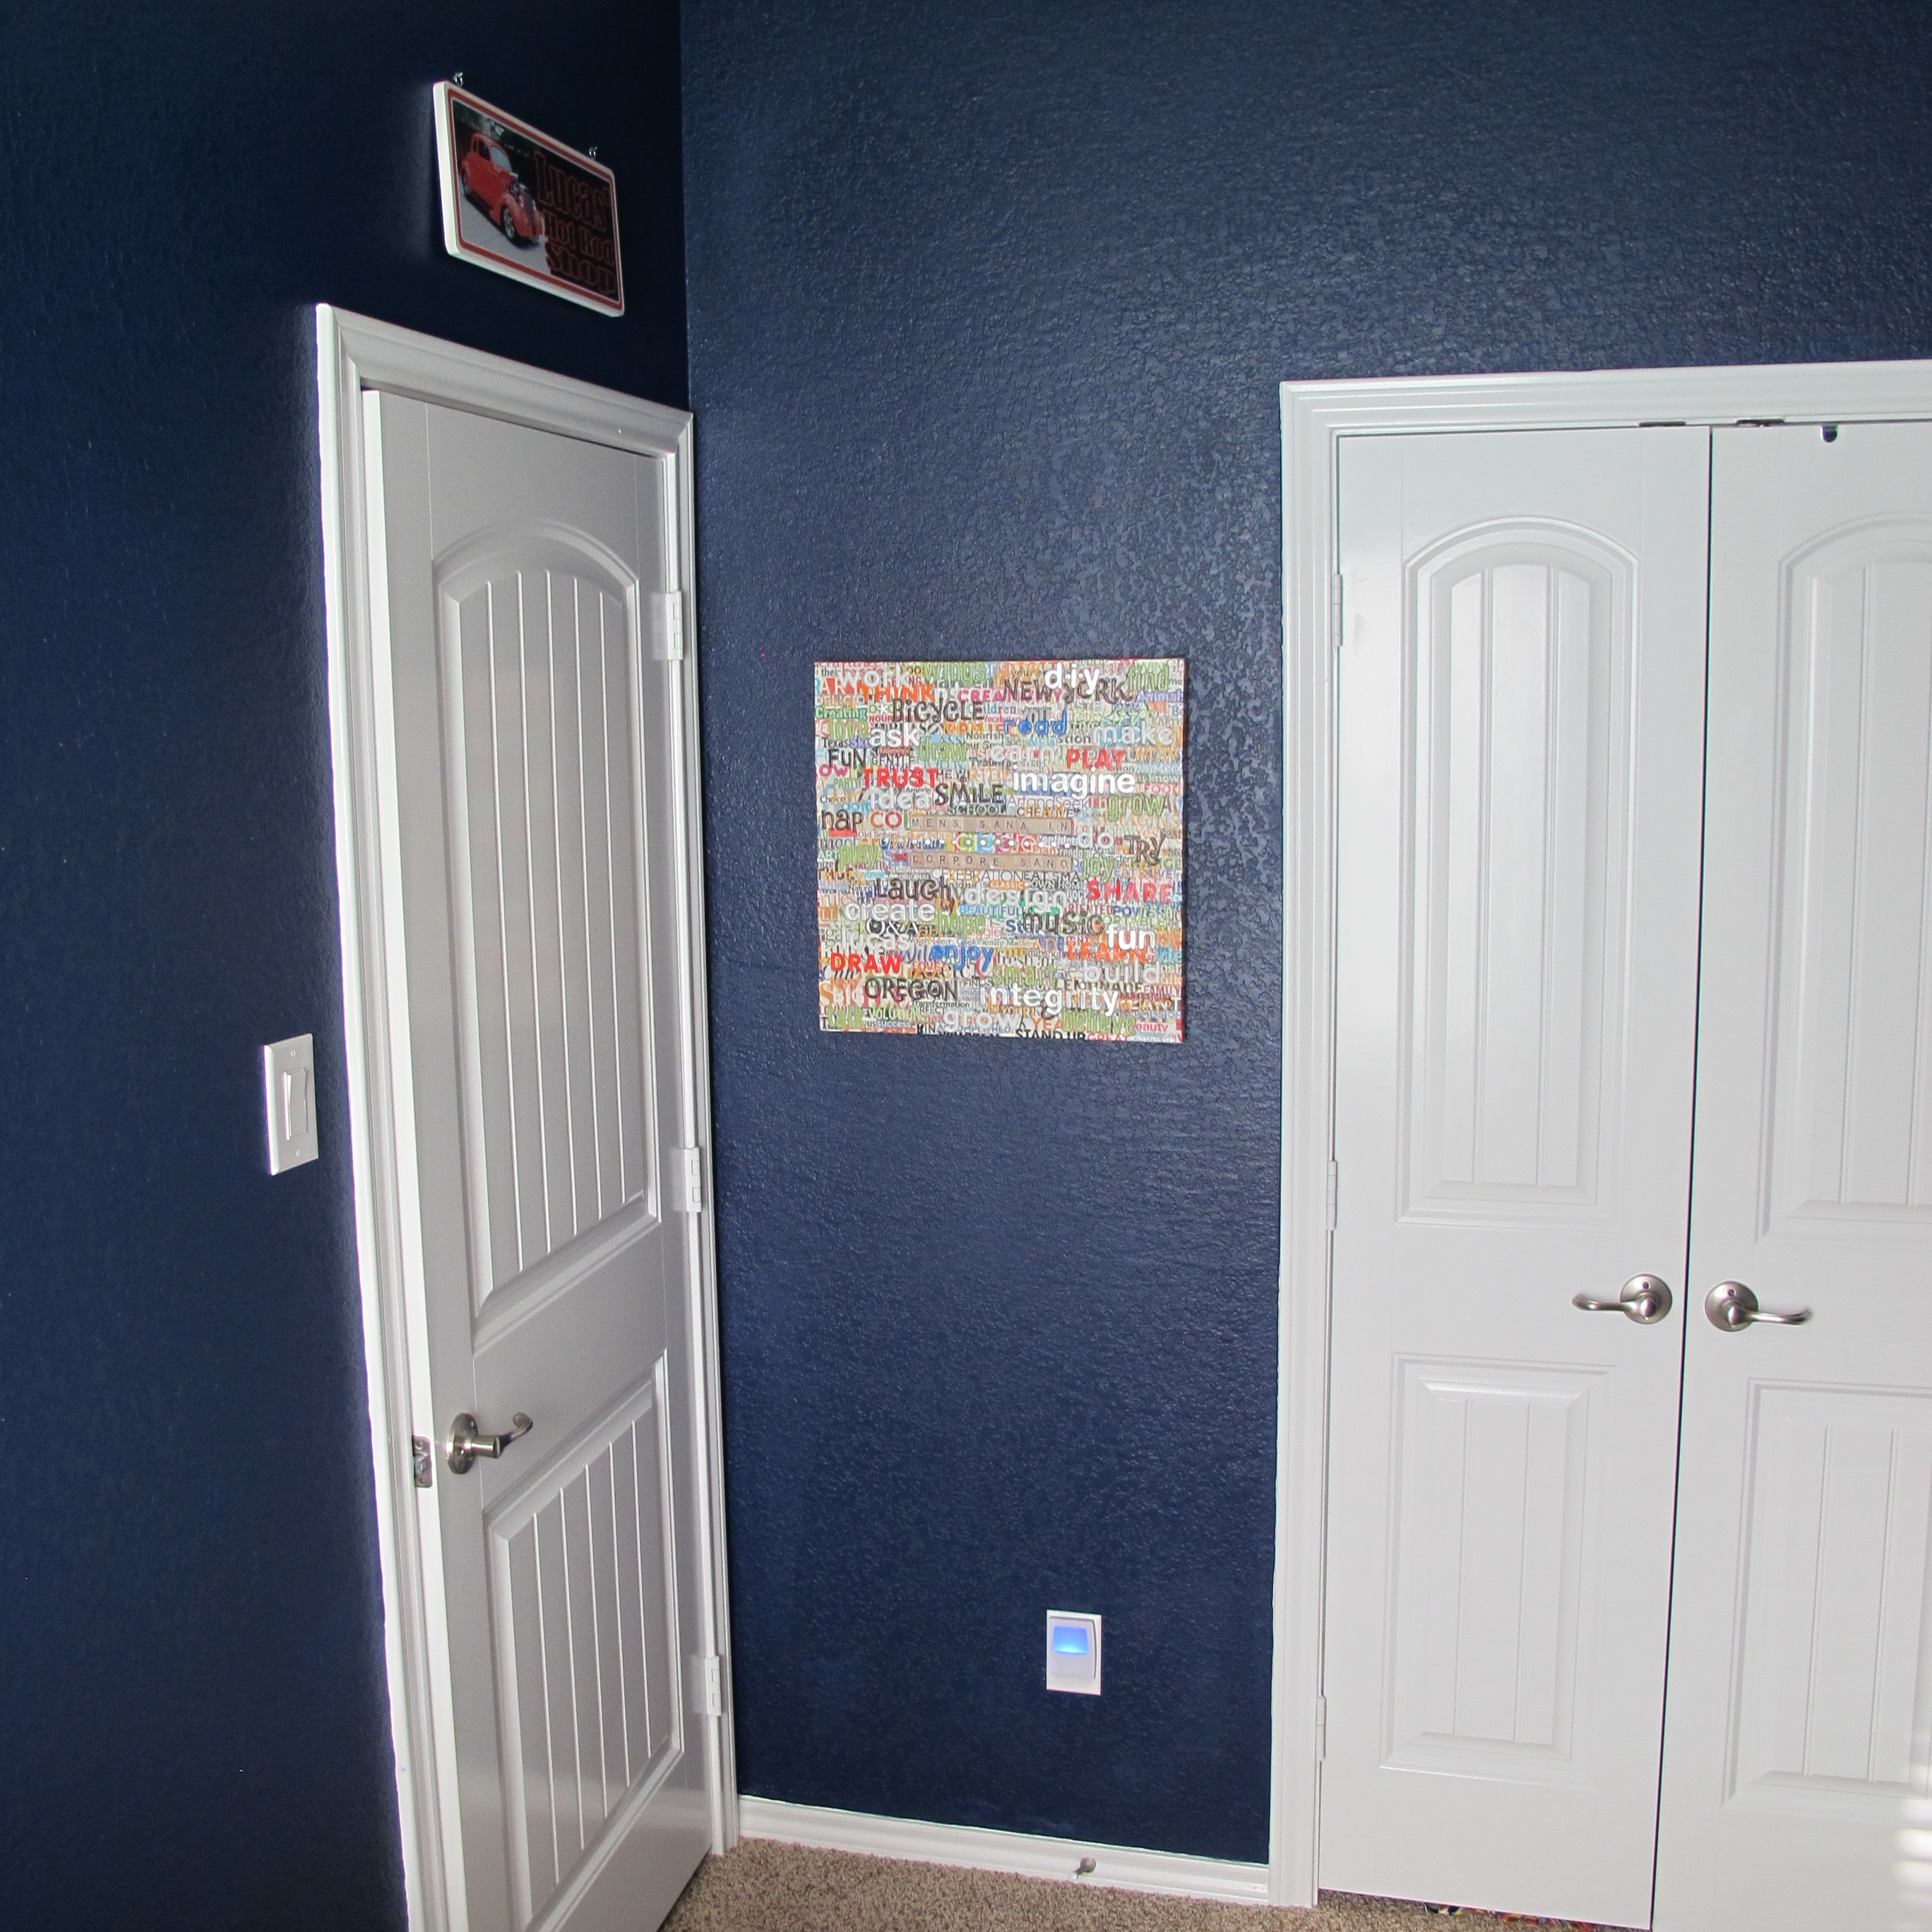
I had mentioned my plan to create a little drop-zone for him here and I’m happy to say that it’s now complete. I wanted to leave the artwork up there, but add some functionality below. This was especially important to me because (1) his room isn’t ginormous to begin with and (2) his closet is even smaller. Injecting function into every usable space will hopefully keep his room from looking like Toys R Us dropped from the ceiling.
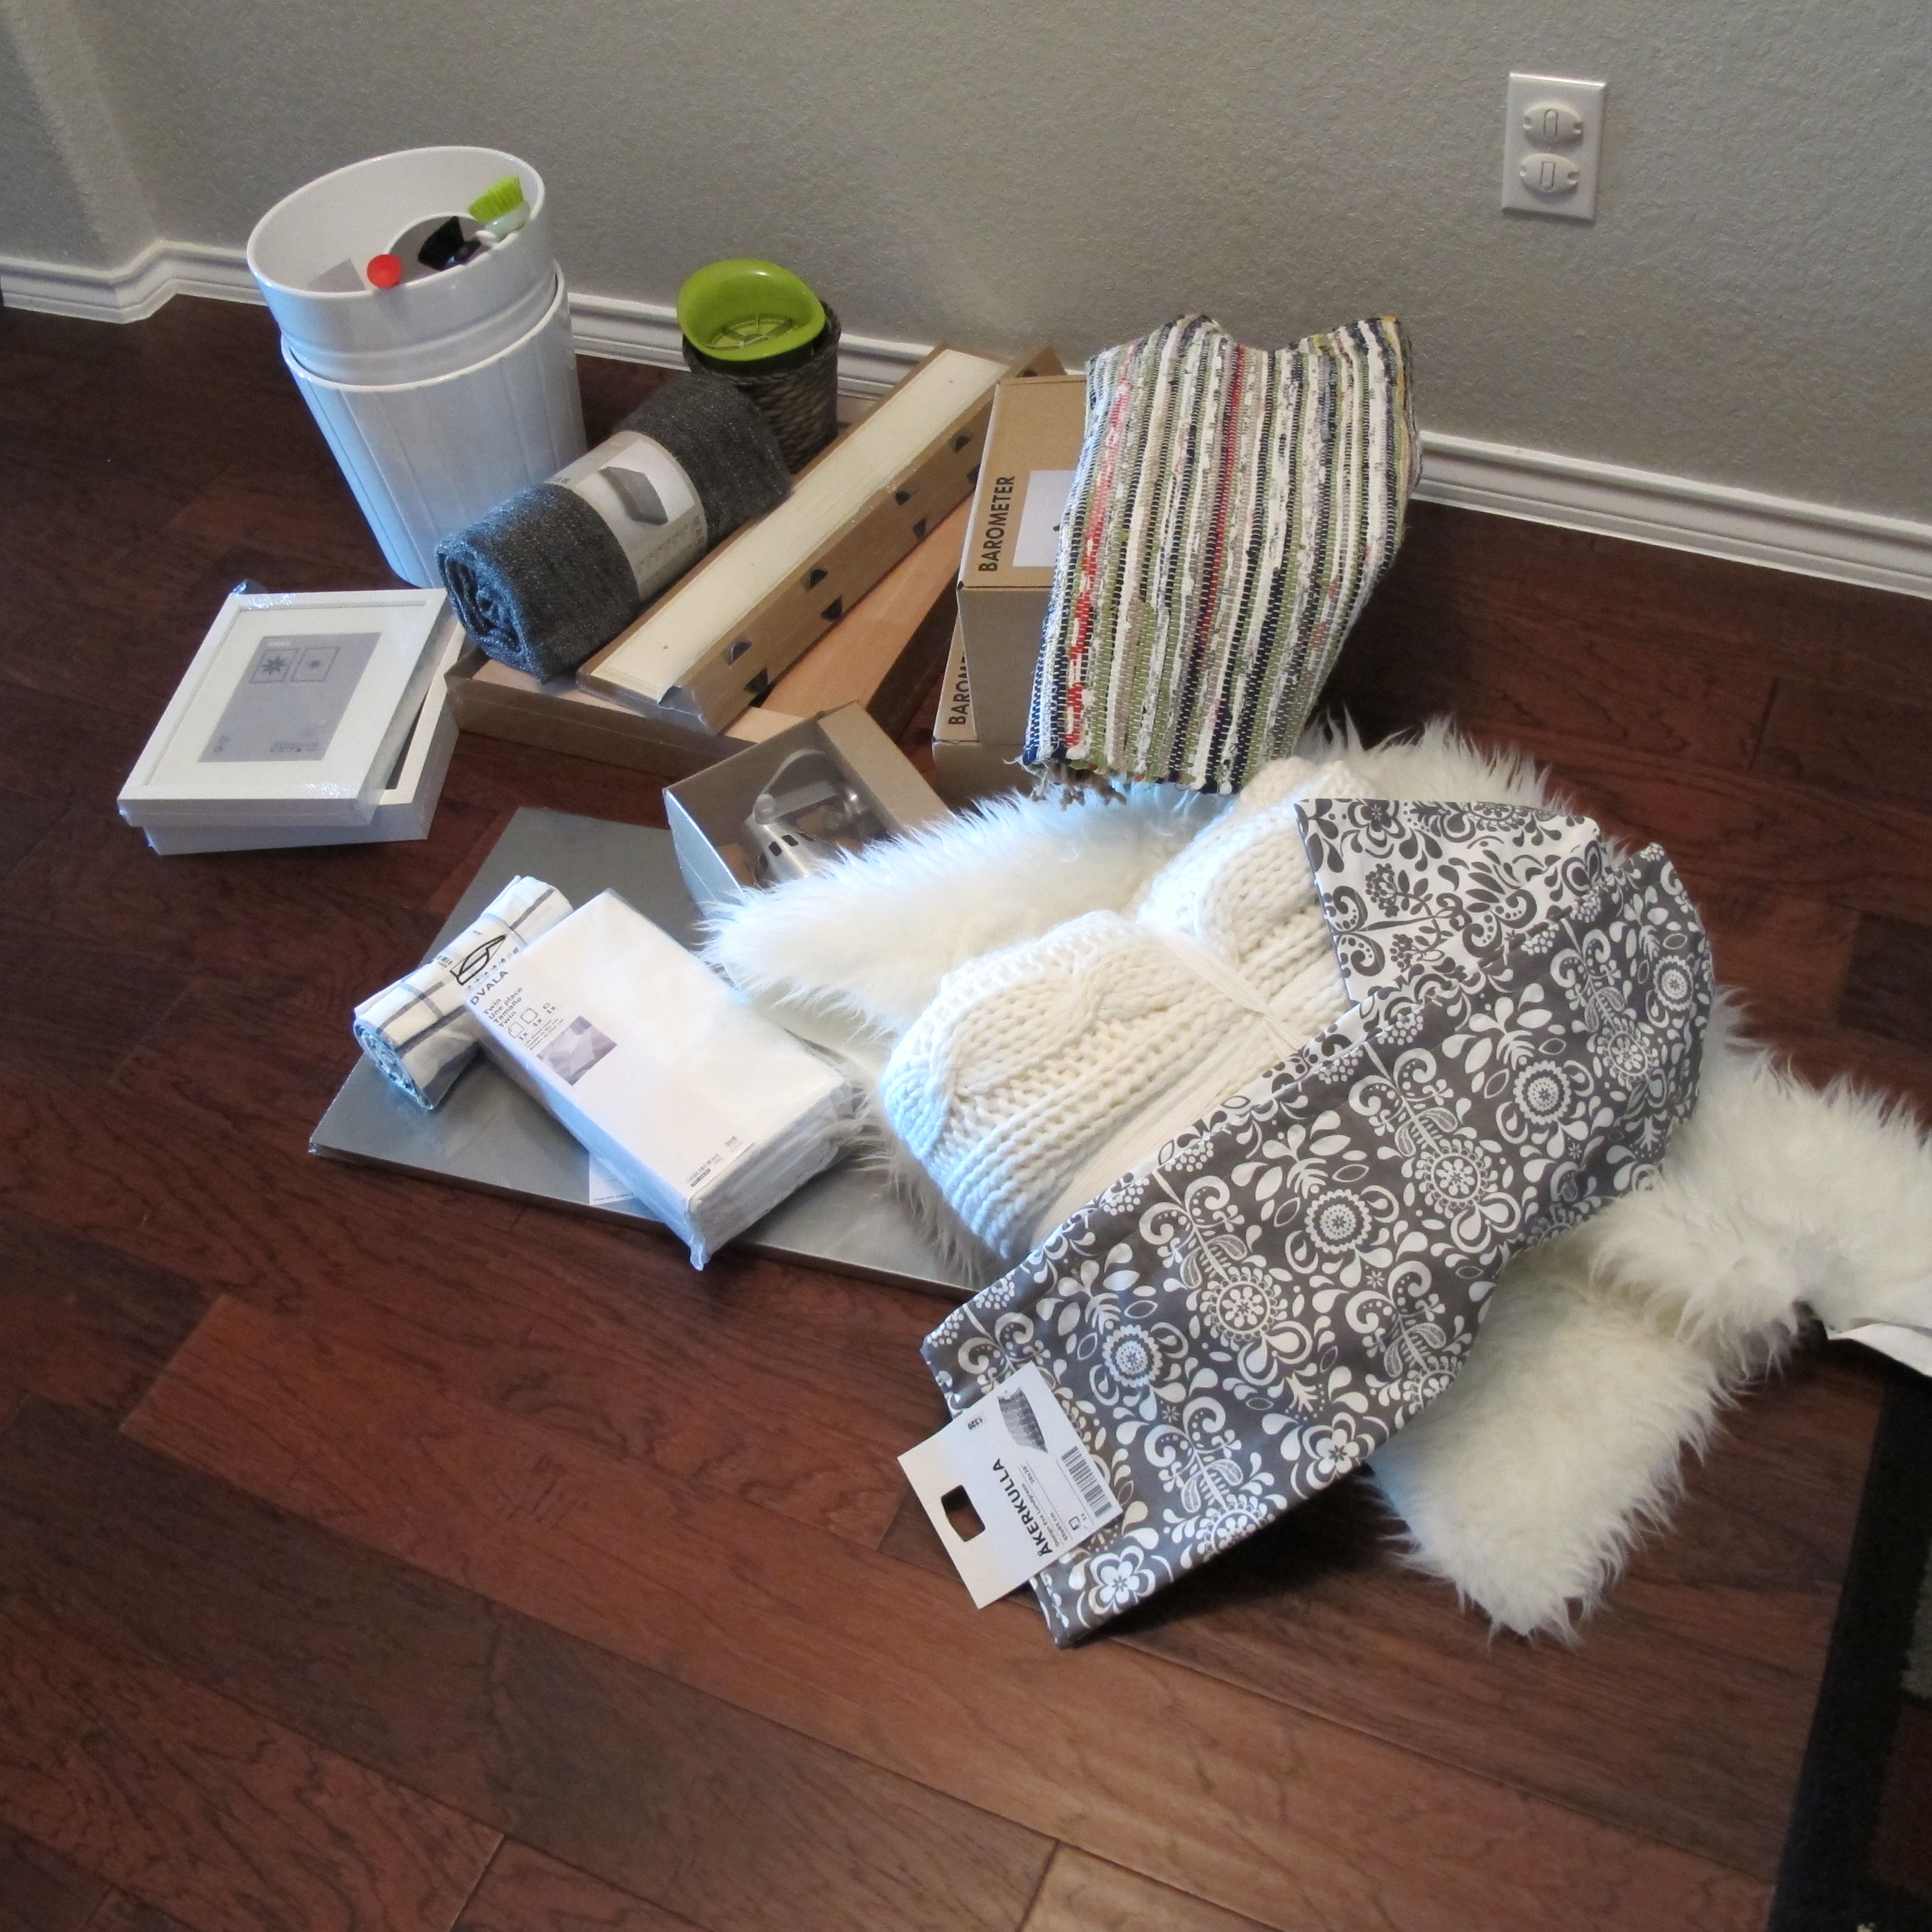
In preparation for this project, I grabbed one of these wall hook sets the last time we went to Ikea….

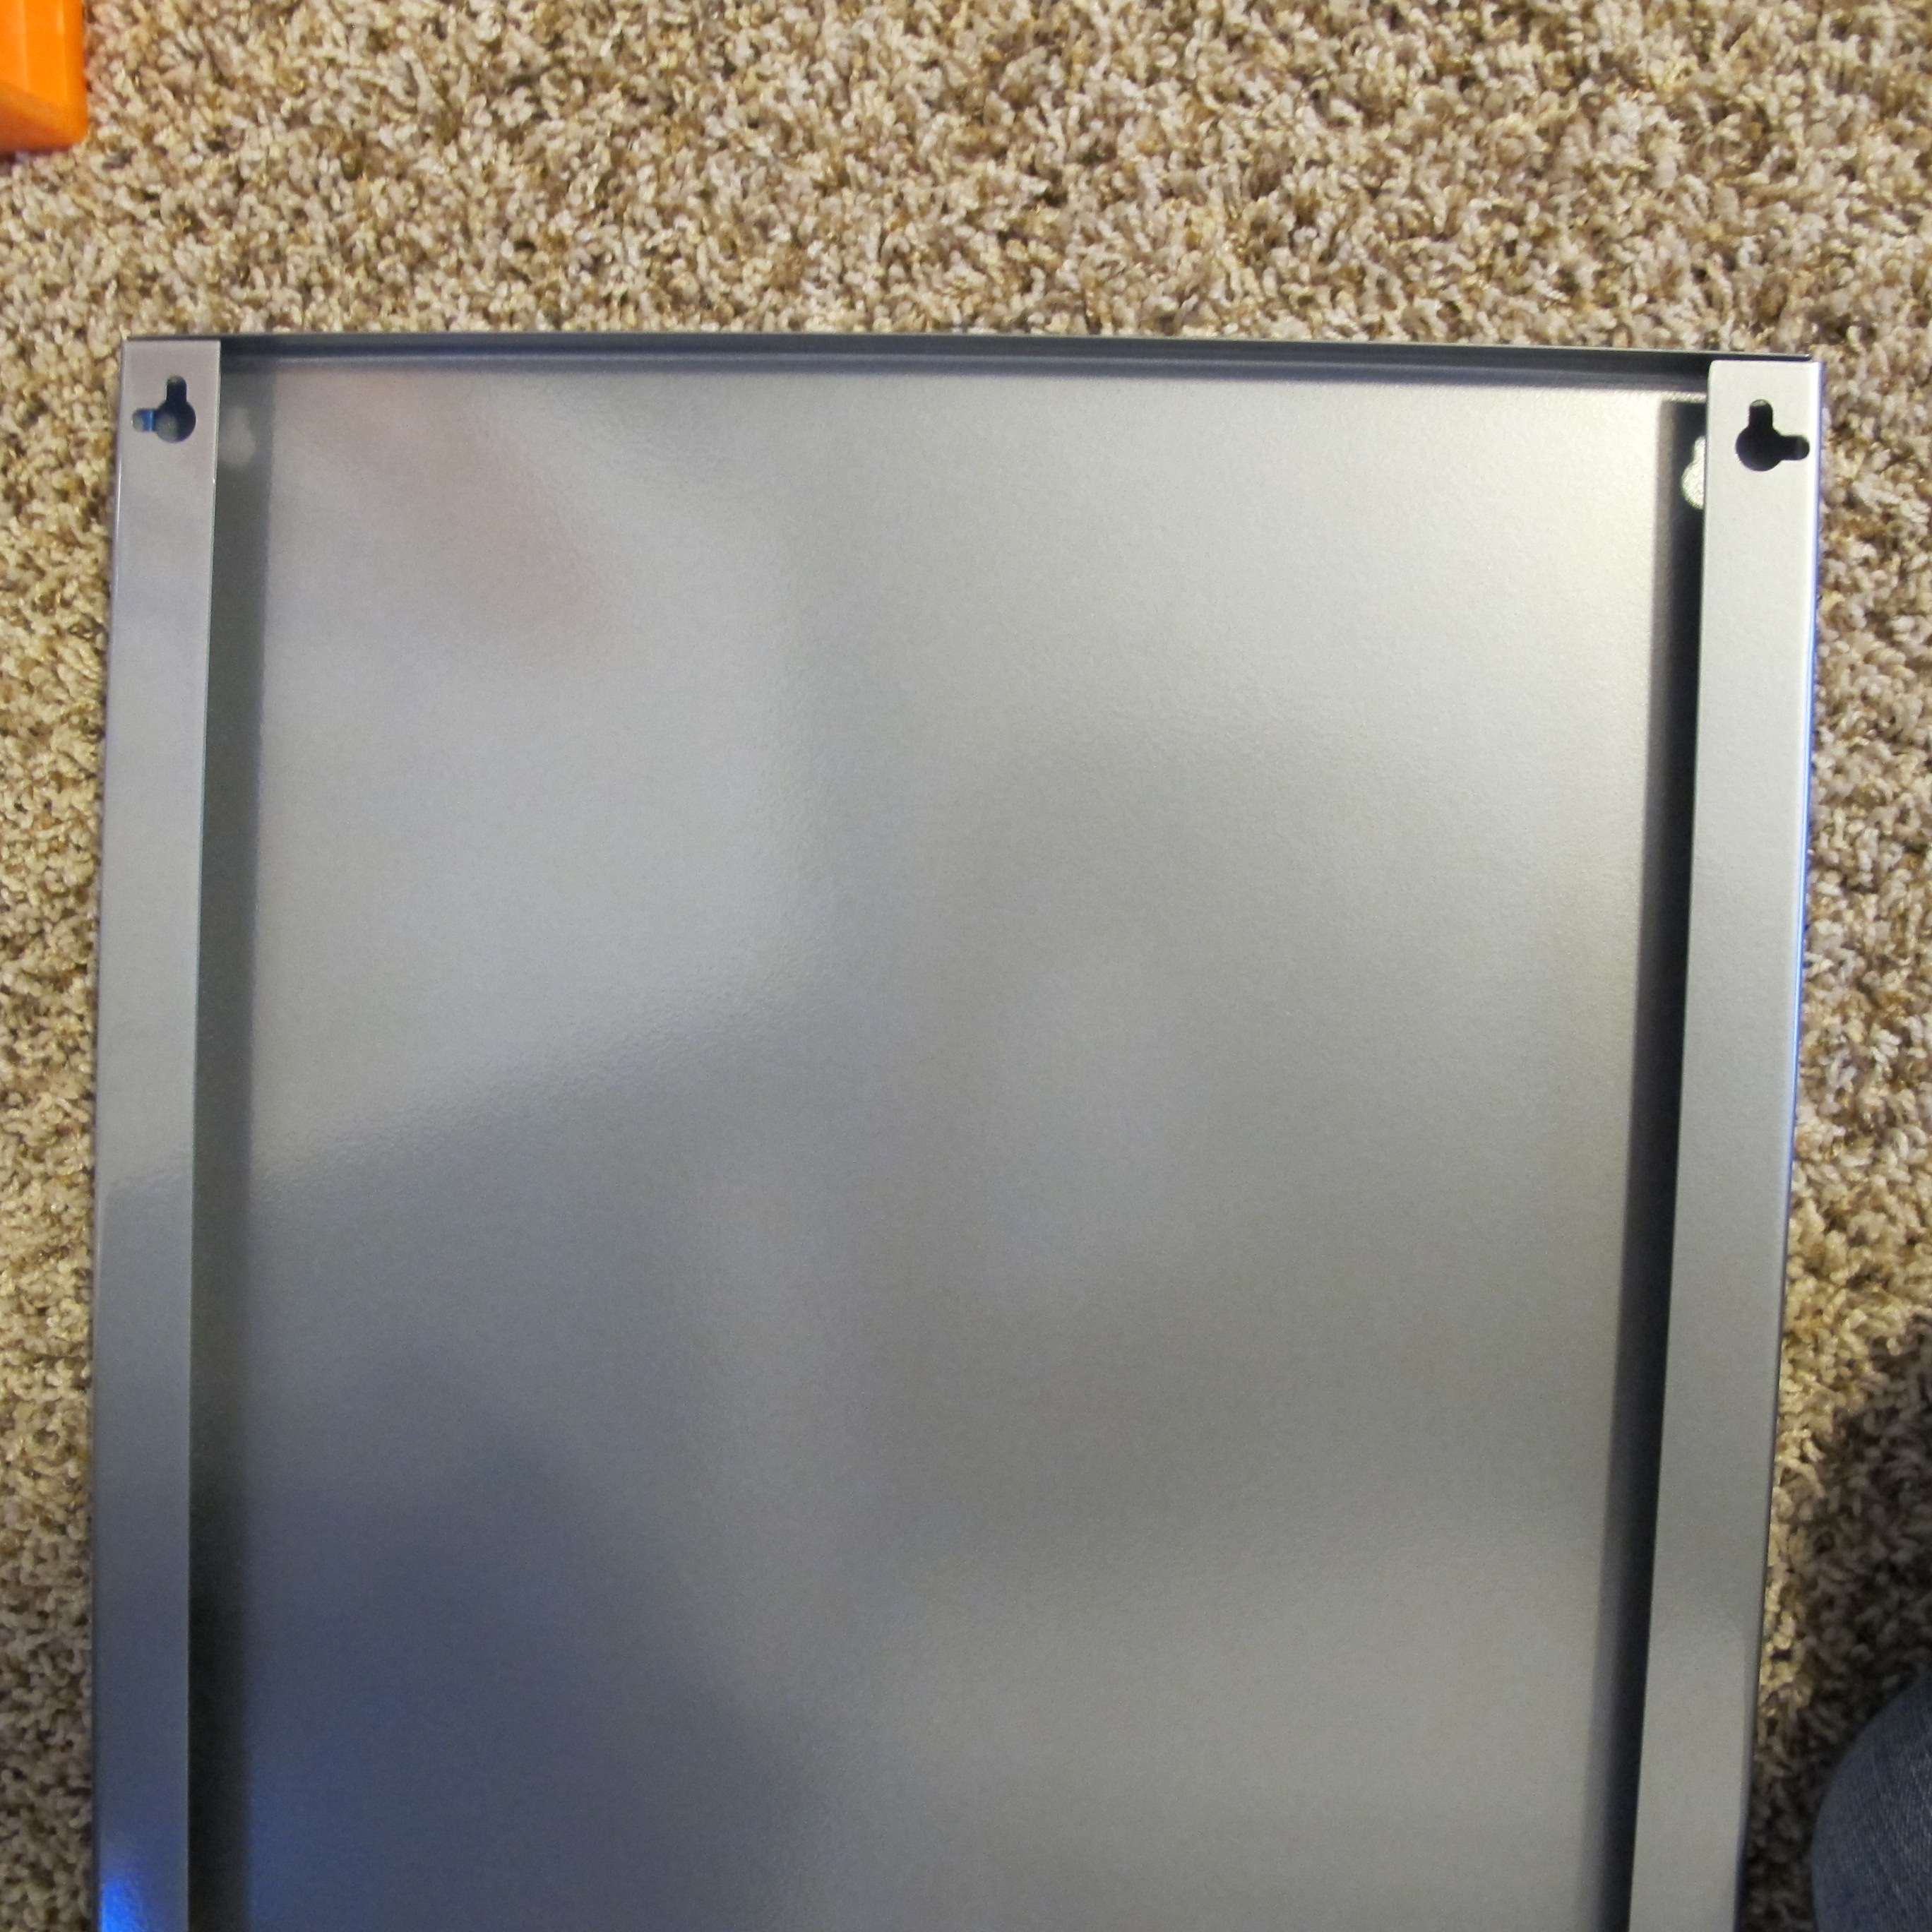
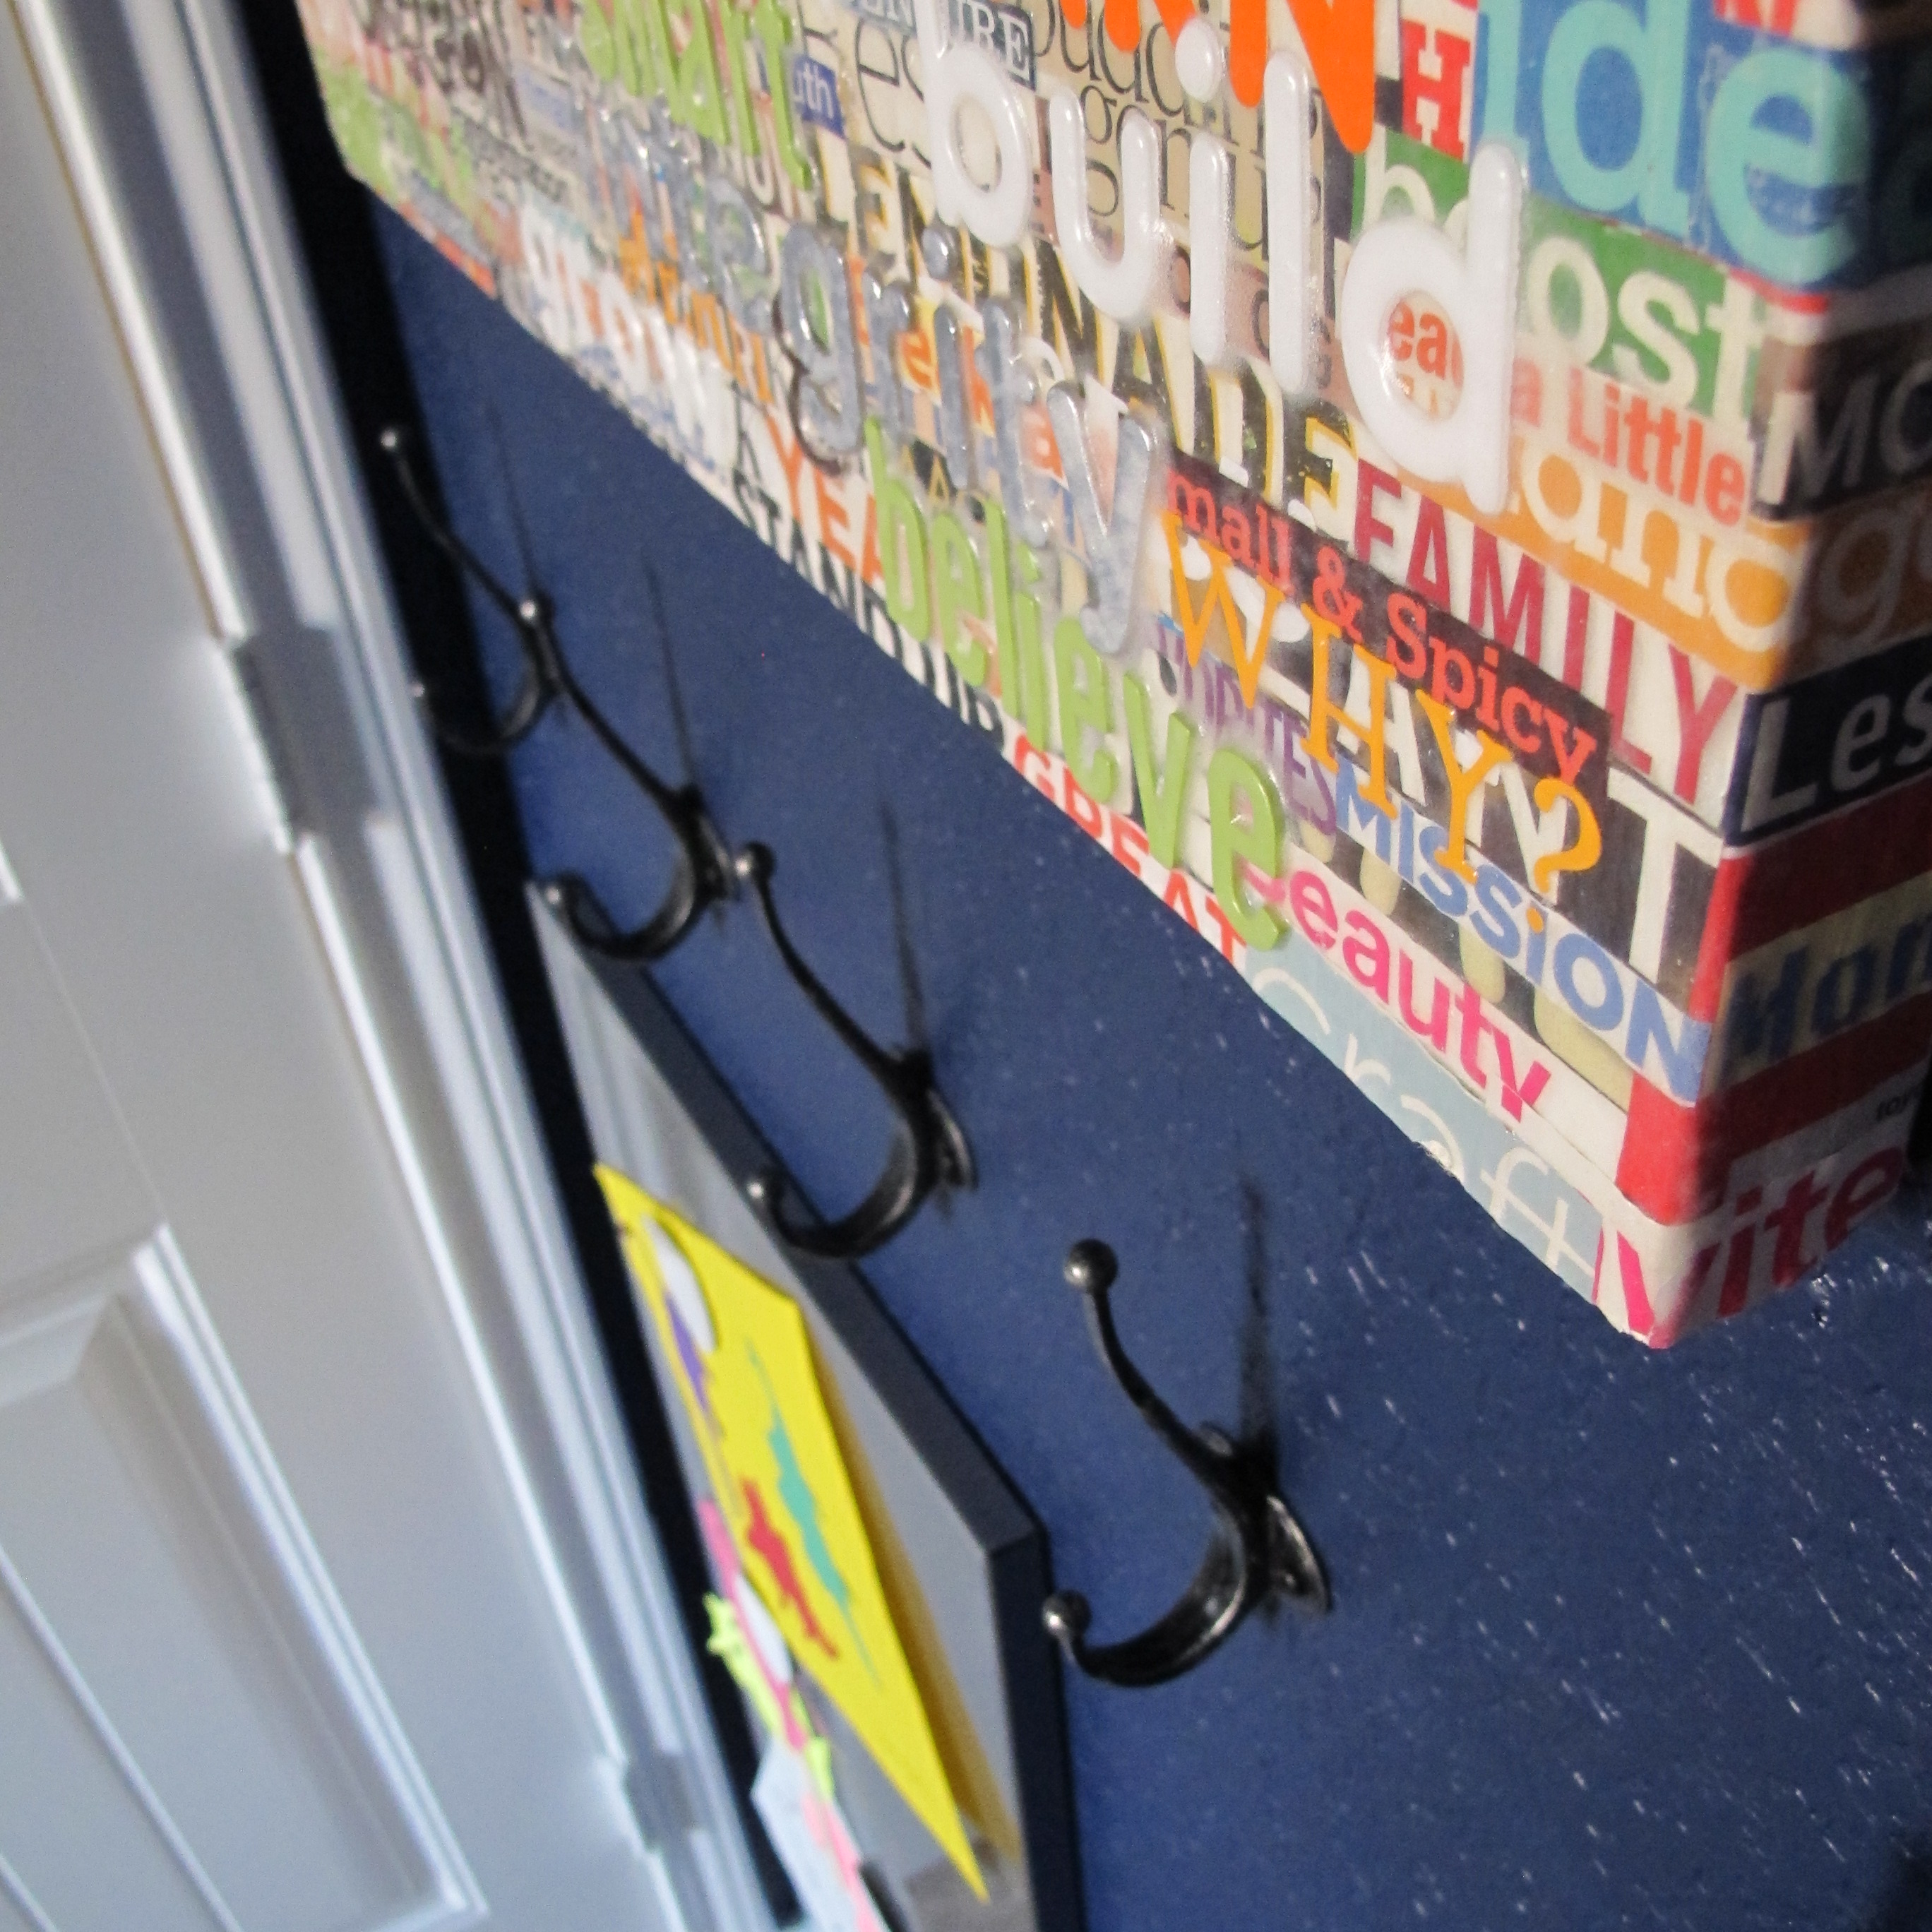
I chose it because I liked the black and silver mottled hooks. They had a nice size and shape to them and I thought the white plaque would be a nice contrast with his navy walls. Then, as we walked by the office organization area, I spotted this magnetic board….

…and realized it would be the perfect addition to hold Lucas’s artwork and other paperwork that was worth keeping. I also thought it would be fun for him to have a little “secret” place to hang his favorite coloring pages, etc.
Once I got everything home, I played around with wall placement by holding stuff up and eyeballing it. In the end, I decided to forego the white plaque that came with the hook set. It was just too many squares within a small area between the painting, plaque and magnetic board. Plus, the size of the plaque wasn’t quite large enough to line up where I wanted it to.
I used a level and tape measure and marked exactly where I wanted the hooks to go….

Then, I simply anchored and hung the hooks onto the wall. Well, maybe not so simply… If you have dark walls, here’s a little tip: Don’t follow my lead and use a paint pen to mark your wall. In my head, I figured I could just use a wet rag or magic eraser to remove the marks later. Nope. Wrongo. I ended up having to bust out the touch up paint for these areas. I’m thinking maybe chalk would’ve been a less permanent choice. Yep. Dually noted.
For the magnetic board, I used one of the many tips I’ve learned from Pinterest. I placed painters tape sticky-side-up across the holes in the metal sheet and looped it under on the sides so it would stick on the edges. Then, I poked holes in the tape where the holes were located.

I placed the magnetic board up to the wall and once it was level (I literally balanced a small level on top of the board to make sure), I firmly pressed the board to the wall so that the tape would stick to it and loosened the edges from the board to it would release. I removed the board and was left with this…

Then, I installed screws right through the holes and removed the tape…

I hung up the board to double-check placement and make it was level…
Then, I removed the board and screws and anchored them in with heavy-duty anchors….

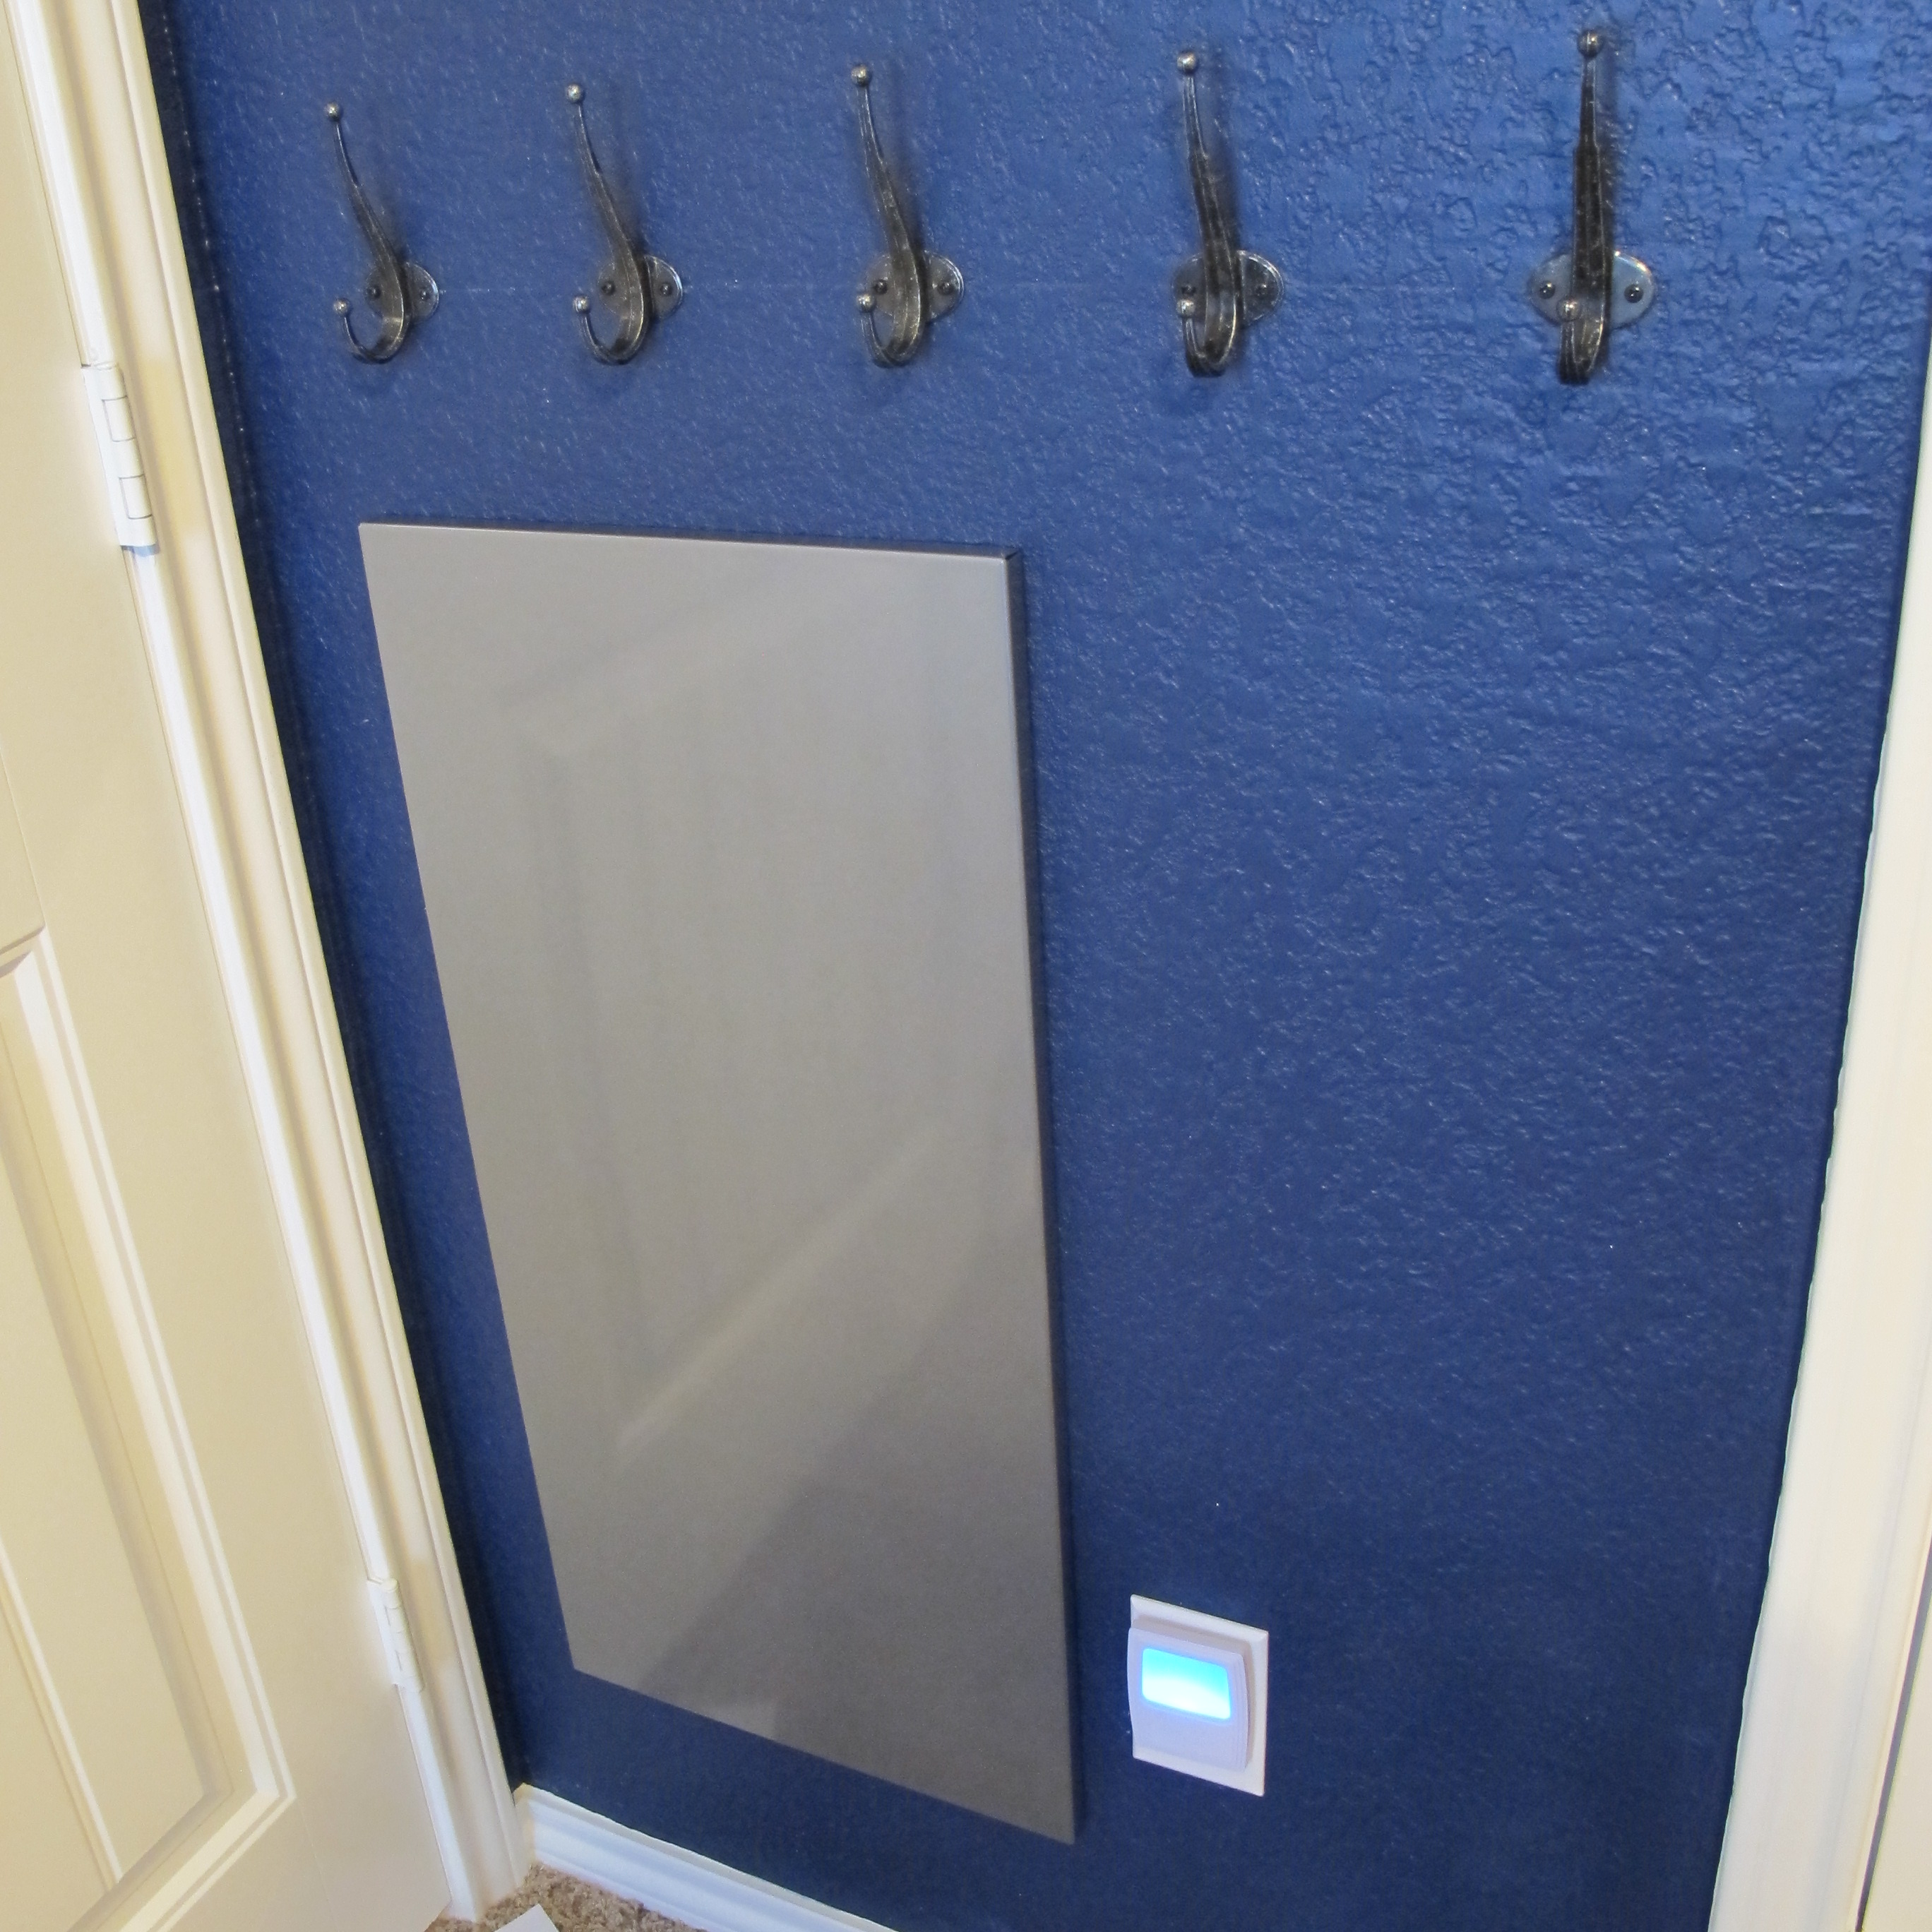
This guy is going nowhere, let me tell ya. And here is the finished product…..
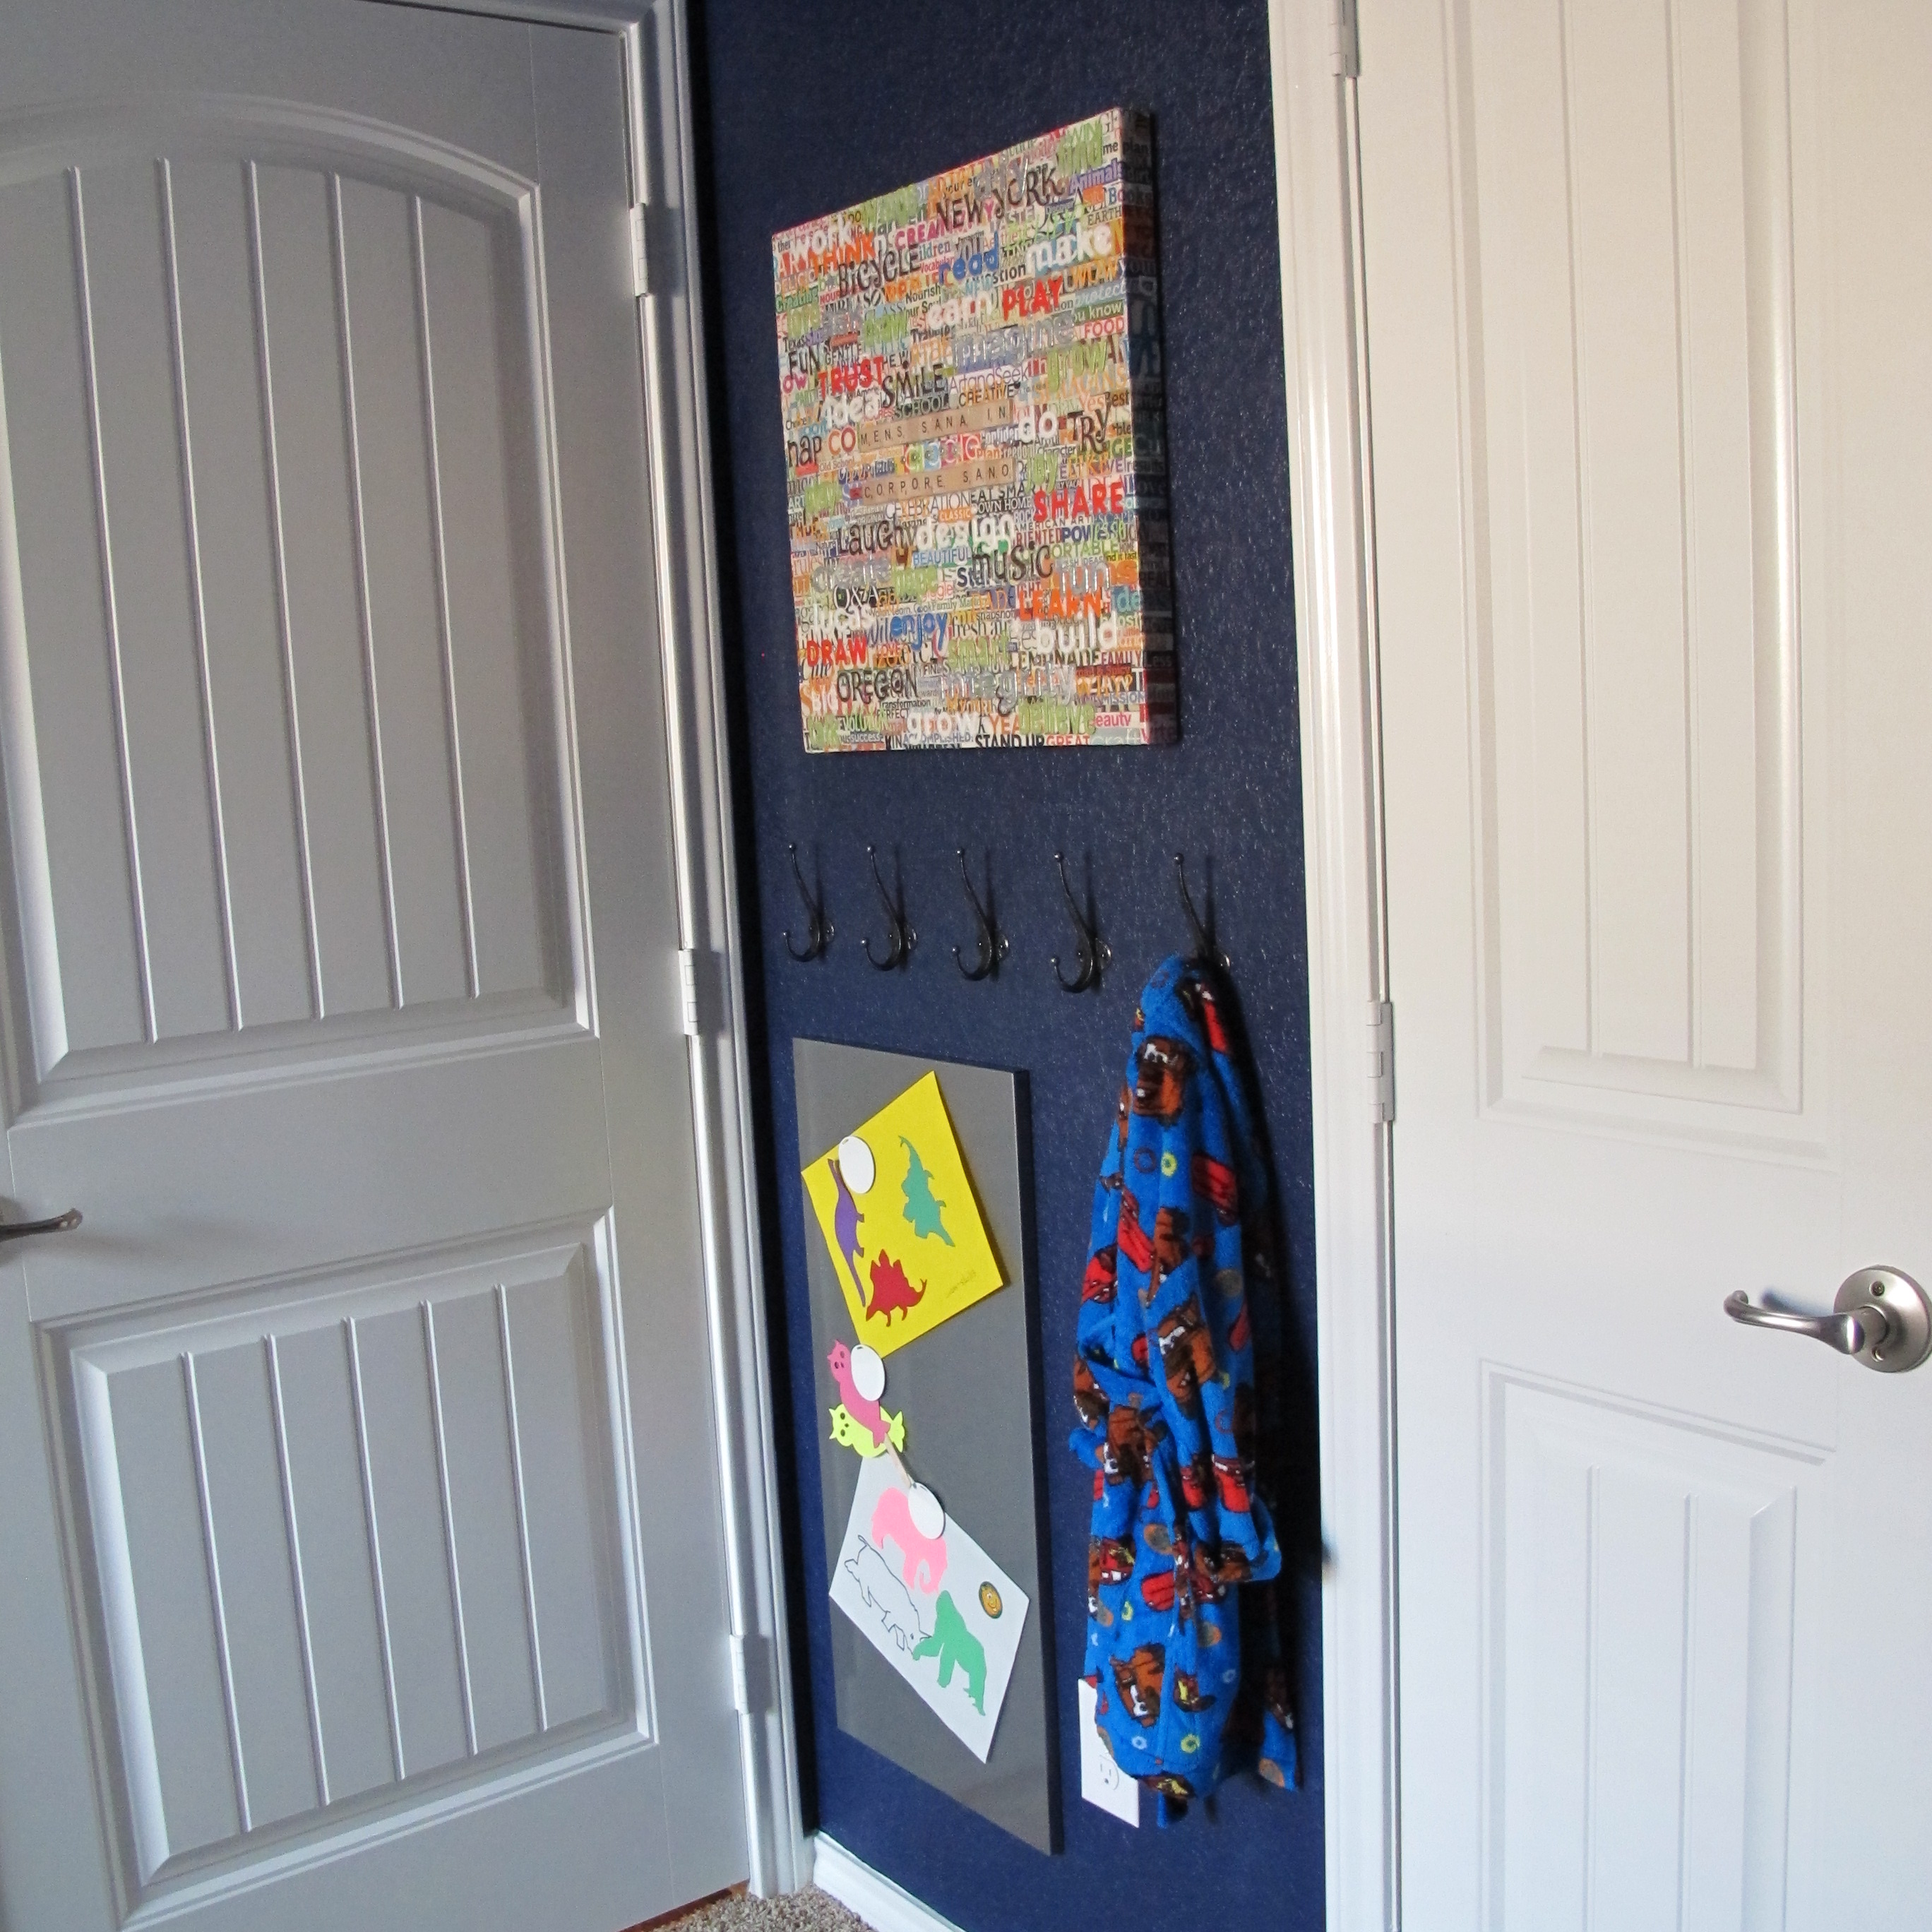

And yes, that is an adorable little Lightning McQueen bathrobe. That he wears. And I love. He looks like a mini-man in it. Gets me every time.
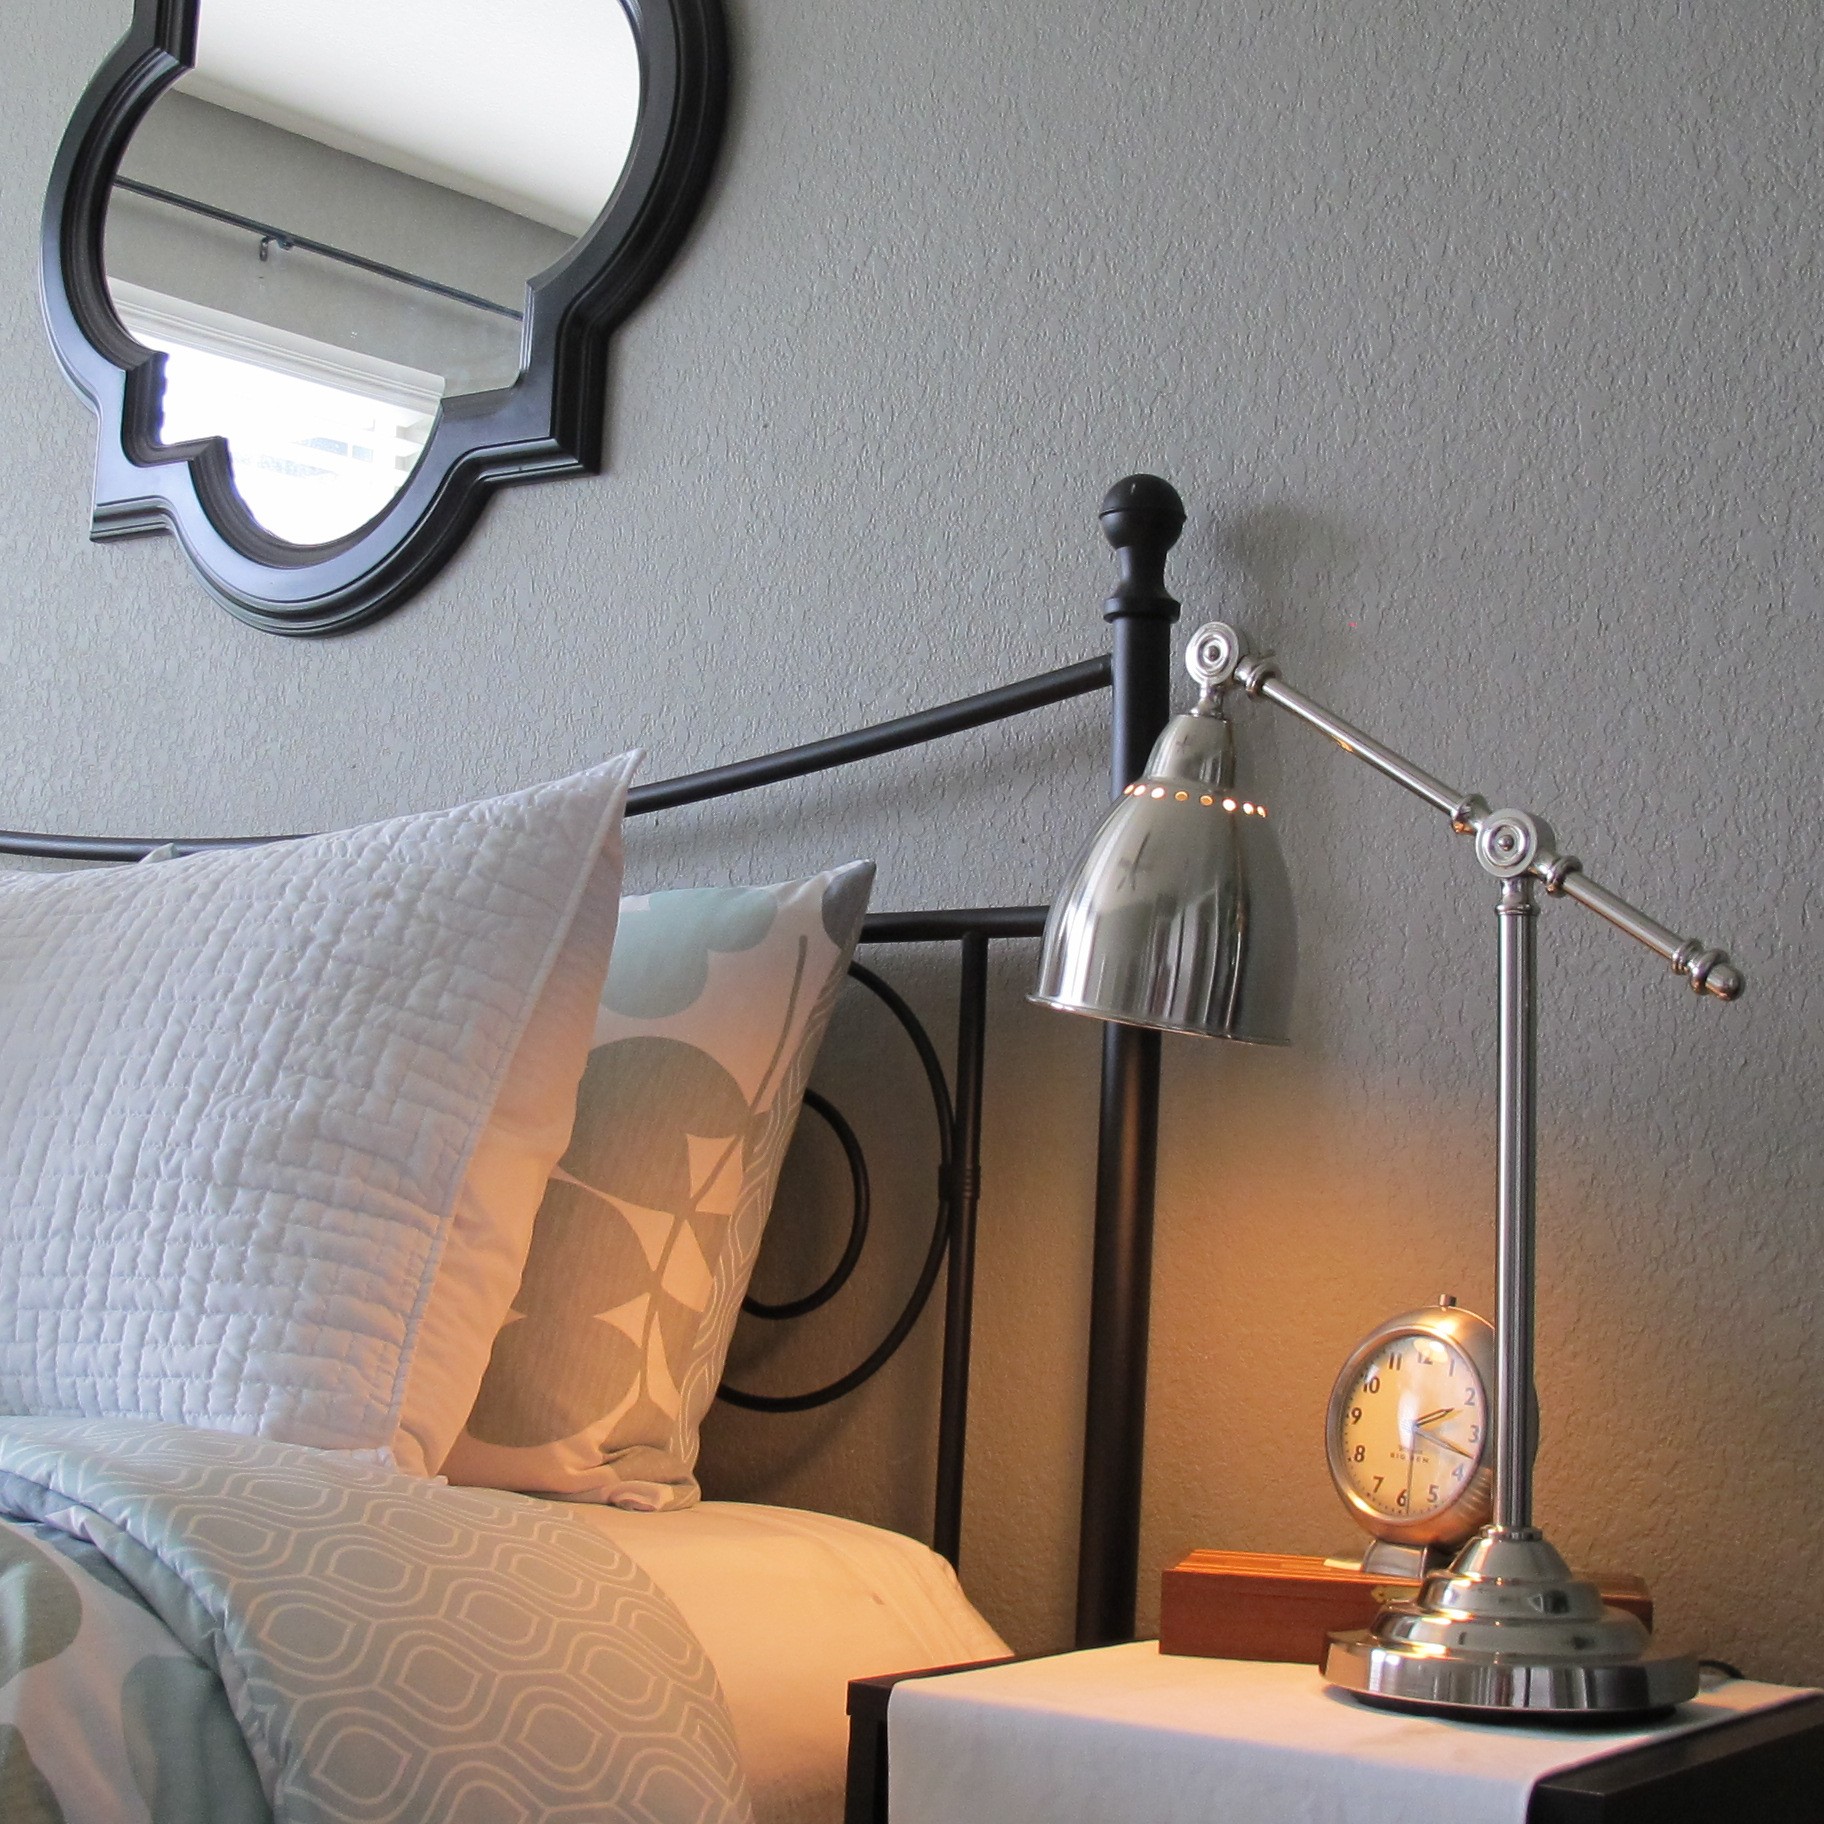
Here are a few close-ups…

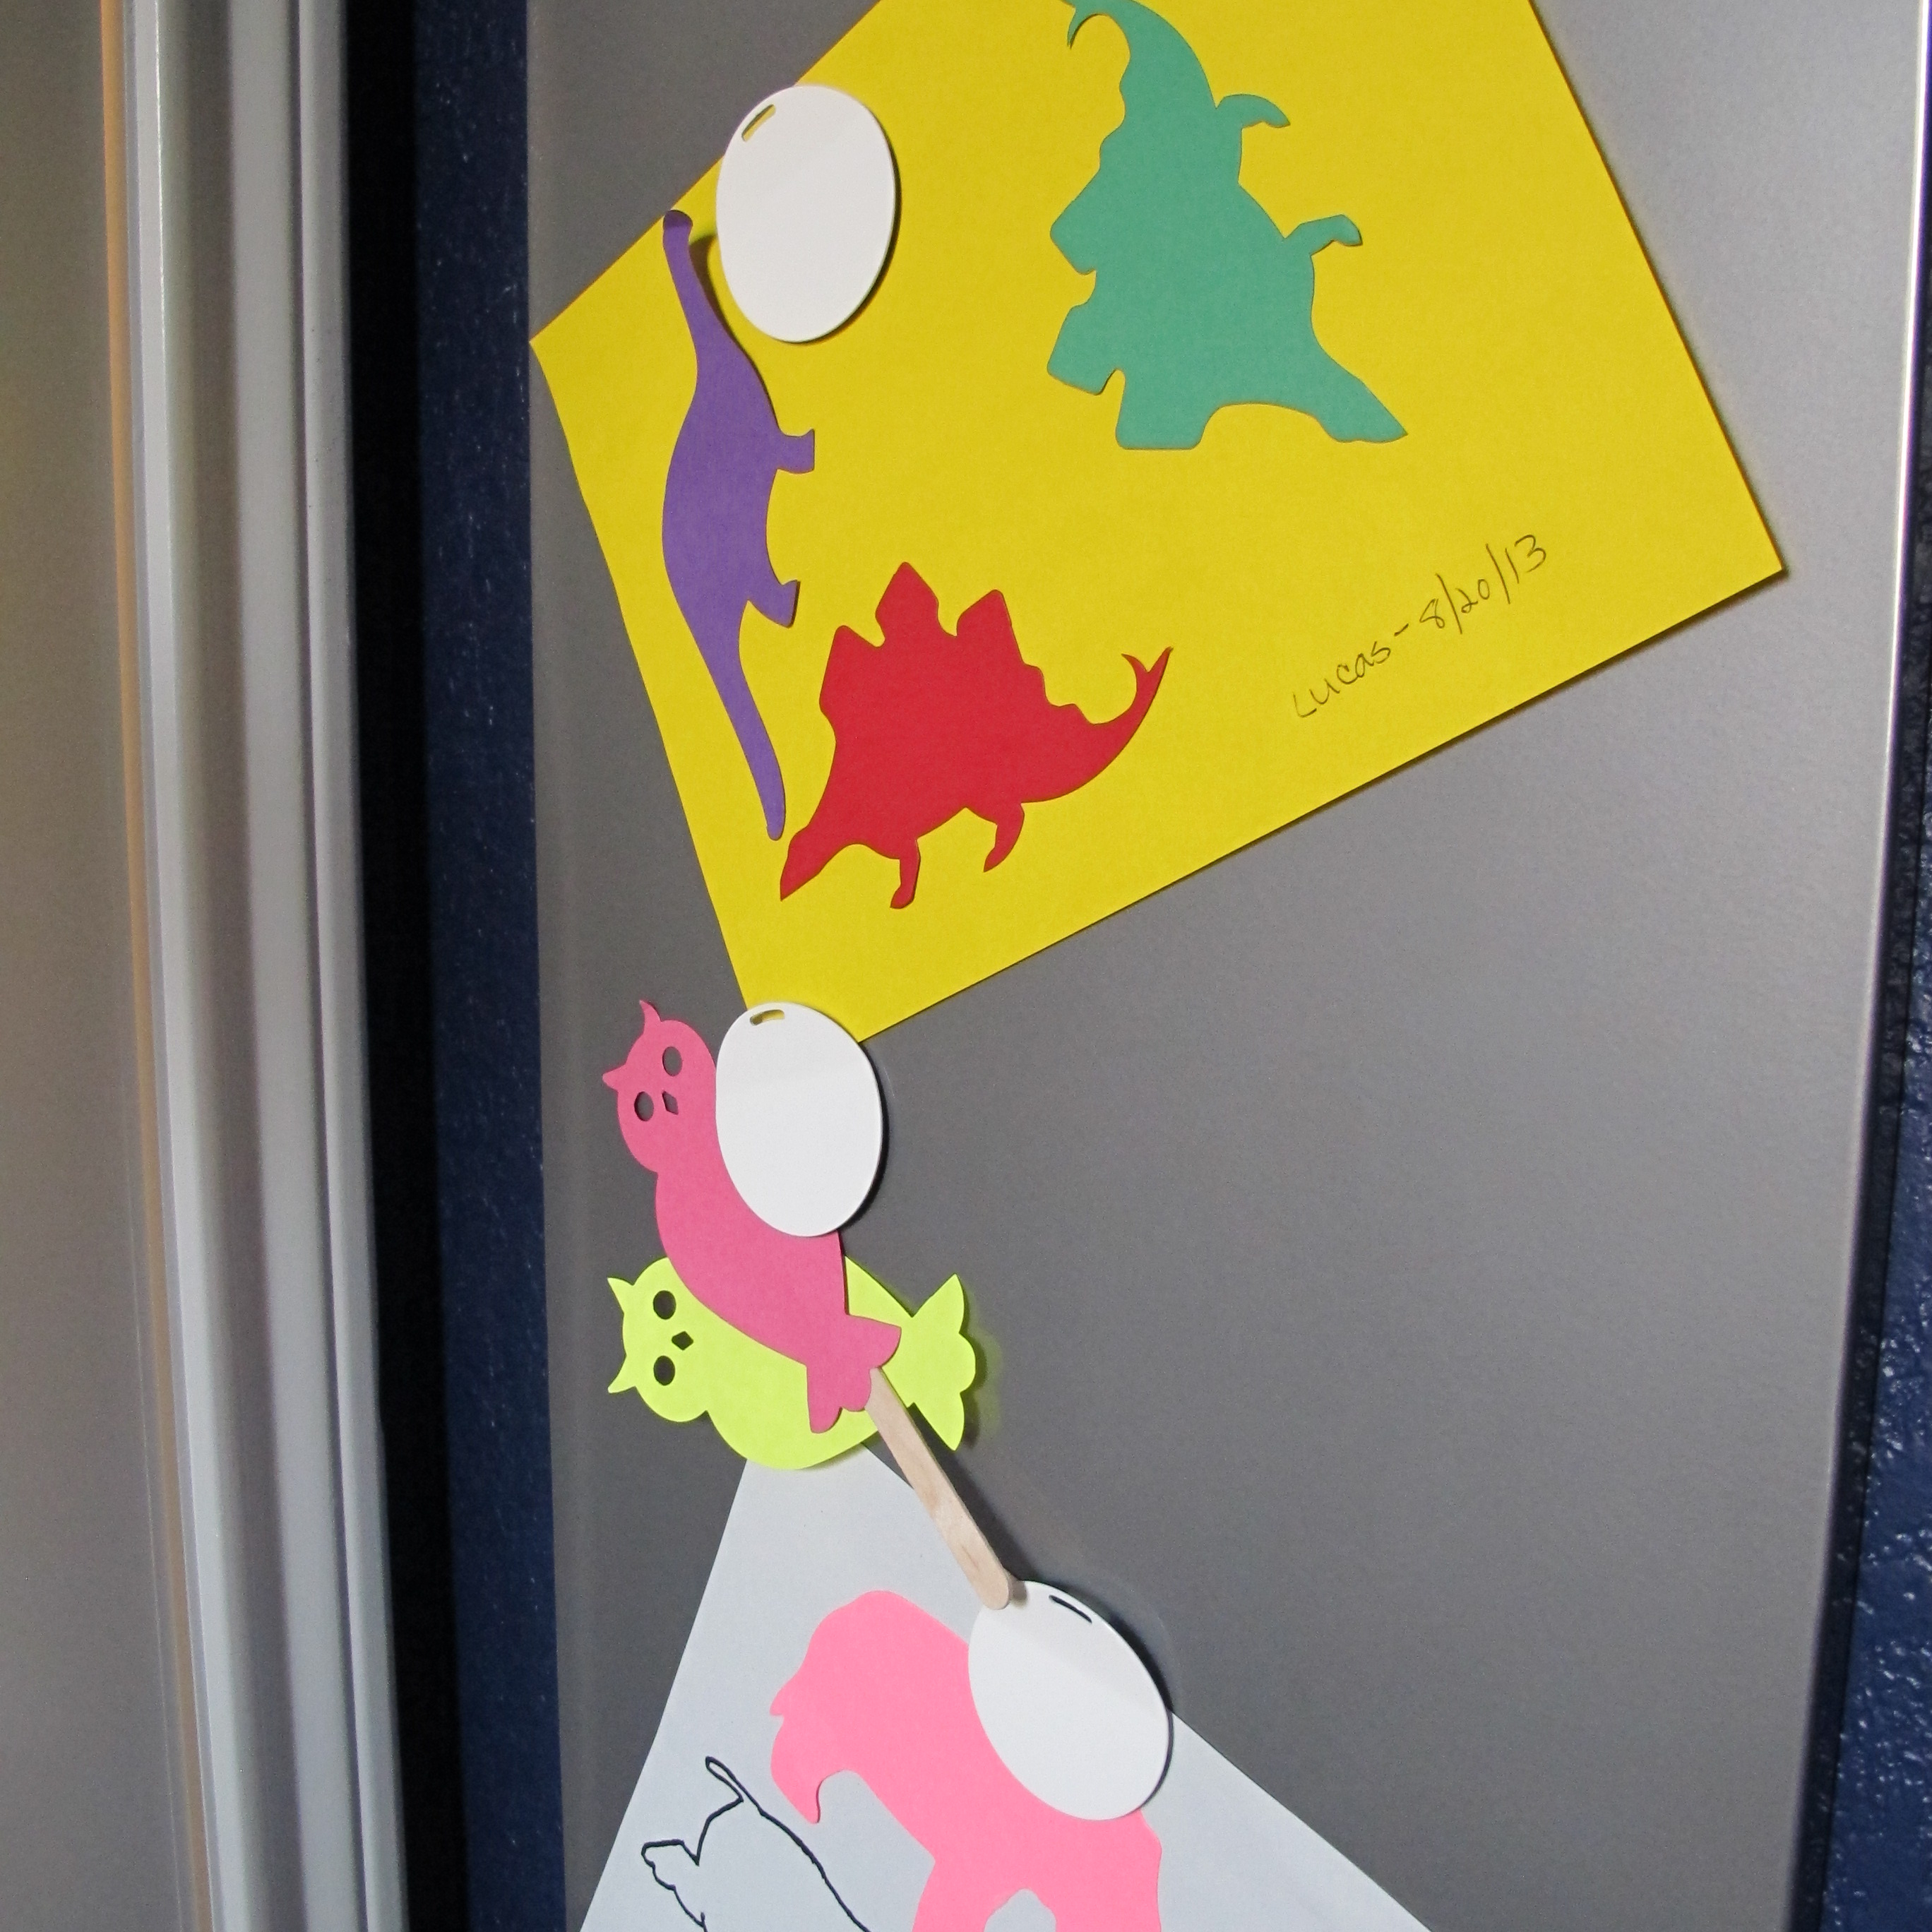
I know that sometimes jackets or backpacks or whatever will hang over the magnetic board, but that’s what makes it a little “secret” area for Lucas’s treasures. And he sure didn’t waste any time after I’d finished before playing with the magnets (also purchased at Ikea)…

So, it’s nice to be able to say that one area of Lucas’s room is done and functional. It’s definitely helped in keeping his closet a bit more clutter-free. So, now it’s onto the next!!