On the fence

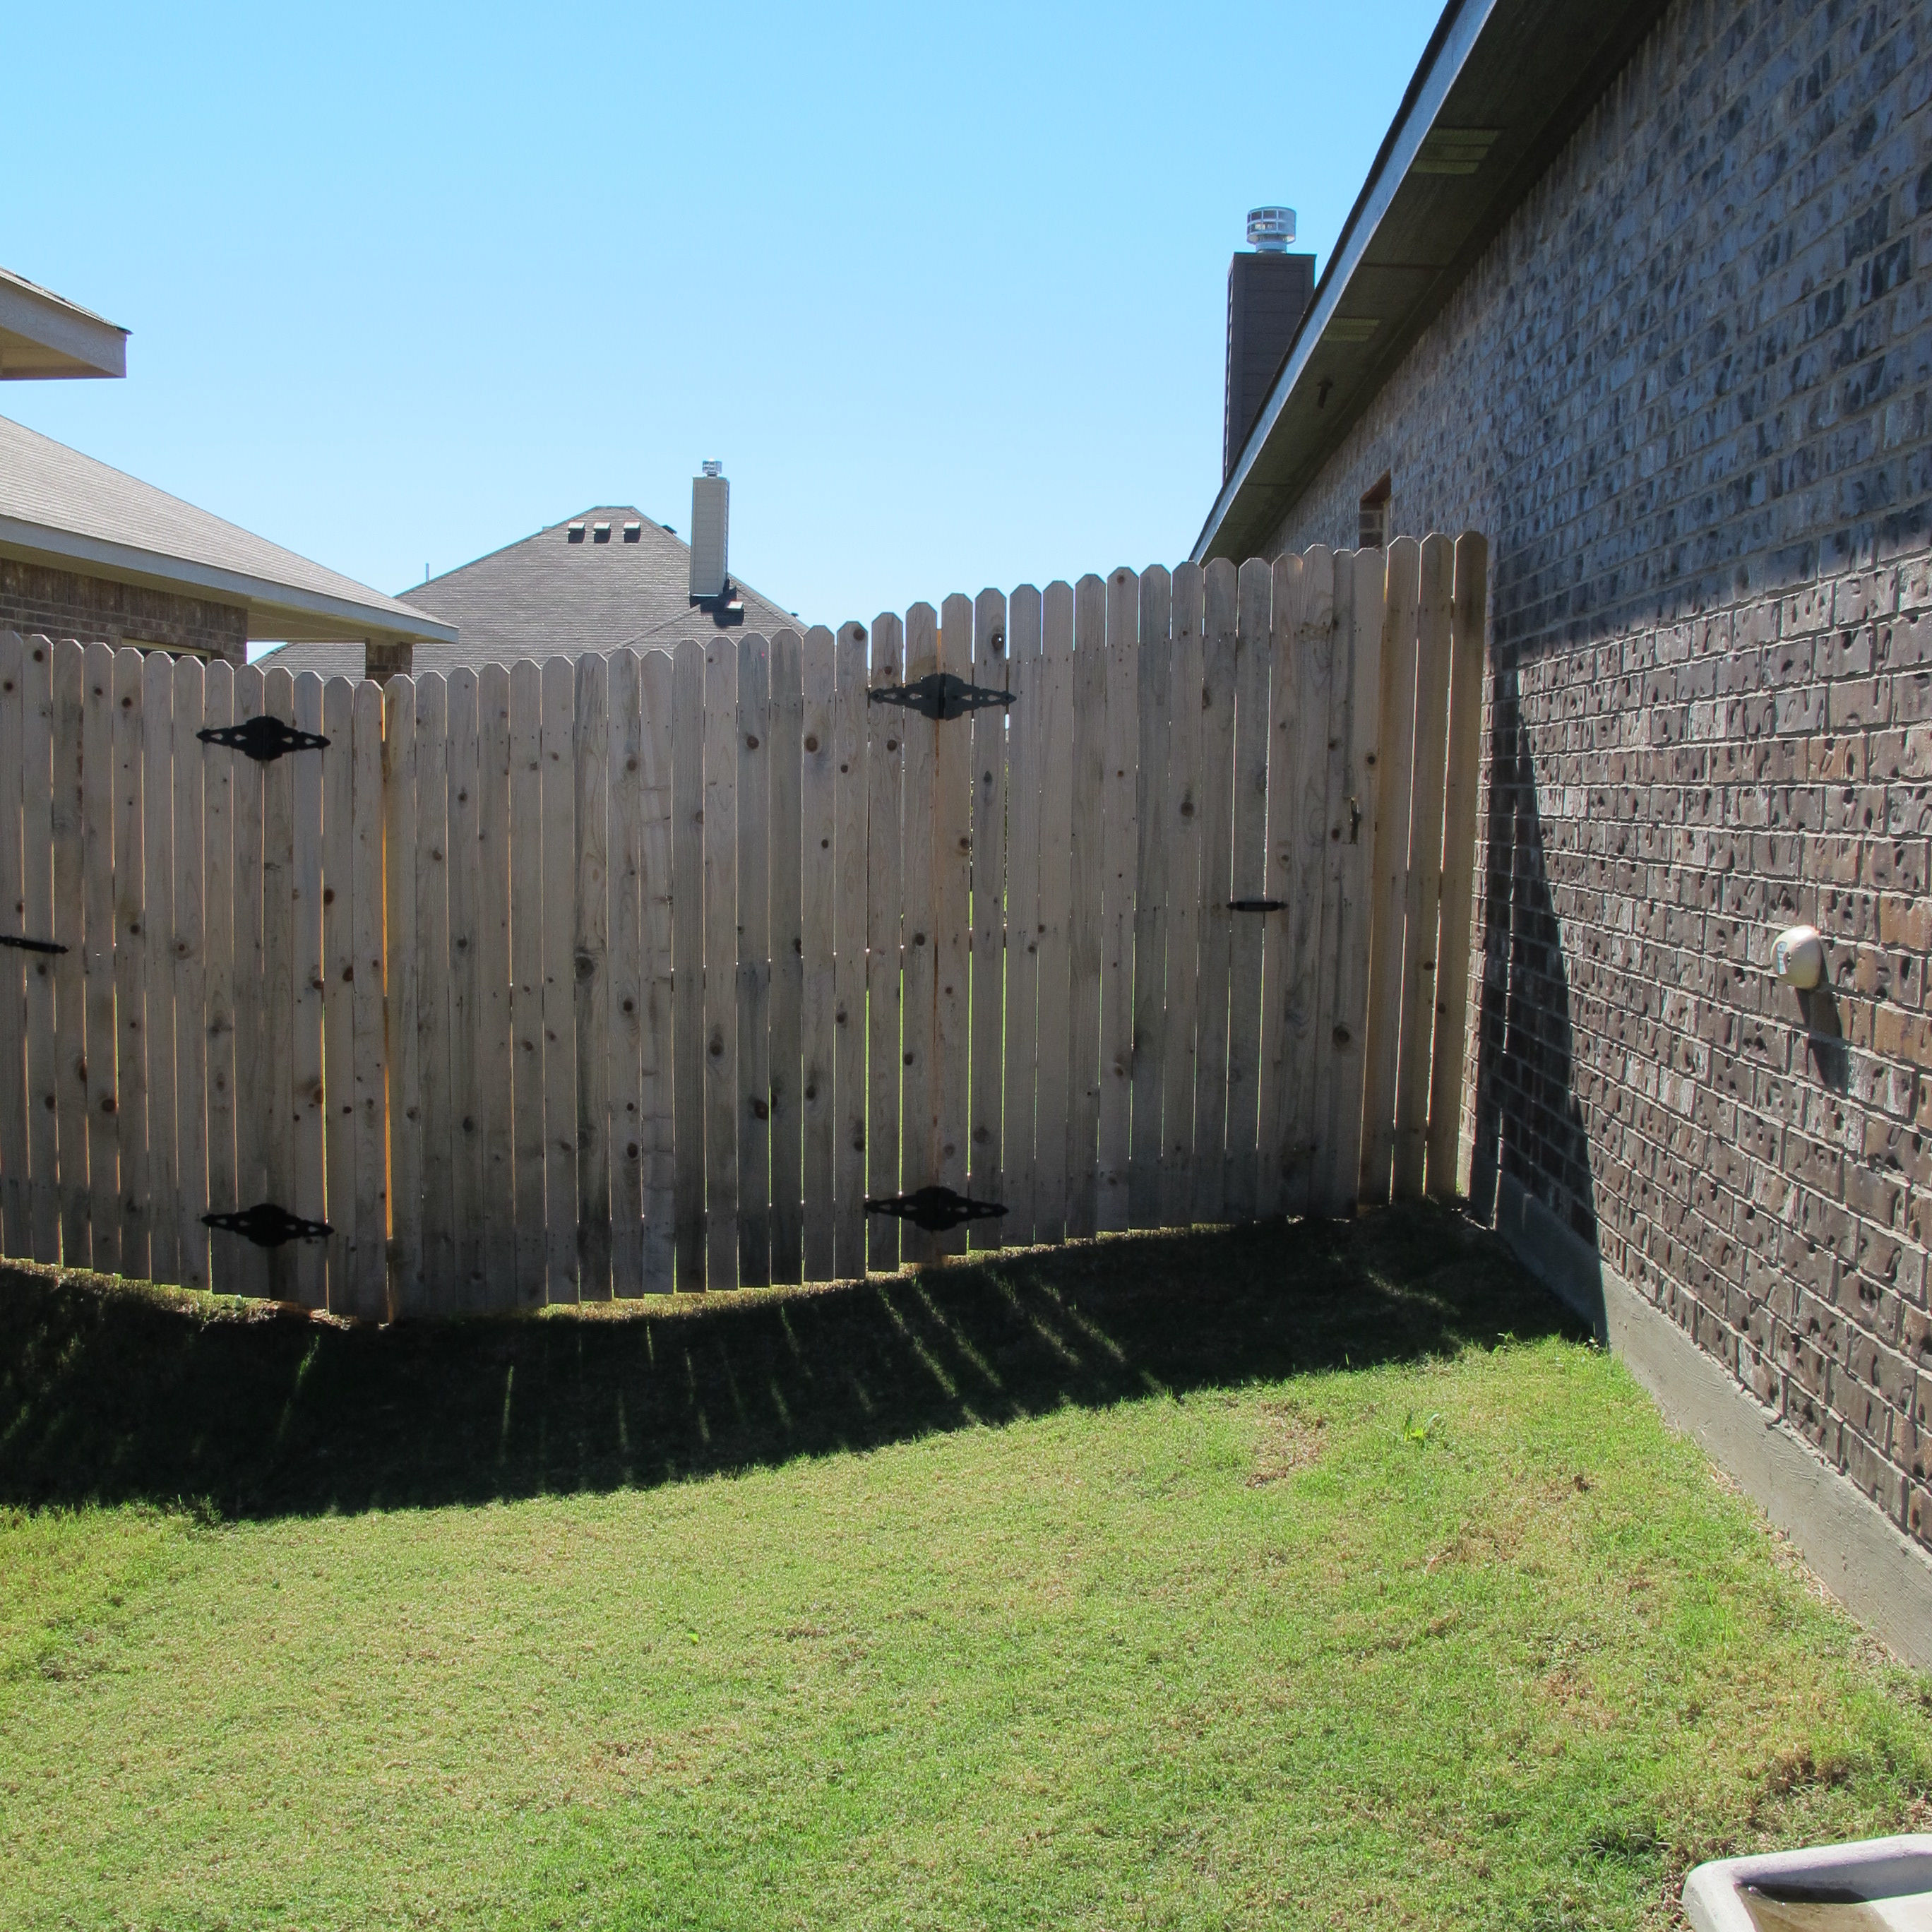
The first step to updating our fence is done. And I have to say that none of it was my doing. Joey gets all the credit. We’ve wanted to move up the east side of our fence since before it was even erected. Our builder provided enough fencing to bring the fence to the front of our property on the west side, but it fell even with the back corner of our house on the other side….

IMG_1330

We felt like this cut off our yard and deprived us of valuable space for storage along the side of our property.  We decided to wait until the house next door was built and their fence was up so we would only have to move the front section of our fence, rather than having to purchase a side portion as well.

Now, I’ll be honest, I don’t know all of the nitty-gritty steps involved in this project. I do know that Joey was out there for a while working on it. So, this is just a quick summary of how he did it.

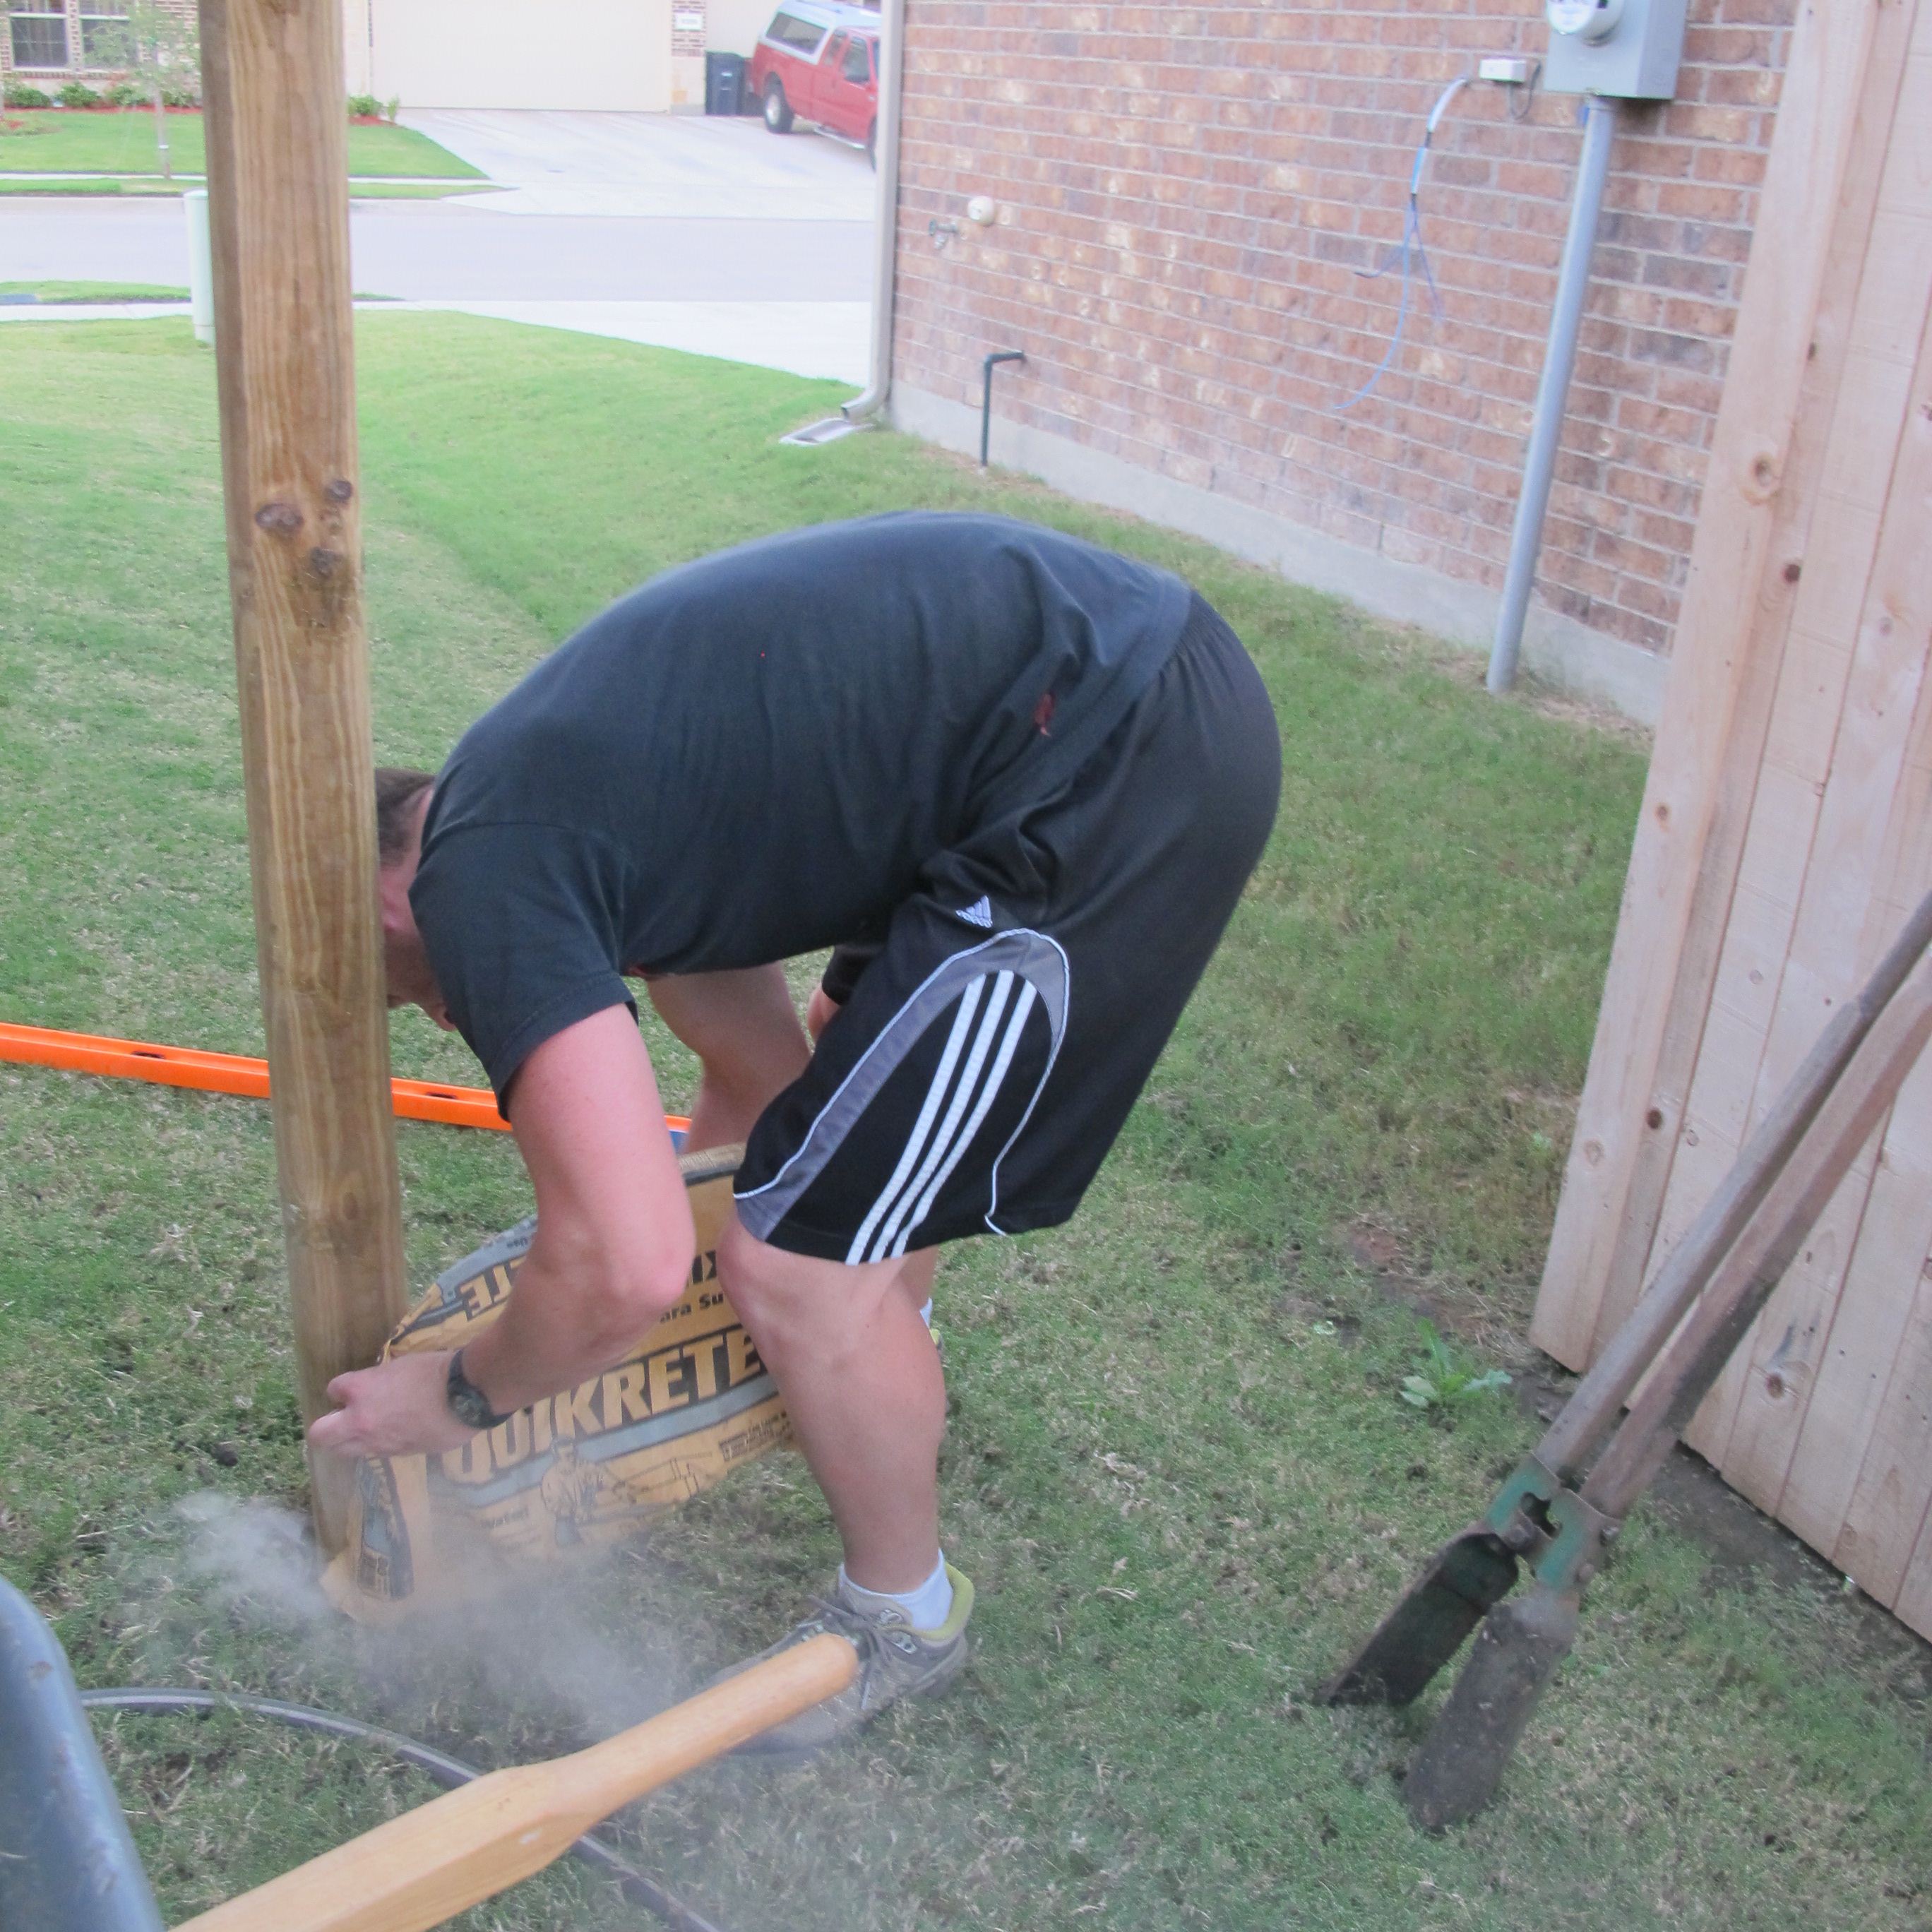
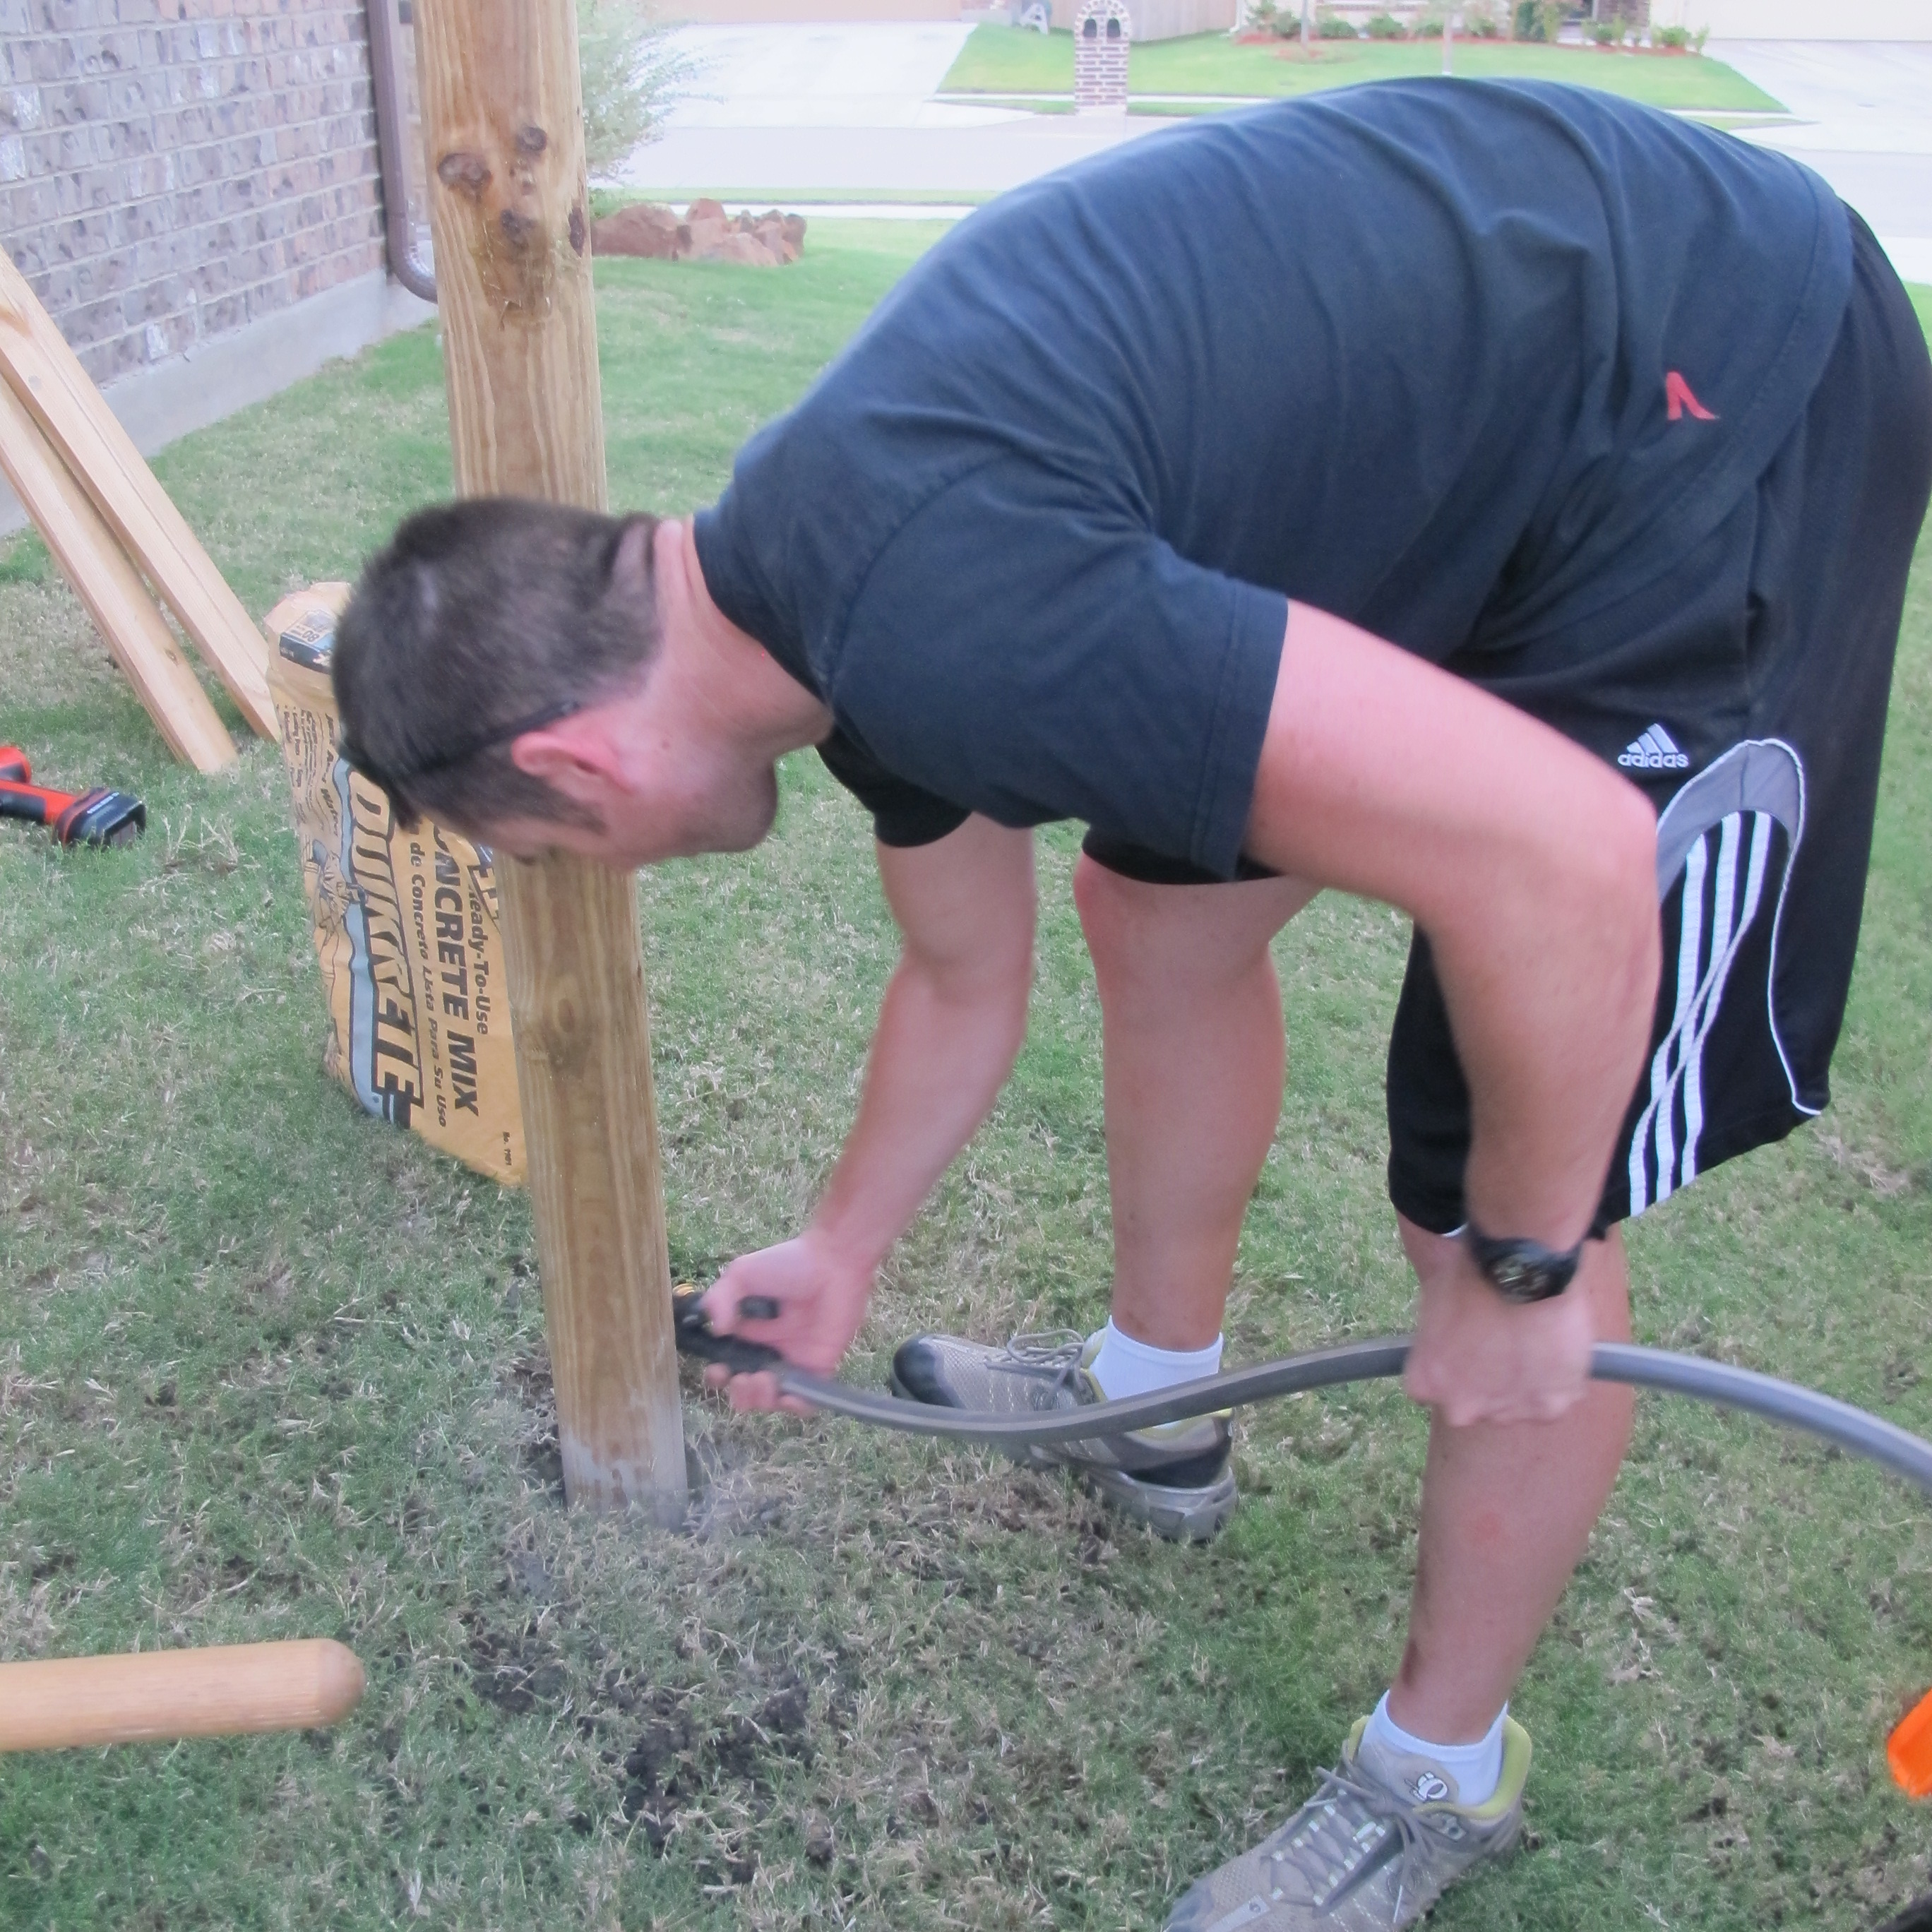
Joey started by first sinking the new fence posts. He measured the locations of our existing fence posts and dug holes in the same locations but lined up with the front of the neighbors fence towards the front of our house. Next, he set the posts in the holes and poured in Quikrete.

IMG_1340

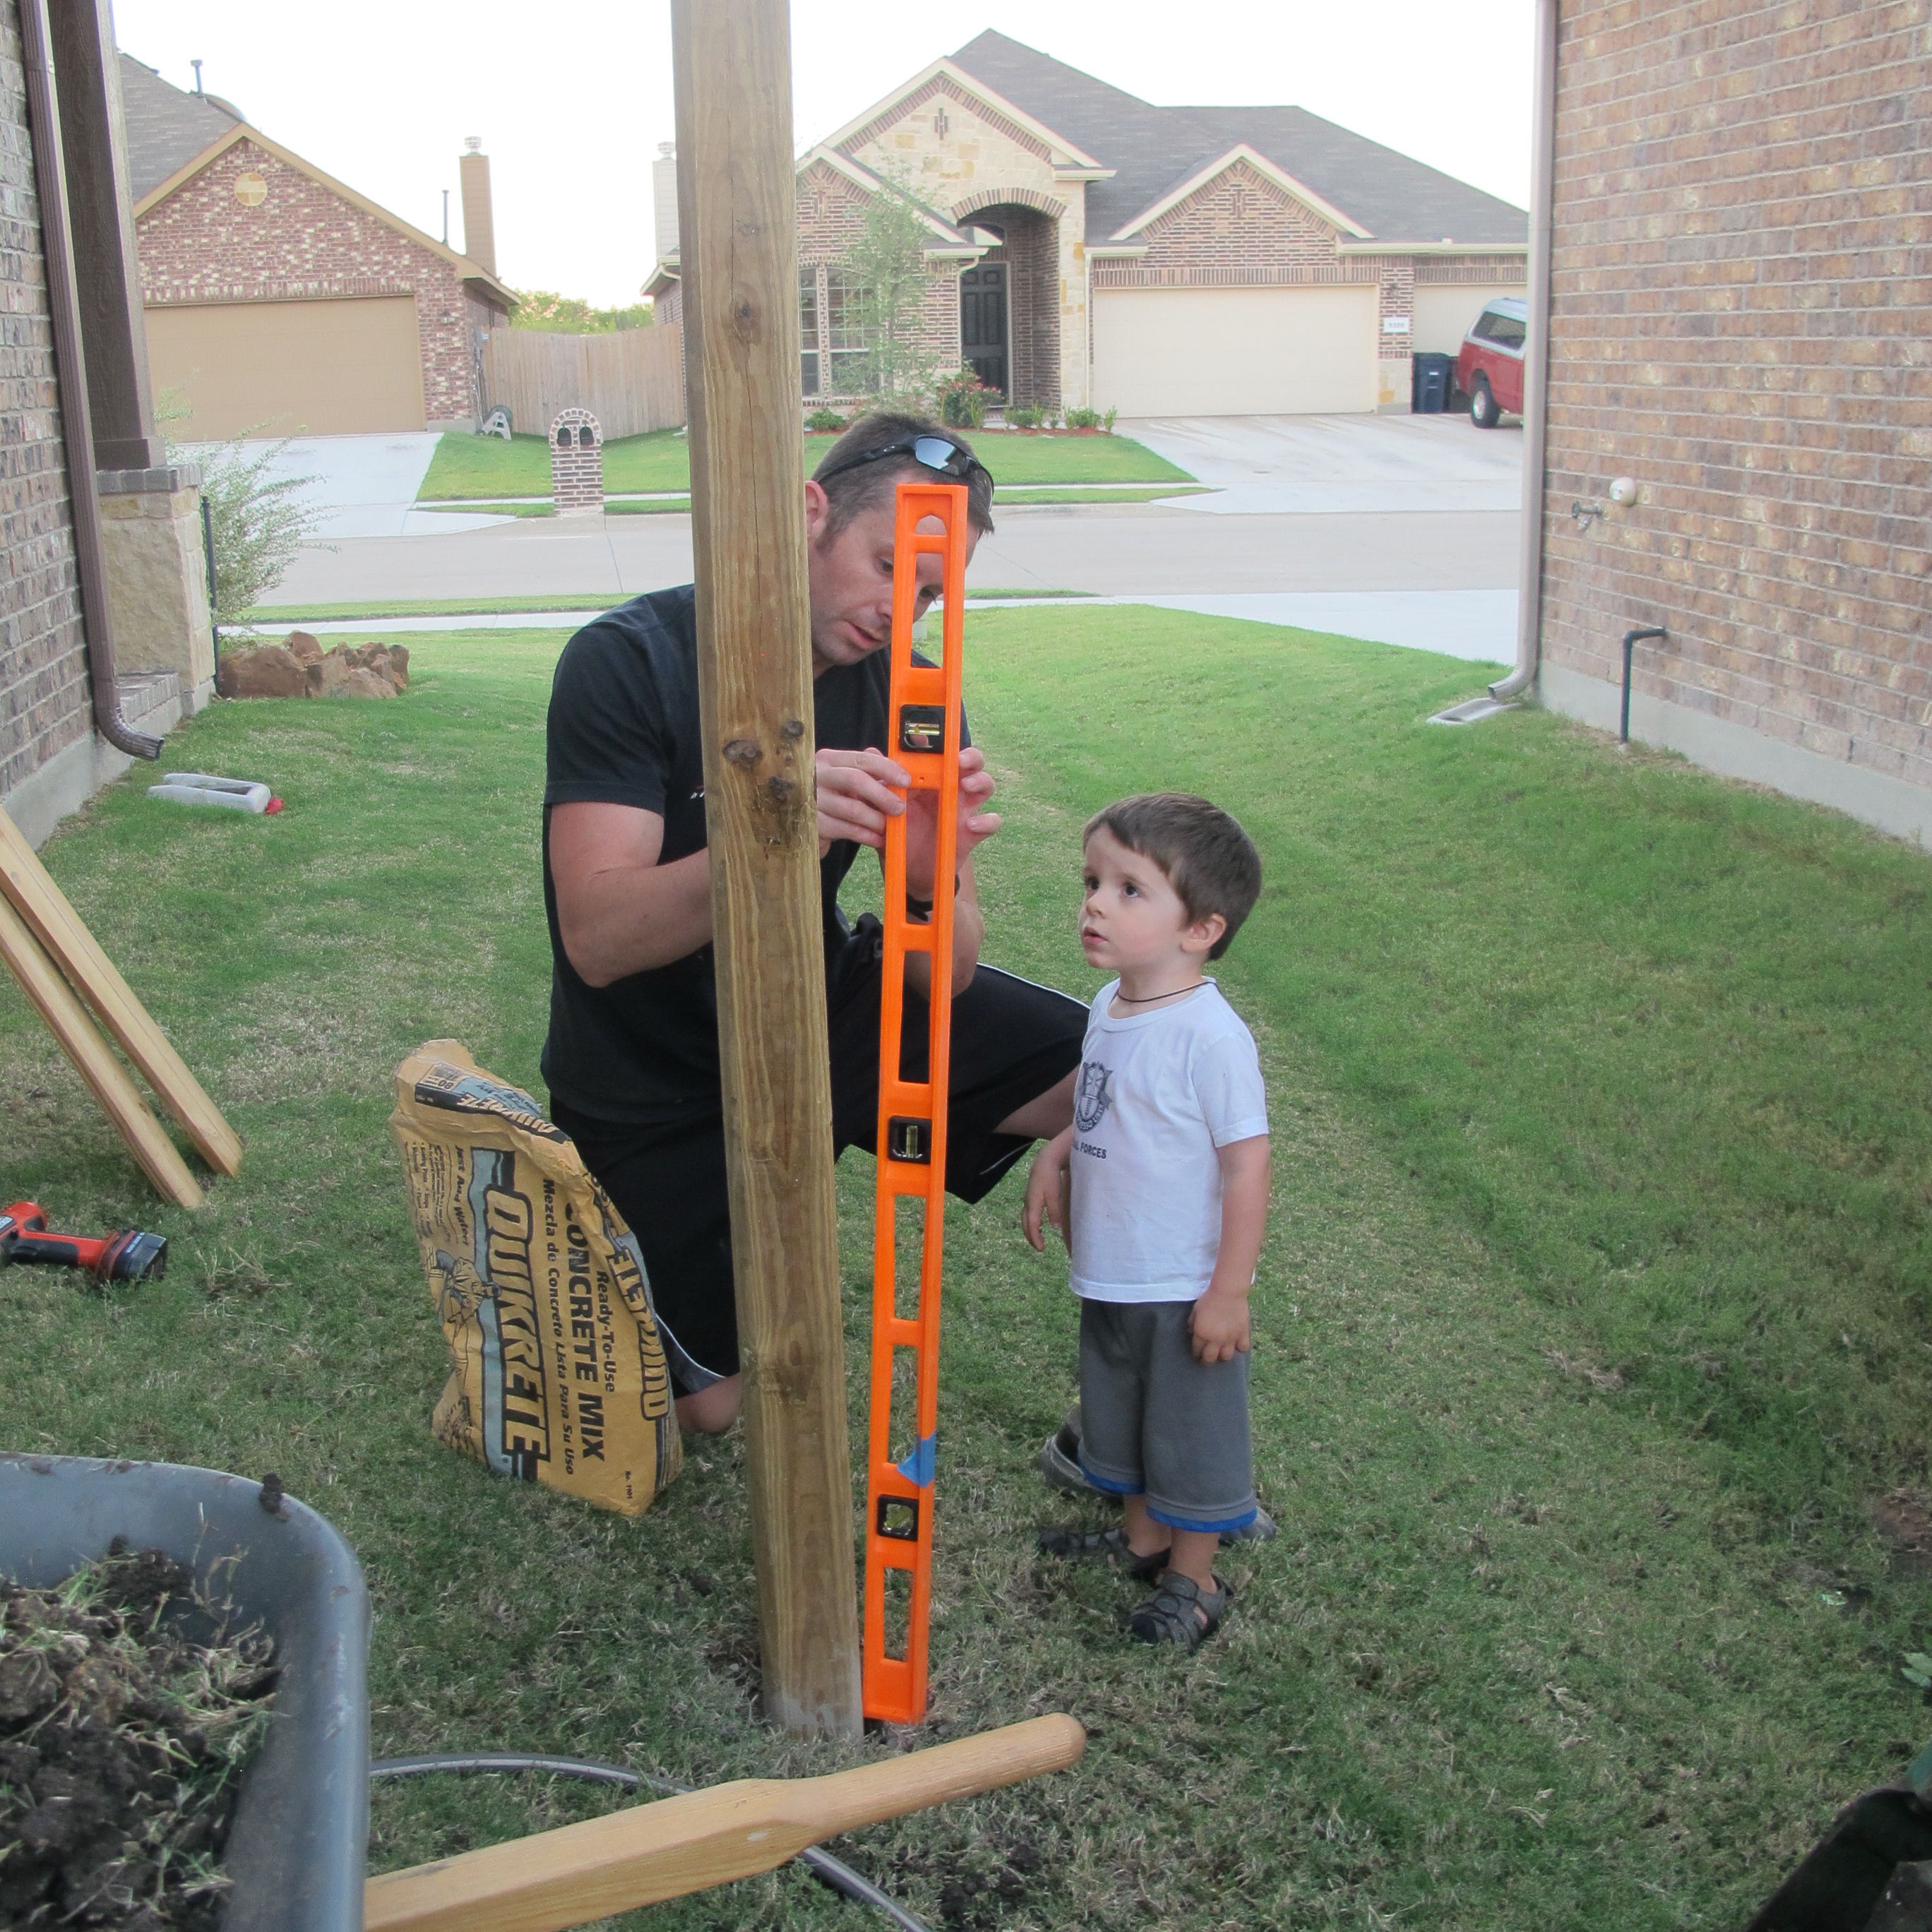
He made sure the posts were level (for which he had a little help…)…

IMG_1343 IMG_1345

And added water with the hose…
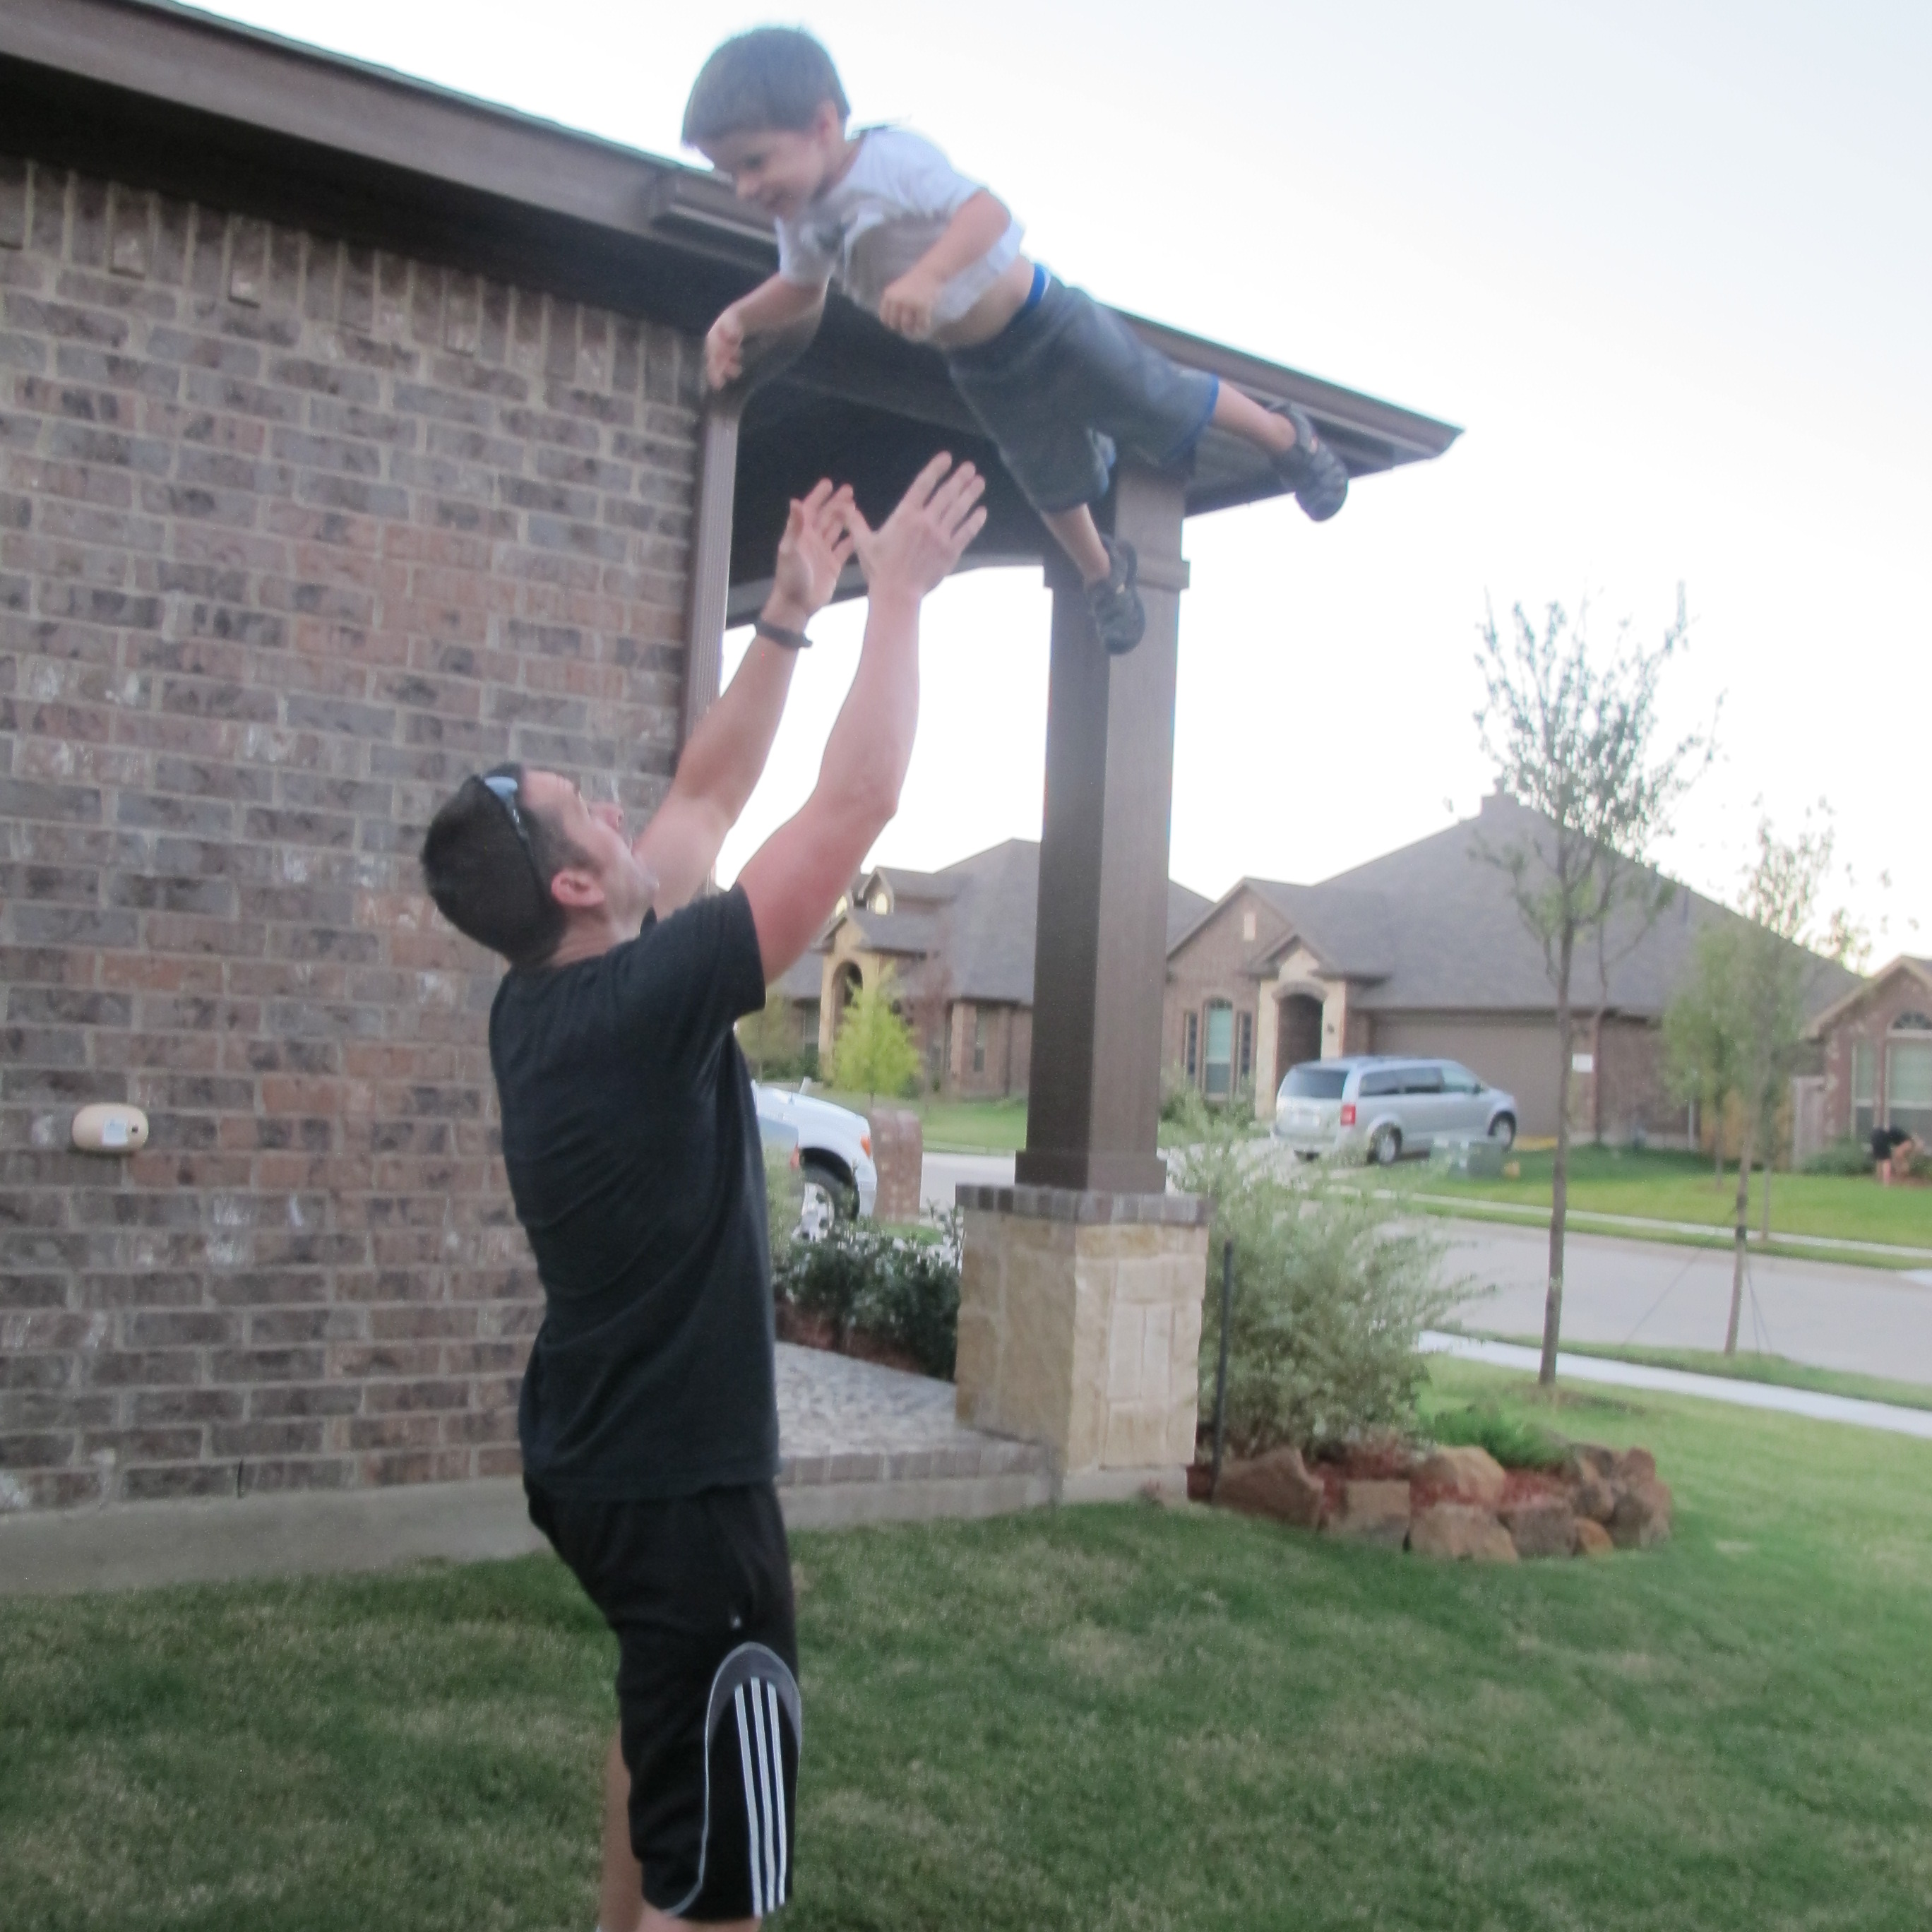
IMG_1346

And fun ensued…

IMG_1352

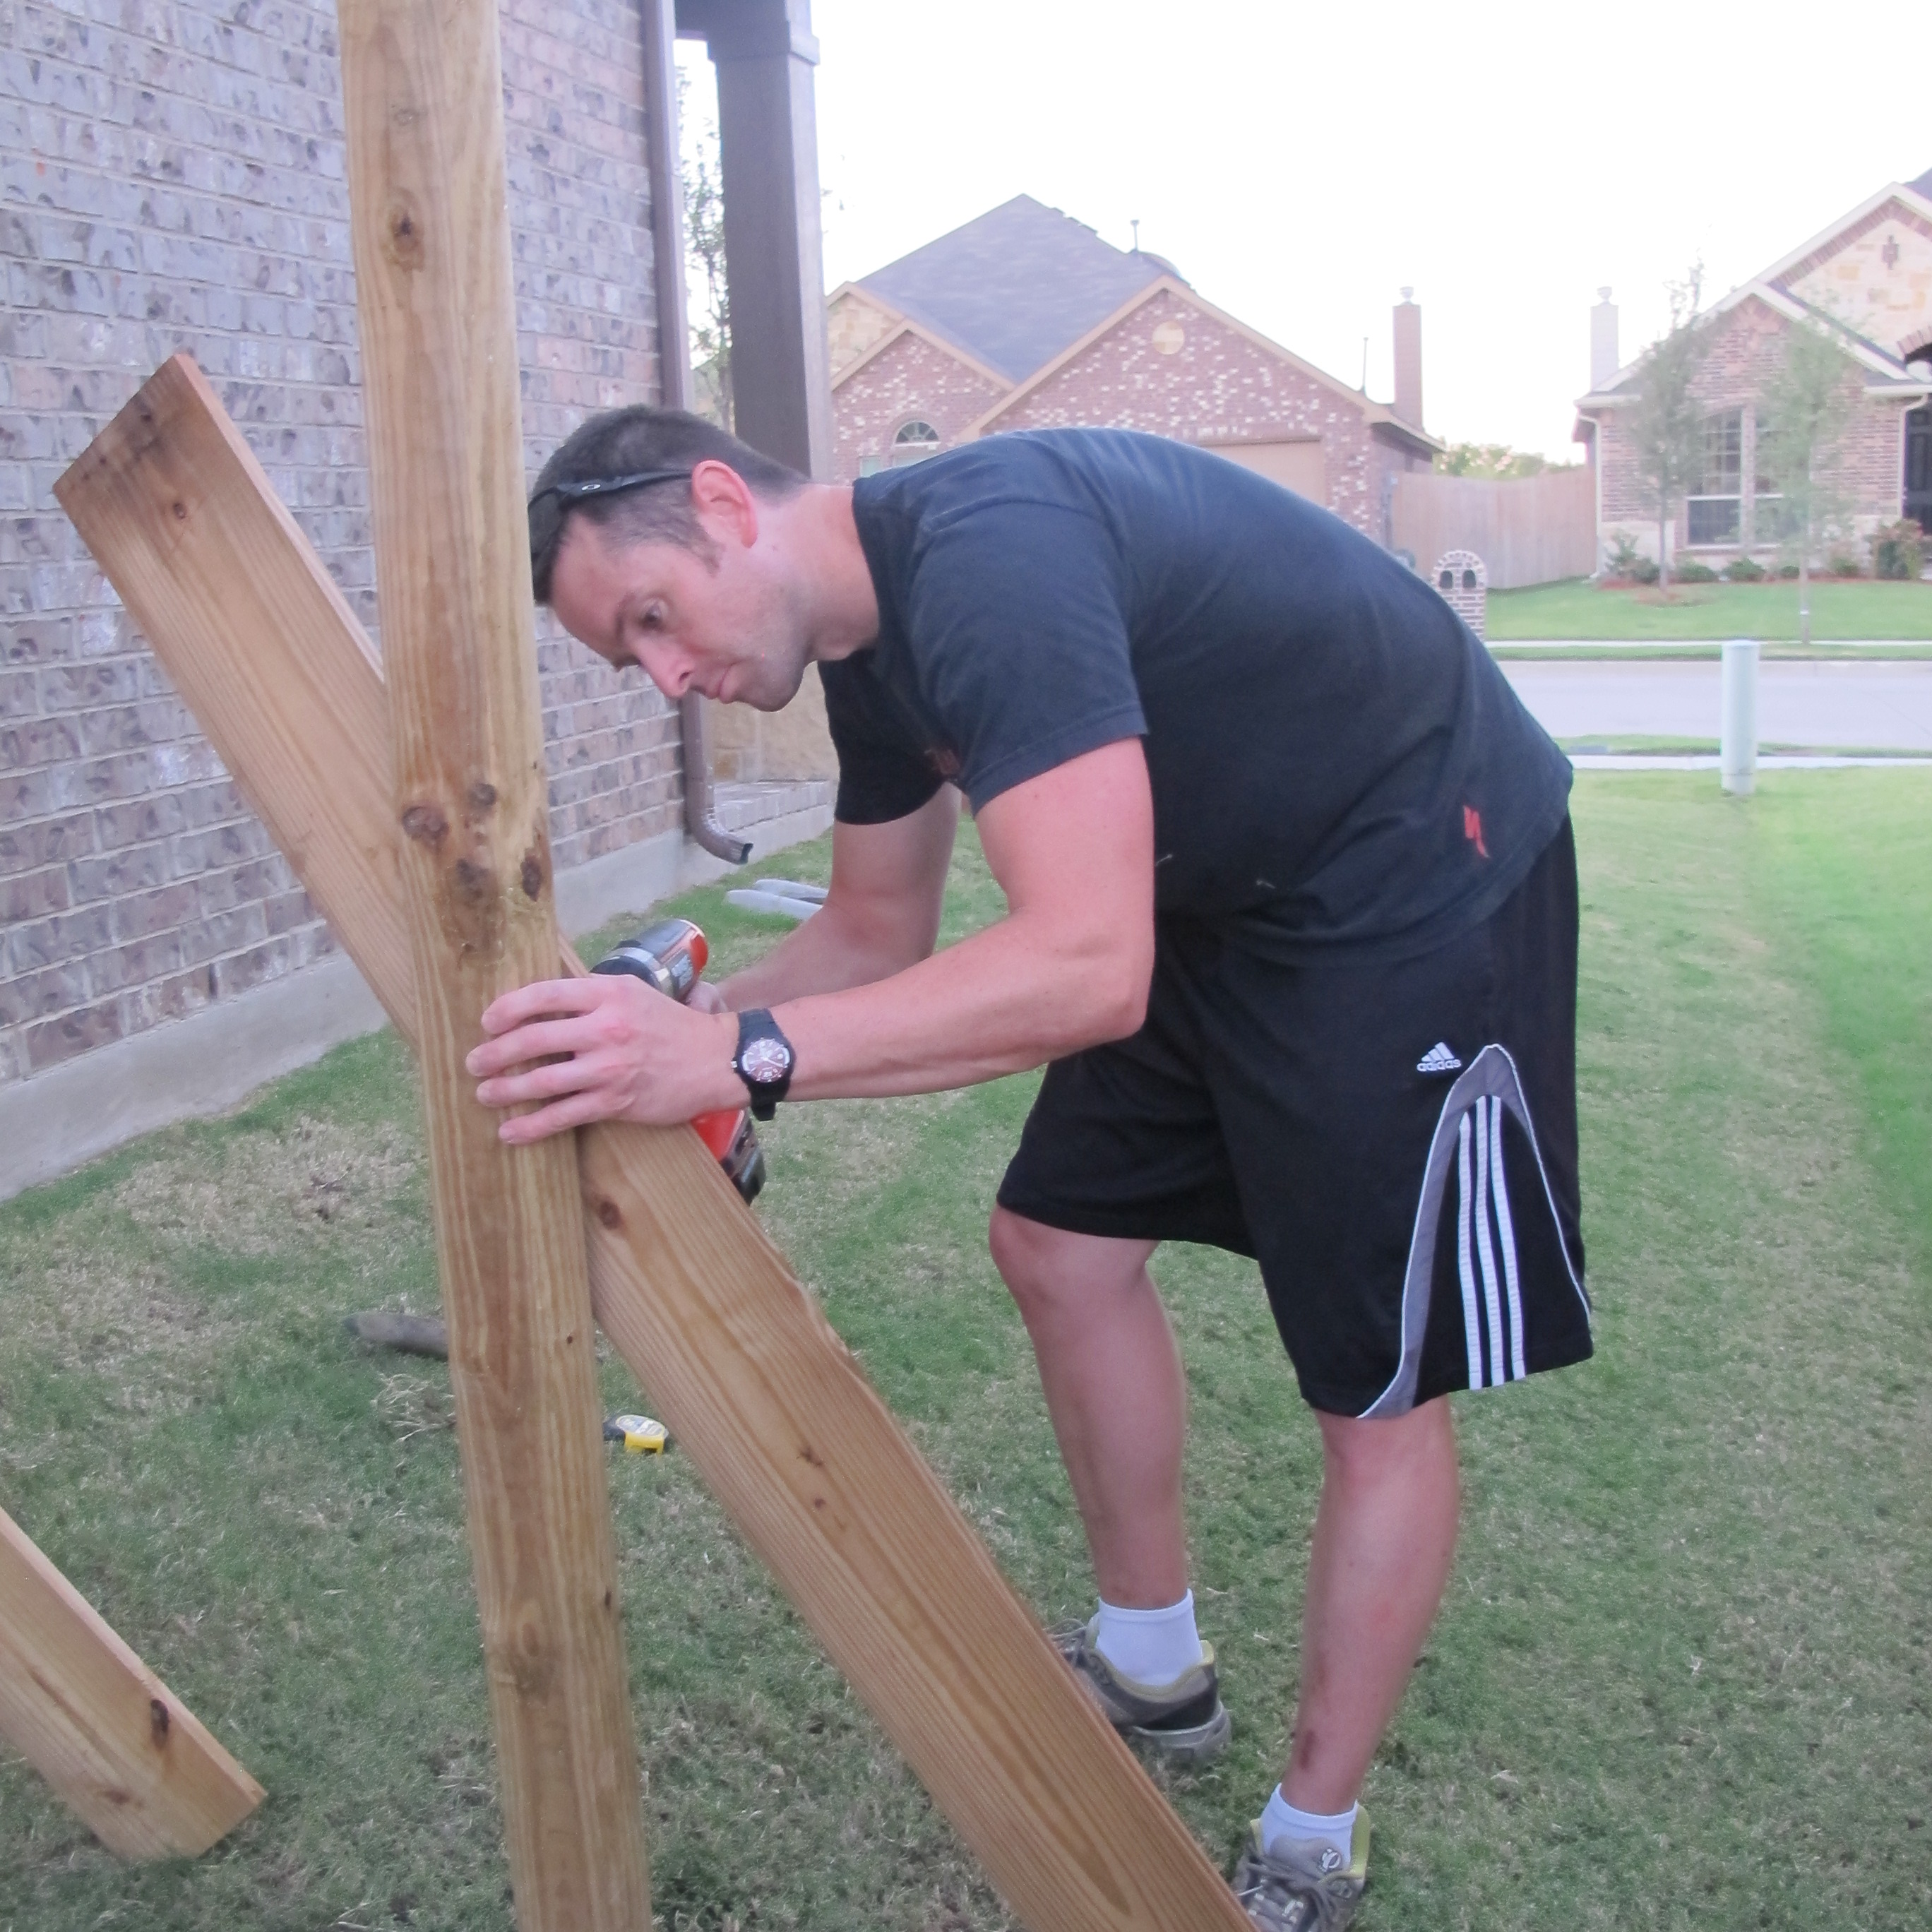
Then, Joey built temporary supports so that the posts would remain level as they set….

IMG_1349

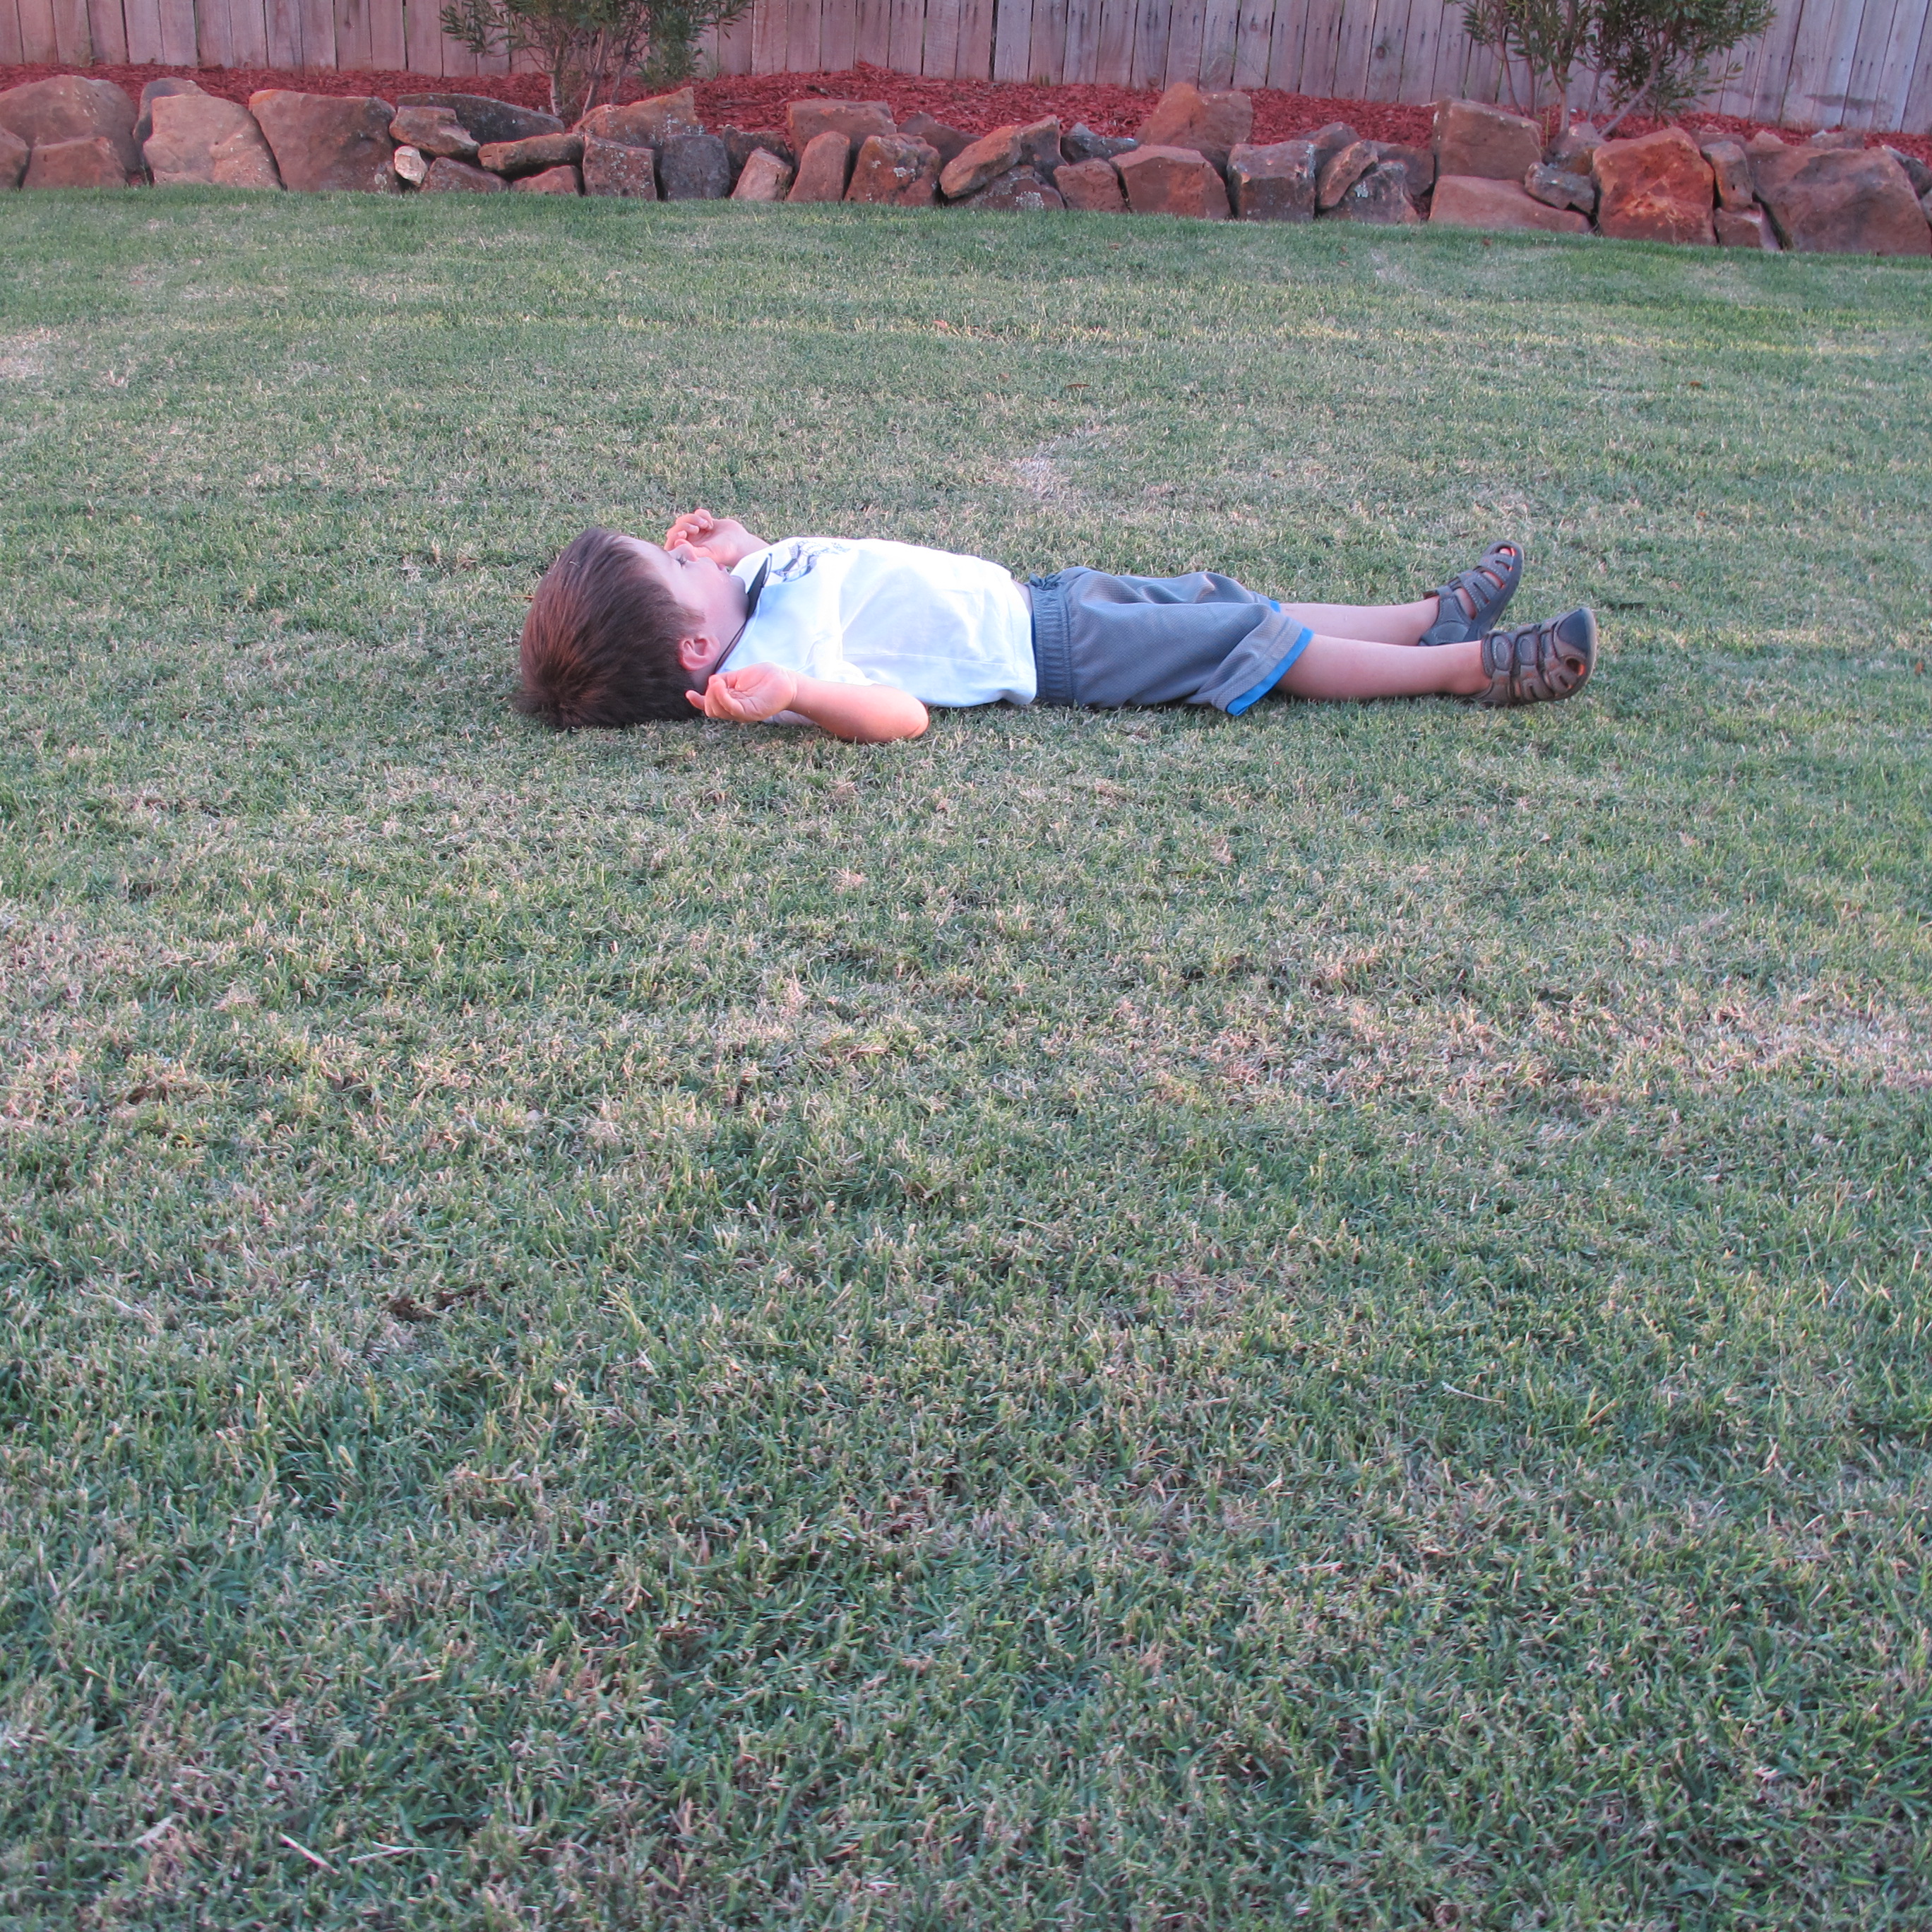
While somebody else contemplated the meaning of life…

IMG_1332

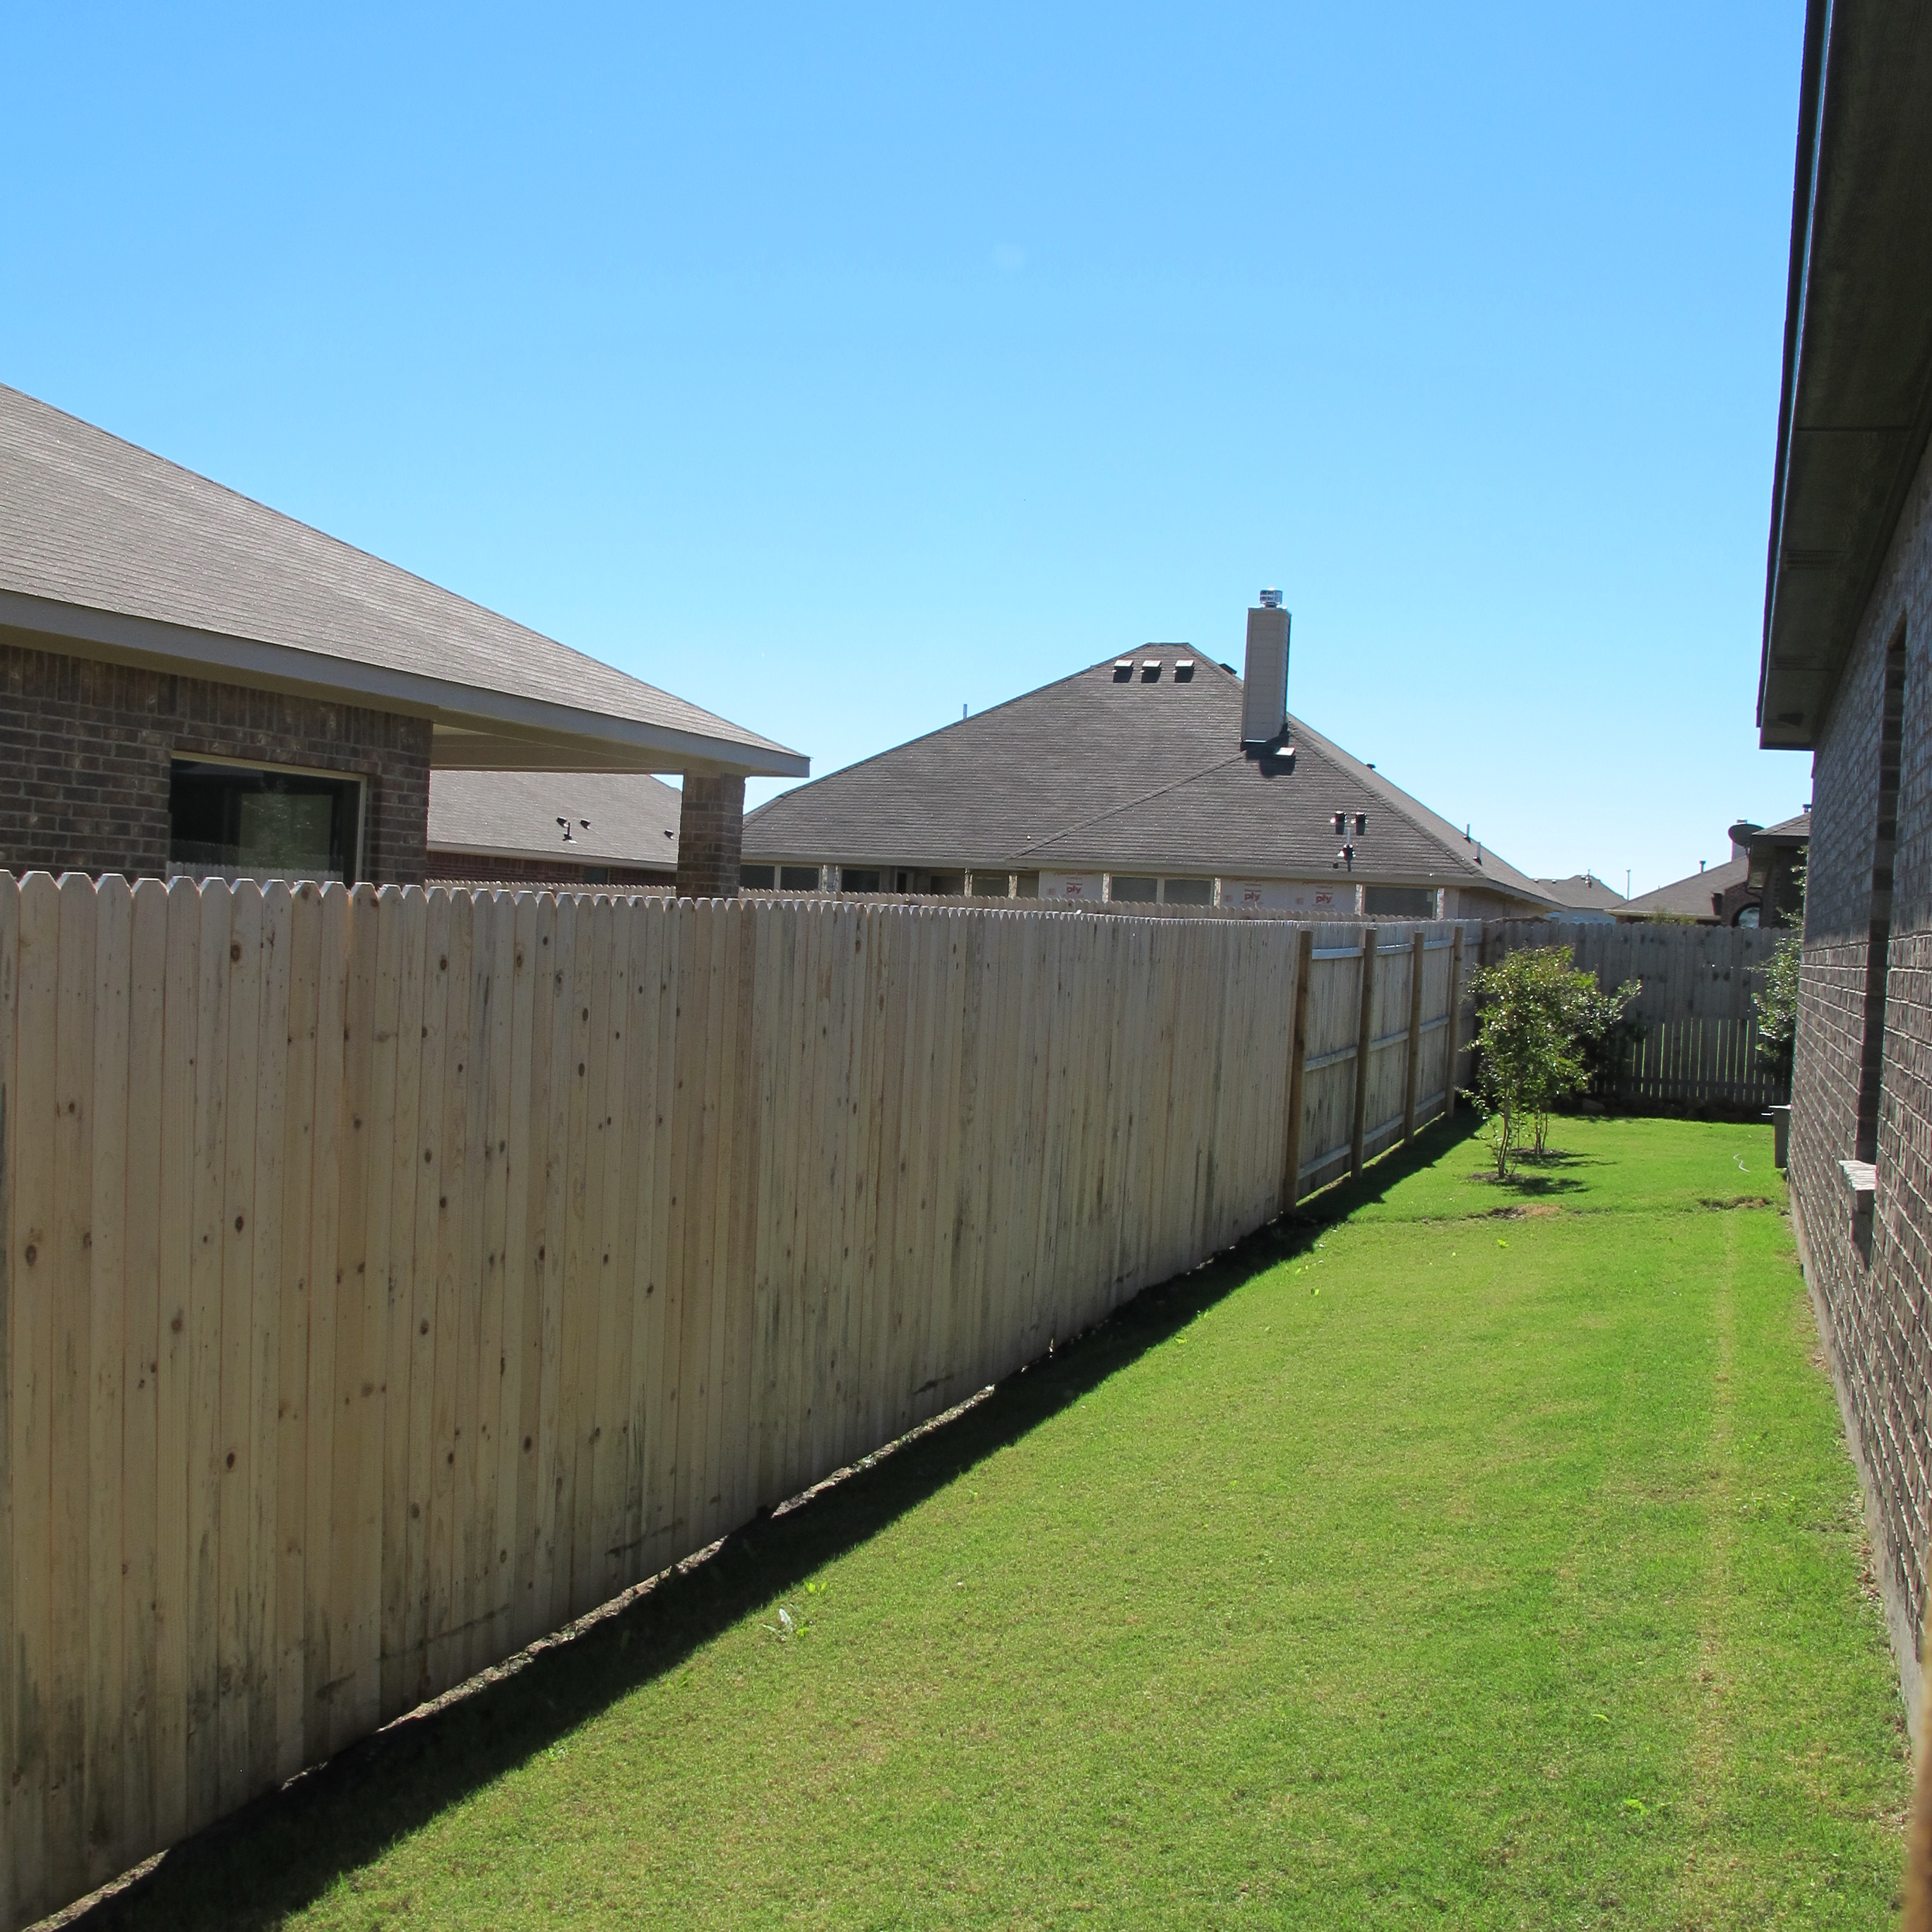
Joey allowed the posts to set overnight and the next day, he gently pried the fence off of the existing posts in sections with a crow bar.  He then reattached these sections to the new posts near the front of our house.

IMG_1965

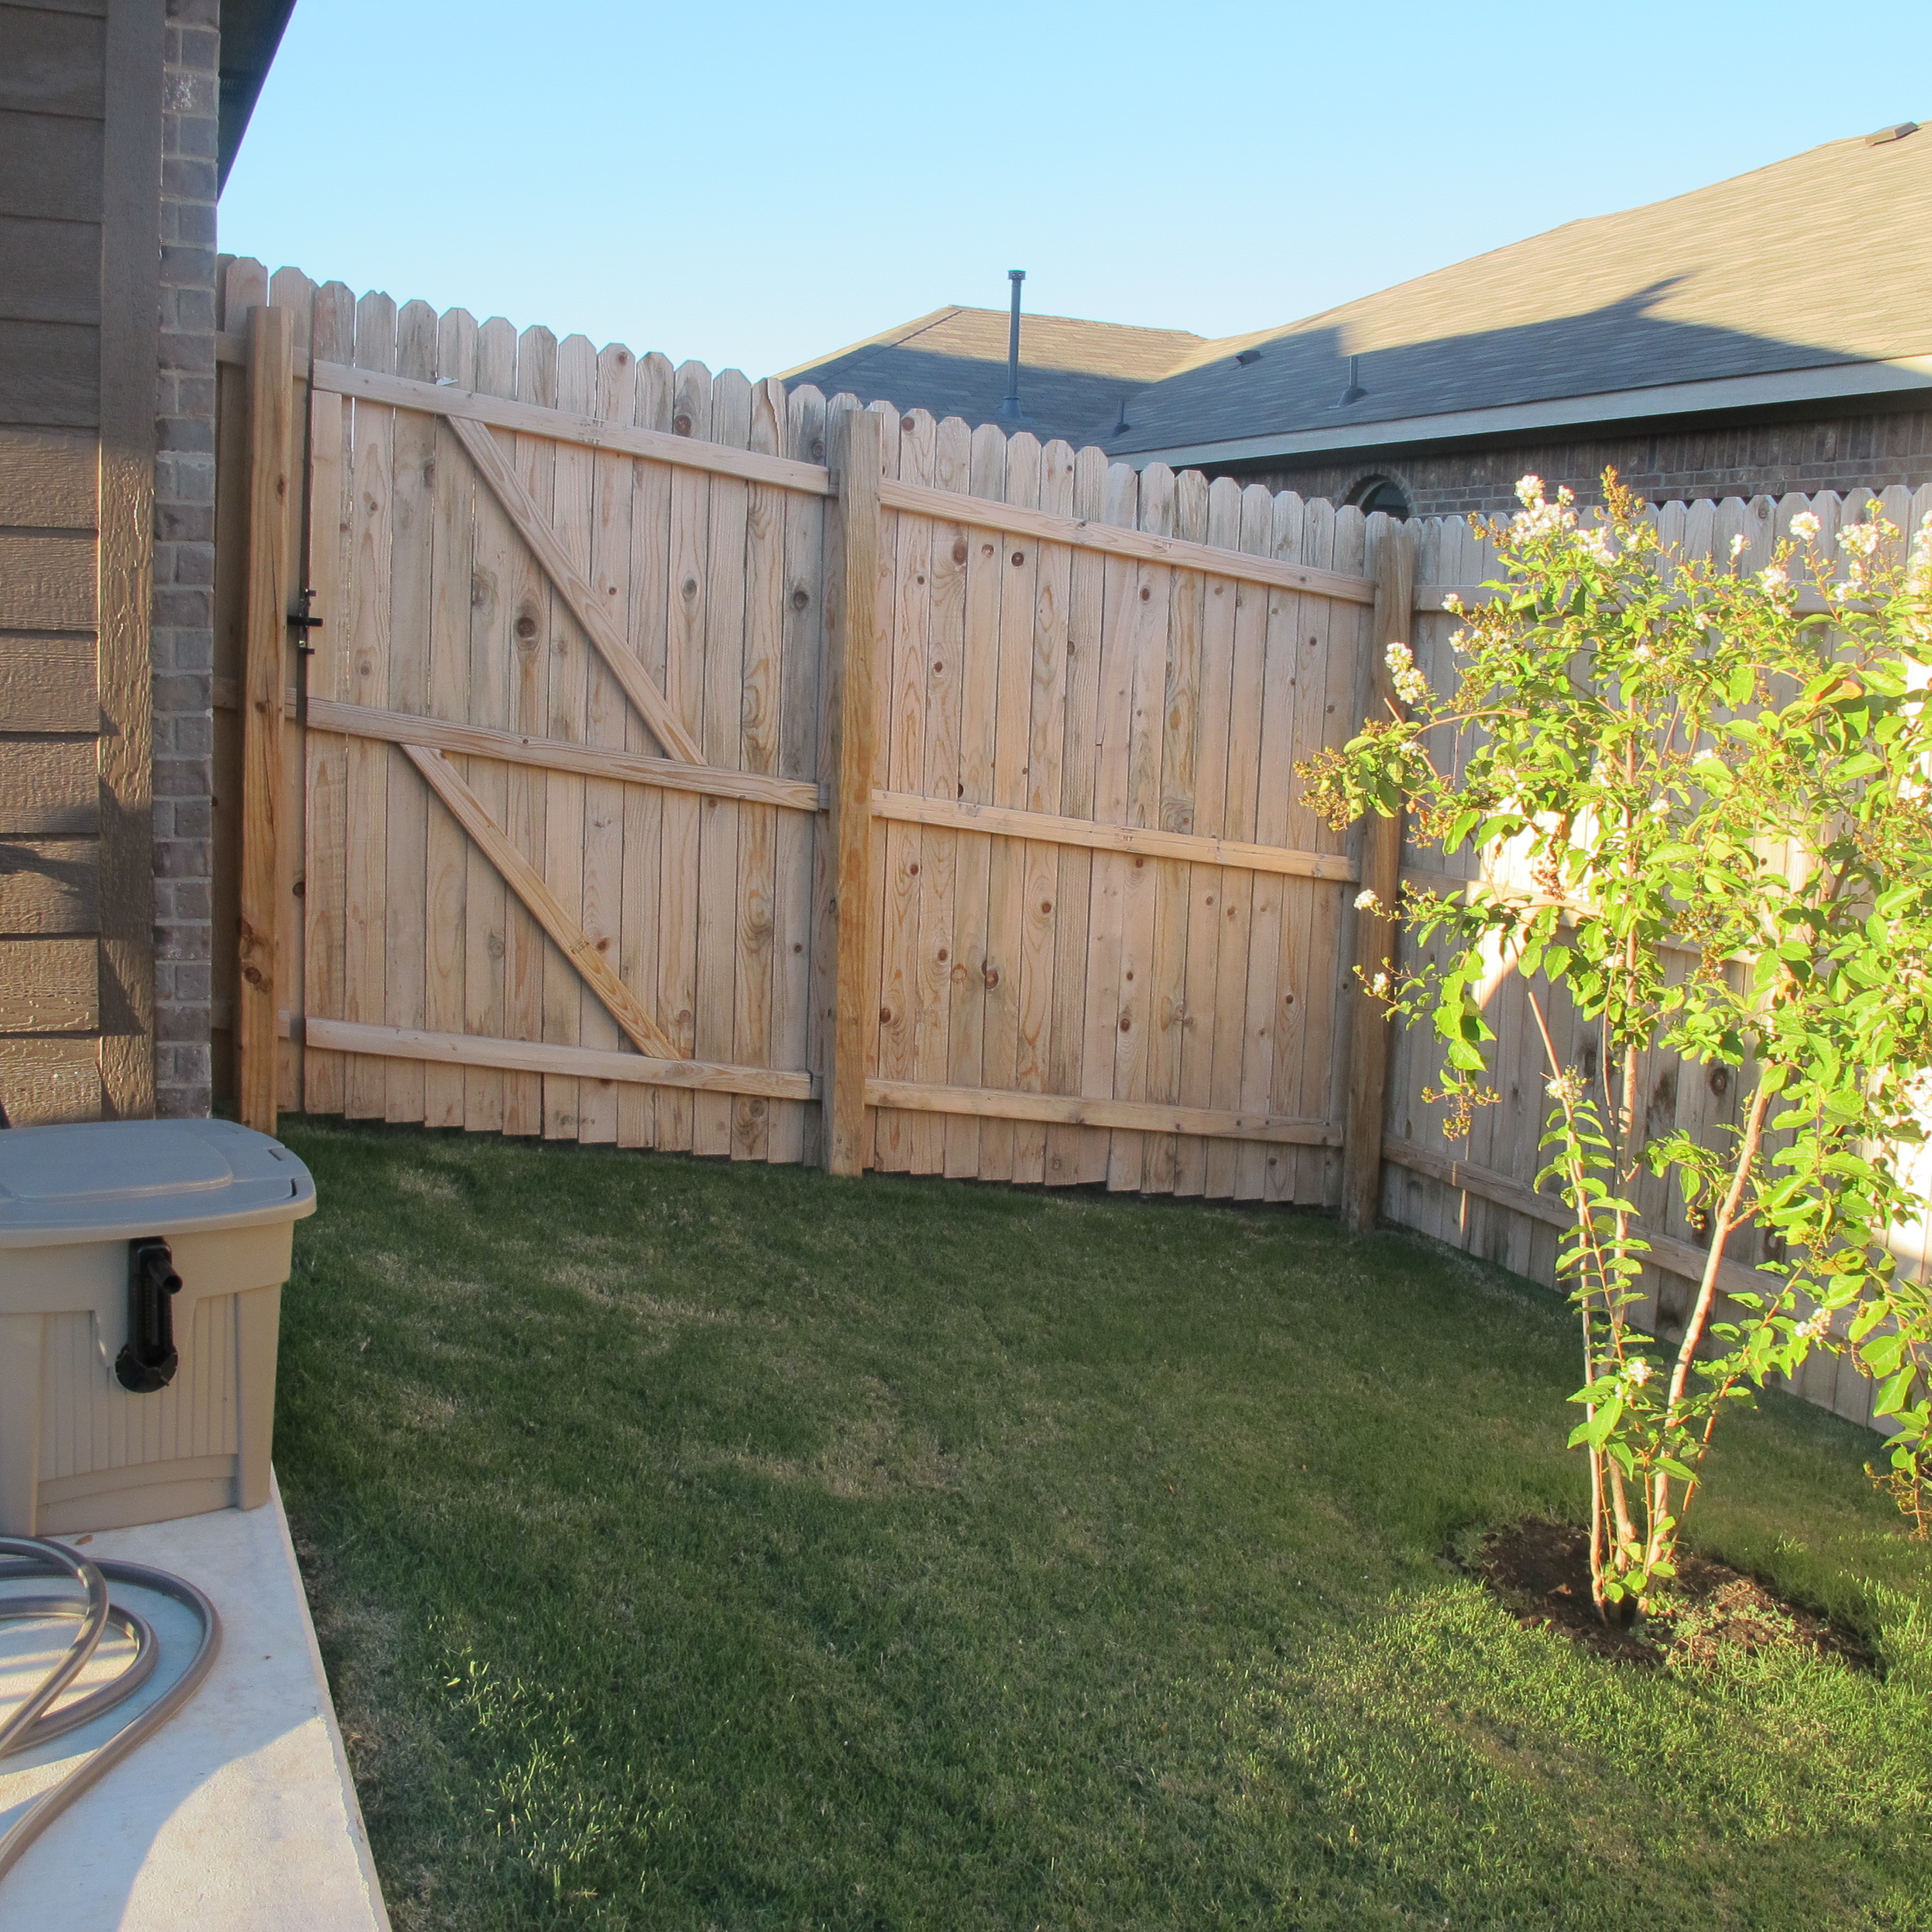
And, removed the posts by the back of our house.   Look how much space we gained…..

IMG_1966

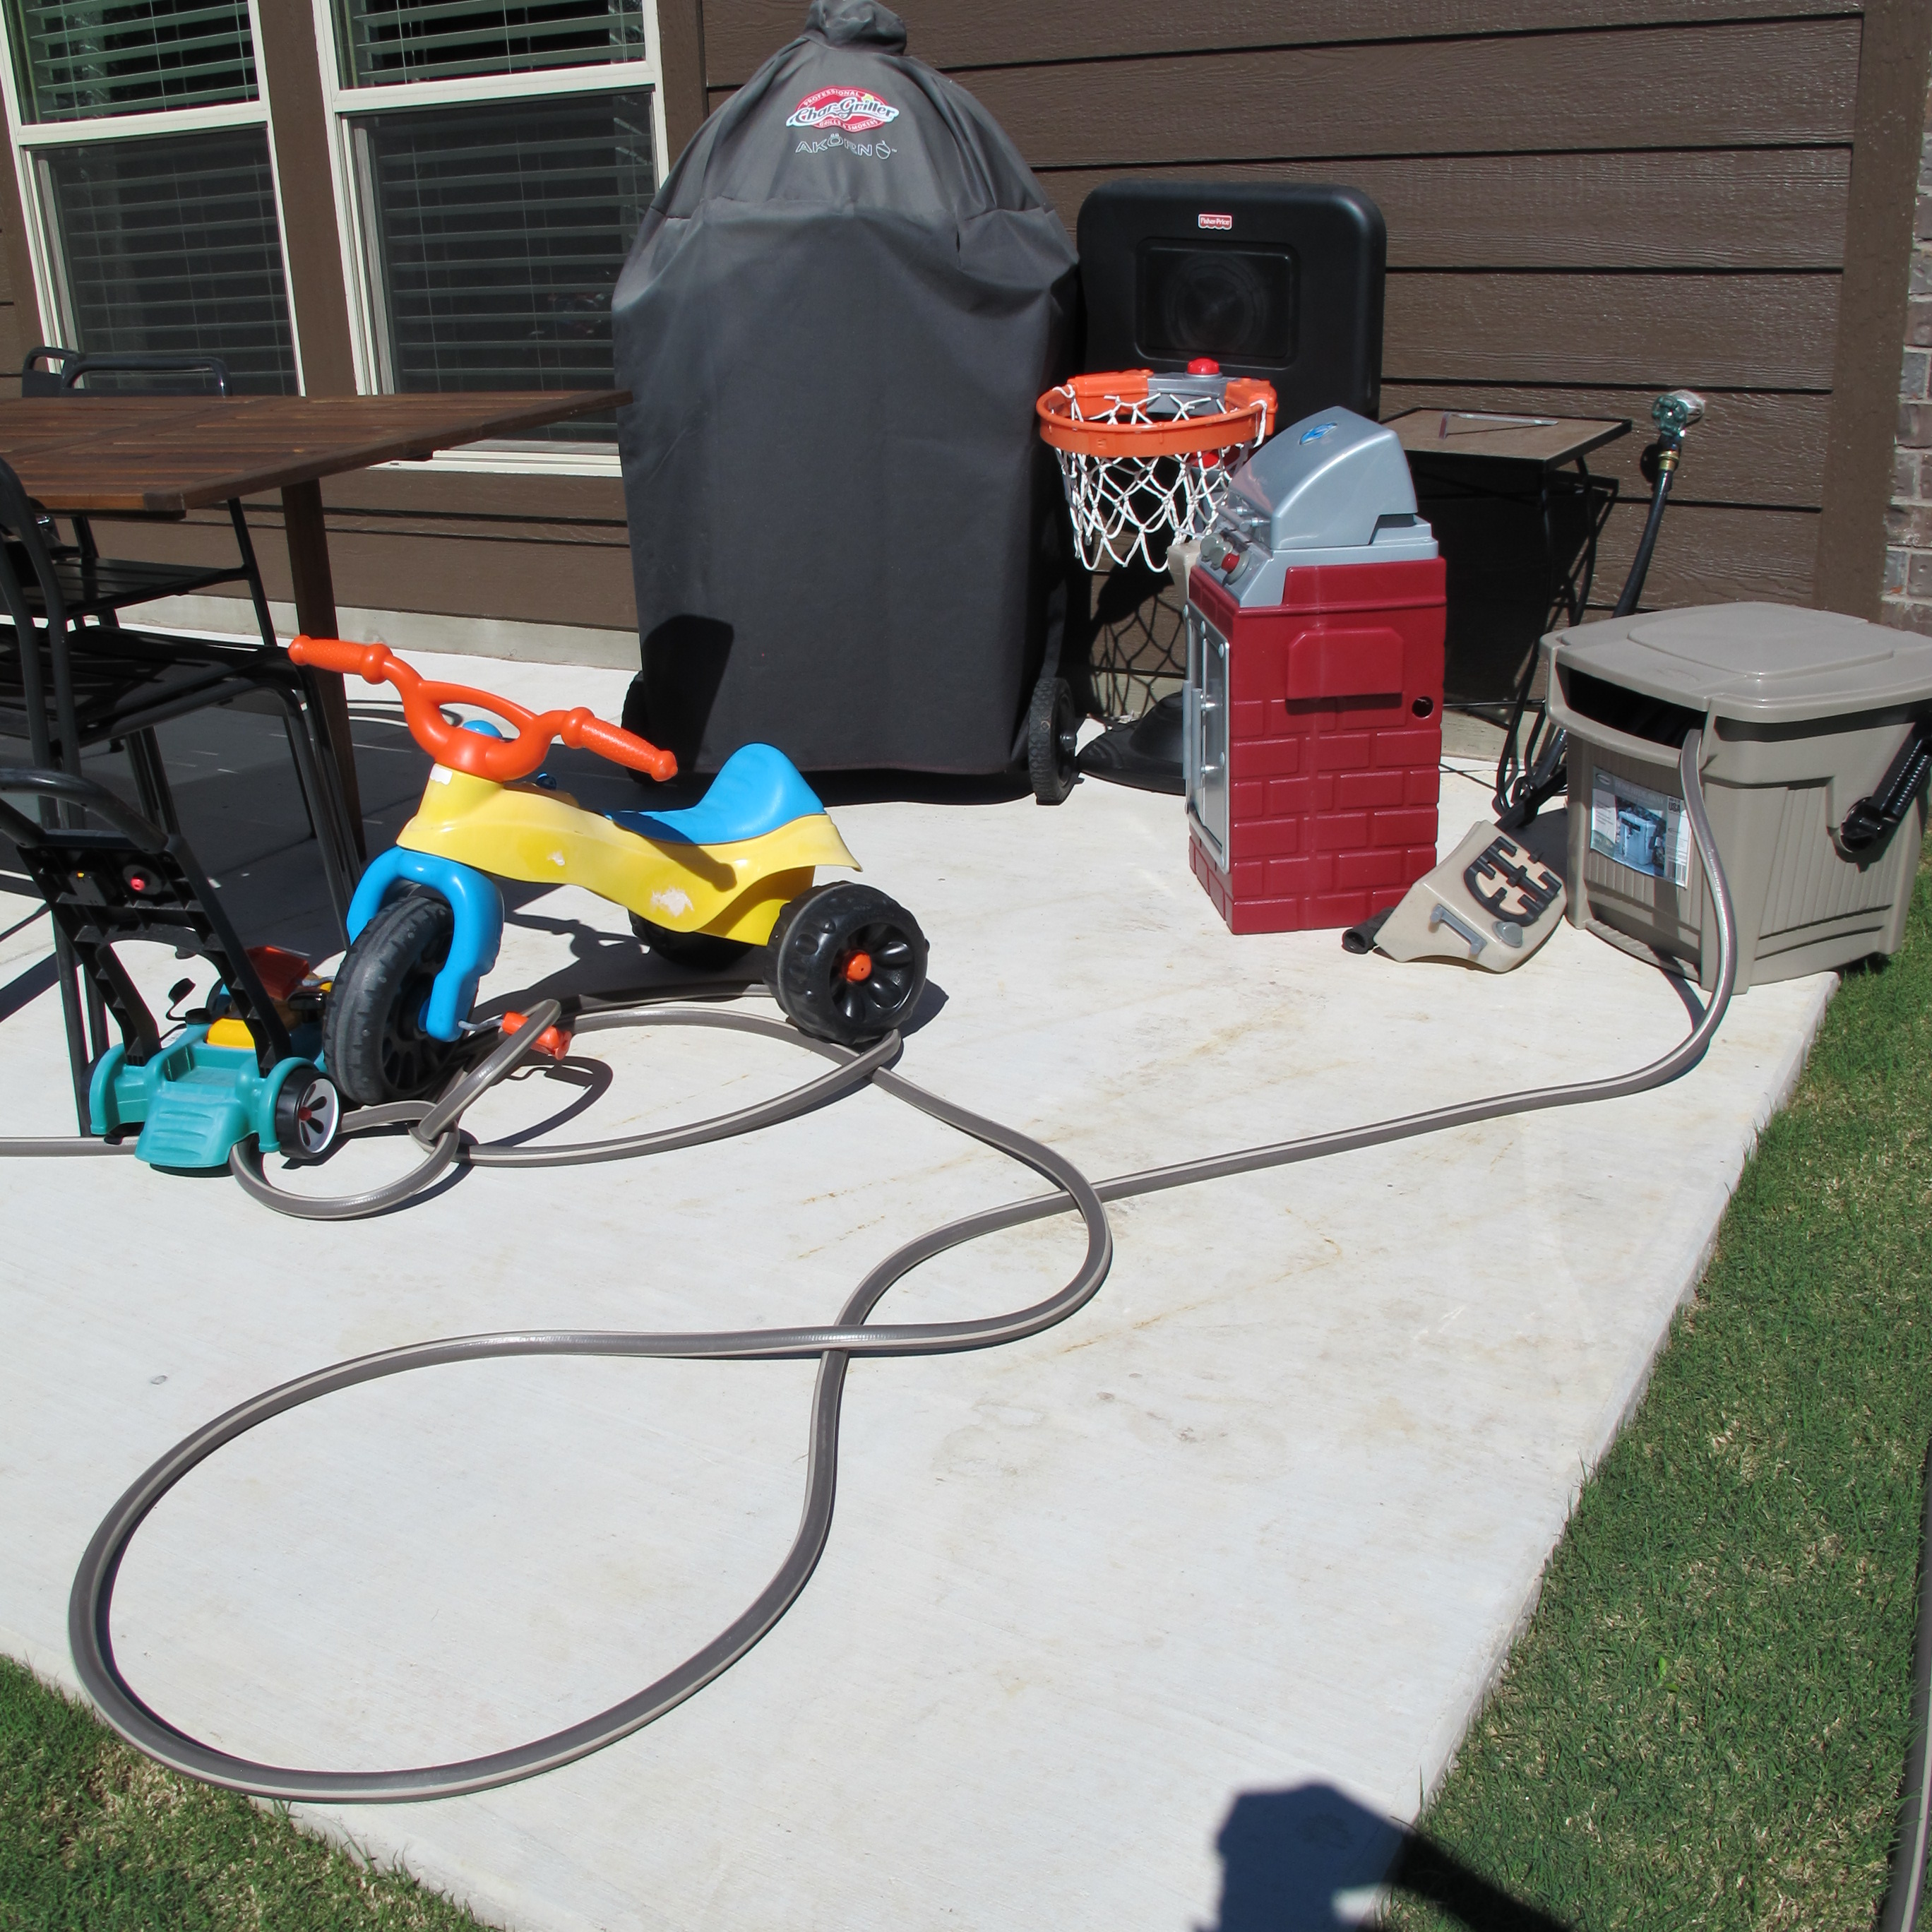
Nice. We were thinking of creating some storage for Lucas’s toys over here. Because (when I’m not taking nice pictures for the blog) our patio actually looks like this….

IMG_1963

We also plan to plant some sort of privacy hedge to block our view of the house next door from the bedroom windows. Our next step for the fence will be staining it a nice cedar color. I can’t wait to see how much that’ll warm up the backyard. (Rubs hands together in mischeivous fashion)

All-natural DIY gnat-trap

Have I mentioned that we recently started composting?  I honestly don’t really know a ton about it.  Like most of our outdoor projects, Joey took the reigns on this one.  What I do know is, we have our big compost bins outside and we keep a small lidded pail inside. The indoor pail is where we throw anything compostable… Vegetable clippings, coffee grounds, etc. then every day or two, Joey empties them into our outdoor compost bin and stirs it all up.

The other day, I opened the indoor pail to toss in a banana peel. And as if cued by some invisible maestro, a SWARM of gnats ascended up from the pail and into my face.  I screamed.  LOUDLY.  It was freaky.  It felt like it was happening in slow motion.  The swarm slowly rises from the rubble and acosts unsuspecting homeowner.  Ugh. So gross. And they weren’t normal teeny gnats. They were chunky. They had some girth to them. (shudder!)  I still get the Heebie-jeebies thinking about it.

For days after that, Joey and I found ourselves swatting at an impossible number of gnats. We were in battle. And I think we were losing. We suspect that something must’ve laid eggs in the pail, which then hatched because we’ve never experienced this many gnats in our home. EVER.

By this point, we’d pretty much had it, so Joey went online and found this tutorial.  Here’s what he did… He started by emptying a 2-liter soda bottle that had long since gone flat. Then, after rinsing it out, he simply cut the top off with scissors.

IMG_1719

He filled the bottle with 1/2 cup sugar and 1/2 cup apple cider vinegar, then added a splash of water and stirred.

IMG_1722IMG_1723IMG_1725

He inserted the top upside-down into the bottom of the bottle (that’s me demonstrating all spray-painted-Vanna-White-style… this was the same day I wrote this post if you can’t tell 🙂 )…

IMG_1728

Then, we placed the bottle next to our trash can to attract gnats.  We moved the trap around the house occasionally, if we happened to notice a large concentration of gnats in one particular place.  The idea is that the gnats are attracted to the vinegar/sugar, fly into the bottle and can’t get out.

I have to chuckle when I imagine the gnats all “Hey guys! Hurry up! This way!! I found the jackpot!! Um ….oh. Wait. Ummmm….” Hahahahahahaaa!! See?? That’s how much I hate them.

So, anyways, the verdict???

IMG_1740

Oh, yeah. It worked. This pic was taken about an hour after we set the trap. And it continued to work after that.  In fact, we hardly noticed any gnats around the house within about a day or so.   Maybe a stray loser here and there, but nothing crazy.   And we continued to note more and more gnats in the trap over the next few days.   It just kept working.   We couldn’t believe that after all the swatting we’d done that there were still so many gnats living among us.

So, I’d definitely say that the 5 minutes and zero dollars spent which saved our sanity was completely worth it.  This trap was for the win!  Two thumbs up and a standing ovation.

And now, our indoor pail gets to live in our garage.  Lesson learned.