Hey, y’all! I’m back from the totally unplanned siesta known as this week. Sorry about that. It’s just been a crazy week ’round these parts. Work was insane, we’ve had about 4 projects happening at home simultaneously, and I just couldn’t pull it together. Plus, the last thing that I wanted to do was post something that was half done with crappy pictures. So, now, thanks to yet another rainy day that put the kabash on several outdoor projects that we have going on right now, I actually have time to write a decent post. Hehe!
Anyways, last time I showed you the super cool eye chart print that we purchased from Urban Outfitters. And I mentioned that we’d purchased a second print as well. Well, now the other print has a home, too…

After trying it out in several different places in our home, I finally settled on the pool bath. I loved the contrast of the soft aqua walls with the bright red in the print. It’s just sassy. (And something that I seem to like in bathrooms, apparently). I also adore the scale of the art in our tiny bathroom. It just works for me. Something about a larger piece in a smaller room seems to make the space feel less dinky in my eyes.
Once I had the print up, I decided that it was high time that I got going on that pipe shelf that I’d talked about here. I’ve seen the shelf in question shelf ALL OVER Pinterest lately. I believe it’s a Restoration Hardware knock-off (for a fraction of the price). So, I decided to jump on the pipe-shelf-bandwagon, as well. I didn’t follow any tutorial since the shelf’s construction seems pretty self-explanatory just by looking at it.
Basically, I just purchased these parts:

2 – 3/4″ floor flanges
2 – 3/4″x8″ nipples
2 – 3/4″ caps.
Then, I did this….


(I also went over the pipes with vinegar to remove that unsightly sticky stuff left by the label) Next, I screwed them onto the wall with heavy-duty anchors…

Is that not the wonkiest shot ever?? It made me laugh, so I had to include it. In my head, I was picturing the wonky brackets sauntering down the street while drunkenly weaving across the sidewalk and slurringly telling bad jokes (which they happen to find hilarious, BTW). Haha! …See?? This is how you know it’s a good thing I didn’t post this week. Delirium is real. And it’s spectacular. (Namethatshow)
So anyways, despite their catawampus appearance in the above shot, I swear the pipes are actually straight and level. Here’s a more serious shot of one of them…

This guy has his grown-up pants on (or maybe I do now), so no laughter here.
In order to attach them to the wall, I detached the flange from the pipe, screwed the flange to the wall, then rescrewed the pipe back in afterwards. It made the drilling process much more streamlined.
Also, the simplest way that I found to ensure that the pipes are level to eachother was to mark the top hole of one flange on the wall, then use a laser level to determine placement of the top hole of the second flange. Then, I just held the flanges in place over my marks and traced the remaining three holes so I’d know where to insert my anchors. Worked like a charm.
Next, for the wood…

I simply purchased a 2″x 8″ piece of untreated wood from Home Depot and had it cut down to 26″ right there at the store (for freeeeeeee!!). To determine the appropriate length, I simply used a tape measure to eyeball the space above the toilet. 26″ was big enough to fill the space, but not too large as to crowd the wall.
Once I got the wood home, I sanded it with my orbital sander (and 220 grit sandpaper) to remove any splinters, ink, and dirty spots….

Then, I gave it one thin, even coat of this stain…

I was going for a grey-washed look and wanted lots of amber-toned wood grain to show through, so I simply waxed on, waxed off. Well, yeah. I totally waxed on, waxed off. Haha. Basically, I mopped up the excess stain with a dry cloth immediately after applying it, allowing zero time for my stain to soak in. Thus, I ended up with a lighter grey with lots of wood-toned grain showing through. I was a little worried at first as the grey seemed very blue in the sunlight…

…but once it was dry and I got it into the bathroom, it looked great…
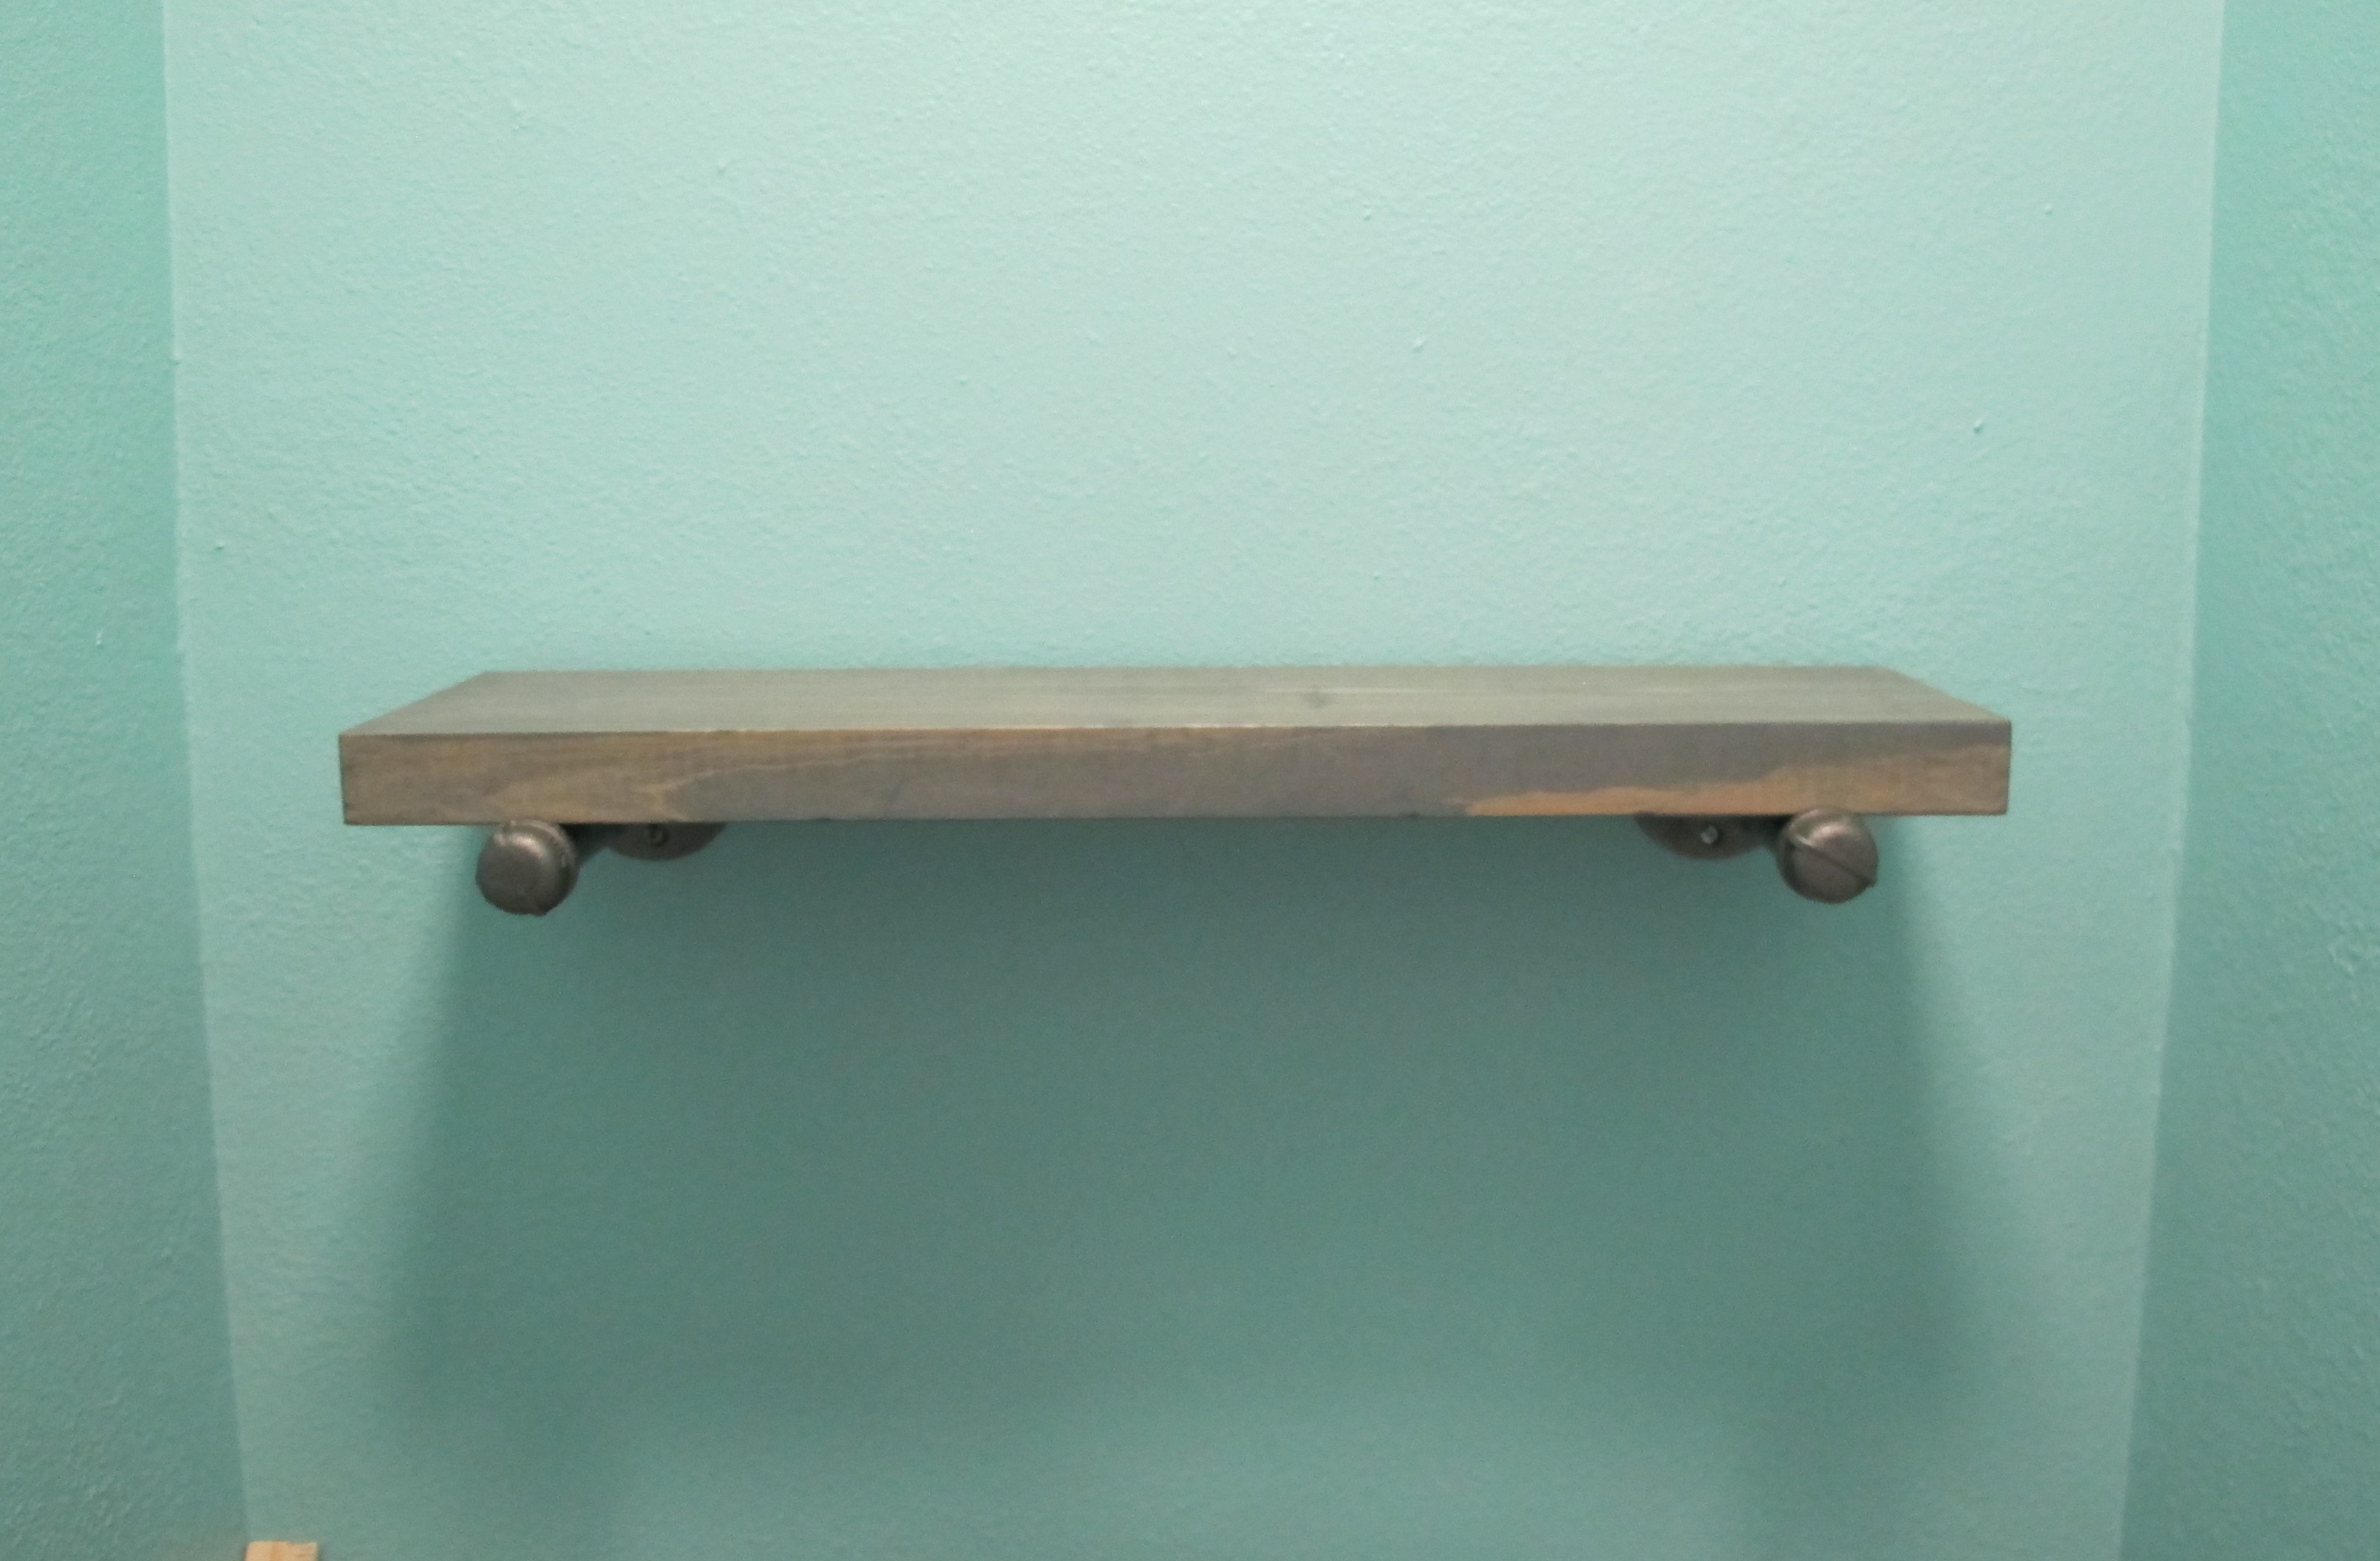
I simply set the wood on top of the pipes. The weight of the wood and the raised pipe cap seem to be enough to keep the wood in place. I even shook it around to be sure and it didn’t move much. It’s kind of wedged between the flange and cap. I haven’t topcoated the stain with anything yet as I preferred the matte, weathered look as is. Though, I am considering a lower gloss tung oil to protect it from too much wear and tear (I doubt it’ll get abused much where it is, though).
Once the shelf was done, I accessorized…

This room is strange in that it’s SUPER tiny, and yet the toilet is off-center. So, even though it doesn’t appear as such in this shot (thanks to the camera angle), the shelf and mirror are centered on the wall. I thought that in such a small room, centered on the wall would look better than centered it on the toilet. Anyhoo, I hung this neat, star mirror that I found at Target for $14 on clearance and added some accessories to the shelf…


I just love the combo of the grapic print with the rustic shelf, and aqua walls…

Here’s the view looking into the space from the laundry room. Oh, what I wouldn’t give for a window in this room. Maybe that’s something that we can look into further down the line to bring in some natural light. I’d also love to add some crown molding.
As for the styling, I’m still in the process of noodling around with the accessories. Although I really like it as is, I’d love to add some bright, playful elements being that I’m aiming for a fun and happy a pool bath. Right now the decor’s a bit more on the serious side. I used what I already had on hand and it turns out that anything bright and playful is already spoken for in other rooms (so ashoppin’ we will go!). 😉
And just to show you how the industrial pipe toilet paper dispenser plays in…

There ya go. I’m planning to change out the current striped rug for a round or oval jute rug. I also still need to find some art for the wall above the toilet paper dispenser. The room has come leaps and bounds from this, though…

I’m so excited to have finally made some progress in this space. It’s actually the only bathroom in the house that’s beginning to feel like us. And sadly, it’s probably the lesser used bathroom of them all at this point. I definitely suspect that it’s usage will go up when we start swimming in the summer, though.
So, that’s where I’ll end for today. I still have another little DIY project for this bathroom up my sleeve, so stay tuned… I thought it was too much for one post, so I’ll spread the love. 🙂
Y’all have a great weekend!


Scored big – once again!
It’s coming along so nicely! And your shelf pairs perfectly with your toilet paper holder!
Thanks, Bre! Still some work to go, but it’s slowly getting there. 🙂
What a super cute little space! I just stumbled upon your blog today & am thrilled I did! Can’t wait to get caught up 🙂
Yay! I’m so glad! Thanks so much! 🙂
This is looking so good!! How funny that they didn’t center the toilet – my house has so many odd things like that. Makes it hard to decorate! But I totally love how you styled that shelf 🙂 So fun!
Thanks, Erica! Old houses are so funny! It makes you wonder what they were like when they were new… Like, was the toilet not centered because there was a little built in or something? I wish I could find old pics! 🙂
That shelf would look perfect above our toilet. We have done nothing in there so I’m thinking… Yours looks great
Thanks so much! You should totally do it! 🙂