Hey guys! I hope everyone had a great Father’s Day weekend! I have to say that ours seemed a little more special this year because Lucas was finally old enough to know what Father’s Day was. He spent lots of time making Joey a gift, he picked out a card (*ahem* one with a dog smoking a cigar. I just went with it.), and he even “signed” it with Lucas scribble…
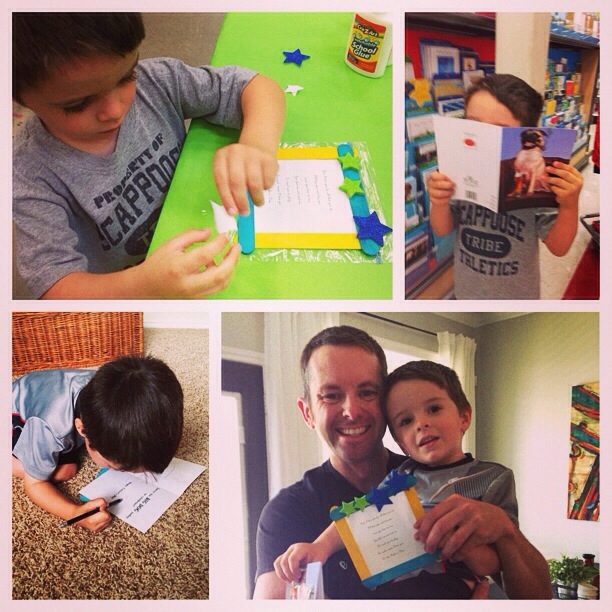
Joey LOVED it. Father’s Day for the win!
Anyways, just as I’d hoped, my last post’s admission of organizational chaos was enough to get the motivational juices flowin’. Thank. Goodness. I spent a large bulk of time this weekend sifting through the madness and figuring out a plan. If you’ll recall, No Man’s Land looked like this…

Really, REALLY bad.
I honestly don’t have a ton of pictures of the process since it was basically just me sorting through stuff. I figured they’d pretty much look like repeated pictures of junk, so I’ve spared you. You can thank me later. 😉 I will share a few steps that prevented me from getting totally bogged down, though…
1. Clear a space to work (and *coughcough* walk). I began by piling everything around the perimeter of the room to allow enough space to sort stuff and evaluate what I had.

2. Anything that wasn’t staying in the room, left the room immediately. Trash went directly into trash bags and donations went into the hallway until I had a chance to load up the car to take them to Goodwill (which I did later that day). To-be-sold items went straight into the garage and were posted on Craigslist that day. Thus, I was only left with items that were staying in the room.
3. Once I had space cleared and was only left with what I wanted to keep in the room (Freudian slip… I just typo’d ‘tomb” instead of “room”. Whoops!), I emptied EVERYTHING. Over the last year and a half, I’ve pretty much just crammed random stuff into any storage device I had available to simply get it out of the way. There was no rhyme or reason to it, so I really had no idea what I even had. All baskets, bins and other storage containers were emptied and sorted so that I was left with only empty, ready-to-use storage paraphernalia which could be used in different ways if needed. Basically, I got the entire room down to a clean slate. The key to this step was focusing on ONE storage container at a time. Once that was cleared, I moved on to the next, and so on and so forth. This kept me from getting overwhelmed by the sheer volume of work I had in store for myself and it gave me good stopping points to take breaks throughout the process.
4. When loading everything back up, I started from the ground up (with the “ground” being the closet). I considered the best way to organize using items that I already had (now that I could easily see it all) and I grouped smaller items in categories. I’m not going into a ton of detail here because I’ve got a separate post for the closet where I’ll break down the solutions I came up with (and I’m still finishing up a few smaller details in the meantime). Once the closet was loaded, I moved on to the room. This made it easier to determine what needed to go where in the main space.
5. One final purge. Once the closet was finished, I evaluated what I had left. Then, I got rid of anything else that I didn’t deem necessary, useful, or that I just didn’t like. Once this was complete, I moved on to rearranging the furniture and organizing the remaining items so that it made a bit more sense. The final purge ensured that anything staying in the room had purpose or meaning to me.
Once I was done, I was left with this….


Now, I’ll admit… The room still has little function (aside from waiting room??), but I have a plan. To be perfectly honest, the reason that I’ve dragged my feet for so long on this space is that I was hoping to make it into a nursery for kiddo #2. But after way too long of waiting/hoping, I’ve decided to move forward and bring function to this room regardless. We have an old wood table in our garage that needs to be stripped and painted, so I plan to get that done soon and move the table into the room. Thus, No Man’s Land will become my designated project/craft room. A much needed function in my opinion. It’ll be nice to be able to work on my projects, then close the door and shut it away when I’m done, rather than cluttering up our kitchen table and peninsula. And, hey, if the function of the room needs to change again in the future, then so be it. At least we’ll have a room we can use in the meantime that we’re no longer embarrassed by.
I’d also love to get some paint on the walls and revamp some of the current furnishings, since really… this stuff doesn’t go well together. There’s a lot of brown undertones going on which makes me slightly twitchy. I simply wasn’t ready to part with these things yet, so I’ve made the best of it until I come up with an actual design gameplan for the space. The room is definitely a far cry from the nightmare it was a few days ago, though, so it’s all good.
I have to say that I’m pretty satisfied with the progress made so far. I feel accomplished and further motivated to work on organizing our other spaces (as well as prettying up this one).
So, is anyone else working on organizing the madness lately? Any tips or tricks to share?

Linked up at: I Heart Organizing, I Heart Nap Time, Lines Across, Home Stories A to Z


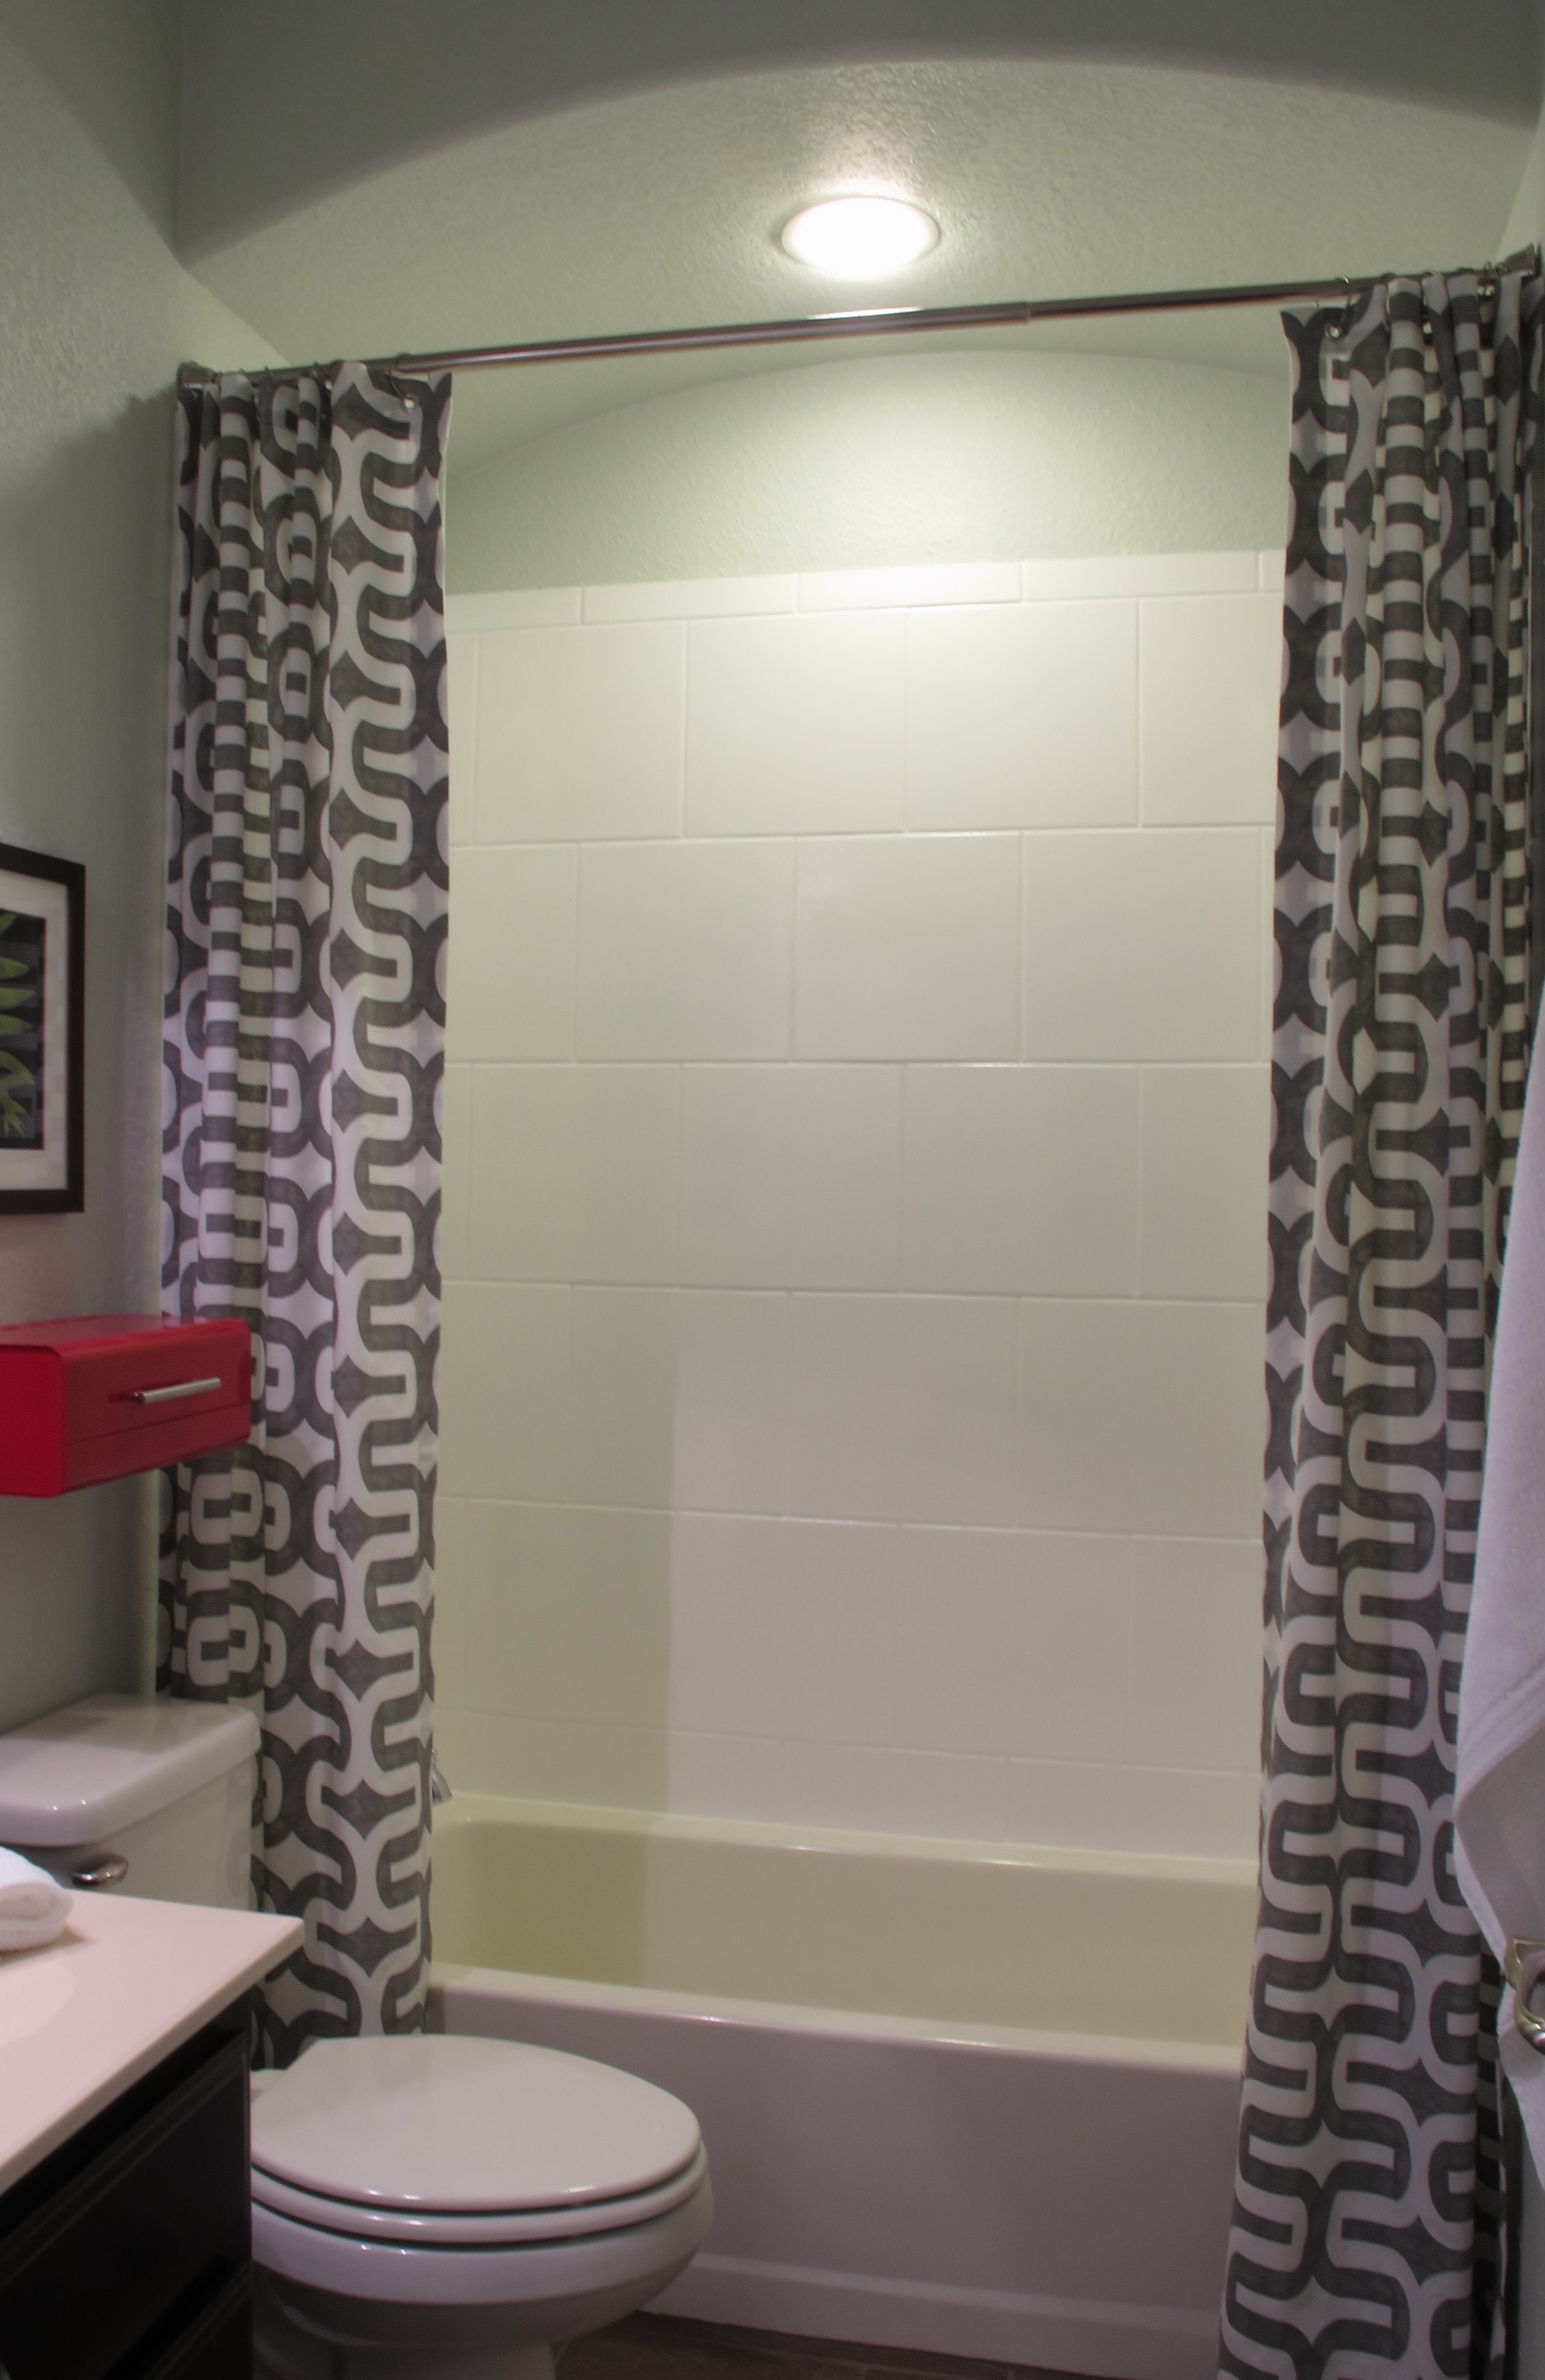

 I have to say that cutting something so transparent was kind of trippy. I kept losing sight of the seam, thus, I mainly guided my scissors by touch whilst repeatedly calling the liner names.