Well, a lot.
And I’ll warn… This post isn’t pretty. It’s mostly an admission of my closet disorganization (pun intended). So, look away if you must. I’ll understand.
It all started when I realized that our closet (at least my side) was virtually unusable. Completely dysfunctional. Joey’s side was always pristine, while mine constantly ran over in an attempt to contaminate his. When we originally moved in, my friend Lisa and I literally just unpacked boxes and threw my stuff in there. It was Mission: Empty Boxes. Organization did not play a role that day. And that’s how the closet stayed. For nine months. Nine loooong months.
Finally, I couldn’t take it anymore. I began by going through all of my stuff and donating anything that I didn’t like or hadn’t worn recently. I didn’t take a “before” pic, but here’s an “in progress” shot…
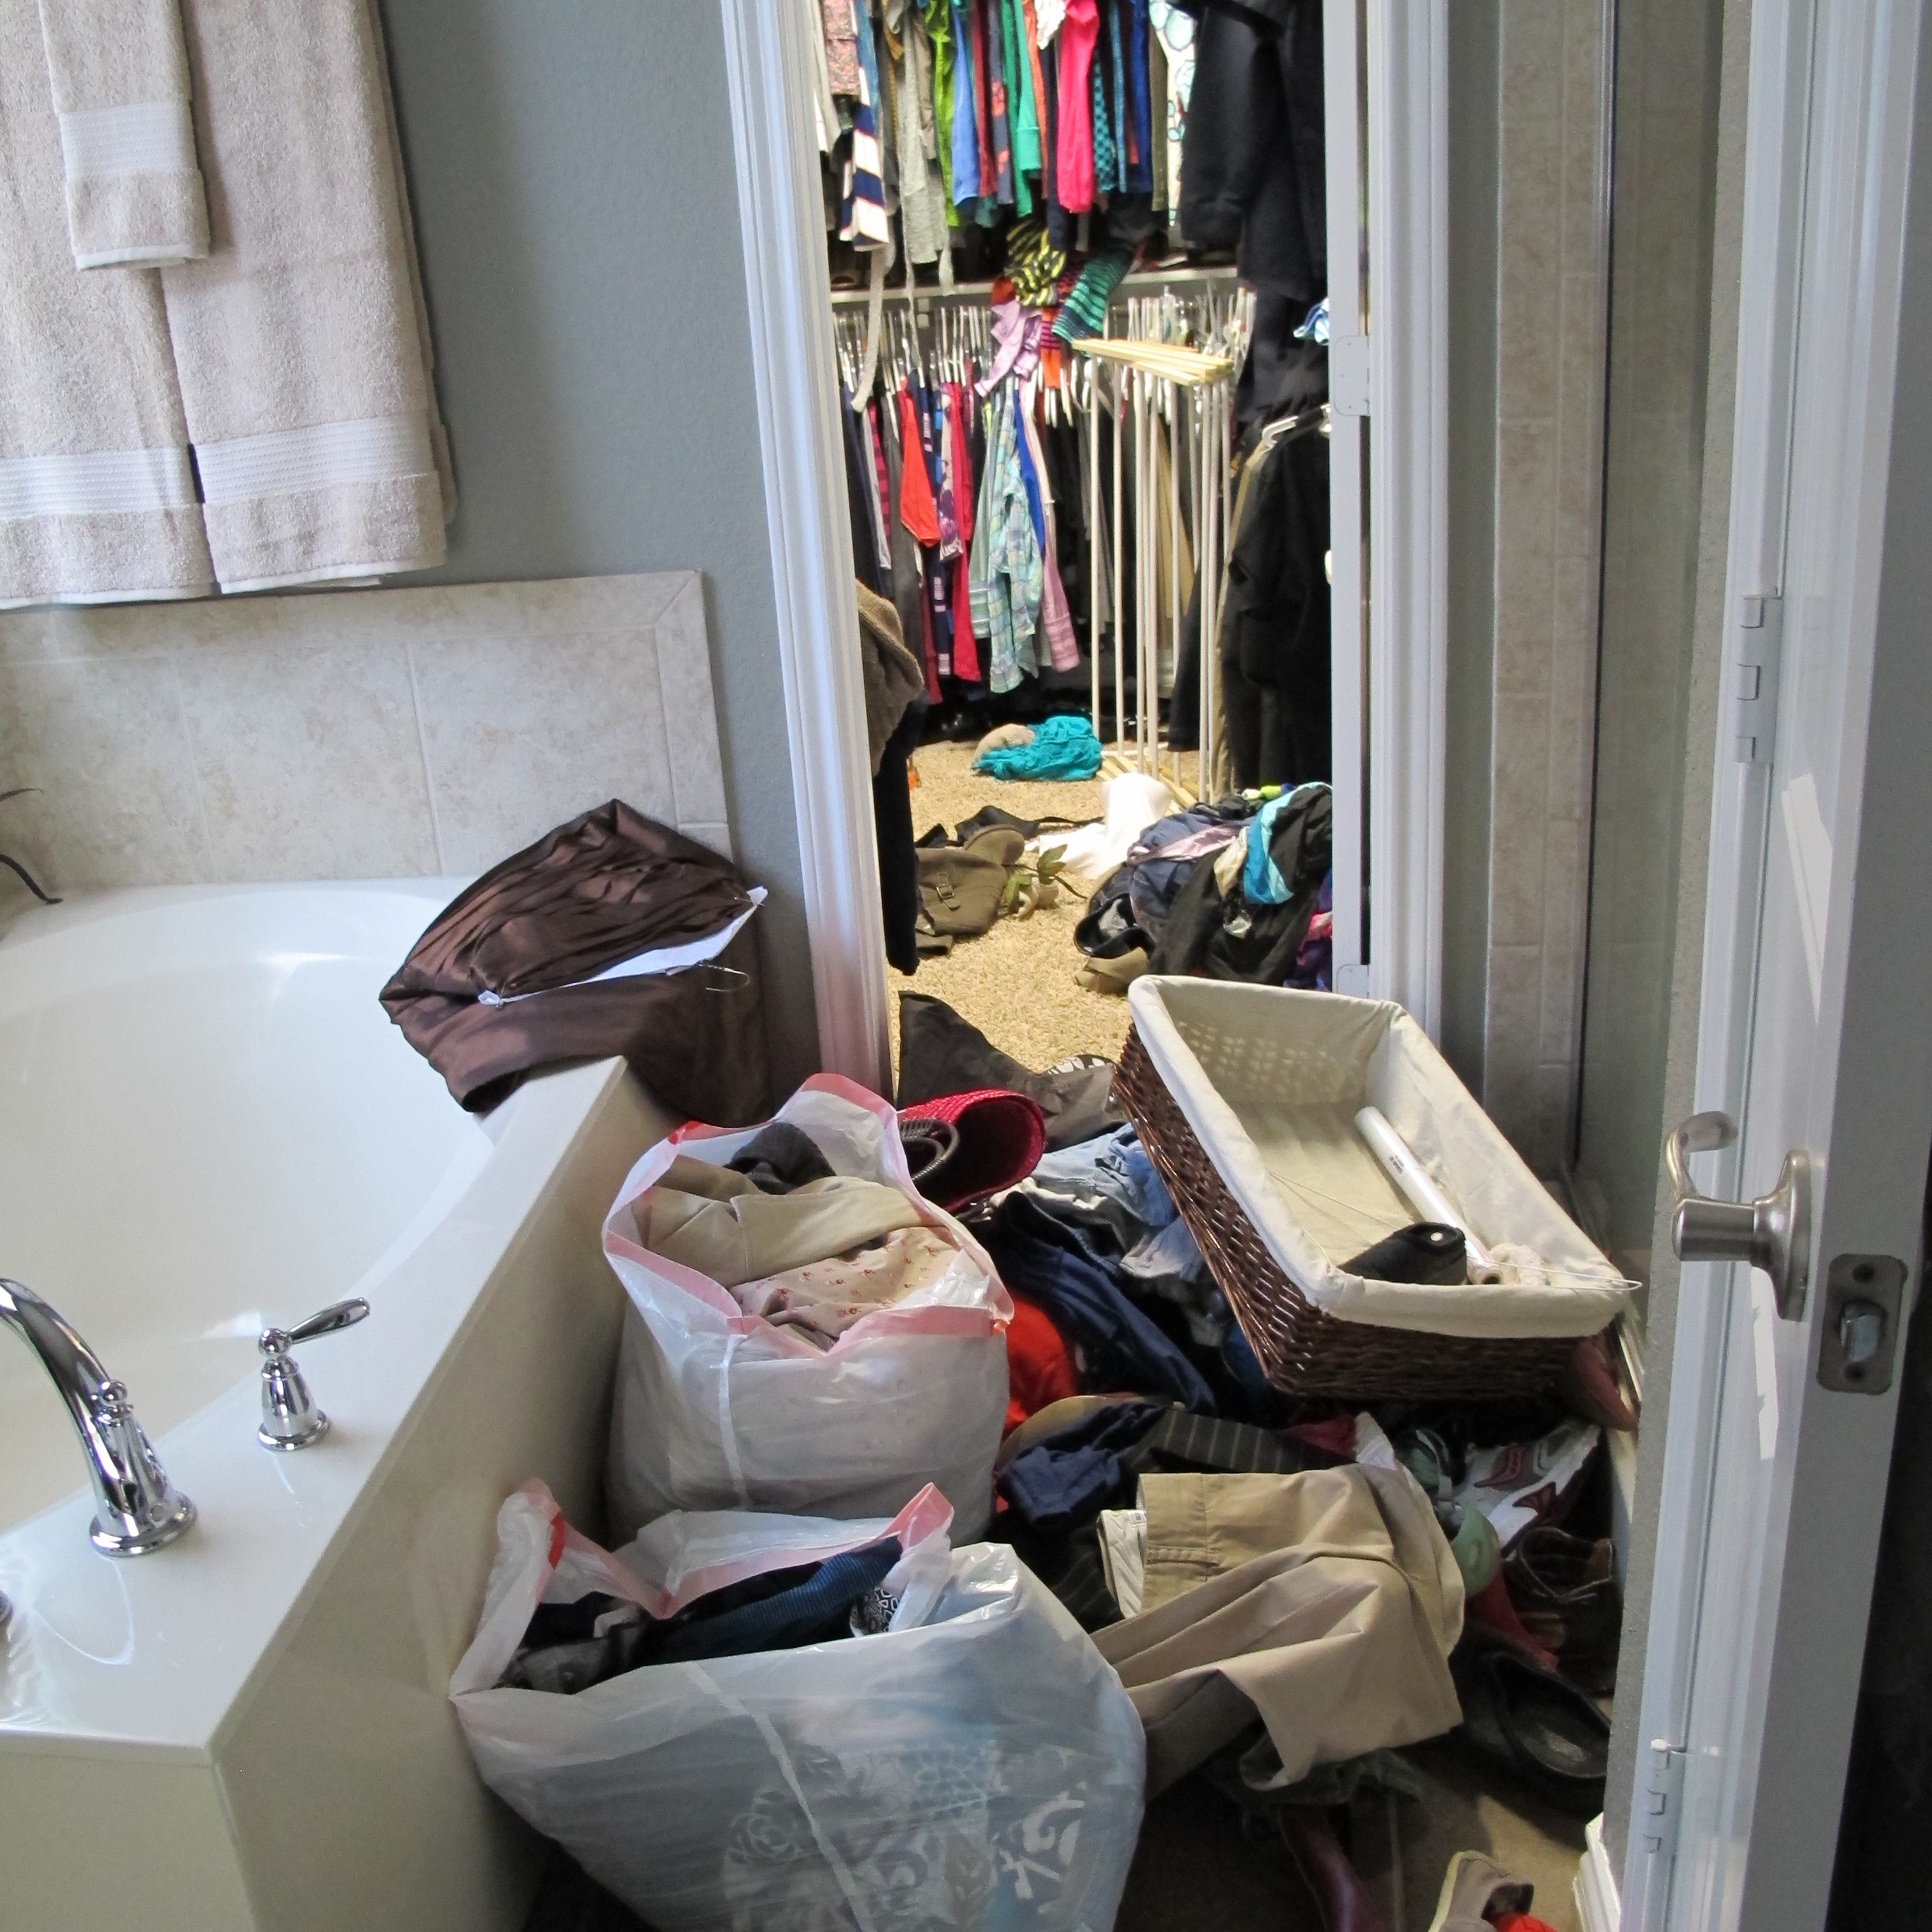
Awful, right??
Here’s how much stuff JUST from my side of the closet that was donated….
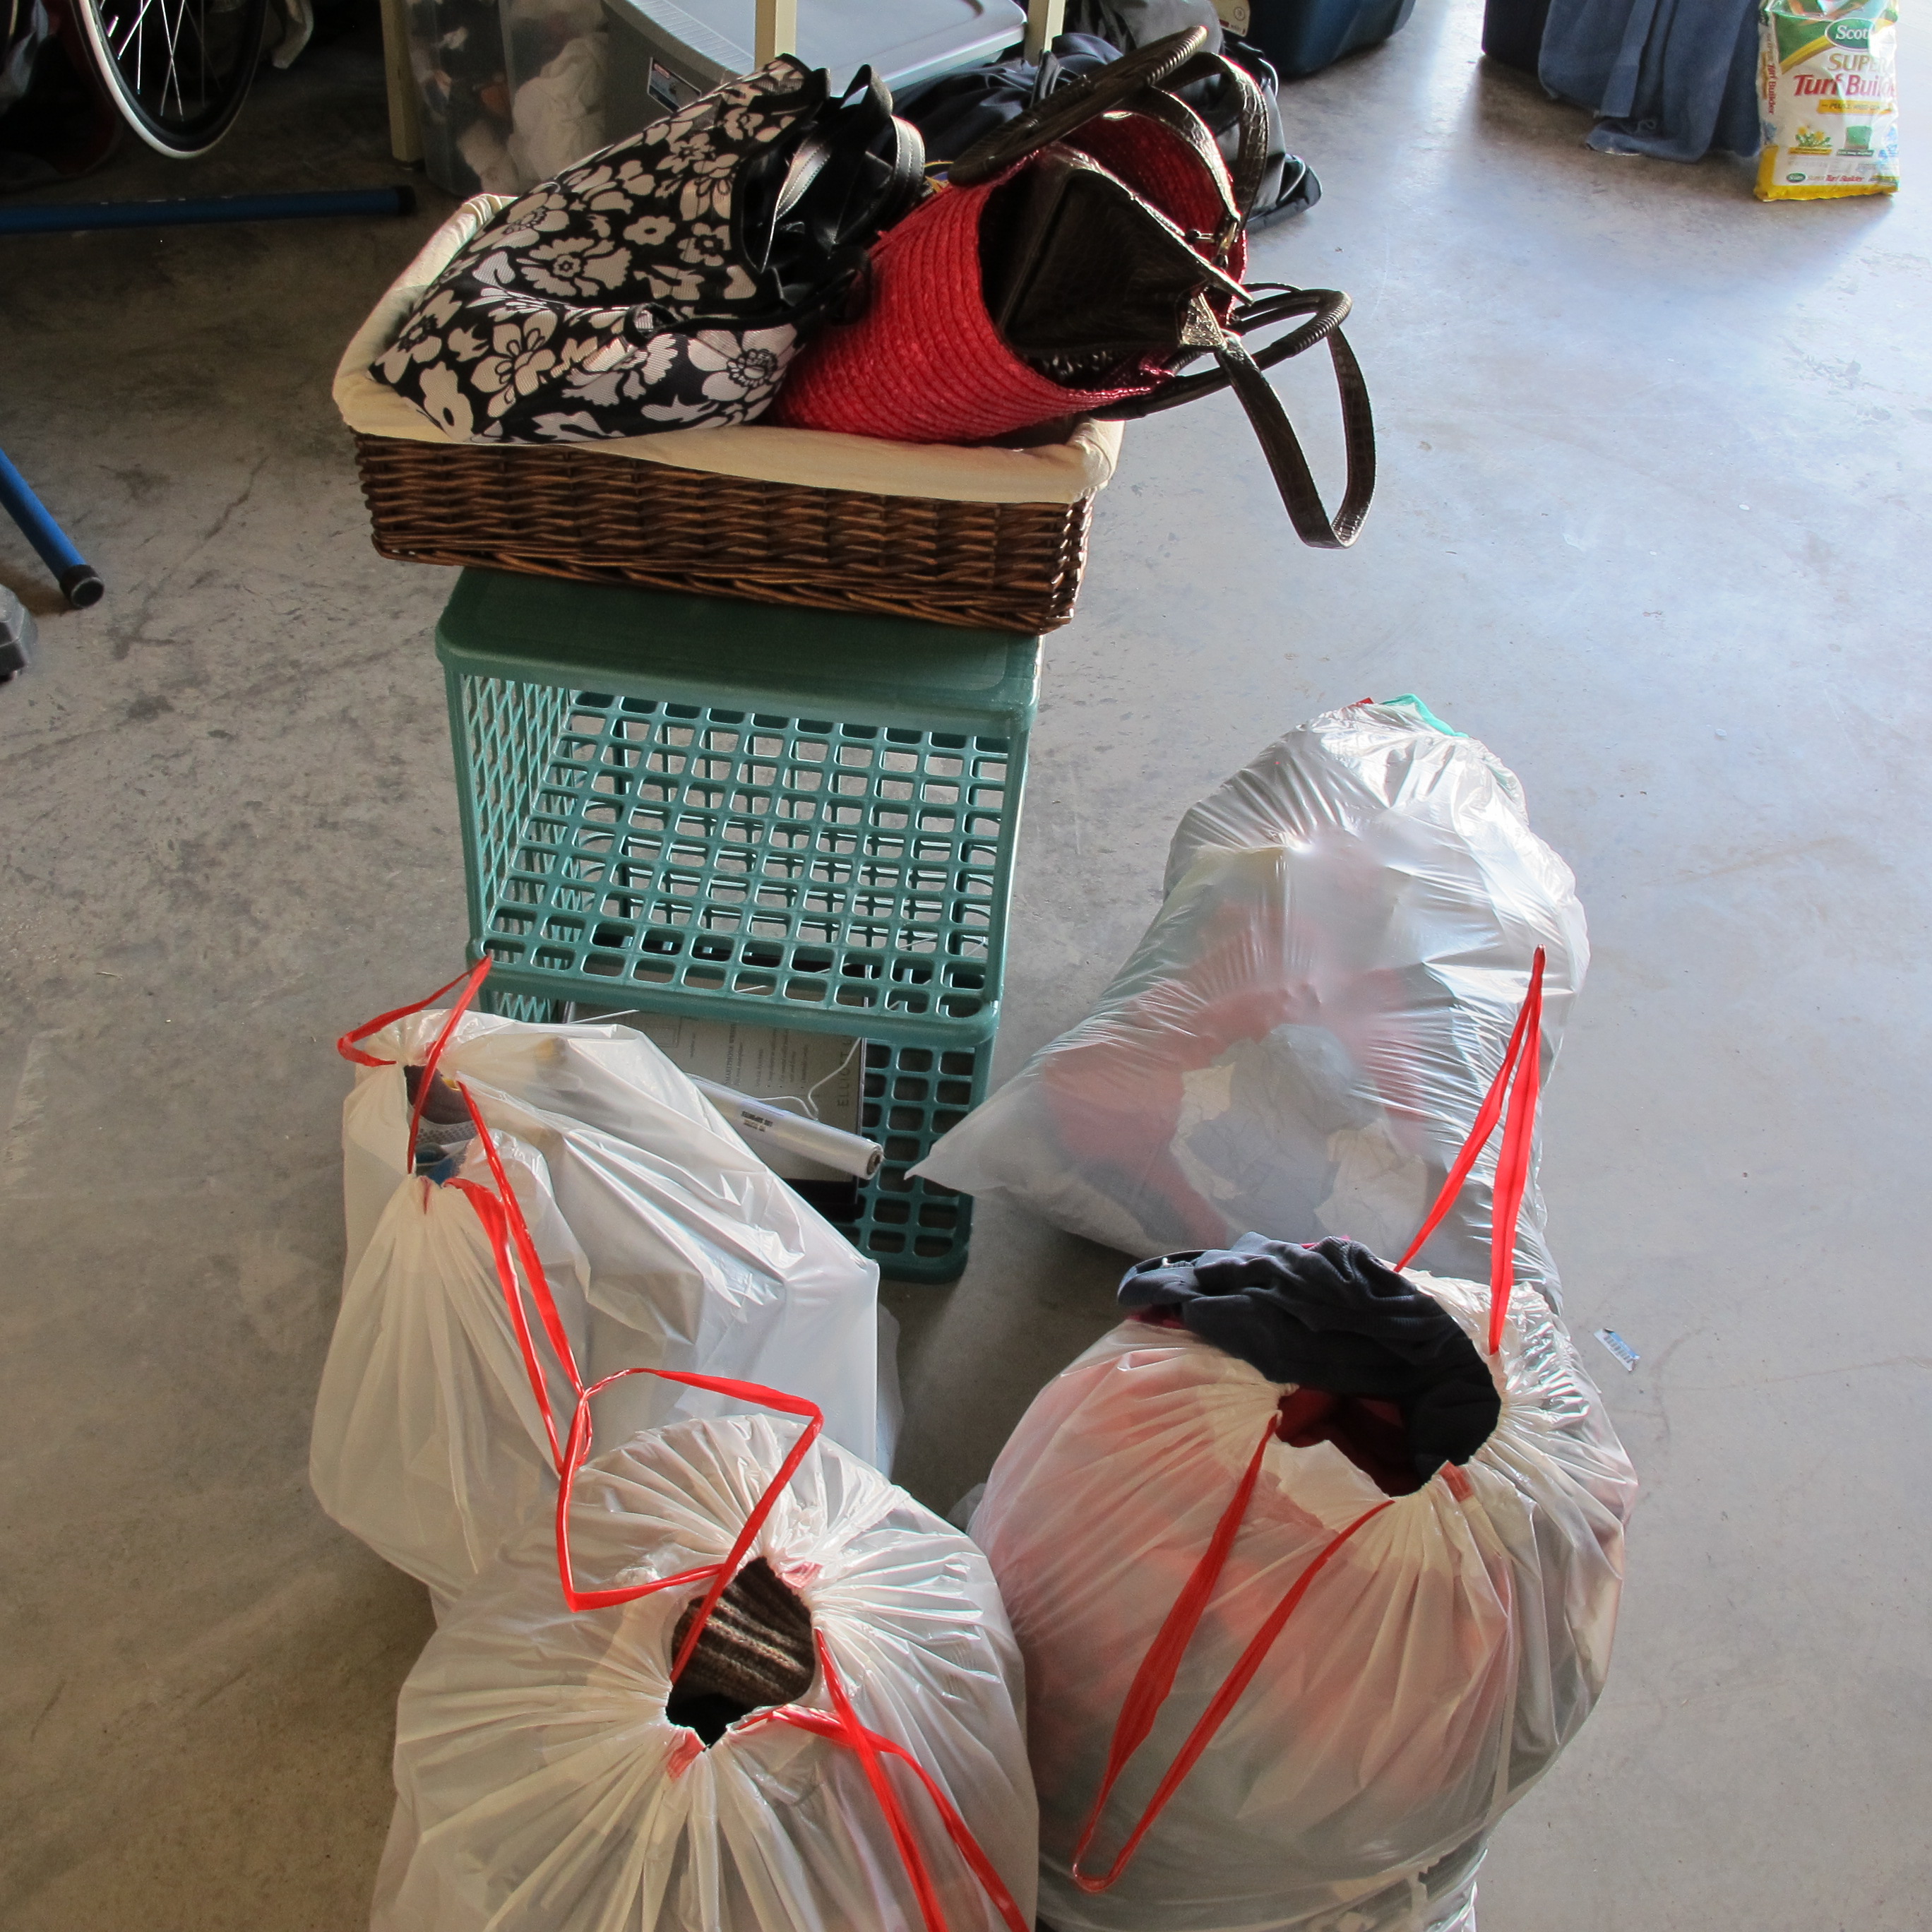
FOUR very full garbage bags of clothes plus shoes, bags, baskets, etc. And here are the number of hangers I freed up in the process…

It’s embarrassing how much stuff I had that wasn’t being used. I rearranged my remaining clothes so that similar pants, shirts, etc were grouped together to make them easier to find. Here’s the “after clearing out extras” shot….

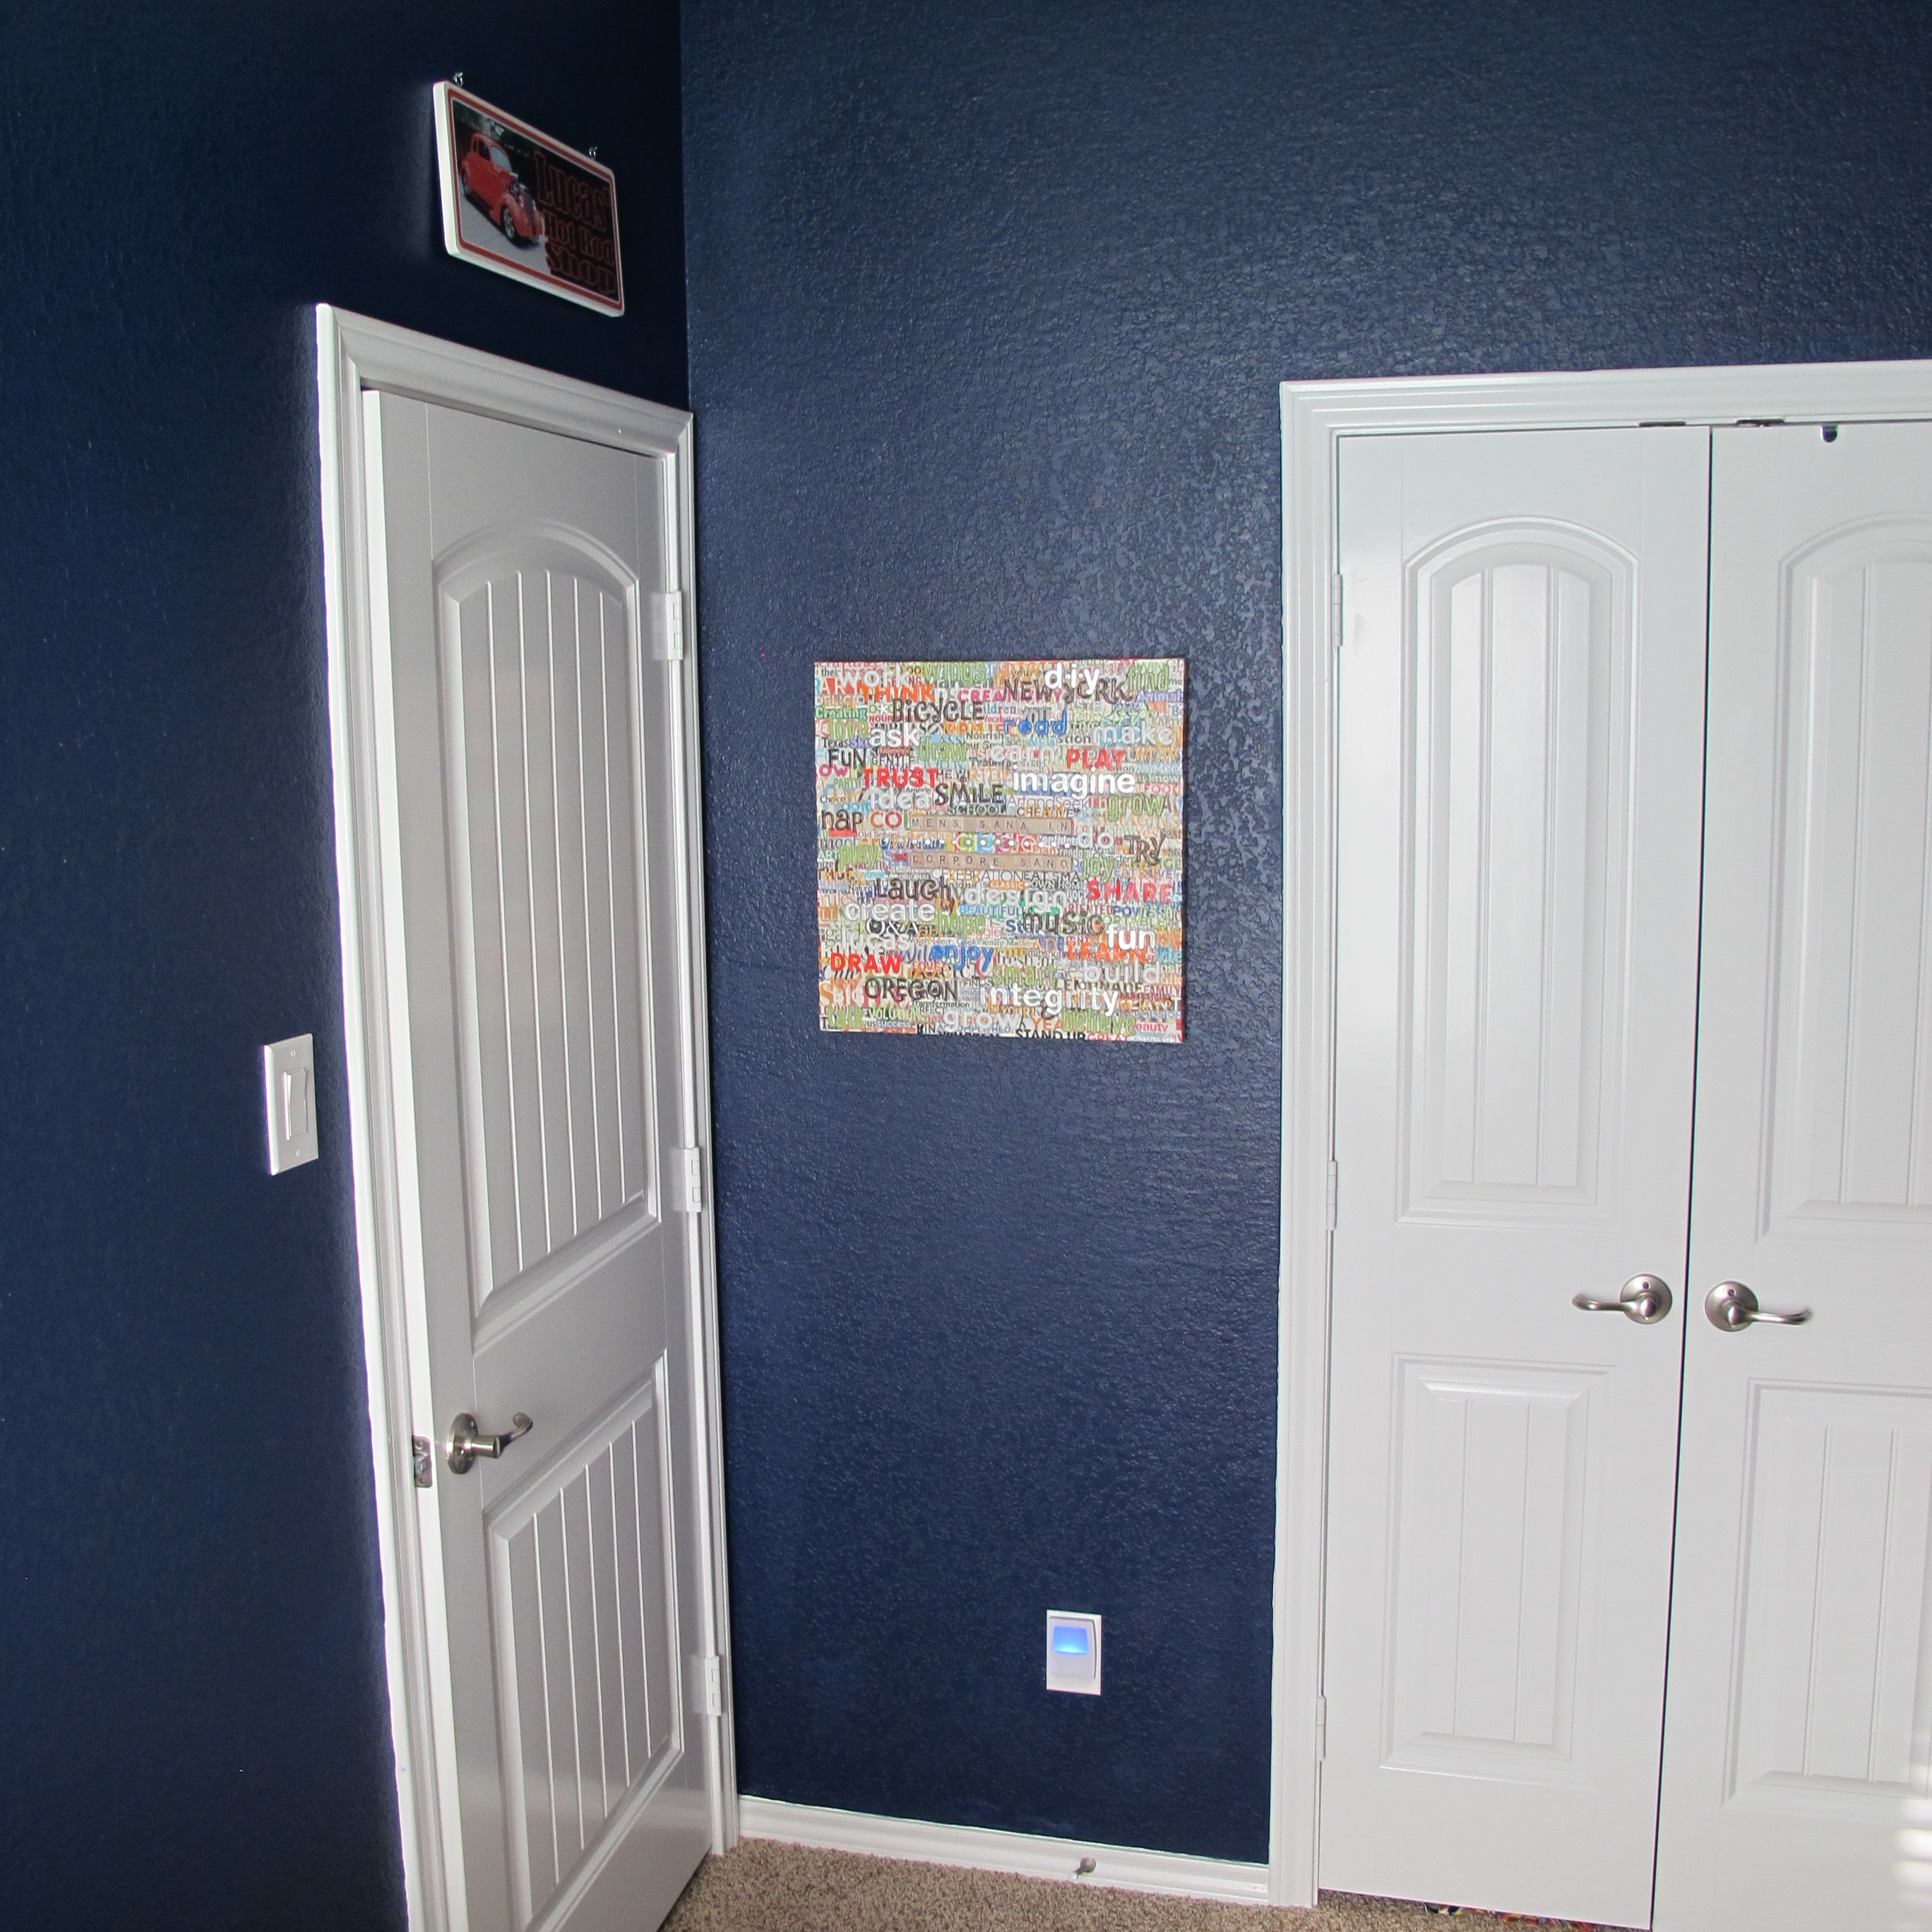
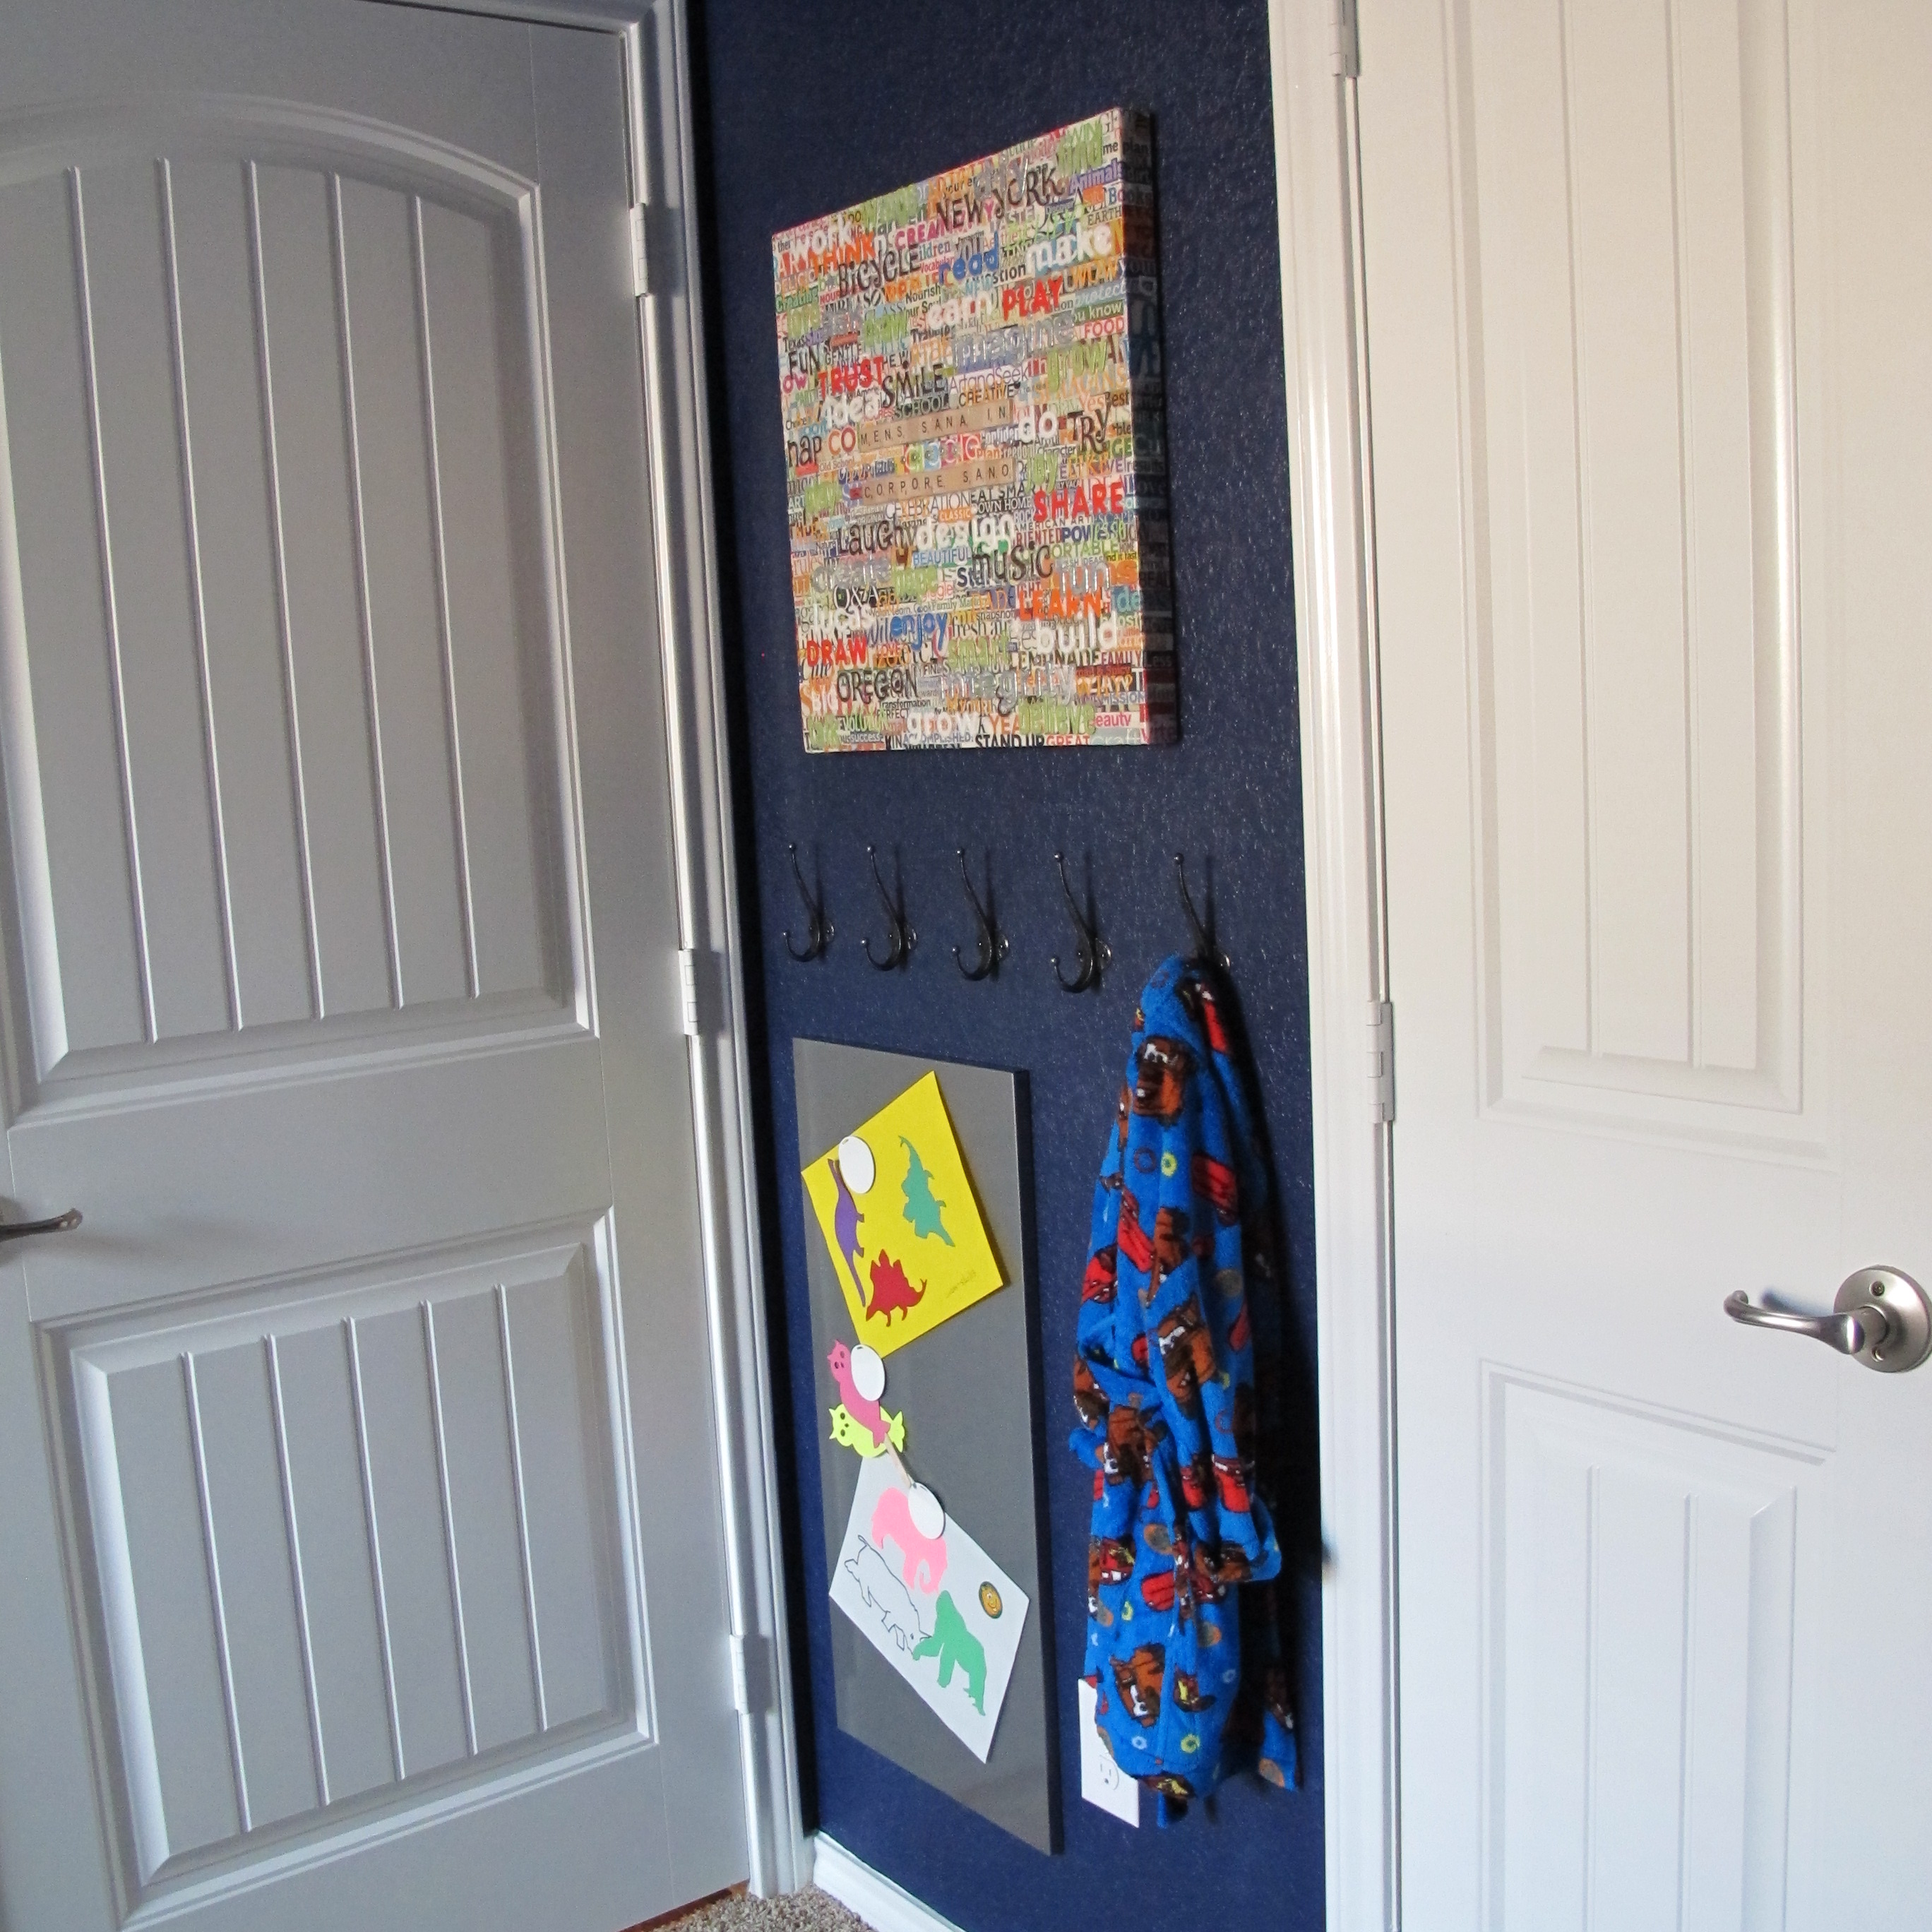
Not drastically different, except that you no longer fear for your life upon entering. I will say that although the photo may not convey it completely, the closet is now MUCH more pleasant to be in. Much less cluttered, more organized, and when I get ready now, deciding what to wear is much simpler. I can easily see the clothes that I like and wear regularly and can just grab and go… whereas before, I’d stand and stare at my racks of clothes forever, just deciding, as the view of my favorite clothing was obstructed by hangers and hangers of misfit shirts, slacks, dresses, etc. (And also, ignore the plywood strips on the back wall… that’s for another day. 😉 )
I stacked my plastic drawers here to make better use of the vertical space, rather than having them take up all the floor space under my hanging clothes….
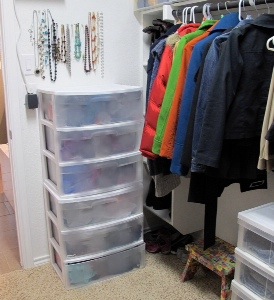
I very badly blurred out the contents of my drawers. To save your eyes. You’re welcome. 🙂 It’s also notable to mention that I HATE these drawers. I’ve had them since college. And they slide off of each other and the drawers stick, the plastic top pops off and they have poor capacity. We’ve decided that we’re going to rethink the layout of our closet and install some sort of built in organizational system that’s a bit more stable than this plastic tower of Pisa and much more functional.
I’d also love to paint our closet a warm color, change to all white hangers, and hang a cool chandelier in here just for fun (I *may* have already chosen one in my head.). Actually, the chandelier would serve the purpose of being awesome as well as getting rid of the awful fluorescent lighting that lives in our closet. That’s right, folks. Fluorescent lighting in an area designated for dressing. It should be forever banned. There are so many other builder-basic, cheapo options available. So, many more flattering options, *cough, cough* men (I say this because you KNOW a woman didn’t pick that). Heck, I would’ve preferred a bare incandescent bulb to ugly (fugly?) fluorescent light. You may notice the pictures taken in here seem somewhat glaring for this very reason.
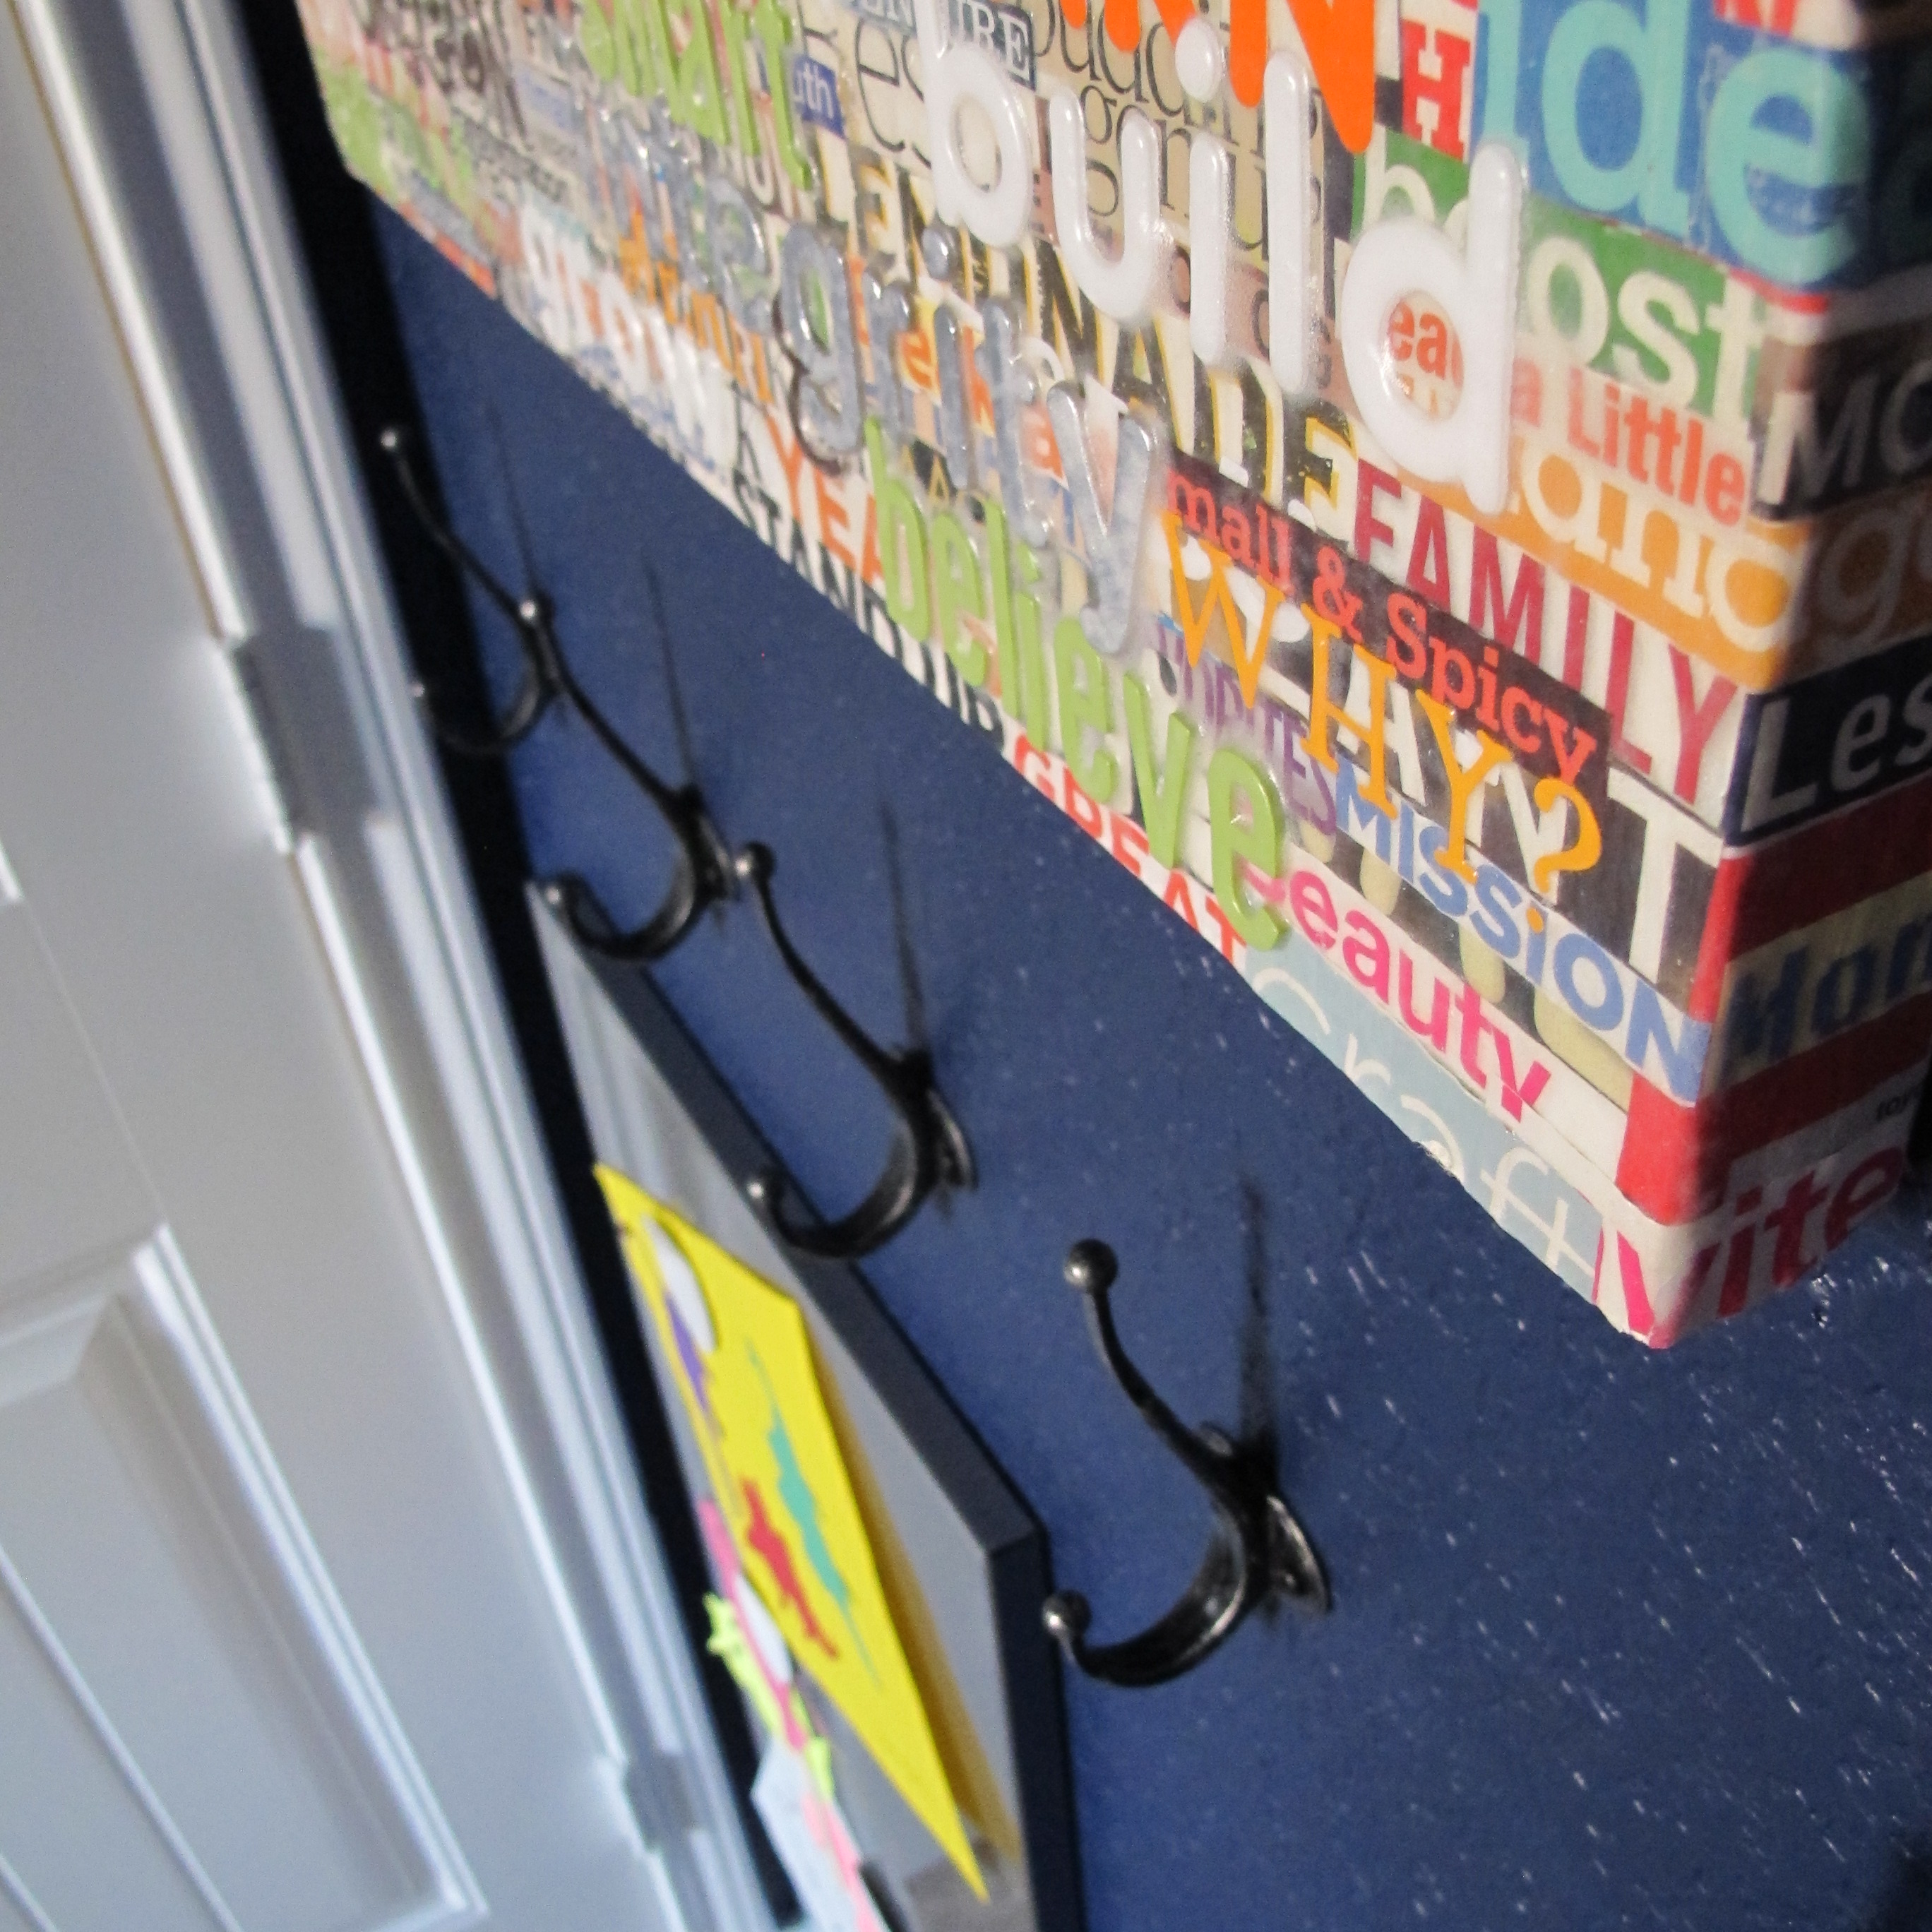
Anyways, before D-day (aka: decluttering-day), I had my jewelry box on top of a set of plastic drawers by the doorway and this was my system for necklaces….

Just thumbtacks. Once I moved my jewelry box to the shelf on the other side…

…I decided I could do better.
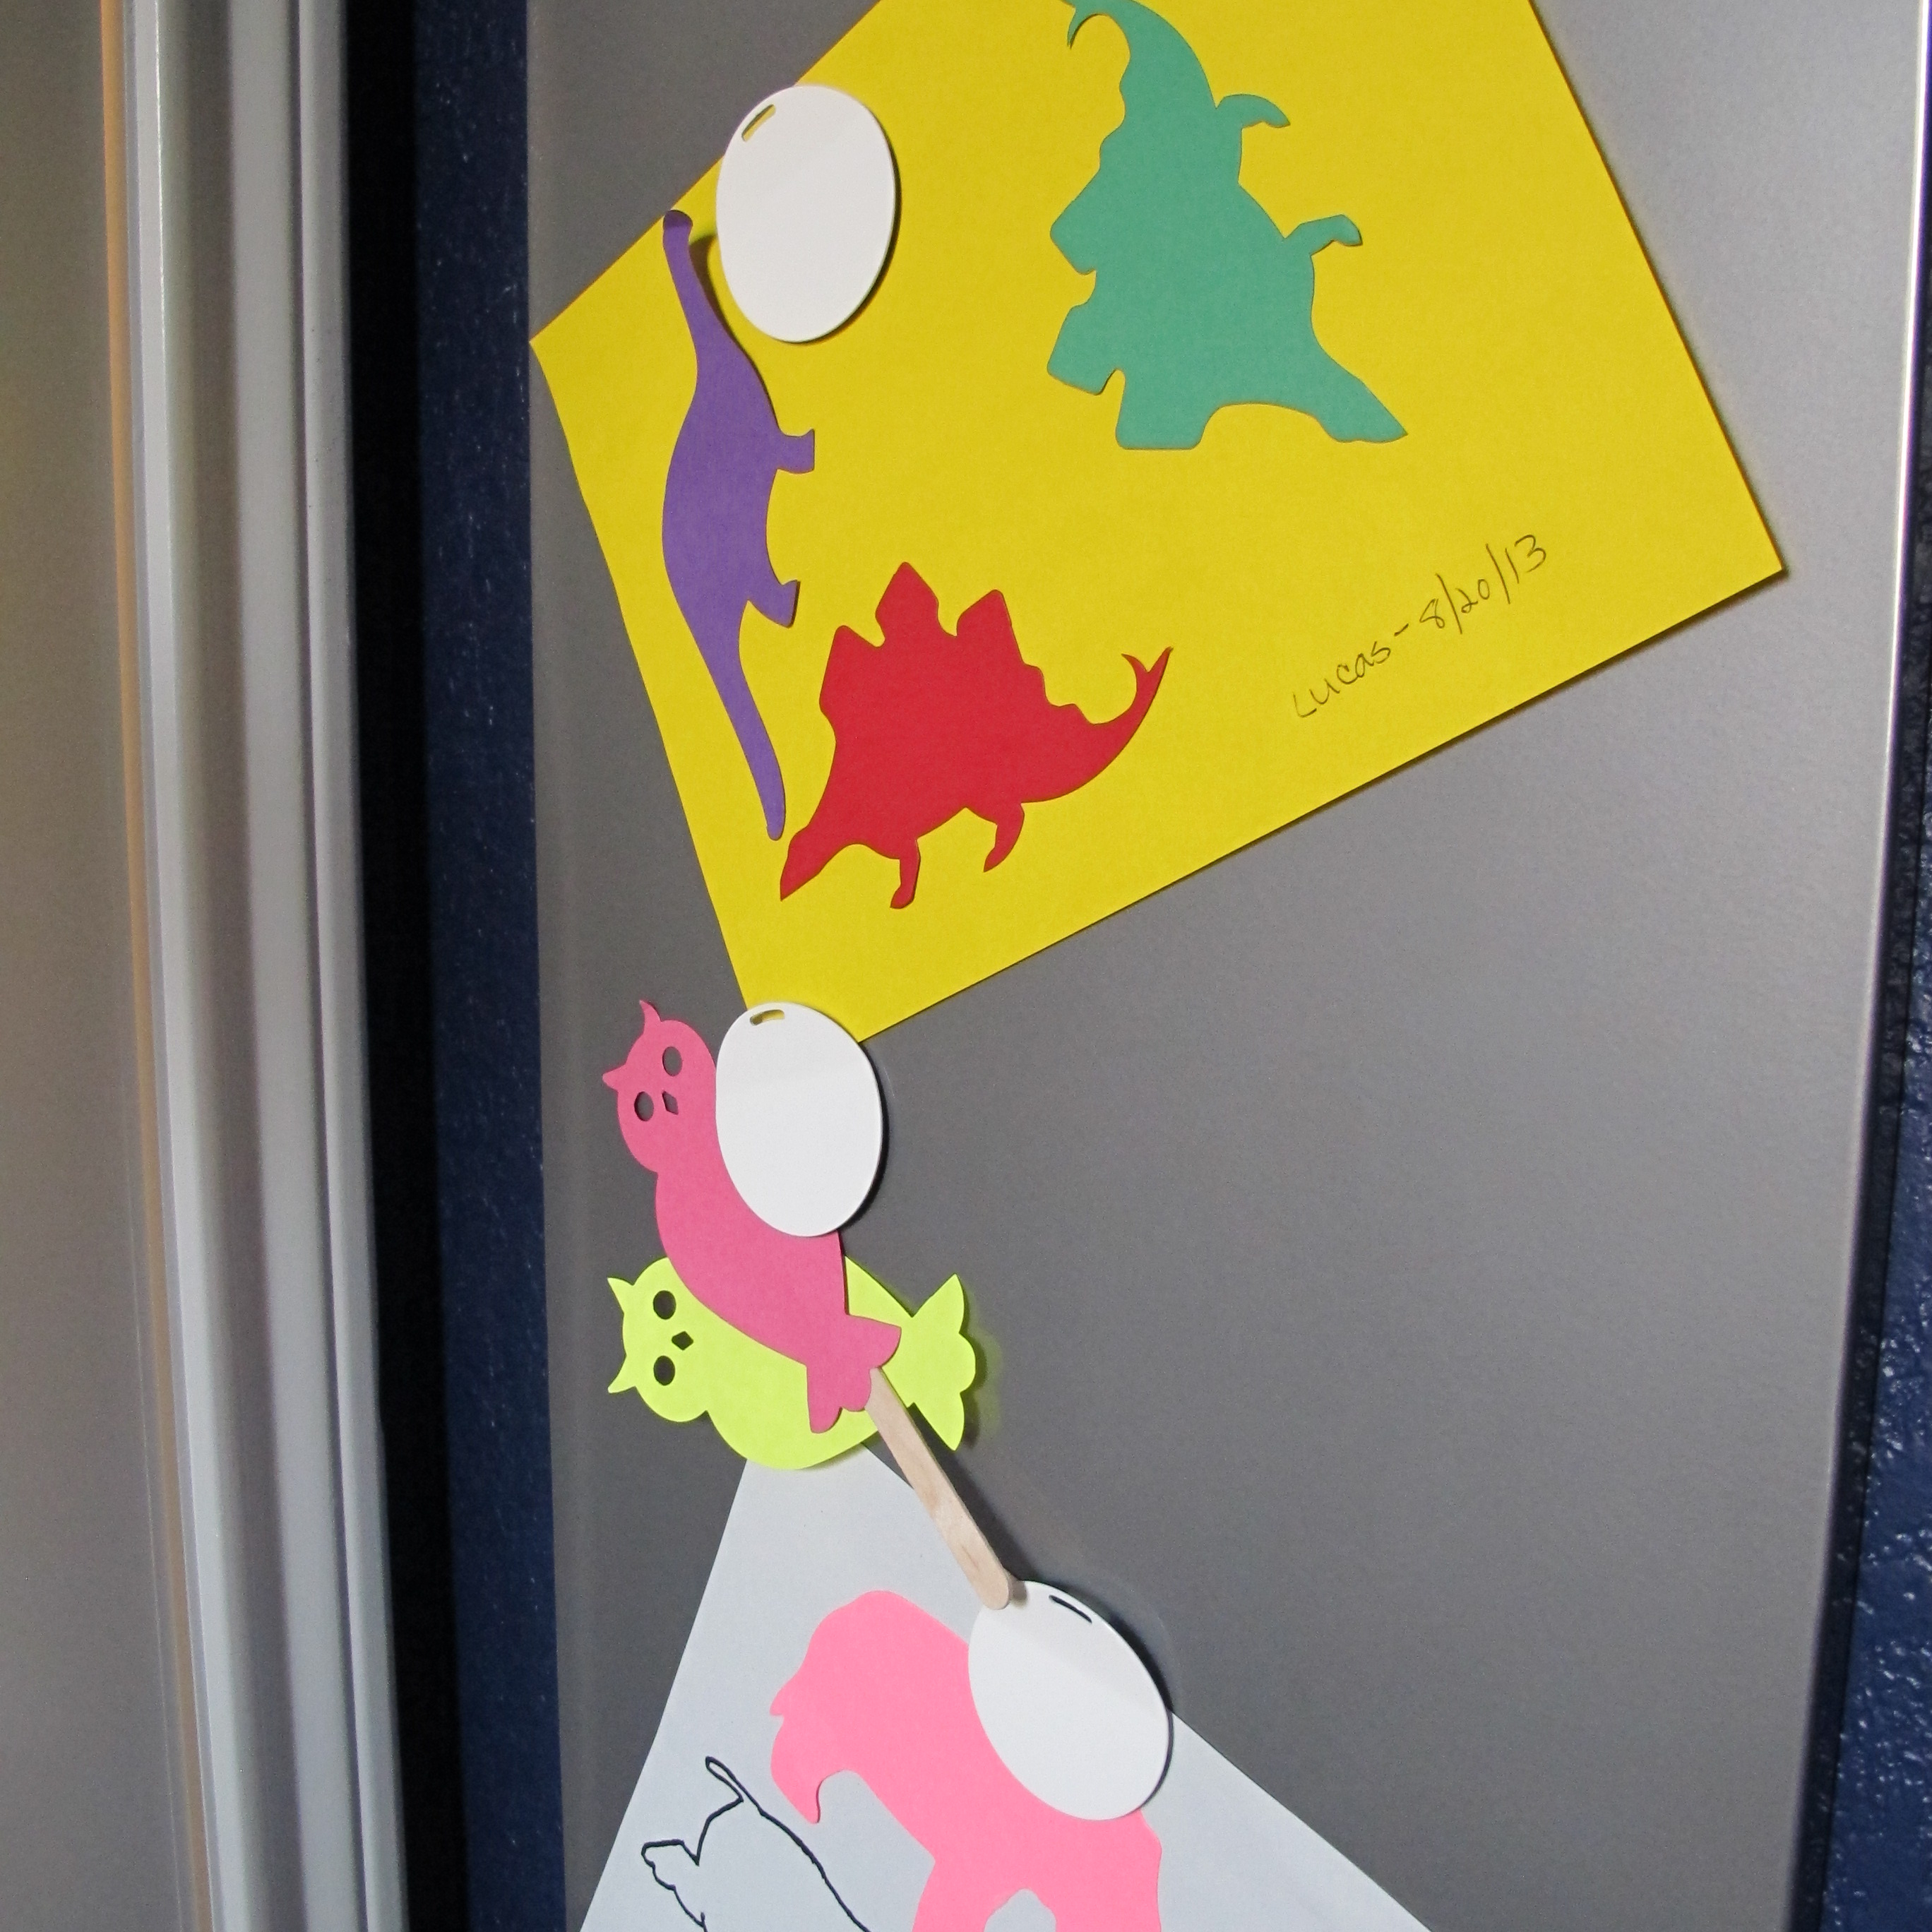
Here’s a sneak peak of the finished product….

I’ll have a full tutorial next time (which will be peppered with a few what-not-to-do recommendations. Oh yes. My trial-and-error take on DIY projects did not disappoint.). I just thought this post would be way too long if I included it here.
So, has anybody else been organizing lately? Any tips or tricks to share?