A bunch o’ kitchen and breakfast nook updates

So, remember how one small thing can lead to a bunch of other changes without even trying??

Allow me to introduce you to one two small things…

Yeeeeaaaahhhhh…. I decided that there was no way to get a decent close-up shot without being in the mirror’s reflection (or getting my tripod which seemed like entirely too much work at the time).  So, I chose to maximize the opportunity with a cheesy thumbs up victory pose.   I’ll bet you’re thanking your lucky stars to be reading this right now, aren’t ya?? 😉

Anyways, I had a total score of a trip to my local thrift shop.  It was one of those magical trips where I found these things immediately, paid, and left all within about 5 minutes.    And these items would be a sweet ceramic planter that I got for $4.50 and a vintage shoe mirror which I scored for $8.   Honestly, I had no idea what to do with the shoe mirror when I purchased it, but I thought it was awesome so I had to adopt it.

Once I got them home, I simply washed the planter, and shined up the shoe mirror with a bit of Restore-A-Finish and Feed n Wax.   I dropped a plant I already had into the planter and stuck both items into the corner of our breakfast nook…

Which I loved, but unfortunately, the planter TOTALLY clashed with my bird chairs.   Which were last seen here…

232323232-fp83232-uqcshlukaxroqdfv35;-2-nu=3396-6-9--78-WSNRCG=363-458-95346nu0mrj

FYI: That orchid has since bit the Big One.

Back when I refinished our Craigslist kitchen table, I mentioned that the chairs needed to go.  They just didn’t mesh with the table and were too busy for the space.   I REALLY wanted to purchase new chairs since these are getting pretty worn (I originally purchased them for $8 from Craigslist and then refinished them), but with the unexpected expense of fixing our rotting wall, that option was (and still is) delayed.   So, my pretty blue and white planter was really the straw that got the motivation flowing as far as making cheap changes.  Or something like that.   😉

I knew that I had some leftover sagey grey fabric laying around, and while it wouldn’t have necessarily been my first choice for this space, it was free and neutral…

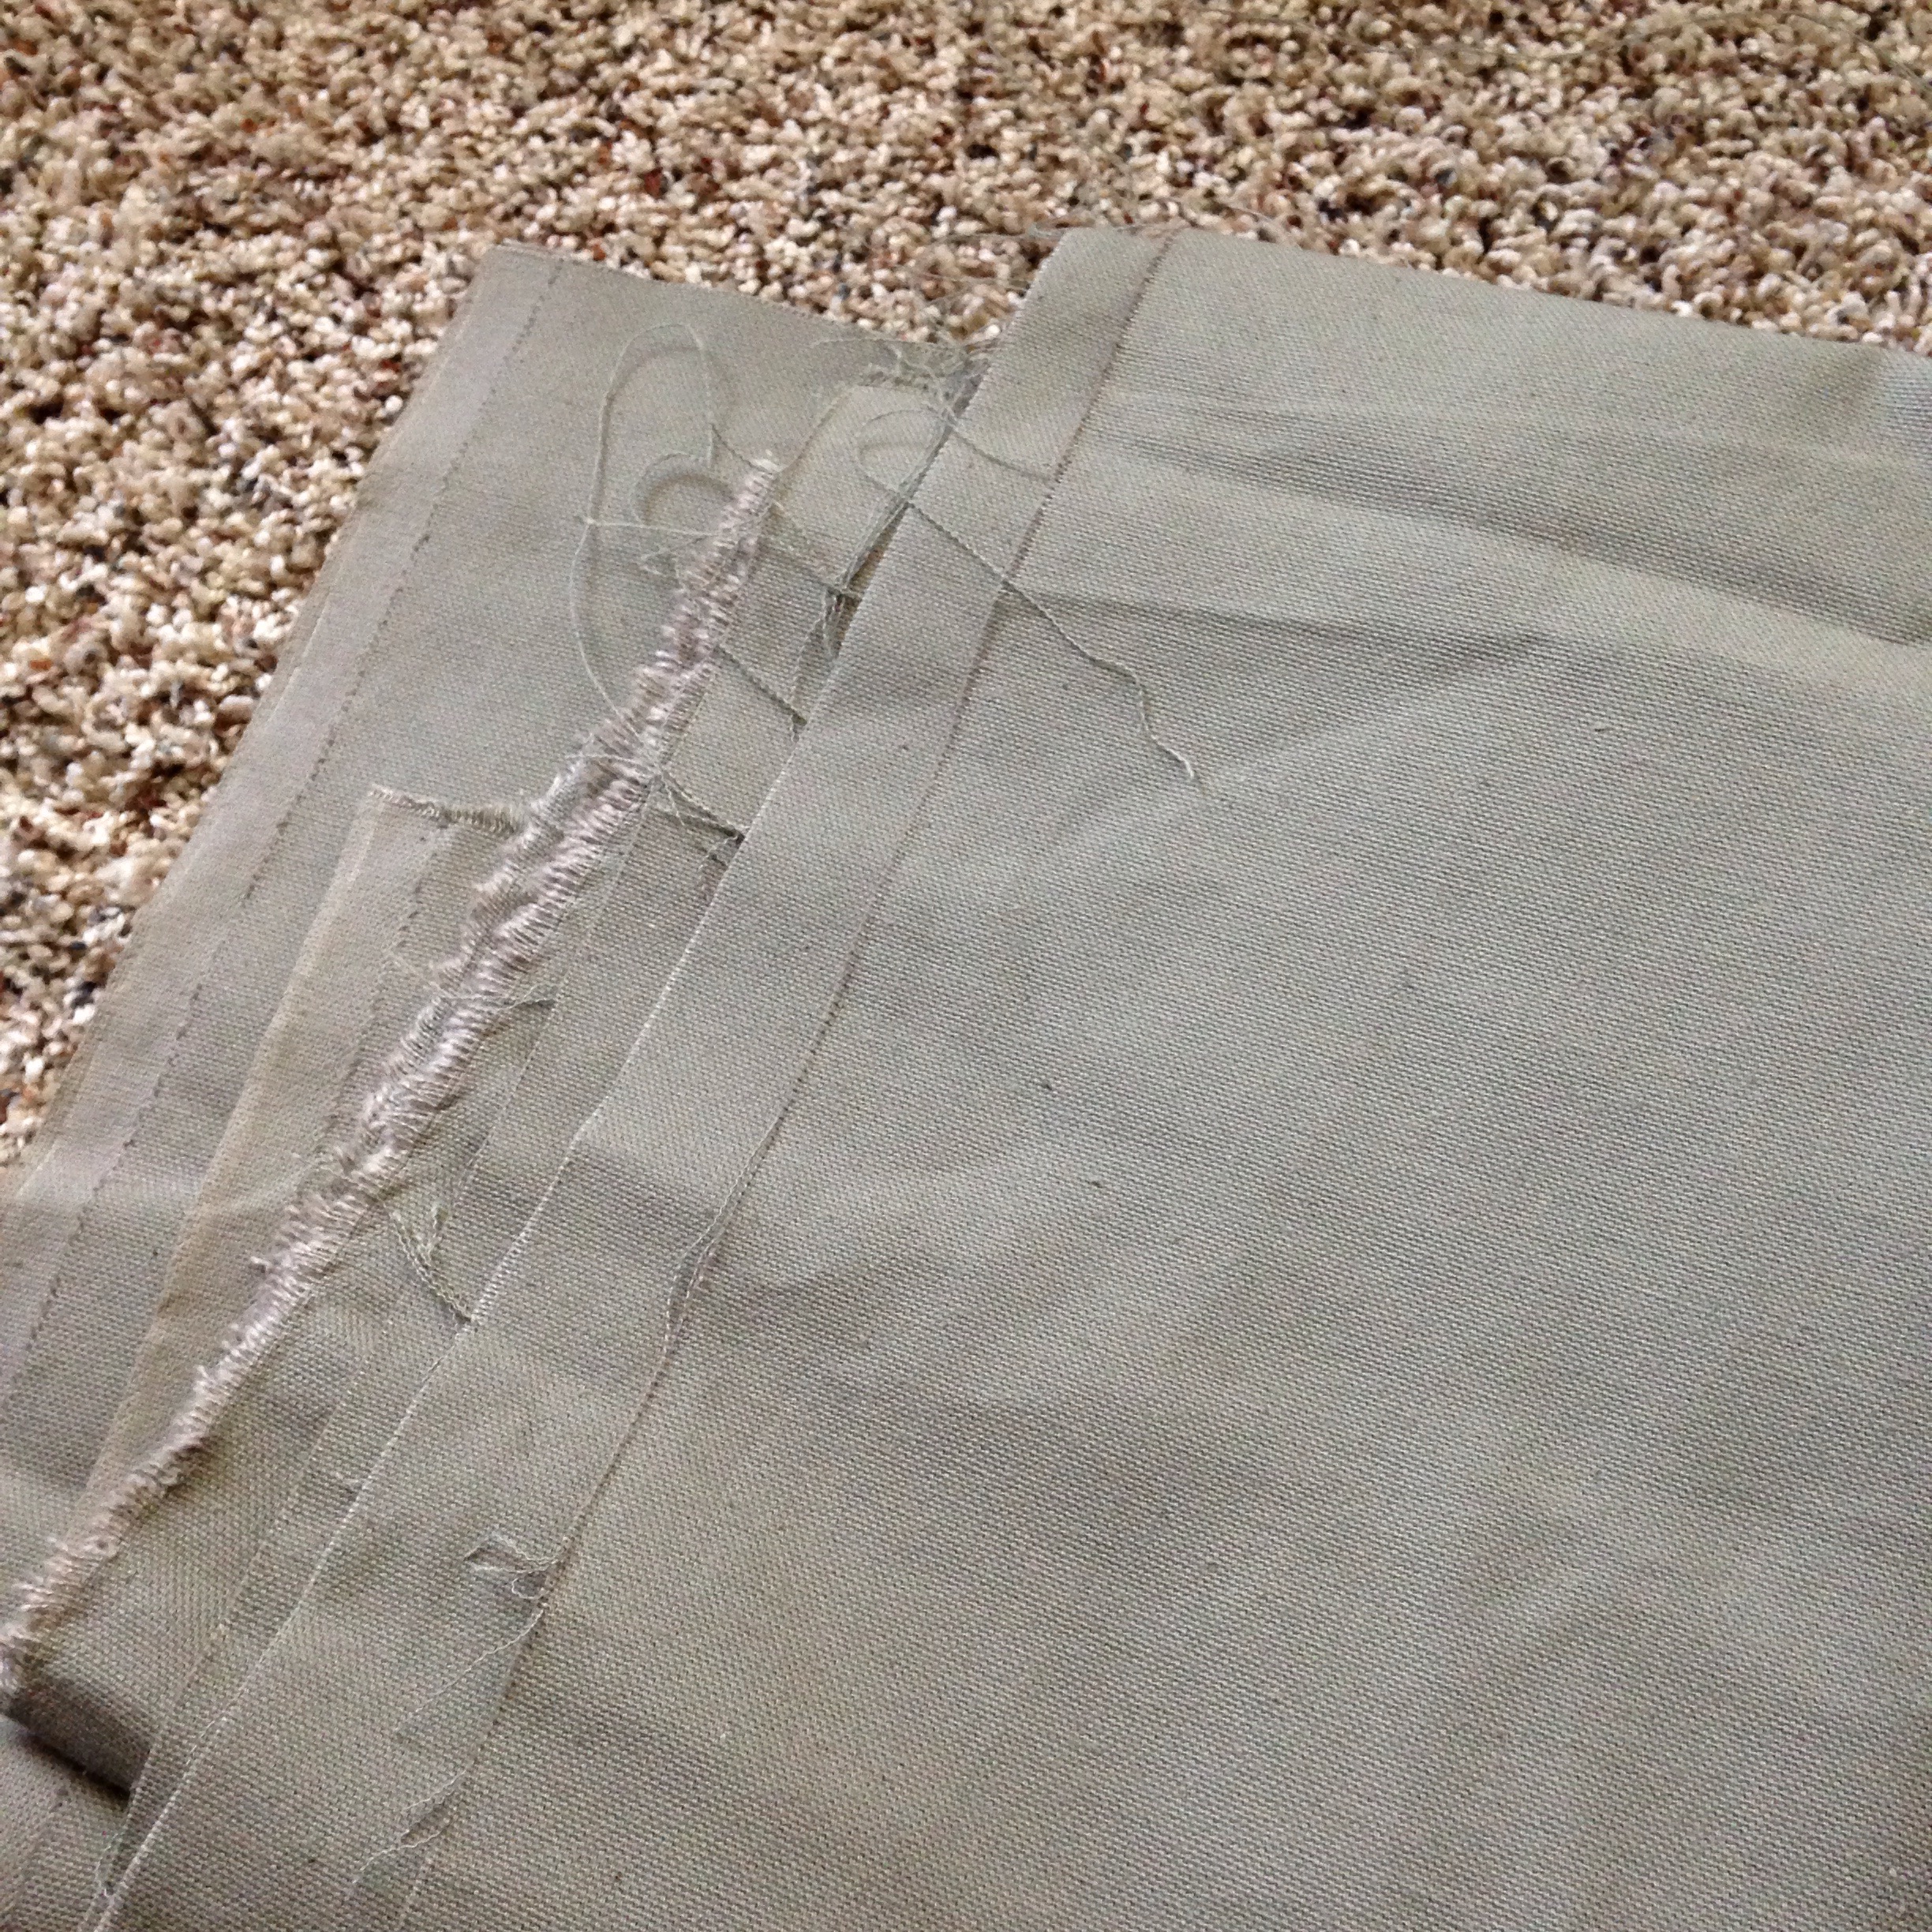
Which meant that it definitely had a leg up on the bird fabric.   So, I got going on recovering the seats.  I won’t go through a detailed tutorial on seat recovering since I posted one back when I initially recovered my bird chairs.  But, if you want more precise information on this process, check out that post.  I will say this, though.   I generally consider myself to be in okay shape.  I try to work out regularly and really enjoy it for the most part.   But recovering seats makes me feel like I’m getting a full-on workout.  Every.Time.Not.Joking.   I was literally sweating and breathing hard as I was completing this project.  Something about the strength needed to wield a staple gun while pulling fabric taut is just too much for me for some reason.  So, I’ve found that the easiest way to get ‘er done is like this…

Now, if I weren’t holding a camera with my opposite hand, I would’ve been pulling the fabric tightly directly in front of the staple gun. So, imagine that.   Basically, you wanna rest the top of the staple gun on your surface, and the bottom of the staple gun on the floor and then use your body weight to compress the staple gun rather than your grip.  This should work as long as your surface is relatively flat to the ground.   It becomes worlds easier.  Trust me.  Now granted, this requires you to rotate your surface much more frequently (or move around your object if it’s larger), but it’s worth it in the end.

Once the seats were recovered, I made a point to Scotchguard them.   Since this is a solid-colored fabric, stains will be much more apparent, so I felt that this was important in making the seats last more attractively until we purchase our new chairs.

As a refresher, remember when we first moved in??

Breakfast nook

And now our breakfast nook looks like this…

232323232-fp83232-uqcshlukaxroqdfv35985-nu=3396-6-9--78-WSNRCG=364738;6;;346nu0mrj

And our chairs no longer clash with my new planter…

I’m really pleased with how the space is starting to come together.   It definitely feels more grown-up since I recovered the chairs.  Now I’m REALLY excited to replace them.  In the meantime, though, they’ll do.  ðŸ™‚

My plan with the shoe mirror is actually to use it as a dry erase board for messages.   I just need to get some decent dry erase markers that show up better.   You can barely see the ones that we have currently.

Eventually, I’ll add something to the other side of the French doors to balance out the space, but I’m not sure what yet.   Functionality-wise one of the most welcome additions to the nook is this striped runner by the door…

I found it at Target and love the pop of pattern it adds.  Plus, it goes a long way to preventing dirt and wet feet from muddying up the kitchen.  My goal was to find a dirt-colored rug that was still cute.  Mission accomplished.

Now, since we’re in the kitchen anyways, how about an update on the other side of the room??   Now, let me preface this by saying that I realize that a dressed-up turd is still a turd.  And well, our kitchen right now is definitely a turd (what with its mismatched appliances, nose-cabinets adorned with chipping/drip-ridden paint, chipped Formica countertops, etc.).   But, I figure that I may as well style it cutely to better to help us live with it until the renovation starts (which will hopefully be late summer/early fall depending on when we find decent reasonably-prices appliances).

Just as a reminder, last I showed you, the kitchen looked like this…

And this is the current status…

232323232-fp83232-uqcshlukaxroqdfv3833;-nu=3396-6-9--78-WSNRCG=3647475578346nu0mrj

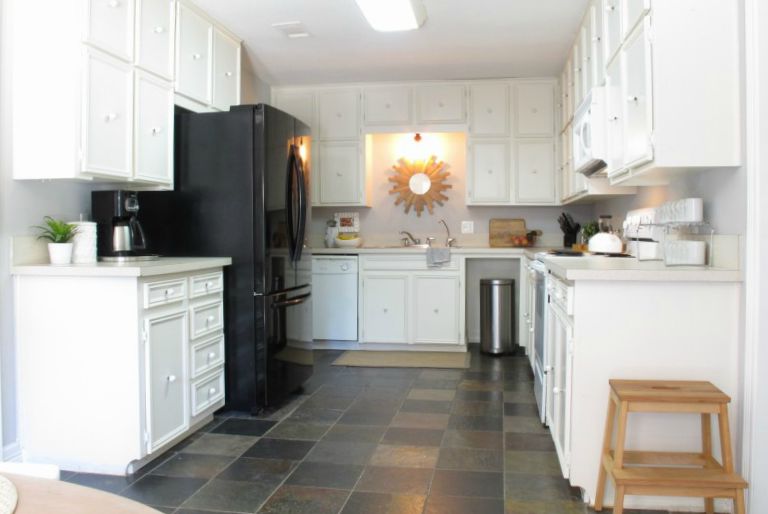
Minor changes, but they all work much better in the space and seem less cluttered than before.   I’m constantly changing things around in here.  Even as I was taking these pictures, I was altering things actually.  So, now for a few countertop cameos.   First, our coffee area (and yup! This picture prompted me to refill the sugar)…

Next…  Anybody remember Larry the Table Guy??  He was my very first project on the blog almost 2 years ago…

Aaaand… Just like in our last house, chunky cutting boards are a mainstay on the countertop (and see how the teapot is tilting???  Our stove is dangerously uneven.  One more reason why it needs to go.)…

Then, I added a stack of coffee cups opposite the coffee bar for easy access.  Plus, I think it looks kinda cool (and you can catch a small glimpse of our dining room in this shot)…

And one more shot.  Simply because Lucas gifted me the rock….

Right now, I’m okay with this space (sortof), but I’m not gonna lie… I cannot wait to get started on this baby.  It has so much potential that it isn’t living up to right now.   I’ll have a planning post on what we’re thinking soon.  But until then, that’s what I got!

So have any of y’all had small changes that add up to many more?  Kind of like a snowball effect??

TDC Before and After

Our front door.  The exterior. FINALLY.  

Howdy, folks!   So, I’ve decided to jump out of order with my posts this week because I’m SO ready to show you guys some updated exterior pics of the front of our house.  Ya see, first I painted the rusty green gate to the courtyard a crisp black, then I painted our front door once it was installed… but I’m showing you the front door and exterior shots first.  Because I’m excited.  And it’s my blog. 🙂  Then, I’ll go back next post and give y’all a tutorial on painting our metal gate with befores and afters of that project.

So, onward…

If there’s one thing I’ve learned throughout this front door process it’s this.   I am not meant to paint exterior doors.  And also, some projects seem like they’d be straightforward… but they aren’t.

Either that or I just simply haven’t discovered the right paint yet.

Part of the problem, well, most of the problem is that our new door has no texture.  It’s perfectly smooth.  I love this about our door, but it definitely posed a problem when it came to painting it.

Painting the interior side of our door was a piece of cake thanks to the self-leveling property of the Proclassic paint by Sherwin Williams, but I didn’t realize until I was in the trenches with the outside of our door that most exterior paints don’t do that.

I’d thought about removing the door and spraying it, but it has a specific type of hinge that doesn’t allow the pin to be removed, and I was VERY hesitant about removing the hinges from the door frame after our old door practically fell off due to a stripped frame.  So, I decided to go the old-fashioned way with a brush and foam roller.

Colorwise, I decided to paint the door the same charcoal color that I’d painted our old door (Black Bean by Behr) in their Exterior paint + primer.   It worked well with our old door, but then again… that door had texture to it, so I never really noticed textural issues with the paint.

I followed the same process as when I painted our old door, but after 2 thin and even coats, I had brush strokes galore…

It doesn’t look that bad here because of the lighting, but trust me.  It was visible from the street.  Easily visible, in fact.

So, I decided to splurge on a $30 quart of Sherwin Williams Resilience paint matched to the same color…

Prior to painting, I busted out the sanding block and smoothed the finish across the entire door…

Then, I applied one thin and even coat of the SW paint…

Although there were still some roller marks visible, it was WORLDS better than finish with the Behr paint.  Now, I should’ve just stopped here (an old joke in which a head of cabbage should’ve “quit while it was a head” is rattling around my brain right now).  But, like many Americans these days, I figured that if one was good, two must be better.  So, I painted another coat to “make it perfect”.

And I was wrong.  So wrong.   In my attempt to further annihilate the roller marks, I made them, like 50 times worse than they were with the Behr paint.

IF ONLY I COULD MAKE YOU SEE WHAT IT REALLY LOOKED LIKE.  This picture doesn’t even slightly do it justice…

Again, you could clearly see the roller marks from the street.  And it looked BAAAADDD.  I think part of the issue is that our front porch isn’t shaded.  We have only about an 18 inch overhang above it, so differences in sheen are more punctuated with the sun bouncing off of it.    As for that fourth coat,  I think my mistake was that I applied too much paint, thinking that it would self-level.  It.DID.NOT.   Plus, it had a very stippled, coarse texture to it.

At this point, I was quite dramatic.  And I apologize to the cookies that will never again see the light of day.

That next morning, I woke up bright and early and busted out the sanders.   This sander for the areas around the molding…

And the orbital for the flat areas…

I did as much of the sanding as possible with the door shut to limit the dust inside, then I opened it to get around the edges.  I finished up with a sanding block to get any remaining rough areas…

My tips for painting prep post-sanding are as follows…

1. Remove as much dust as possible from your surface with a Swiffer rag first.  This will prevent your final step (tack cloth) from getting gummed up faster than it needs to.

2. Clean all the dust around prior to painting.  Everywhere.  Shake out your drop cloths, vacuum loose dust.  Just get rid of it.  Fully clean prior to painting.  Nothing is more frustrating than applying your paint only to have a random gust of wind or someone messing with your drop cloth accidentally blow dust onto your finish.

3. Right before applying paint, use tack cloth to remove all remaining specks of dust and debris from your surface.  Tack cloth is magic stuff, my friends.   It’s sticky and gets up everything.  Keep a supply on hand.

After I’d completed all of the above steps, I applied another thin and even coat of paint to the door.   This time, I applied the paint and then used LONG strokes from the top of the door to the bottom to eliminate as many roller marks as possible.

The result was better but still not perfect…

…but at this point, I basically claimed defeat and decided to leave it.   I accepted that it would just have to be imperfect for the time being.   And I was at peace.

But alas, the paint gods laughed at me.

I left the door open for ELEVEN hours (I finished painting that last coat at 9:30 am, and finally closed the door at 8:30 pm).  And when I woke up the next morning, I opened the door (STTTTIIIIIIIIIIIIIIIIICCCCCKKKKK!!!!!! <- The door screaming at me).  Aaaaaaand small bits of paint came off around the edge of the door.  What the deuce???!!!   After all of the coats that I’d painted before (after which I’d only left the door open for 4-5 hours post-painting).  The paint DIDN’T BUDGE.  But after I finally was okay with leaving the door as is (and after I’d left it open for almost half a day), it stuck and I lost bits of paint.

Oy.  #morecookiesplease

So, I still need to paint another coat.

But in the meantime, the missing spots aren’t terribly obvious, so I’m gonna wait for my interior cheerleaders to reassemble and motivate me to repaint the door without crying.

And I’m gonna smile anyways and show you what I will call “after” pictures (as I listen to the smallest violin in the background).   First, though lets look at the doorway when we closed on the house.

Now, it looks like this…

Painted gate, new front door, neater courtyard.   Joey basically laid down cardboard to smother the weeds and then layered decomposed granite on top.   The fact that the painted door looks better here than it had, just tells you what it looked like before.   All in all, though, the courtyard is feeling more modern and much better kept.  Eventually I’ll add some potted plants and such to gussy it up and add some color and softness.

We found that random brick (next to the door) in the courtyard after we moved in.  It says “ST JOE” on it.   Clearly the yard knew he was comin’.  Haha! 😉 Sooner or later we’ll change out the lighting fixtures, but I’m being really picky since they’ll have to coordinate with the lanterns we choose.  And honestly, I’m fine with them until I find the perfect replacement.

The hardware is this exterior door set that I picked up from Home Depot….

It’s modern and sleek and everything that I wanted for our door.

A view of the outside of the courtyard….

232323232-fp83232-uqcshlukaxroqdfv34553-nu=3396-6-9--78-WSNRCG=3636;9-4-4346nu0mrj

I think one of the BEST things Joey could’ve done was add that rock border and the nandena bushes to soften up the front.  It’s so good.  I need to either paint or replace those lanterns since they now pale in comparison to the gate.   I was hands-down gonna paint them, but recently one stopped working.   If we can fix it, I’ll paint it, if not, we’ll have to replace them.  Like I mentioned before, we’ll eventually replace them anyways, but in the meantime they may as well look nice.

And now a before and current view of the house.  Here she is on closing day…

IMG_7156.jpg2

And now…

We’re working on getting the grass to green up and we have a bit of hedge-trimming in store, but aside from that, things are starting to coming together. The orange roof is even starting to look slightly less offensive.   It’s just amazing how the front door really makes such an impact.  It was exactly what this house needed, in my opinion.   I want to give the mailbox a little makeover with some of the charcoal paint (instead of that brown) to tie it in to the house, and the rotting wood shakes on top need to be replaced as well (I have some fun ideas for that). But these are relatively little things that we’ll knock out as we have the time.

So, that’s our exterior house update at this point.  Does anyone have any suggestions for getting that front door more uniform?  Since I have to do another coat anyways I’m open to all suggestions.

TDC Before and After