So, our little man turned 4 this week! And when it came to his cupcakes I wanted to do something a little special. Yup! You guessed it!! NINJA TURTLES!! Thisismylifelately.
Now, I must warn you. I couldn’t find my camera as I was making these. Go me, right? Lose your appendage, why don’t ya? So, this post is riddled with some not-so-great shots from my phone (pleasedontleaveme). Luckily, you still get the general idea of how to decorate these little guys, though. (P.S. I found my camera as I was cleaning the kitchen afterwards. It was on the counter.) ![]()
Anyways, as I was figuring out how I wanted to devise my cupcakes, I trolled Pinterest and the internet for ideas. Unfortunately, many of the ninja turtle cupcakes I found looked way too complicated for my taste ability. I mean, super cute, but way beyond my skill-set and time constraints. I’m talking detailed fondant with various layers, molded turtle heads, etc. So, my goal was a cute and simple ninja turtle cupcake that was quick to create.
With that in mind, I went to Walmart and spotted these eyeballs in the cake decorating section….

And the cables connected.
I purchased the following ingredients…

And got going. First, I simply baked vanilla and chocolate cupcakes from a box (They were the Betty Crocker Super Moist variety). And, well, if you’re friends with me on Facebook you already know this. For those who aren’t, allow me to share…

Yeah. Not my finest baking moment. Heehee! At least my cupcakes resembled frogs, though. Anyhoo, I couldn’t taste the cupcakes myself since they had gluten (I have celiac), so when Joey got home, I fed him about three of them to make sure that they were palatable. Luckily, he said that not only were they miraculously cooked through, they were actually really moist and delicious.
And I rejoiced.
So, with that bullet dodged, I began the frosting process by mixing this green coloring gel into my fluffy white frosting to get a rich green tone….
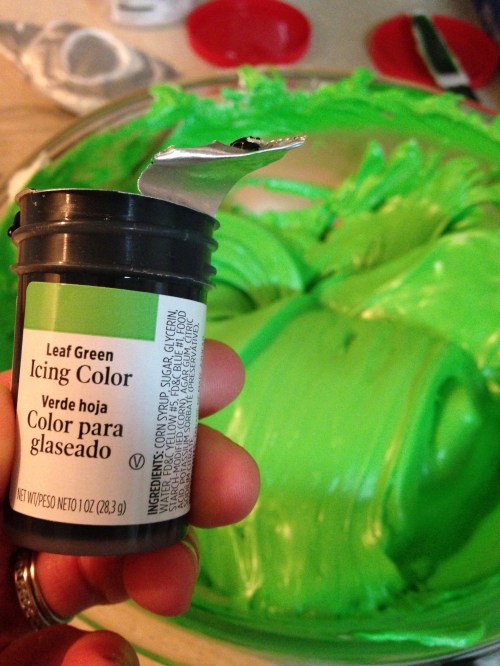
I really prefer the coloring gels for frosting because they allow you to obtain a rich, bright color without watering down the frosting like liquid food dyes can. I piped the frosting onto the cupcakes using an extra large round tip so that the frosting was relatively smooth. I used the same simple piping method that I described in detail in this post from last year.
Once the frosting was piped on, I attached a flat piping tip directly to the tubes of colored frosting that I’d purchased…
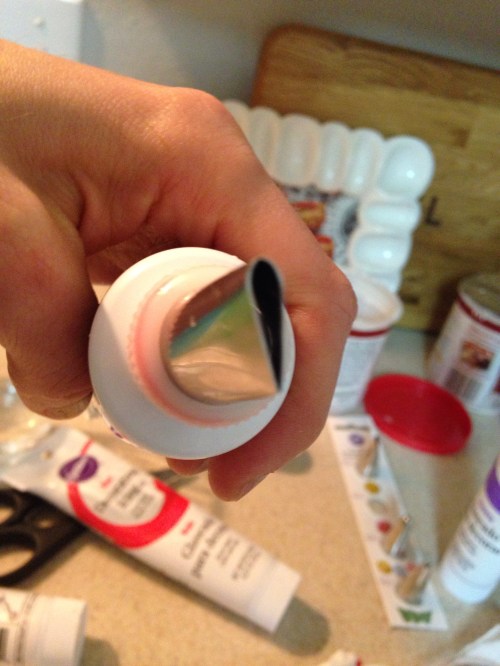
You guys. I’m so excited that I found these!! They make decorating a breeze since I no longer have to mix five different colors to acheive my desired effect. And since they’re in a capped tube, you can store and reuse them over and over. Woot!
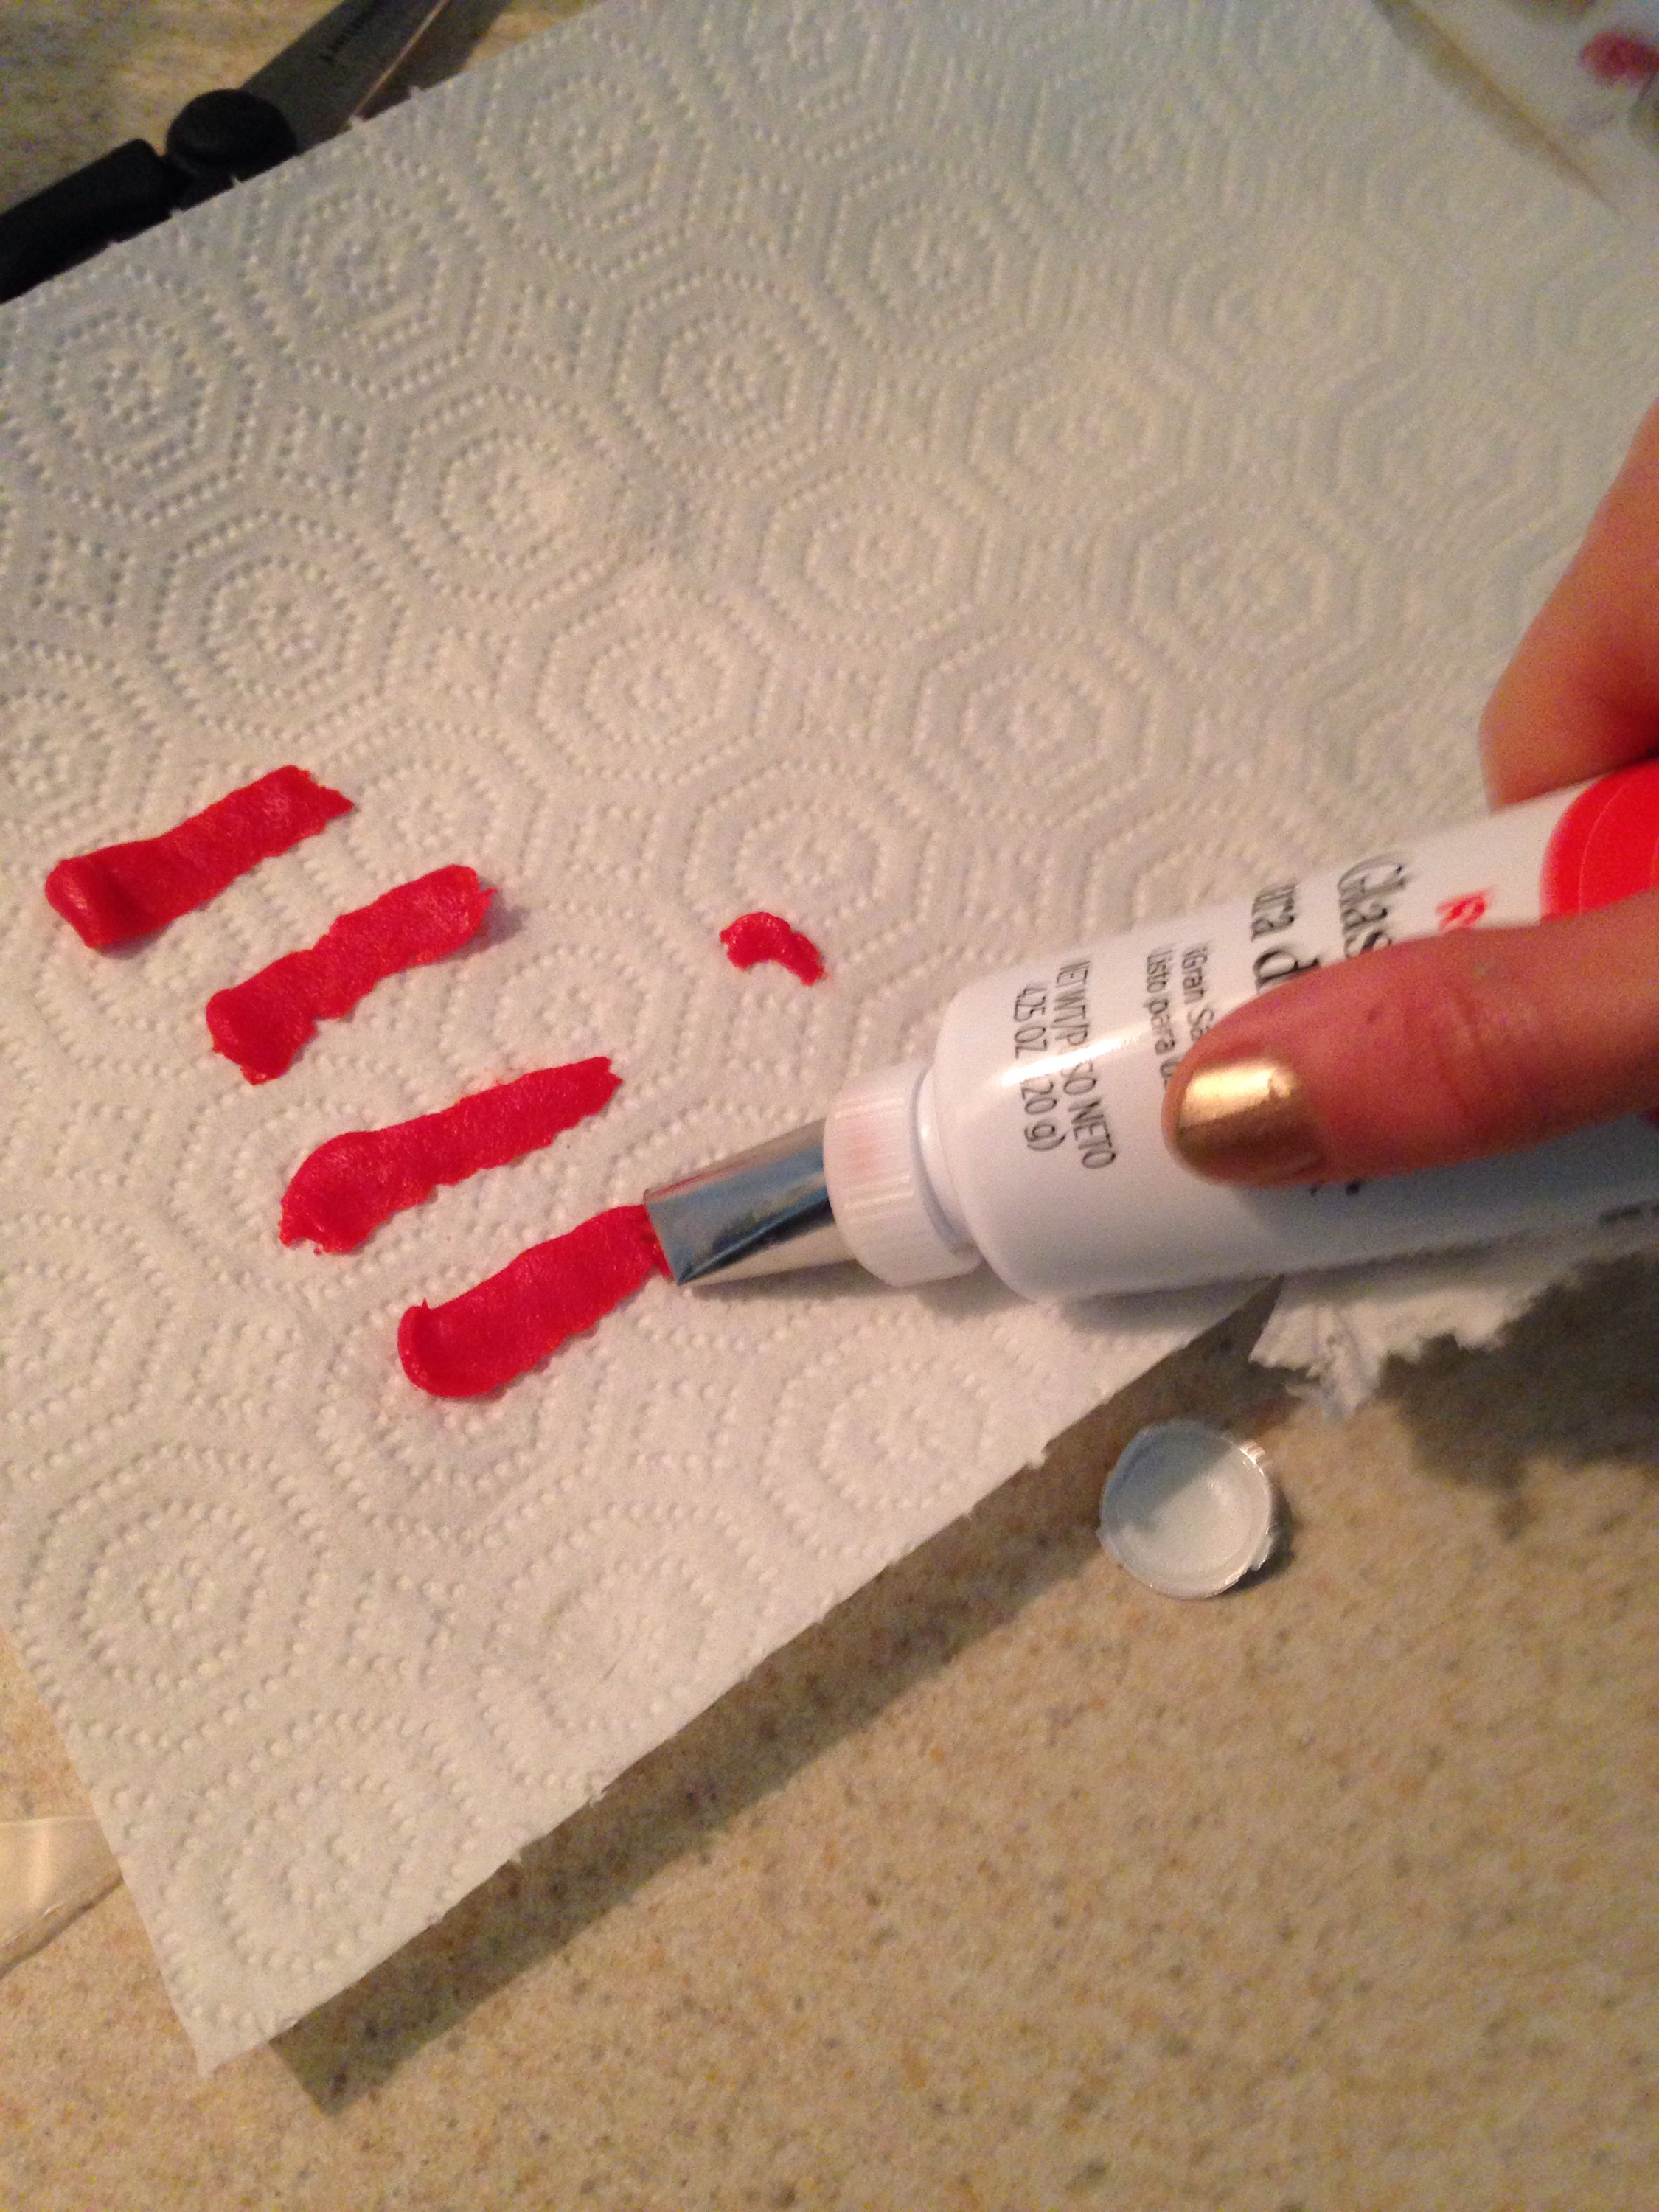
I wanted to to use these to create my ninja turtle masks by simply adding one stripe across each cupcake. I practiced first on a paper towel to perfect my technique as well as rid the tube of air bubbles…
Then, I applied my stripes to the cupcakes and added my candy eyeballs….

Heehee! He makes me smile. I repeated the process with all the different colors so that all the ninja turtles were represented…

And Lucas loved them….
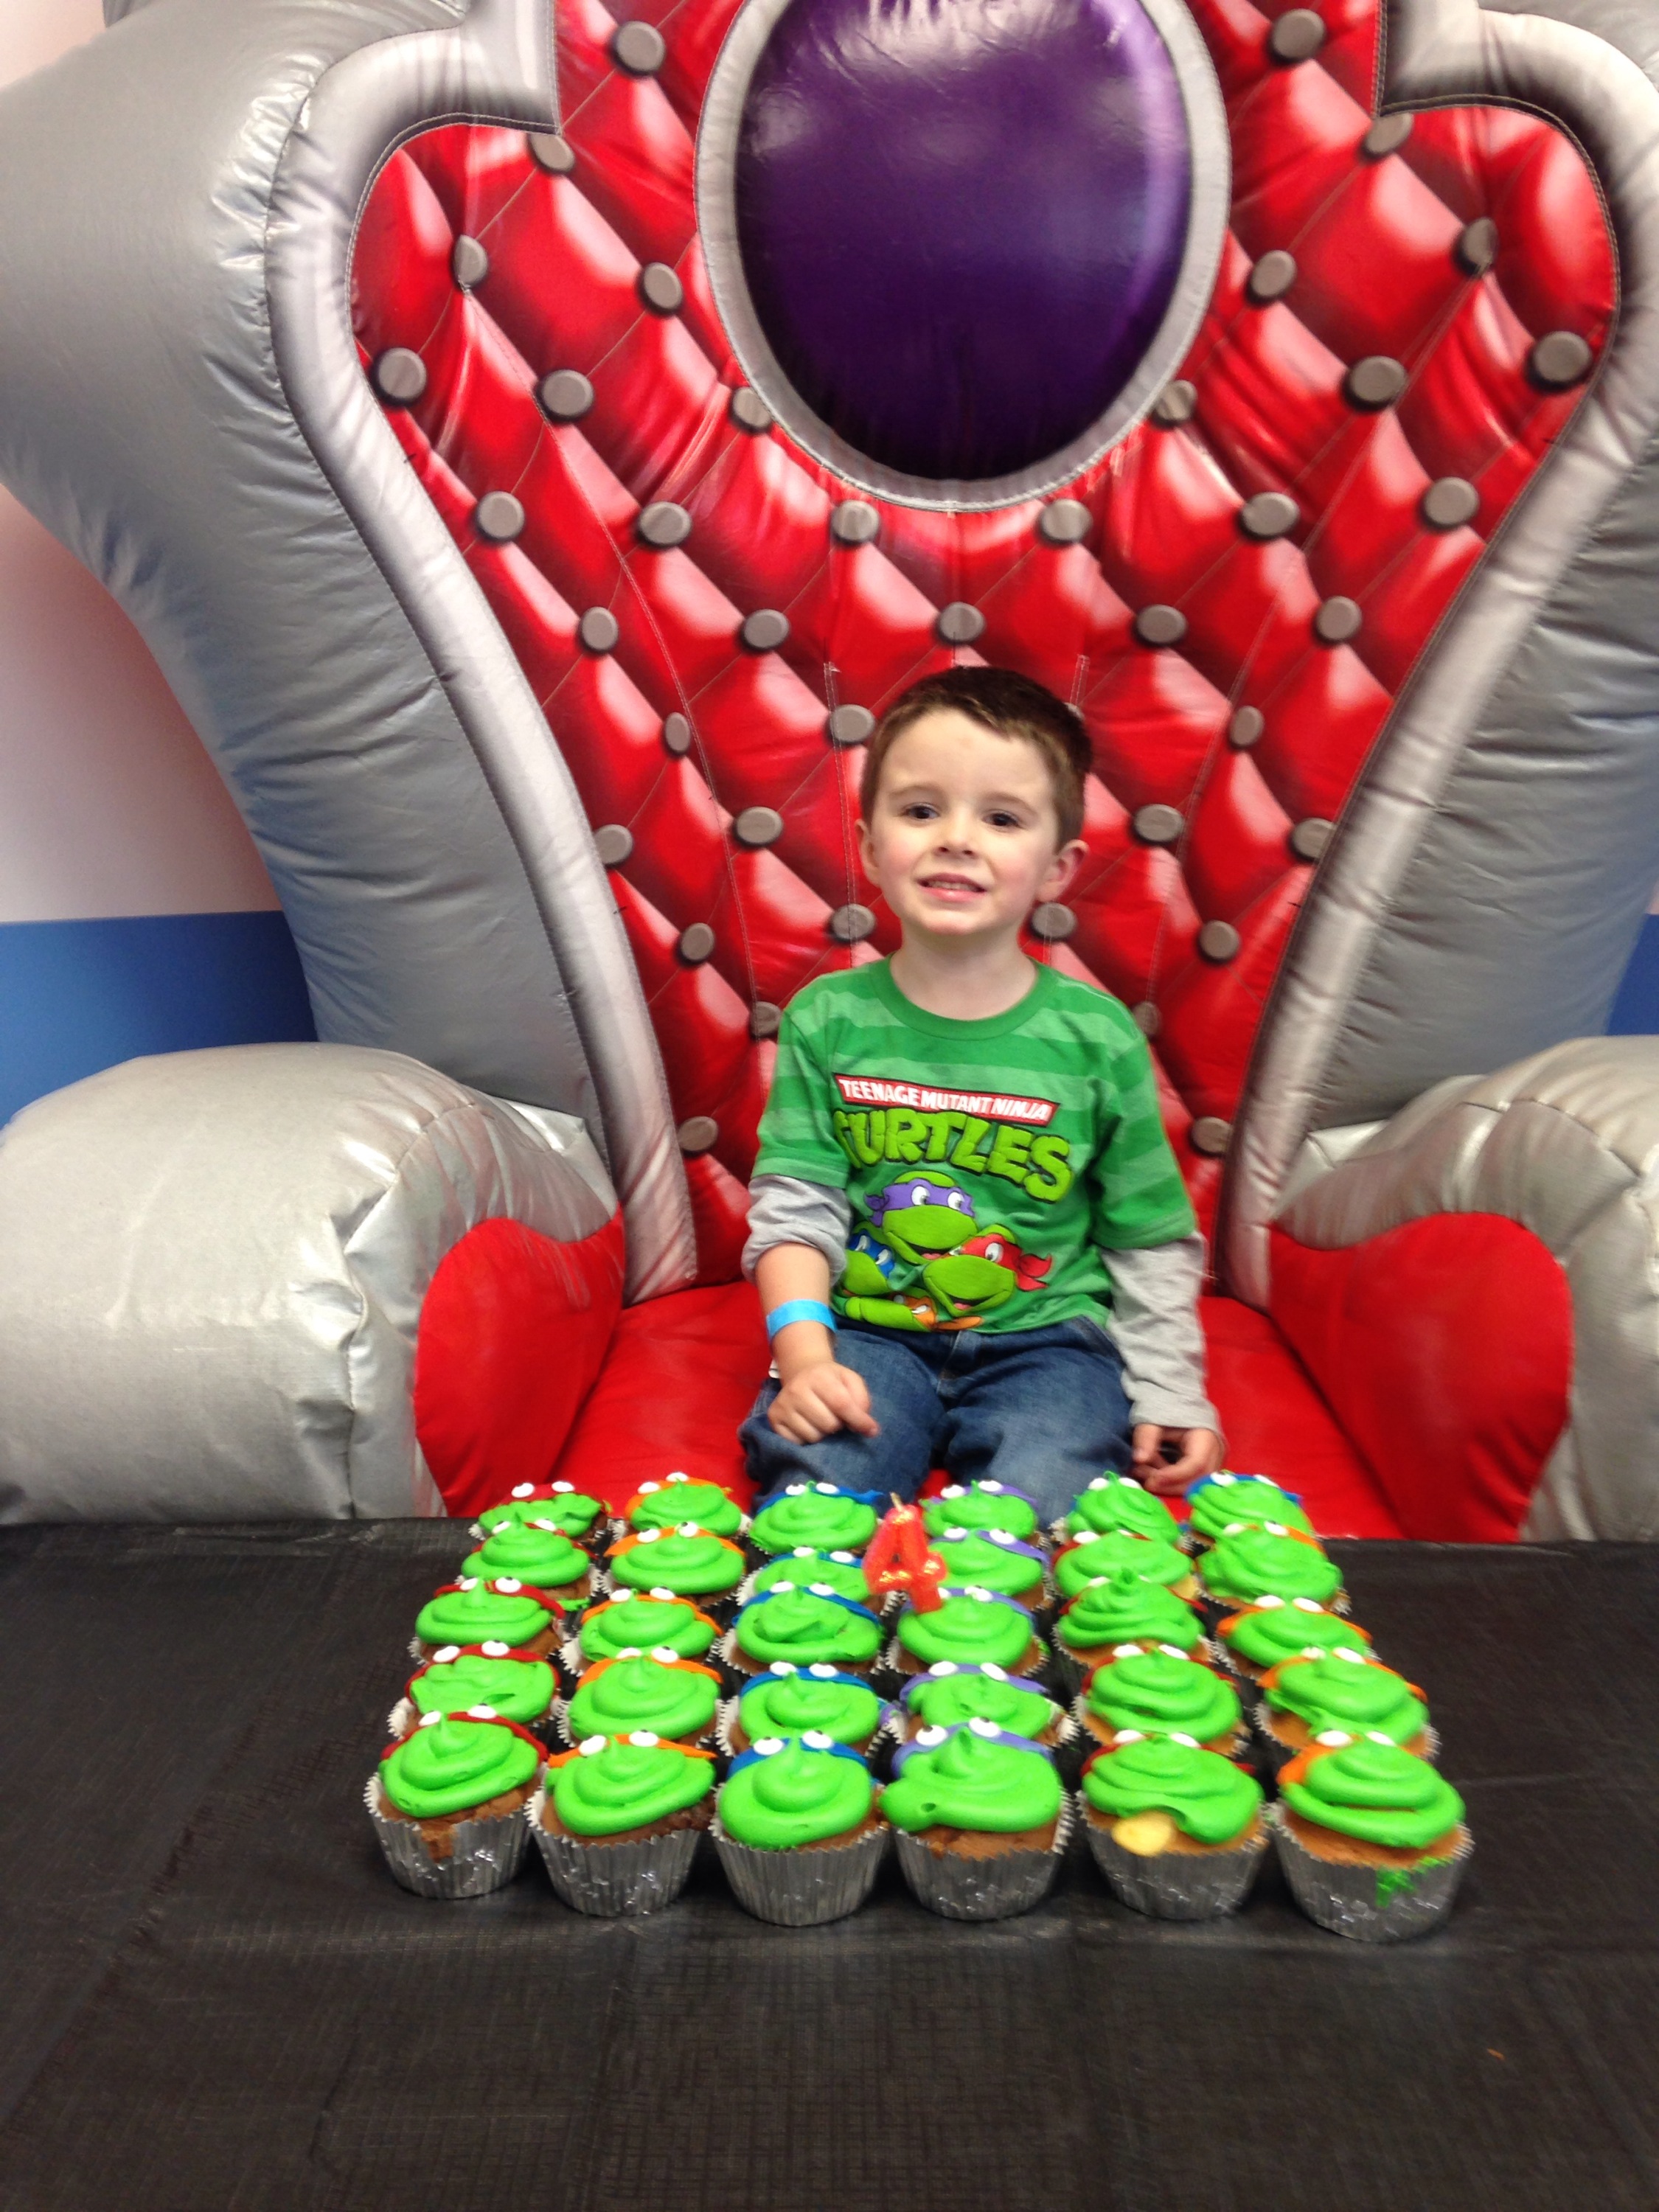
And I mean, REALLY loved them….
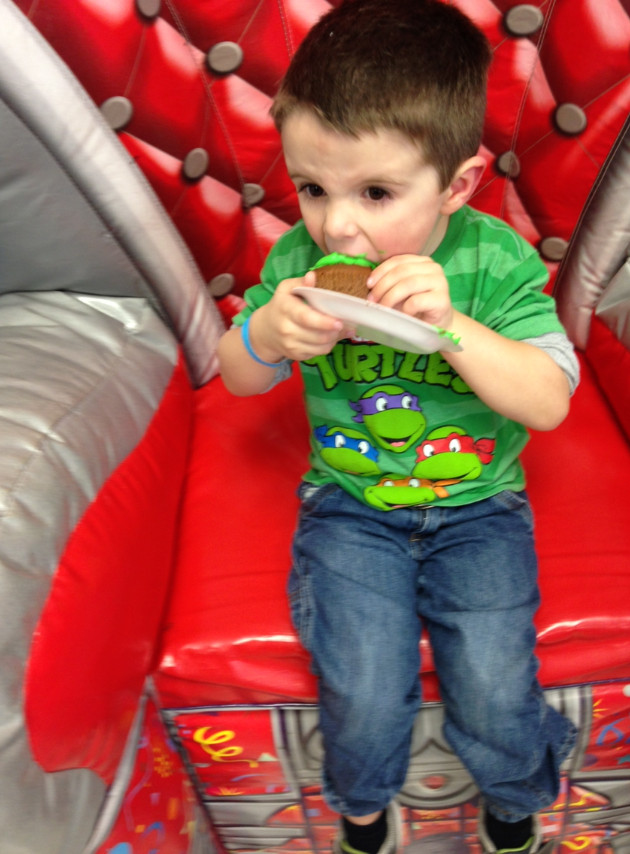
Check out the determination on his face!! He was taking that cupcake DOWN like a BOSS. Sorry cupcake, your life-saving pleas mean nothing here. You do not stand a chance. 😉
So, anyways, these were super easy to make (I think decorating them all took me maybe 15-20 minutes, tops, from start to finish) and I’d gladly make them again. So, with that, we wish our baby big boy a happy birthday and a brilliant 4th year. 🙂

