Hey guys! First off, I’d happily like to announce that I’ve finally joined the land of the (social media) living! As in, after nine months of blogging I’ve finally opened a Facebook page for Operation Home. Woo-Hoo! Here’s the link if you’d like to check it out (or you can click on my handy-dandy new Facebook icon right over in the sidebar). I’d love for you to “like” my page and share it if you enjoy what you see on my humble little blog. So, thanks a bunch! I can’t tell you how much I appreciate you guys! 🙂
So, now onto lighting. The next step in our foyer makeover. So far we’ve traded out our shabby old rug for a round jute beauty, and completely revamped our cabinets, which transformed this…

To this…

Now to address El Boob Light….

Honestly, I wasn’t planning on changing out lighting just yet. I’d been working on some other stuff that I called priority (which you’ll see eventually). But the other day, as I sat outside on our back porch, staring at this…

…a bamboo lantern that I got on clearance from Target about a year ago, it hit me. LIGHTING FIXTURE!!!!!!
I ran inside at lightning speed and got to work as only I do when struck by sudden inspiration. First, I removed the glass candle insert and the handle from the lantern, just to be sure that I could. It was easy, peasy, so I moved onto our existing light fixture. I simply removed the glass shade…
Which left this…
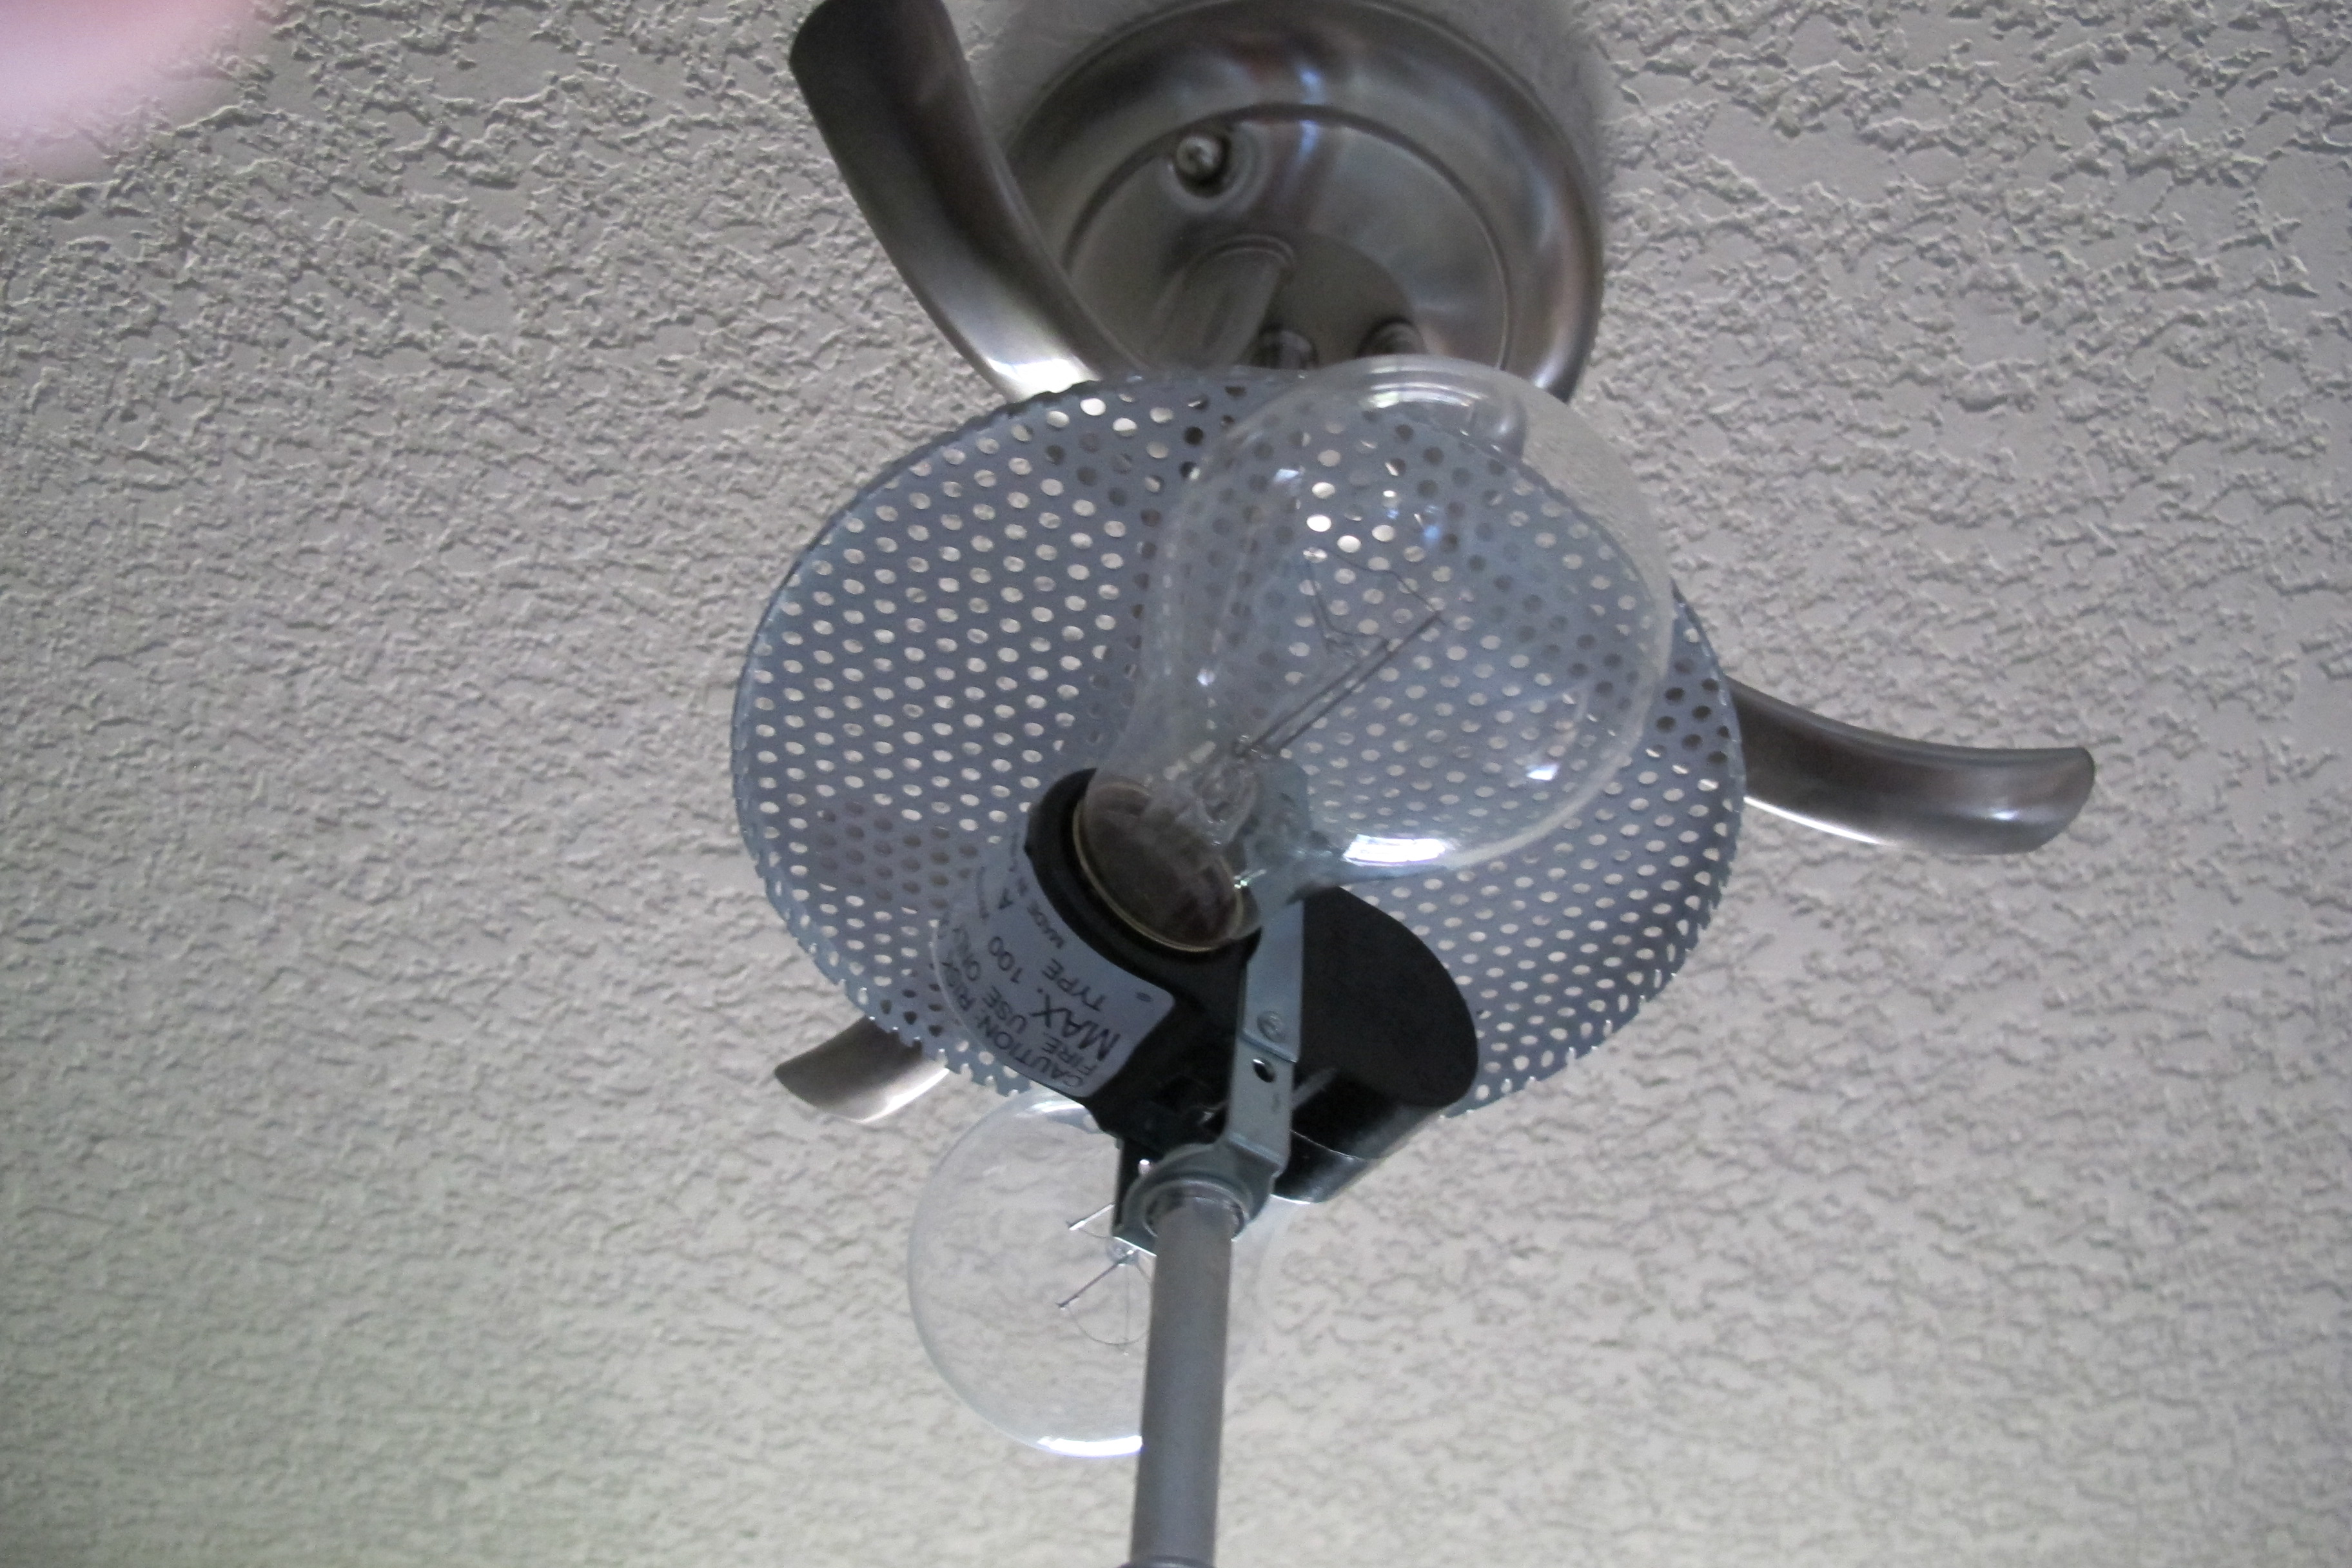
I stared at it for a while as I decided how to proceed. I tried to simply slip the lantern over the three arms as is, just to see, but that didn’t work. So, for the first time in my life, I manned up, turned off the power, and removed the fixture. All. By. Myself.

That’s right. I totally told that guy who’s boss.
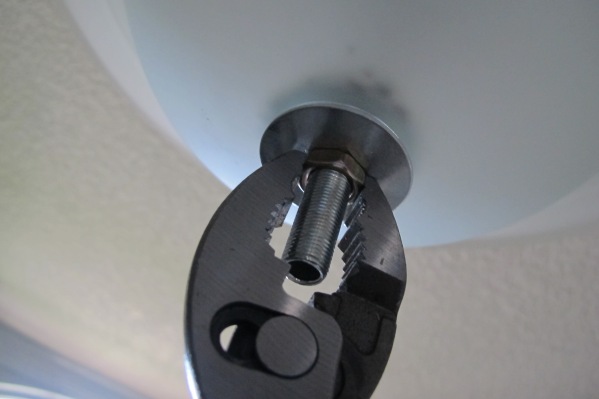
Next, I wanted to remove the circular disk from above the bulbs, so I disassembled the fixture to do so.
My initial idea was to slip the disk through the cage in the lantern to secure it to the fixture. Unfortunately, the disk was a bit too big…
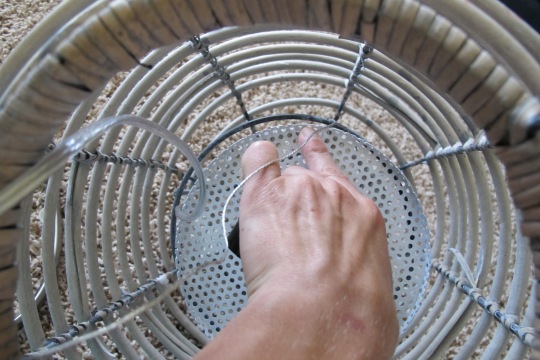
Next, I tried to slip the lantern over the three curved arms, thinking that they could act as hooks to hold the lantern in place. It was also a no-go. Then, I realized that I could remove said arms…

I figured that I could remove them, thread them through the lantern and then screw them back in. But the only way that I could keep the lantern centered in doing so was to thread the arms through the open end of the lantern. Which meant that to change out the light bulbs, I’d have to completely remove and disassemble the fixture. Nope! Wrongo. Not happening.
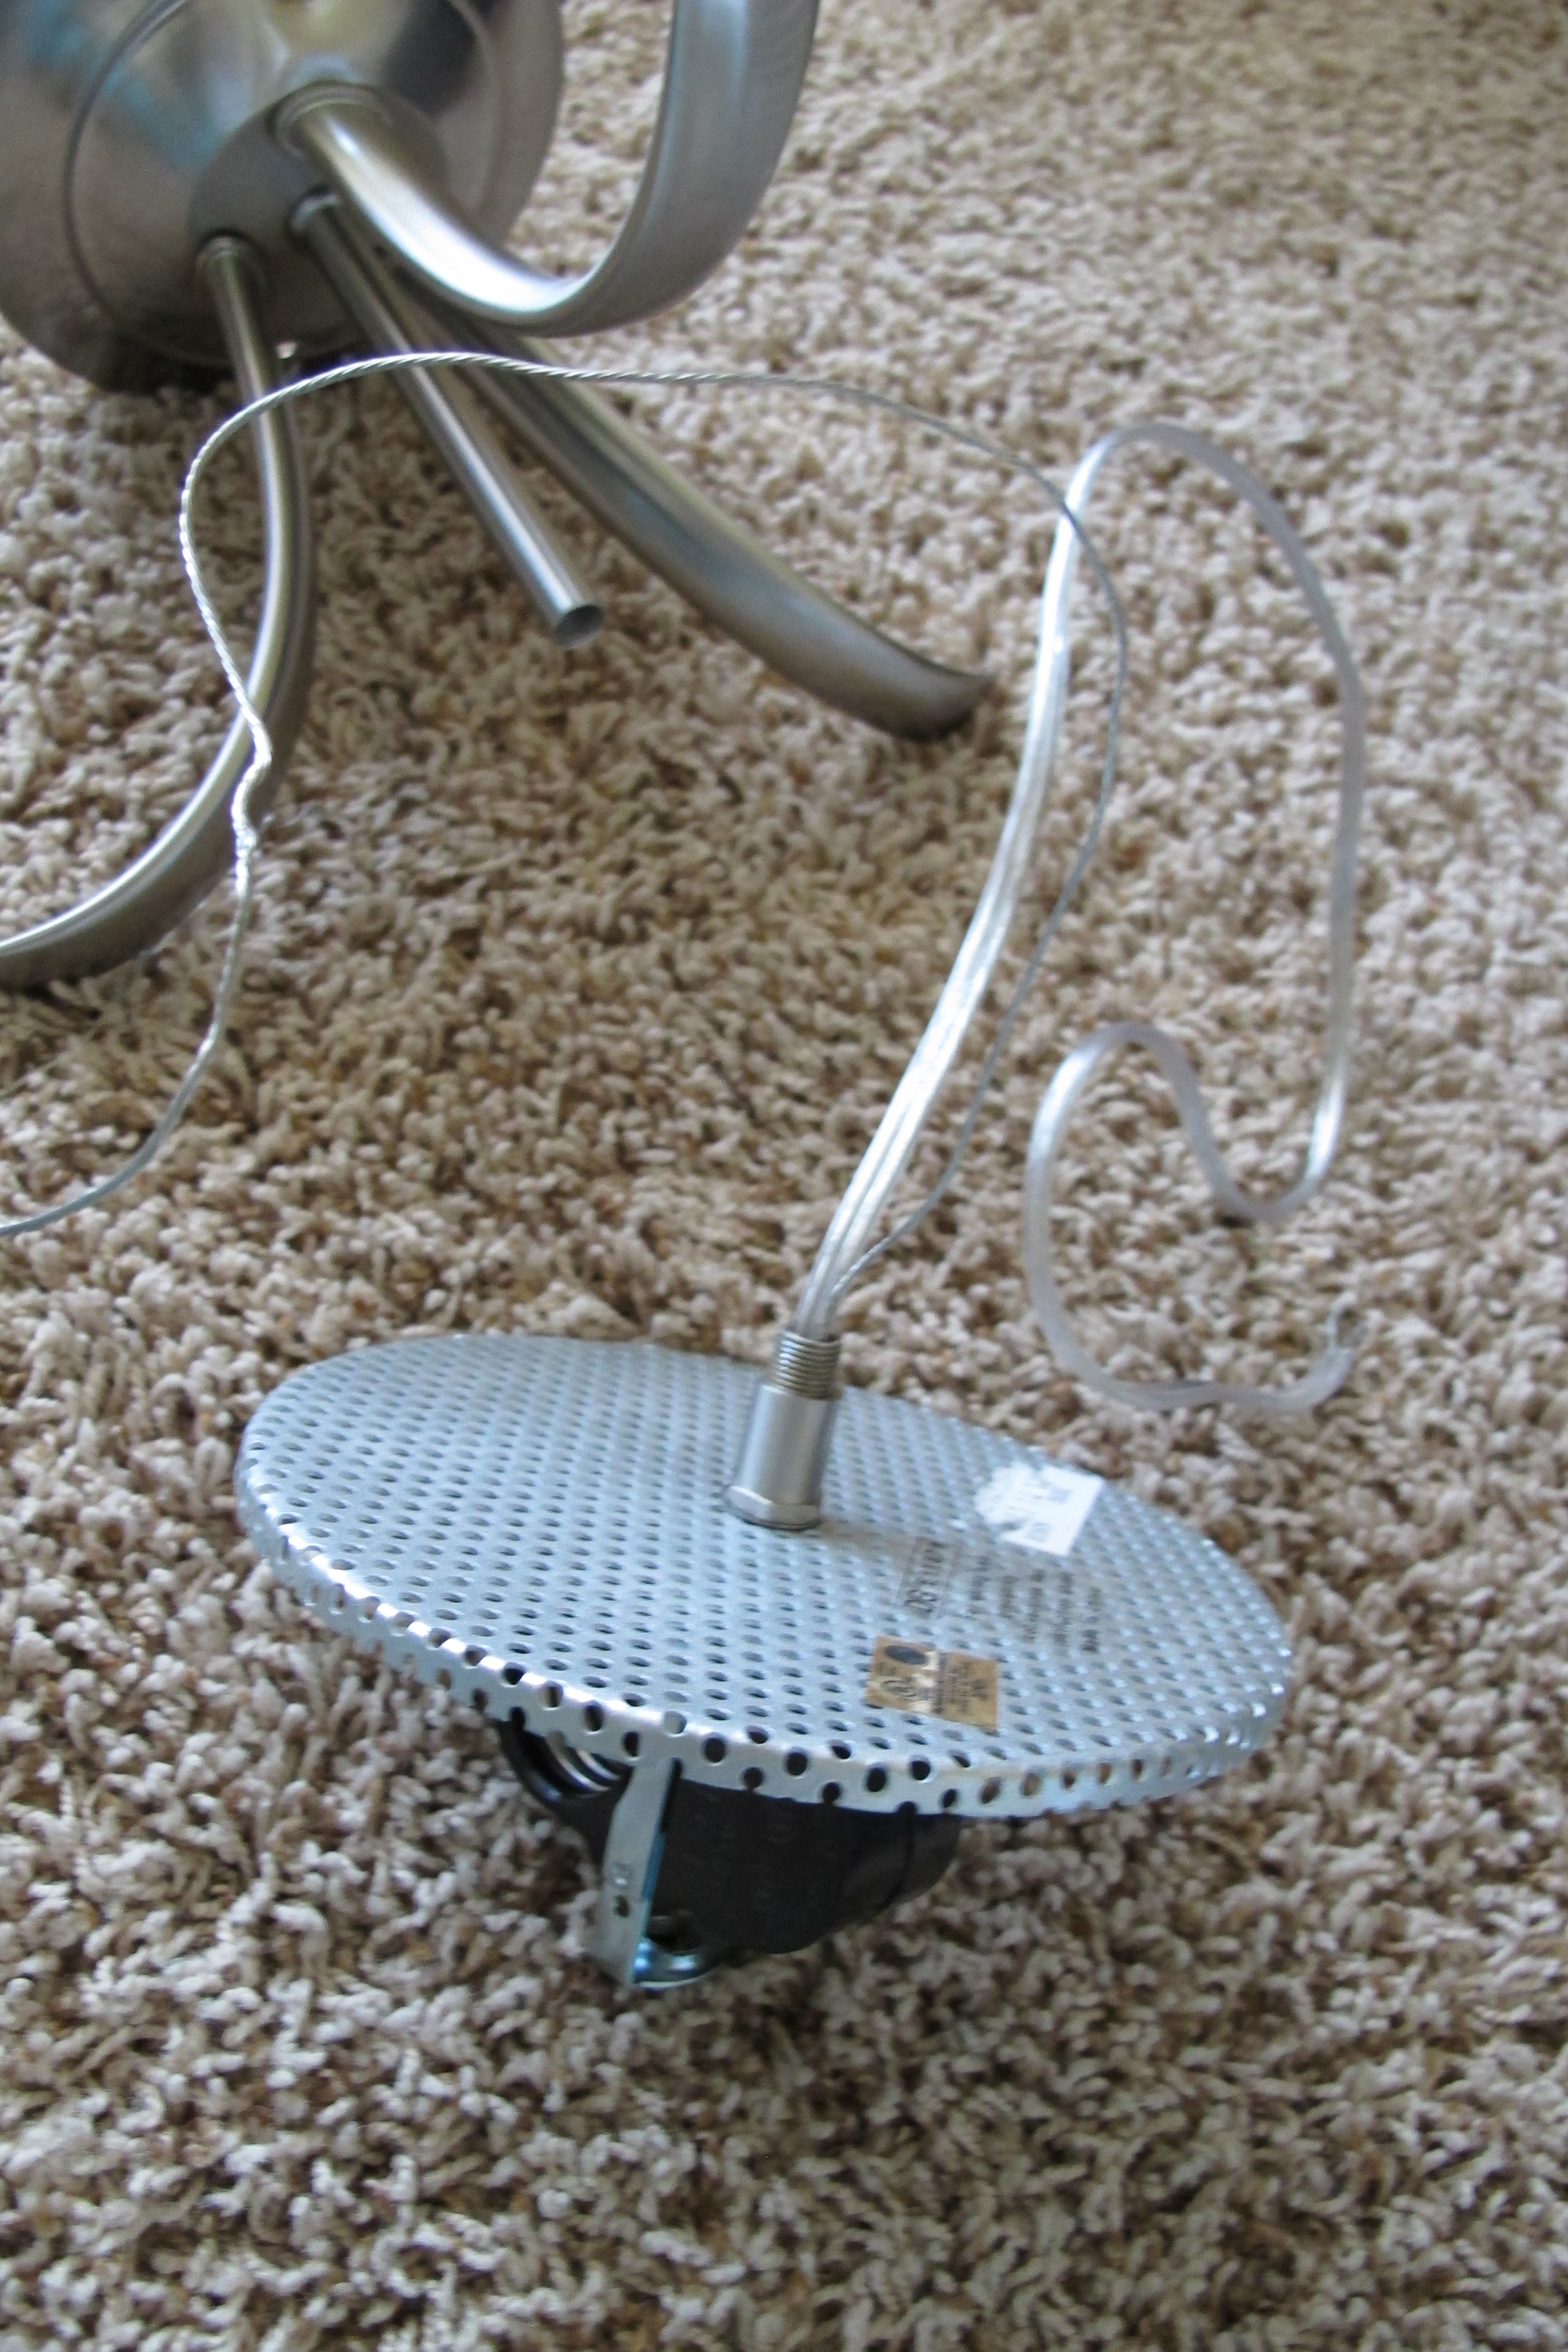
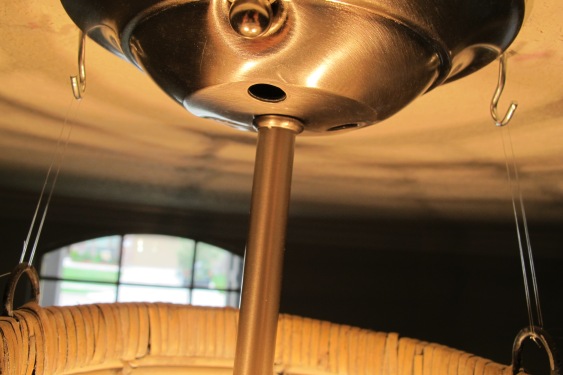
So, I decided to just completely strip down the fixture to its simplest form and then suspend the lantern from the ceiling rather than from the fixture.

You can see that I removed the three arms leaving holes in the ceiling plate. Joey assured me that we would not be invaded by rabid spiders in doing so. I really hope that I believe him.
Anyways, next I needed to decide how to hang the lantern. After tossing around a few options, I decided that installing hooks into the ceiling and hanging the lantern via string was the way to go. This way, whenever we needed to change out the light bulbs the lantern would be easily removable. So, I purchased these…

…for around 5 bucks total. I chose the smallest hooks I could find that still looked like they’d hold the lantern securely. Fortunately, the lantern is pretty lightweight. I installed the hooks very close to the ceiling plate to give the illusion that they were part of the fixture (or at least to help them blend in a bit more). And then I used fishing line to secure the lantern in place…
Excuse the pink smudges. I had just spackled.
Anyways, the hooks work really well, but I’ll probably still keep a casual eye out for smaller ones to switch to to make them even less obvious. I also went ahead and changed to smaller 60 watt bulbs to allow more clearance from the wood. As of now, there’s a good three inches of space between the bulbs and lantern.
And, here’s the final product…
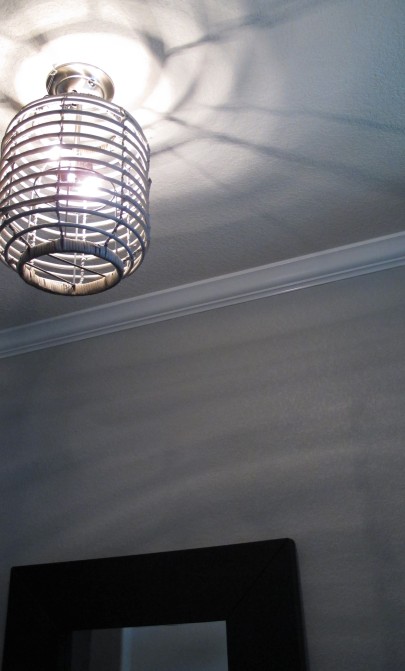


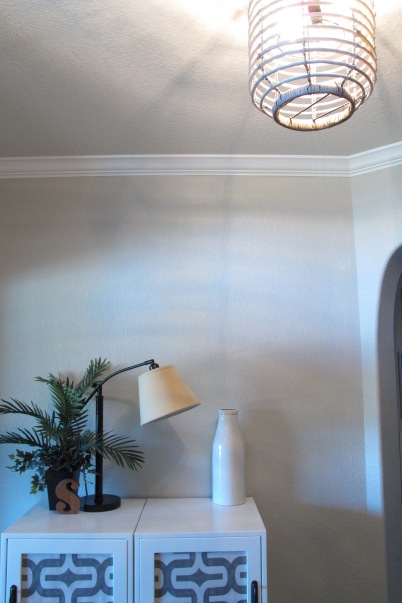
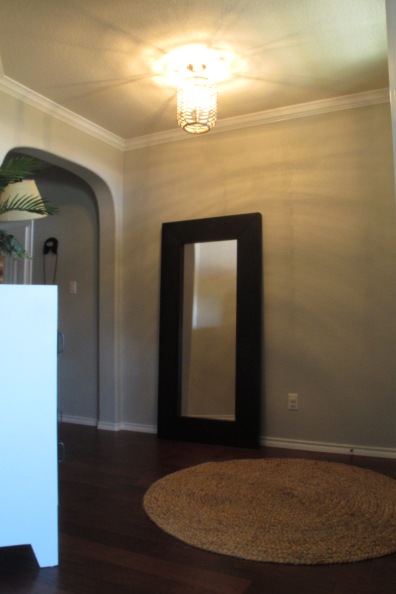
I’m really loving how the fixture turned out. It makes such a difference in the feeling of the foyer. I love the rustic, graphic punch of fun that it delivers. It compliments the jute rug nicely and adds some organic curviness and interest. And you can’t beat the price. The lantern originally cost me around $15 when I purchased it a year ago. And the hooks and fishing line were five bucks. So, twenty dollars total. Plus, I now possess the knowledge that I can change a light fixture. By.Myself. Which is priceless. And possibly dangerous since now I want to change THEM ALL. (Heehee!! Mischeivously rubs hands together)
So, what kind of projects do you have going on right now? Any DIY light fixtures happening in your neck of the woods?

Linking up at:
My Pinterventures Merry Monday link Party
Tatortots and Jello Link Party
Natasha in Oz Link party
A Bowl Full Of Lemons Link Party!
Home Stories A to Z Tutorials and Tips Link Party!


What a fun transformation! And congrats on creating your Facebook page!!! How exciting 🙂
Thanks, Tanisha! I just hope I’m doing it right! Haha! I’m kind of a slow technology person, so the whole FB page thing is totally new to me.:)
Wow, so creative!! I loooove the way it turned out!
This is SO awesome! LOVE it!!! On my way over to your facebook page now 🙂
Haha! Yay! Thanks, Kristi!! 🙂
Now , you are so clever! That shade looks amazing. I can’t believe did that by yourself! Well done you!
I would be thrilled if you could share this post at my weekly Say G’day Saturday linky party. It has just started and this would be a brilliant addition.
Best wishes for a great weekend,
Natasha in Oz
Hi Natasha! Thank you so much! I’d be happy to participate! 🙂
Love this! Thanks for sharing at Link’n Blogs. I shared your post on Google+
https://plus.google.com/104337521292914098237/posts/UKxhu5Ukfbv
xo
Daniela
Put A Bird On It
Yay!!!! I’m so glad you liked it and so absolutely flattered that you shared!!! Thanks so much!! 🙂
Holy Smokes that looks fabulous! Found your blog through G’Day Saturday and would love for you to link up to Merry Monday Link Party – it starts at 9pm PST till Thurs.
Thanks, Erlene! See ya then! 🙂
Thank you for sharing this on Merry Monday. Can’t wait to see what else you’ve been working on this week.
I like how your DIY lighting came out! I want to replace the lighting in my home’s laundry room, but don’t want to pay a lot of $ — maybe I will try your project!
Thanks, Lauren!! I’d love to see the results if you do! 🙂
Wow, I love this. Looks great!
Thanks, Jessie!!! 🙂