Hey, Pumpkin! No, I Lucas.

…this is a daily conversation in our house. Lucas dislikes nicknames and for whatever reason my first instinct is to call him “Pumpkin”. Not sure why. It just comes out. And he corrects me with his given name every time.  I just love that kid.  Anyways, speaking of pumpkins, we bought a few this weekend at a local pumpkin patch.

As we were leaving, Lucas swooped in like a superhero, grabbed the cart from me and stated “I’ll take care of that!”…

IMG_1912

Such a little man.   🙂

When it came to decorating the pumpkins, we decided not to carve them this year since they go rotten so fast (at least ours always have) and the thought of Lucas wielding paints almost caused my brain to short out.  Upon inspecting my craft box, I came across a jar of Mod Podge that had been long since neglected. Perfect! I raided our stash of tissue paper and came up with red, orange, green and pink. Pink made the cut because of Lucas. Occasionally, we’ll be sitting in silence and he’ll randomly state “I like pink.” You can tell he’d been thinking quite intensely about it. And it cracks me up every time.

I decided that we needed some bat silhouettes for a Halloweeny vibe, so I folded the tissue paper into small squares, then folded that in half. I googled “bat sillohuette” and chose a pic I liked, then I sketched half of the bat on the paper right along the fold. Like, so….

IMG_1914

I cut it out with scissors, unfolded it and behold! I was left with many symmetrical bats.

IMG_1915

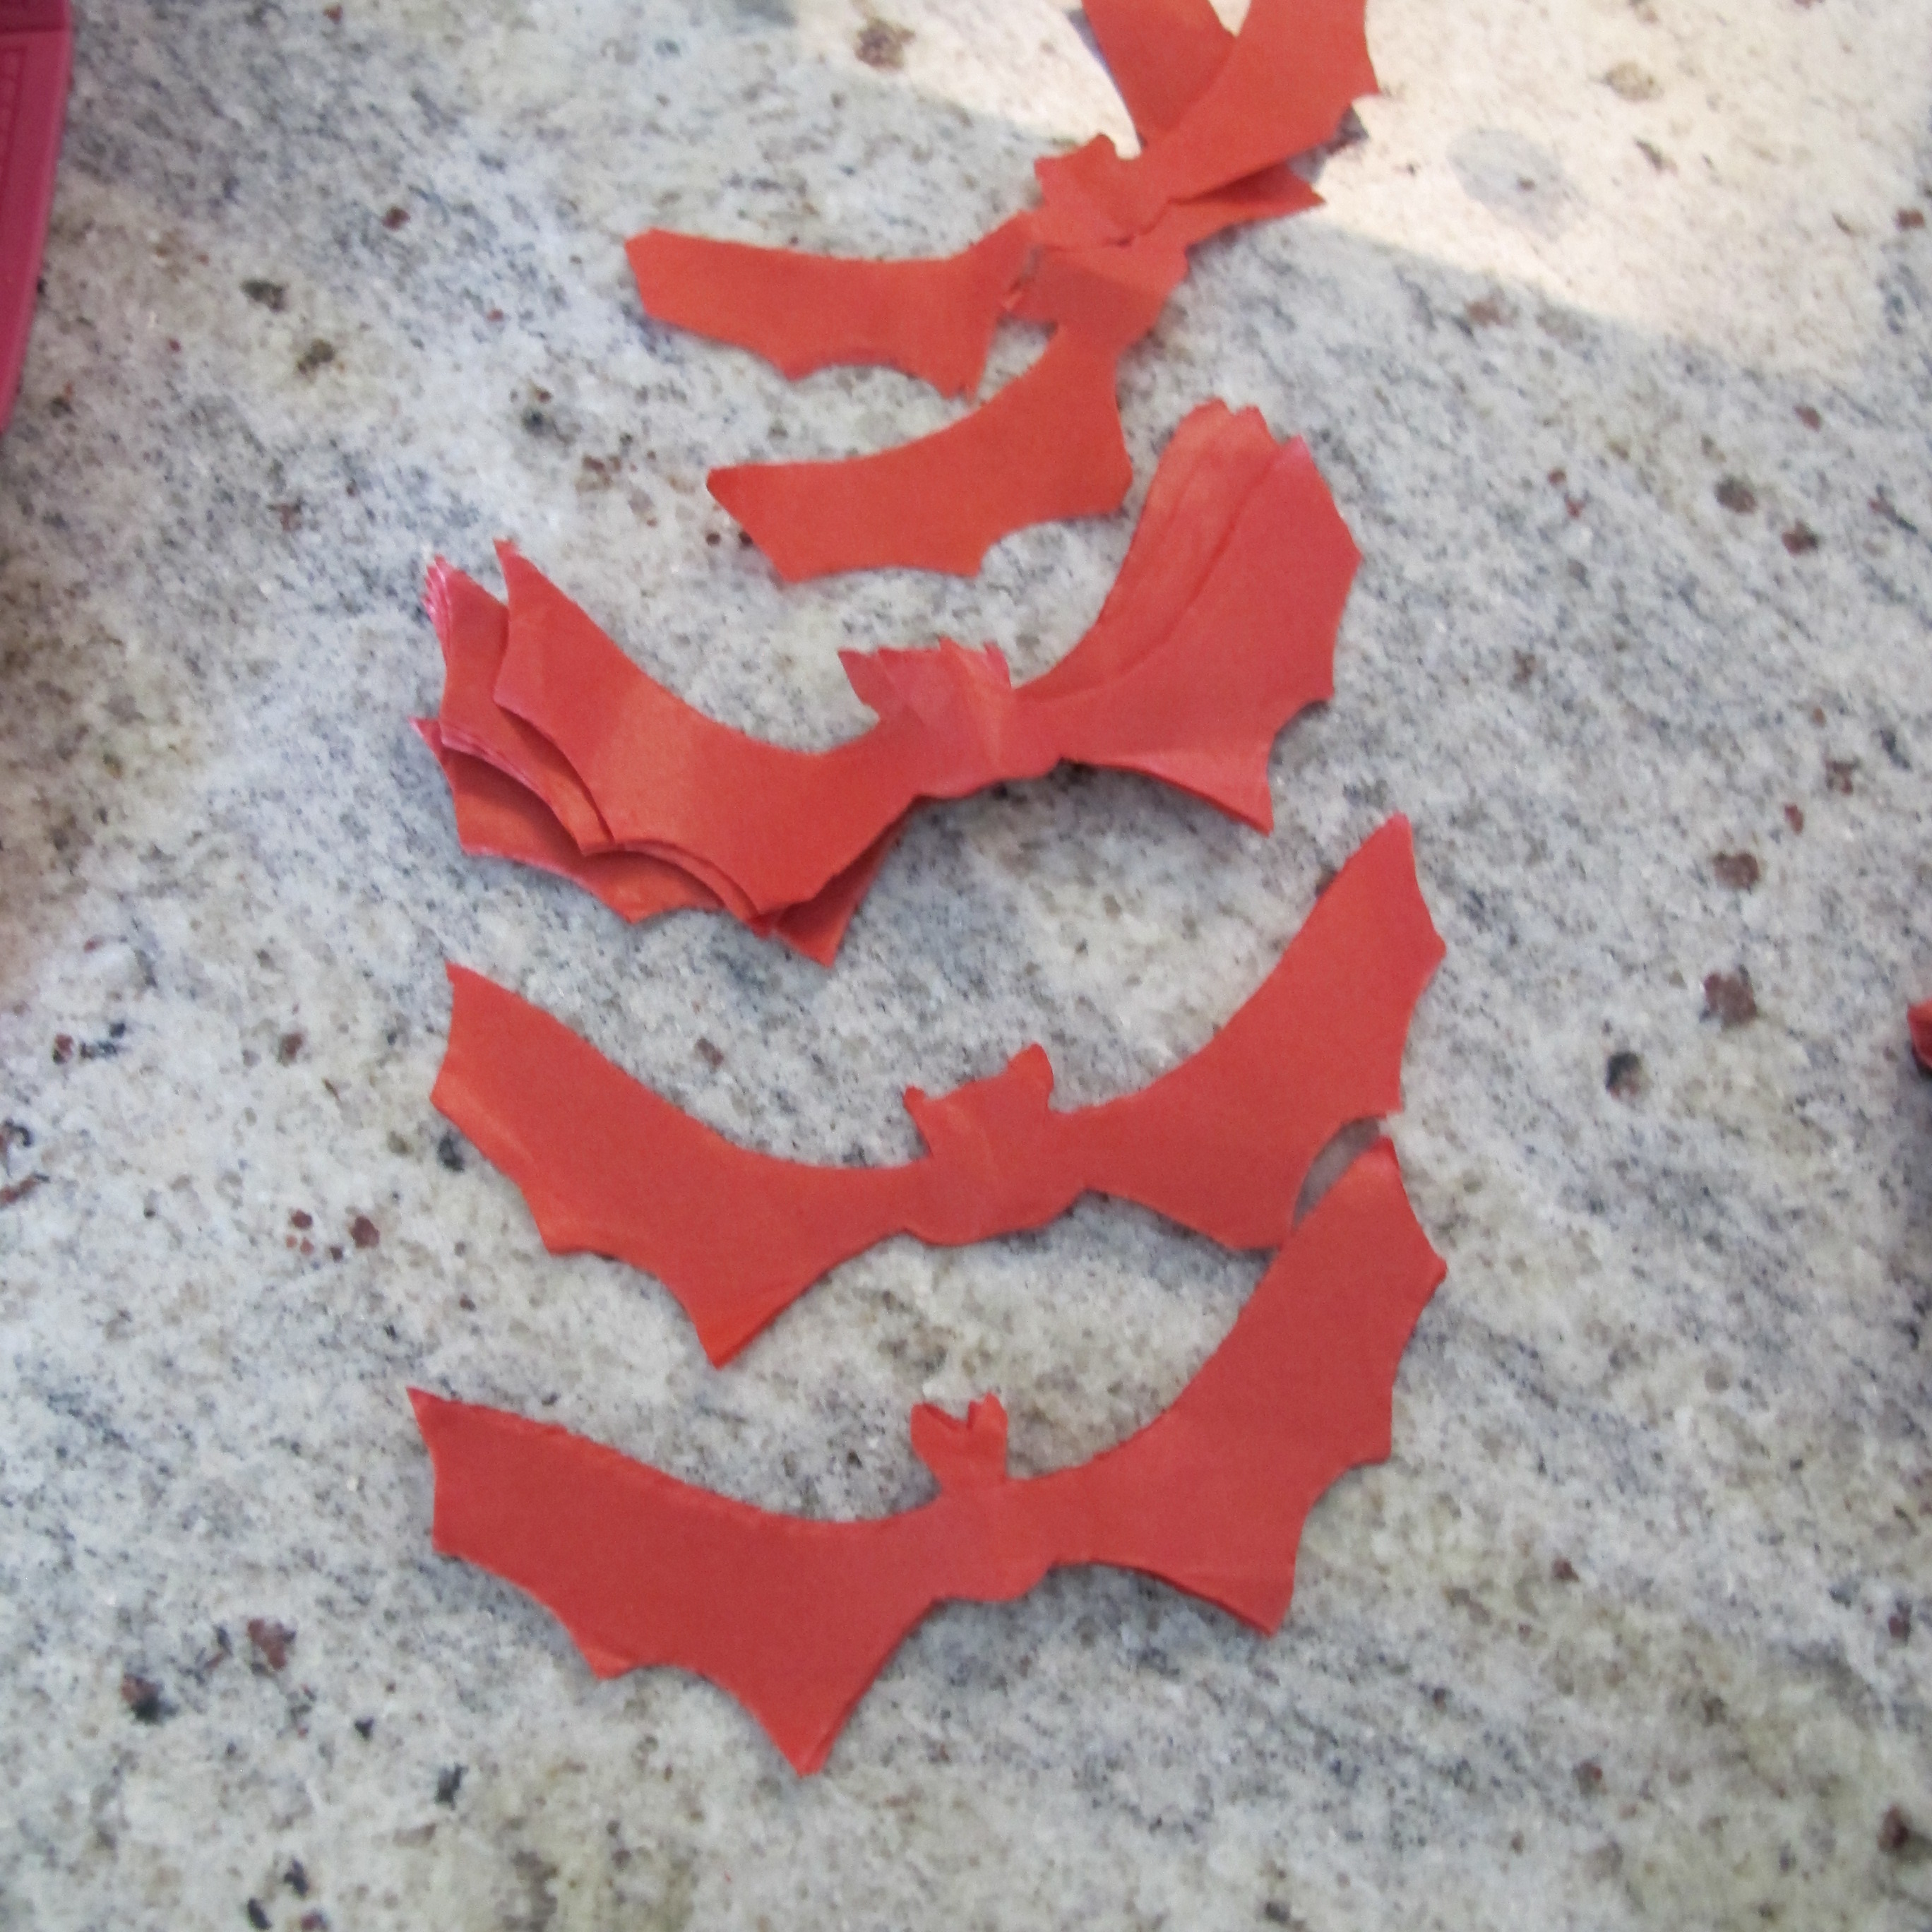
I did larger bats in green and smaller ones in red. Then, I cut out circles and triangles with the other colors.

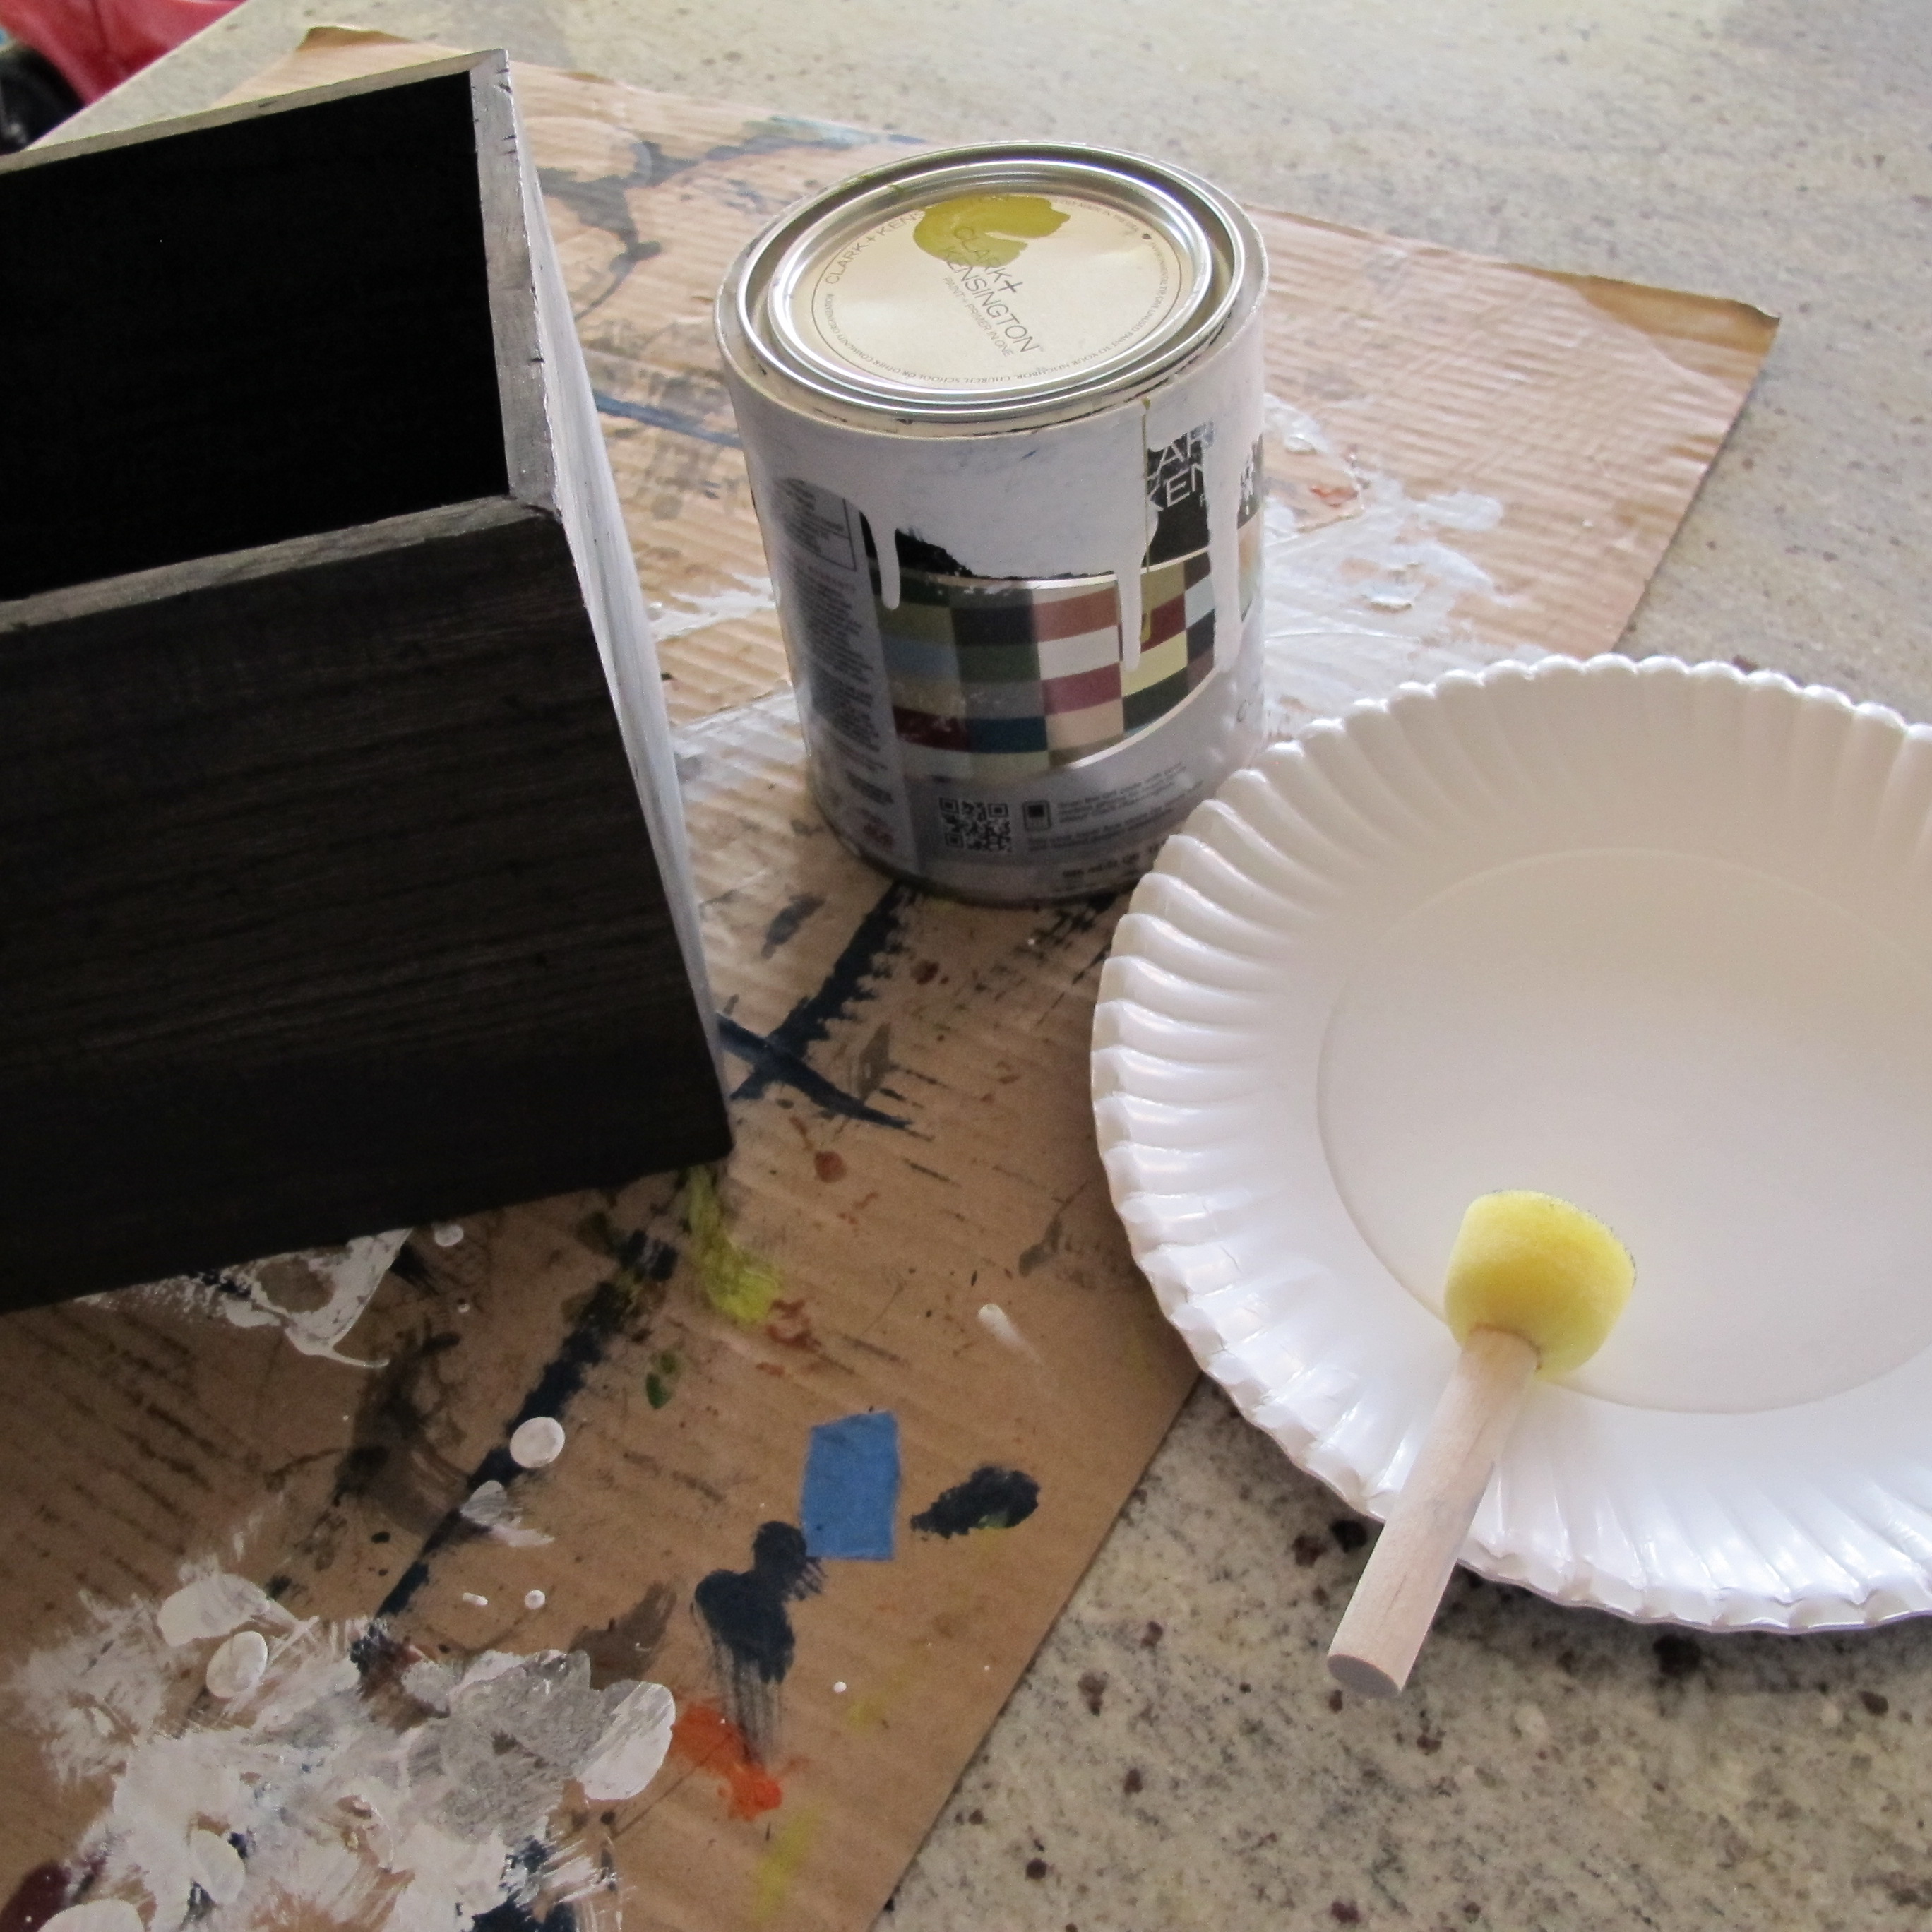
I set up our supplies…..

IMG_1917

Then, we got to work. We used foam brushes to smear the Mod Podge on the pumpkin,

IMG_1918

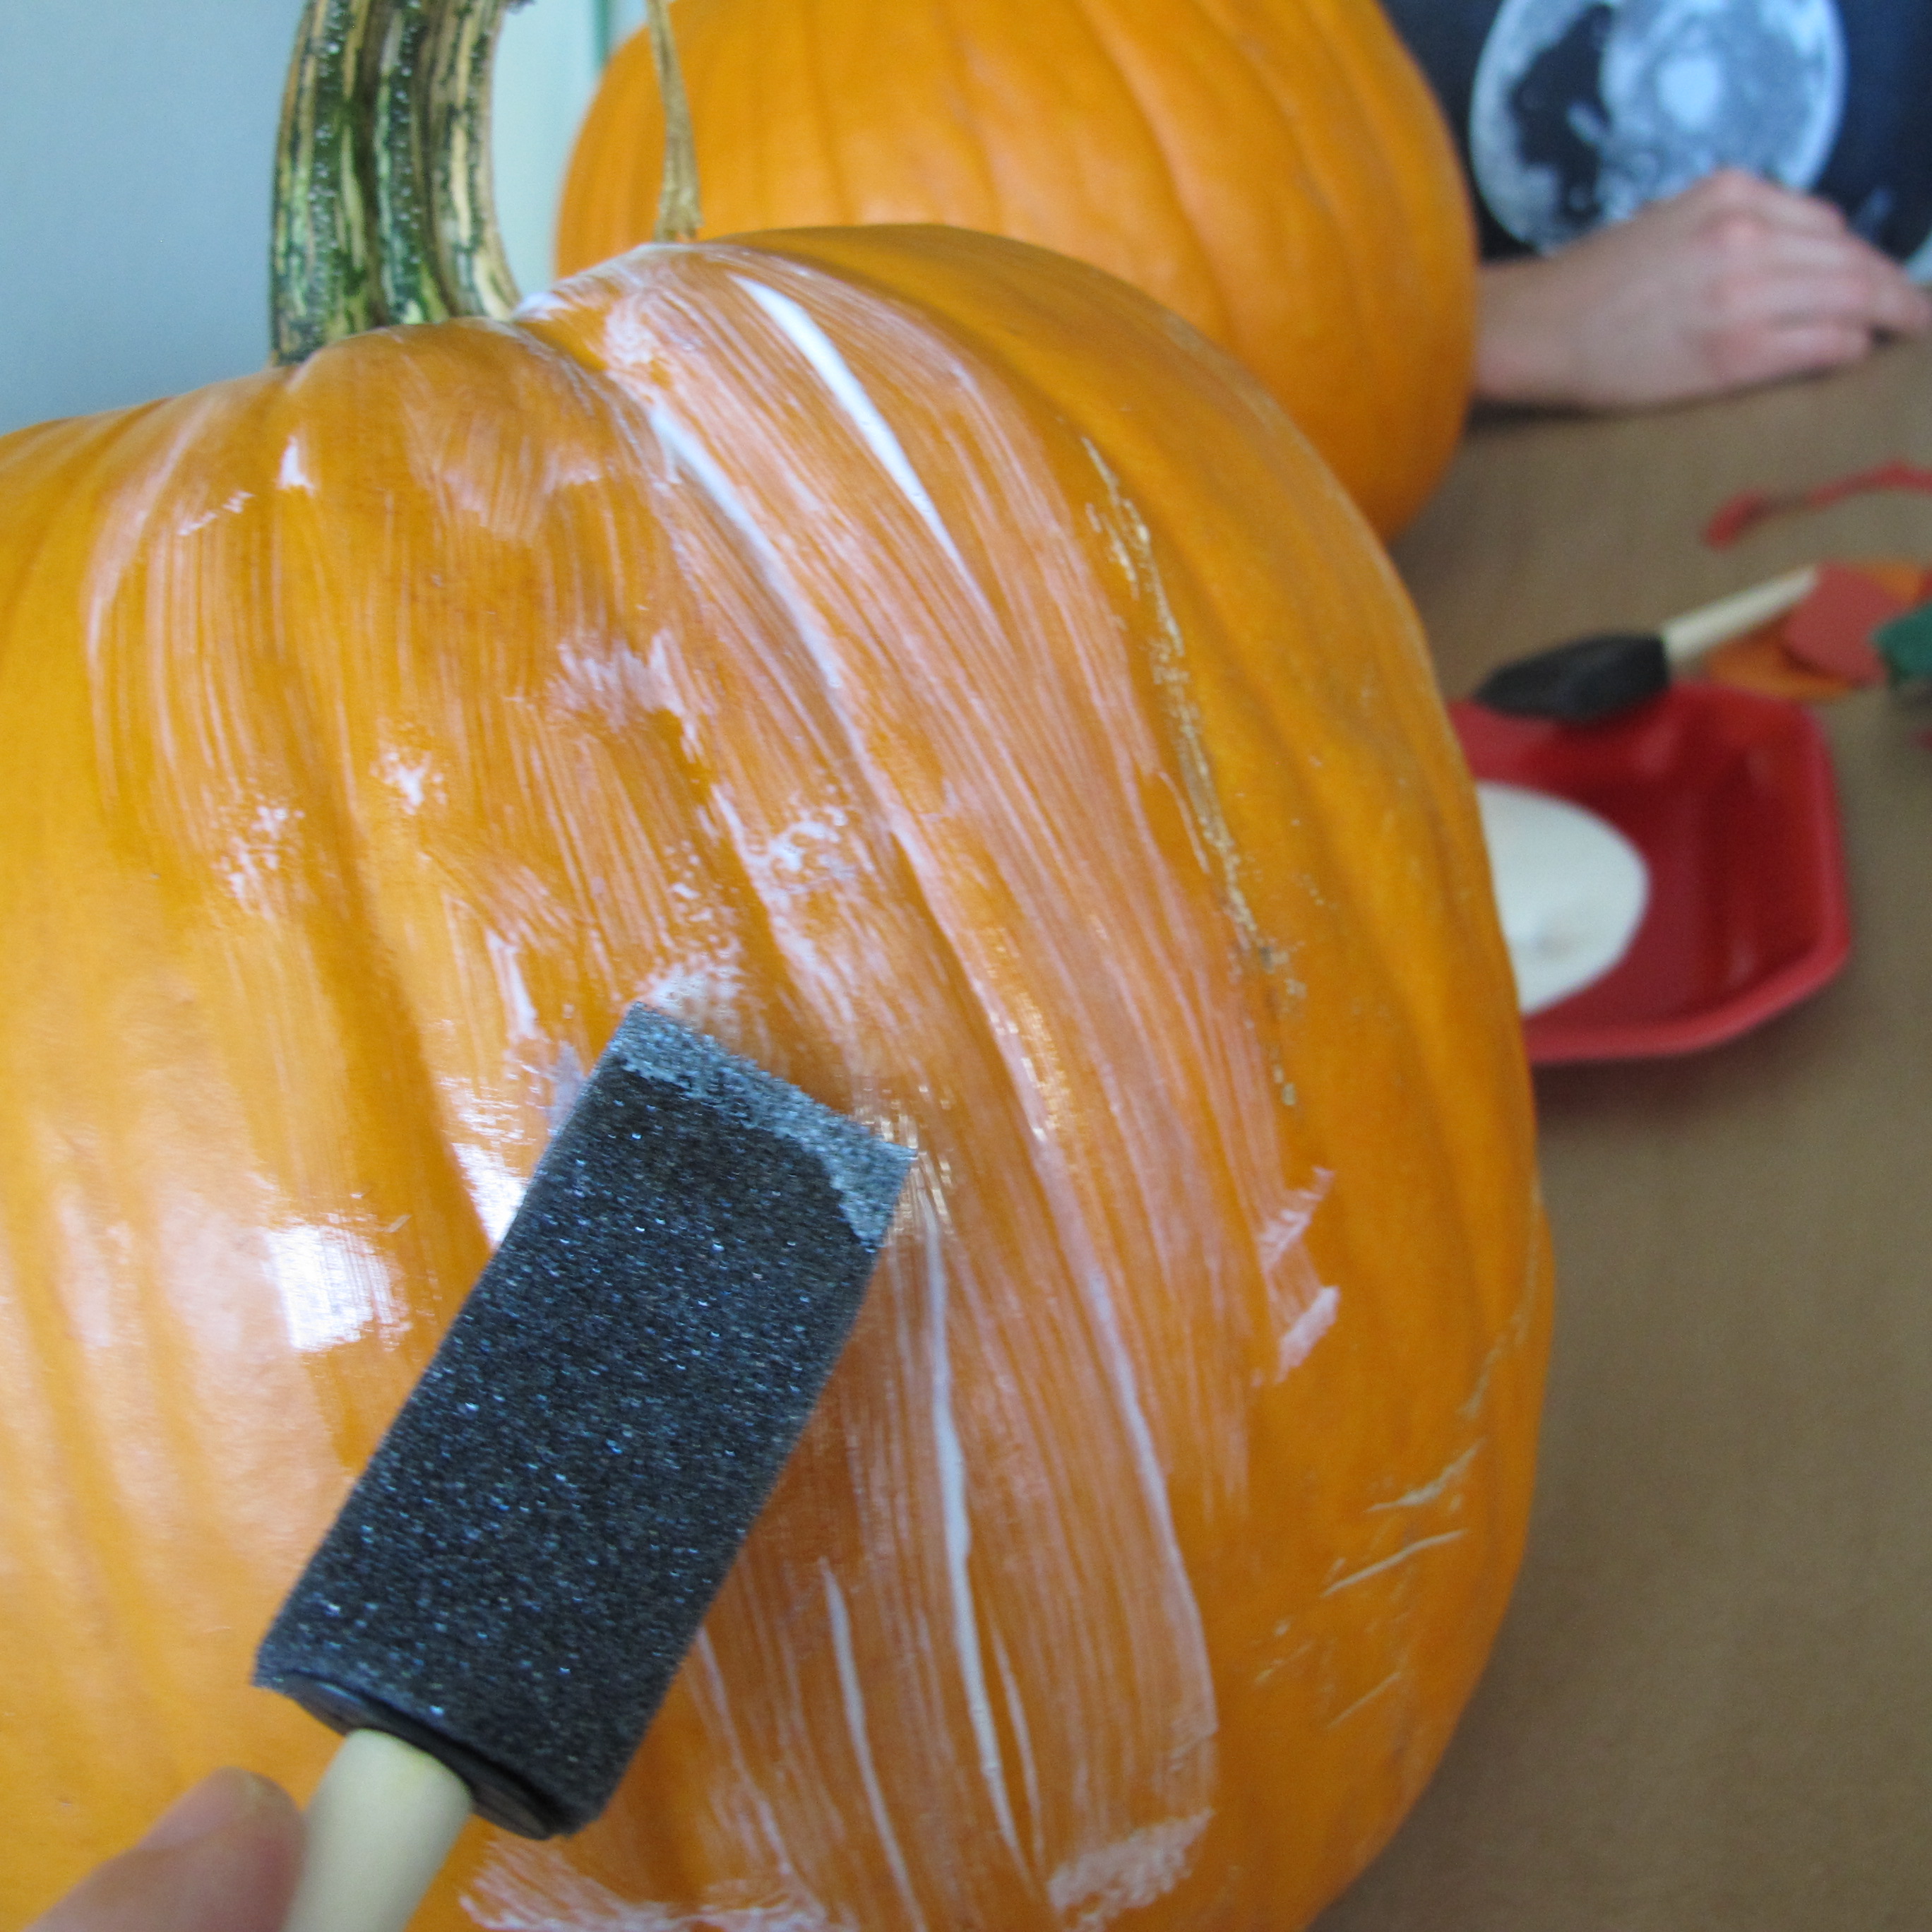
We placed on our tissue paper and patted it down gently to be sure it adhered,

IMG_1924

Then, we added another coat of Mod Podge on top of the tissue paper. It worked better when we waited a few minutes before Mod Podging the second coat. If the paper became too saturated while it was still mobile on the pumpkin, it tore more easily.

A few action shots…

IMG_1922 IMG_1920

We just decorated our pumpkins randomly. Whatever floated our boats. I’ve always liked homemade-looking pumpkins. I can see the fun that was had decorating them and that makes me smile.

As for Lucas, he LOVED this project. It kept him occupied for much longer than we’d expected. He painted on the Mod Podge easily and did a great job adding paper. In fact, he loved it so much that when his pumpkin was done to his satisfaction, he started working on the back of Joeys. And he was quite the brush hog. Who knew??! I really need to do projects like this with him more often. I did have to go back and Mod Podge over his tissue paper once he was done since he didn’t seem to have patience for that part, but all-in-all it was a two-year-old success! And I’m hoping that maybe the Mod Podge will help preserve our pumpkins so they last a little longer.

Here’s the finished product…

IMG_1943  IMG_1946

IMG_1944   IMG_1952

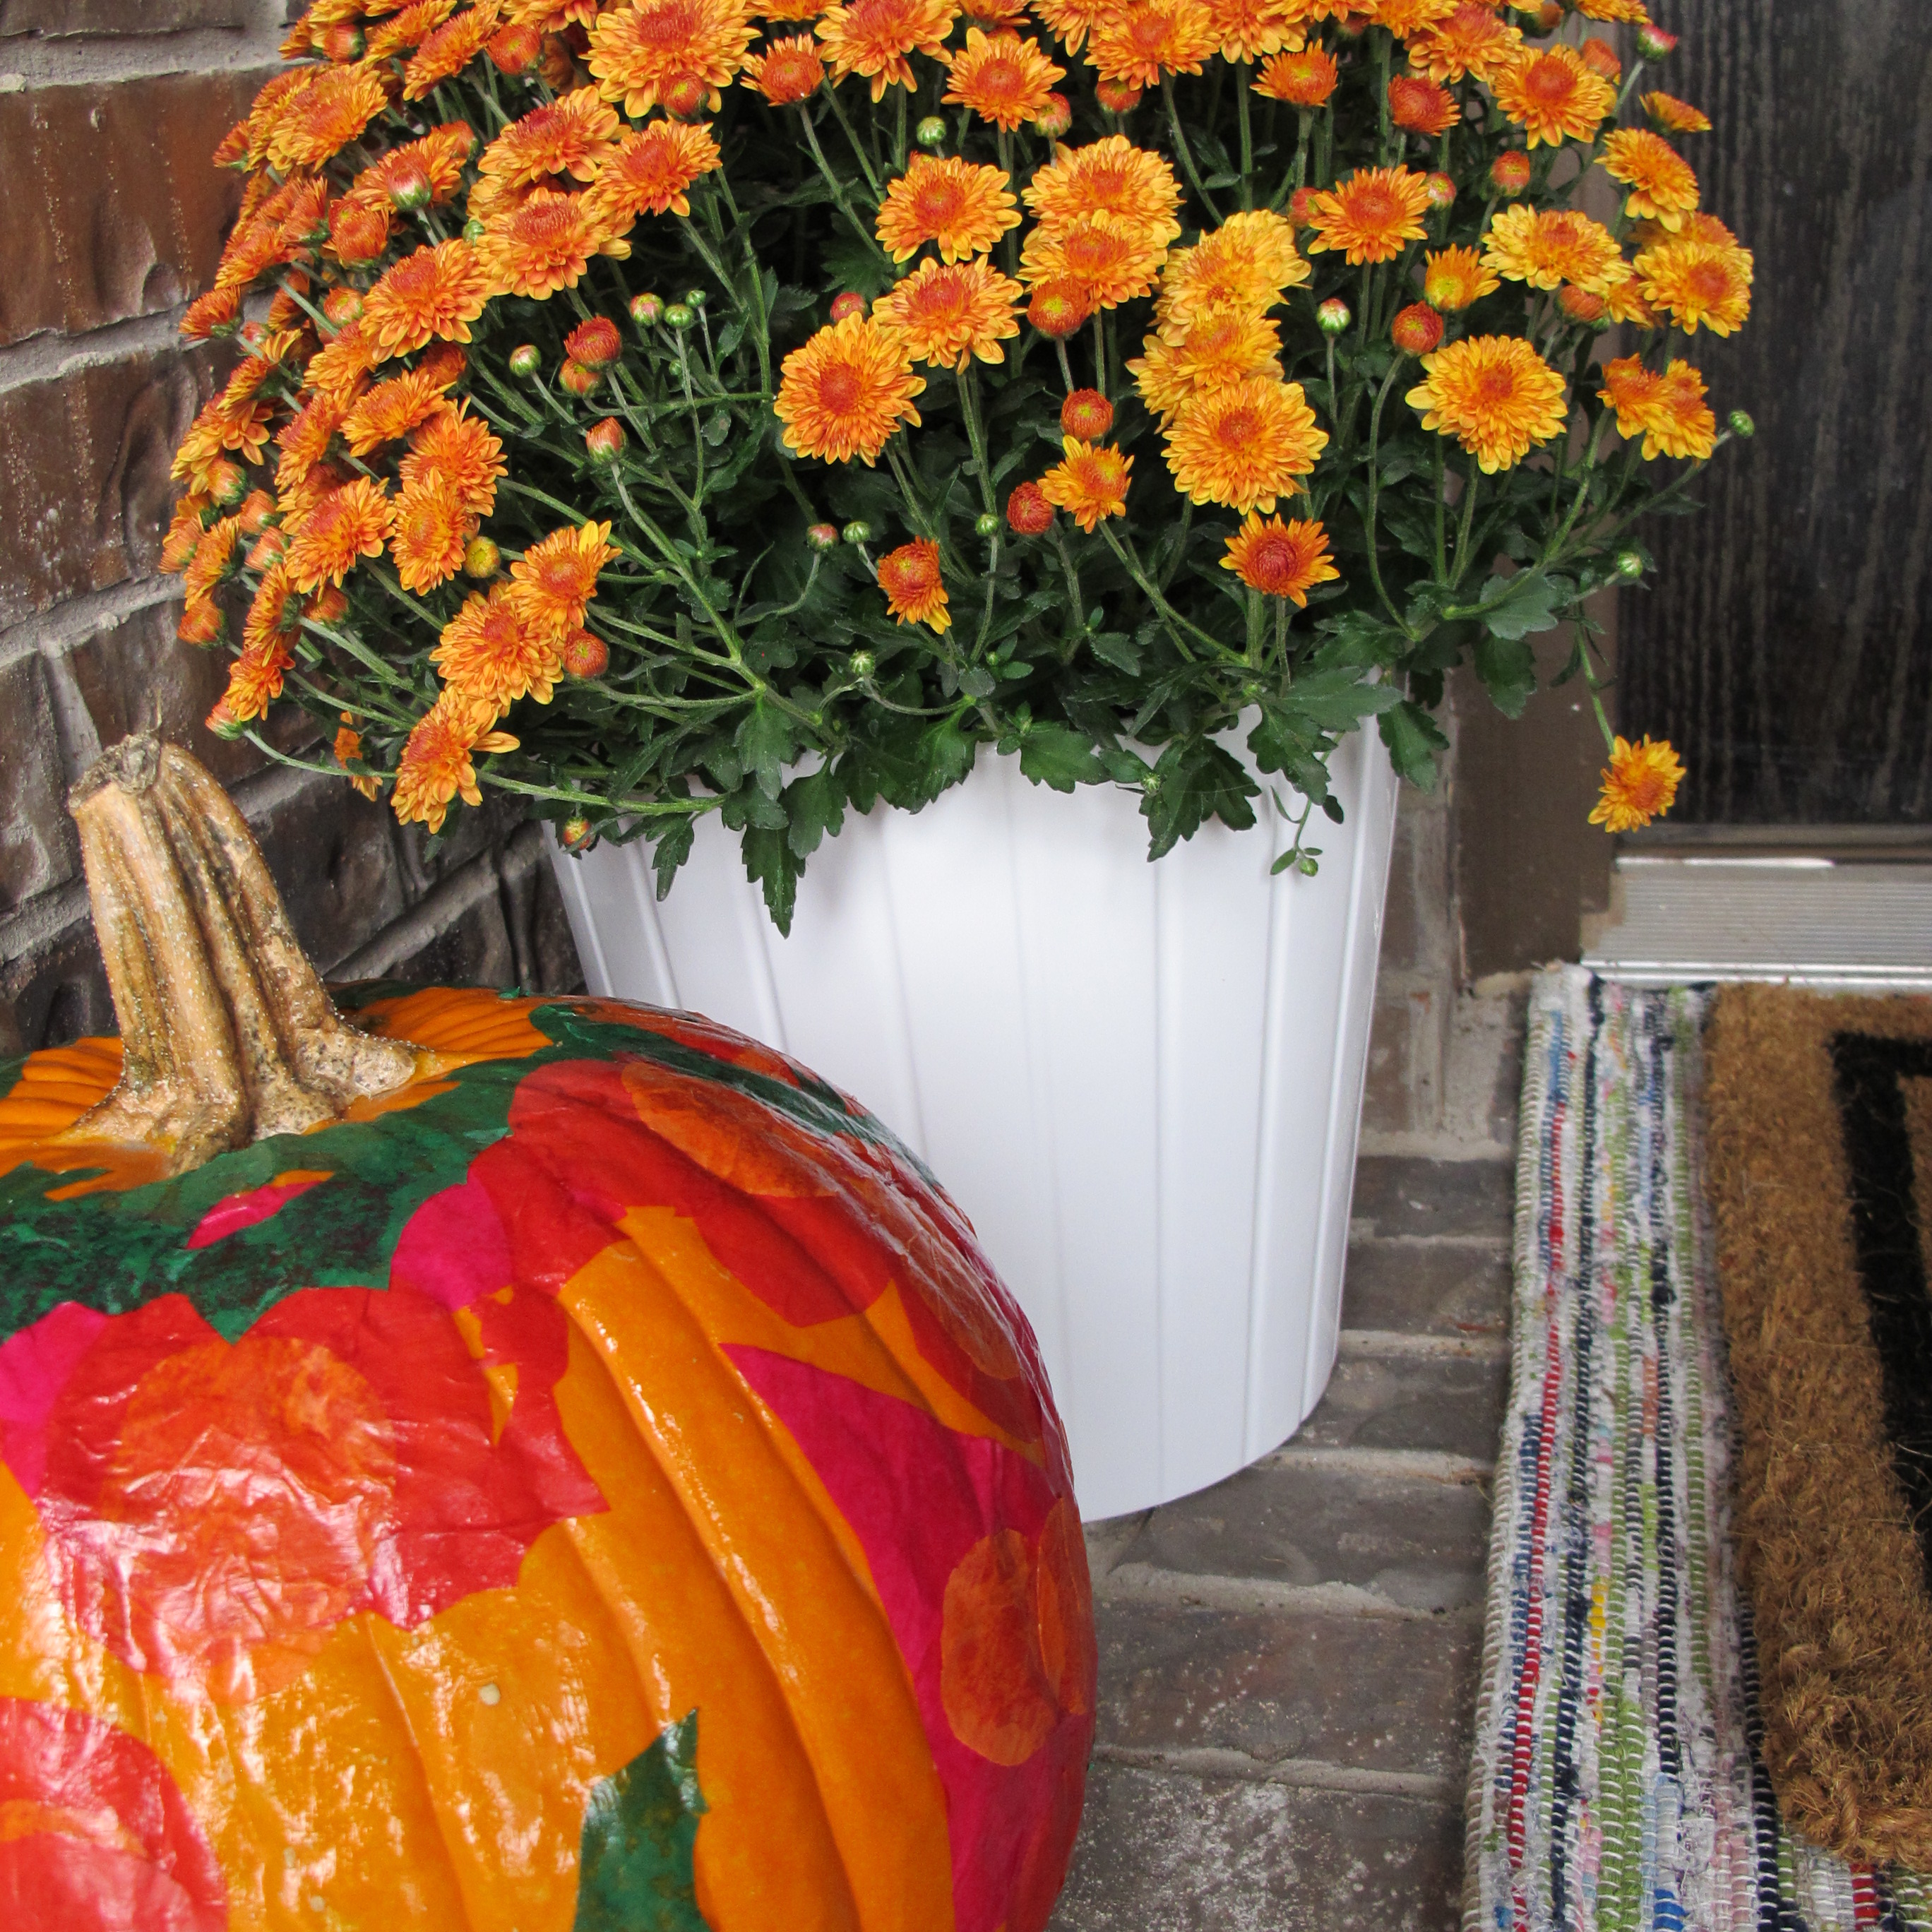
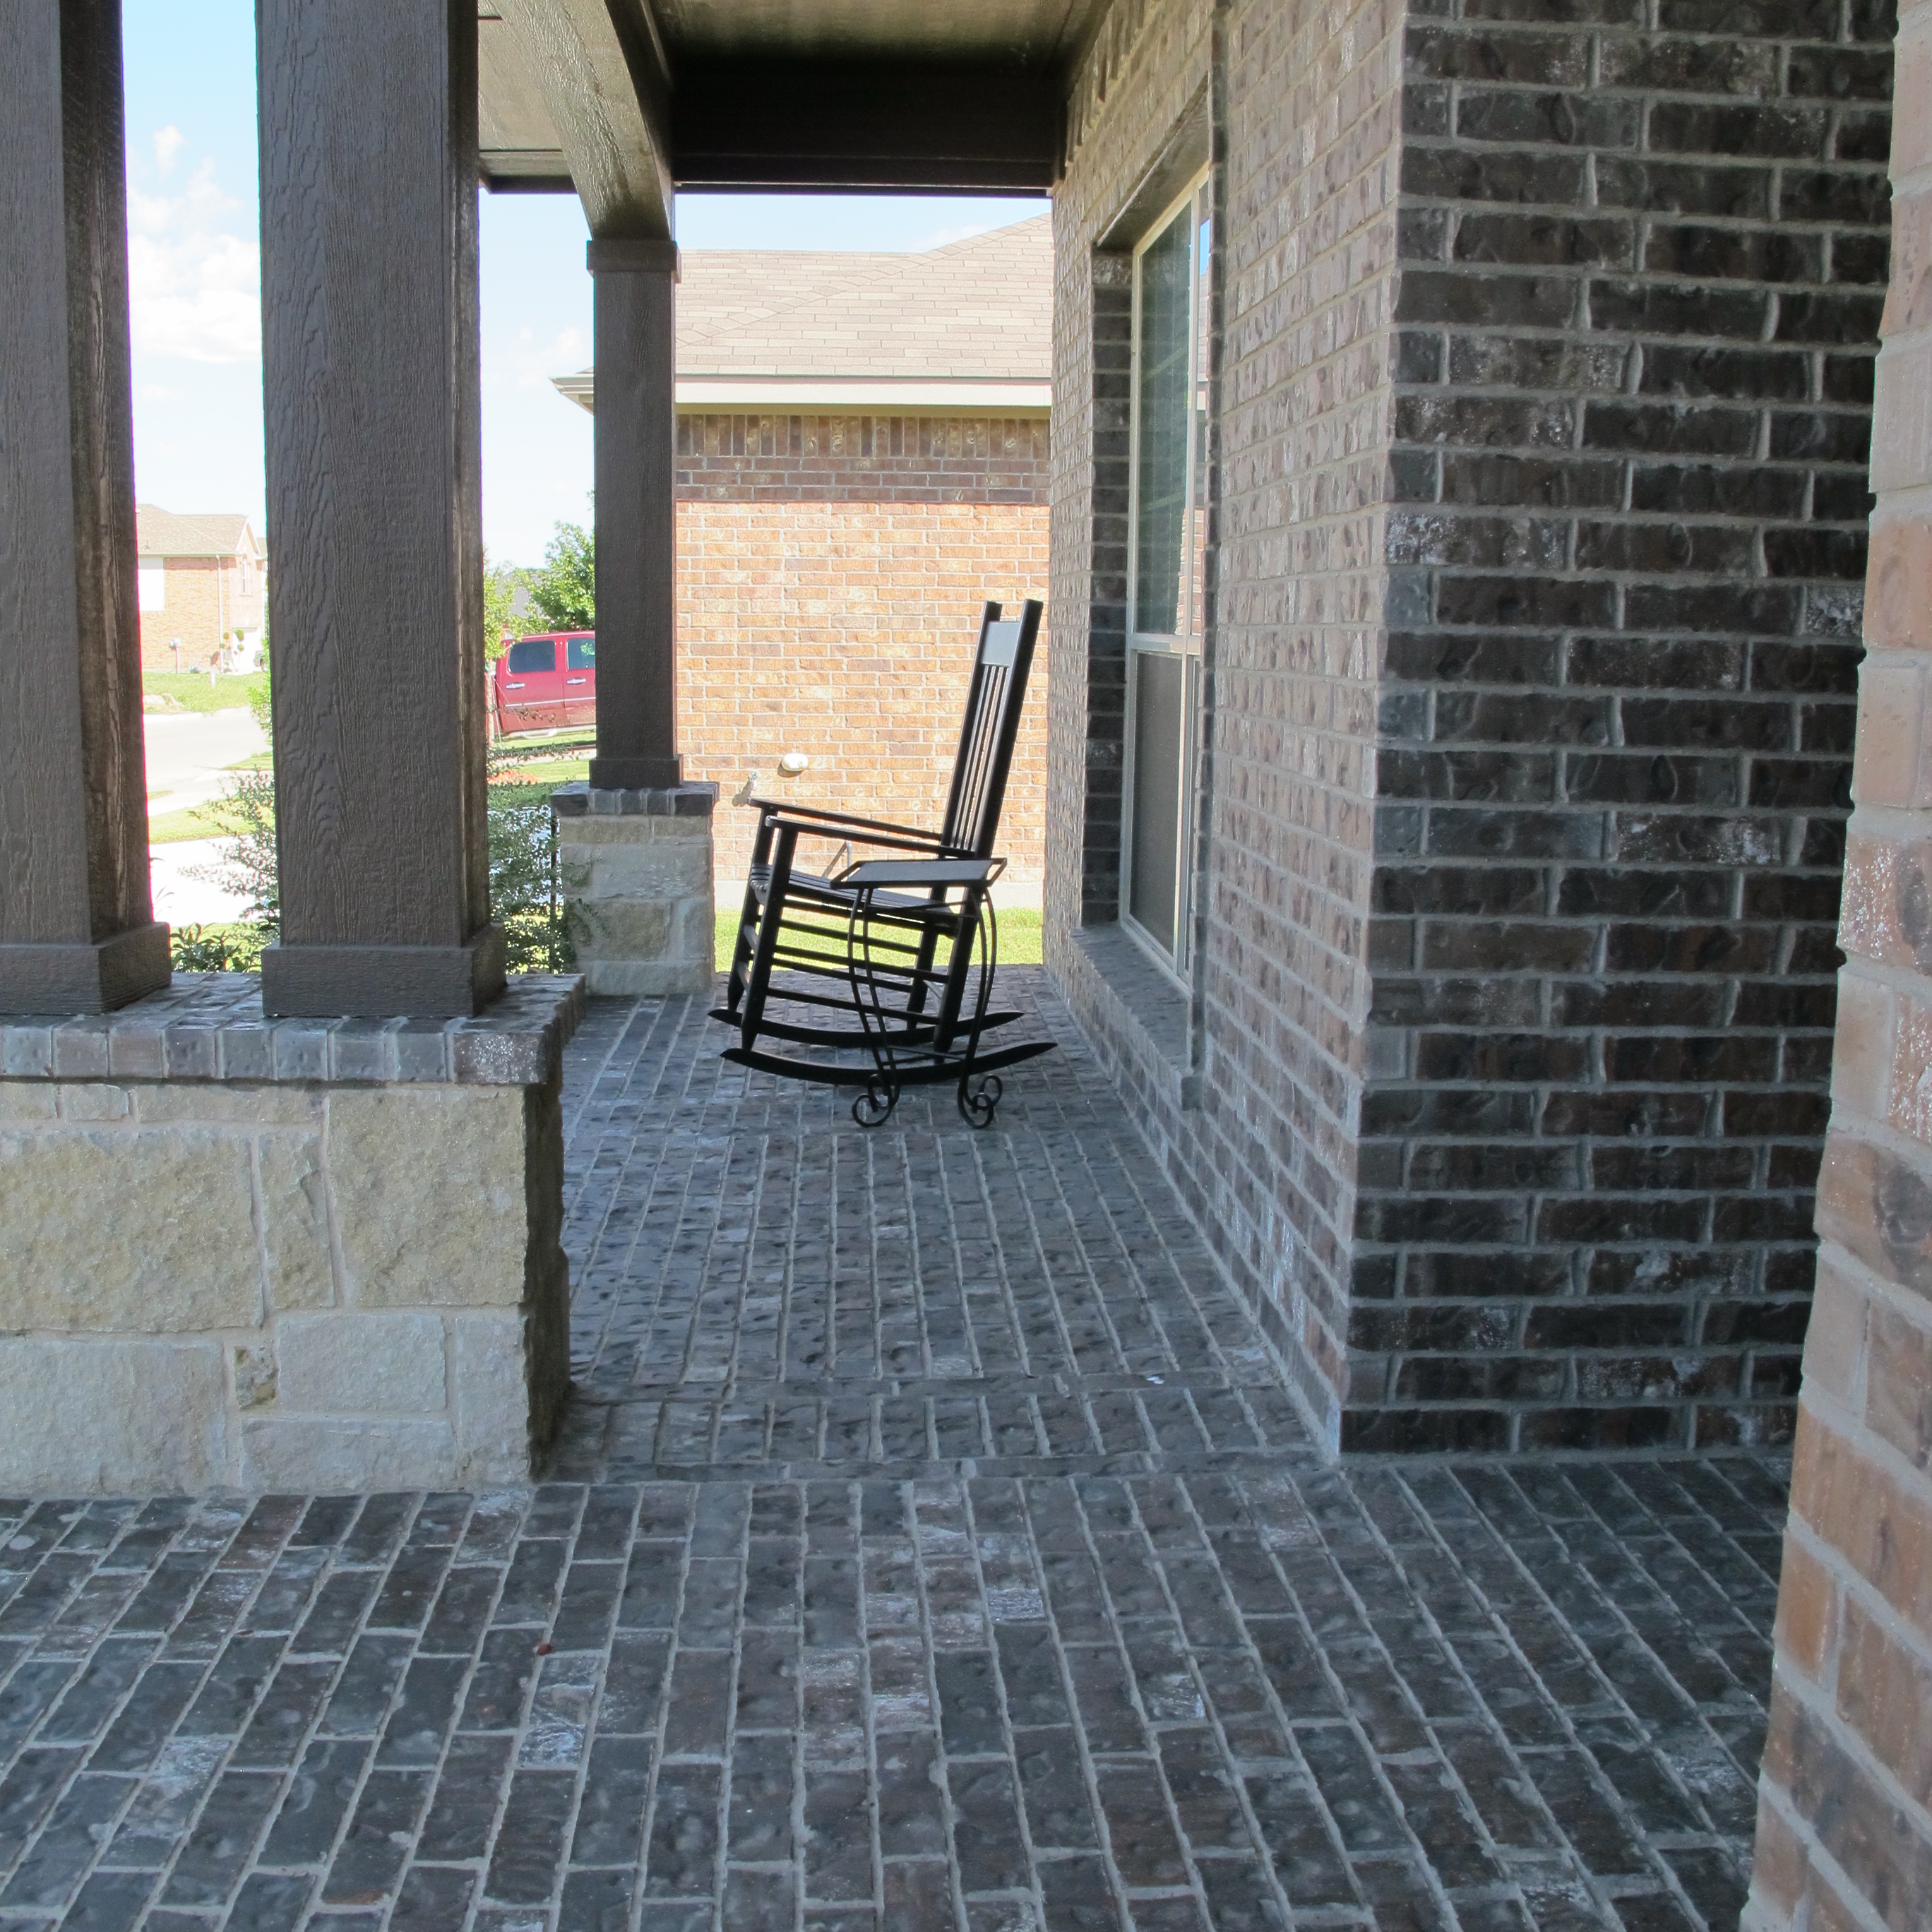
And the rest of the porch…

IMG_1948

IMG_1947

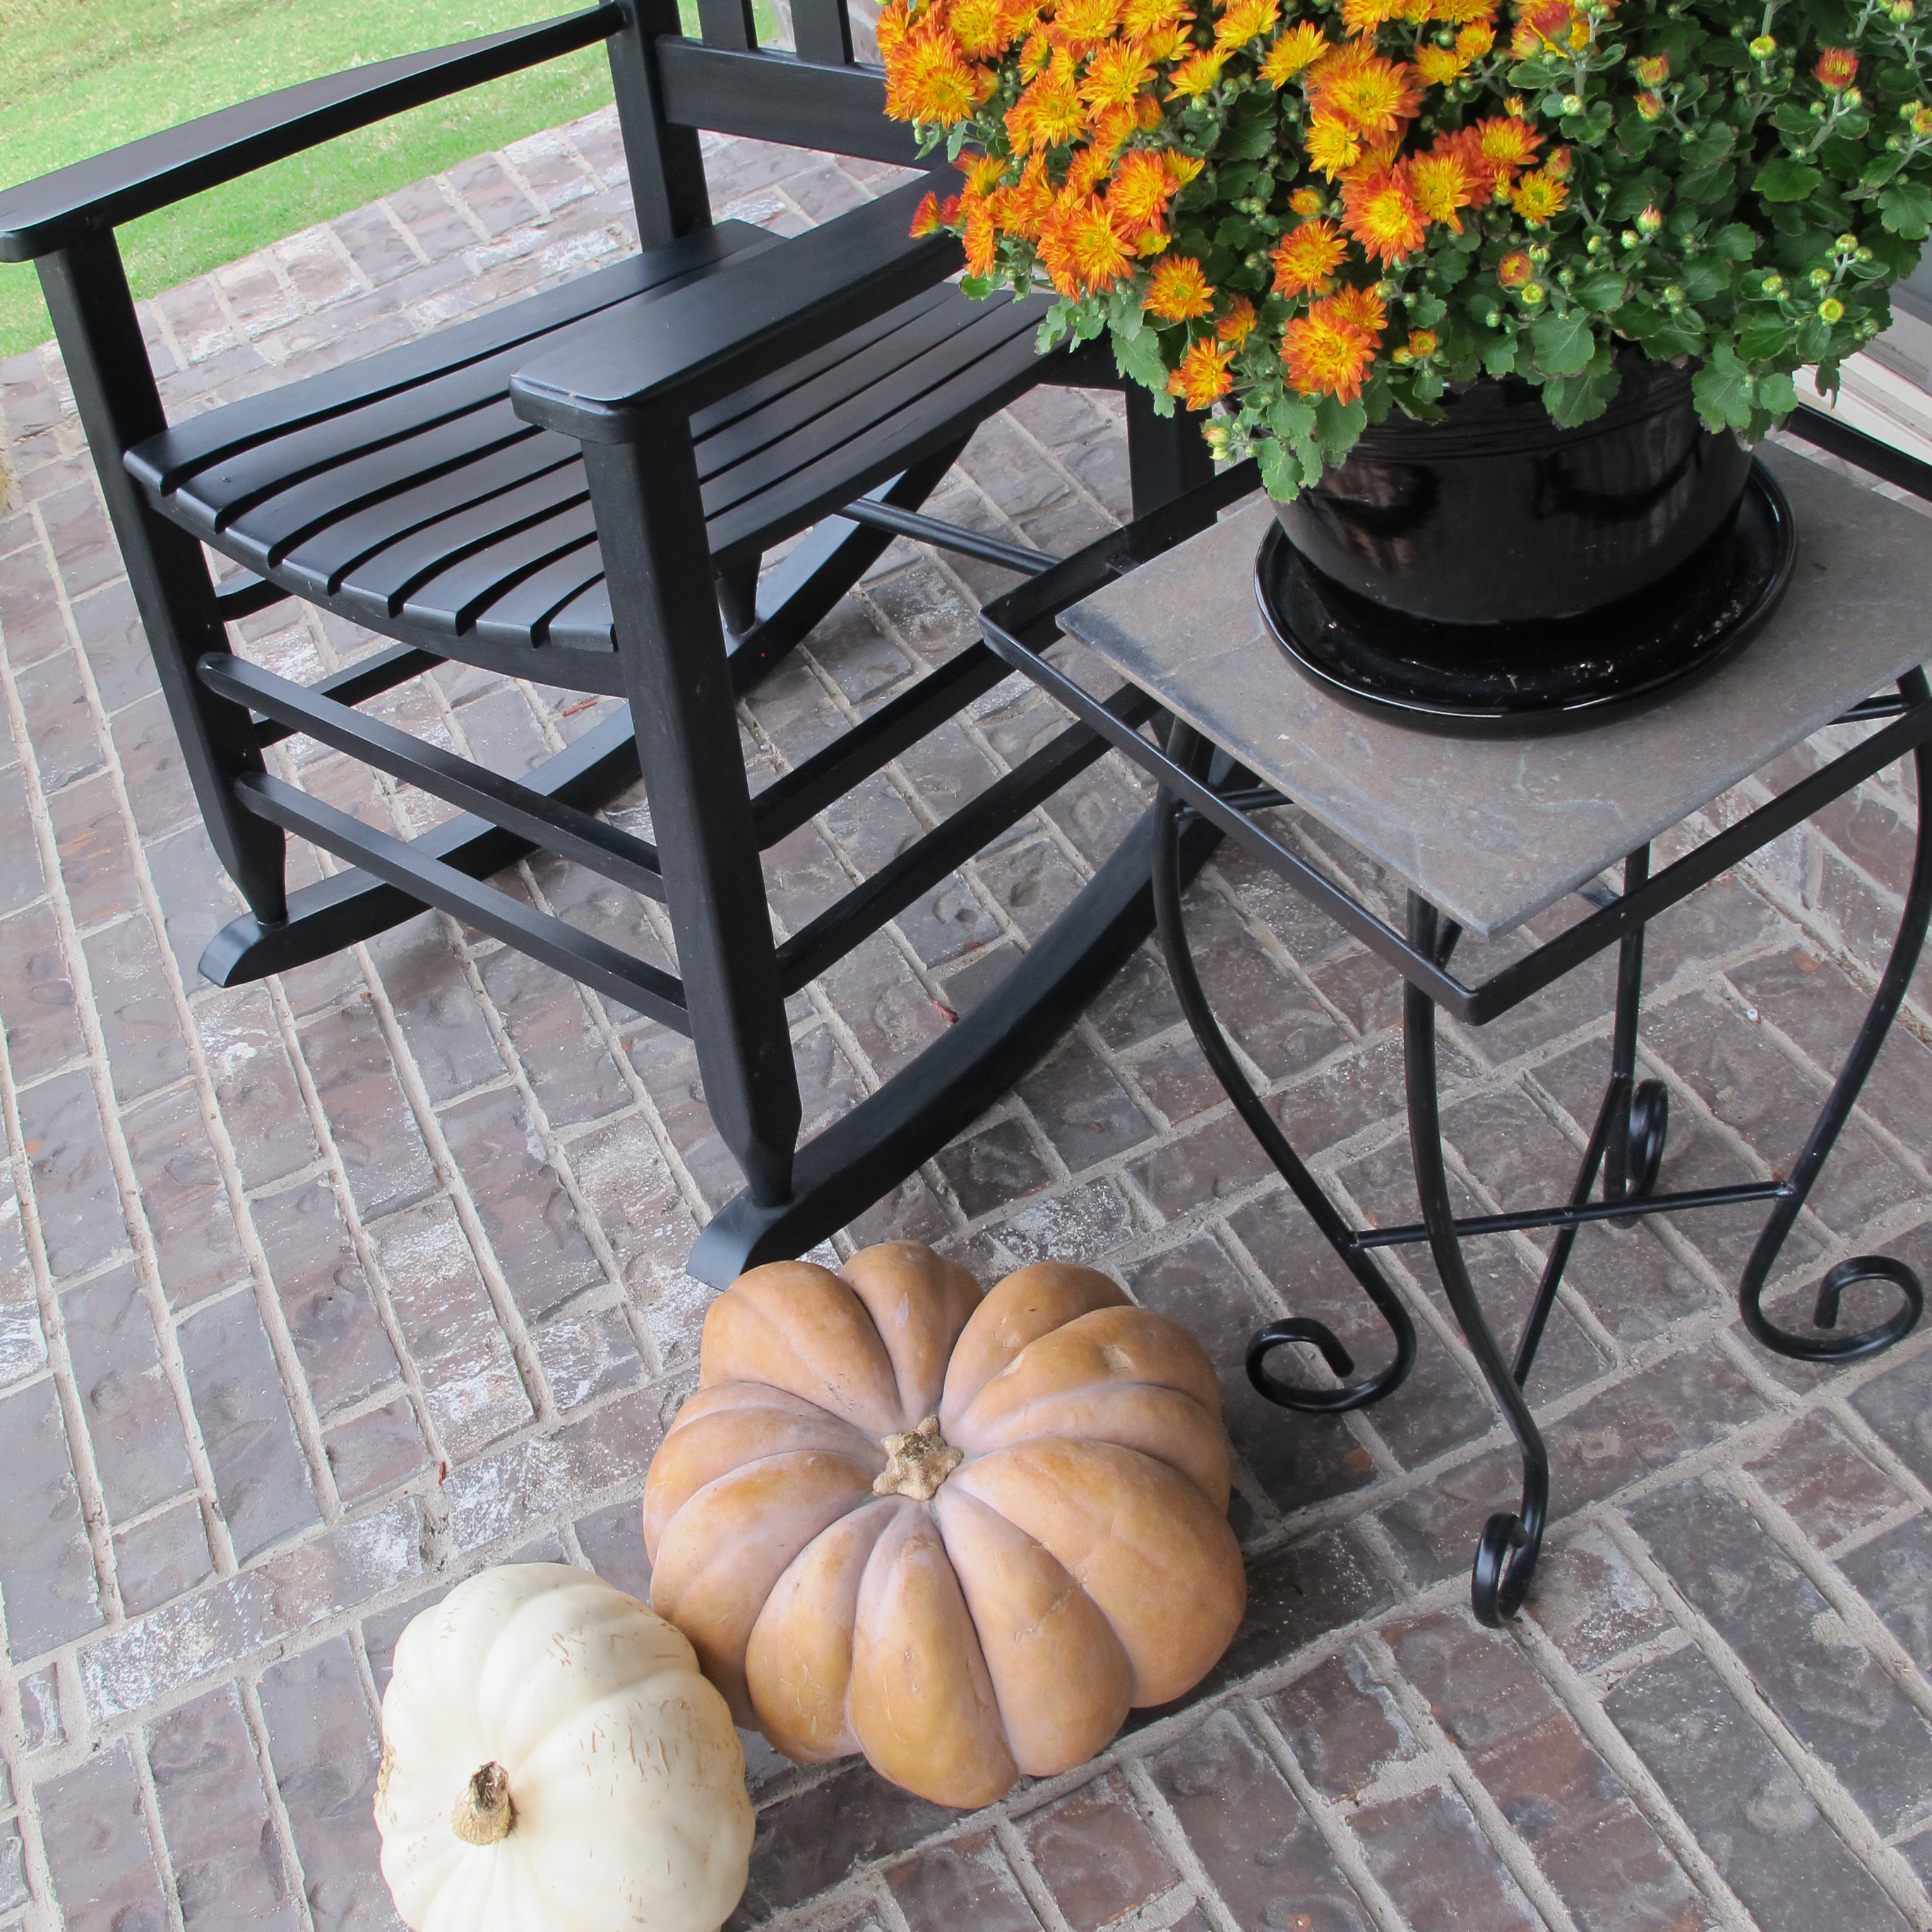
I have to say I’m proud of myself for decorating the porch. BEFORE the first fall holiday.  I still want to make a wreath for the front door, but at least there are signs of life now. Our porch says “Hey, hot stuff. People LIVE here.” Not that Mat didn’t. It’s just more obvious now.   Flowers, a few pumpkins, and (gasp!) I cleaned the chair. Did you know it’s actually black? I’d almost forgotten.  These simple additions are definitely not ground-breaking, but a happy improvement from this for sure…

IMG_1530 IMG_1534

So, next we’ll hopefully be replacing our light fixture (spoiler alert: we bought it about a month ago. It’s been holding down the fort in the garage ever since.) I’ve also been casually looking for a second rocking chair and have been trying to narrow down a paint color for them. At this point, it’s anybody’s guess.

So, does anyone have any other toddler-friendly pumpkin-decorating ideas they want to share?

It’s in the bag (‘er, box)

A few weeks ago, I found this wooden box at goodwill for $3.15.

IMG_1702

It was unfinished and just begging to be revamped.  Then, I remembered this awesome wooden DIY box created by my friend Emily and her husband, Jason….

20131006-104413.jpg

It was the first thing I noticed when I walked in their door and I immediately admired it. I loved that it was rustic, yet feminine at the same time with the addition of the flowers. Just gorgeous. They built the box from scratch then stained it and filled it with mason jars.   Such a cool idea.  So, when I found this little unfinished goodwill box, I decided to create a smaller, “semi-homemade” version using theirs as inspiration.

I wanted the box to look somewhat beat up, so I started by hitting it with a hammer, chisel, plyers….anything that would dent/scratch it up. It was pretty fun. All frustrations were alleviated. So, thanks box! I feel like I owe you a co-pay. Anyways, in the end I ended up with this texture….

IMG_1706

Next I used this stain, in Ebony….

IMG_1708

I’ve had this one can of stain forever and have used it for various projects along the way. I applied enough stain with a clean rag to be sure that all of the dents and nicks were saturated, then I immediately used a clean rag to wipe off the excess. This whole process took maybe 10 minutes total.

IMG_1709

Now, I’ve been absolutely loving all the stenciled numbers I’ve been seeing on Pinterest lately so I wanted add one to my box. I settled on “3” to symbolize the number of people in our family. I went online and found a number that I liked. This one was what I ended up going with…

STENCIL 2

I pasted the pic into a Word document, cropped out the “3”, enlarged it to the proper size (I wanted it to be about 4 inches tall), and printed it on computer paper. The edges were a bit fuzzy since I had enlarged it so much, so I used a sharpie to outline the number to create a sharp edge.

IMG_1704

I laid the paper on top of a plastic cutting board, placed a small piece of contact paper on top and taped everything down to keep it stationary.

IMG_1711

Then, I cut out the number with a razor (…can you tell I’d been spray-painting? Heehee!)…

IMG_1713

I ended up having to trace the outline of my number with a pen because it was hard to see through the contact paper at certain angles when it fell into shadow.  When it was all sliced, I popped out the middle. Which left me with this…

IMG_1715

The next day (to allow adequate dry-time for the stain), I gathered all my tools… My box, some flat white primer+paint that I had on hand, my stencil and a flat topped sponge brush.

IMG_1744

I simply peeled the backing off of my contact paper stencil and adhered it to the box in my desired location…

IMG_1747

I used the sponge brush to lightly stipple paint into the stenciled area….

IMG_1749

I wanted it to look somewhat worn, so I didn’t fill in the stencil uniformly. Then, while the paint was still wet, I carefully removed the contact paper. And jumped up and down in glee when I realized my plan had worked…

IMG_1750

I still may go back and sand the number a bit just to make it appear a smidge more worn, but I’m still deciding.   In the meantime, after the paint had dried, I added mason jars and candles. I decided to leave the stainless steel rings on for a more of an industrial feel. And here’s my finished product….

IMG_1751IMG_1752

IMG_1753IMG_1755

I’m really happy with it (smile).

All-in-all, I spent around $6 and less than one cumulative hour of work on this project (not counting dry-times).  Easy, cheap and painless.   The only items I purchased were the wood box for $3.15 and the mason jars for around a buck a piece (50% off at Joann).  I already had the stain, paint, contact paper and candles.

So, thanks to Emily and Jason for the stunning inspiration and for allowing me to include their sweet box in this post.  🙂