I’ve been waitiiiiing…. The Explanation.

…..for a chair like youuuuuu!!!! I know, Facebook friends, I totally ripped this title off of a recent status that I posted. I just love this darn chair so much I thought it deserved an encore.

So, here’s the deal…. I was innocently chatting on the phone with a friend as I casually meandered down the aisles of our local Goodwill when, BAM!!! I rounded the corner and was smacked in the face by this puppy.

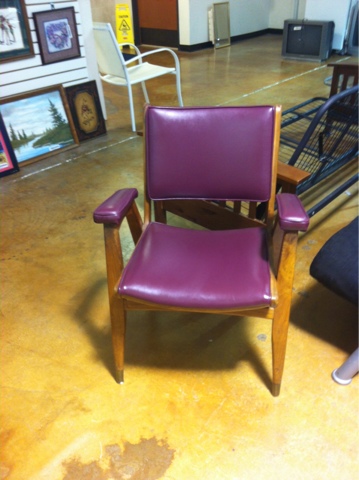
I let out an audible gasp as cheesy ’80s love songs raced through my head. Mid-century modern. Clerical-chic. In great condition. And twenty bucks!!! Mine. He’s mine. I thought he was so fantastic that I couldn’t even wait until I got him into the car to snap another pic….

Yes. Sad. I know.

So, I got him home, wiped him down with a damp rag, followed by a damp magic eraser to take off all the grime (he was pretty dirty) and took inventory. He was missing glides on the bottom of two legs, which I replaced using these (found at Home depot for less than 2 bucks).

IMG_1073

I simply tapped them into the existing holes on the chair legs using a rubber mallet. Then, to cover up the small nicks and a few areas where the finish had been worn down on the wood, I used this amazing stuff….

IMG_1074

You simply rub it on with a clean rag (I treated the entire wood surface) and wipe it off immediately. It’s kind of fumey, so be sure to work in a well-ventilated area – I did this in our garage with the door open. Wait 30 minutes, then follow it up with this…

IMG_1075

It adds moisture and shine to the wood like nobody’s business. You just wipe it on. Wait 20 minutes, and wipe off the excess. That’s it. Easy peasy.

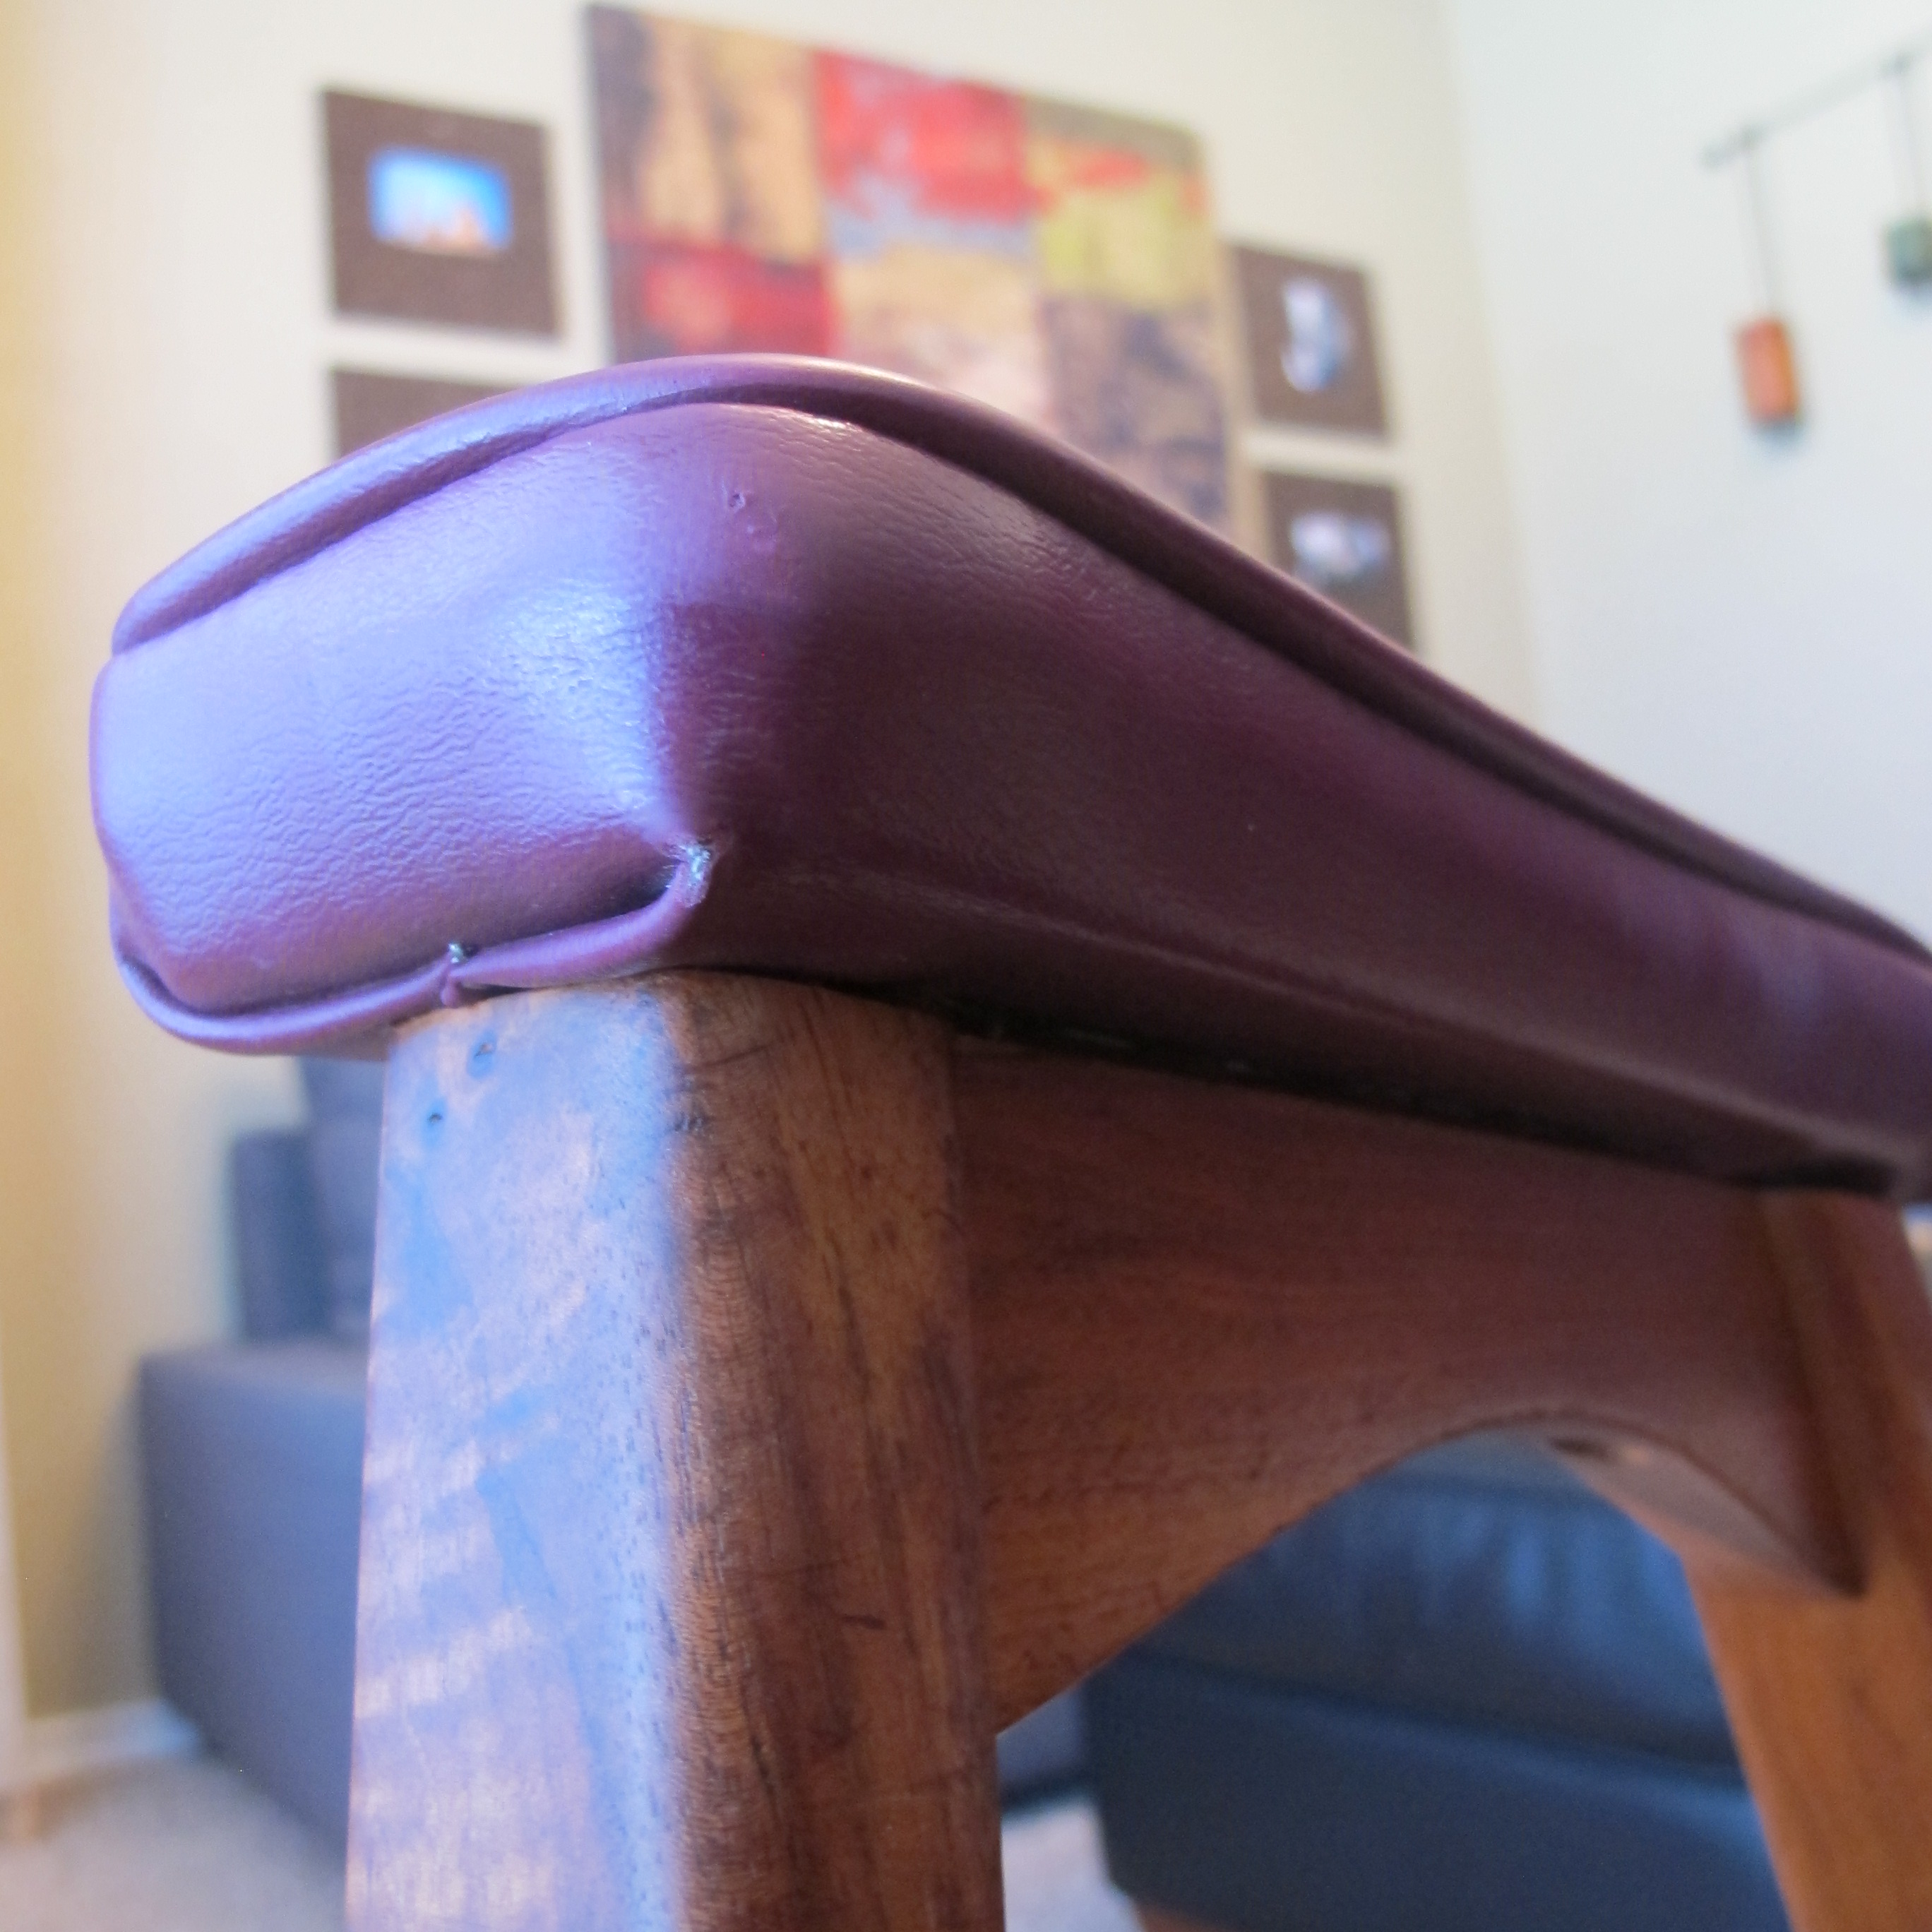
The vinyl cushions were in great shape aside from a few rubbed-down, faded areas on the underneath corners of the arm rests. I just wiped on a little leather conditioner on those small areas to give them some life. Note: Im not sure if Im supposed to use leather conditioner on vinyl, but I figured it was worth a shot since I already had it on hand. I didn’t use it on the entire cushion for fear that it would be greasy and stain our clothes when we sat down. The areas I did use it on, however, perked right up and blended in great with the rest of the cushion.

IMG_1146

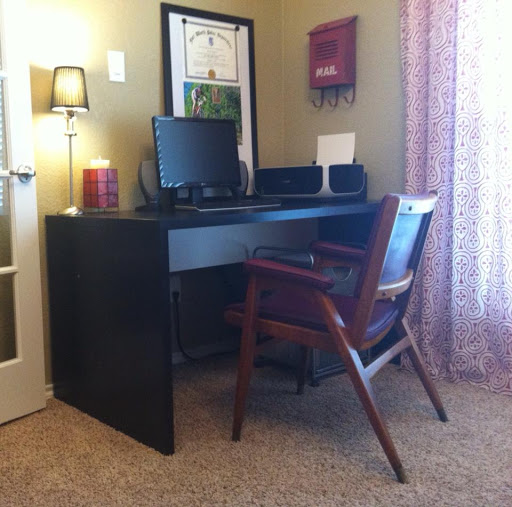
Now I’ll tell ya, I did have one fear regarding this chair. In the store (and outside), the cushions looked very purple. We have little to no purple in the house and I felt that recovering the cushions would take away from the chair’s character. So, at this point I had decided that if the chair didn’t work in our house, I would sell it, intact, on Craigslist (hopefully to someone who would love it as much as I do). But alas, my fears were unfounded. As soon as I placed the chair in the office, the cushions took on much less of a purple hue and appeared much more burgundy, which worked great in the room. Its amazing how different lighting affects color. It also goes to show that you don’t know if an item will work until you actually try it in a room. I’m a big proponent of buying, trying and returning if it doesn’t work for this very reason.

Take a look at the shined up finished product…

IMG_1150

I just love the quality and look of the wood.  All of the details in construction.  Plus, he’s comfy to sit in and reeks of character.    And another glimpse of our office area…

Welcome!!!!!
The mix of our simple, inexpensive Ikea desk with our new desk chair makes me happy.
And just for fun, here is the same area of the front room 6 weeks after we moved in…
IMG_0602
So, has anybody been doing any thrift store shopping lately? Any interesting finds or tips you’d like to share?

Try and try again

Trial and error is a HUGE part of making a house a home.  I have no training and or expertise when it comes to DIY home stuff.  What I do have is ‘try it’, ‘live with it’ ‘change it’, and ‘repeat as necessary’.  Just basically jumping in, learning from my mistakes, and determining what I like (and don’t) by living with stuff and changing it if need be.  Our photo wall is a perfect example of this. It’s come about via a LOT of trial and error over many months (and many, many holes in the wall. Heehee! Whoops.) So, in good ole’ Linda Richman fashion, lets “discuss”…

The wall was originally started as an attempt to get as many frames off the floor and onto the wall as possible to clear out some space. I had seen frame collages on Pinterest and various design blogs and thought they were neat, so I figured “Why not? I can always patch the holes if I hate it.”.

I started by laying out the frames on the floor and playing with them until I was happy with the arrangement.

Like this…. (sorry for the picture quality)

Then, I decided that I needed a template to assist in hanging them. I found this tutorial on Young House Love and followed their lead. To start, I unrolled some brown paper onto the floor and laid the frames on it in my preferred arrangement (In hindsight news, if you’re planning a project like this yourself, put the paper under the frames first. Not sure why I didn’t think of that myself.). Anyhoo… Next, I traced the outline of each frame onto the paper with a pen. I measured where the hooks were located on the back of each frame and marked them with “x”s in their corresponding boxes on the brown paper. Then, I hung the brown paper on the wall with painters tape and moved it around until I was satisfied with the placement. It looked a little like this….

(Warning: Low quality miniature reenactment.)

Then, I simply hammered nails (and inserted screws with anchors for the mirror) straight through the “x”s on my paper. Once they were all placed, I tore off the paper and hung my frames.

And this is what I was left with….

Repeat after me… Meh. Although I liked the arrangement, it was too much black once I got it up there between its neighboring mirror, chair, and end table. (Also, feast your eyes on the original living room decor.) So, I decided to remove the frames to spray-paint them white. At this point, I realized that I had accidentally purchased flat finish spray paint. Dang. But being the impatient girl I am, I said, [the less classy version of] “Oh well!” and painted them anyways. Luckily, I ended up liking them better with a flat finish. So, happy accident there.

Here’s an “in progress” shot for ya…. Eventually only the mirror was black.

After living with it for a while, I decided there was too much “square” going on, so I added a few more frames, like this…..

Then, a few months later, a good friend commented that it would look better if the photos were all black and white. I had thought about that previously, but honestly, was just too lazy to get the pics reprinted again. Her tactfully put and appreciated comment got the wheels turning. I printed the B&W pics on plain old computer paper first to make sure I’d like them (I printed some of them in larger sizes as well to do away with some of the matting). ….and I LOVED them, so I got them reprinted in higher quality photos (as in, higher quality than computer paper), and I was left with this….

….Which I liked, but thought was too much black again! Jeepers. I also thought that the photo collage felt unbalanced next to the height of our new Ikea shelves and accessories. So, I decided to spray paint the mirror red and add a few more frames up top to give some much needed height. Which leads us to today….

20130908-211439.jpg
FINALLY! It took a small journey of change, but seriously, stick a fork in her. She’s done. I’m loving the asymmetrical arrangement and the little pop of red. It feels like bling to me. Like a good pair of red pumps with a neutral outfit. Thus, she will remain in her happy place for a while… at least until Christmas when I plan to jazz her up a bit. Oh. Yeah.