So, I painted tile this weekend…

Finally!

This project’s been on my mind for a while. In fact, it was the only project that I mentioned in detail in my very first post. The delay? Well, this stuff is fumey. Really fumey, according to what I’d heard. So, I needed to do it on a Saturday that we didn’t have plans. With mild weather so that I could keep the windows open. On a day when I had a babysitter to keep Lucas away from the fumes. And that, my friends, has been a challenge. But, it finally happened this weekend.

Let me show you the reason why I felt inclined to paint our tile….

IMG_3321 IMG_3327

Yes. Sadly, I chose this tile when our house was being built. I’m not sure why. Even the designer at our builder’s design gallery tried to warn me against it… but I persisted. I guess I had an idea in my head of what it would look like… And I was wrong. Waaaay wrong. I realized this fact the second I saw the tile after installation. Then, I experienced that “what was I thinking??!” moment. And I’ve relived it every day since. That’s the thing about having a house built. It’s fun to choose all the surfaces. Sure is. Super fun! Until you choose poorly. Then, you have no one to blame but yourself. Ill tell you this much, the yellowy tan puke tile goes with NOTHING. Believe me, I’ve tried to choose paint colors to tone it down, but all the swatches I’ve brought home clashed. I’ve painted samples on the wall behind the towel rod… To no avail. The tile is just such a weird hue. We considered replacing the tub surround entirely since the builder left us almost enough leftover tile and grout from the master bath to complete the job.

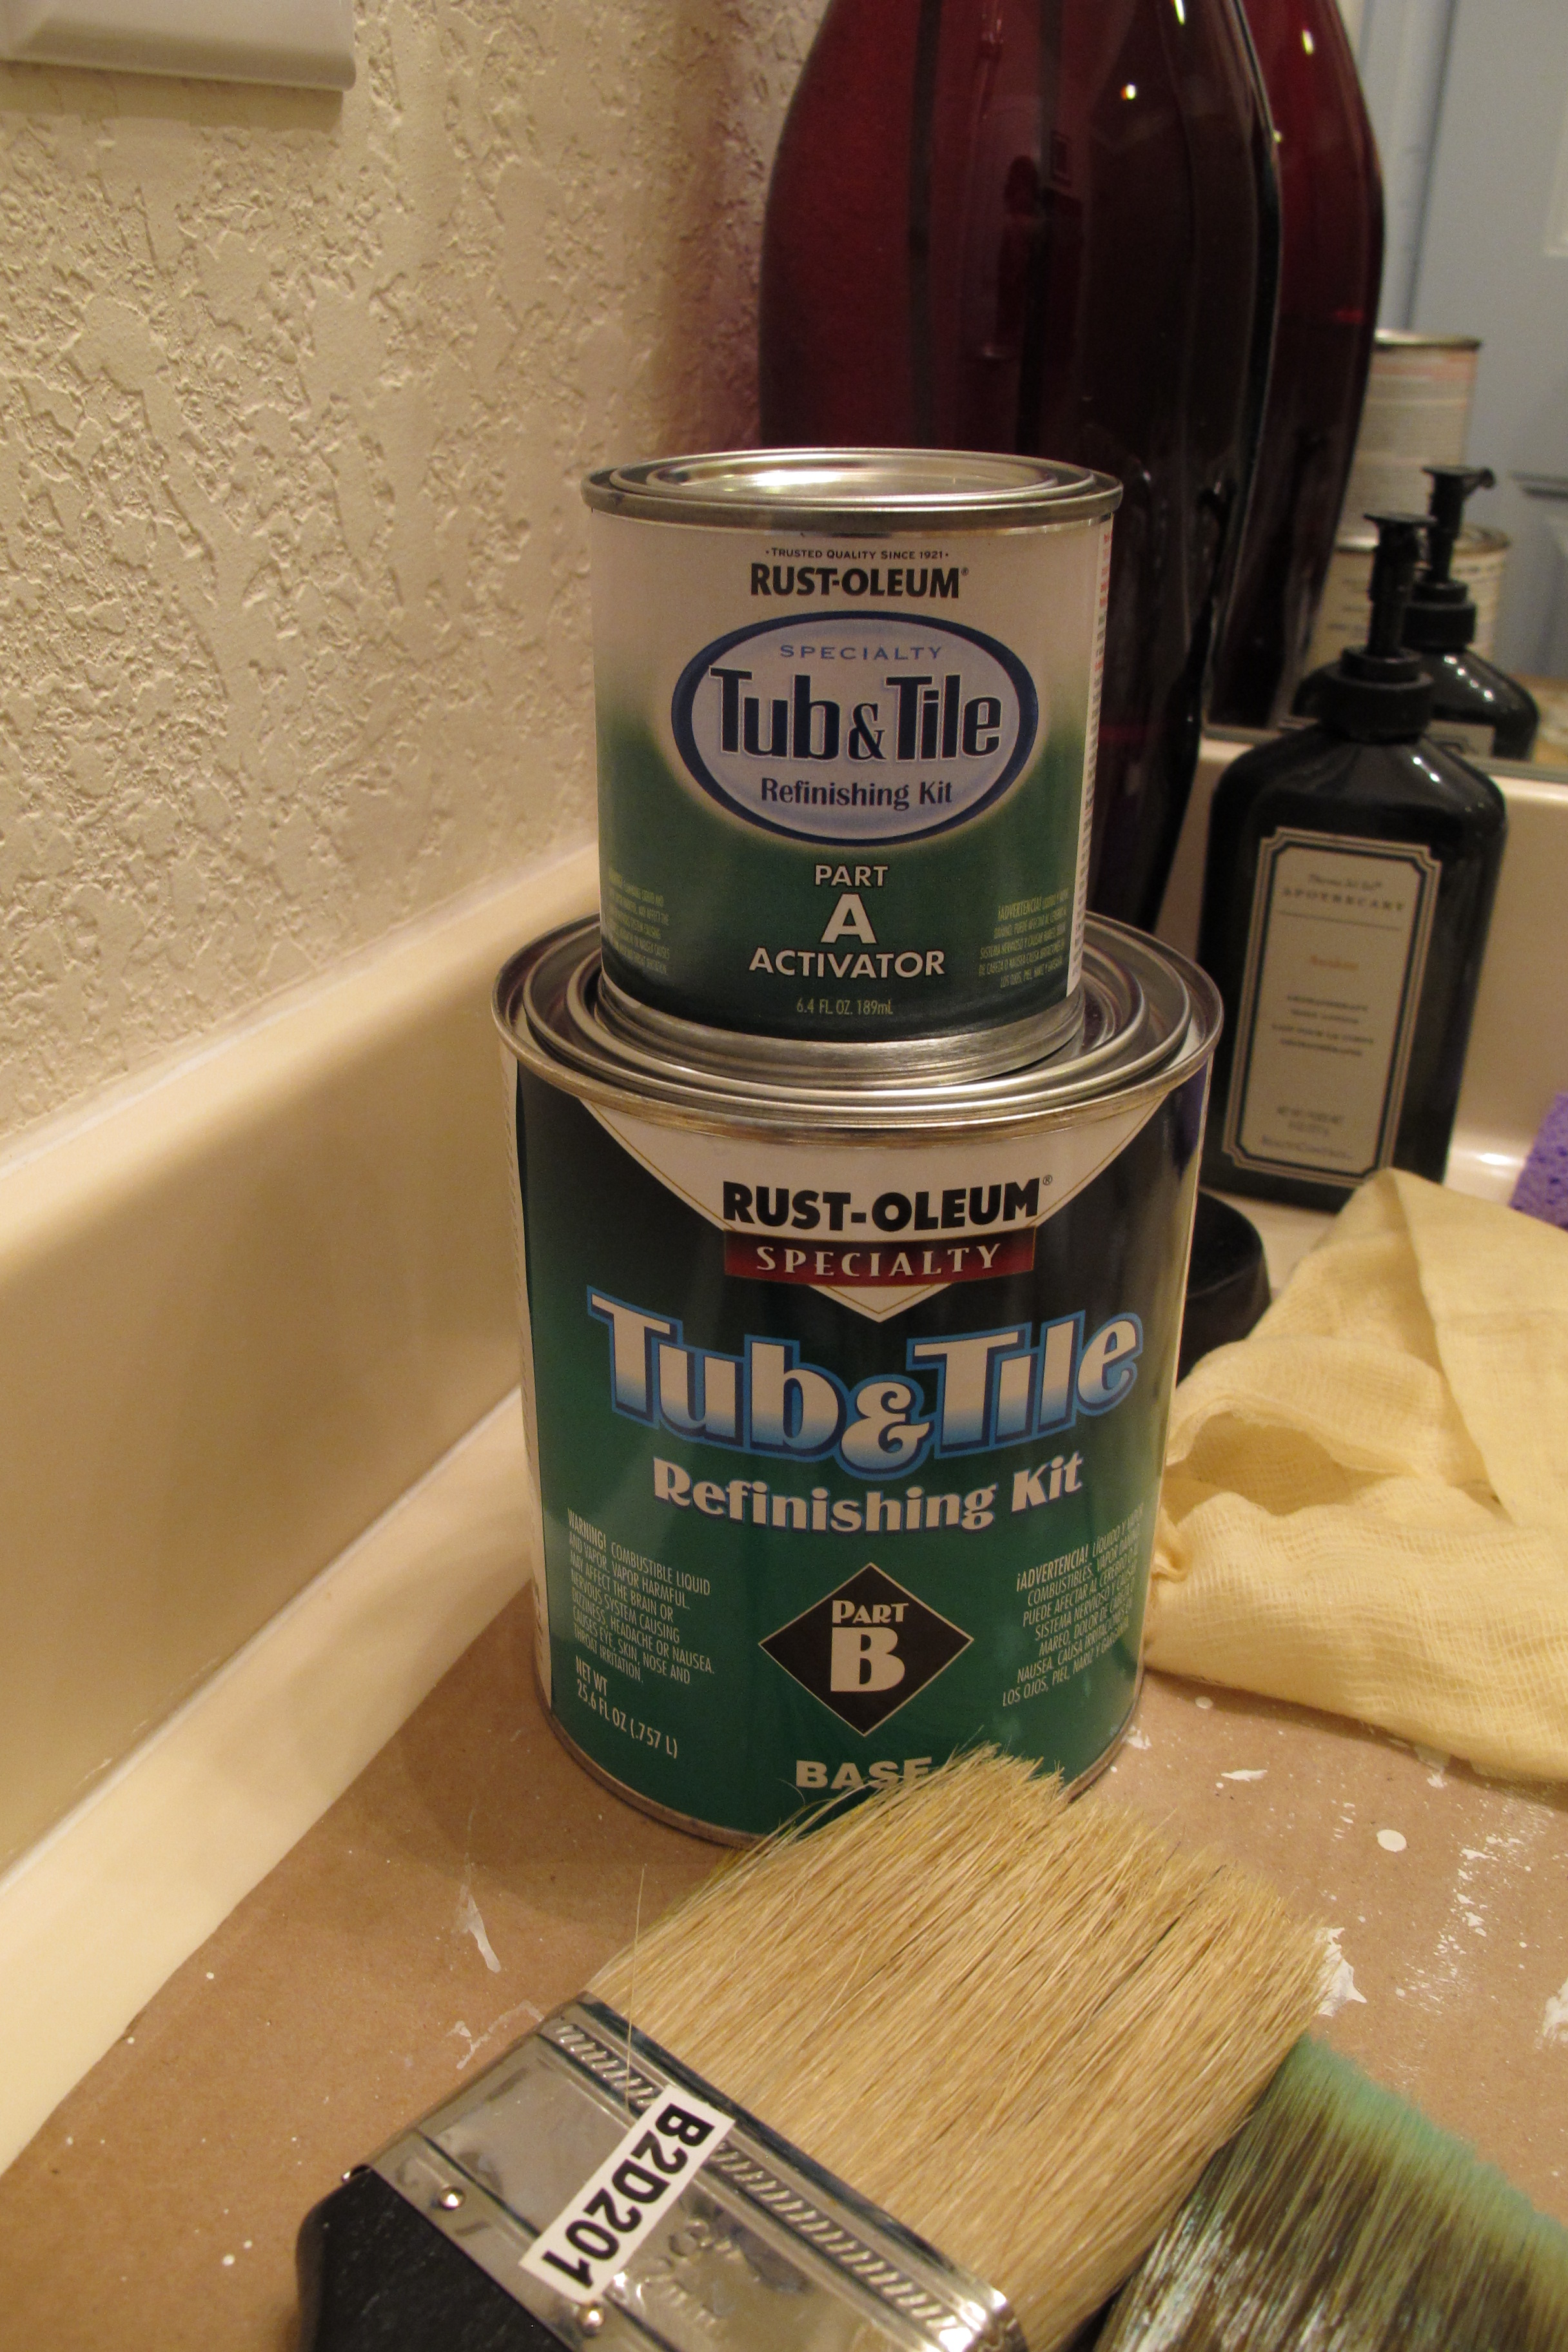
Then, I researched some alternate courses of action. I had seen various tutorials for painting tile, but sort of cast off the idea. I figured it would look cheap and not last. Then, my mother-in-law informed me that she’d painted their tile in the upstairs bathroom several years ago. I literally just sat there and blinked at her in disbelief. I mean, I’d taken a shower in that bathroom before and never noticed. I just thought the tile was white with white grout. Apparently, it had started off green. Needless to say, I was impressed. Plus, she said that the paint had lasted really well with no problems. So, I decided to buy this twenty-five dollar tile painting kit from Homedepot.com and give it a go….

IMG_3330

I completed all the prep work the day before since the grout needed to dry thoroughly before painting. I simply followed the instructions on the kit.

IMG_3331

Clean the tile, use an abrasive cleaner like Comet (I used Bar Keepers Friend since that’s what I had). Then, follow that up with Lime Away and an abrasive sponge, sand with fine grit sandpaper and rinse thoroughly. Then, immediately before painting wipe down with tack cloth. Done and done.

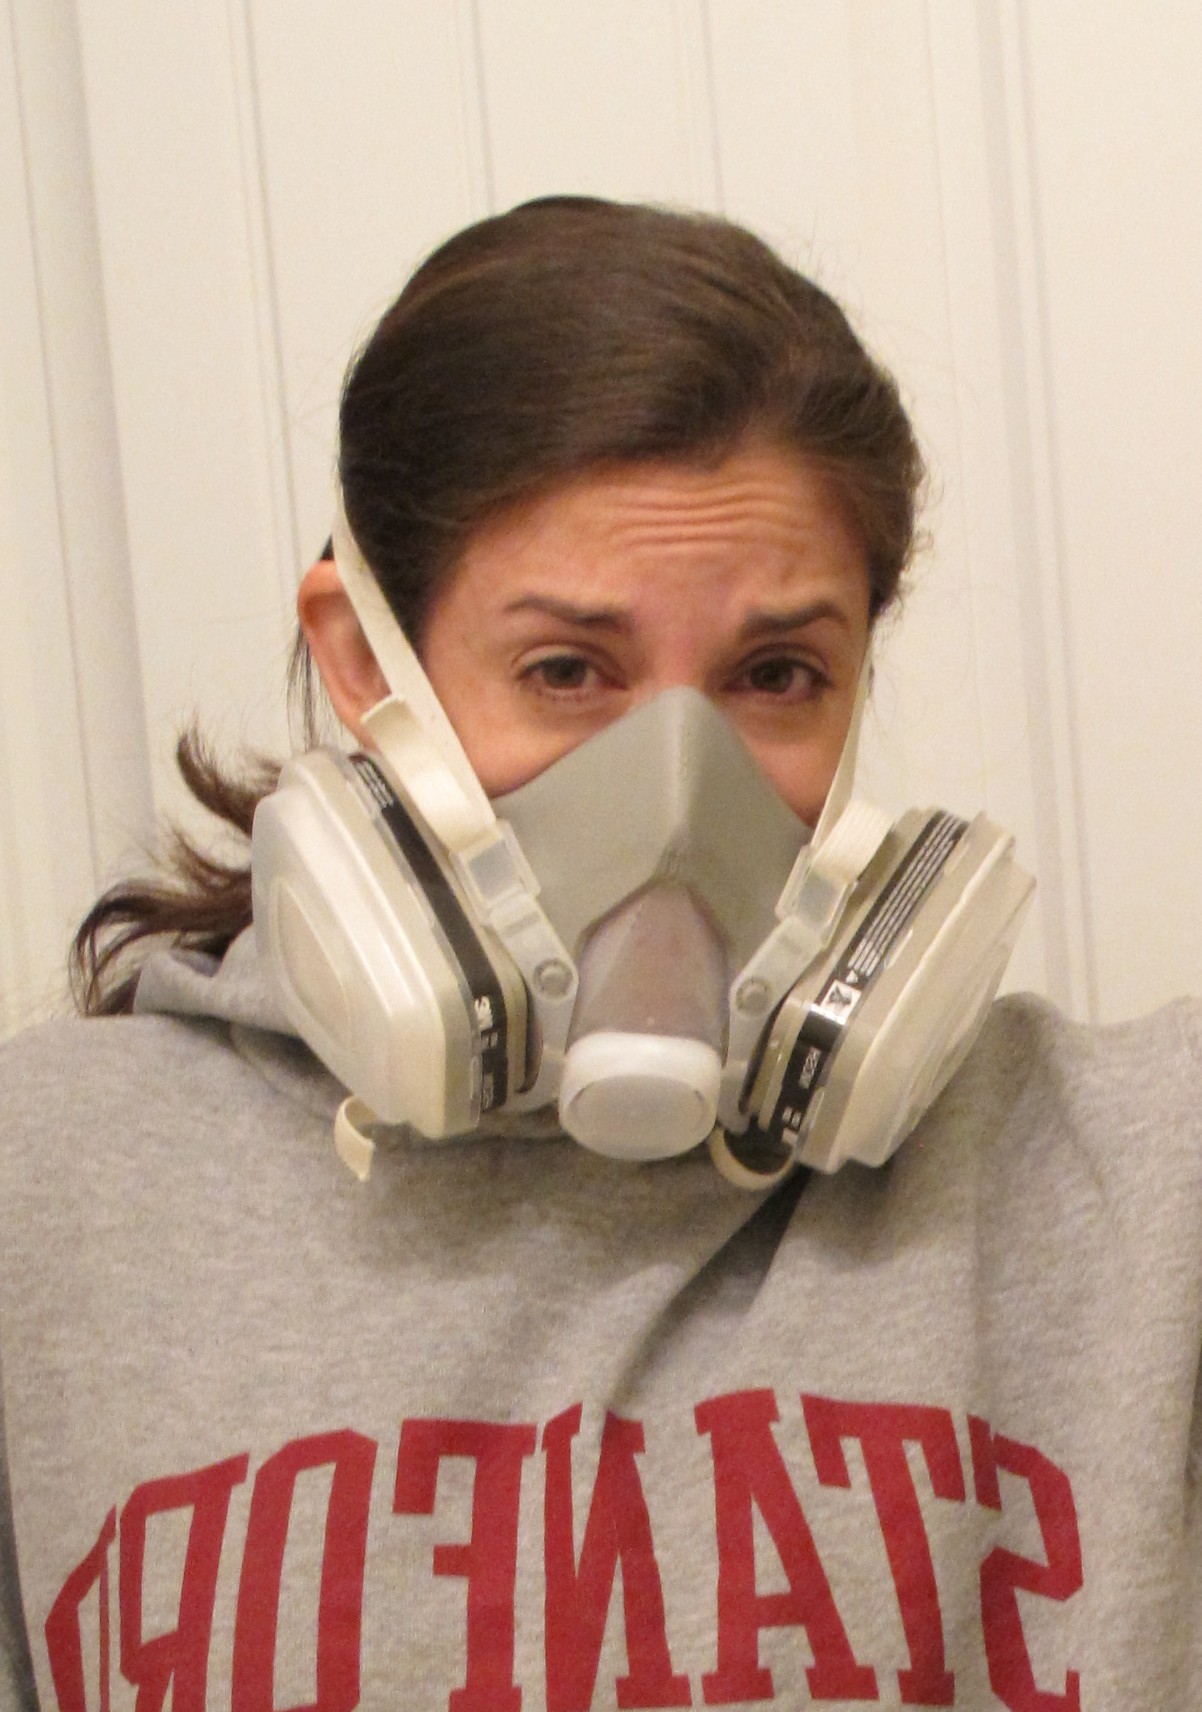
The next day, after Lucas had left the building, I opened every window in the house and turned on all exhaust and ceiling fans. Then, I donned my sexy respirator face….

 IMG_3435 

And assembled my materials….

IMG_3352

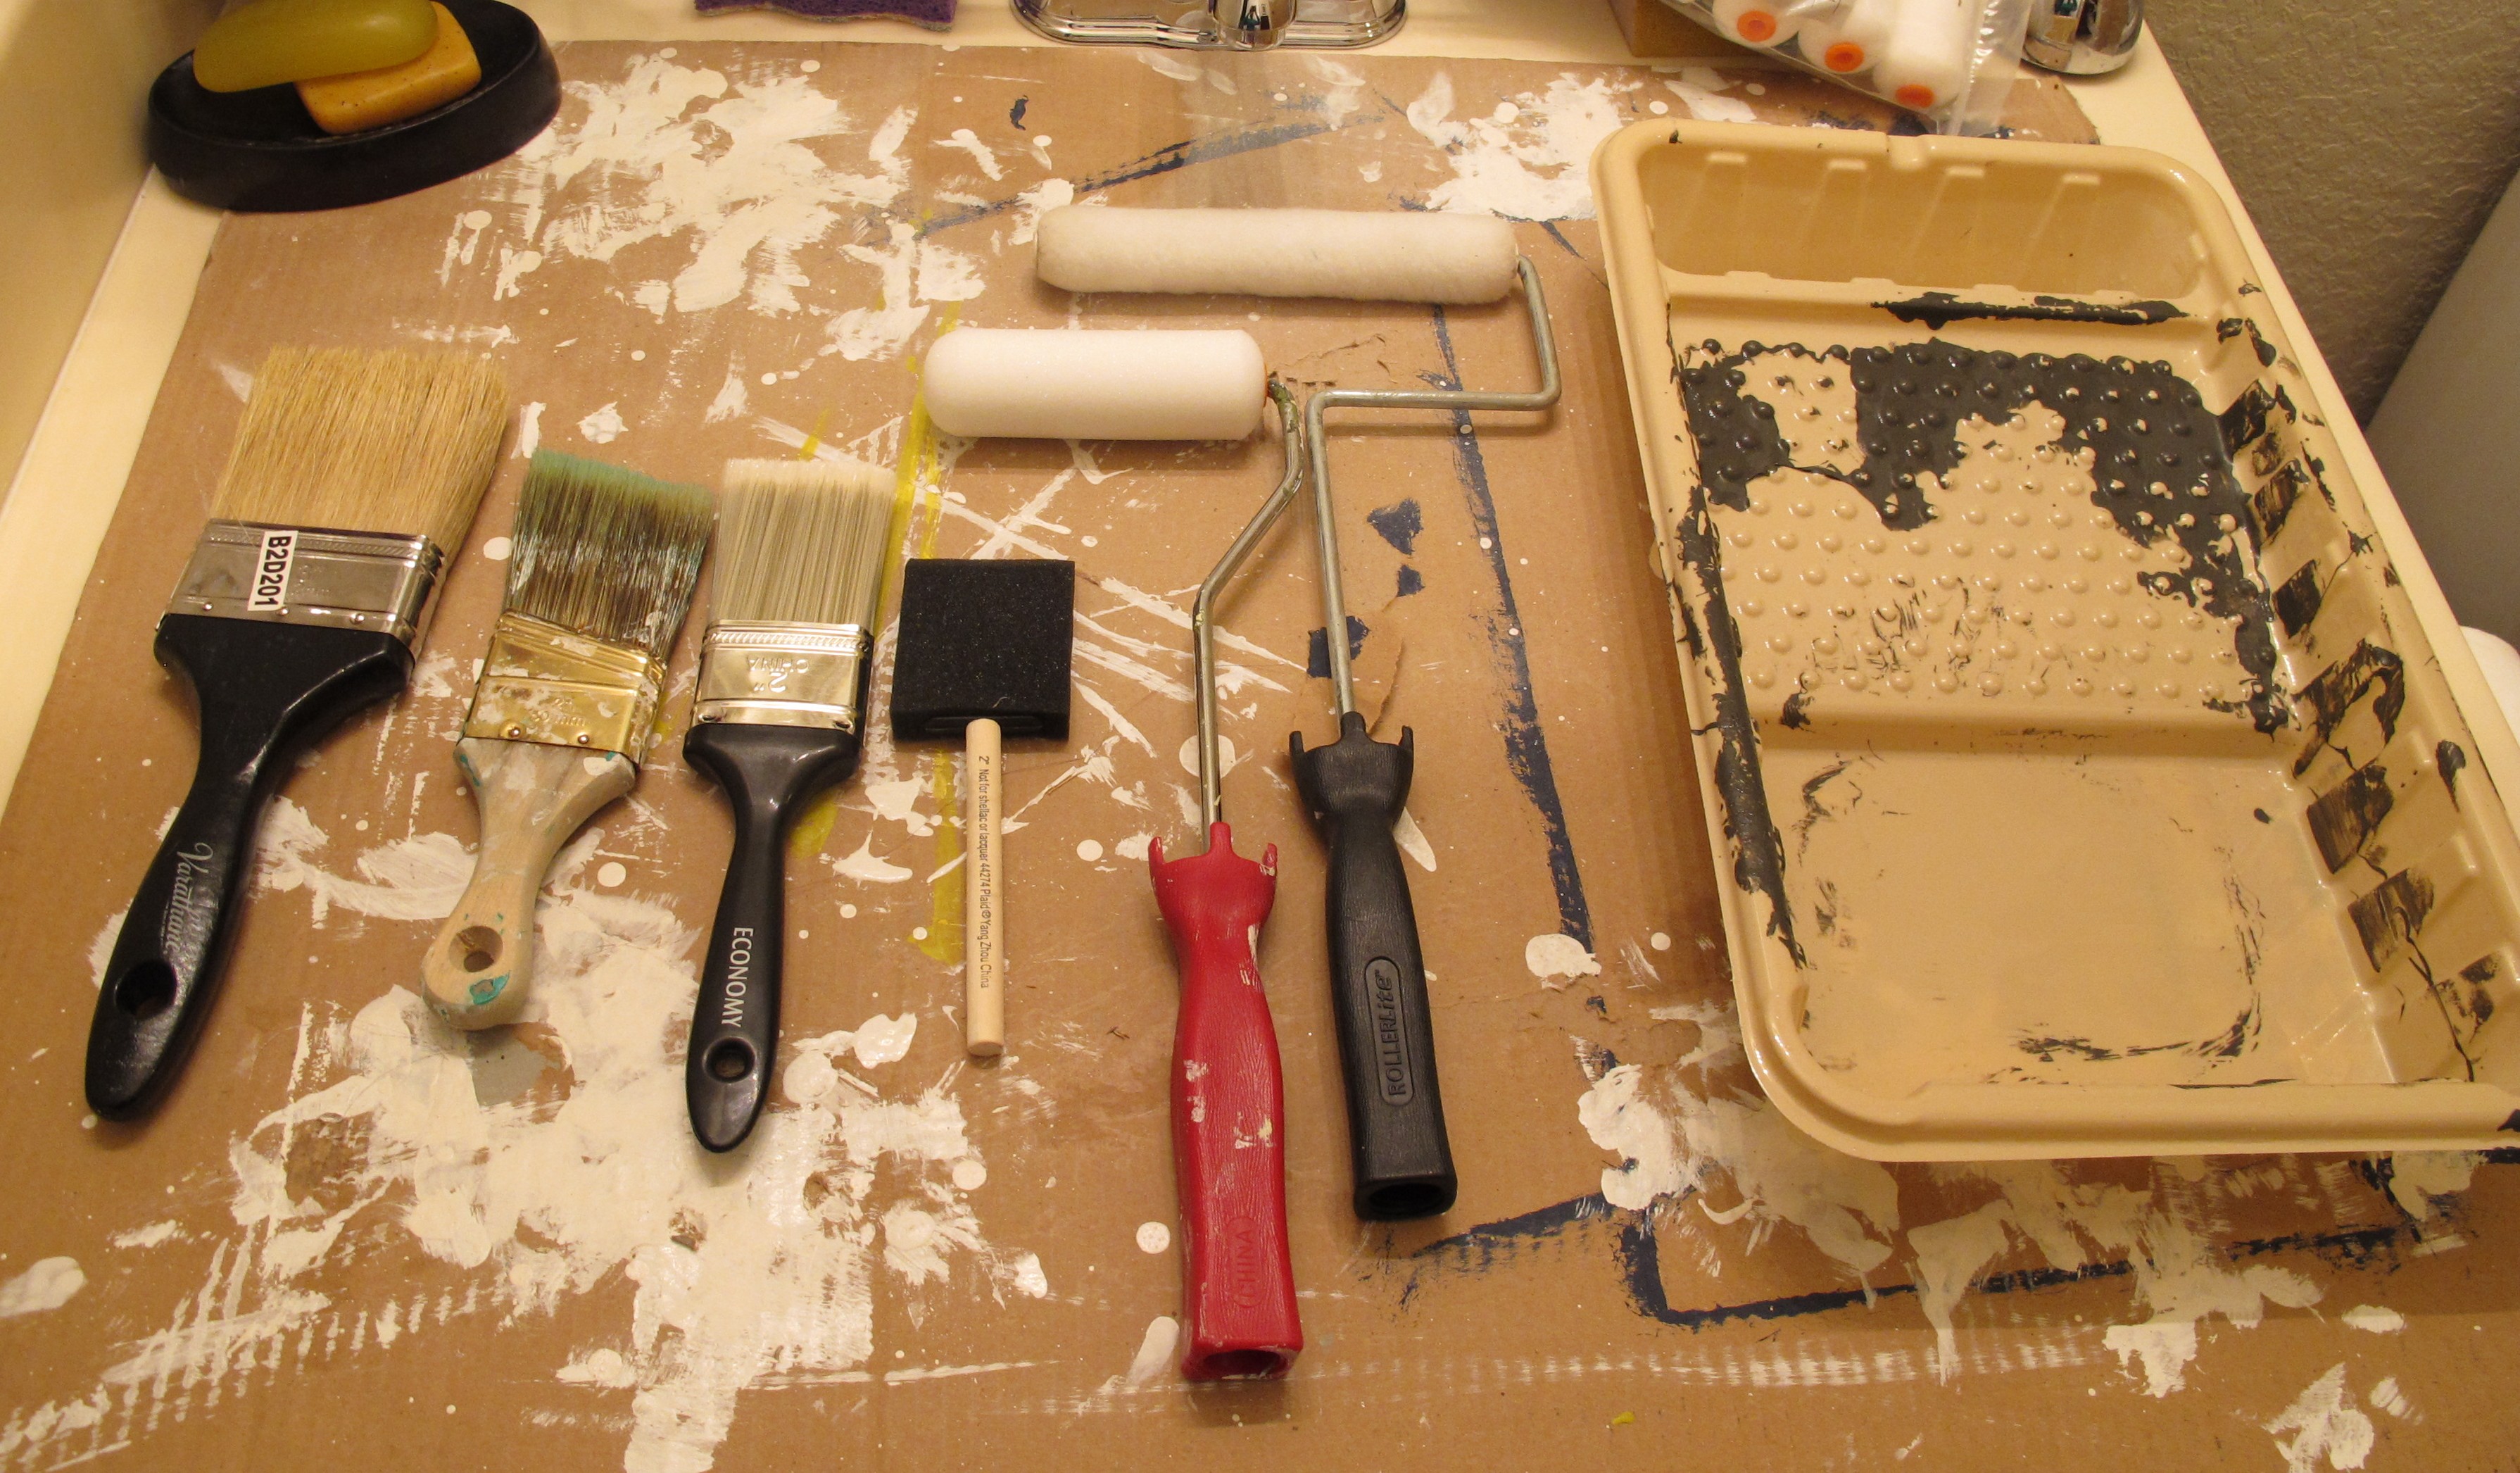
Can you tell I was nervous? Heehee! I set up my “surgical tray” with every brush and roller I thought suitable. I had no idea what would work best. I grabbed the small black paintbrush and foam roller, crossed my fingers that I wasn’t gonna screw it up, and got to work. Fortunately, my first choice of brush and roller worked fine. Woohoo! Turns out that the product is self-leveling so it’s somewhat forgiving when it comes to brush strokes and such.

Anyways, the two part kit had a small can of activator and a can of epoxy paint that needed to be mixed together.

IMG_3358

I stirred them thoroughly, then brushed the paint into the grout lines and crevices…

IMG_3359

and rolled the paint on in between….

IMG_3360

I didn’t worry about thick coverage since I knew it would take at least two coats, I just focused more on avoiding drips.  I painted only a few tiles at a time since the paint became tacky pretty quickly and I wanted to be able to smooth over my brush strokes with the roller.  There were a few areas where the paint didn’t adhere well, but I hoped that another coat would do the job. Supposedly, this paint would stick to anything. After the first coat dried, I applied a second coat. And then realized that I was in a bit of a pickle. All of the reviews I’d read about this product said how great the coverage was and how two coats was more than enough. They also expressed that there was plenty of paint to last in the kit. Well surprise to me…

IMG_3369

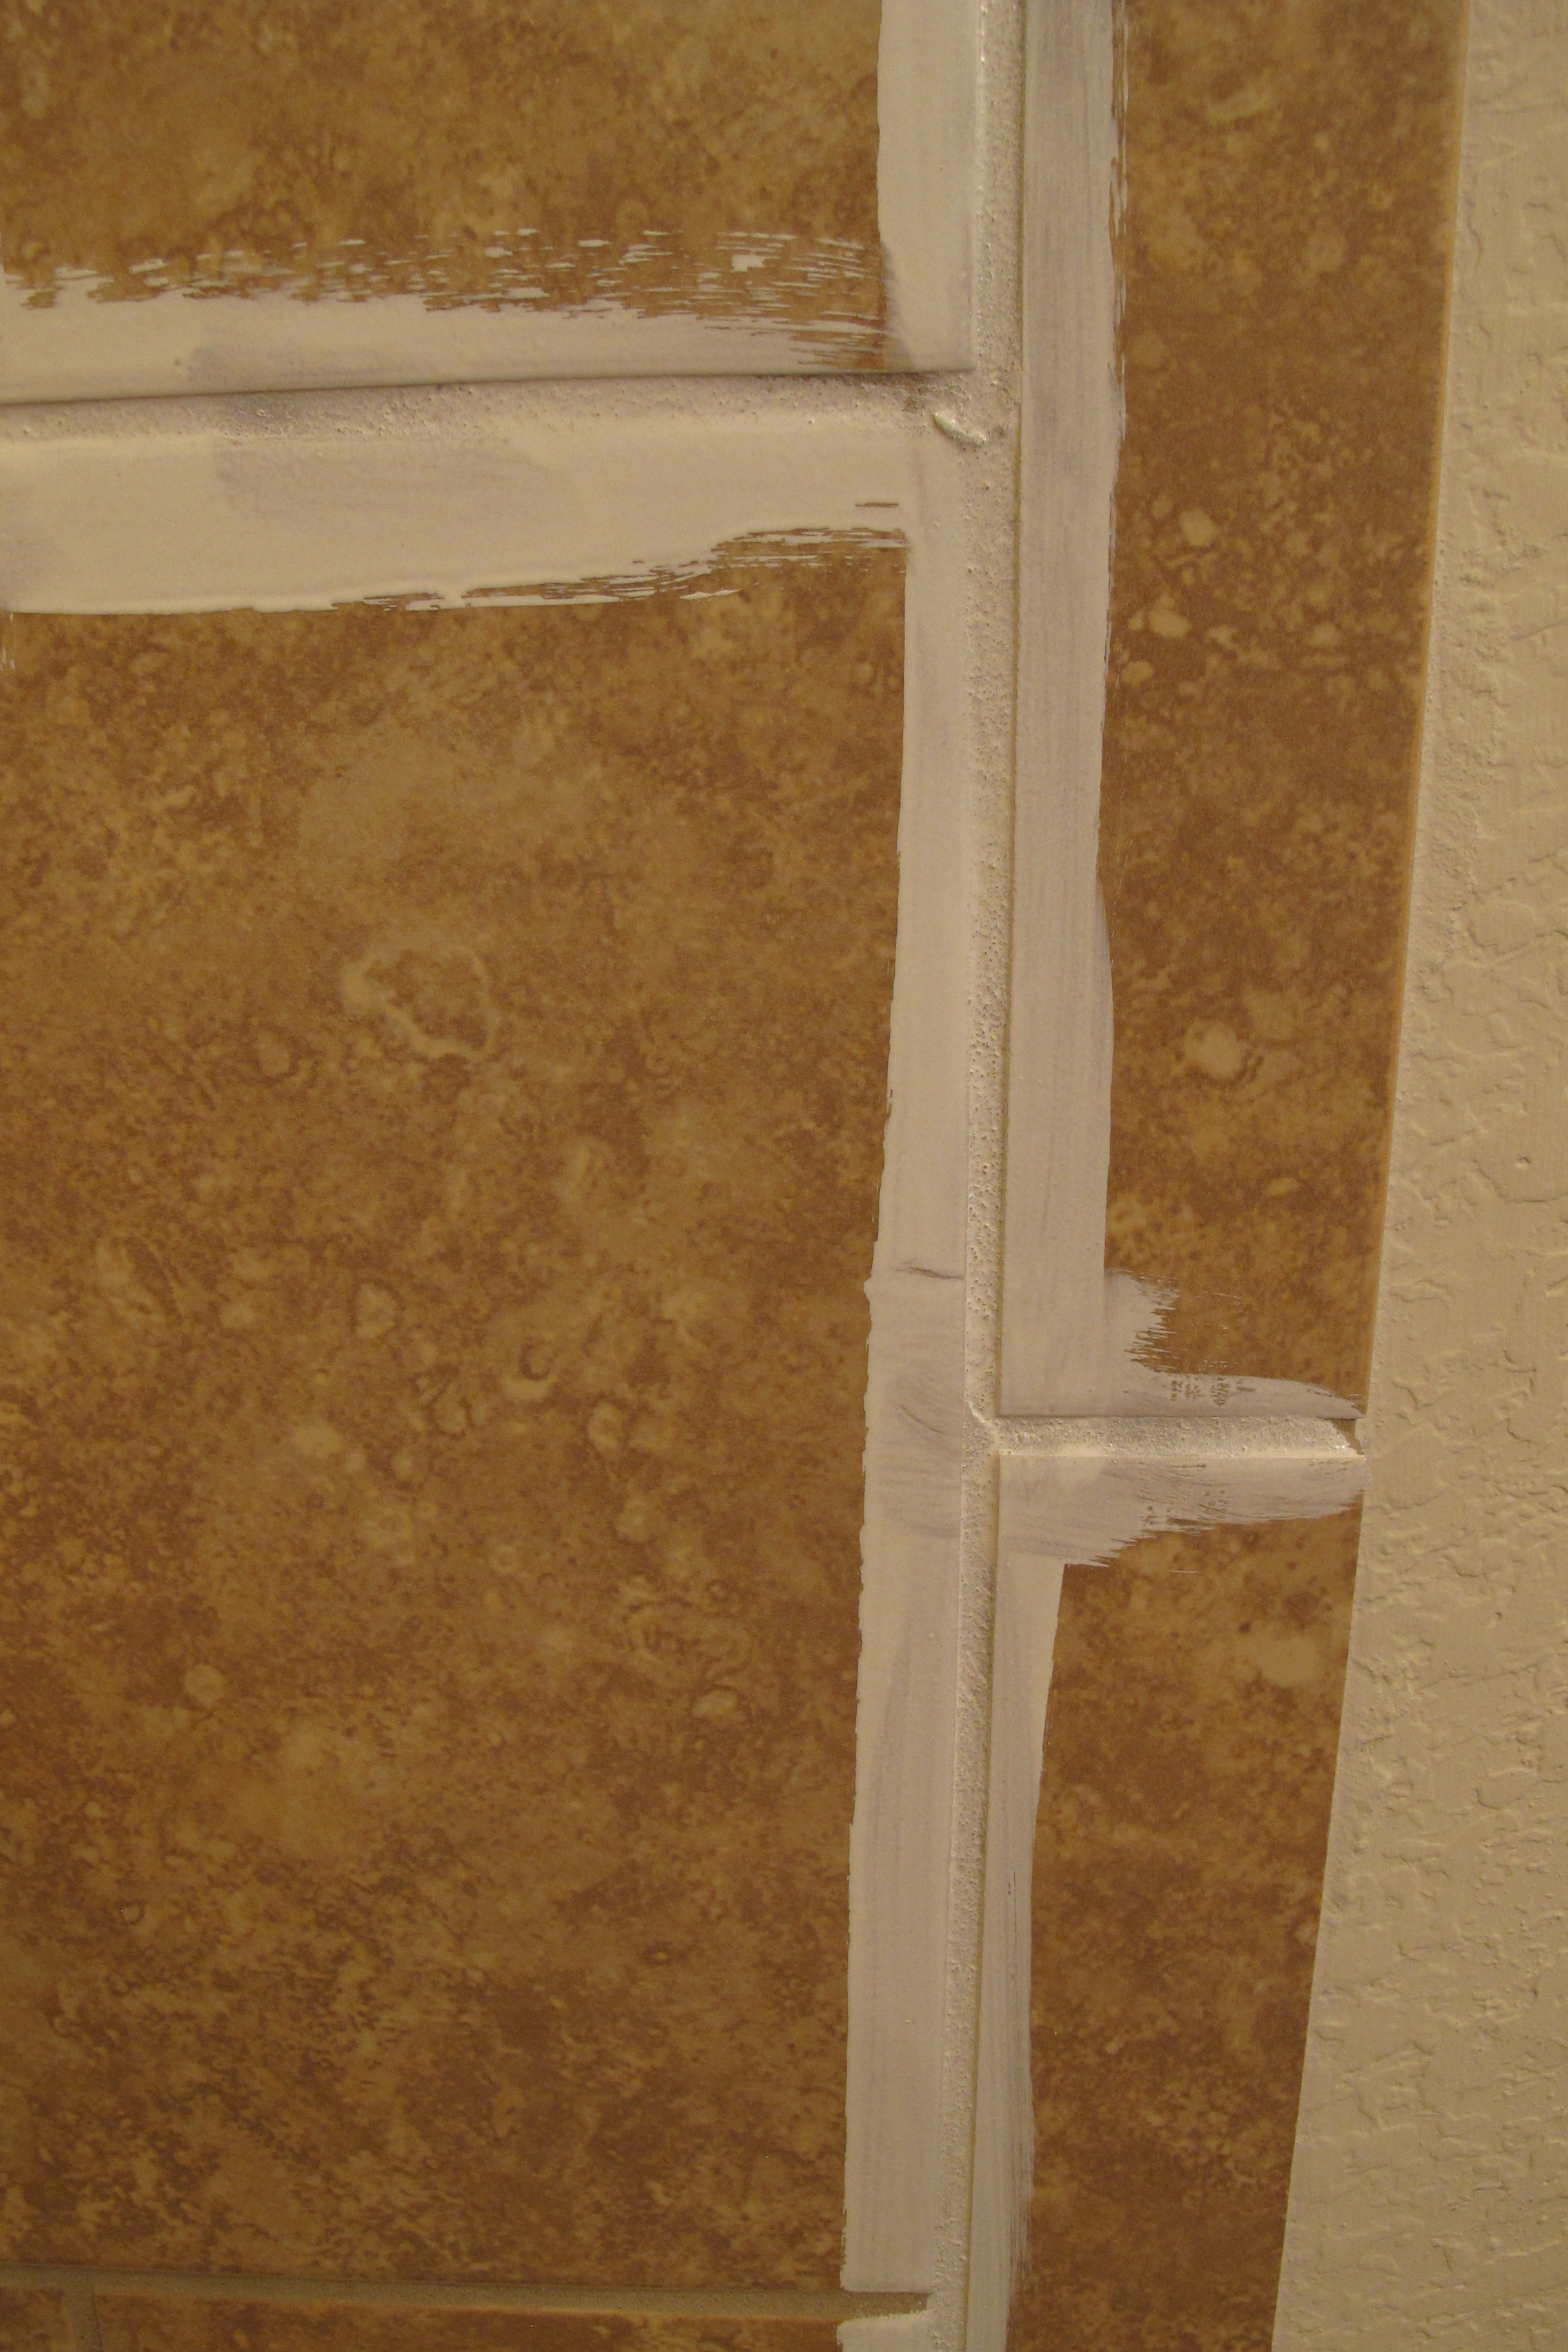
… As suggested here (you can see the unevenness of coverage), I needed a third coat. And was out of paint. And no local stores carried these particular kits on the shelf. Believe me, I tried to find them. Note to self: Order more paint than you think you need. You can always return it later.

Luckily, Mac, my awesome mother-in-law (wait for it…) happened to have an extra tile refinishing kit (the very same one that I was using) at her house. Seriously. Is that not completely kick butt?? I drove over there mid-project and picked it up, while giving profuse thanks. While I was there, I asked her about the areas of tile that were misbehaving. After two coats, they still looked like this…

IMG_3365

I had called Rustoleum’s customer service line to ask for troubleshooting advice, but (wait for it again…) THEYRE CLOSED ON WEEKENDS. Ya know, when the majority of the DIY community actually uses their products. Jeepers. Mac suggested trying a bit of shellac primer on those areas, so when I got home I gave it a go….

IMG_3371

After waiting the 45 minutes suggested on the can, I applied a third coat of epoxy paint. The primer definitely helped with adhesion, but since it’s a yellower tone, it showed through my third coat. So, I applied a fourth. Yup. Four was my lucky number. Four coats. But they sure did the trick. Check it out…

IMG_3441 IMG_3445

And the before…

IMG_3324

The tile came out glossy and porceline-like. And beautifully, miraculously white. So fresh and bright.  The room has so much less of a yellow cast now.  Even our “biscuit” tub, toilet and counters look less yellow now.

Because the tiles are so big, you can see some roller marks, but it almost looks like the natural texture in the tile. All in all, for a fifty dollar improvement, it makes a huge impact and was totally worth it.  Now, I can choose ANY paint color I want for the walls! Woo hoo! A planning post is in the works for this room to show you what I’m thinking, so, stay tuned.  I just can’t wait to move forward and personalize this space now that the pukey yellow elephant has left the room.  You might notice that I got some of the paint on the walls… I really wasn’t too careful since I knew I’d be painting the walls anyways.  I’ll just hit the larger spots with a bit of primer before I paint.  No biggie.

I will say that as far as fumey goes, this stuff definitely takes the cake. The respirator helped a ton. I couldn’t even smell the fumes with it on, but the second I took the mask off they practically knocked me over. I got out of the house as fast as I could (and went to Homegoods. Surprise!). After a few hours the fumes were drastically better and after about a day, they’d calmed down enough to where I felt comfortable bringing Lucas back into the house. I can still smell them, especially in the bathroom, but it’s a lot better now. We haven’t used the shower yet since the kit recommends waiting 72 hours before exposing the paint to moisture. I think we’re gonna wait a week to be safe. After four coats I ain’t taking any chances. I’ll let y’all know how the paint wears as time goes on, though. If there’s any chipping or peeling, it will be said.

So, what projects do y’all have going on? Anybody painting lately?

A little door piz-ainting…

Piz-ainting? Why yes, that’s a little gangsta speak for your Friday reading pleasure.  Word. 😉

So, what is this painting of which I speak?  Why, let me introduce you to our back door….

IMG_3211

He’s a likeable guy.  Functional.  Happy to provide privacy when needed.  He’s quiet.  Not much of a talker.  Which suits me just fine.   Only problem… He’s a little dull.

Don’t get me wrong… white doors are nice.  We’ve got plenty of ’em.  Its just, when you take in the room from this standpoint….

IMG_3208

It’s a lot of white.   White curtains, white blinds, white trim, white door, white fireplace.   Now, I like white.  A lot. Obviously… I mean, it’s everywhere in our house.  But I LOVE contrast.  Pop.  Excitement.  So, I decided that this quiet soul deserved a makeover.  A charcoal makeover.   I decided that charcoal was the man of the hour because it’s a fun contrast, but it’s more casual than a deep elegant black.  Plus, since our front door is stained an ebony color, I thought the charcoal would bring in a nice consistency among our exterior doors… Darker-toned but not quite black.

A while back (as in, pre-blog days) I’d planned to paint our fireplace a dark color (and have since changed my mind).  I purchased a quart of deep grey paint (Rockport Grey by Clark & Kensington) for this very job but never ended up using it.  Since I already had the paint on hand, I just assumed that I’d use it to paint our back door.  But, then I hesitated.  It’d been a while since I’d seen the actual color and I wanted to be sure. To be on the safe side, I painted a swatch of Rockport Grey onto a piece of cardstock and taped it to the back door.  And boy am I glad I did…

IMG_3078

It’s hard to tell from this awful pic, but the undertones of the Rockport Grey (which are more blue) don’t go with our Dolphin Fin wall color (which has more of a green undertone).   It’s crazy how colors can read so differently in another room (or another part of a room in this case).   The angle of our fireplace and the difference in lighting due to the large windows in the living room allowed the Rockport Grey to take on more of a green cast which went great with our wall color when it was displayed on the fireplace.  Our windows are Low-E windows which have a slight green film to them (you can see it from certain angles when you stand outside) so the larger and brighter the windows, the more of a green cast the light provides.   The smaller windows in our breakfast nook don’t provide as much light because they’re under the covered porch, so… less green.   Which explains why the Rockport Grey appeared more blue in this part of the room.   If there’s one thing I’ve learned since moving into our house it’s that it’s always a good idea to hang paint swatches in multiple areas of a room (during multiple parts of the day) to make sure your chosen color is truly what you want.

After realizing that my paint was a no-go, I headed to Lowes and picked up a bunch of charcoal swatches and taped them to the door.  Enter the three finalists…

IMG_3203

They stayed up there for about a week because I wanted to be sure that I liked my pick in all types of lighting.  In the end, the winner was the top swatch (Ebony Field by Valspar).  I went back to Lowes and picked up a quart of primer+paint in semi-gloss to save me a priming step…

IMG_3217

I prepped our door by thoroughly cleaning it with my water/vinegar spray to remove any dust or dirt, then I wiped it down thoroughly with a deglosser (which is basically liquid sandpaper).  I taped around my hardware, window and door with painters tape…

IMG_3216

In a perfect world, I would’ve removed my hardware, but it was a really windy day and I was afraid that the door would swing open and ruin my paint job if I removed them.  Also, I’m still very much a beginner in the photography department so I’m sorry about how dark some of these pics are.  I’m working on it for sure! 🙂

Now, it was time for painting.  I used my favorite angled brush and a small foam roller. I brushed around the trim…

IMG_3220

and rolled the flat parts…

IMG_3223

I applied a thin and even coat of paint, being careful to avoid drips.  Then, I allowed the paint to dry thoroughly.  Once it was dry (here it is after one coat)…

IMG_3227

…I began to brush a second coat onto the window trim…  which is when everything fell apart. Sort of. I tried to remove a small piece of painters tape from the window. And a large portion of my freshly-applied paint peeled off with it.

IMG_3235

Oh no.

That’s when I realized that the trim around the window is plastic, not wood as previously thought. And apparently, our builder had painted white, water-based paint over it without properly prepping the surface. Oy. So, I had prepped MY surface well. My grey paint stuck to the white paint just fine… The white paint just had nothing to cling to in return with all that slick plastic beneath it. So, when it was moistened with wet paint it totally bailed.

Needless to say, I was a smidge on the frustrated side at this point (understatement).. I explored the door further and realized that the peeling was only an issue on the trim around the window. The actual door was fine. So, I used a razor to score the paint between the trim and the door and then scraped the rest of the paint off the trim with my fingernail. It practically fell off. In large clumps, too. Which left this…

IMG_3236

Attractive, huh? I used 220 grit sandpaper to rough up the plastic and dispose of any small bits of paint that were left. Then, I wiped down the trim with a deglosser (again). And I busted out the big-gun shellac primer (Zinsser BIN primer) and applied an even coat to the trim with a foam brush. Then, I called it a day and watched How To Lose a Guy In 10 Days for the hundredth time.

The next morning, after enjoying my giant cup of coffee (whilst whispering sweet nothings into my cup), I got on it with my next coat of paint. I brushed paint onto my newly prepped trim and boy did it go on easy. I should’ve been whispering sweet nothings to my primer, ’cause that stuff rocks. Then, I rolled on another coat of paint to the flat planes with my foam roller. … And I started to get excited. I could see the final result starting to shine through. Nothing feels better than that moment where you see a project starting to come together and realize that you’ve made the right decision. I’ve never wanted to hug a door more in my life.

Anyhoo, I waited for the paint to dry and then applied one more thin coat (for a grand total of three thin coats). I scored the painters tape with a razor (just to be safe to prevent additional peeling). Then, I used the razor to remove any rogue paint that had gotten on the glass. Once it dried it looked like this….

IMG_3264IMG_3263IMG_3248

Hello, lover.

I need to redecorate a smidge around this area now to allow the door to shine.  In the first shot, I experimented with placing one of our bird chairs at the head of the table (instead of our black leather parsons chair).  Doing so definitely confirmed that a lighter, brighter chair is needed to replace the black one.   I ended up moving the black parsons chair back to the table afterwards since five bird chairs in one place looked far too busy, but now I’m definitely on the lookout for something new.    Different light, bright styling atop the sofa table is on the agenda as well.   I can’t wait to play!  So fun.

So anyways, that’s my door-painting adventure.  As with most of my projects, a few twists and turns made an appearance, but I reached my goal in the end (albeit in double the time expected).  It’s all par for the course, though, and I learn something new every time a project goes askew so it’s all very worth it in the end.   🙂

img_3264 (1)