Eight Dollar chairs… Part Deux

The other day, I made my first official by-the-yard fabric purchase. I went to Joann Fabrics in search of upholstery material to recover the seat cushions for our new dining chairs (see how I refinished the frames here). I was a little overwhelmed at first as I stood at the entrance and took in the endless fabric choices lining the walls and floor. After walking around a bit, I located the upholstery fabric section which is where I first laid eyes on this glorious sight…

Oslospicebirdfabric

It’s called Oslo Spice. And I absolutely fell in love. Hook, line, sinker. It’s modern, quirky, with just the right balance of bright and neutral colors. The small pops of white would tie in perfectly with my freshly painted chair frames, but it wasn’t too much white to where I would be worried about constant stains. Then, I looked at the price (cue the womp-womp)… $44.99/yard. And I would need 2 yards. Even with the 40% off coupon I had, that was still about 27 bucks a yard for a grand total of $54 plus tax for 2 yards of fabric. Figures that I would become enamored of fabric that I would never justify paying for. I mean, these are $8 chairs.

So, I walked around Joann in search of another option. To no avail. I just kept coming back to my birdie fabric and staring at it in despair. On a whim, I decided to check my phone to see if I could find the same fabric cheaper online. Which is when I found this…

20130916-140032.jpg

$14/yard????!!!!!!! Shut the front door. So, I tracked down a sales associate and asked if they offer price-matching. And she said (wait for it)… YES!!! Oh, happy day!! I showed her the online listing and she happily cut me 2 yards of my beloved fabric and assigned it the total price of $28 buckaroos. Heck. Yeah. I figure it never hurts to ask, and this time it was so completely worth it.

So, I headed home in a haze of bliss with my sexy fabric in tow.

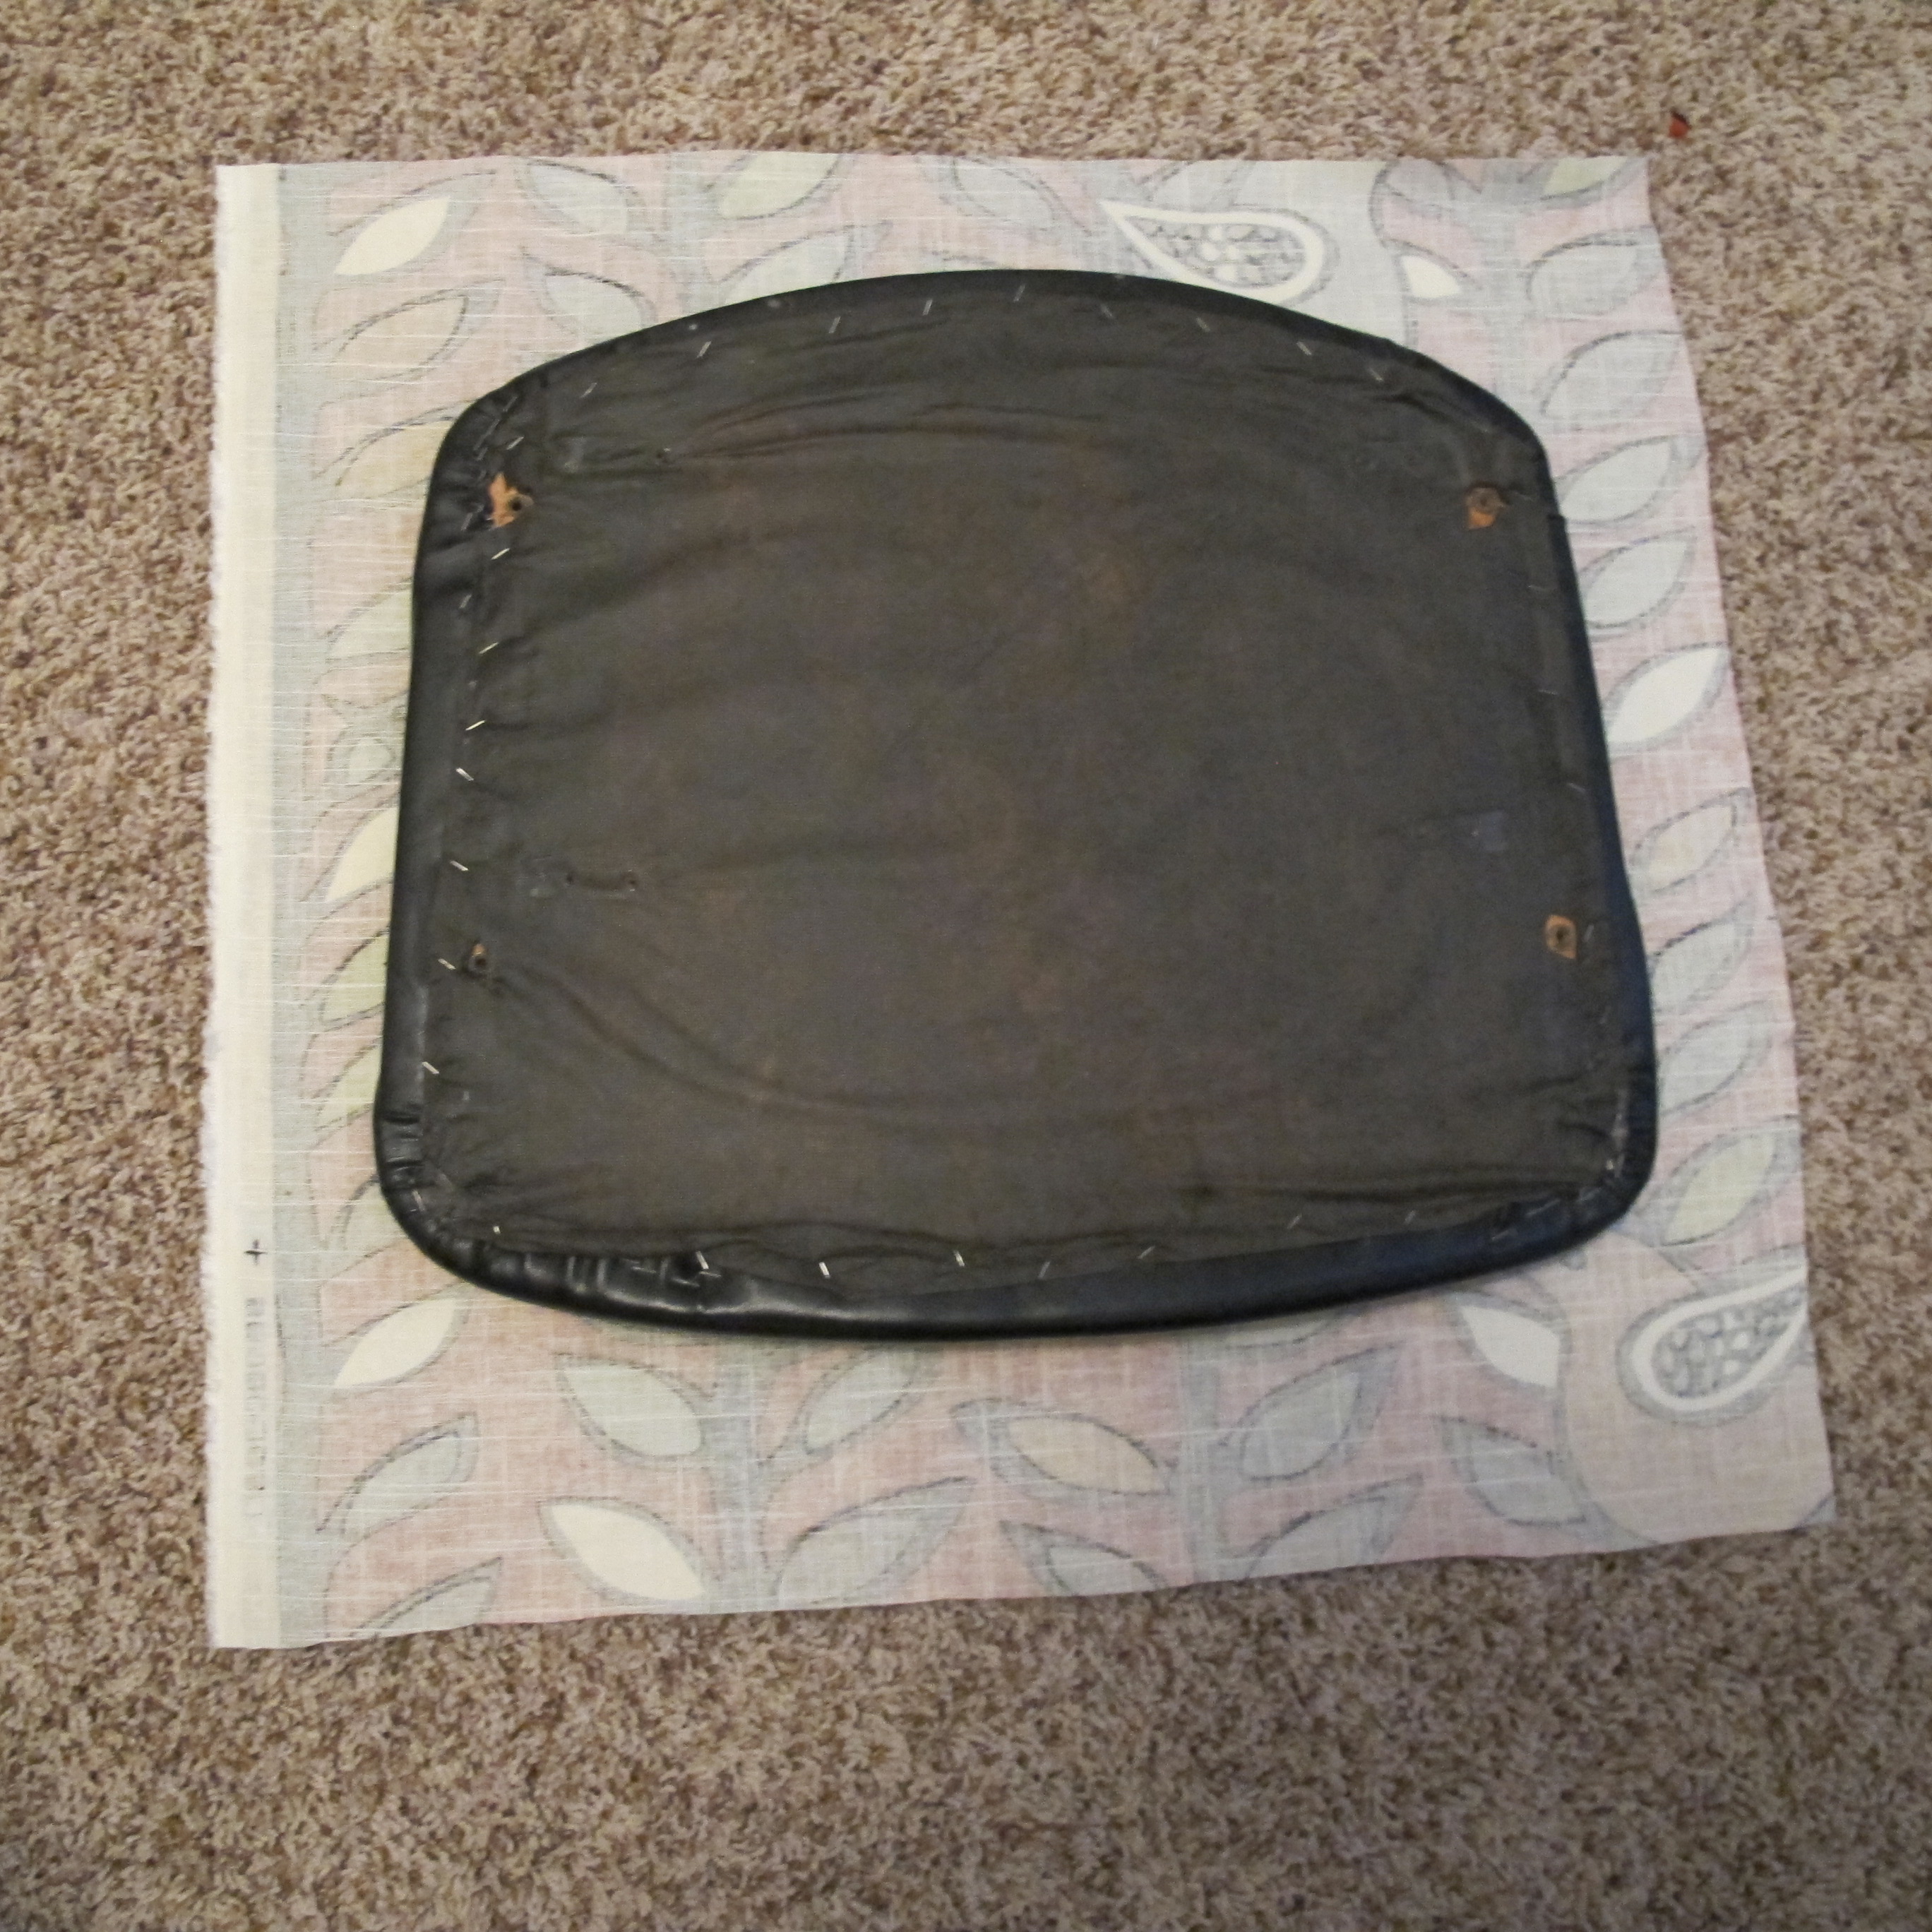
Now, it was time to recover. I think the trickiest part was determining which part of the fabric to center on the seat. I just played around with it until I liked it, then cut the fabric leaving a few inches of excess material for stapling.

IMG_1402

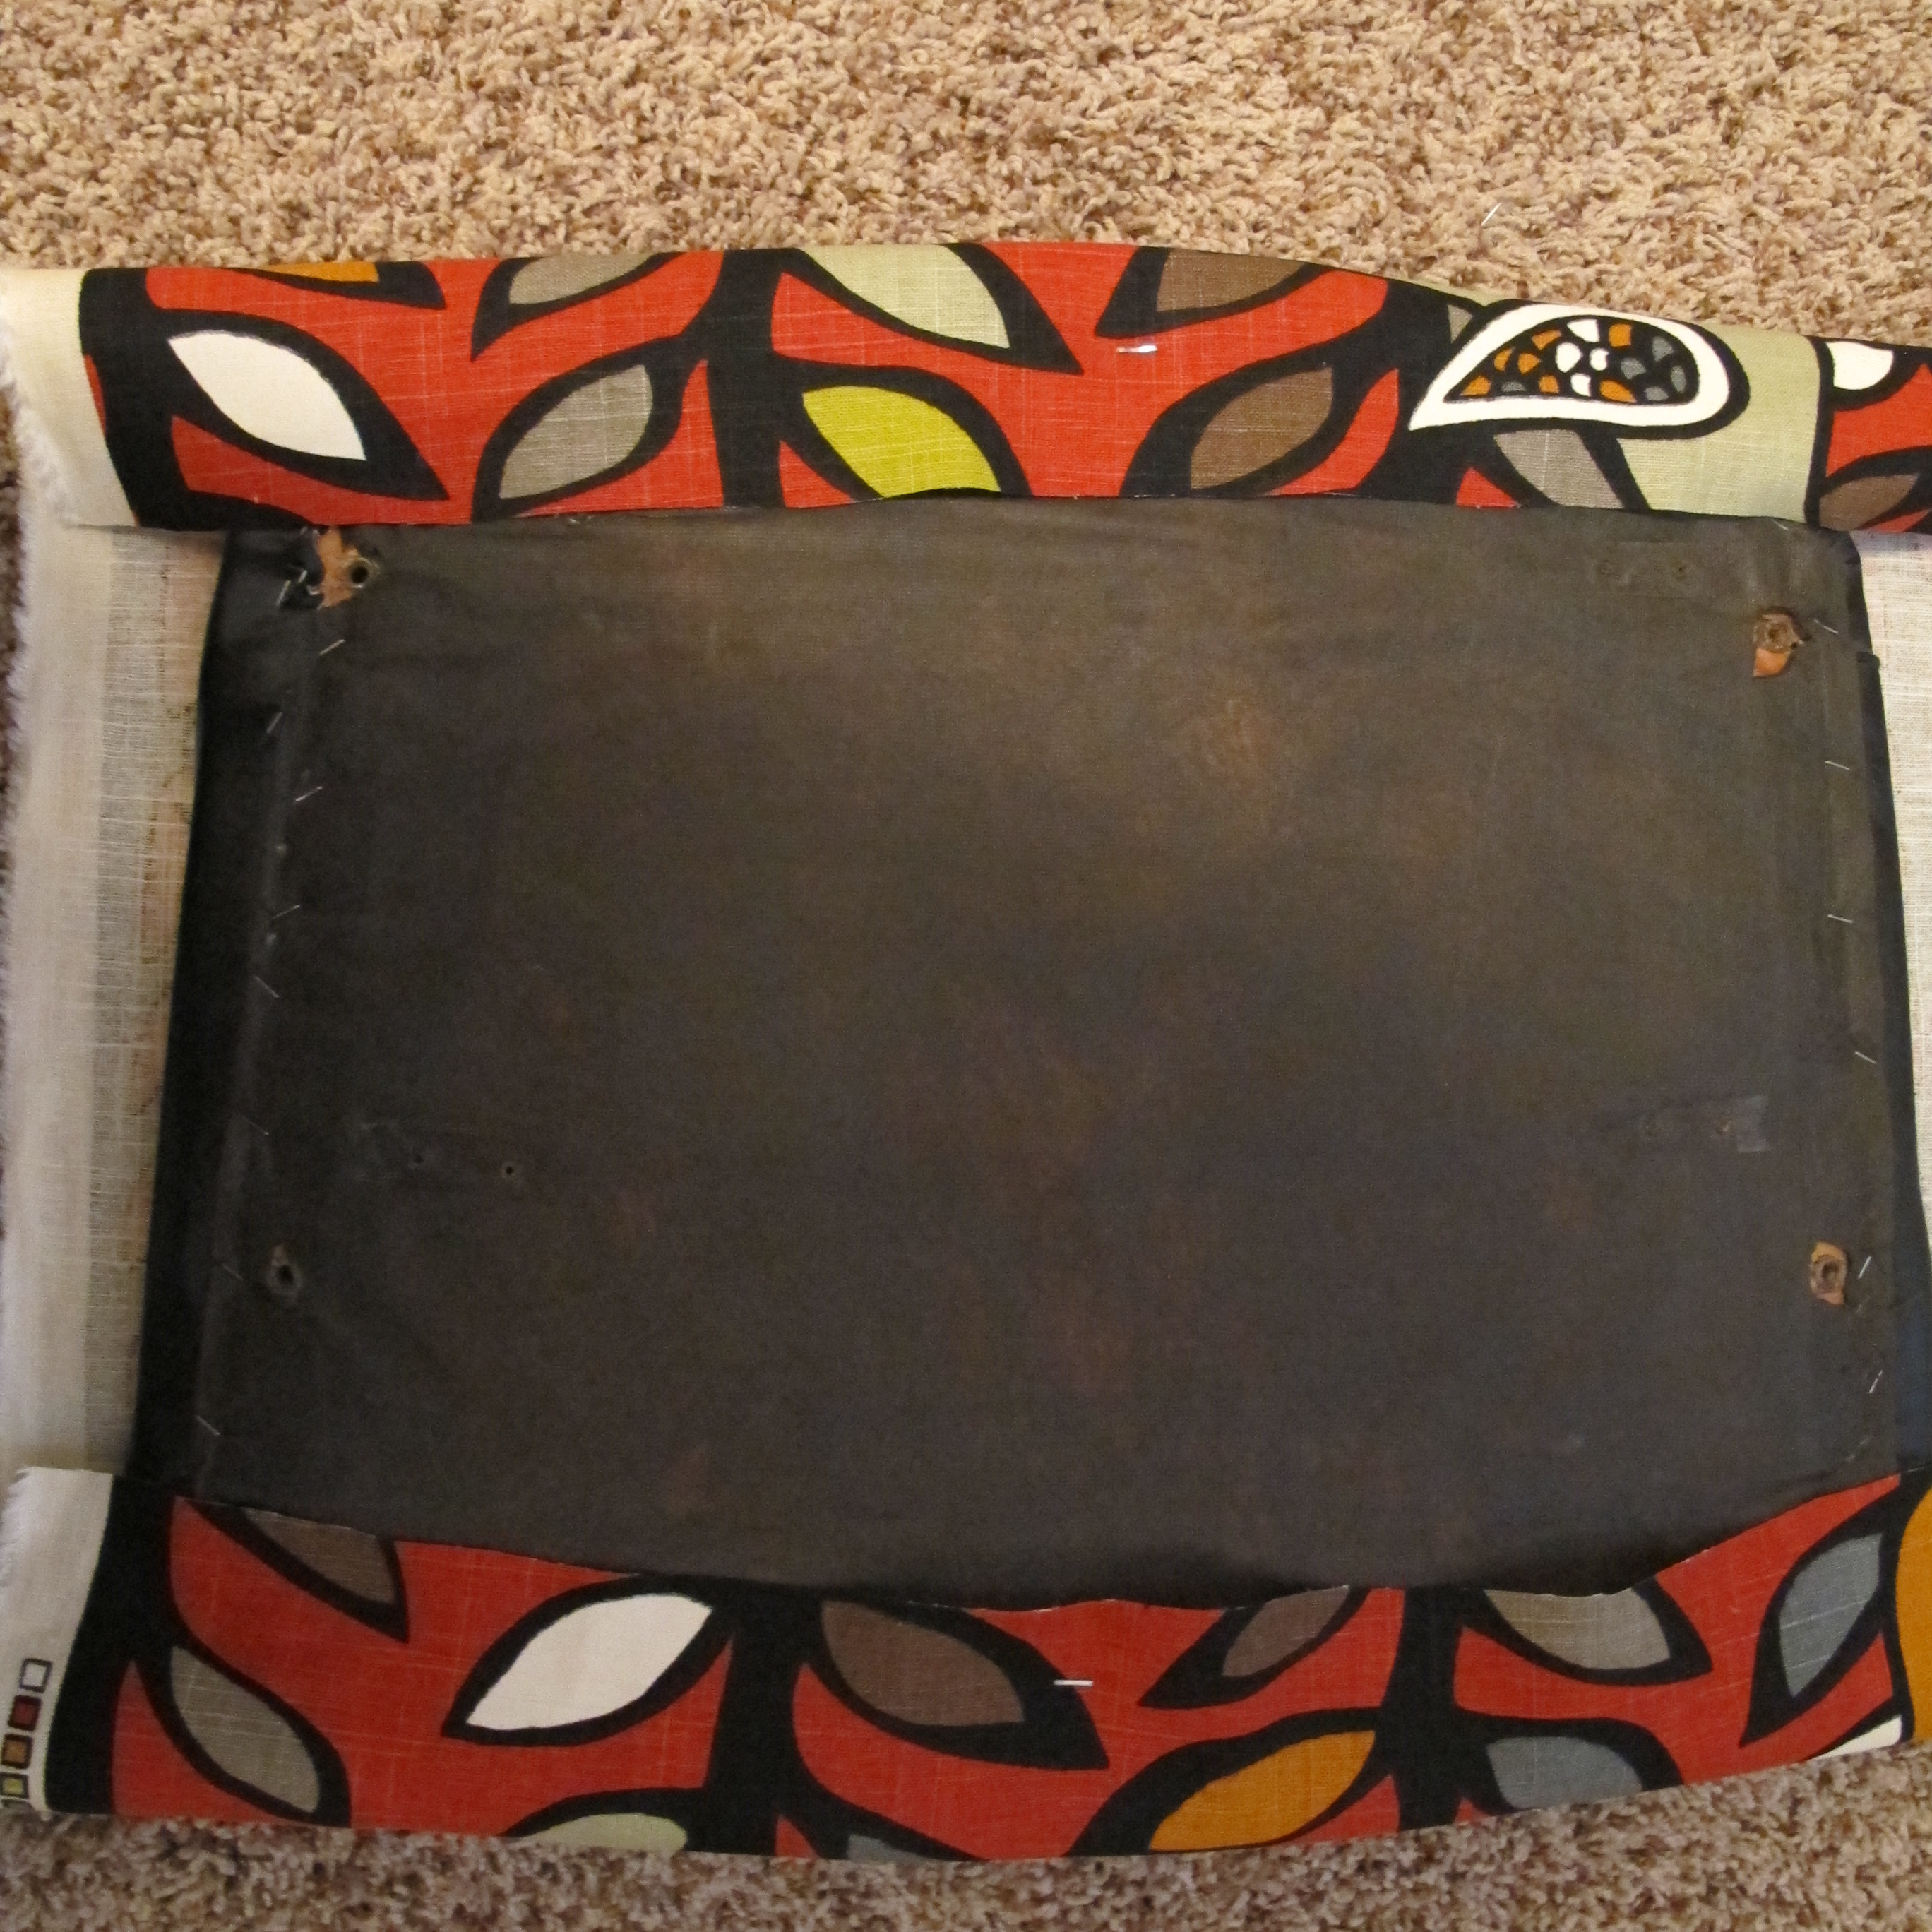
Now for the fun part. I grabbed our staple gun and started in the middle of the top, stapled, then pulled the fabric taut and stapled the same spot on the opposite side on the bottom.

IMG_1403

I turned over the cushion to be sure the pattern was centered. Then, I did the same thing with the left and right sides… one staple in the middle, then double-checking the front for centeredness.

IMG_1404

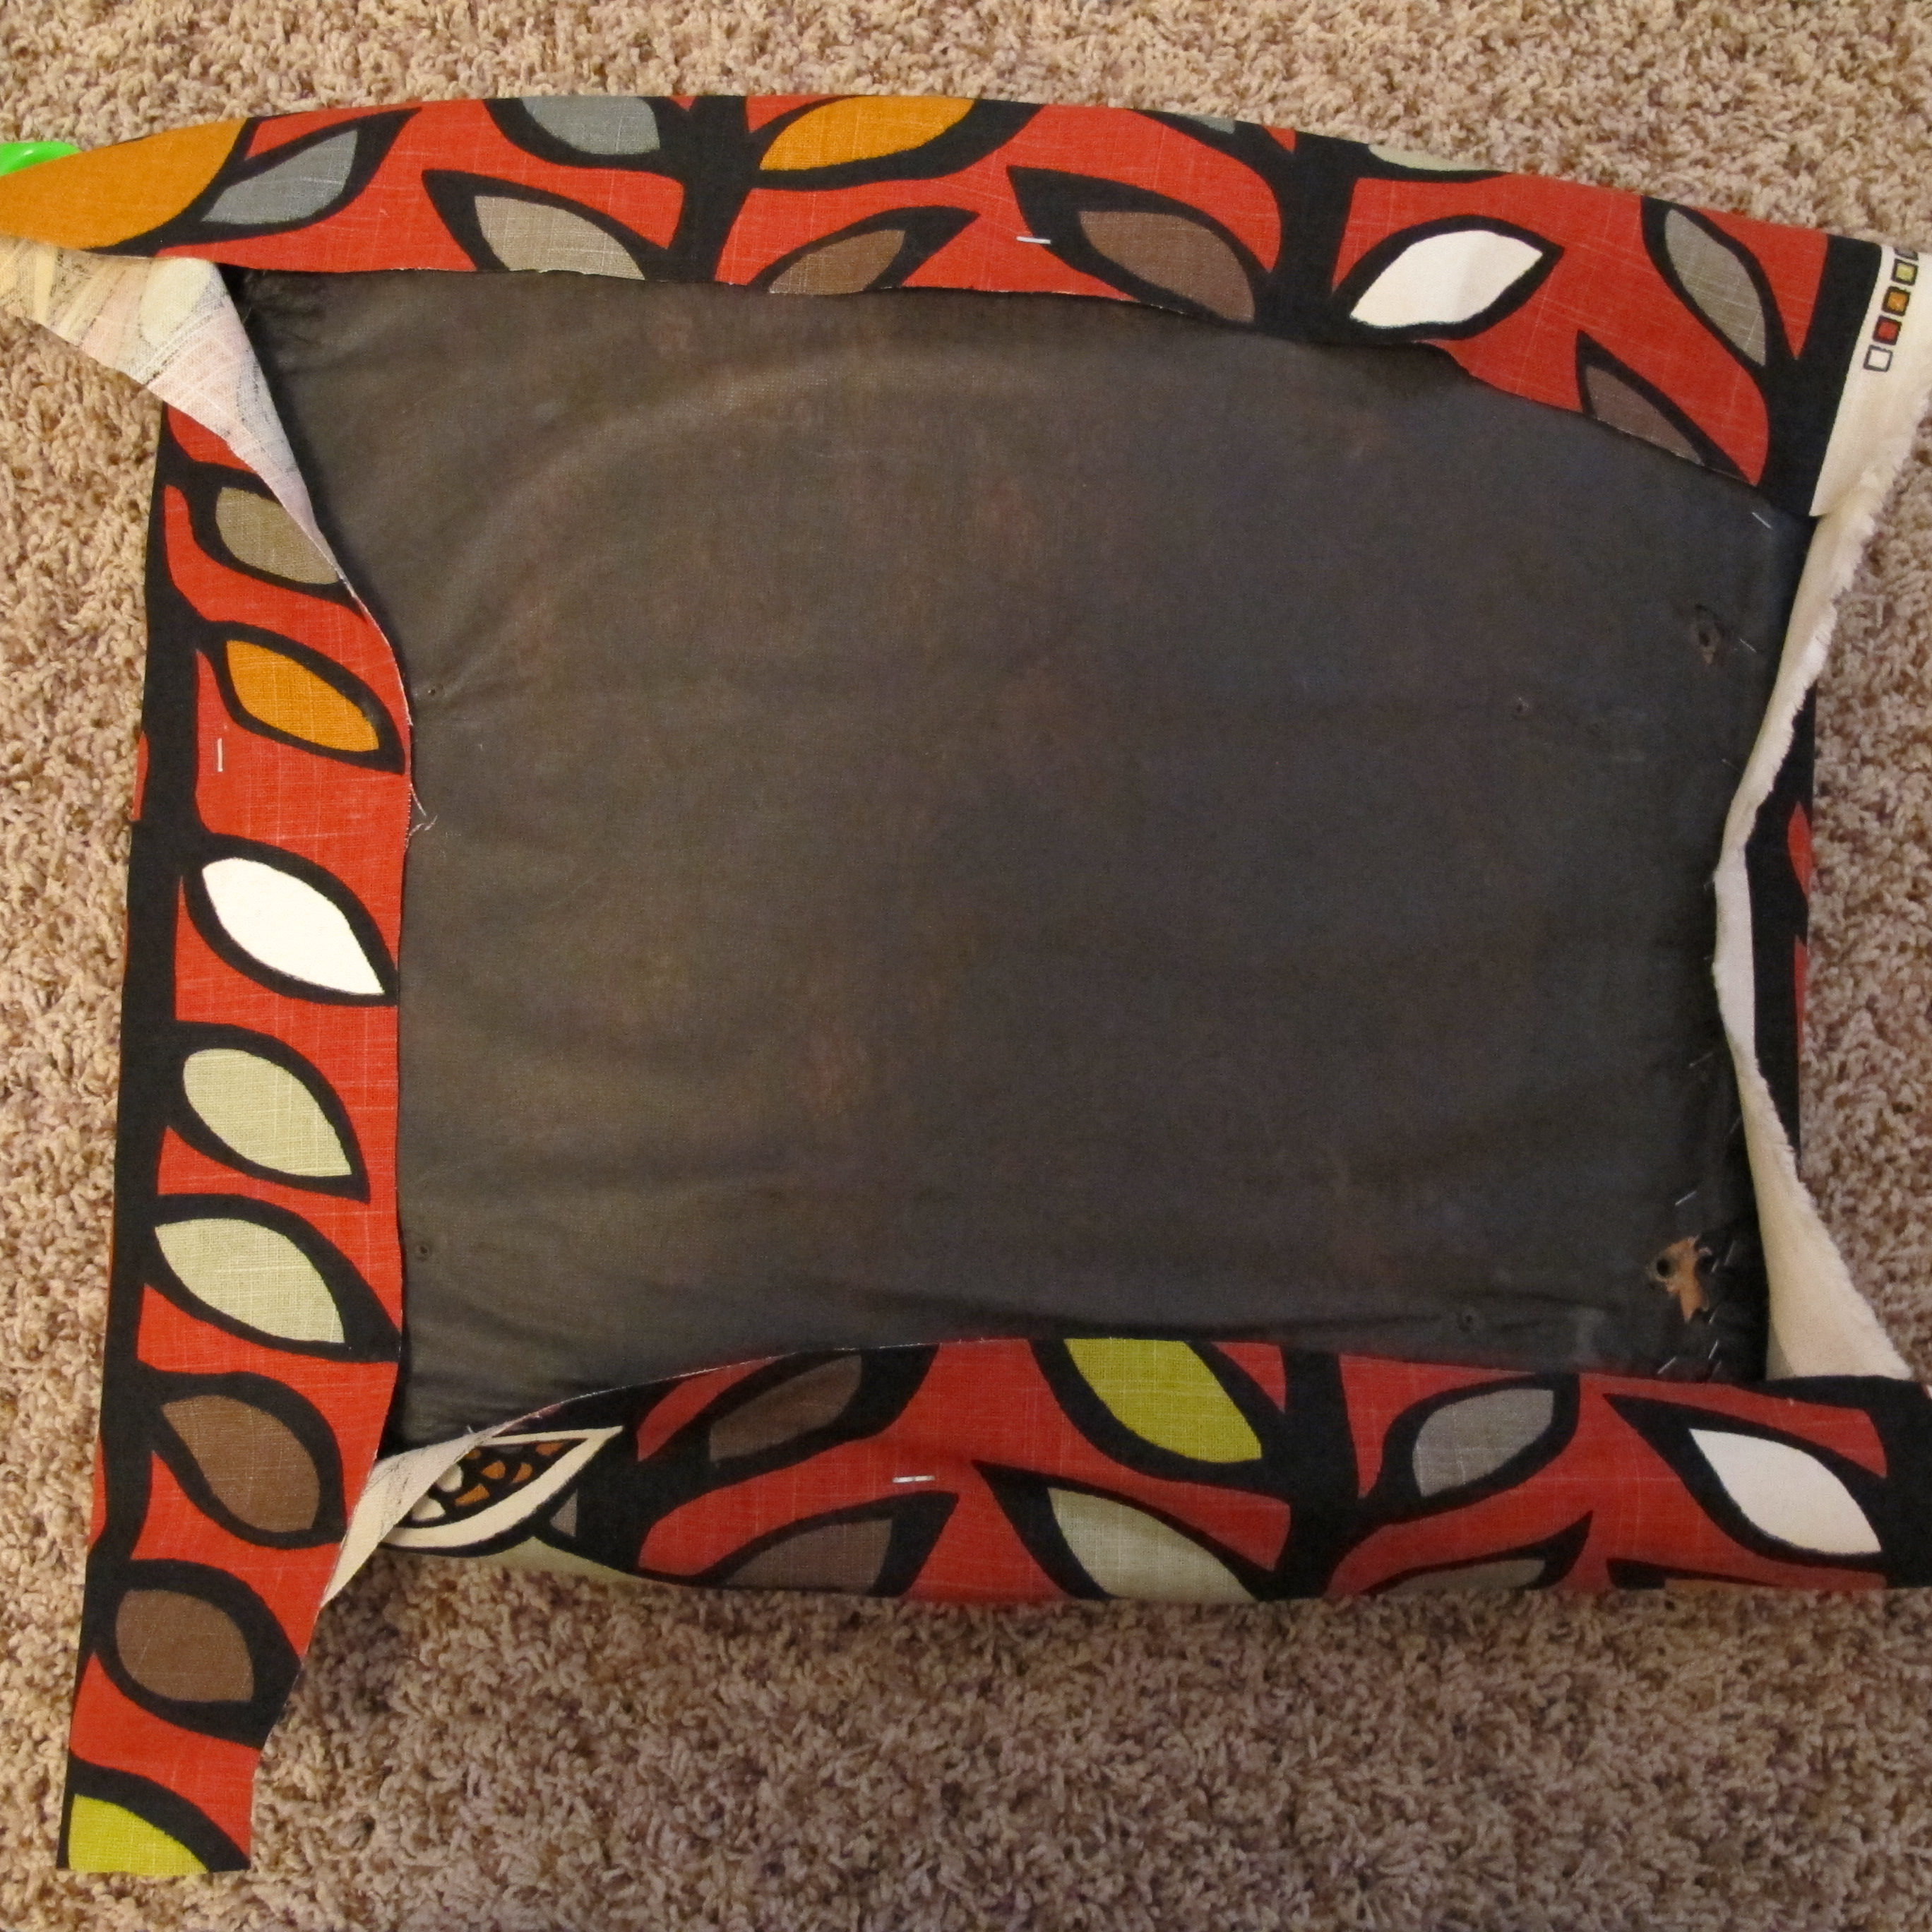
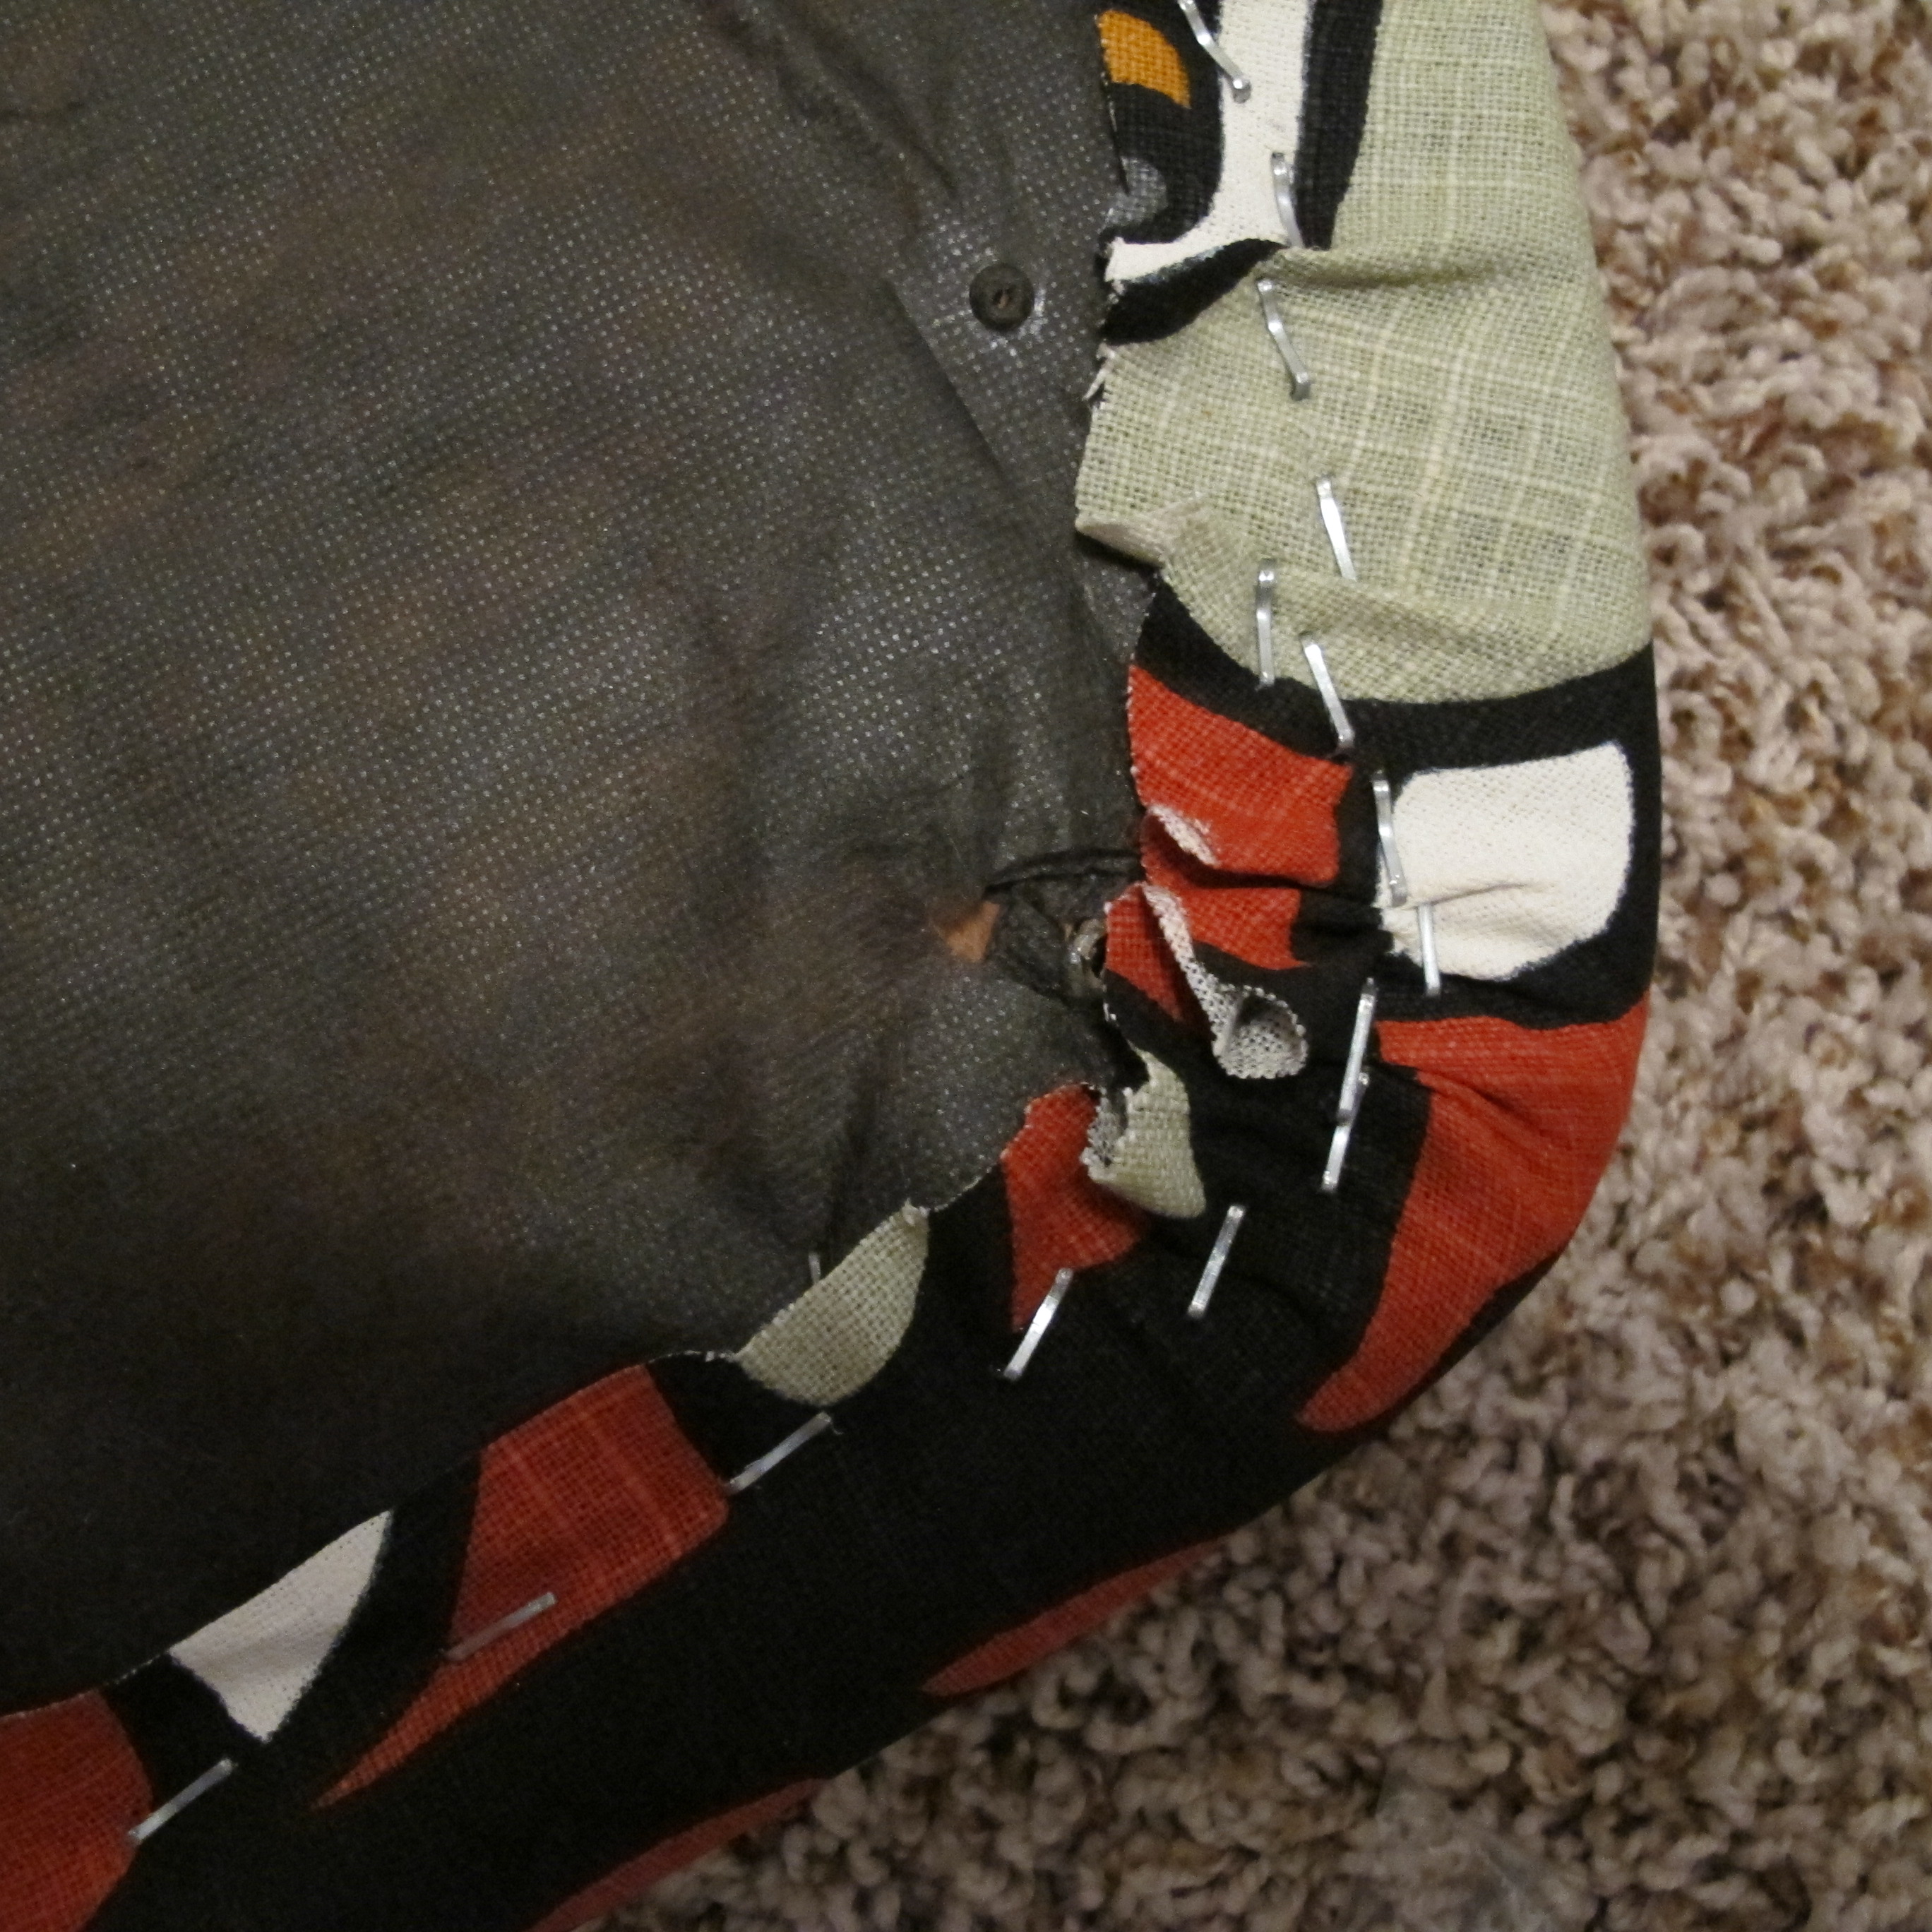
Then, I just worked from the middle staple out until I reached the corner, stapling the top, then the opposite spot on the bottom, pulling tightly each time. Then, I repeated this on the left and right sides. The corners took a little experimentation. I just tugged, folded, and stapled until I had a nice smooth result. When I was finished, it looked like this…

IMG_1408

I trimmed the excess, flipped it over and admired my cushion….

IMG_1406

IMG_1319

Then, I moved onto the other 5 cushions (which took about a week to crank out… Alas, I have a toddler.). When I was done, I took them into the backyard, laid them on an old sheet and Scotch-Garded them (again, toddler).

Aaaannnd drumroll please!! Here is the final result….

IMG_1442 IMG_1449 IMG_1451

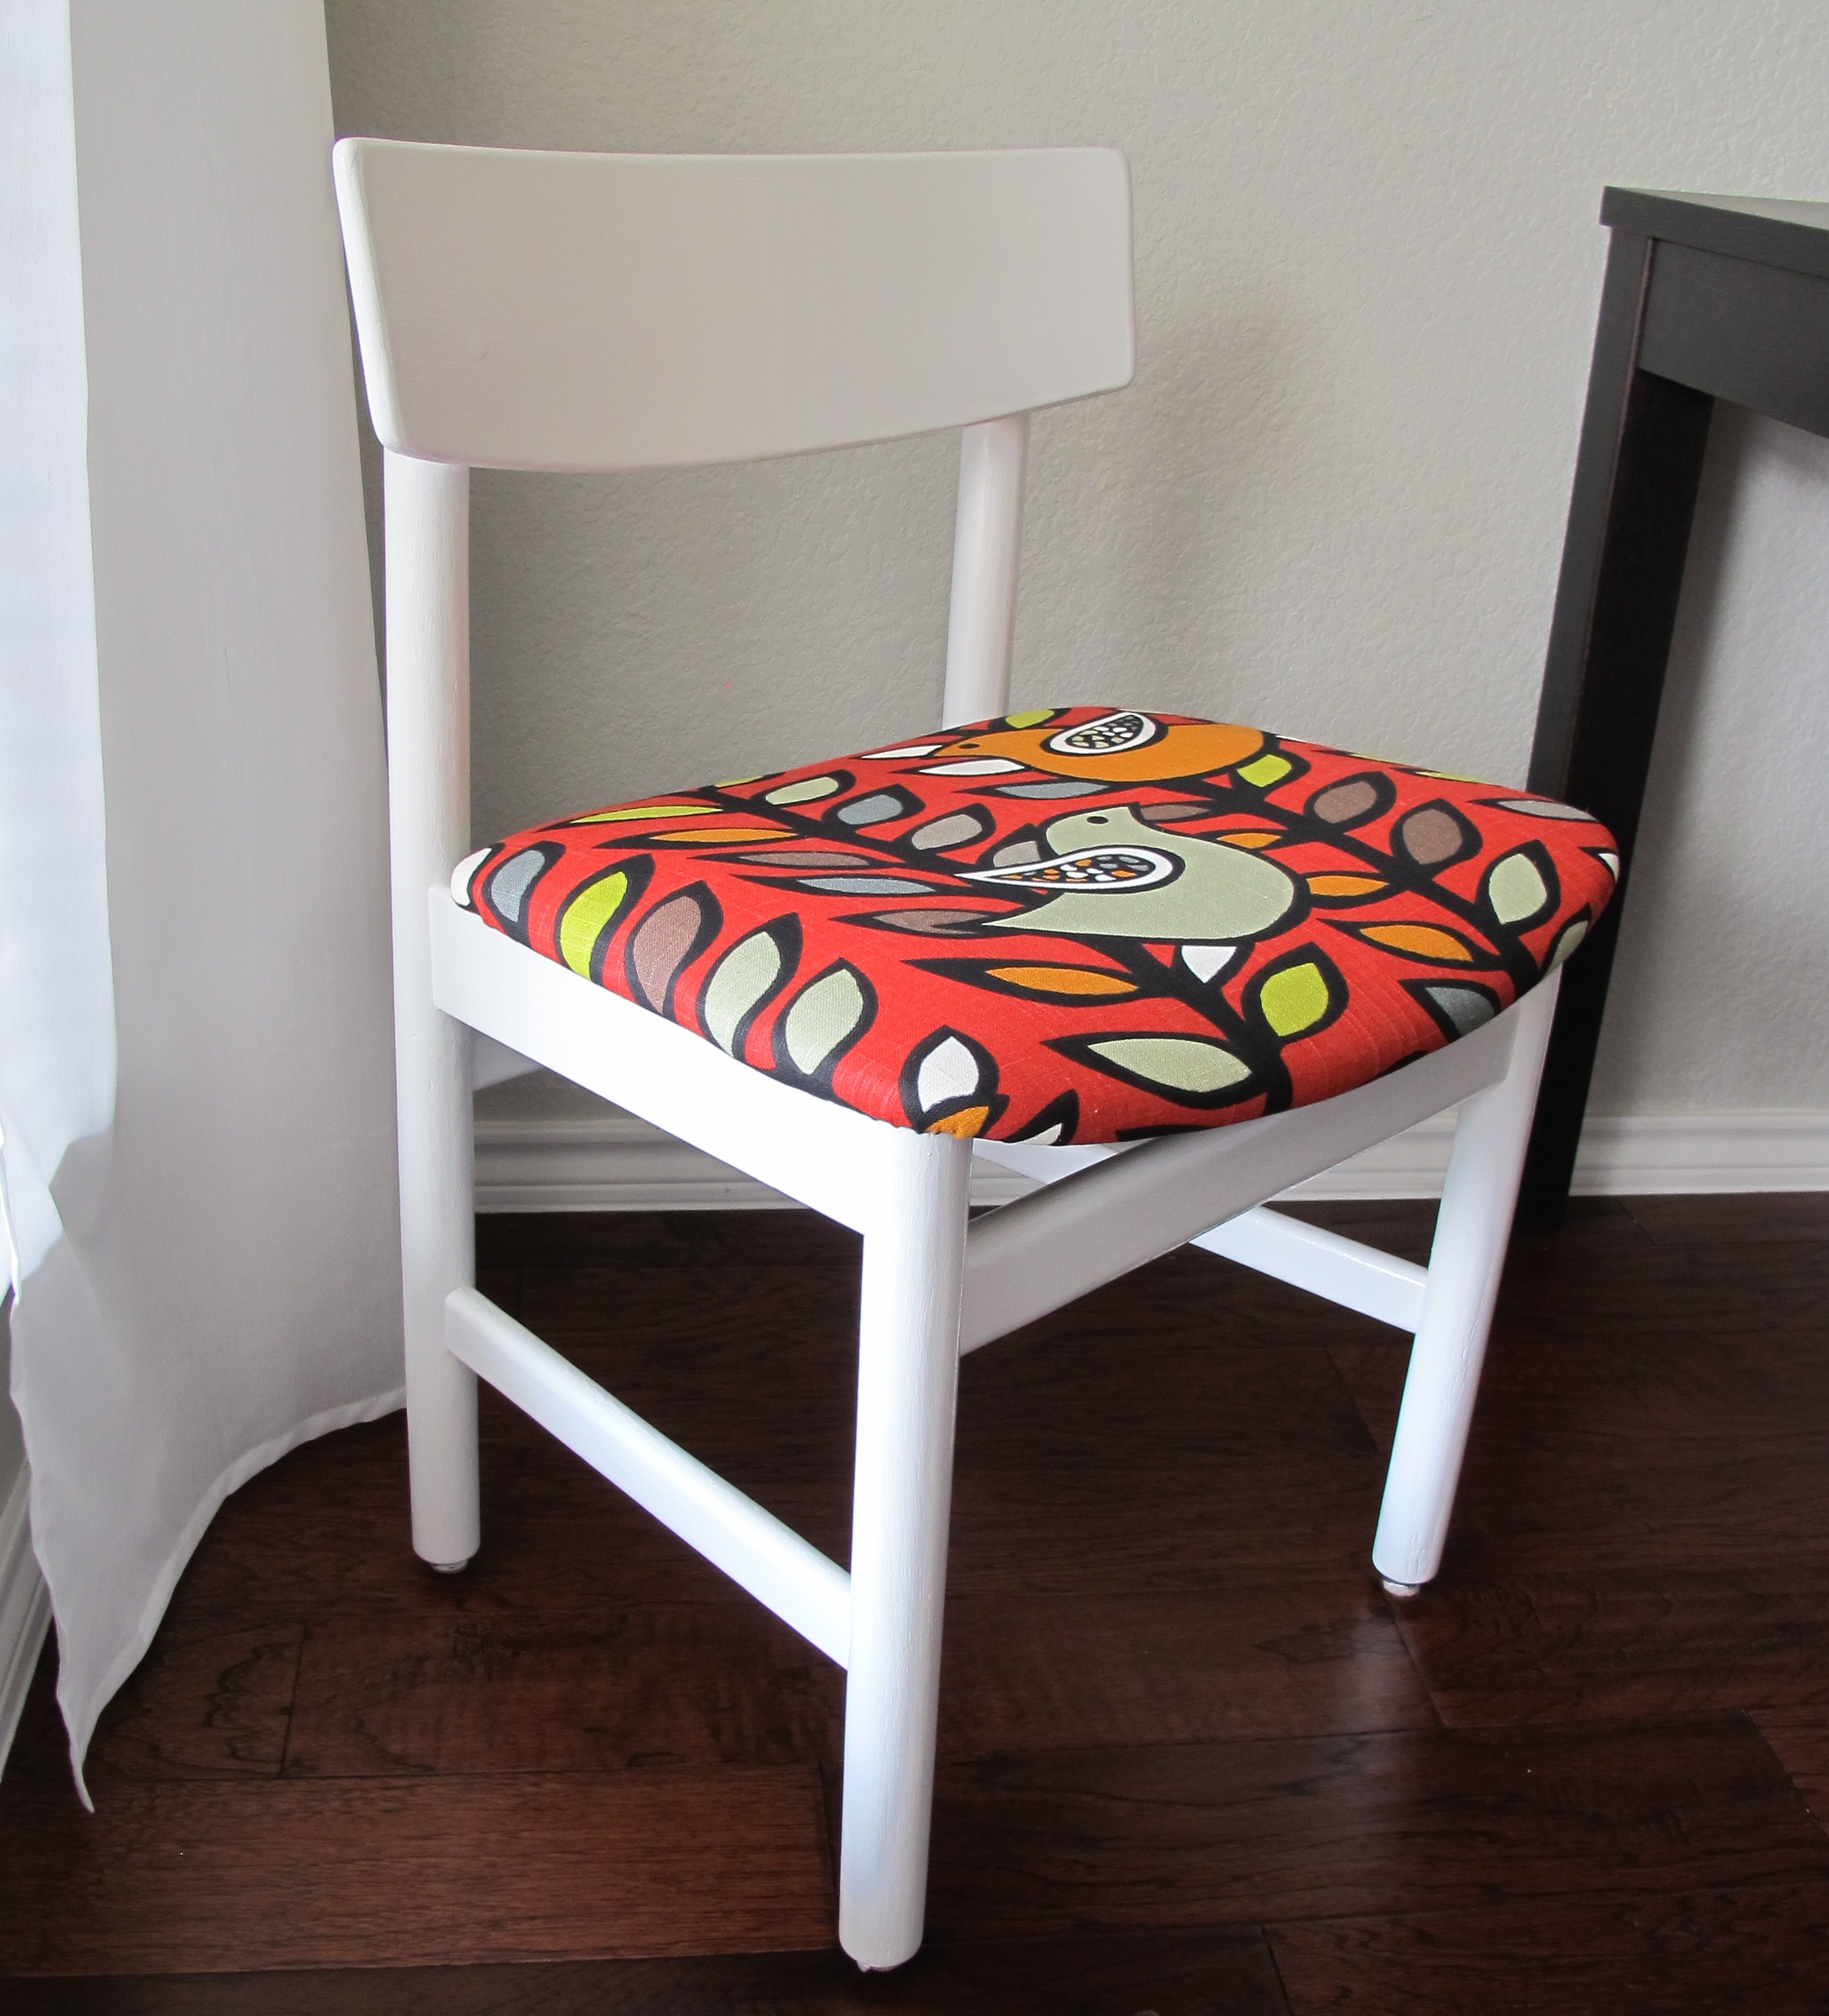
I mean, how darn cute are they?? Seriously!! And a little “before” action for comparison…

20130922-104342.jpg

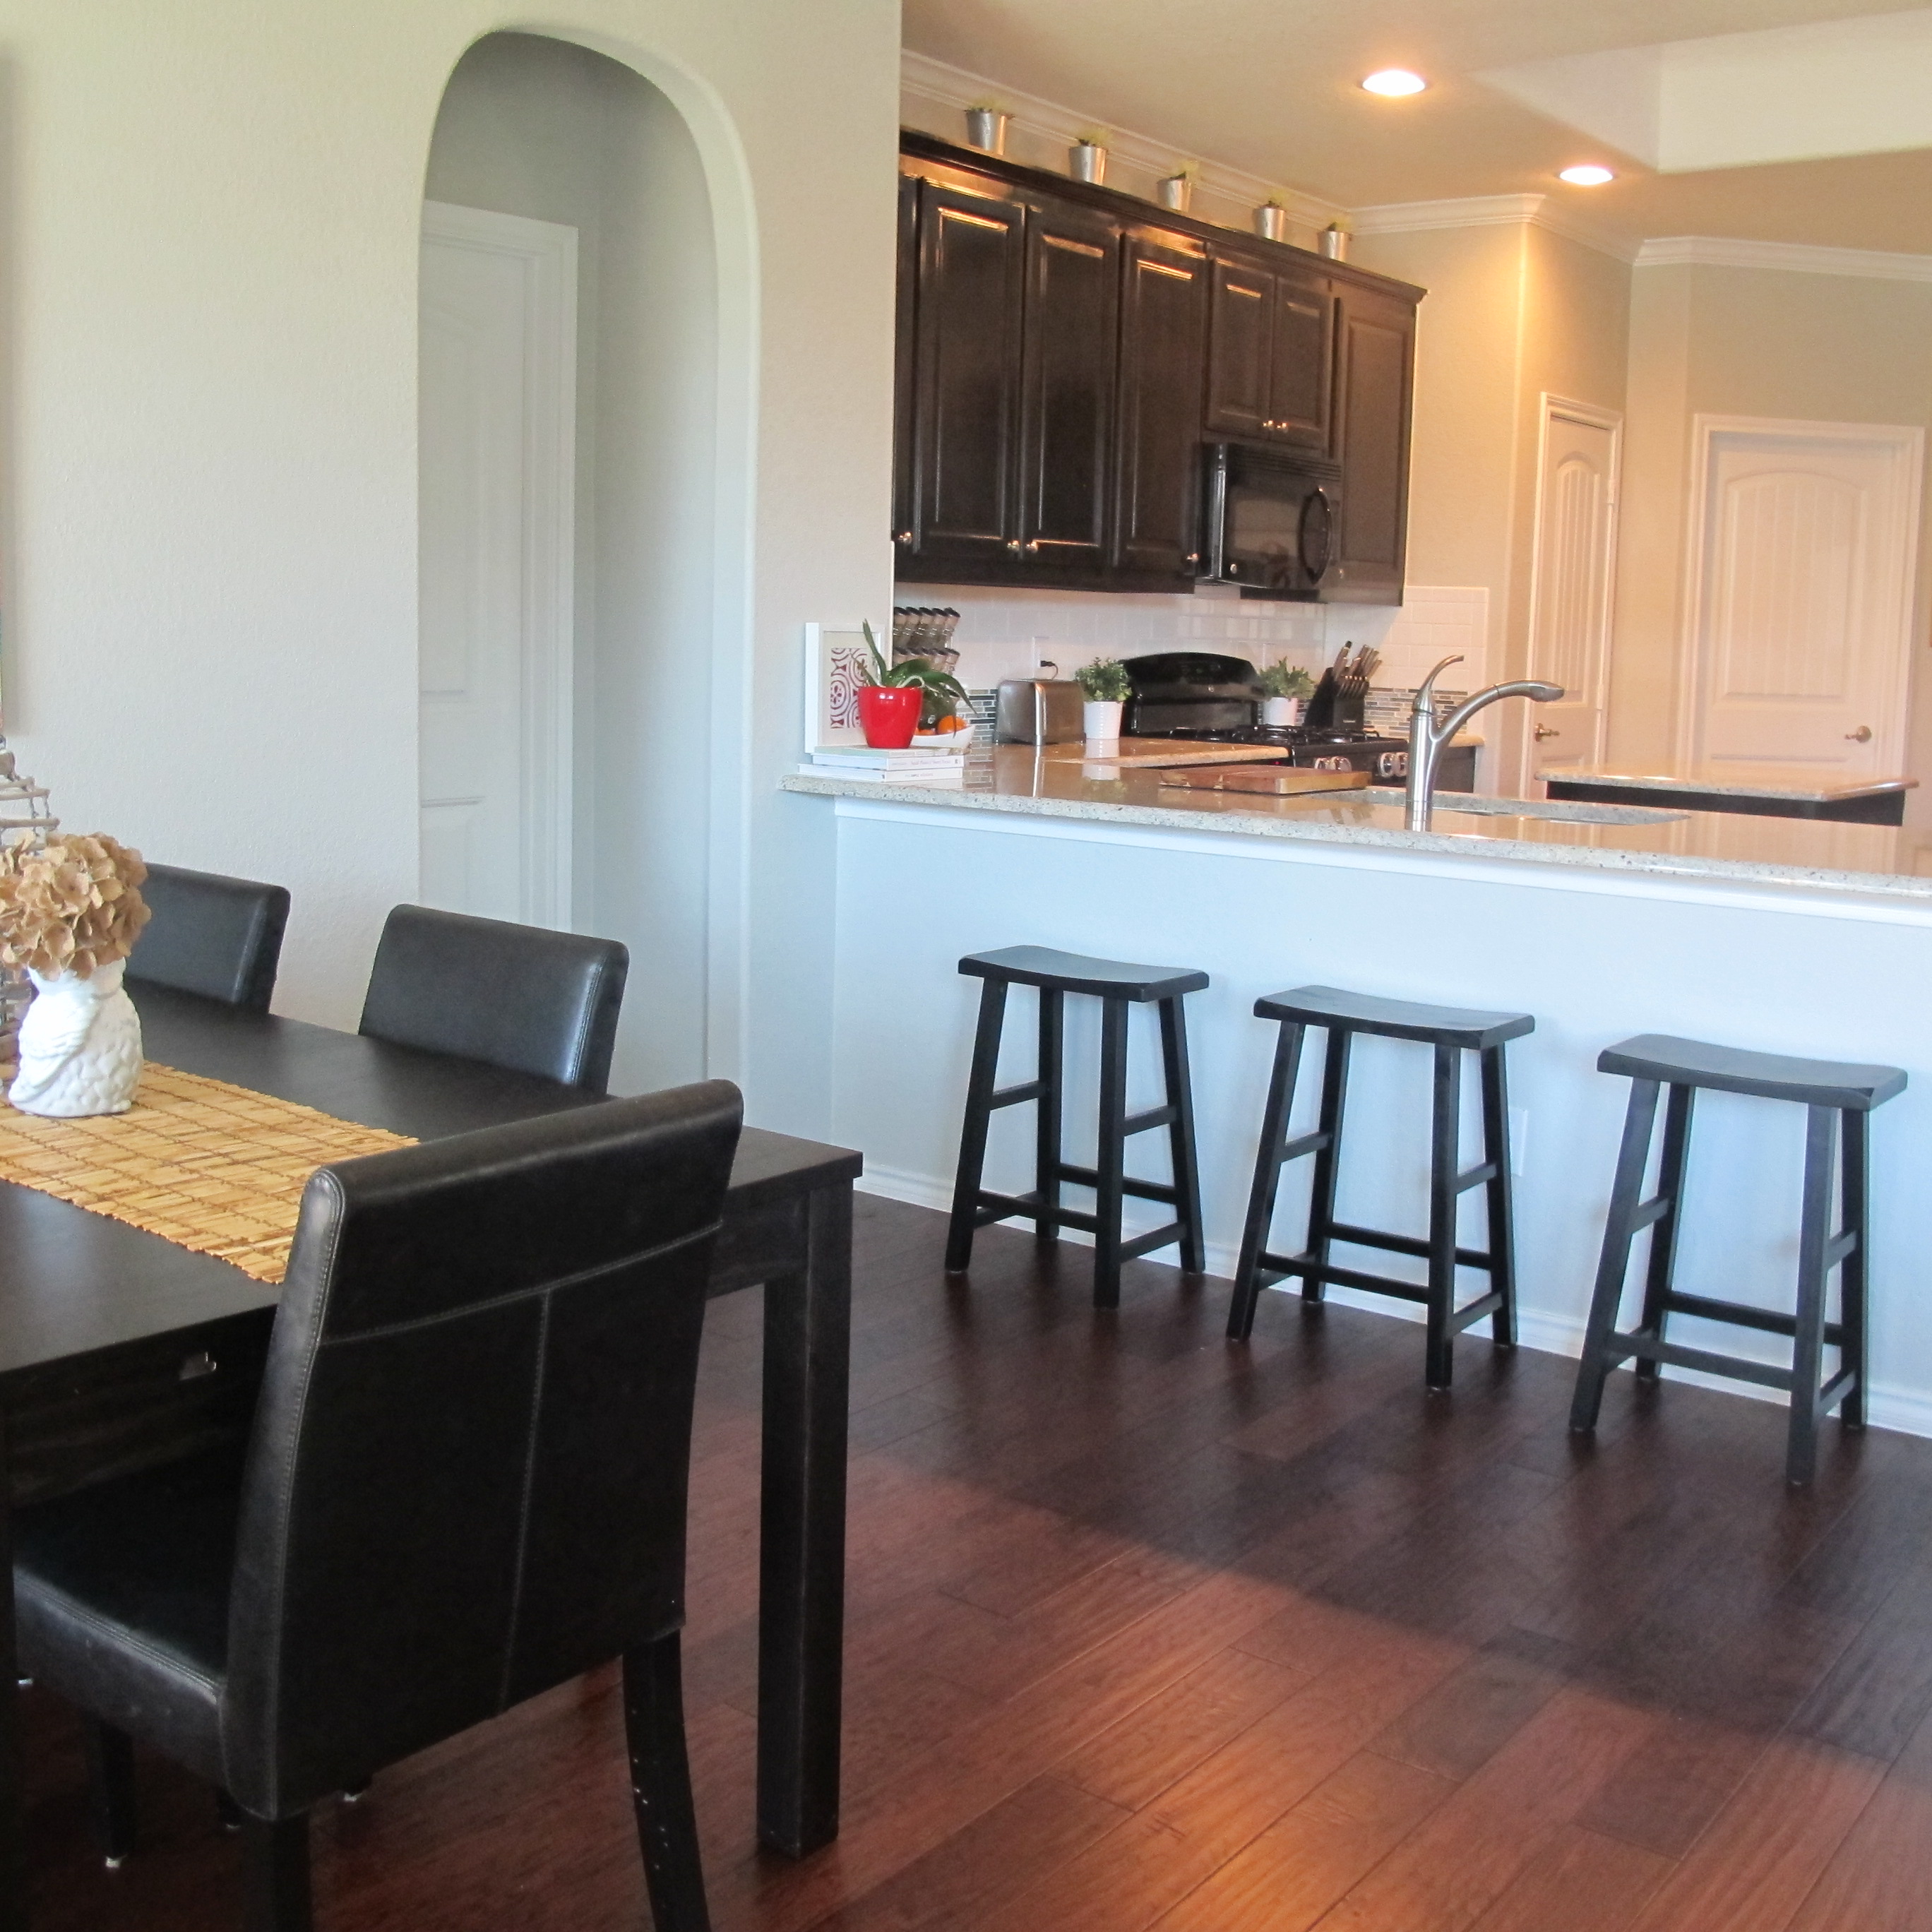
And here’s a “before” of our dining area…

Welcome!!!!!

And here it is now….

IMG_1413IMG_1482IMG_1418

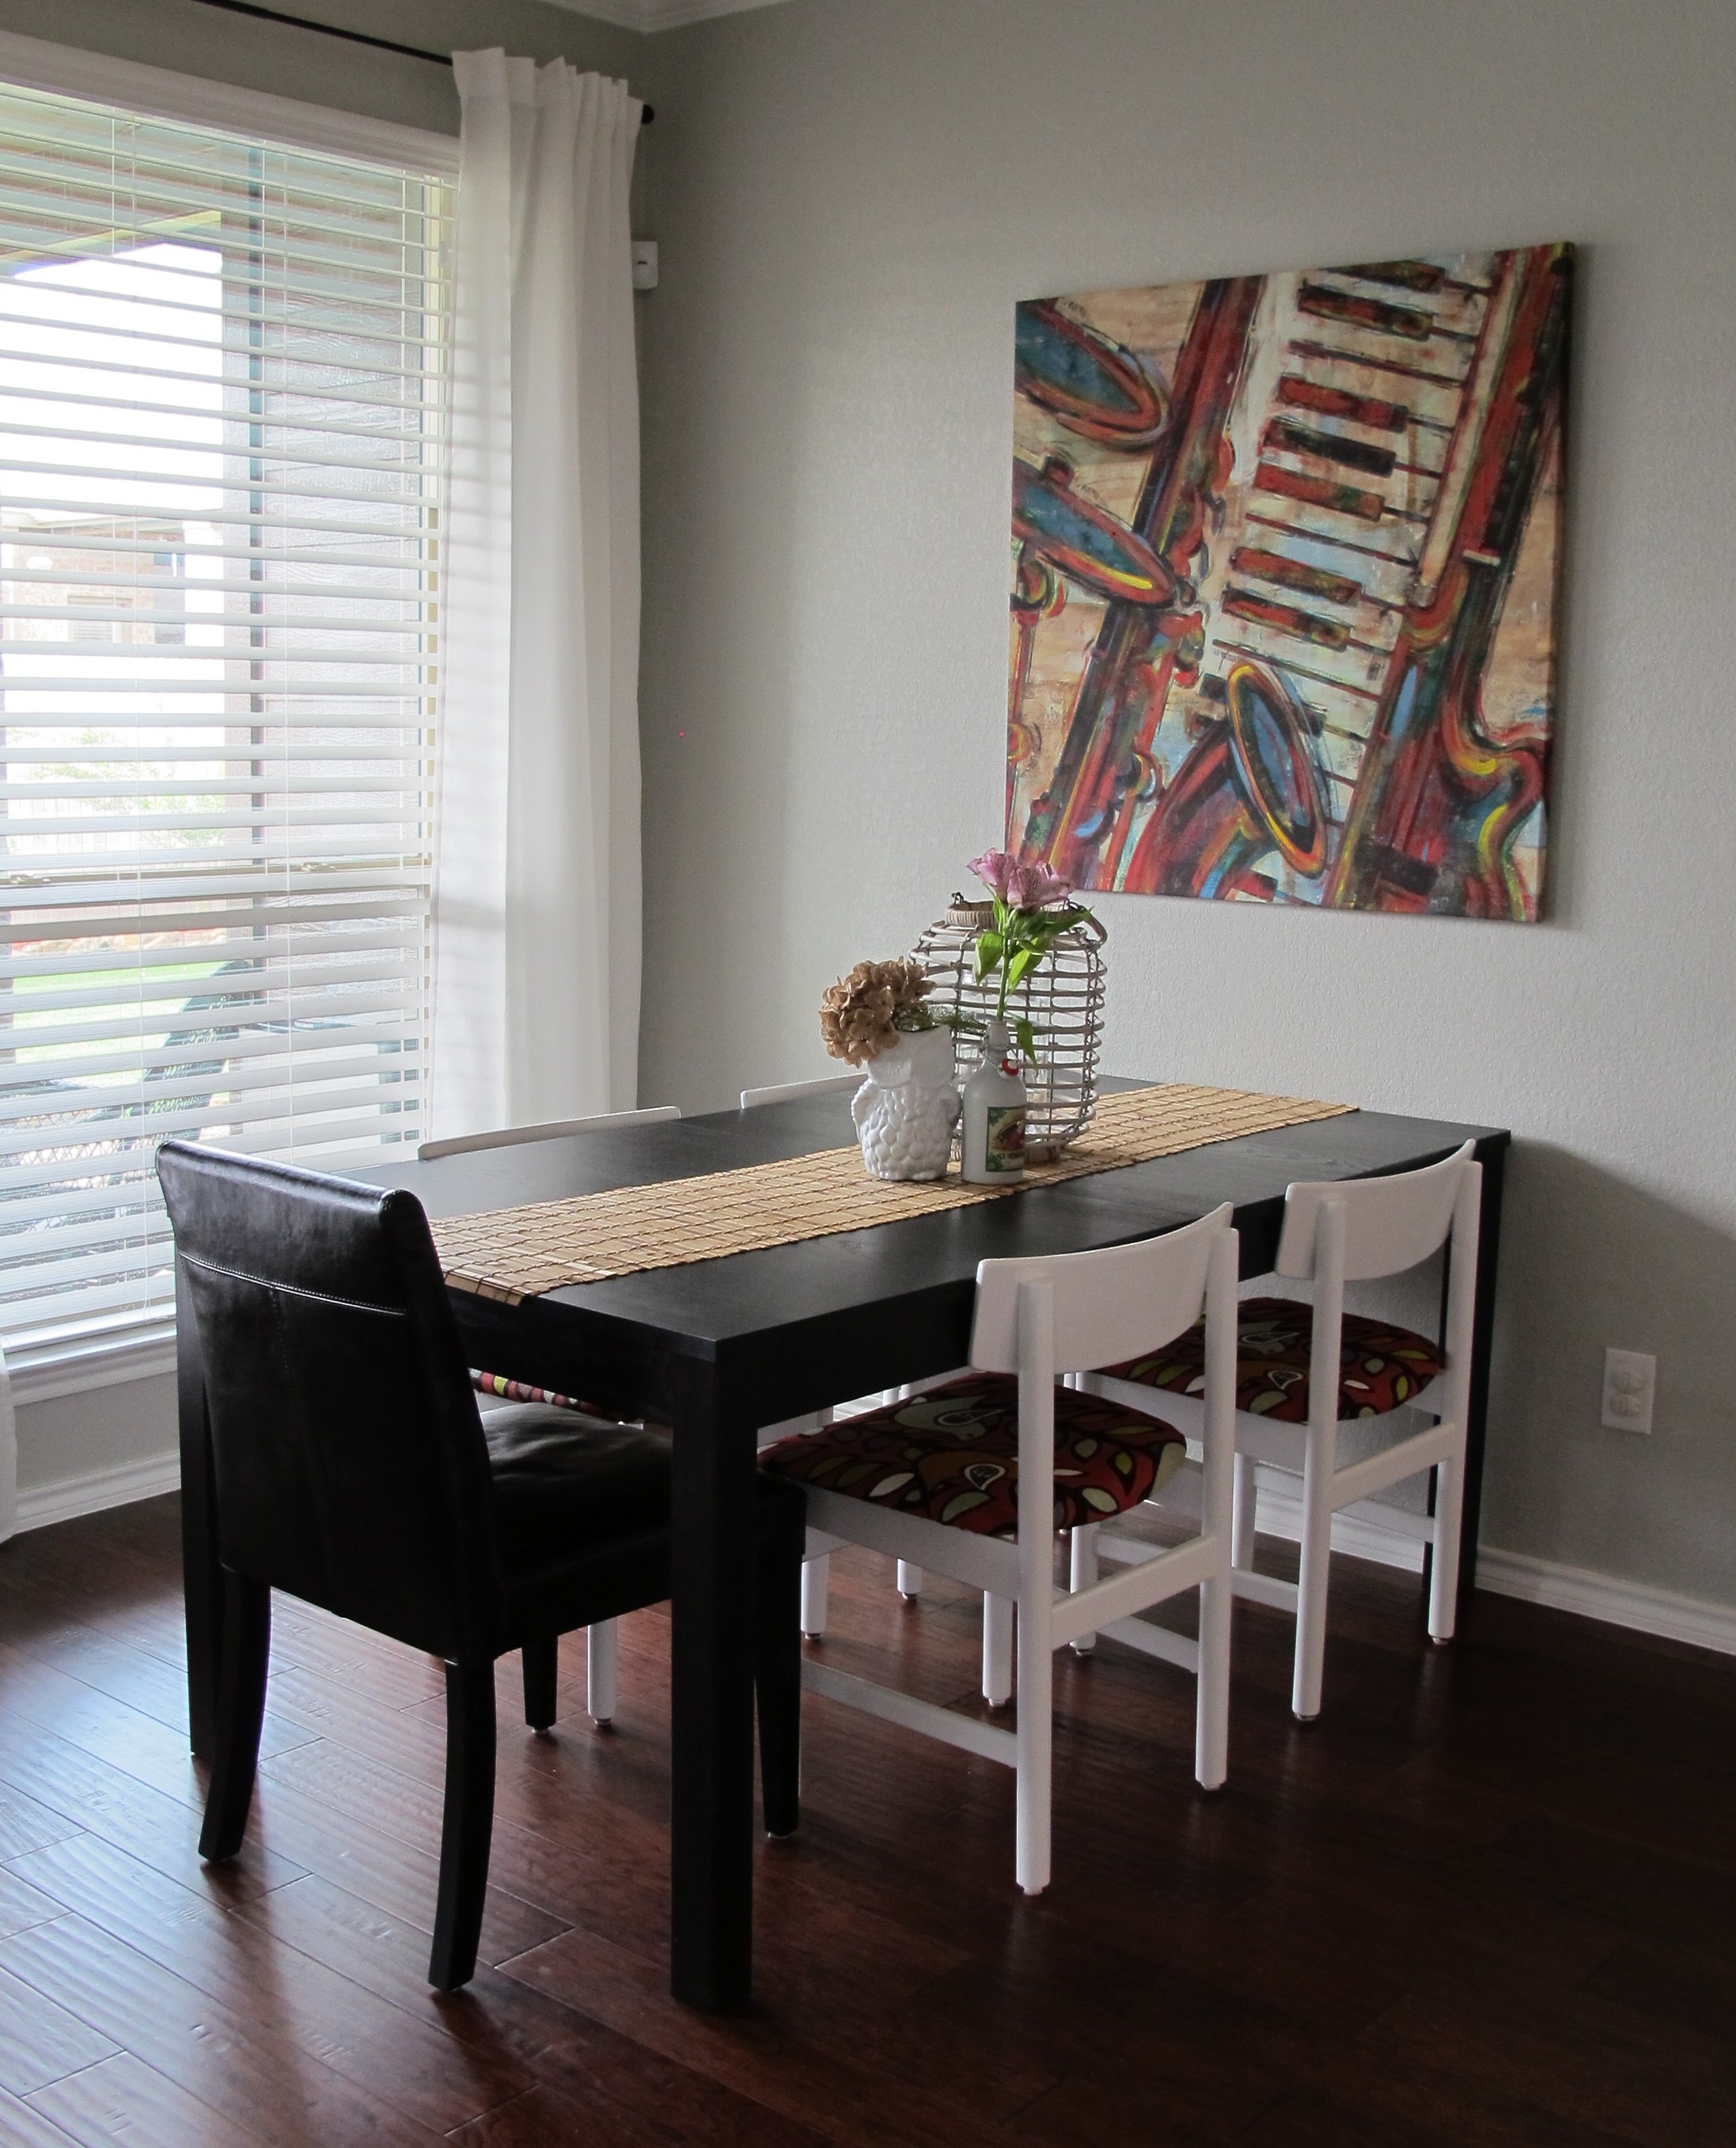
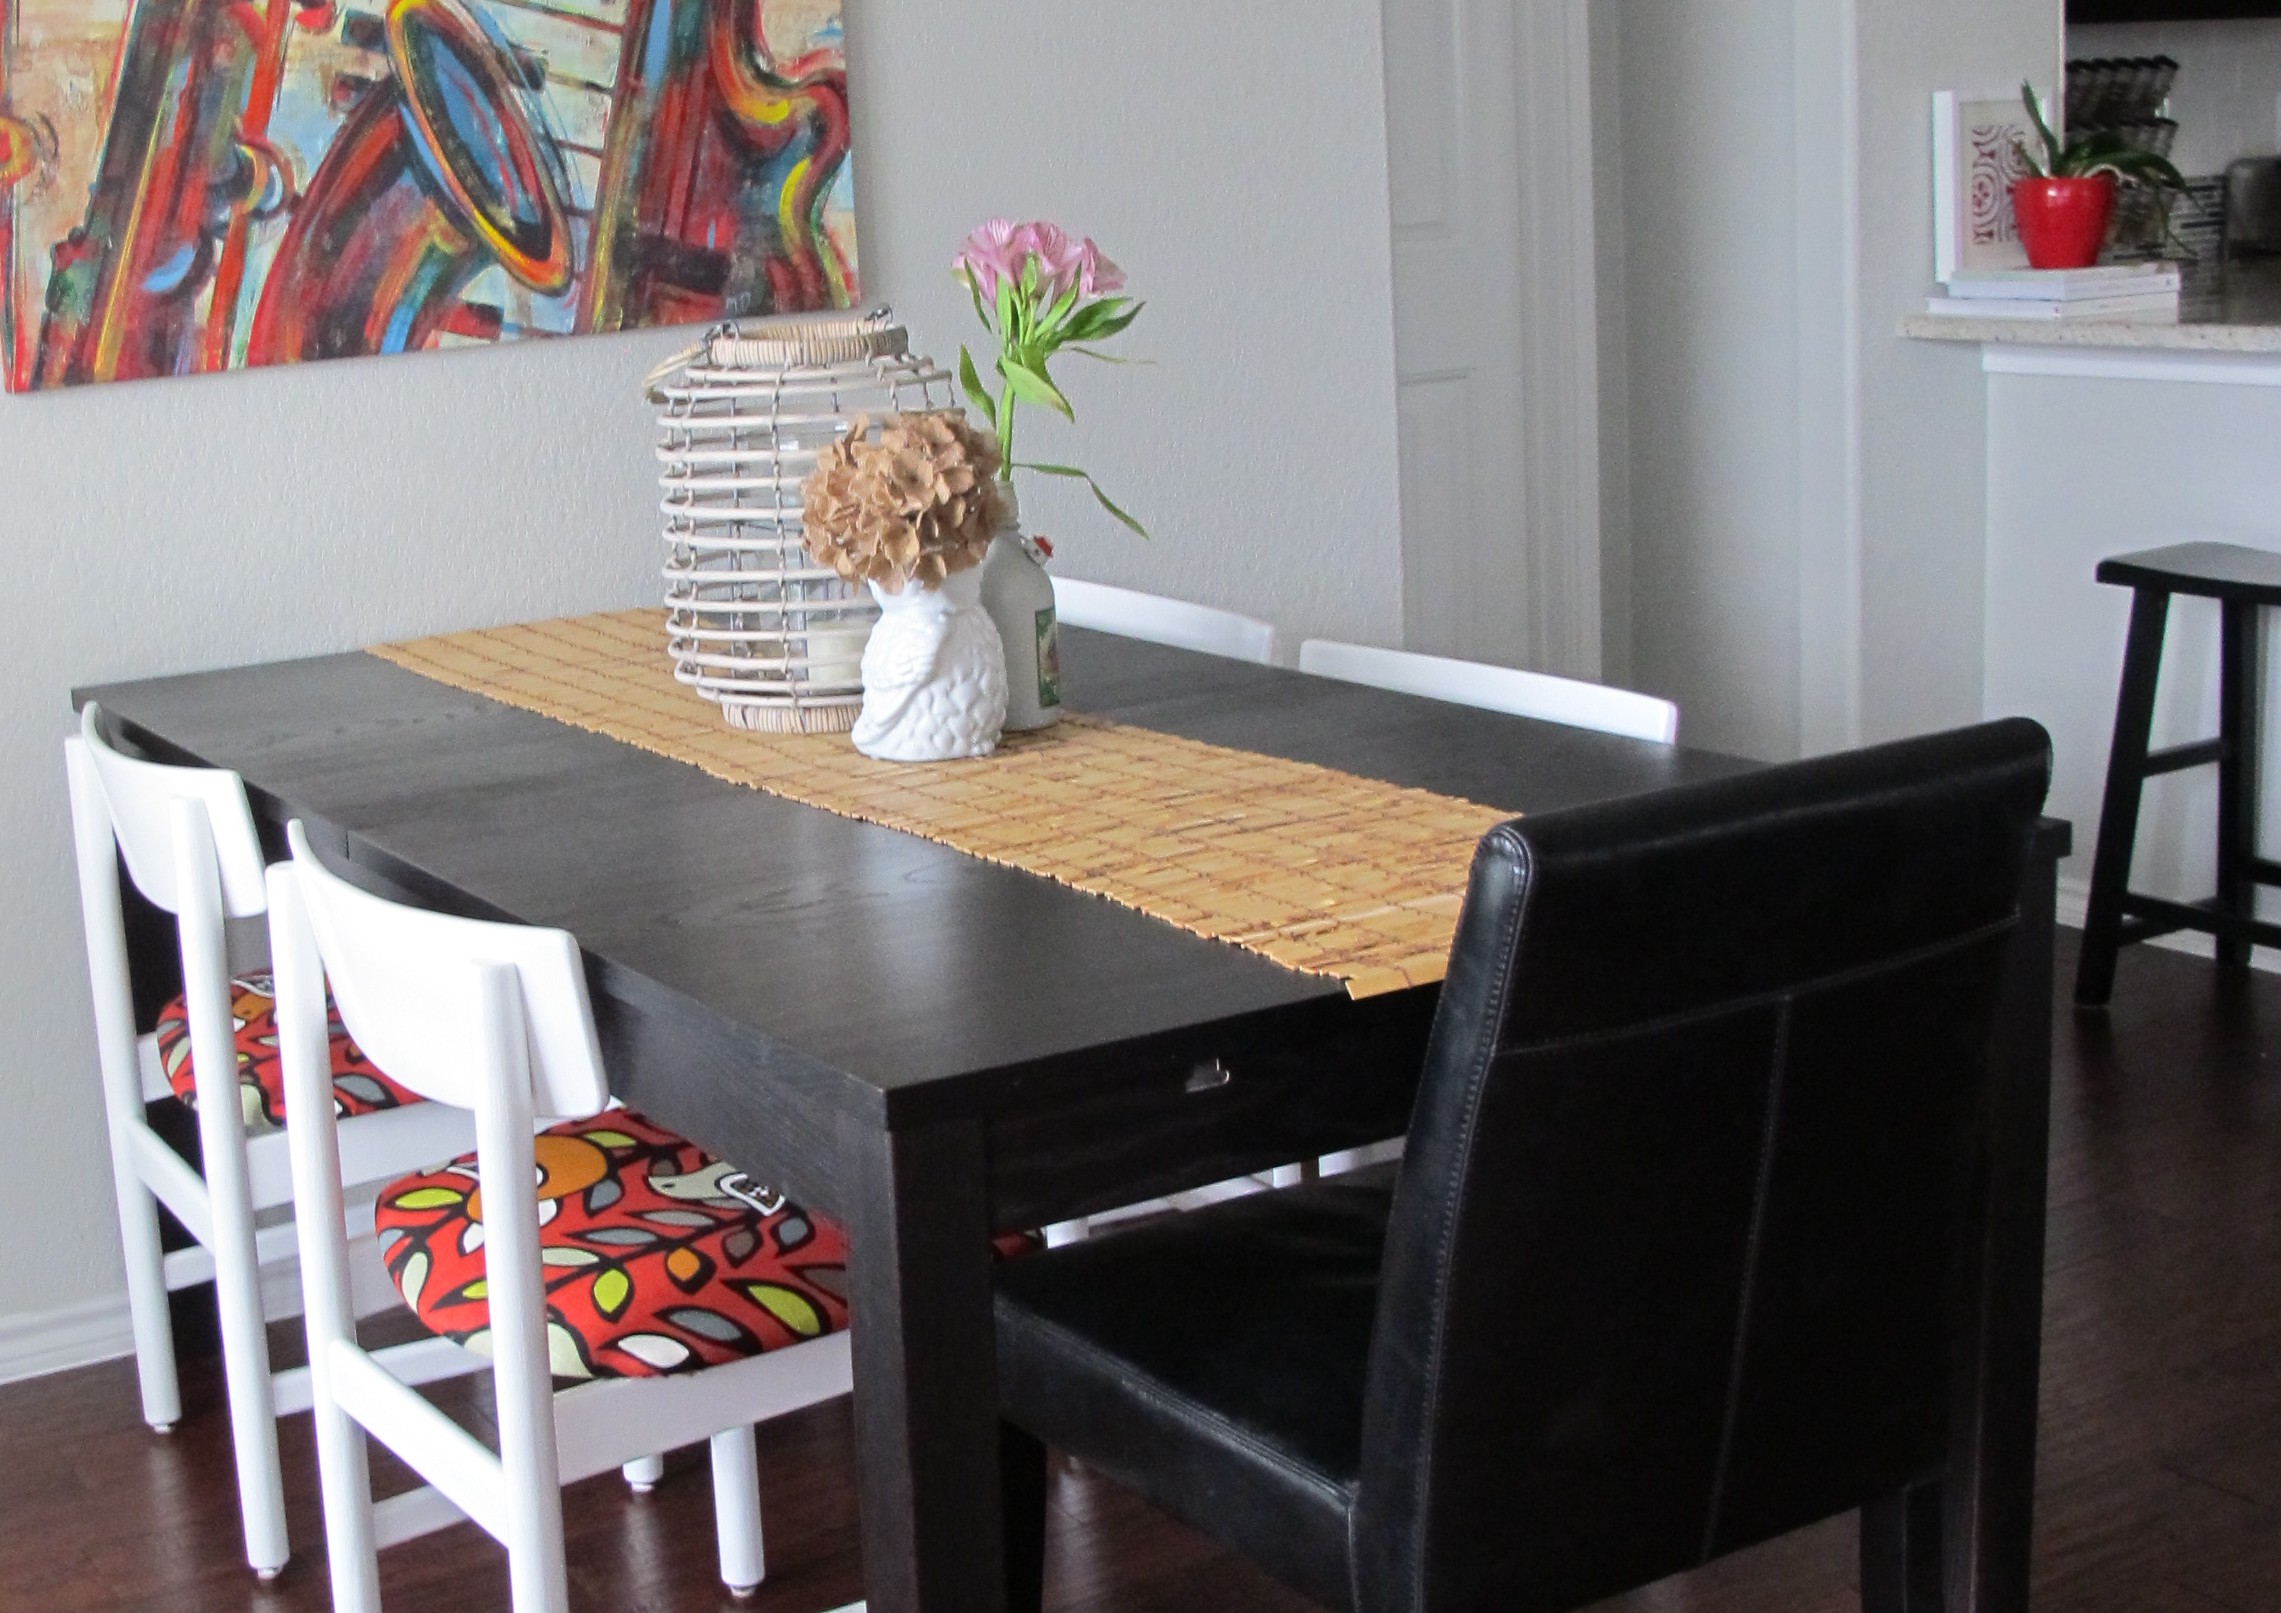
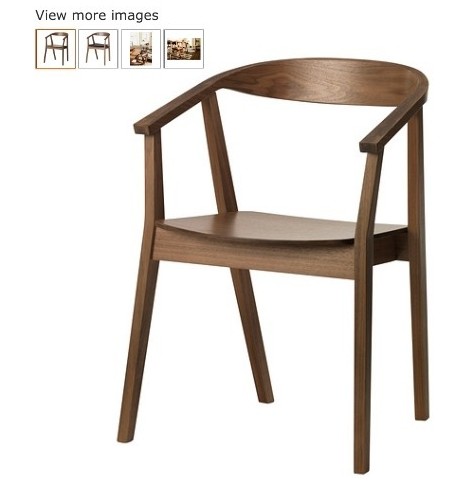
We’re absolutely LOVING it. The chairs really perk up the area and make it feel more fun and casual. And I’m not gonna lie. I’ve totally made extra trips past the table just to smile at it. All that hard work was completely worth it. As you can see, we decided to only use 4 of the chairs at the table (five looked kind of busy). I stuck a leather chair at the head of the table for some contrast, and while I like it, I’m playing with the idea of replacing it with something along these lines….

20130924-192909.jpg

…from World Market (And Target recently).  Or maybe this from Ikea…. (Which they also have in green…hmmm…)…

20130924-193010.jpg

And check this out….

IMG_1420

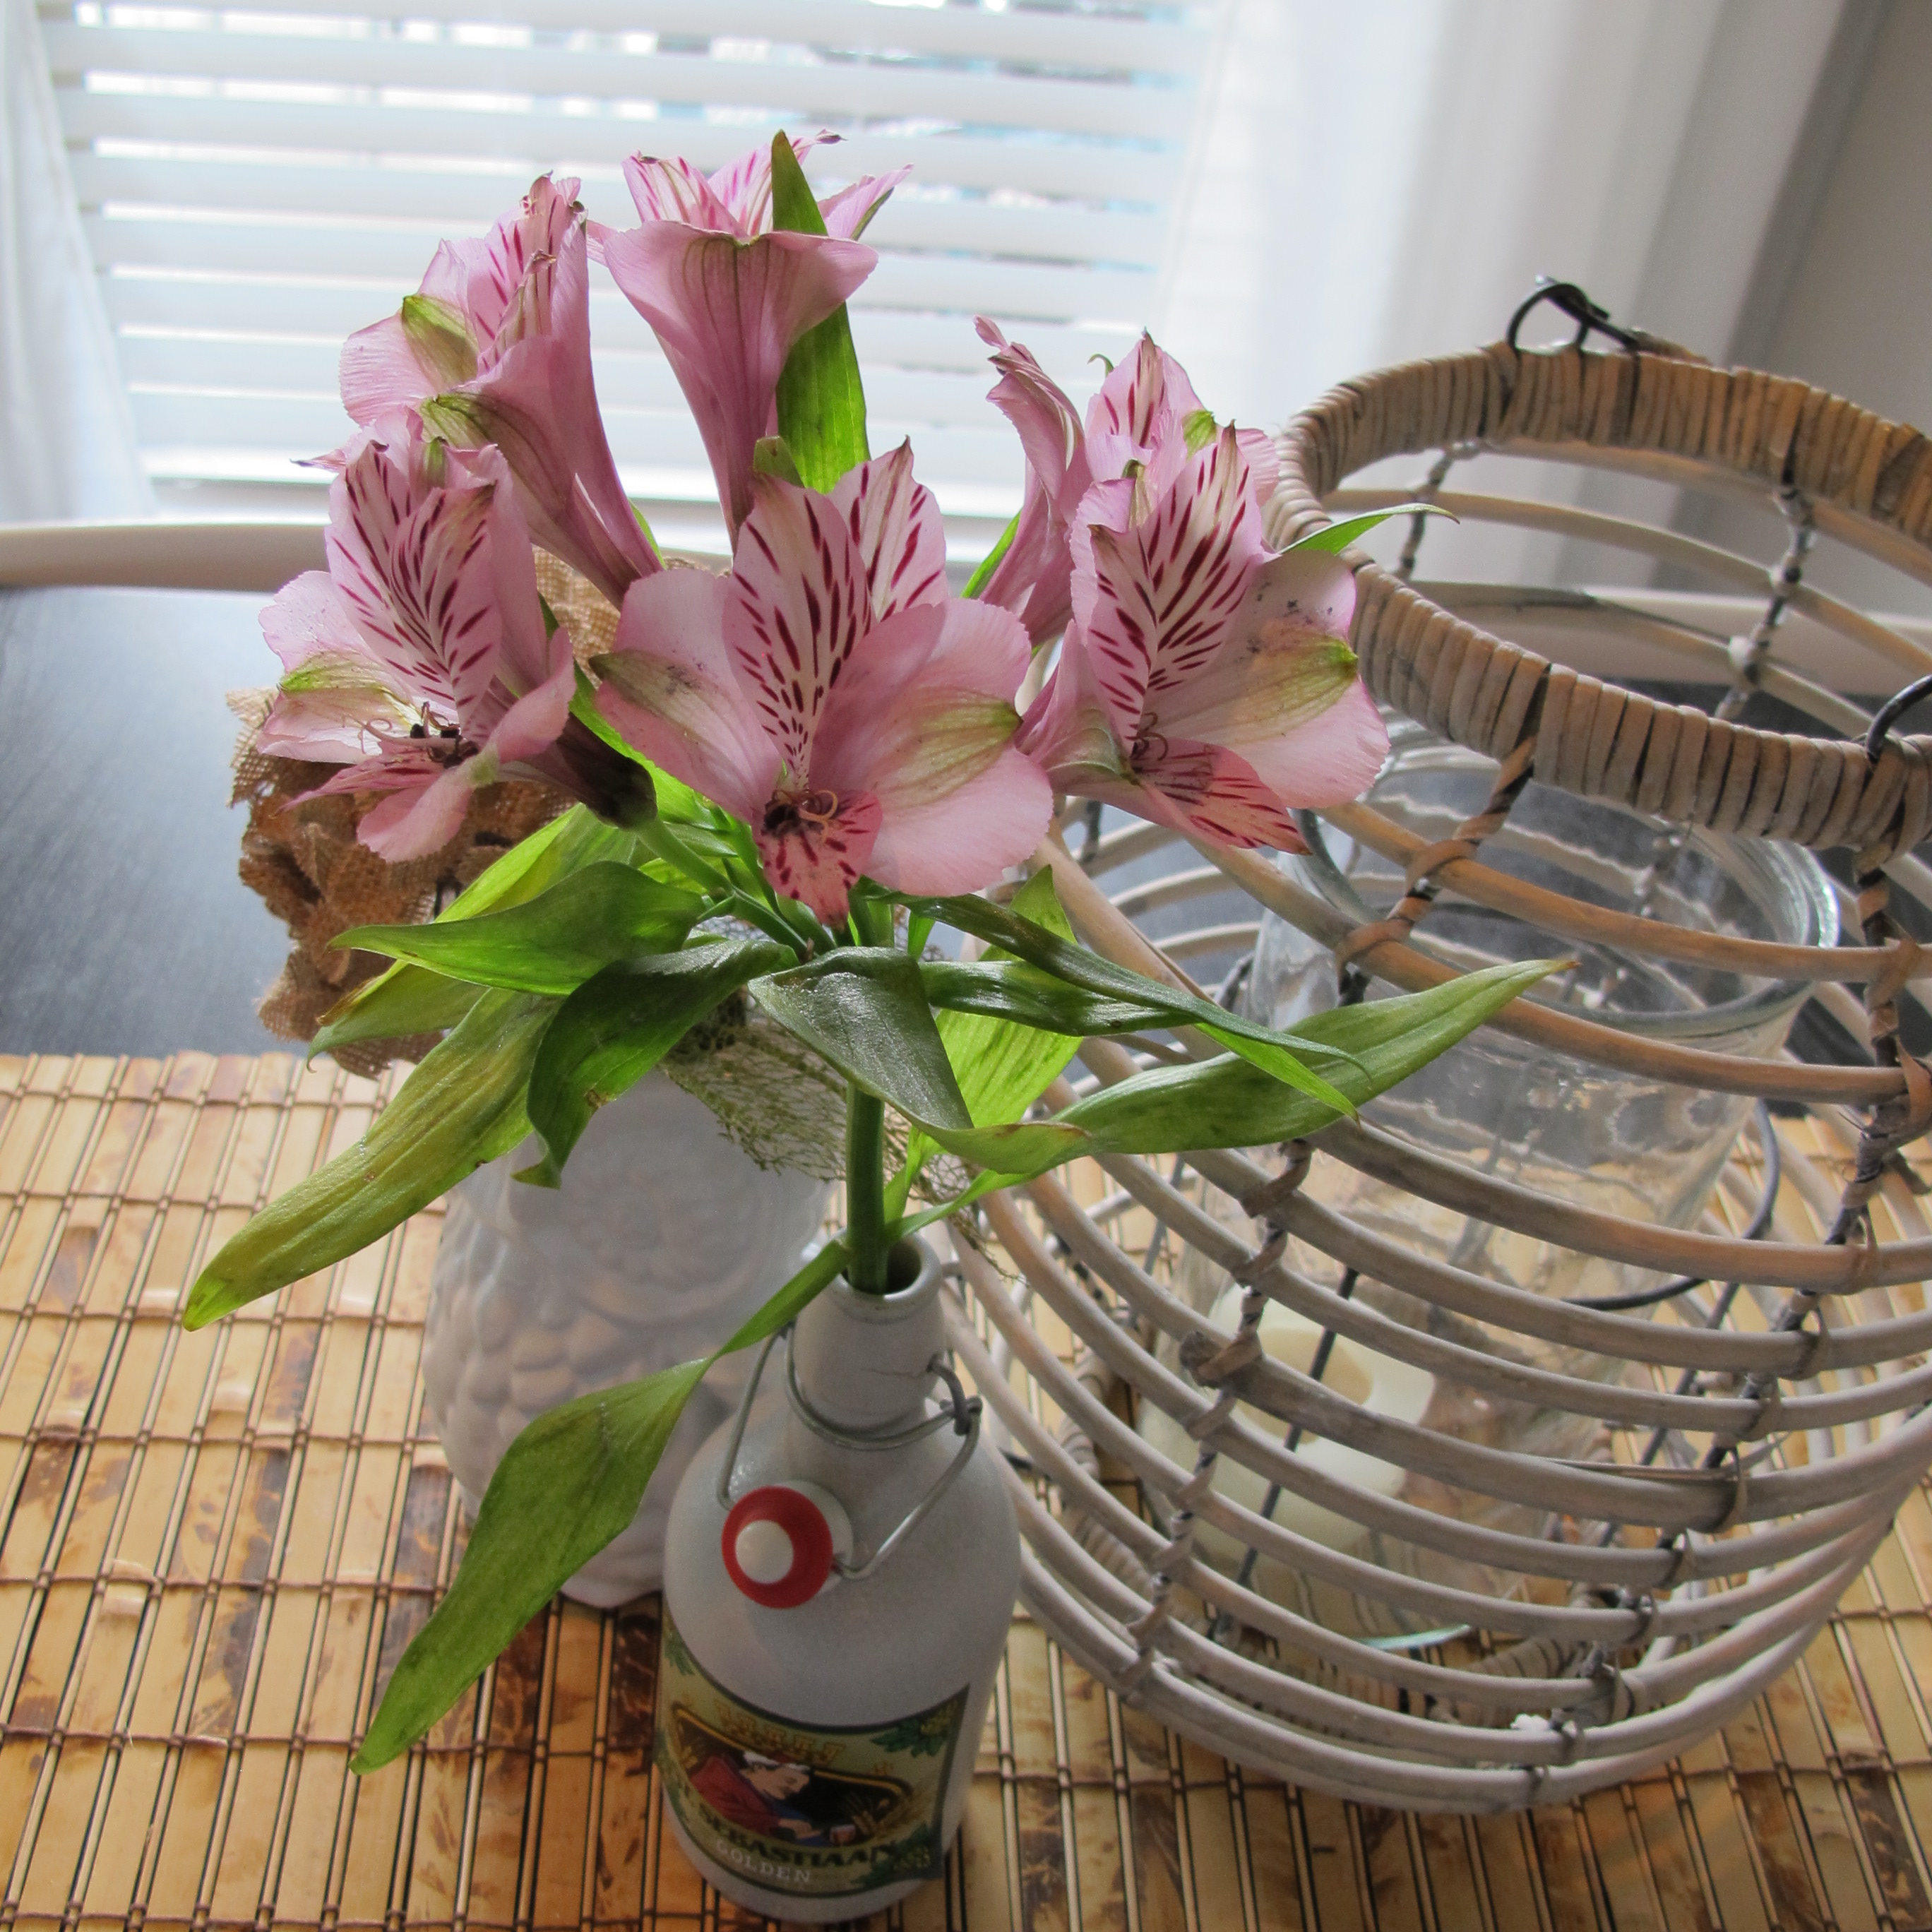
That’s a lily stalk from the flowers that Joey brought home in this post. All of his floral siblings went to the giant flowermart in the sky weeks ago, yet this guy is still truckin’ THREE WEEKS later. Yeah. I’ll have what he’s having.

Anyhoo, as for the other two chairs, we stuck them under the sofa table for the time being….

IMG_1528

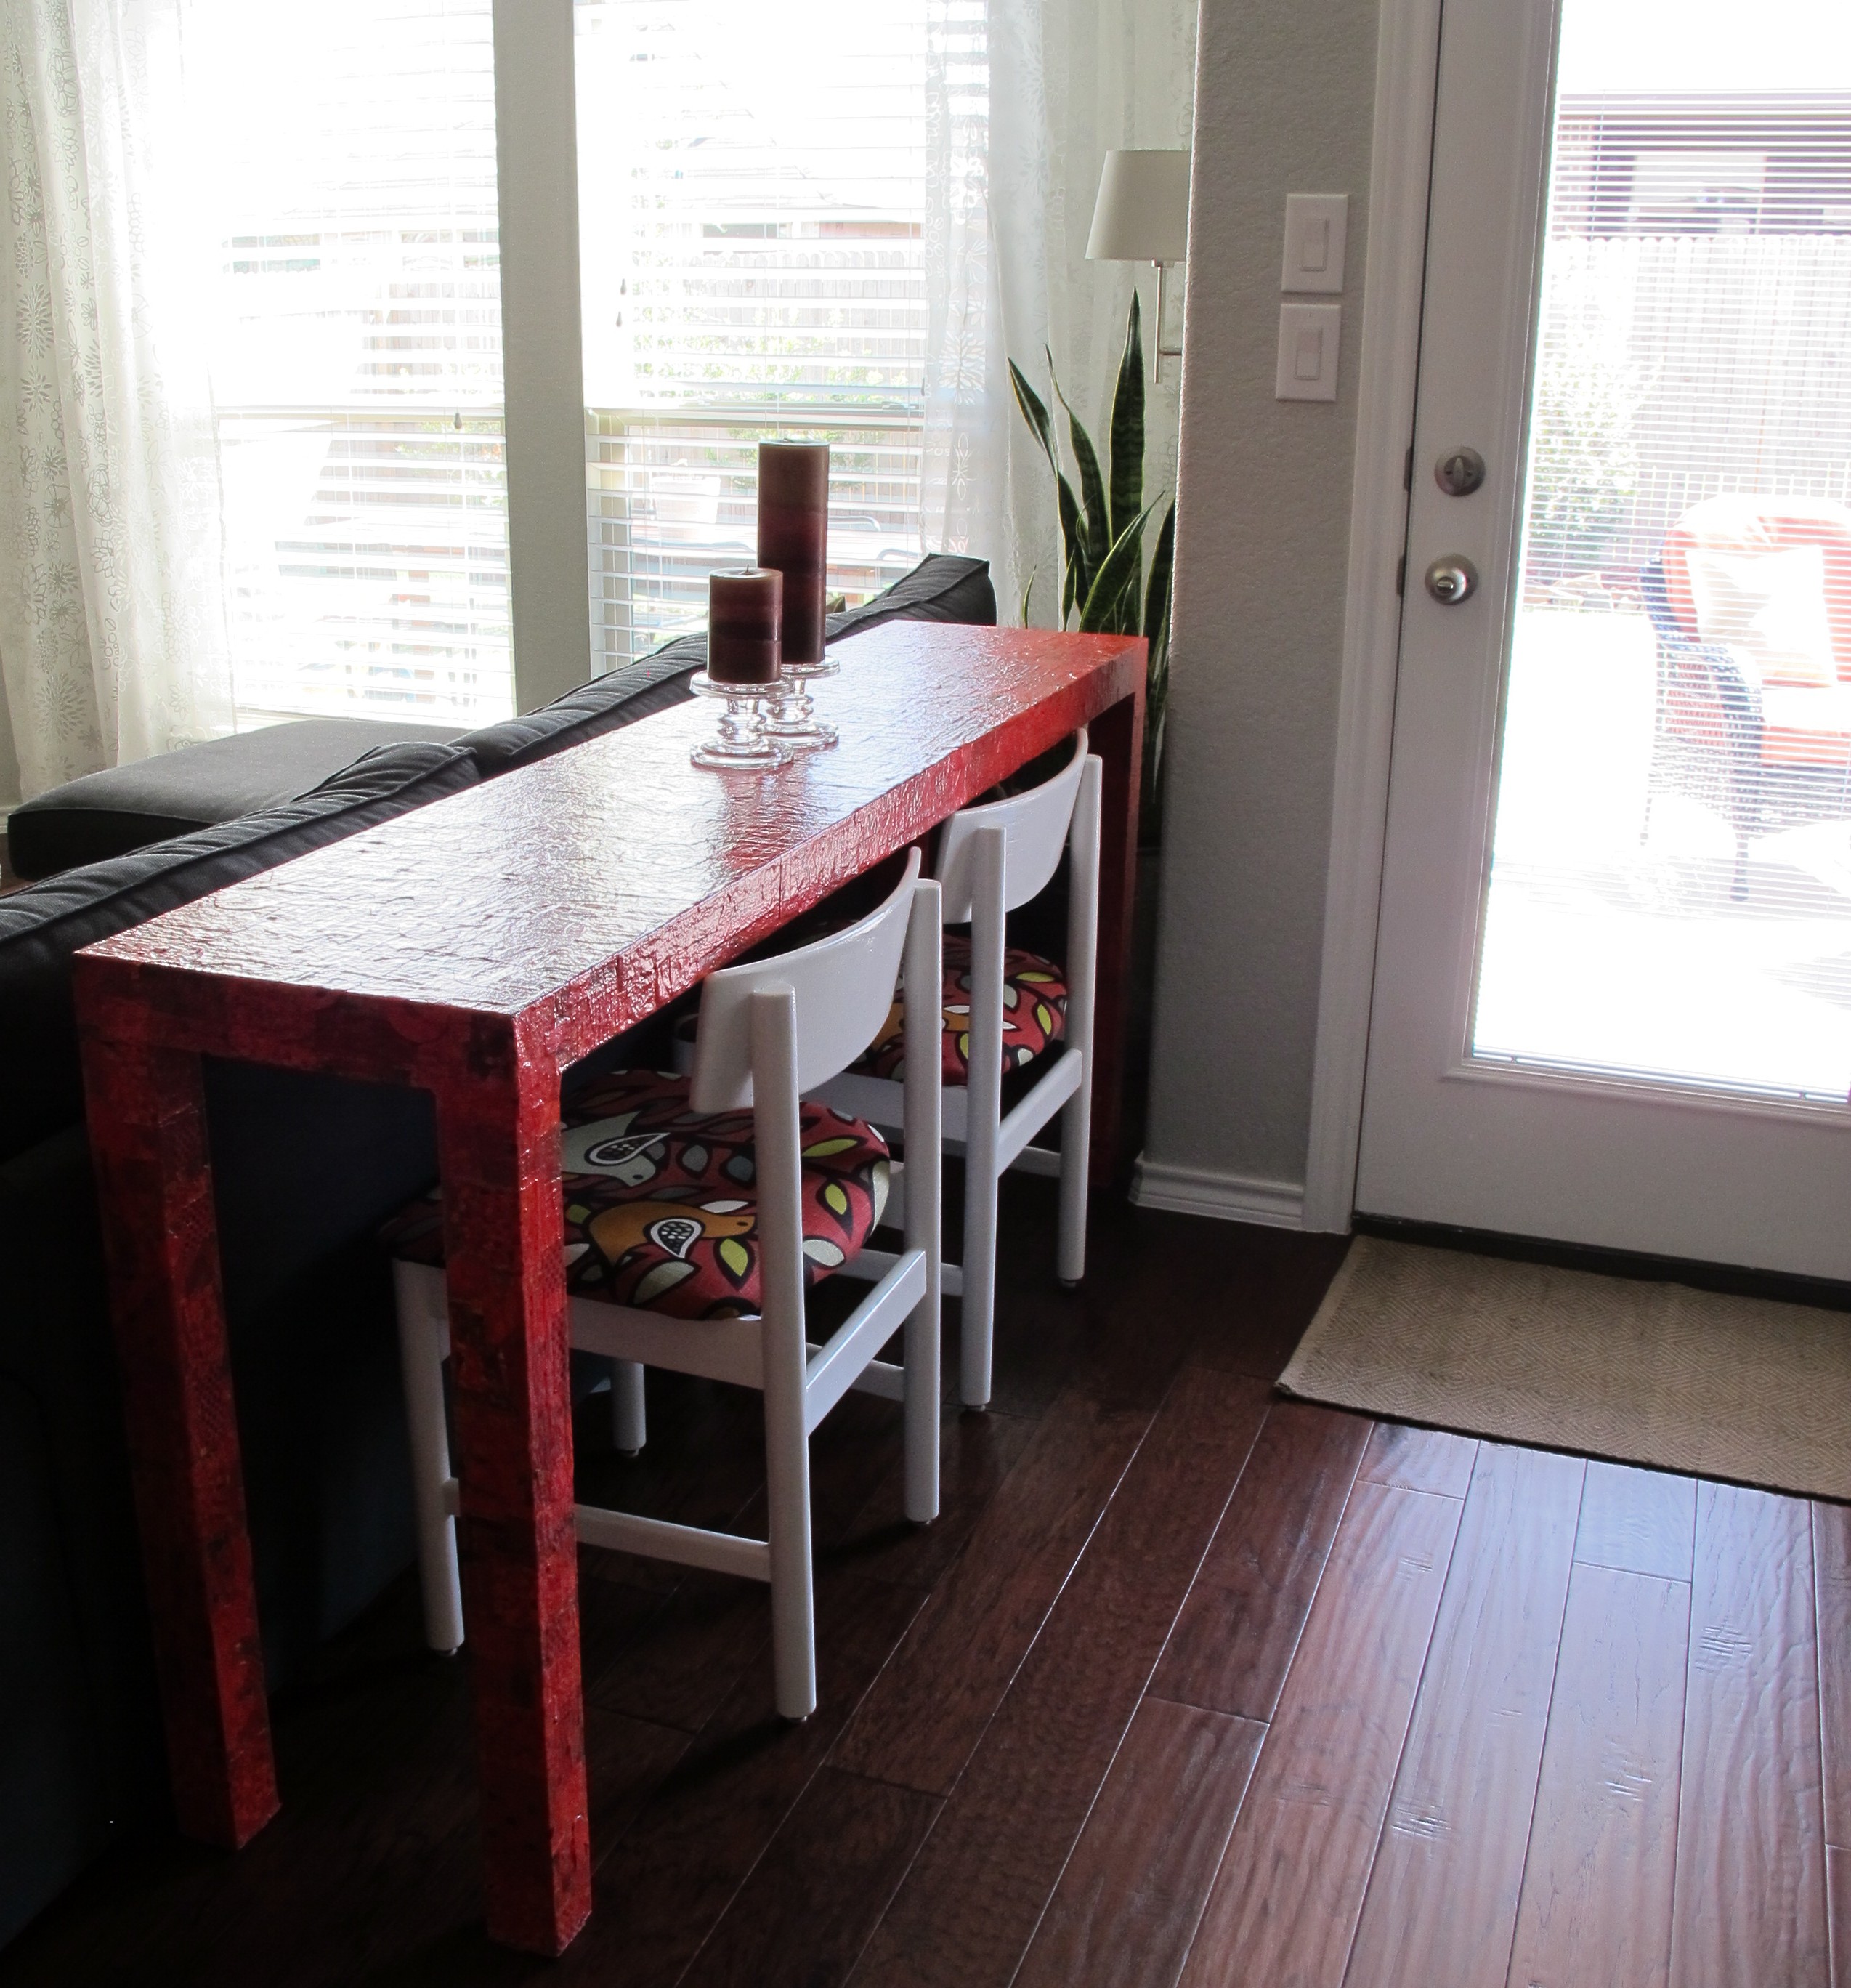
I’m not sure I’m totally digging them there yet. It just seems like a bunch of chairs in one small area to me between these two, the dining chairs and barstools, but we’ll live with them there for a while before making a final decision. I would actually love to see some kind of nifty upholstered (Or woven?) bench under this table one day. I guess we’ll see what [shopping] dreams may come!

So, here’s an approximate cost breakdown for these chairs:

6 chairs- $48
Oops! spray paint- $10
White paint- already owned
Primer- already owned
Fabric- $30 (estimated with tax)
Wood filler- already owned
Sandpaper- already owned
Shellac primer (for the two repainted chairs) – $14

Total- $102 (Or ~$17 per chair)

Not too shabby for six one-of-a kind chairs! Plus, once we sell our leather chairs, we’ll likely make this back plus some (which will then go into the next project… heehee!). Love you, Craigslist. Kisses!

PicMonkey Collage1

Eight dollar chairs… Woohoo!

About six weeks ago, I came across this Craigslist ad…

20130914-102628.jpg

Eight bucks, for wood chairs?? Sold.

We’ve been wanting to change out our kitchen chairs for a while now, but just hadn’t found the right deal yet. Don’t get me wrong, the black leather parsons chairs are classic and comfortable… it’s just that the black chairs plus the black table and the black bar stools are a lot of black in one small area for me, so I wanted to try a little contrast.

IMG_1308

We figured we’d buy six chairs (6 chairs for $48 bucks?!!!), fix them up and then if we didn’t like them we would just resell them on Craigslist. Like I’ve said before, I like to buy, try, and either return/sell if we don’t like them. Plus, I just like fixing stuff up anyways, so no matter the outcome, it’s win-win for me.

The chairs were pretty filthy when we got them home. Nasty, was more like it. Gross. I used a damp rag and magic eraser to clean them. Some of the finish was worn off in spots and there were areas where someone had haphazardly reinforced the chairs, leaving messy screw holes.

Once they were clean, I set one of the chairs by our table to see how it looked. I liked the style and size, but the wood was too blonde compared to the rest of our stuff. It stuck out like a sore thumb, actually, so I decided to refinish them in a darker stain.

Now, I’d refinished furniture before, and learned first-hand that EVERY trace of clear lacquer must be removed to achieve an evenly stained finish. And sometimes its hard to determine if all of that lacquer has been completely removed. But, I figured that since the finish was in such shoddy shape to begin with, I’d at least give it a shot. I removed the seats, which were simply screwed on, and started sanding with 80 grit sandpaper to remove the finish. I did it by hand, since there were so many curvy areas on the chairs. The larger areas were easy, but I was having trouble with detail areas like this….

IMG_1043

I knew it was imperative that I sand in the direction of the wood grain to prevent ugly sanding lines once stained, so removing the lacquer in these areas just wasn’t happening.  At least, not with the tools I had available to me.  One afternoon, as I futilely sanded during Lucas’s nap time, our neighbor walked over with the gift of lacquer thinner. He instructed me to rub it on with a rag to dissolve the finish.  After thanking him profusely and staring at the can as though it radiated magic beams of light, I began this process.

Sadly, I found that it was very slow going and VERY fumey.  I spent several hours rubbing lacquer thinner onto various chairs thinking that I just wasn’t committing fully, but alas, in the end I still felt that I couldn’t safely stain ANY chair and achieve an even finish.  So, I decided to paint the chairs instead.

I returned the lacquer thinner to our neighbor with a huge thank you, and called it a day. After a little mental recovery period (of a few weeks), I purchased, this spray paint….

IMG_1218

I had used it on our patio furniture in black and was really impressed by the spray quality and finish. So, I bought some in gloss white. I decided to start with one chair and see how it went. I roughed up the finish with 220 grit sandpaper, wiped the chair clean, then applied several light, even coats of spray paint, leaving 10-15 minutes of dry time between each. Which left this…

IMG_1227

While I liked the glossy finish, the flaws were definitely evident with the spray paint, and I was using more paint than expected (almost 2 cans for this one chair and I could’ve used more). Take a gander…

IMG_1225

IMG_1226

IMG_1232

I didn’t have a complete problem with the flaws. They kind of lent a shabby-chic kind of feel. But since our table is currently in a peninsula formation against the wall, we only need 4-5 chairs to be used on a daily basis (with the other chair(s) to be used when we have guests). So, I thought I’d hand-paint one of the chairs to see if I liked that finish better. Then, later, I’d repaint the odd-man-out to match the others without having to sacrifice our normal day-to-day seating.

Having seen the flaws that showed on my spray-painted chair, I decided to use this wood filler to fill any large gashes and screw holes.

IMG_1233

IMG_1234

After the allotted dry time, I sanded it with 220 grit sandpaper to smooth it out, then repeated the process with a second coat of wood filler followed by sanding. The second application really was key in making a smooth, even finish. I thoroughly cleaned the chairs to remove all the dust. Next, I applied a coat of Kilz Premium primer with an angled brush, waited an hour (per the instructions) then applied 2 coats of leftover white trim paint left by our builder. Which left me with this…

IMG_1243

IMG_1244

I definitely preferred the hand-painted to the spray-painted version. It just appeared more crisp. Plus, it was free since we already had the paint and primer. So, hand-painted it was. With that, I proceeded to prime the remaining four chairs by hand.

The next day, I walked into the garage where my completed hand-painted chair was drying and took a look.  Only to discover unsightly yellow bleed-through. Jeepers. (My pics of this didn’t turn out, unfortunately.)

Now, I’m not sure exactly what I did to tick off the DIY gods, but my projects lately seem to be riddled with way more obstacles than usual. Seriously. Now, I had not one (the spray-painted chair), but two chairs to repaint. Not the end of the world, really, but not something I was über excited about at this point either.   So, I purposely decided to ignore the problem children chairs for now and refocused on the others…

Since one coat of primer was clearly no match for yellow bleed-through, I added a second coat to the four chairs that I’d primed the previous day.  Then, I waited until they’d fully dried and searched for telltale signs of yellow betrayal. For the most part, the chairs looked good, but there were a few small areas that did need a third coat. The next day, (after inspecting for more bleed-through) I applied 2 coats of shiny white paint.  And I’m happy to report that we are “so far, so good” on the bleed front. I’m hoping that the second/third coat of stain-blocking primer was adequate to stop future bleed-through from occurring. (Fingers crossed!)

For the spray-painted chair, I knew that I’d need a different primer since most spray-paint is oil-based. Latex over oil = A peeling mess.  And, since I had the yellow bleed-through problem with the other chair, my mother-in-law, Mac (who has oodles of experience with painting, especially white painting), recommended a shellac-based primer. It can go over or under any paint, sticks to any surface, and blocks all bleed-through. It’s a smidge more expensive, but seemingly worth it. Plus, I could use it for both chairs.

So, I bought a quart of this…

20130923-195138.jpg

I painted one good coat of shellac primer over both of the remaining chairs, then followed with two coats of white paint. And it worked like a charm. Thank yoooouuuu, Mac!

So, here’s where we are so far….

IMG_1320

All chair frames are primed and painted. Finally. (The other two were drying in the garage when I took this pic)

And they look so glossy and fresh. I can’t wait to get the seats on them and bask in their doneness. And beauty. Did I mention beauty? Speaking of which….

Next, is the really fun part…. I’ll be back with details for recovering the seat cushions with a bold fabric (that I’m 100% completely obsessed with) and then the final “after” results.  We’re in the home stretch with these $8 chairs, my friends… (Fist pump!!)