Okay. I have a confession to make.
Although, I’m obviously a lover of all things home… (*coughcough!*) I do NOT like styling shelves.
No joke. I really don’t.
It’s the one area of decor that I consistently view as a chore. Maybe it’s because it takes me forever. Maybe it’s because I’m picky. I dunno. All I can say is that I often look upon those beautifully styled shelves on Pinterest and other blogs with sad, wistful expressions on my face as I think about the hours and hours it’d take me to achieve something remotely close to that. Seriously…. You never realized that any shelf display that’s ever been posted on this blog took me decades to complete, did you? And then I realize… wait. MAYBE those shelf displays took THEM hours, too!!! It’s quite possible, ya know. That’s the thing about the internet. You only have to share the bits that you want to. You can publish an amazing before and after post and completely glaze over the many weeks and bad language that contributed to that shelf-styling. I know that I’ve certainly been guilty of that over the past year. So, here it is. My admission:
I, Christina Spragins, do not happily style shelves with blissful smiles on my face. I bribe myself with cookies and force myself to do it with a constant stream of complaints under my breath.
There. I said it. I feel better now.
But, and this is a big BUT (I like big ‘Buts’ and I cannot lie…. Oy. Focus, Christina.)… I’m always glad I did it in the end. It’s like a workout. I dread it. Endure it. Then, strut my stuff like it’s going outta style because I DID IT and survived to tell the tale.
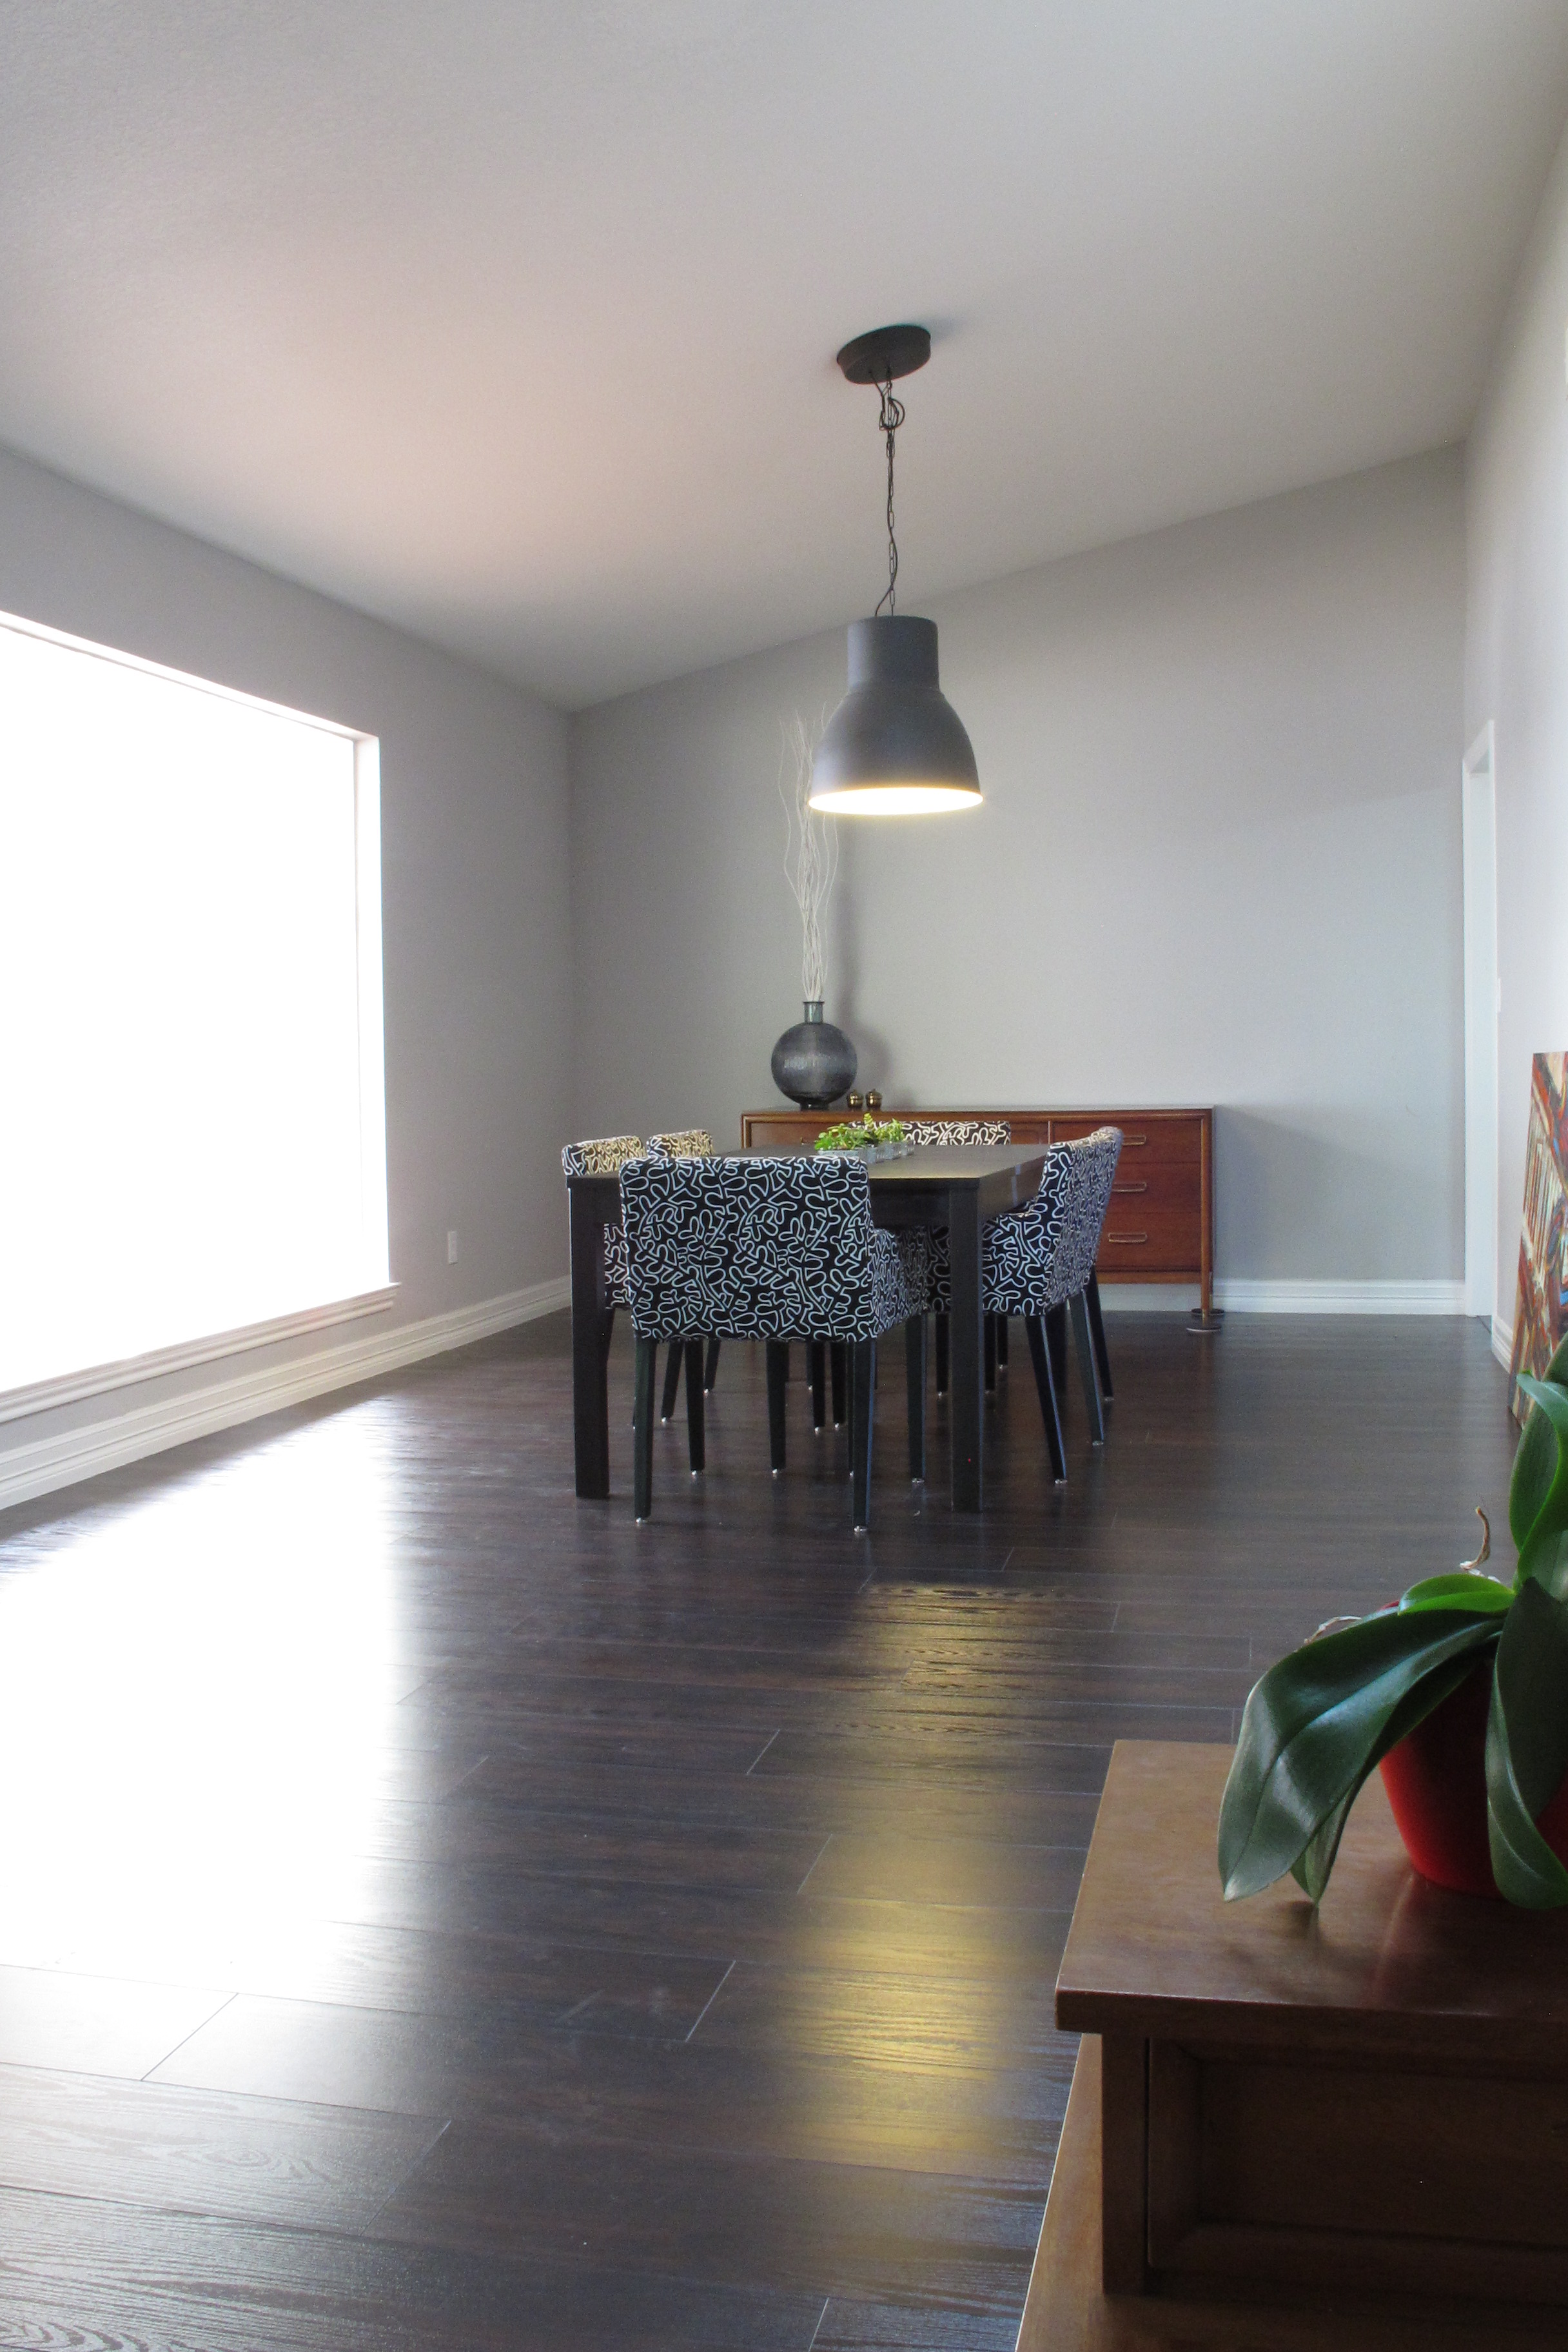
So anyways, after I completed the dining room decor changes described in this post (as seen in this pic)…

…those empty shelves screamed at me. Repeatedly. They sounded like those squeaky-voiced ringtones… you know the ones: “Hey! Letme outta ya pocket!”. Except the message that I got was more like “Hey, I’m NAKED!!! Andnotinagoodway!” Yep. In case you’re wondering, THAT is the voice of an Ikea Lack shelf. High-pitched, squeaky, and full of rage.
After weeks of this (told ya… I’m behind on posts), I figured that I’d better get on it. Obviously, waiting for the shelves to style themselves wasn’t working. So, it was time to work the magic (Heehee!).
I started by gathering anything that I thought might work in the space. I collected all the things. They went on the dining table. And I began. I took a few pictures throughout, but honestly, I made so many changes that I missed many stages of shelf-readiness. The process was a lot of “place an item, step back, place an item, step back”. I worked on it intermittently throughout the day and continued to play with it throughout the weekend. I will say that I climbed up and down that chair so frequently that I could barely walk the next day. You didn’t realize that shelf-styling makes you buff, did you? Now you know. You are welcome.
Here’s where I started. I wanted to incorporate dishware since it’s a dining space, so I started there…

I placed larger items first, then started playing around with smaller ones…

I experimented with green, but decided that it didn’t flow with the space. Plus, that bamboo bowl was drawing my eye right to it, so it had to go. I tried again and ended up here…

Again, like the yellow bowl, the yellow bike wasn’t working. It was showboating. I couldn’t draw my eye away from it. So, I went more neutral…

It’s not that I hated this one… It was just too busy for the space when I accounted for the painting on the adjoining wall, so I cleared off the top shelf and started again…

I loved the mirror up there. It doesn’t convey properly in pictures, but the mirror really does a lot for the space in person. Plus, it pulls out the red tones in the painting on the adjoining wall. I added a few more touches in the form of a ceramic milk jug and wood car…

But didn’t love the car, so I took it off…

But this felt unbalanced, so I grabbed a few white bowls from the kitchen and a bamboo plant…

And scene.
I was reasonably happy with it for the time being (I’ve since straightened that crooked bamboo)…


Here’s a farther shot…

The flowers on the table totally clash. I realize this. But, Joey gave them to me, so I forgive them. Next up for this space will be painting the table white. Woo-hoo! I think that’s really going to brighten the space a lot. Oh yeah, and since I’m admitting that I’m crazy behind on posts, I’ve already modified these shelves again (sort of) for Christmas. They’re more sparkly now. So, that update is coming soon, too. Stay tuned…