Lucas’s desk area and a little easy bed-tweak

Howdy guys!!   So, Lucas’s room has experienced a few tweaks since last we spoke.  And seriously ya’ll.   I spent almost no money.  I purchased a little picture-hanger thingie for around $4 and the rest I already owned.   I always feel so accomplished when that happens.   It helps un-junk our other spaces and gives items new lives in the process.

So anyways, the last time I showed you his room I’d just revamped his new bed

And if you’ll recall, a fan of the wooden drawer handles I was not…

They just felt a bit too “little boy room” for my taste.   So, I simply swapped them out for some pewter metal drawer pulls that were given to us by a friend who was getting rid of them…

And these beautiful little metal bundles of glory made all the difference.  I love swaps like this that take 5 minutes, very little money, and make a big impact.   Now, the bed feels more modern and less “lodge-y”.  Success is mine!

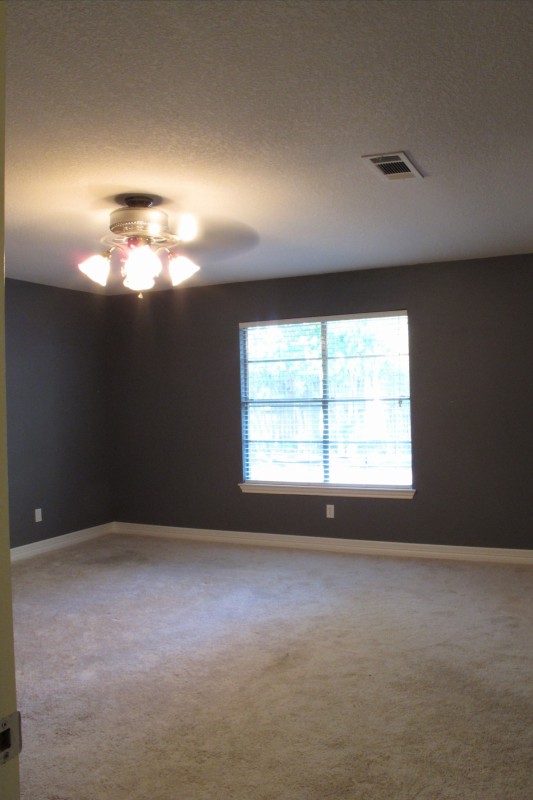
Now, for the desk portion of the room.  If you’ll recall, it started off here…

232323232-fp83232-uqcshlukaxroqdfv;76;=ot-2487=7;-=;69=XROQDF-267-787736255ot1lsi

And now is here…

All it took was some of that leftover gorgeous grey paint on the walls (Driftwood Grey by Glidden mixed at 75% saturation), and some navy blue oops paint behind the desk area.   I also swapped out the white ceramic drawer pulls on the desk for stained nickel versions.   And really, it’s not done yet.  I’d like to add some lighting and possibly some pattern behind the shelves, and either revamp his chair, or get a new, more funky chair.  Plus, I’d like to style the shelves differently once I get his room more organized.   It’ll all come together with time.  This, I’ve learned.   Ideas grow with time.   I am Yoda.

Here’s what that side of the room looks like with the door closed…

Behind his door, I hung some awesome art created by my mother-in-law Mac, then I added a neat, white cork-board/picture-hanger thingie that I found on clearance at Target.  From that, I hung a Ninja Turtle bulls-eye game that Lucas got for his birthday.   Instant “game-zone” if you ask me…

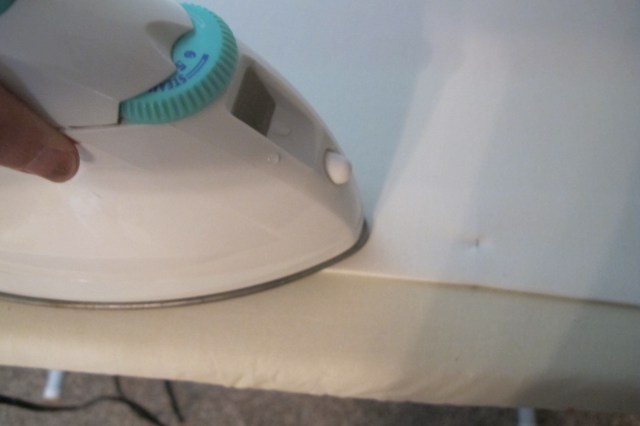
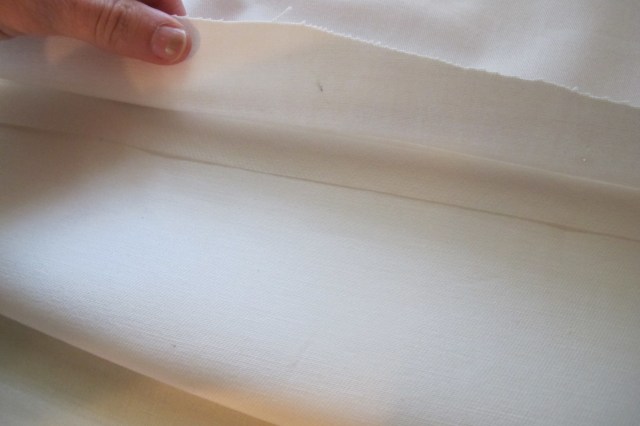
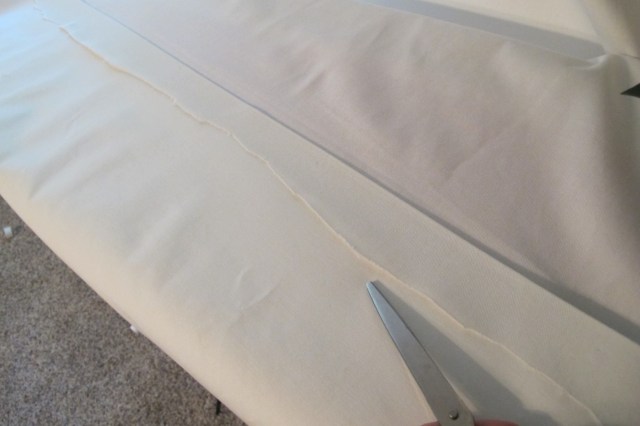
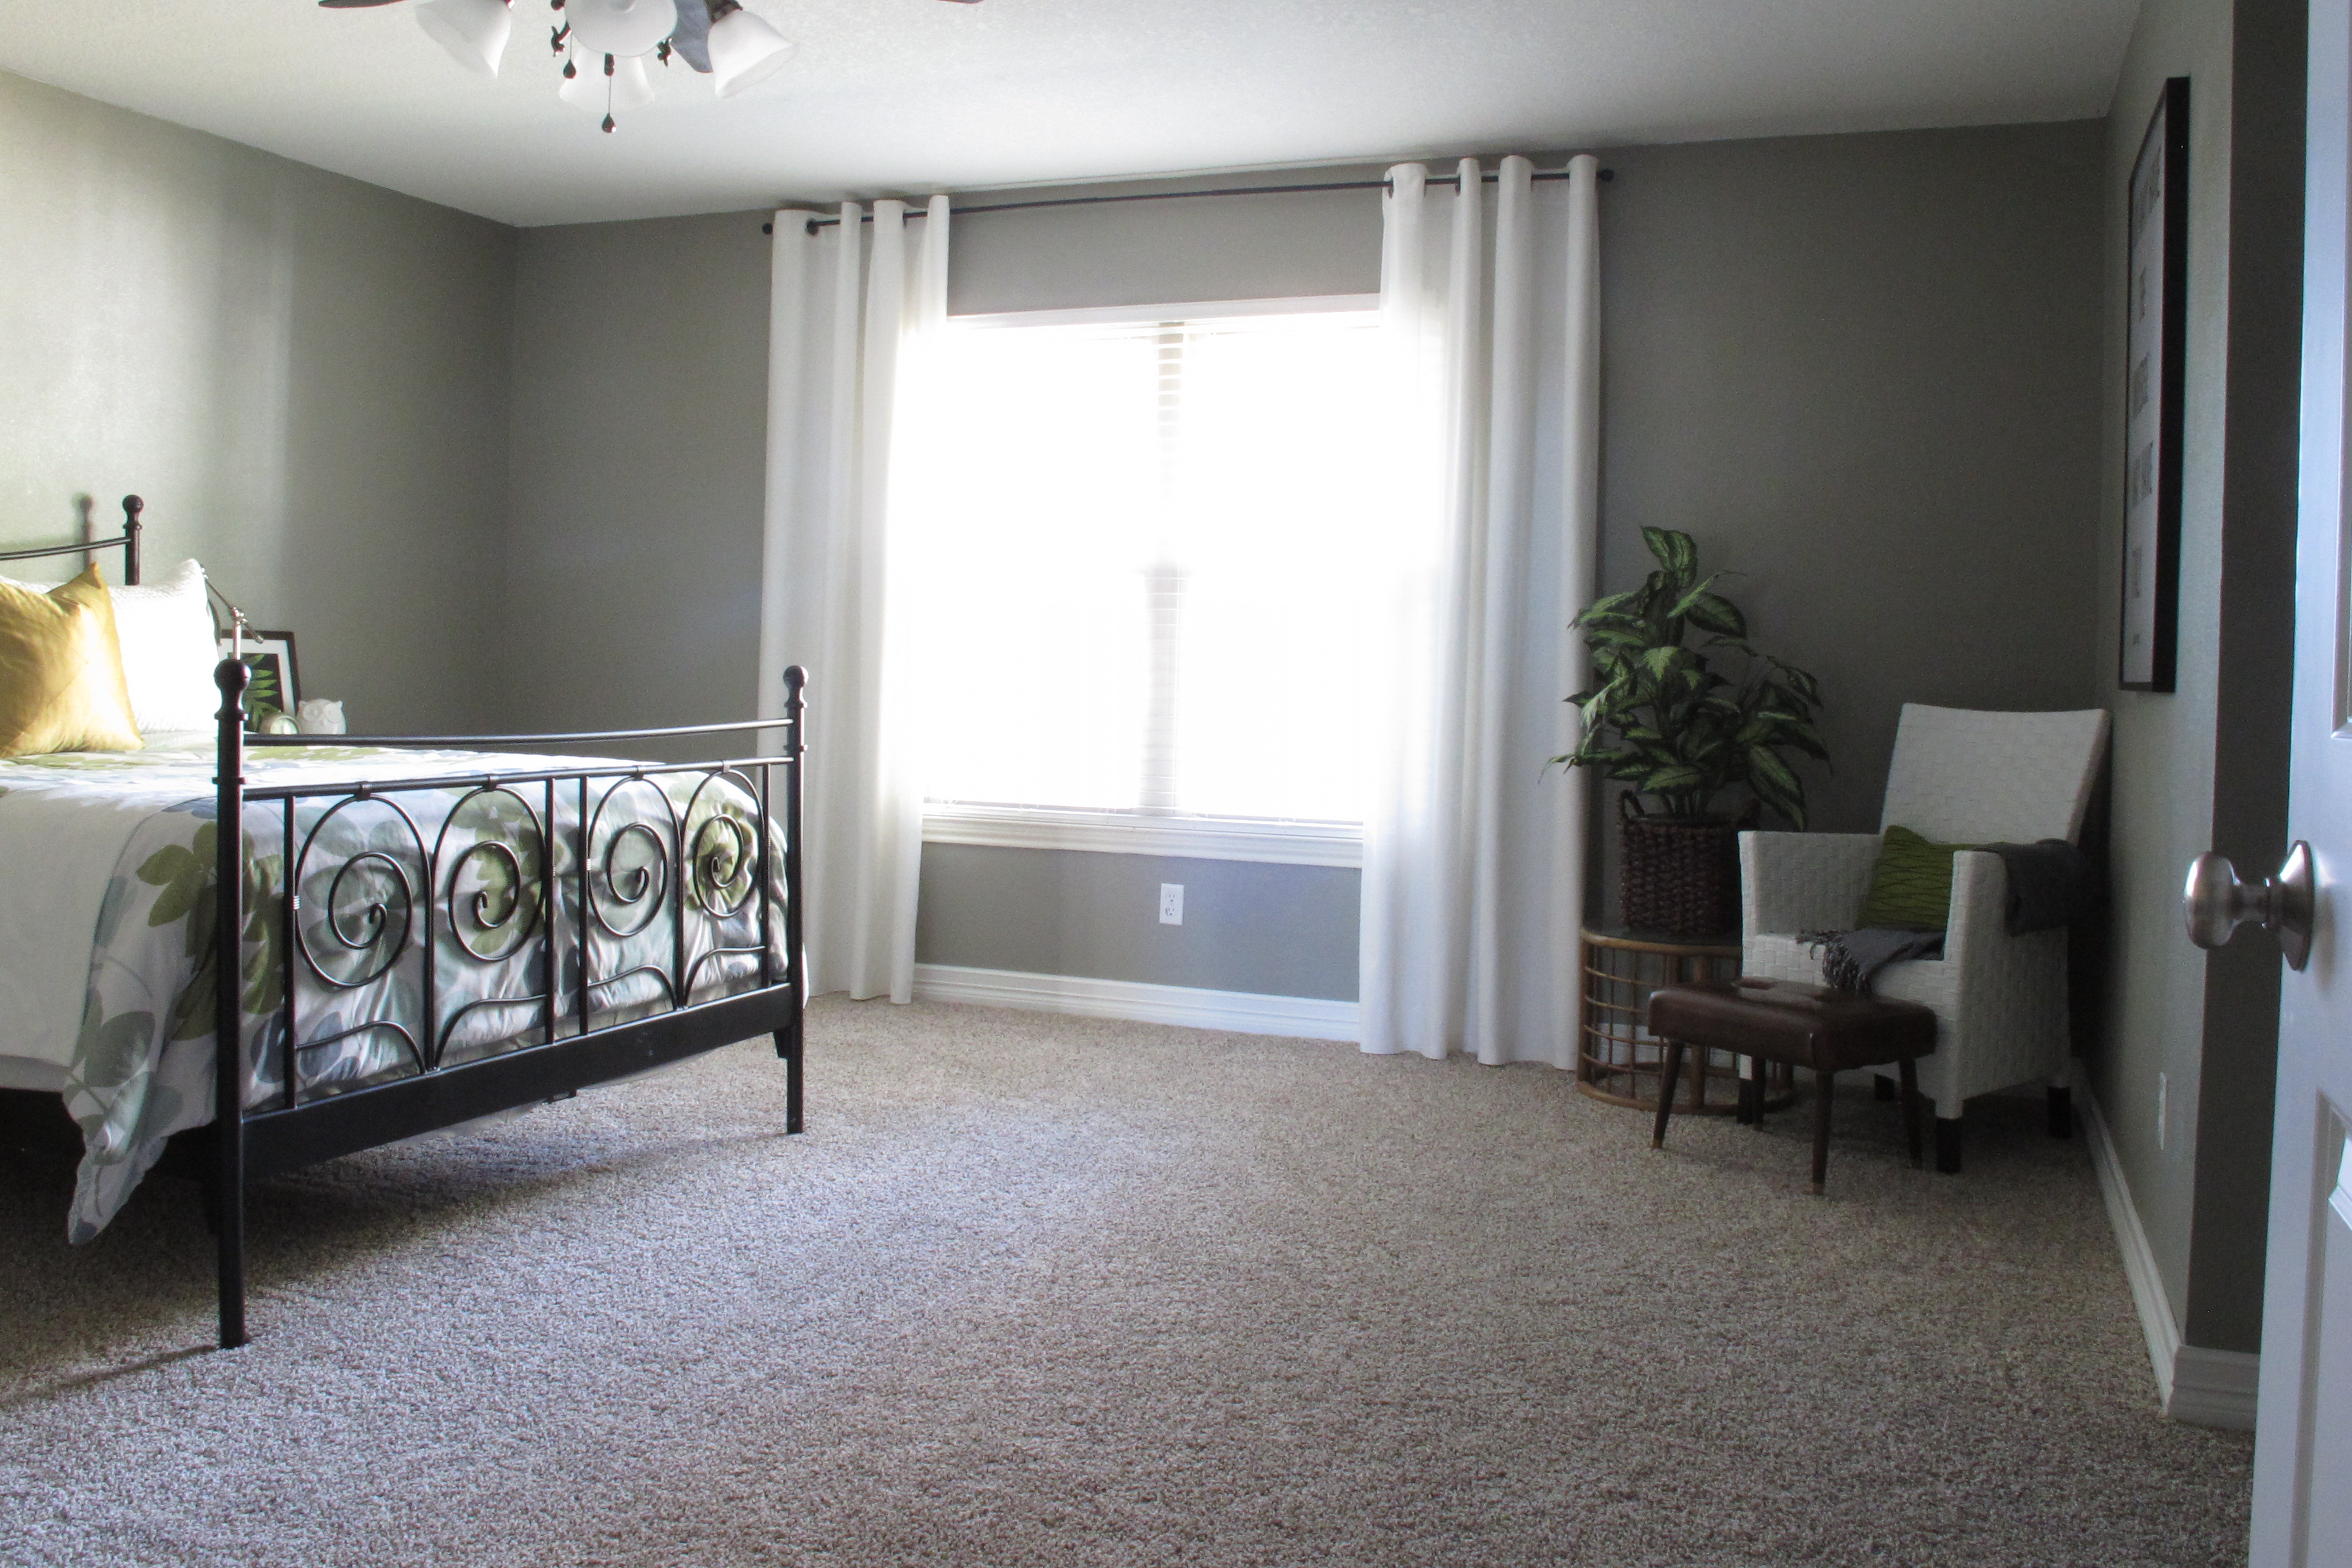
My last tweak in his room (for now) was adding curtains.   These are the same curtains from his room in our last house…

232323232-fp83232-uqcshlukaxroqdfv36467-nu=3396-6-9--78-WSNRCG=35;488-379346nu0mrj

Just cheap, simple white Vivian curtains from Ikea (I hadn’t hemmed them yet in this shot).   I’m considering changing them out for curtains with a subtle pattern. Perhaps a grey on white or something to add interest without being too distracting.   For now, though, they work.  And they’re free, so they’re hanging.   Eventually, we will see.  Patience I must have. #Yodaknows

So, that’s where Lucas’s room is at now.   I still have some wall-art projects I’d like to get to for above his bed and dresser.  And I’d like to spray paint the weirdly-colored blades on his ceiling fan.   Plus, organization.  Oh, the organization.   So, with that, I dub this post: To be continued…

TDC Before and After
Advertisement

How to (no-sew) hem curtains while they’re still on the rod!

So, it’s no secret here that sewing hates me is NOT a strong suit of mine. I’ve done it a few times, like when Mac helped me make shower curtains for our last house, or when I recovered my Target-inspired bench, but it’s always been an intimidating process for me. So, when it came to hanging curtains in our current home, I stalled. The ceilings in this house (in the bedrooms, anyways) are much lower than our last home, so I knew that I’d have to hem our curtains to achieve that crisp, tailored look that I love.

So, when I finally manned up and hung the curtains, they stayed long and “pooly” for a bit. And every time I walked into the bedroom they stared at me with that condescending look of victory.   You will not defeat us.  Finally, I couldn’t take it anymore.  I stared back, nodded in defiance, and muttered “Challenge accepted.”

Honestly, I wish I could say that I went into it all gung-ho with pistols blazing, racing towards my final goal.  But really, although I’d accepted the challenge, the process started as one small, innocent step towards my final goal.   I simply thought, “Hey, I may as well pin them to the correct length.  At least that’ll be a good start.”…

IMG_8071

So, I did.

I folded up the material right at the floor and pinned them with straight pins. Then, I figured, “Well, I may as well trim the excess material while I’m at it so the bottoms don’t look quite as messy…”….

IMG_8072

So, I did.

Once that was done, I thought, “Ya knooooow, if I set up the ironing board beneath the window, I could easily iron that hem nice and flat.  That should tide me over until I gather the energy to take down the curtains and officially hem them…”….

IMG_8073

So, I did.

I simply ironed right over the straight pins.

IMG_8074

Once that was done, I figured “Wellllllllll, since I already have the iron out, I may as well use some iron-on hem tape and finish off the hem…”…

IMG_8075

IMG_8077

IMG_8078

So, I did.

Lastly, I trimmed up the excess material so that it looked much straighter than this….

IMG_8079

And done.

IMG_8081

It seriously took me about 10 minutes per panel and each panel ended up the perfect length. Needless to say, I’ll never hem a curtain any other way. It was painless, easy and fast. And to think…  I stalled and hemmed and hawed (punintended) for nothing.  All I needed was to simply get started and the rest of the process fell right into place.

Now, for some updated bedroom shots.  But first, let’s go back to where we started…

232323232-fp83232-uqcshlukaxroqdfv7997=ot-2487=7;-=;69=XROQDF-267-78773-255ot1lsi

And here we are after replacing the carpet and windows, painting the walls a soothing gray, creating some DIY artwork, and adding our freshly hemmed curtains…

IMG_8167 IMG_8170

Isn’t it amazing how curtains instantly add a layer of comfort and softness to a room?  Plus, the window now makes a much grander statement in the space. Next up will be adding more artwork, and I’m still on the lookout for a new, more streamlined wood bed.

As for the “Atrium Area” as I’ve affectionately dubbed it, I’ve finally accessorized the space.  The mirror will be painted white soon and once I find some neat, geometric fabric, I’ll be applying it to the wall behind the dresser to brighten up the space.  Plus, we’ll add a cool chandelier.  It’s gonna be neat when it’s done.  That is, if it turns out like it is in my head (fingerscrossed)…..

IMG_8173

IMG_8176

So, that’s the current state of things in our bedroom.

Do any of y’all ever stall on projects that you dread, only to have that “why didn’t I do this sooner” moment once you finally get to it?


TDC Before and After