So, the other day I realized that I’ve been a bad blogger. We’ve lived in the house for almost 2 months and I haven’t shown you many of the rooms as they currently stand. Now, I’ll tell ya… We have a TON of work to do still. But, really in the time we’ve lived here we’ve done a lot. New windows were installed in the bedrooms last week, new insulation and radiant barrier before that, new flooring in much of the house prior to move-in, etc. So, now that some of the Need-To-Do things are checked off, we’re finally reaching that sweet-spot where we can start focusing on style and decor. I’m going to break up the tour into a few posts to keep it from being too overwhelming. This time around I’m going to show you the kitchen/breakfast nook, the foyer and the secondary bedrooms that you haven’t seen yet.
So, here’s where we started with the kitchen…

And here’s we’re at now….

All we’ve really done here is accessorize. Obviously, this room needs plenty of work down the line. The appliances are old, mis-matched, and builder-grade. Our black fridge sticks out like a sore thumb. Plus, the stove works only part of the time. We literally have to jam the burners in and smack ’em around to get them to heat up. These will be replaced eventually, but we’re trying to make them last as long as possible to allow us to really consider what we want to replace them with. Oh yeah, then there’s the rest of the full-reno. 😉
On the other side of the room, we have our breakfast nook, which started here…
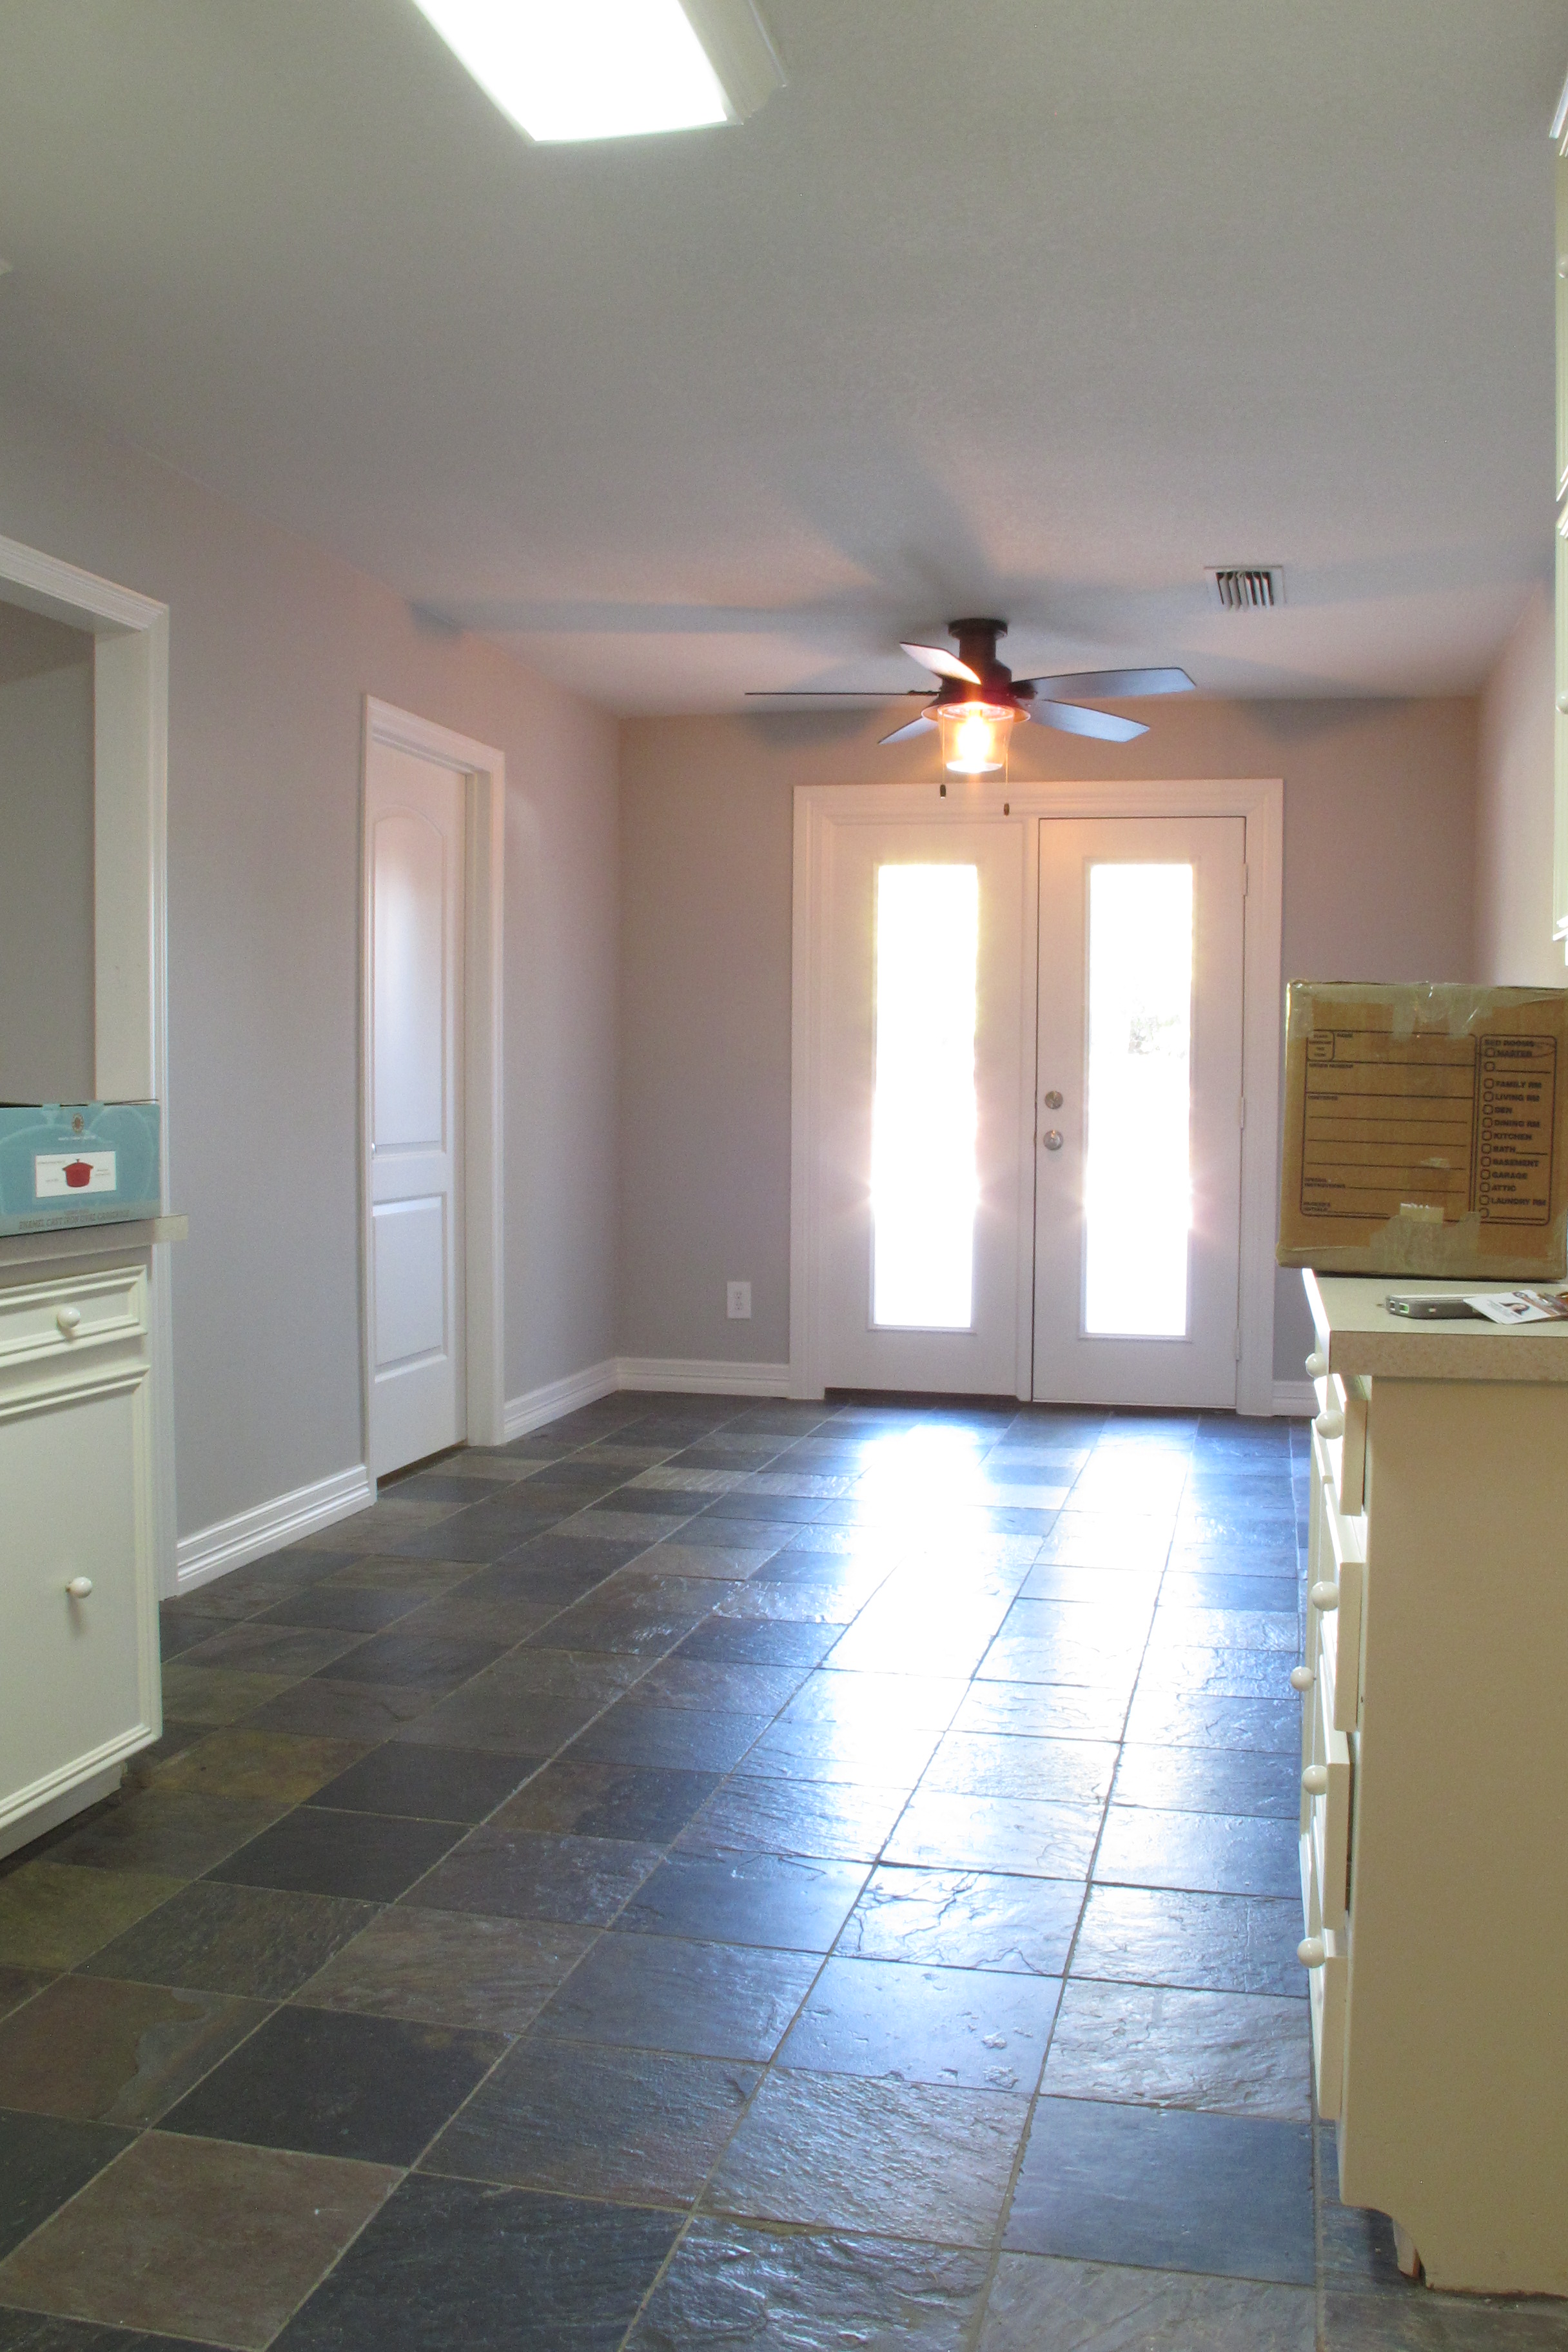
And now is here…

The large red painting was created by my mother in law, Mac. You’ll see several of her pieces throughout the tour. The table is off center to allow better flow of traffic (although looking at this pic, I can definitely move it a bit closer to center. Noted.). The lighting fixture is off center in the opposite direction, which drives me batty. Plus, it’s way too close to the french doors to allow a table to sit directly under it, so we plan to relocate the lighting fixture over the table (I’m lobbying for a chandelier. Joey remains unconvinced.). Speaking of the table, I really think the space is screaming for a round pedestal table to allow for better flow. I’m keeping an eye out for potential candidates.
Over in this little area by the French door….

We have a charming Ride print that Joey purchased a long time ago. I framed it with a $4 poster frame from Target. Below that we have my chicken-wire Ikea hacked cabinet with the painted baskets that I adorned for our previous mudroom. The baskets hold sunscreen, bug spray, and other outdoor must-haves so we can just grab-and-go when swimming.
A little view from beyond the breakfast nook (You can catch a glimpse of the dining room… I’ll have another post for that)….

And don’t even get me started on that fluorescent light. It will be so very gone. One day.
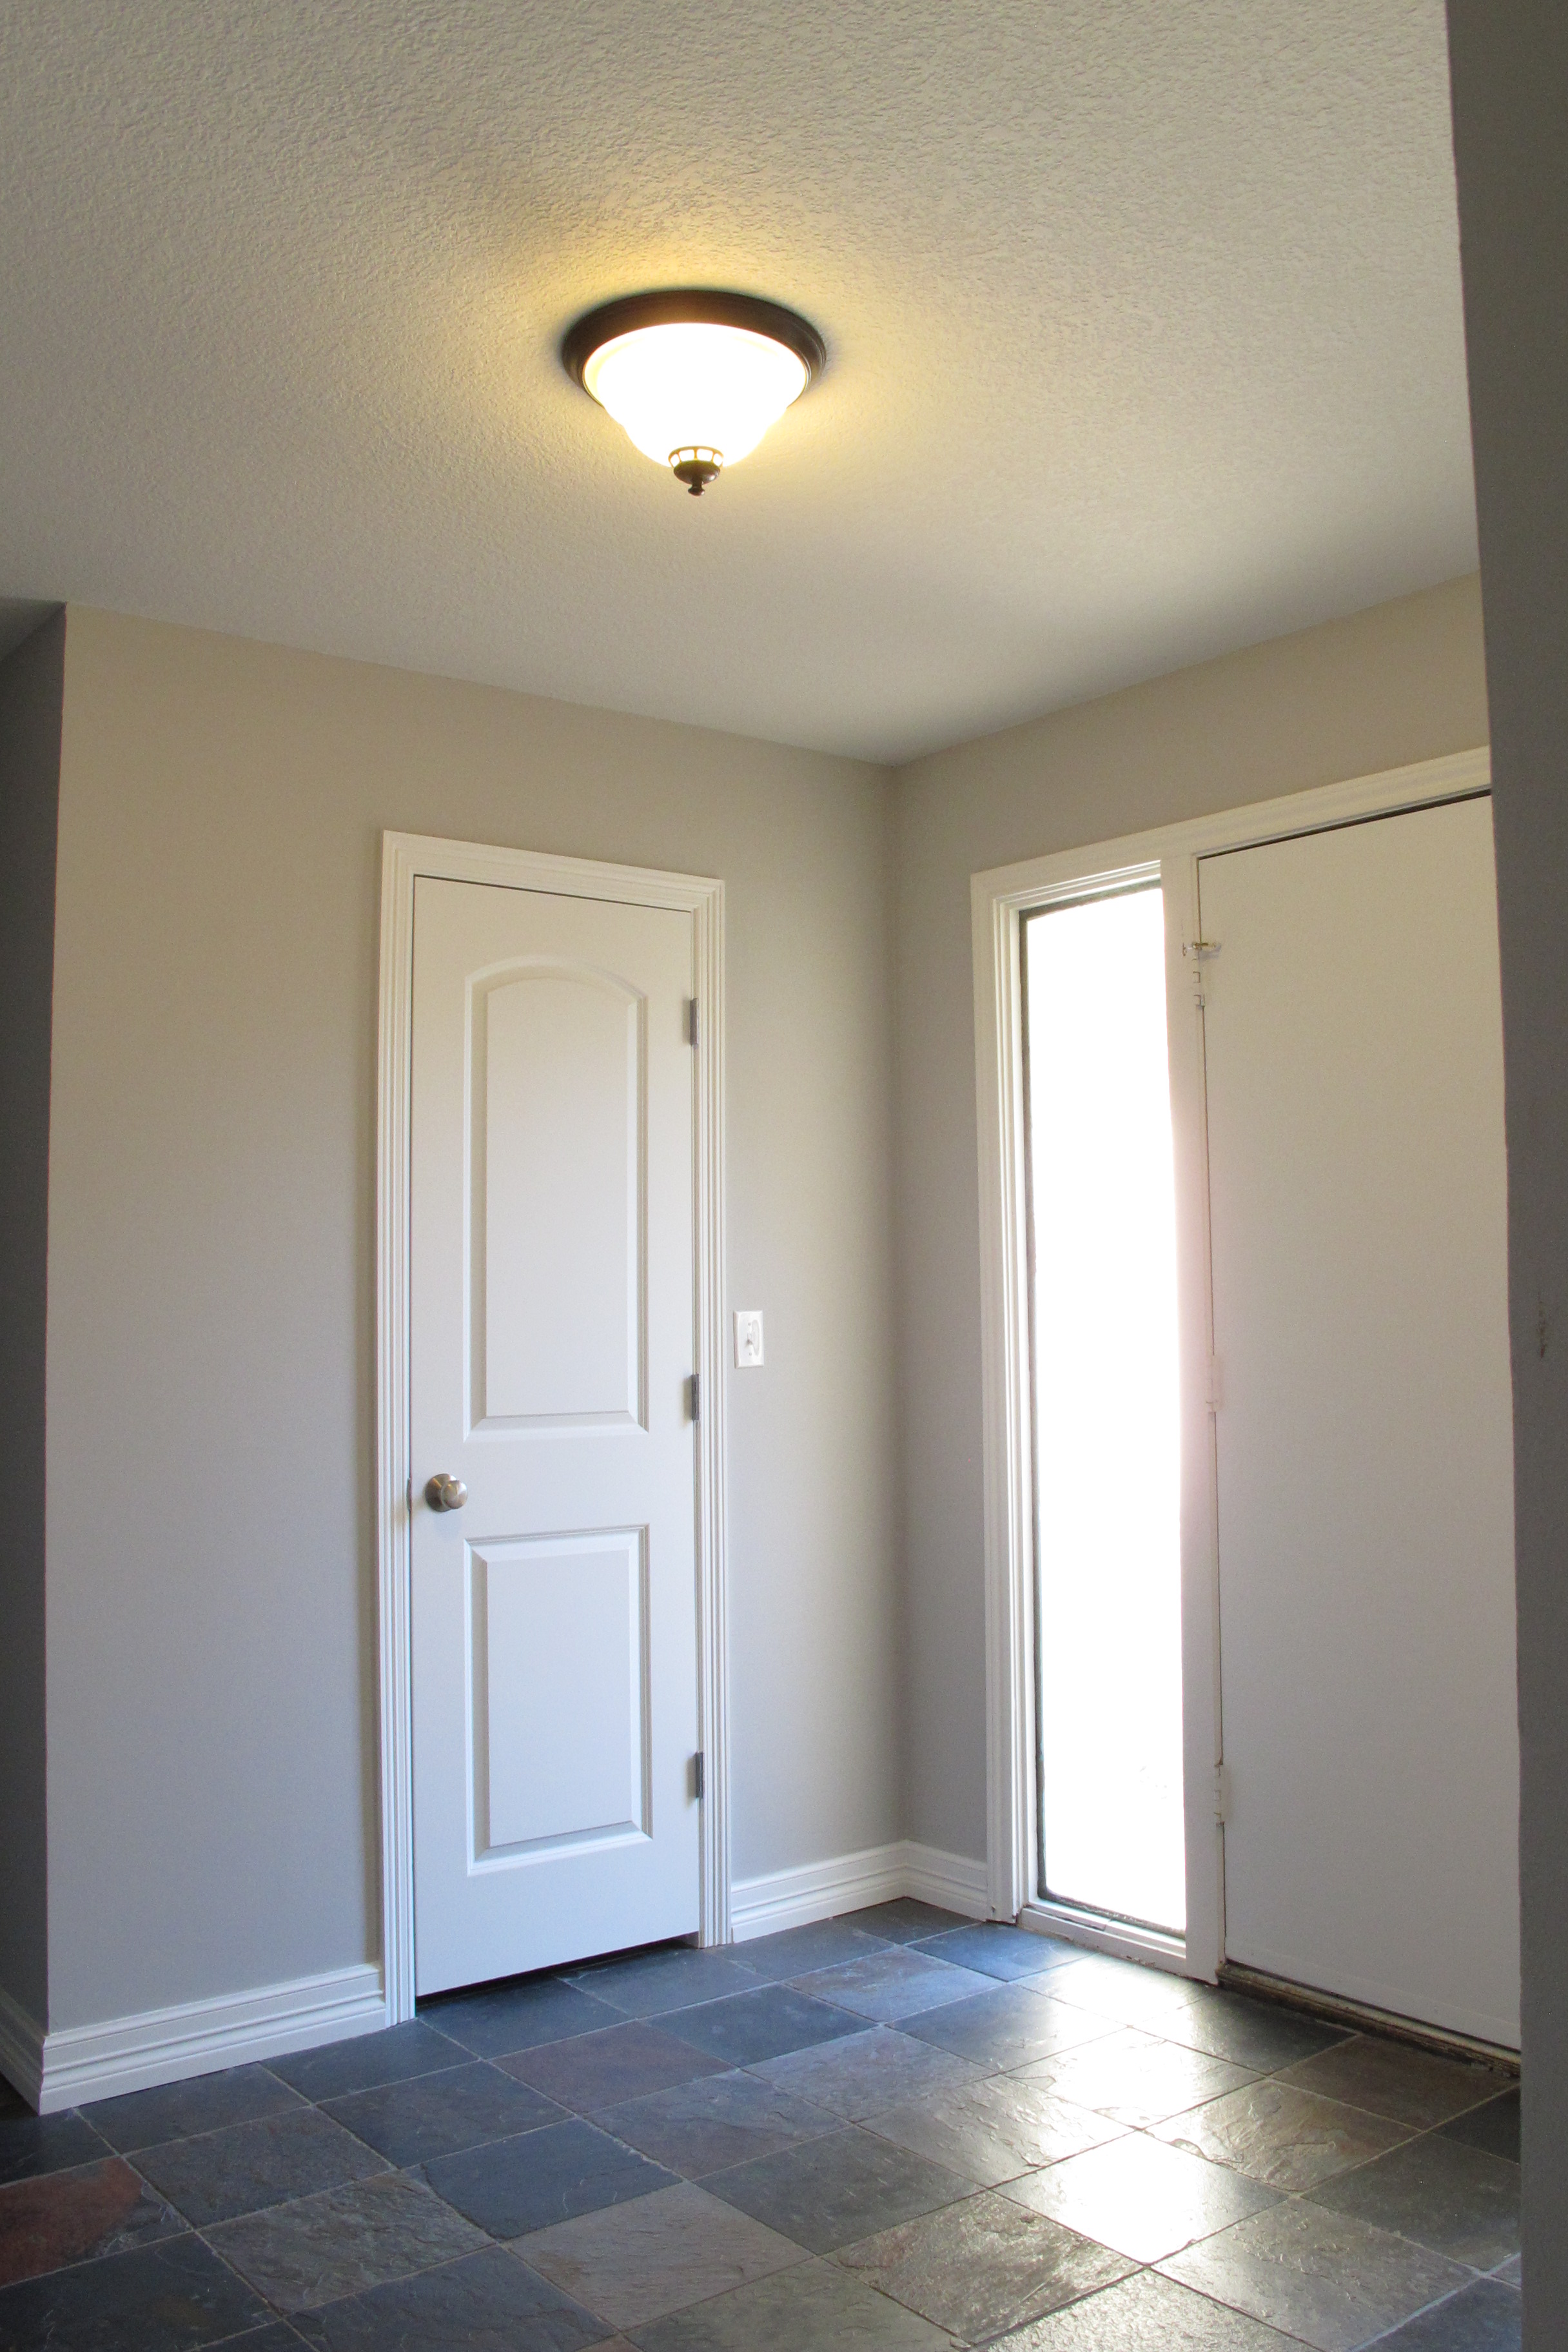
Moving onto the foyer, we started with this…
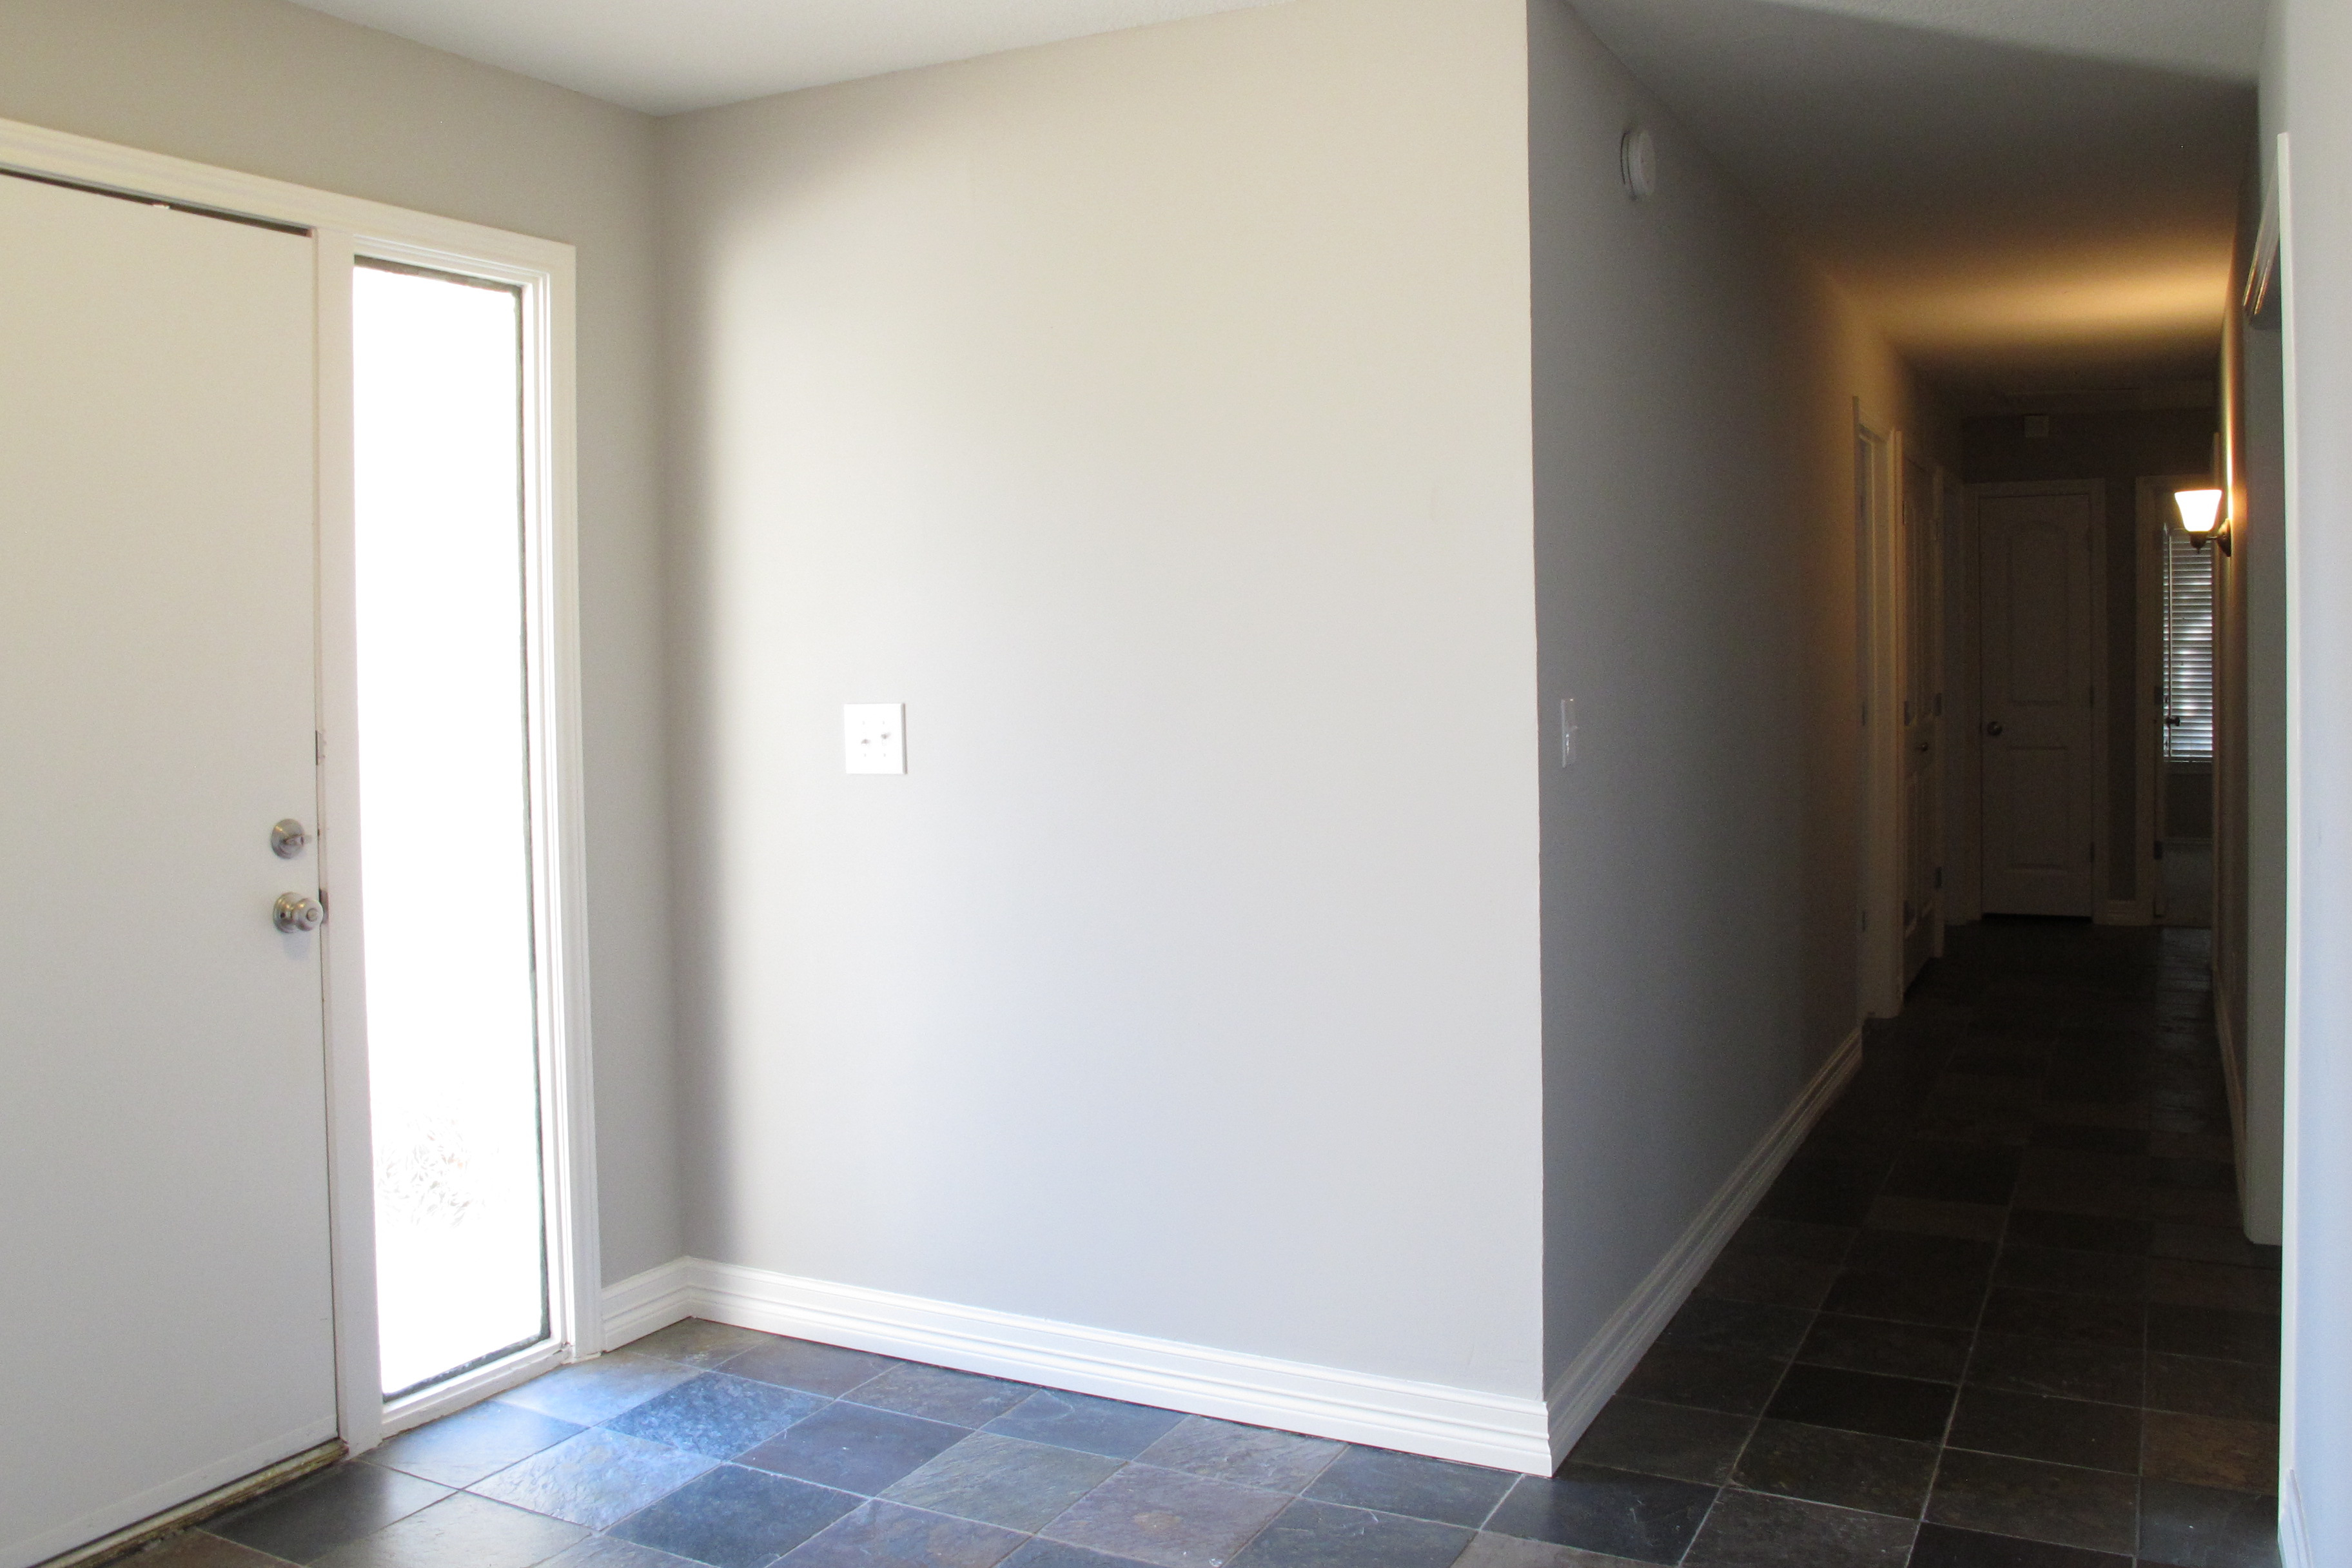
Which now looks like this…

I’m not convinced that that art will stay which is why I haven’t hung it yet. I’m still marinating on that.
The other direction…
I’ve simply added a vase with sticks and another awesome painting by Mac (that hallway leads to the kitchen)…

Here’s the view of the painting from further down the hallway… \

I’m still at a loss for what to do with the wall that’s directly across from the front door (this pic is from before we moved in)…
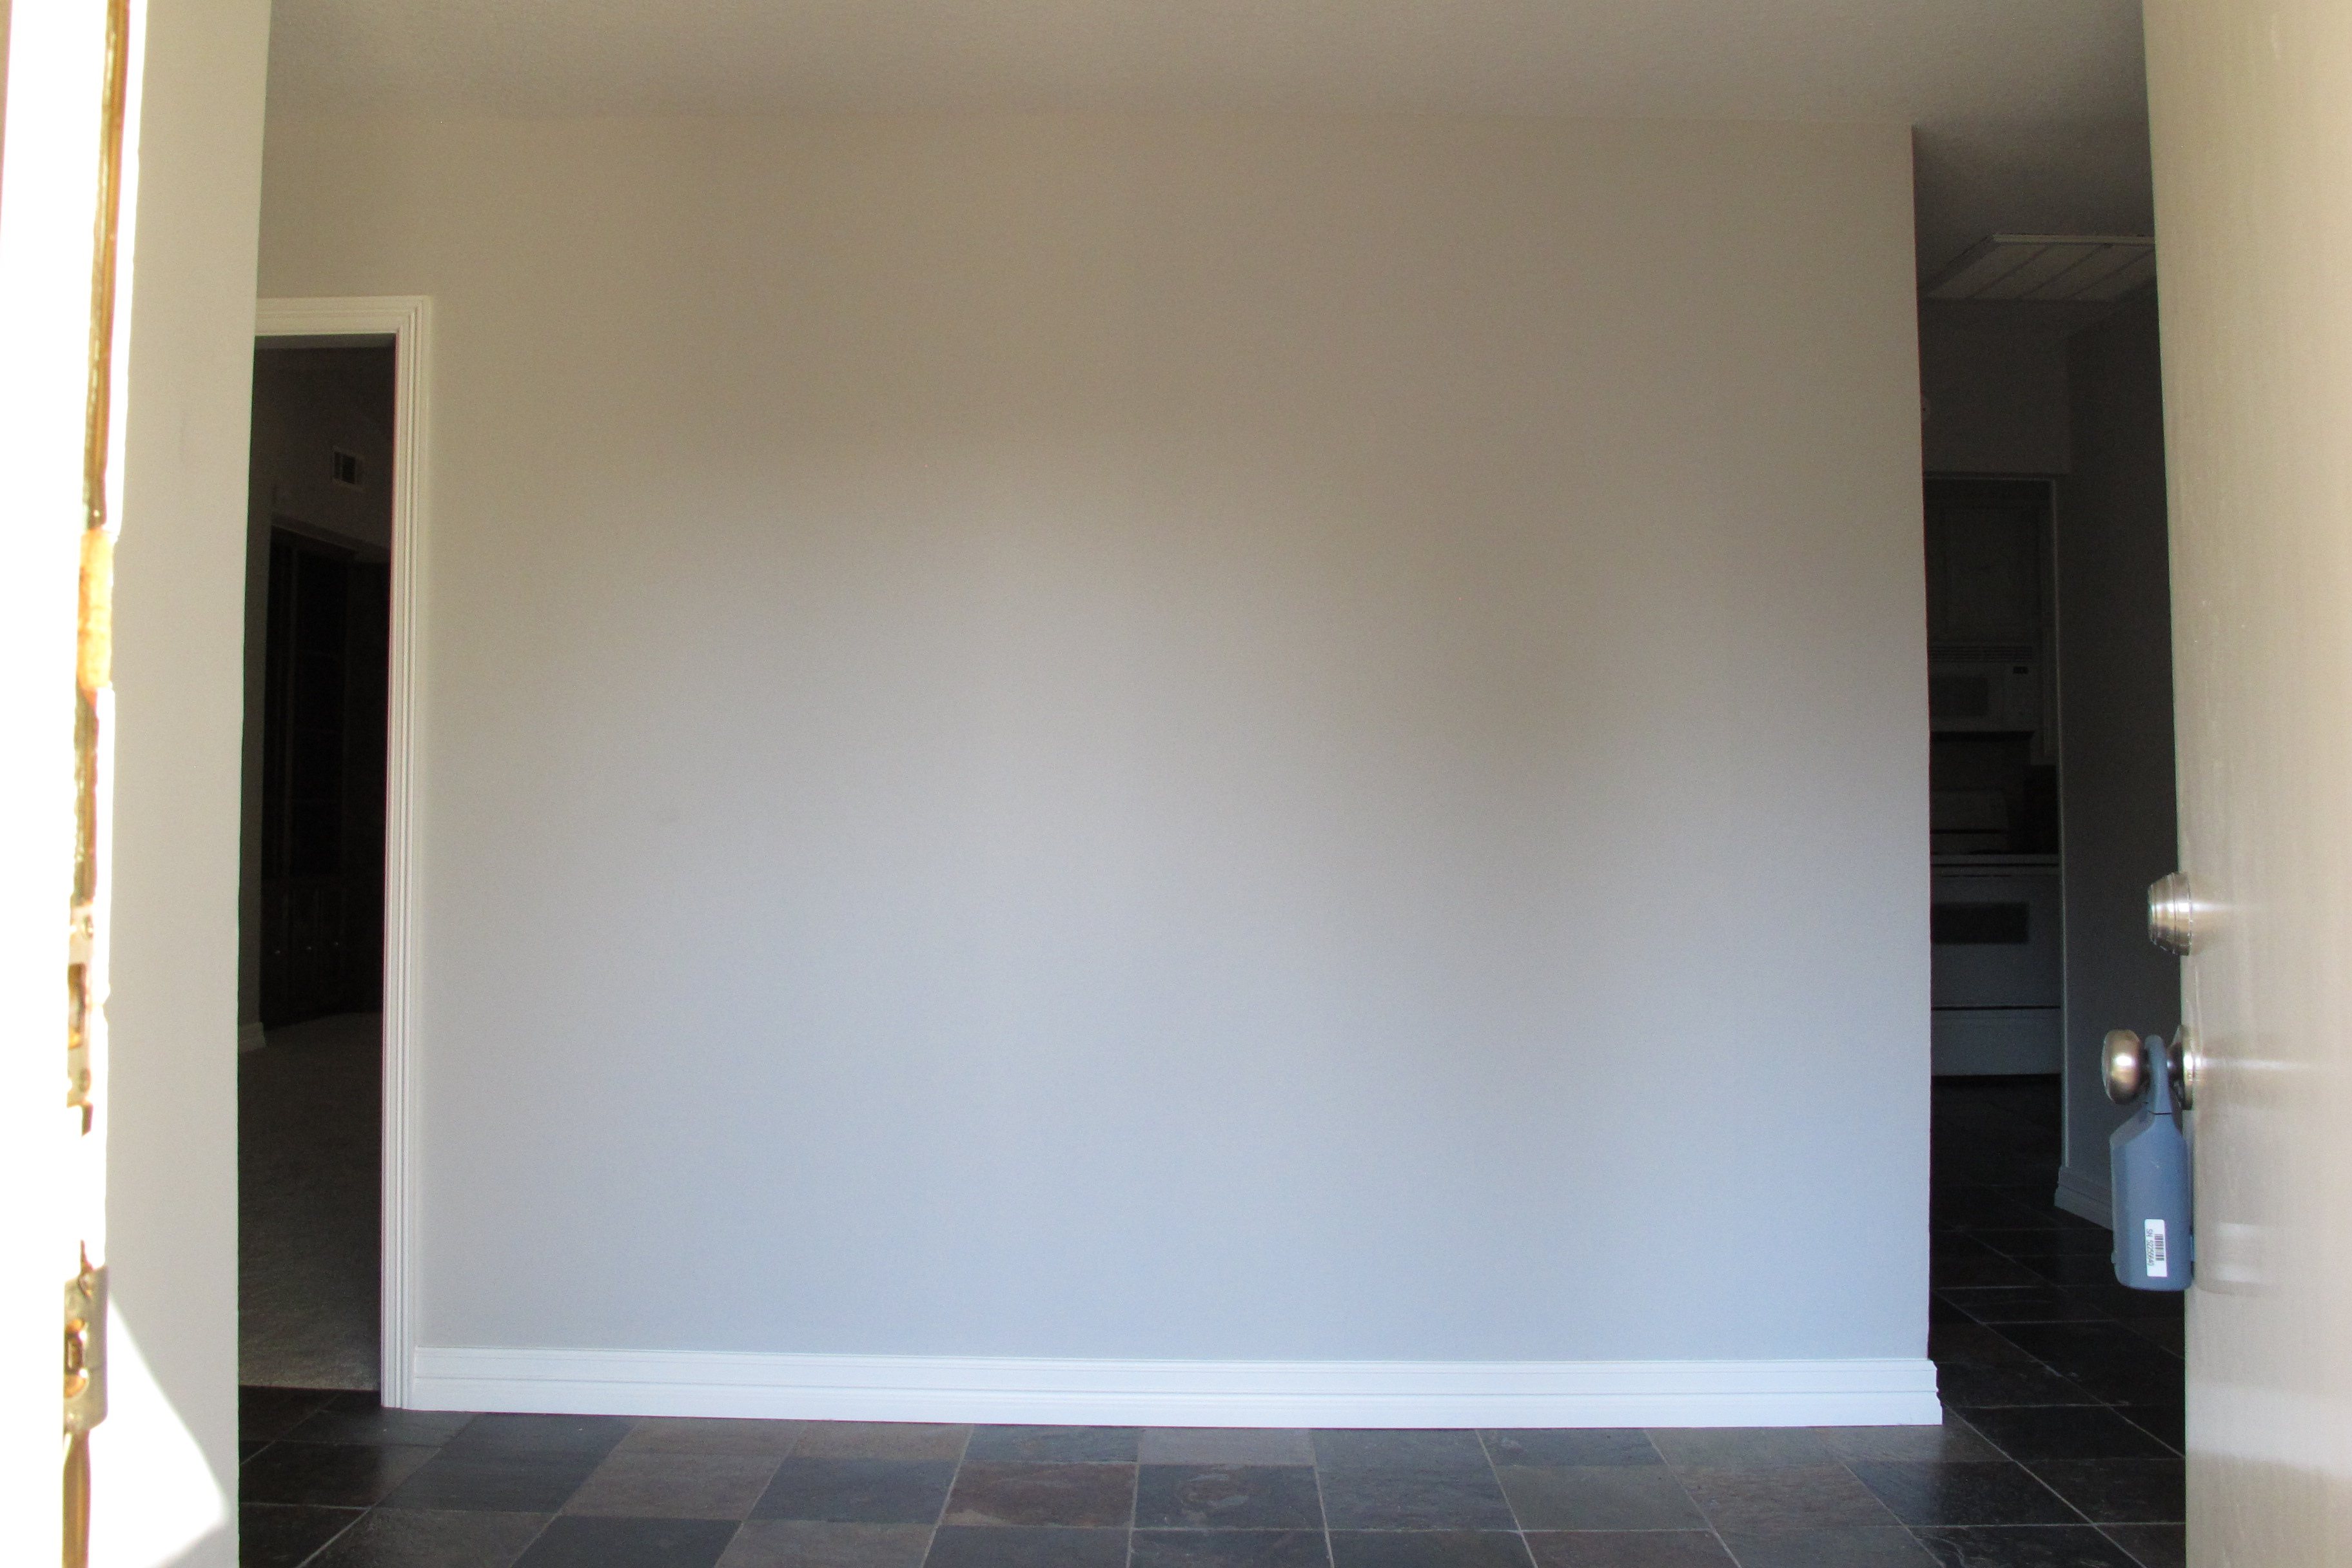
It’ll come to me eventually, I’m sure.
The next two rooms I have done absolutely NOTHING to decor-wise. They both currently boast the same scuffed-up, flesh-colored paint that’s just BEGGING for a change and ZERO style. But, in the interest of keepin’ it real, I’m showing you guys anyways. I figure, every room has to start somewhere. Both spaces have had carpets replaced and new windows installed. So, they’ve got that going for them. Which is nice.
The first bedroom looked like this…
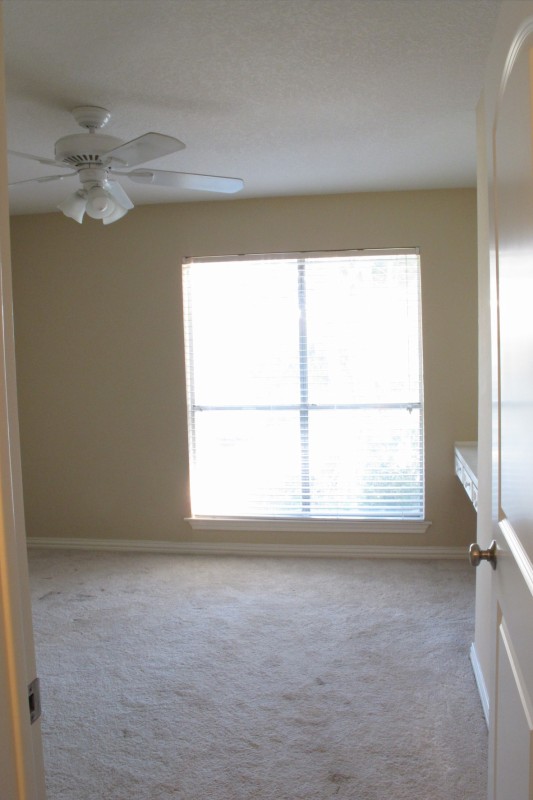
And currently looks like this (brace yourself)…


Pretty bad, right? This is the room where the pipe burst. You can see the sheetrock work that was done behind the bed. This room holds a haphazard bed, my beloved desk chair and every wall art piece that I own that has yet to find a home (they’re all unceremoniously leaning against the wall next to the door). It’s kind of a glorified storage room/office right now. I have a bunch of work to do here. Like, a lot. I’m still deciding how I wanna proceed in this space.
The other bedroom started off here…
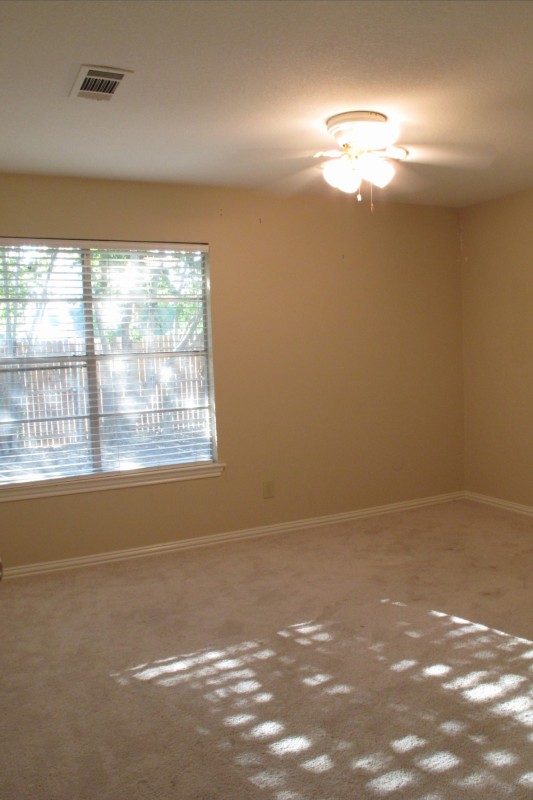
And now looks like this….

Again, blank slate. A flesh-toned blank slate that mocks me every time I walk past. This room is going to be painted a similar tone as the rest of the house. A nice, light grey. Since we plan to make this a secondary entertainment space I thought it’d be nice to extend that common-area color into this room as well. Then, curtains, art, TV will be hung, etc. Again, I’ve got my work cut out for me here. Lots to do.
Ill show y’all the hall bath and mudroom soon. And once I repaint the master bath AGAIN (finally), I’ll update you on that as well. Oh yeah, and the dining space has had some changes… and Lucas’s room. OMG. You guys. I’m so behind. I’ll get you up to speed soon. 🙂


