Ask and ye shall receive… (aka: Found an MCM dresser!)

So, yeah… the hunt was WAY less taxing than last time.   Woo-hoo!!!    Remember in this post, I mentioned that Drex (our first mid-century dresser) is now being used as a buffet in the dining space?  And that we needed a new dresser for the bedroom??   Well…

 IMG_7515

I give you the newest member of our family.   He’s a handsome, solid wood, Bassett mid-century gem of awesomeness.

Ya see, after we moved in, I began searching for a new dresser for Joey (he uses the dresser while I monopolize the majority of the closet.  It’s just how we do.).  I visited thrift stores and antique malls, but nothing.  I tirelessly searched Craigslist, and after emailing no fewer than ten sellers about their dressers, I came across this ad…

IMG_2389.PNG

It was towards the end of the 3000+ listings for dressers, so I figured there was NO WAY this dresser was still available.   I mean, it had great lines and the original wood finish.   Plus, it was listed weeks ago.  So, color me shocked when the seller responded that not only was it available, but she’d dropped the price to $90.  Um… Where do I sign???

We arranged a time to meet and my dad and I went to check it out.   Seriously, I was shocked when I saw it.  It was SO much more lovely than it looked in the Craigslist picture.  It reeked of quality and character.  The seller told me that she’d been trying to sell it for months and it hadn’t sold, hence, multiple price reductions.   I was absolutely dumbstruck by this fact and jokingly stated that it was simply because I hadn’t come along yet.  😉

I paid the nice lady and brought him home.  I shined him up with my favorite combo of Restore-A-Finish and Feed-N-Wax (for more detailed instruction on how to use these products, check out this post or this one).   The Restore-A-Finish covered all the nicks, dings and scratches and the Feed-N-Wax shined him up beautifully. And that was all he needed.   Easy peasy lemon squeezy.


IMG_7521 IMG_7524

IMG_7516

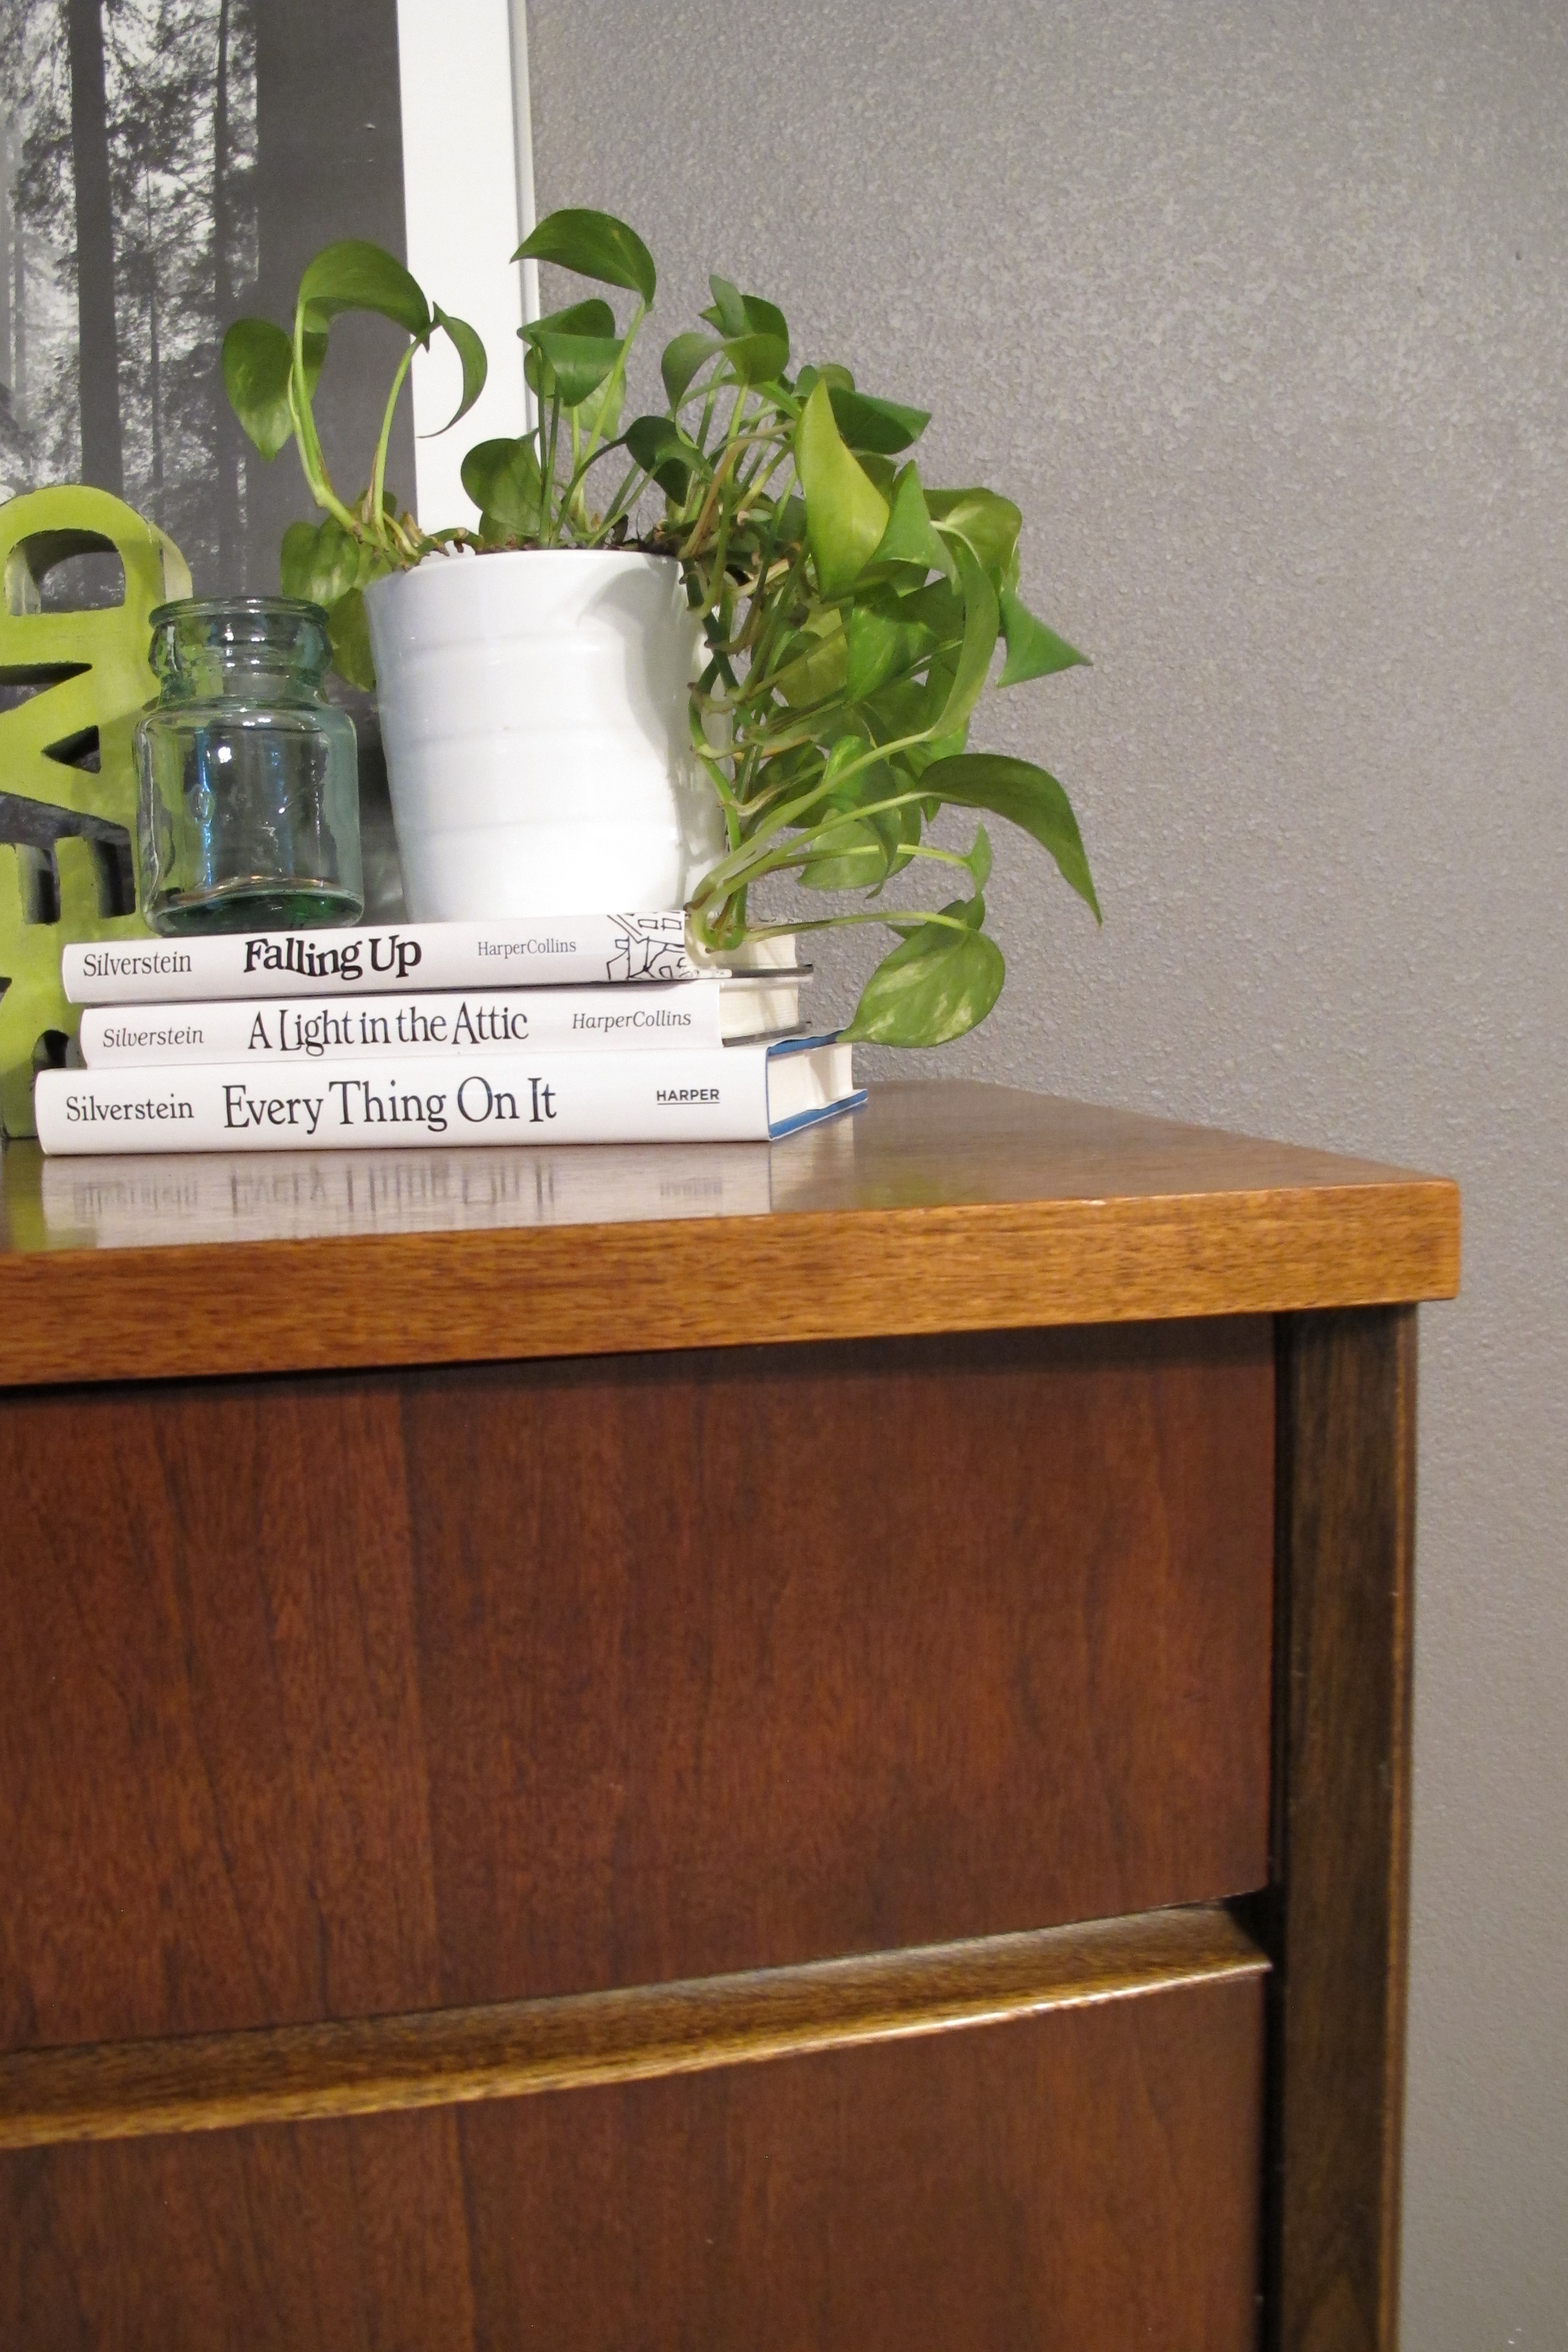
And so begins the jumping off point for our new room.

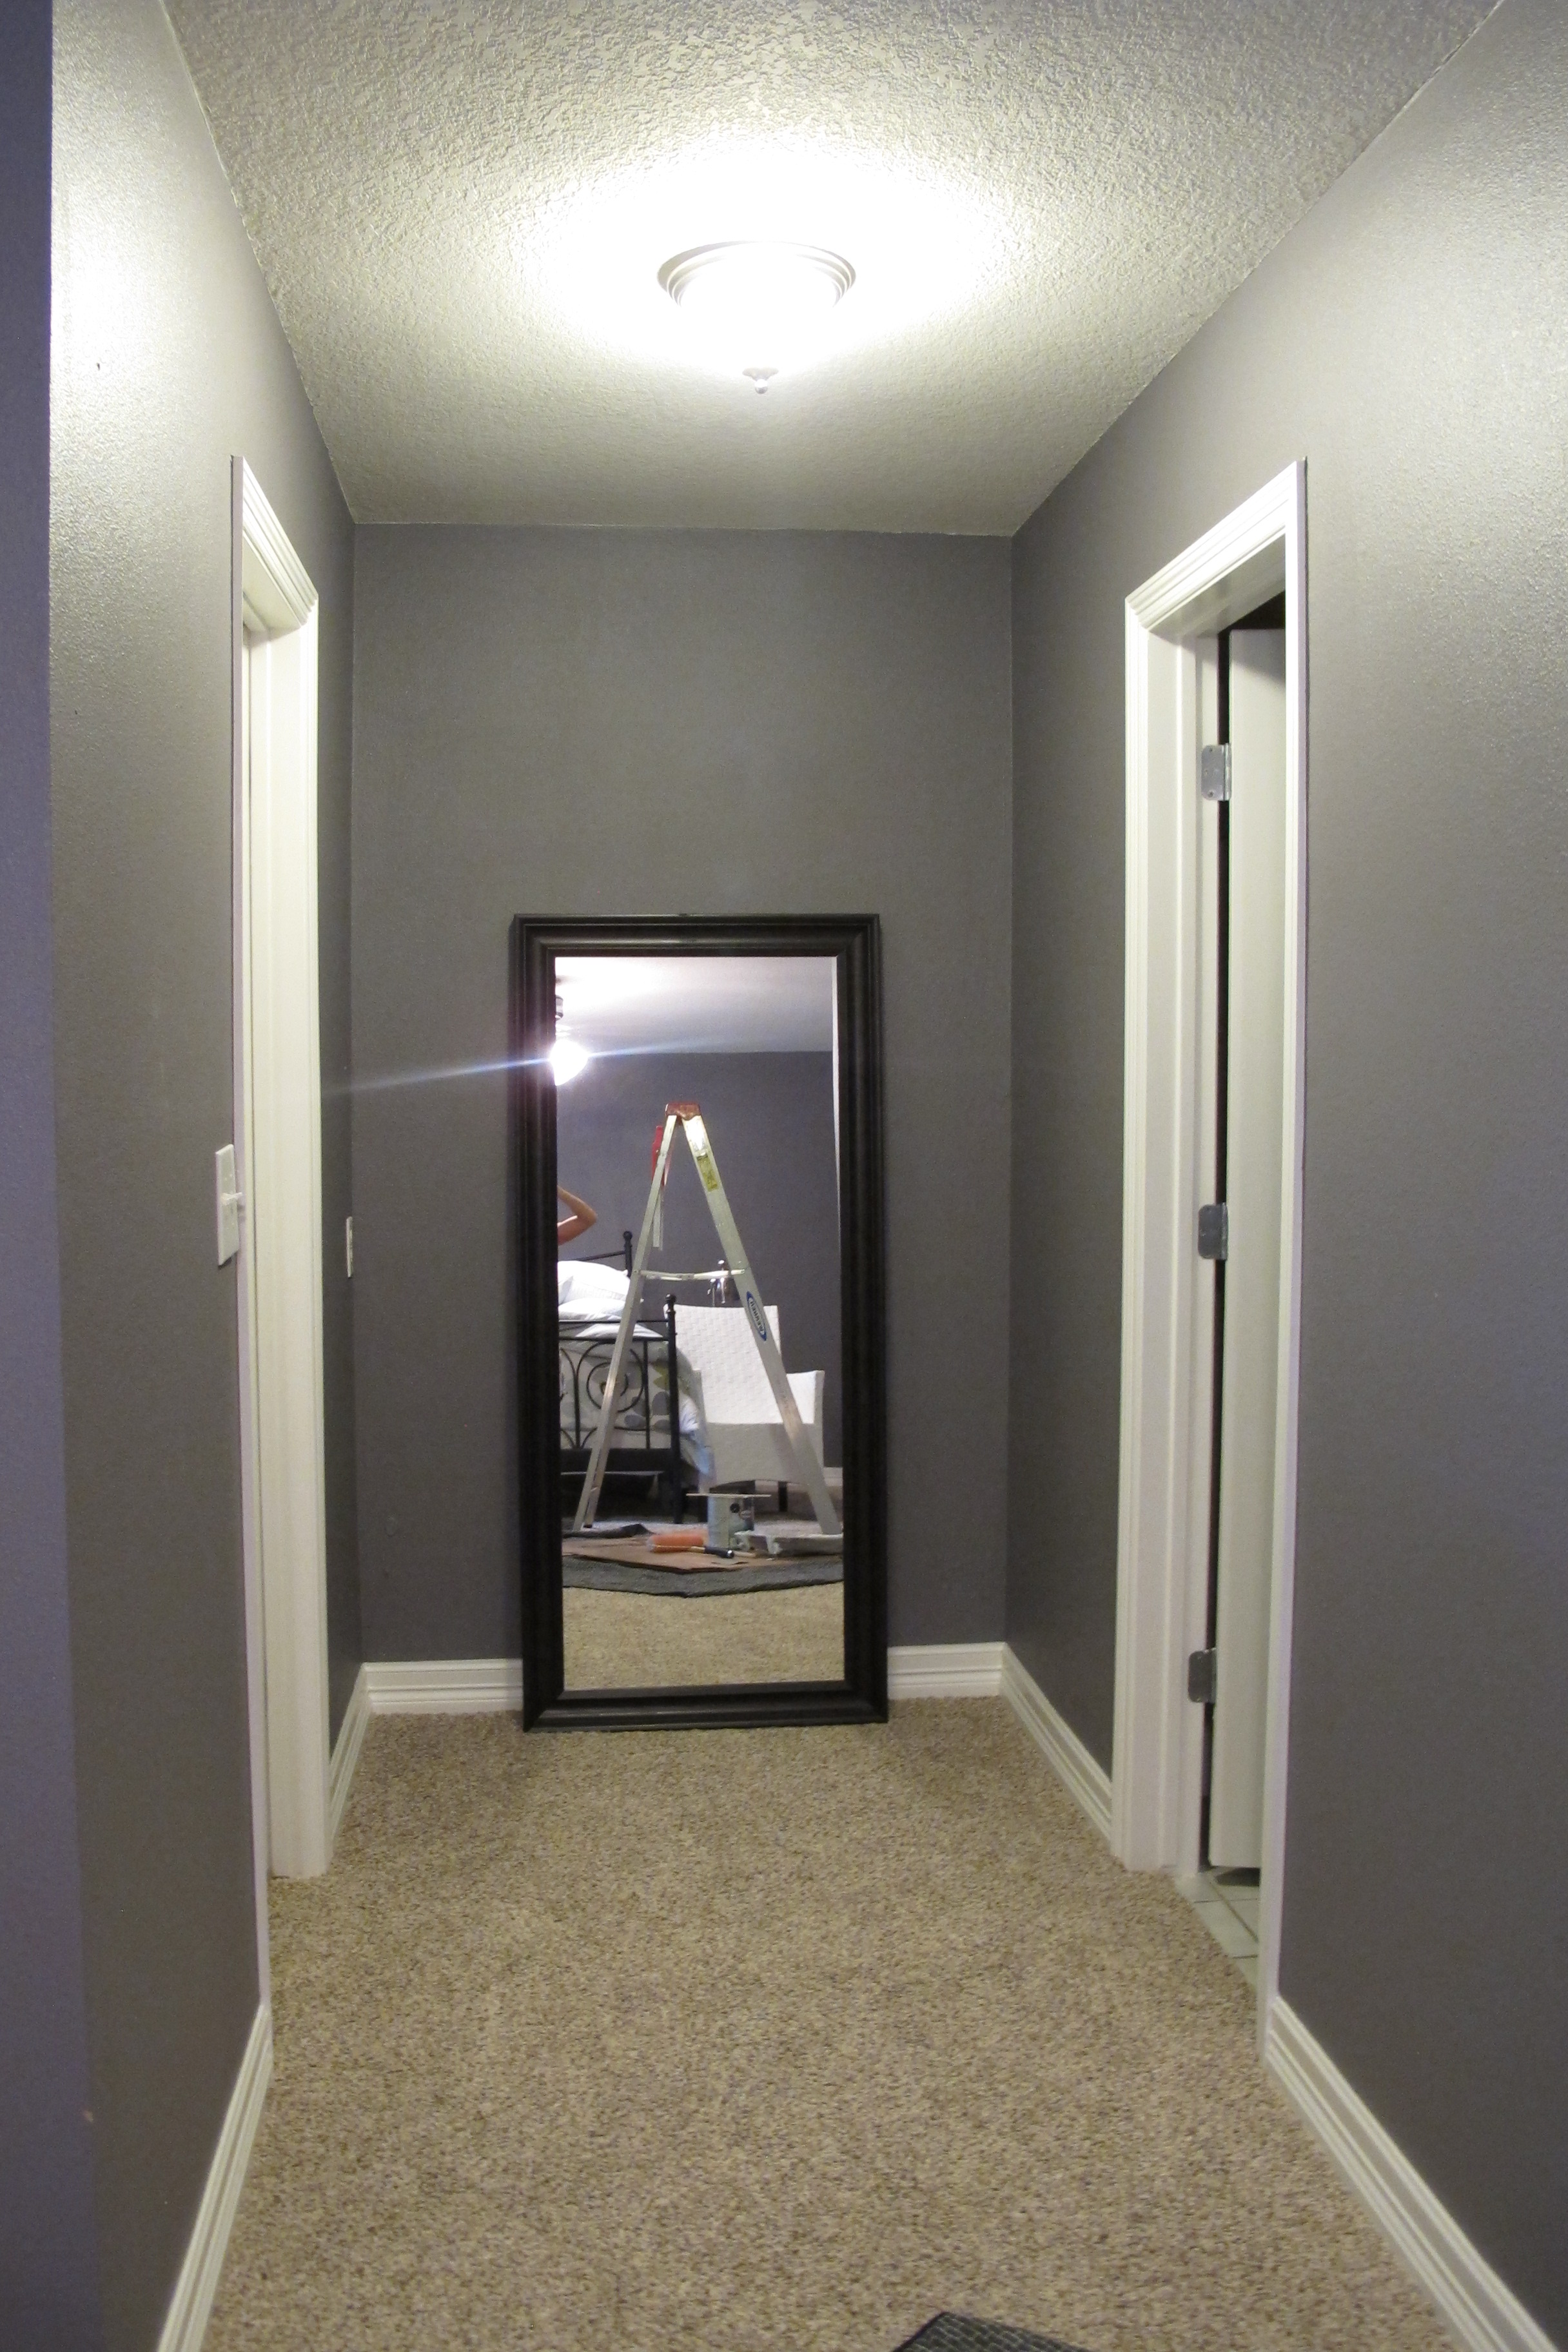
The rest of our bedroom looks like this currently, since we basically just plopped down the furniture on moving day and left it at that…

IMG_7529
I think it’s definitely time to lose our current bed frame in exchange for something more simple and masculine to offset the more feminine bedding (Joey’s actually been lobbying for this for a while, thus engaged in major fist-pumping when I broke the news that it was finally time.).  So, we’re gonna sell it (any takers?).  The nightstands may get a little makeover as well.  And the paint color….  Oh, the paint color.   It’s hard to tell from these pics, but in person, it’s straight-up purple.  And it’s dark.  Darker than it appears in this pic.   I really despise it more and more every moment that I spend in this room.   It feels so oppressive to me.    Which just goes to show how colors affect people differently. This color fit the previous owners decor well. And it looked nice with their stuff. But it just isn’t us. The only window in the room isn’t very big in comparison to our last house and the backyard is so shady that the room gets little light most of the time.   Thus, we need a more neutral color in a lighter tone, stat.   I actually already purchased the paint for this room and am getting on that soon…. I’m so totally stoked about it, too.   I’ve mentioned it before, but I LOVE painting walls.   It’s just so therapeutic and satisfying.  Once the room is painted, I can work on the fun stuff… curtains and art and such.

Oh, and let’s not end this post without mentioning this ceiling fan….

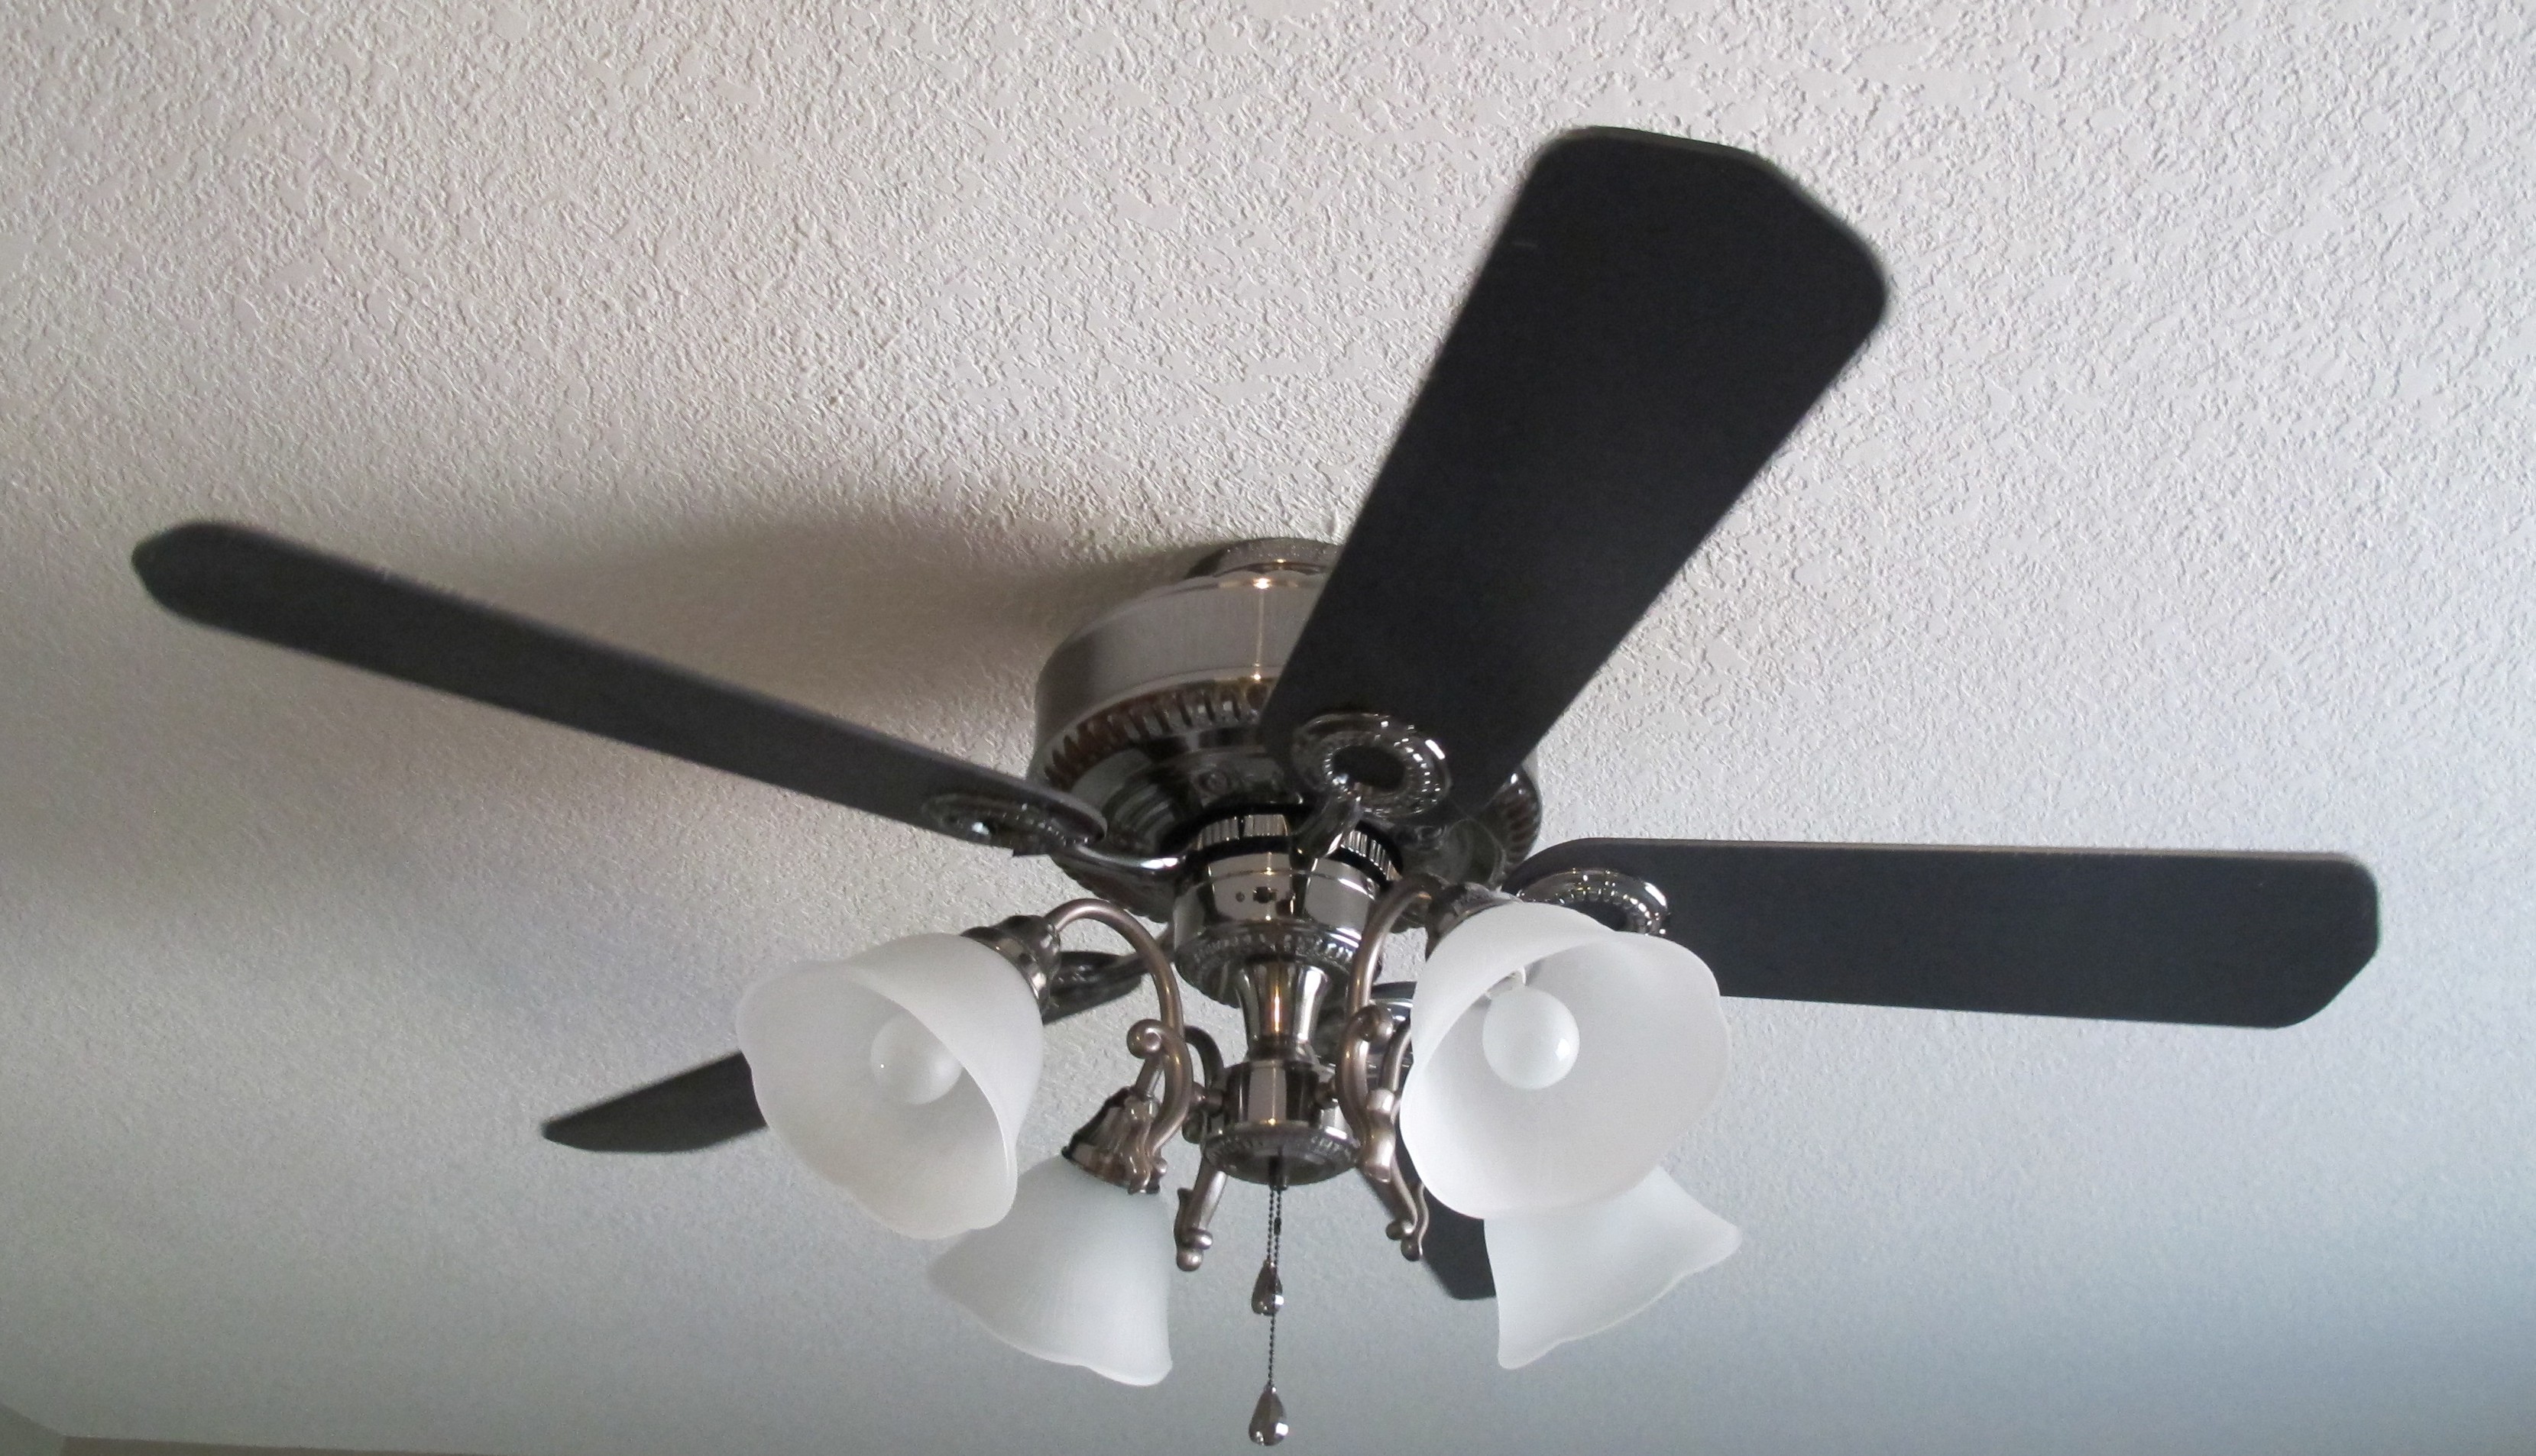
Not only is it incredibly ornate and feminine which DEFINITELY doesn’t jive with the sleek, mid-century vibe that we’re going for in this house, apparently the blades were painted….

IMG_7578


… but the paint didn’t take.  We’ll be replacing it with another ceiling fan (’cause I mean, it’s Texas).  I  know the design world tends to shy away from ceiling fans (not that I flatter myself to actually think that I’m a part of the design world), but I’m all about attractive-function.   We can find a more stream-lined fan that better suits the feel of the space.   No doubt.

And while we’re on the topic of lighting fixtures…

Boob, be gone!!!   We’ll be replacing this anatomically-correct bugger that’s in the atrium area between the bathroom and closet, as well.

So, that’s the plan.  Stay tuned… I’ll have a paint update for ya soon.  🙂


Sealing and enhancing our back patio

One of my favorite features of our new home is the covered patio out back.   I love the skylights and how from inside, it appears as though it’s an extension of the inner living space.   This was one of the main items that I fell in love with when we first saw the house.   And the fact that it had terracotta tile on the floor…. icing on the cake.  Here’s a shot of the patio from before we moved in…

IMG_7237

After we became somewhat settled, Joey got going like crazy working on the backyard.  Honestly, he’s done so many things so fast, that I haven’t even had time to photograph them all to put them on the blog.  Of the things that I did manage to photograph was the power-washing.   He power-washed the pool decking and back patio, which made SUCH a difference.  You can see the power-washed area below the line and pre-powerwashed above it….

IMG_2388.JPG

He started working on this task while I was out running errands, which is when he sent me a text…

IMG_2390.JPG

Brownie points for Joey!  Heehee!!  🙂

Now, I will say, that we should’ve researched how to clean terracotta tile before power-washing.  Neither of us thought about it beforehand, thus, we were equally surprised when the tiles dried and looked powdery and unfinished…

Honestly, the tiles were so dusty before that we were unsure whether we’d stripped the glazing off with the power-washer or they were already de-glazed before.  Either way, we knew the tiles needed to be sealed to prevent staining and breakdown due to moisture.   I went to Home Depot and the associate whom I spoke with recommended this…

It’s a penetrating sealer and color enhancer meant for stone, tile, grout, etc. and can be used for indoor or outdoor applications.   This product was pretty pricey in my eyes.  Around $40 per bottle, but the associate assured me that it was a great product that would last way longer than the less expensive topical sealers.   So, I went for it.

Once I returned home, I prepped the surface.  Even though we’d power-washed the day prior, it had been windy, thus, some dust and debris had repopulated the patio.   I thoroughly swept, then vacuumed the patio to remove as much dust and dirt as possible.  Because of the cost of the sealer, I wanted to be sure I gained as thorough of coverage with the least amount of waste possible.  So, I decided to seal the patio by hand, rather than using a broom or mop.

I donned gloves and got going.  The process was simple.  Wet the sponge with sealer, press it into the tile and grout….

Then, come back 5 minutes later and remove the excess with a towel…

The first coat was VERY slow-going since the patio was soaking up a ton of sealer.  It was easy to see where I’d already applied the sealer as it definitely enhanced the color as promised.  Here’s what it looked like about a third of the way through…

You can see the beautiful tones of the tile coming out as well as the darker grout.   I’d say the first coat took a bit over 2 hours to complete and used up about 1.5 bottles of sealer.  I waited 30 minutes per the instructions on the bottle (and the instructions from my shoulders), then I applied a second coat (which went SO much faster).  I completed the second go-around in about 30-40 minutes and only used up about 2/3 of a bottle of sealer since the stone soaked up so much less this time.  The second coat really united the sheen, making the patio appear more consistent and finished.  After I was done, I was left with this….

And the before for comparison (this was taken after power-washing)….

And the view from inside….

And the before, again…

IMG_7237

I love it.  It’s just so dang RICH!!!   I feel like it looks like more of a floor now, less of a patio, which further contributes to that feeling that the patio is an extension of the indoor space.   When the tiles were dry and powdery-looking, they resembled pavers to me.  We had to avoid walking on the patio for 24 hours and couldn’t get it wet for 48 hours after sealing.   I’m now working on getting our patio furniture cleaned up and rearranged, so I’ll give you that update once I’m finished.  In any case, the hours and money spent on this project were well worth it.  Both for looks and piece of mind that the flooring is now water resistant and more protected.

Future plans for the patio space involve:

1. Removing the decrepit railroad ties and replacing them with stone that’s much easier on the eyes (and will provide additional seating)

2. Beefing up the posts of the porch

3. Replacing the ceiling of the porch with a more durable material (maybe some type of vinyl beadboard).  Right now, its a thin plywood, that we’re learning has been compromised in more than one spot with mold/mildew thanks to leaky, poorly maintained seals around the skylights.  We’ve since fixed the leaks and sealed the skylights well, but the damage has been done, unfortunately.

4. Landscaping.   Once Joey’s had his way, it’ll look amazing.

So, anyways, that’s the scoop on the patio!  What outdoor projects have ya’ll been working on?


TDC Before and After