Masterful artsiness

A few days ago, I posted this on Instagram….

mbr

True statement right there.

It’s funny how one decorating movement made on a total whim can get the juices flowing.  After I popped this guy above our bed, I actually (1) made my bed (Please, no applause. ;)) and (2) I busted out the camera and tripod and took pics of not only this space, but all of the other spaces that I’ve worked on in the past month or so.  It was a successful morning to say the least.

So, with that I give you my art…

DIY art for the master bedroom

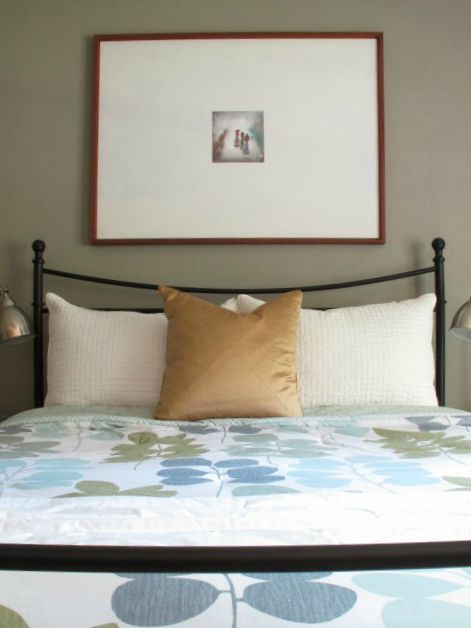
This, my friends,  is a HUGE piece of DIY art that I created for (waitforit) EIGHT DOLLARS.  No joke.


Now, granted, a big part of this project costing practically pennies was luck.  I found this giant canvas that was already framed in raw wood at a thrift store for $7.99.  It looked like a DIY painting of a winterscape painted in brown and white before I painted over it.   Had it been attractive, I may have kept it, but sadly, it was not.   At least not for my taste.   It wasn’t signed and didn’t appear to be anything other than maybe a school project or something so I didn’t feel too bad covering it up.

Master bedroom

Now, because I was in my little Money-Pit-Funk when I completed this project, I have no process pics, but transforming it was pretty simple and self-explanatory.   Let me put it this way… My four-year-old-helped me do it.  For that reason alone, I really wish I’d snapped some pics… the little man was so excited to be wielding a paint roller.  And he did really well.

Anyways, updating the art took very little time and zero dollars.  I just used what I had on hand.   I simply taped off the frame and then Lucas and I painted over the canvas with white primer (It was Kilz Premium).  Once that was dry, I taped off the canvas and stained the wooden frame using two coats of Varathane’s Early American stain.  I then decoupaged a print that I already owned in the middle of the canvas with Matte Mod Podge (after cutting it down to size using my sweet neighbor’s paper slicer (have I mentioned that I love our neighbors?)).   I’ve found that the key to Mod Podging paper is to “glue” the paper down with one coat of Mod Podge, then let it dry thoroughly before adding coats over top.   This prevents the paper from sliding and tearing.

That’s all it took.   It was easy and pretty darn foolproof.

DIY art

I may go back eventually and add some hints of color over top of the white so it’s not so stark, but I’m still deciding on that.  Right now I kind of like the simplicity of it.  In the meantime, this over-sized art really helps to fill the wall and make this side of the room feel more finished.

Master bedroom with art

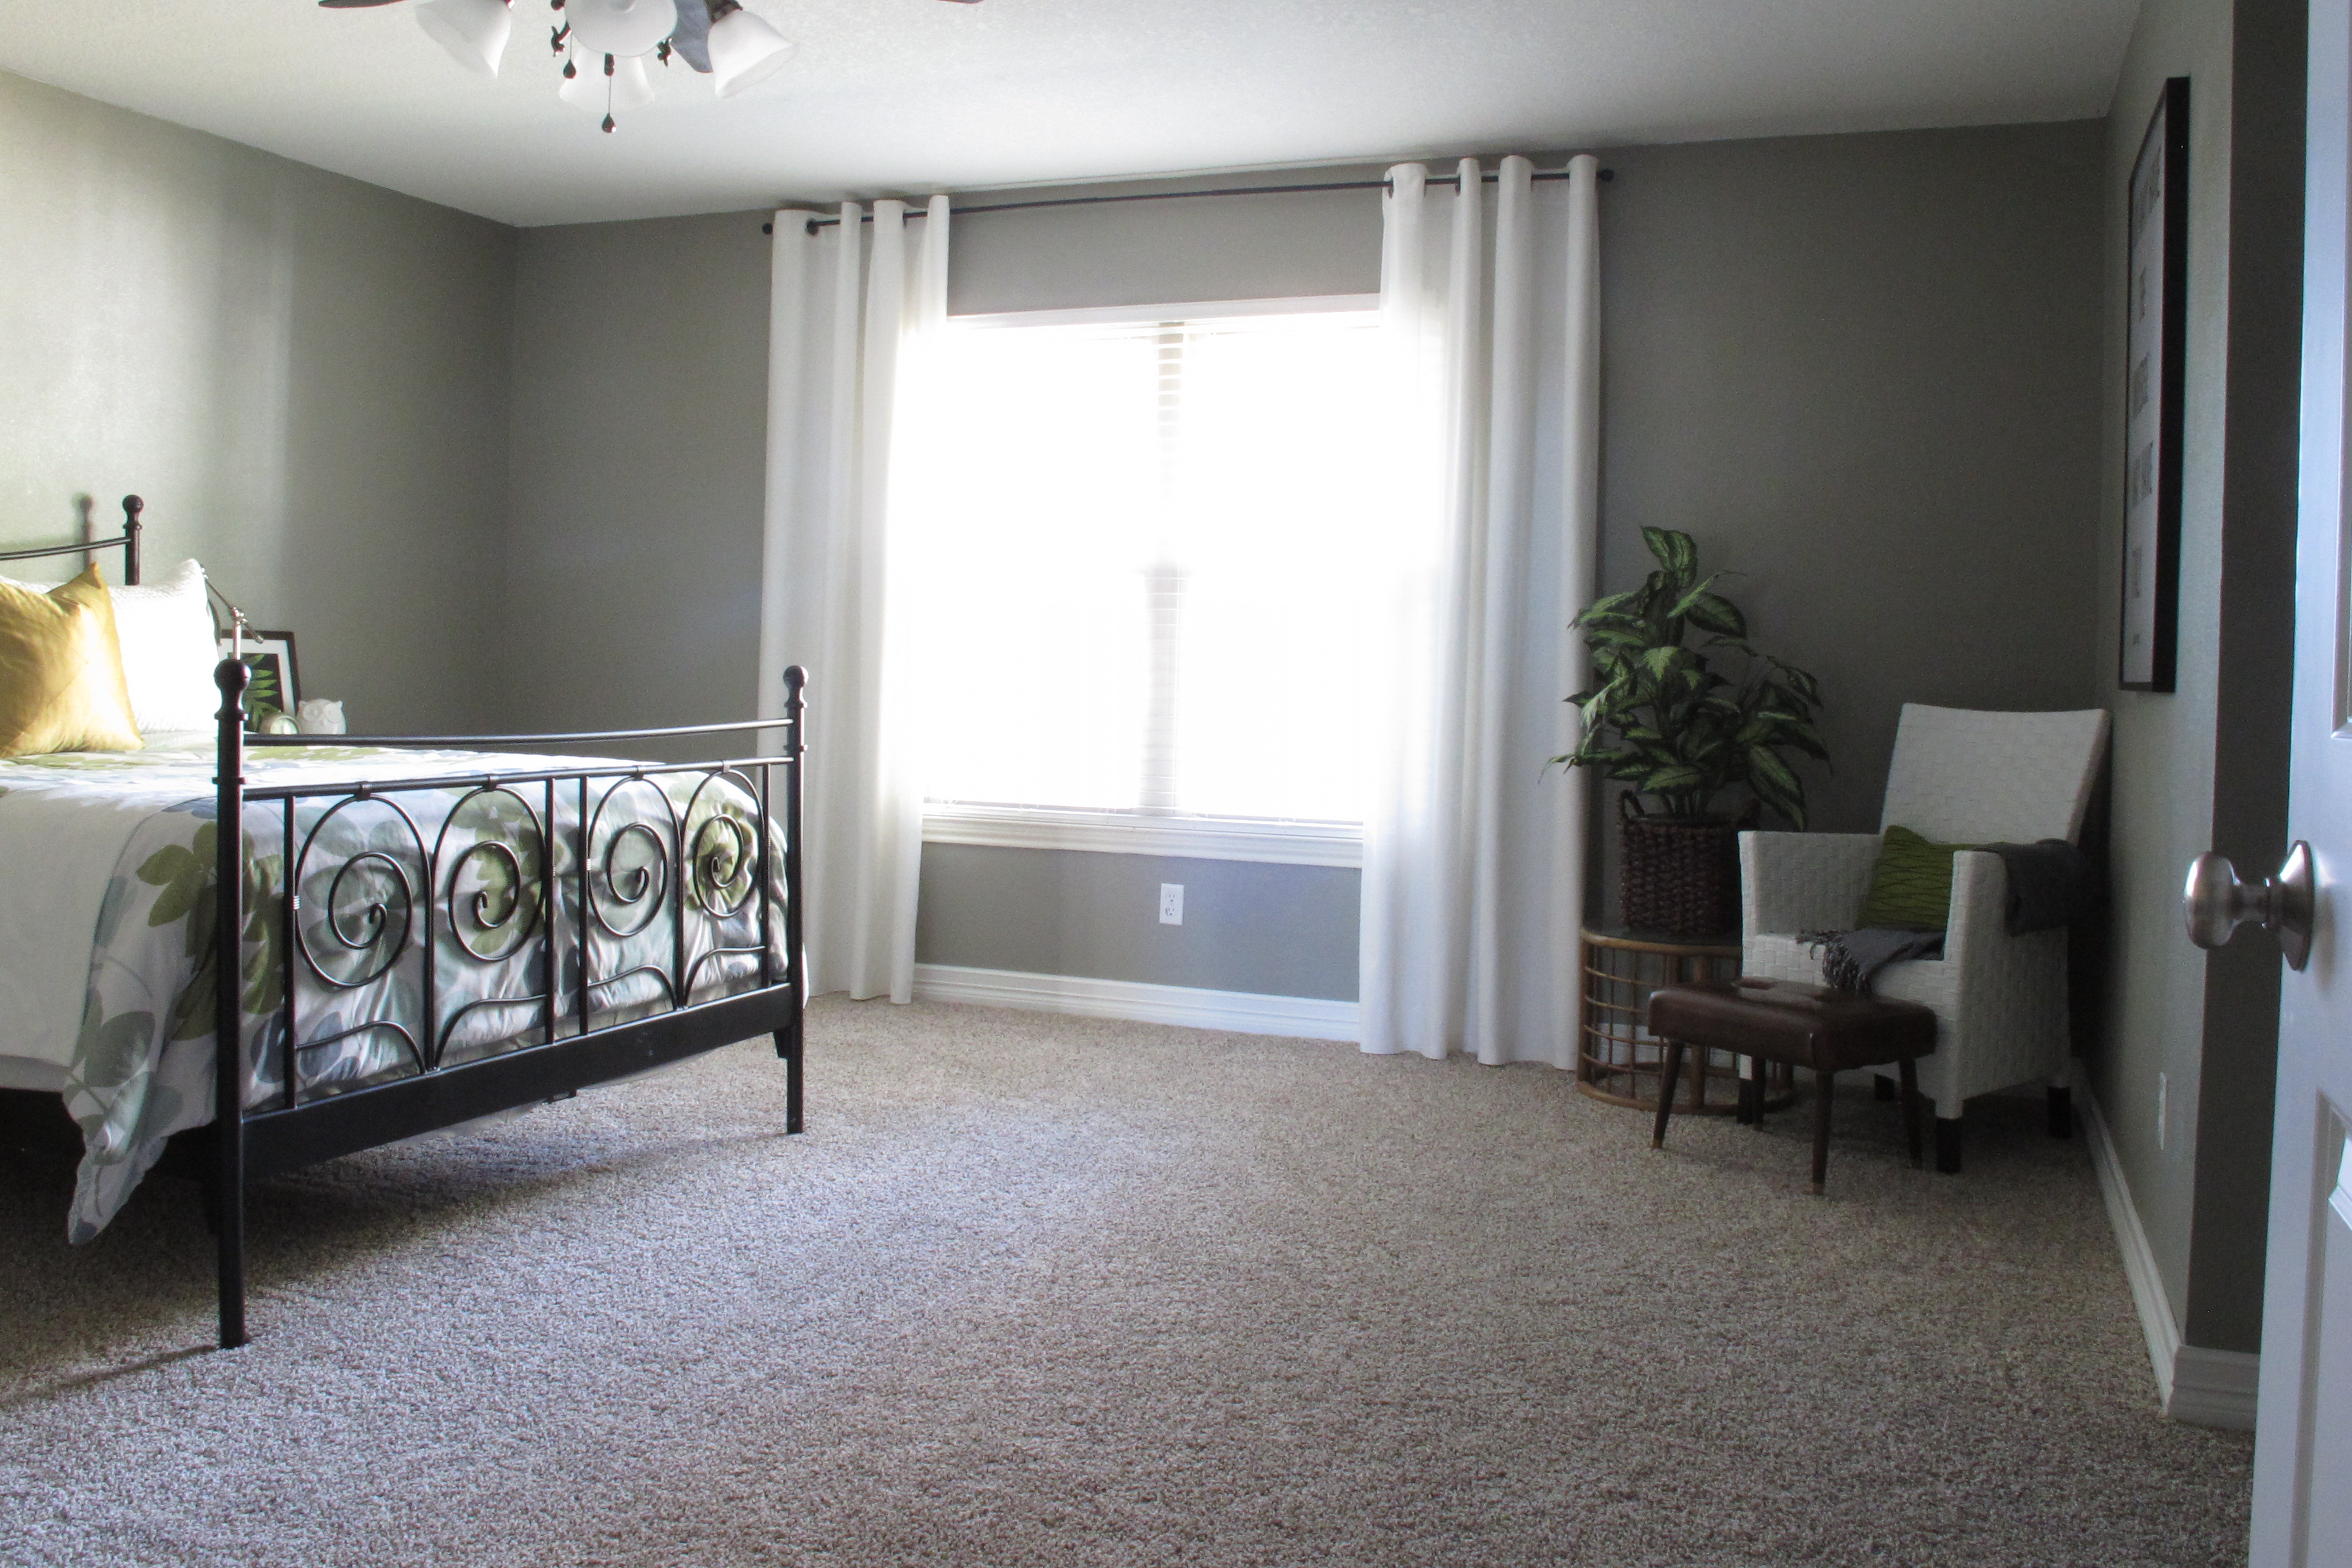
Here’s a view from the doorway (PLEASE ignore the ceiling fan… It’s destined for replacement with something more our style)…

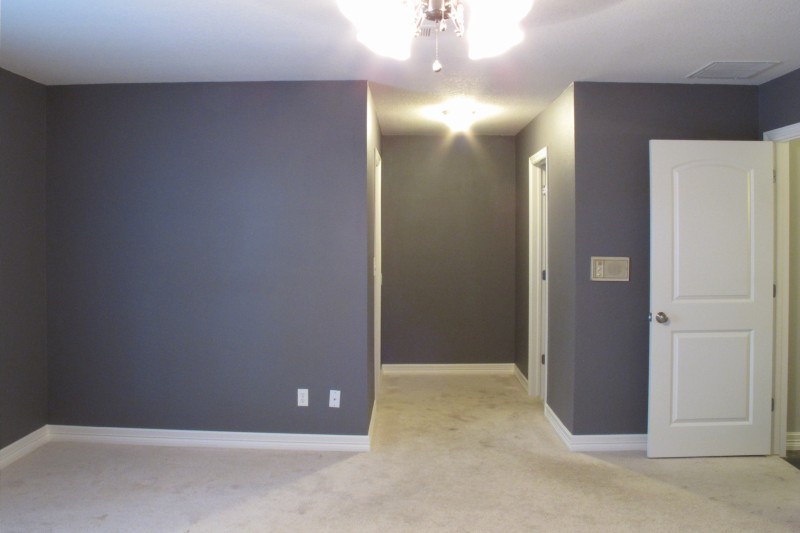
The frame is looking a bit orange in some of these pics, but it’s actually a beautiful medium-dark wood tone that plays really well with my vintage foot stool and rattan table on the opposite side of the room.   The bed area really needed that tone to make it feel more cohesive with the rest of the space.  I still need to play with the night stand styling a bit to account for our newest addition, but I’ll tell ya.   It’s SUCH an improvement from this purple mess with stained carpeting and rickety windows that we started with a year ago…

232323232-fp83232-uqcshlukaxroqdfv7997=ot-2487=7;-=;69=XROQDF-267-78773-255ot1lsi

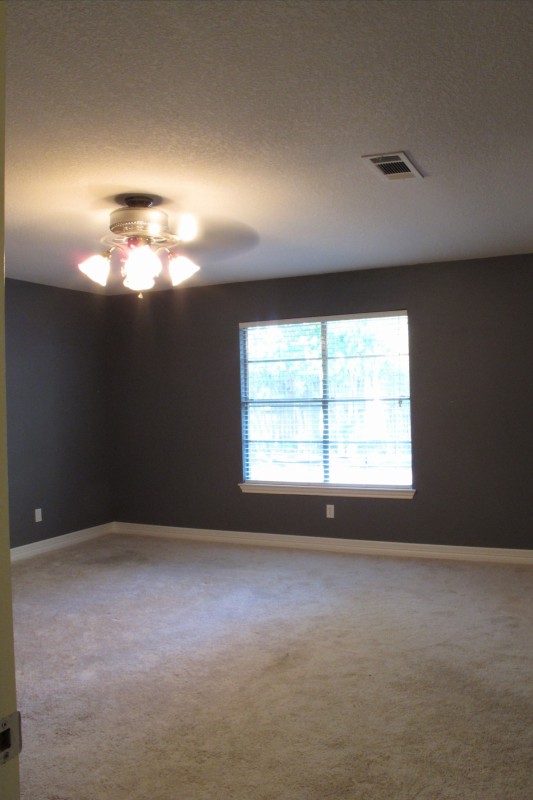
There’s still lots to do in this room… I’d love to add an area rug, a bench at the foot of the bed, more art, and a dresser to the wall by the doorway (and the ceiling fan… OH, the ceiling fan), but for now I’m just glad to have done SOMETHING in here.

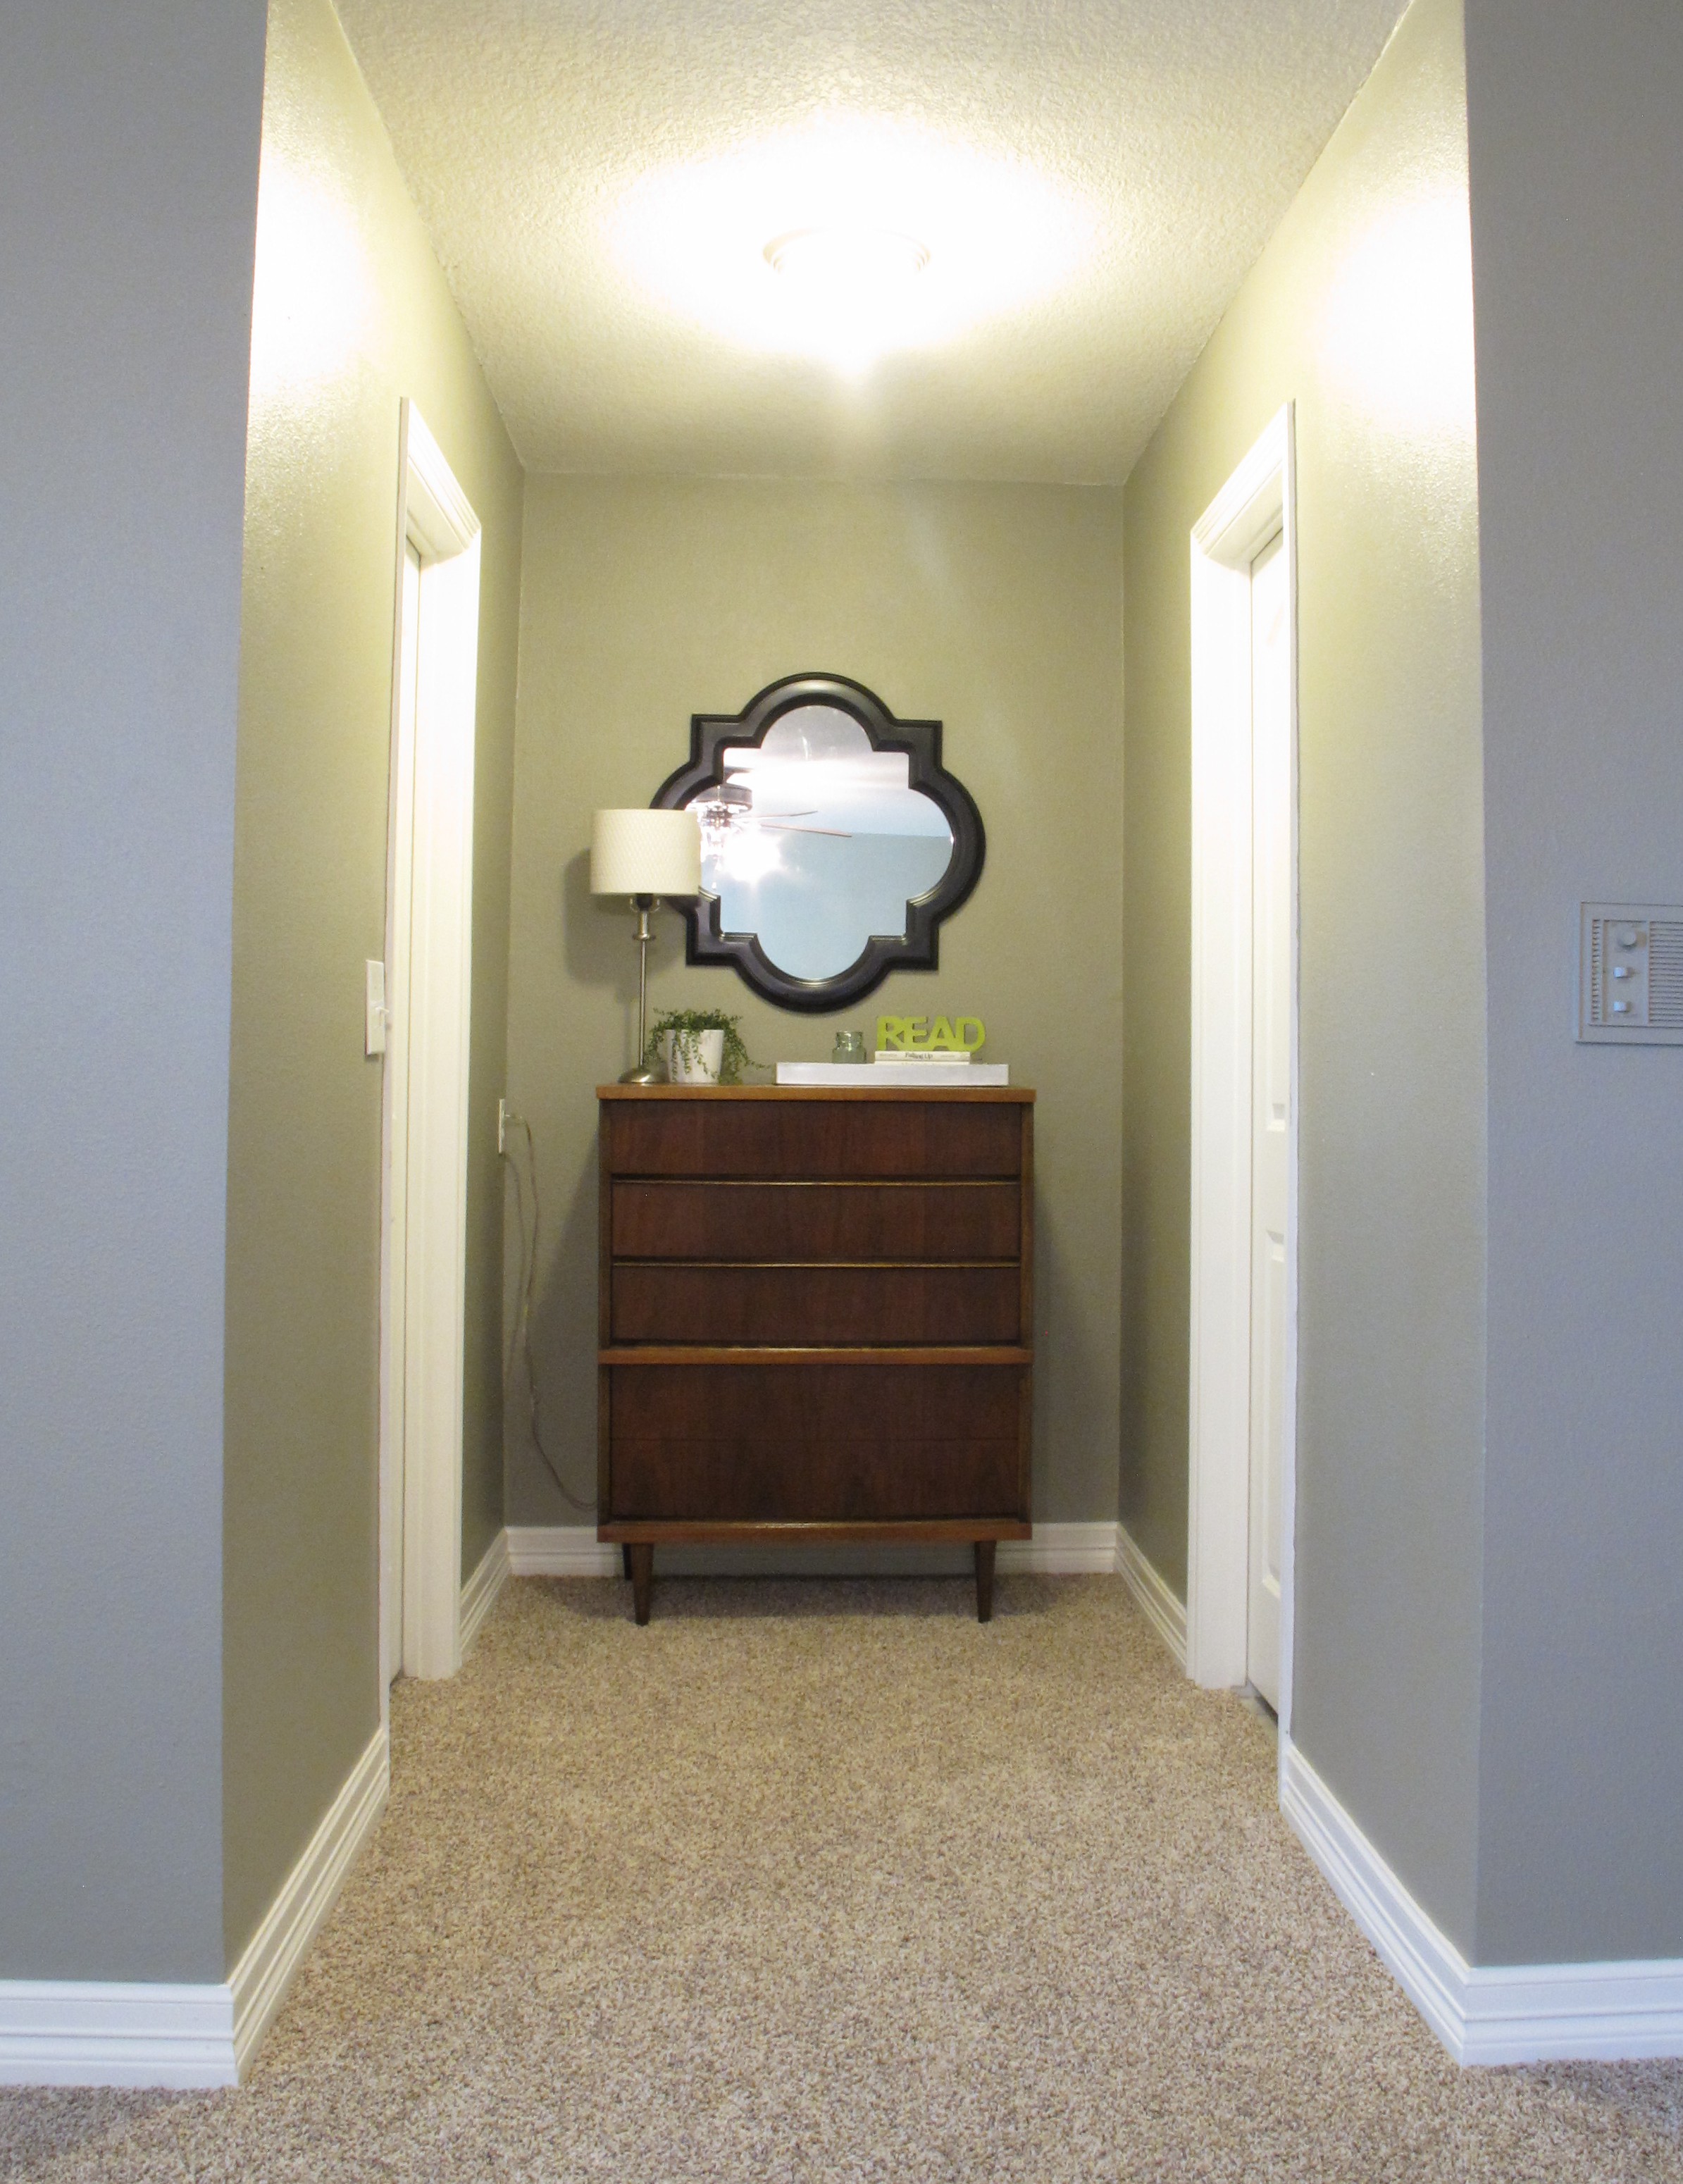
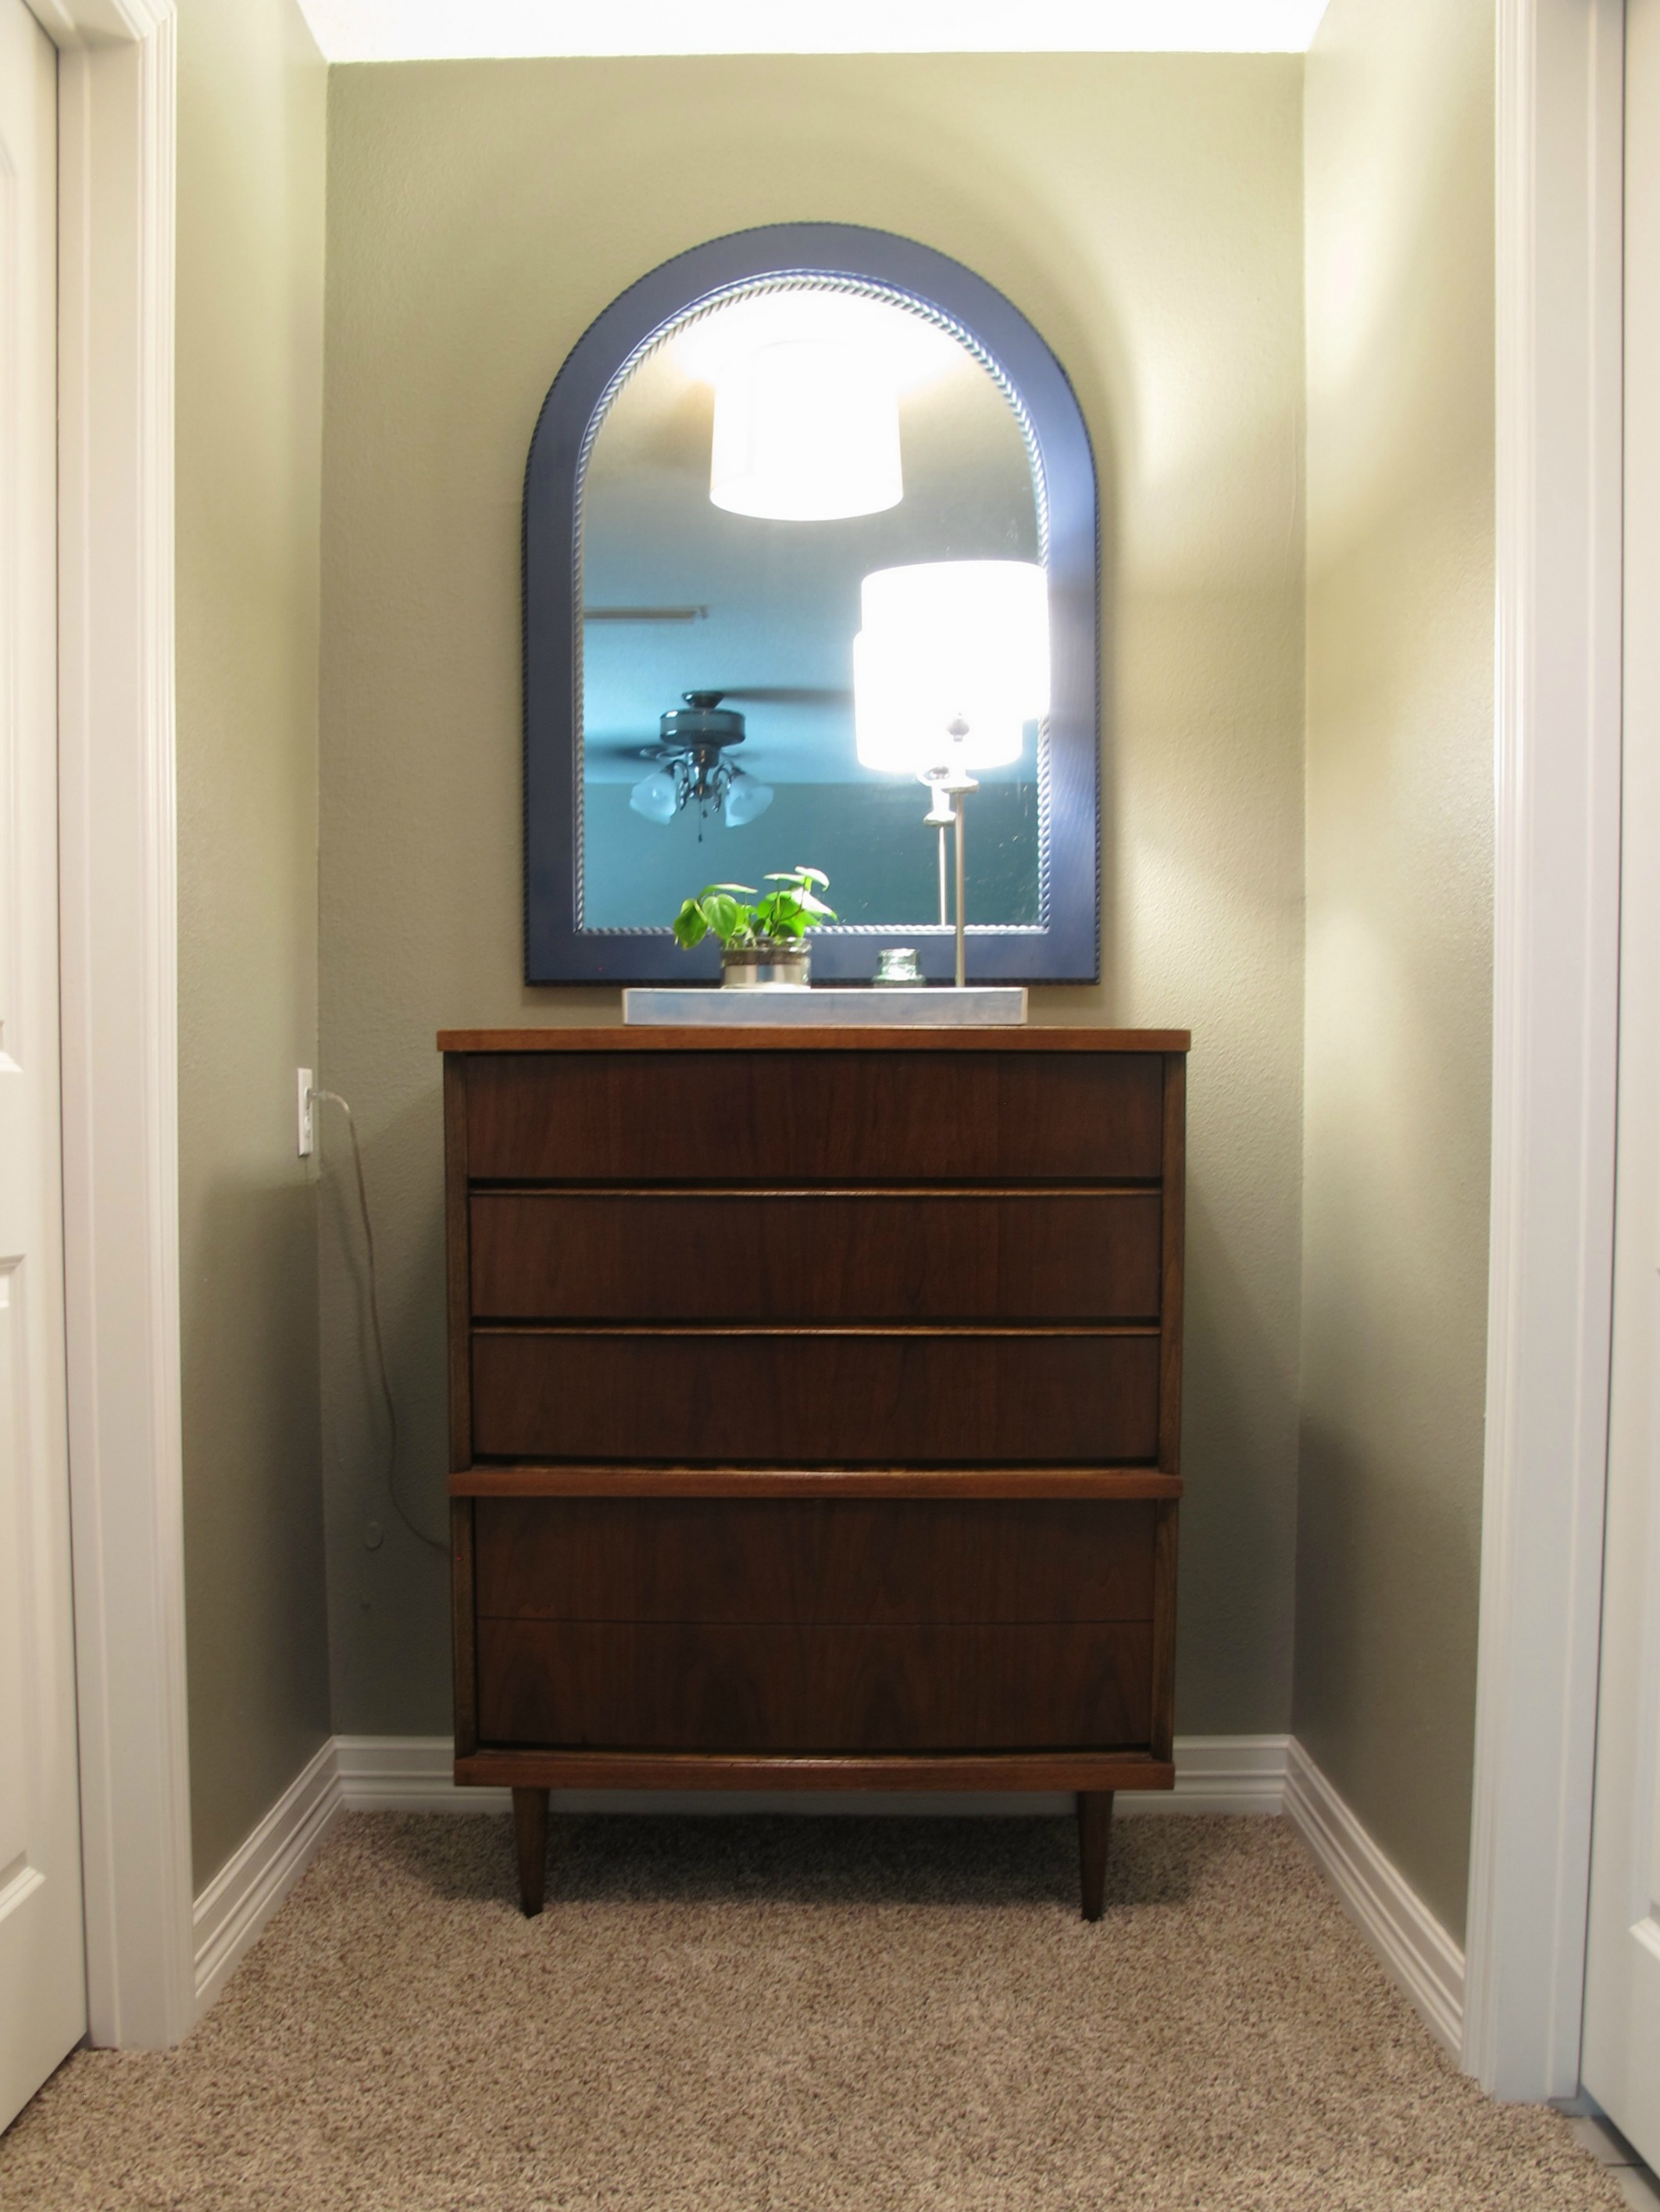
As for coming projects around the house, I’ve been on an “art mission” as of late.   I’m trying to fill the walls in thoughtful, inexpensive ways.   So, the next few posts will cover changes to the walls in the living and hangout rooms and foyer.    I’ve already taken pics, so now it’s just a matter of writing my posts.  Woot!

TDC Before and After

Trash to Treasure Mirror – Monthly DIY Challenge

Well, folks!  It’s my favorite time of month again… Monthly DIY Challenge time!

For any newbies, this is a monthly challenge where several bloggy friends and I are assigned a theme or item and must simply make something of it.  And in honor of Earth Day (which was on April 22nd), we chose….

trash_to_treasure

Trash to treasure!!!

Before I get into my project, let me give you a little background on the space where this project will go.  Our master bedroom “atrium” as I call it, is an area that I’ve had some difficulty with on the decorating front.   This little hallway-ish area of our bedroom (which leads to both our closet and bathroom) looked like this when we first purchased the house…

232323232-fp83232-uqcshlukaxroqdfv7453=ot-2487=7;-=;69=XROQDF-267-78773-255ot1lsi

Very purple and very dark with VERY little natural light.  Our master bedroom is pretty large and has only one window. Since our backyard is so shady, it’s often a darker space anyways.  Which makes the atrium REALLY dark.

After we moved in, I painted the bedroom a soothing grey color and I relocated our vintage Bassett tall-boy into the space to try and dress it up….

IMG_8173

Clearly, it wasn’t finished, but even knowing this, something was still bothering me.  The space was dark and lifeless.  It just wasn’t doing it for me.  I tried painting the mirror white, but never ended up taking pictures because it still didn’t jam (Plus, I really wanted to use that quatrefoil mirror in our hang-out room instead anyways… post to come).

Then, out of nowhere, something random (and totally awesome) happened.  If you follow me on Facebook you may have seen this post about it….

#dumbanddumberforever

And the stars began to align (as evidenced by this grainy iPhone shot that I excitedly sent to Joey as I danced with glee — which, in my head, was the most graceful thing ever, BTW 😉 )….

232323232-fp83232-uqcshlukaxroqdfv39862-nu=3396-6-9--78-WSNRCG=3636964589346nu0mrj

The mirror was the perfect size and shape for above the dresser.   The curved top was a great way to add some softness and interest to contrast all of the straight lines that were happening.  Plus, the huge size really helped bounce light around the room.   And all of the sudden I could see it.    A vision of a cool chandelier which reflected off the top of that curved mirror.  A linear, light-toned fabric brightening the wall behind it.   It ALLLLL started coming together in my head.

Boo-Yeah.

So, now that I’d decided on a location for the mirror, next came the question of color.   Obviously, I wasn’t going to leave the mirror as it was.  I’m personally not a fan of the sorta-matches-but-not-really-thing.  Which is exactly the description of this wood tone.  And I knew that I didn’t want it to be a light color as this would emphasize the braided detail seen below….

So, a darker color.  I wanted to tie it into the other side of the room (Which looks like this now minus that off-balanced bench in the corner… still lots to do.  pleasedontjudge)…

IMG_7610

IMG_8167

IMG_8170

And I decided that navy blue was totally the way to go since I already had some navy accents going on around the space.  So, I purchased a can of this spray paint…

I taped off my mirror and elevated it on a few scrap pieces of wood, then applied several thin and even coats of spray paint…

This was taken after about two thin coats… there were many more after that. Once everything was dried and cured, Joey helped me hang it. Which left this…

IMG_9257

Notice my little mirrored planter from last month?  Still going strong!

And here’s that entire wall now…

232323232-fp83232-uqcshlukaxroqdfv34;54-nu=3396-6-9--78-WSNRCG=363838929;346nu0mrj (1)

Still far from finished, but a step in the right direction.  I really love how the mirror turned out, though I do think it could stand to be hung a little higher.  We’ve actually been meaning to do that but ran out of time before today’s challenge.

It just never ceases to amaze me what a little spray paint will do to change up a piece, though.  That’s what I love the most about DIY… it doesn’t necessarily have to be hard or time-consuming to be effective.  It just took a little good luck in finding the mirror and $5 worth of spray paint to take our little atrium from this…

IMG_8173

To this…

See how much more alive the space looks now that the mirror is tall enough to reflect the lighting fixture?  Me-OW.  And speaking of light, you can see that another easy trash-to-treasure hack that I employed in this space was adding an old drum shade to our existing boob light…

I actually followed the same process that my bloggy friend Mary Beth used in this post (which includes the genius use of a simple rubber band).  I’m sorta jealous that I didn’t come up with that little tidbit on my own.  Lol!  I’m not gonna go into details, but you can read her post if you wanna see how I did it.

In any case, I’m so happy that this area is starting to come together.  I still want to add a light-colored, patterned fabric to the wall behind the mirror to brighten up the space and add interest.  It’s really just a matter of finding the fabric.   And then I want to change the lighting fixture out for more of a chandelier-type aesthetic (The drum shade is a great way to camouflage the boob light in the meantime, though).  And I would LOVE to get that weird outlet in the middle of wall beside the dresser (aka: The zit on the nose of our atrium) moved to a normal location behind the dresser.   I have no idea why it’s so high.  It makes me wonder if there was once a built-in against that back wall or something.

**Update: Wanna see our atrium area now?? Click on this post!**

So anyways, that’s my Trash to Treasure story, now check out the other awesome projects created by my other bloggy friends…