I have to say… things have been pretty busy in the homestead as of late. Stuff has been happening that I cant WAIT to tell you guys about… when it’s time. But it’s not time yet. All I can ask in the meantime is that you all do me a solid and send positive, happy thoughts our way. Every little bit helps. And we can definitely use it!
Project-wise, this last weekend was one of those weekends where I got a lot done, but nothing was completely finished/prettily staged in the end. That being said, the mission to turn No Man’s Land into a room of function inches along. I’d mentioned a while back that I had an old table in the garage that I’d wanted to paint for my craft space in our spare room. I started working on it two weekends ago and finally finished stripping and painting it this weekend.
Here she is before I started…

This is a solid oak table that was sporting many, many coats of paint. Observe….

So rather than just prime and paint, I knew this puppy needed to be stripped. After recently learning how to use chemical stripper, I was totally up for the challenge. I have to say, stripping paint was different for me than stripping varnish. For one… although it was messy, it was less gloopy. Also, I quickly learned that the process needs to be repeated multiple times depending on how many layers of paint are on there. I did nearly FOUR rounds with the stripper. FOUR.
My top layer of white came off with my first try to reveal another layer of white paint and a wee bit o’ black…

My second go around resulted int he remaining white being removed with a bit of black…

And just when I thought I was done, I peeled up all the black to reveal…

More black.
So, four rounds of stripper + scraping later, I had it as good as it was gonna get. Picture this, but with only small patches of black left on top (This was before my 4th coat of stripper)…

Next, I had to sand to make the surface smooth. Although I’d gotten most of the paint off with the stripper, the remaining paint was left in a pretty thick coat which would’ve shown through my paint job. It didn’t need it to be completely perfect since I’d be painting the surface anyways, just smooth and seamless. So, I hand-sanded the legs with 220 grit sandpaper and used my electric sander for the top and any flat planes. Once the table was sanded, I moved it inside. And I’m kind of peeved at myself, because I SWEAR I took a picture of the final stripped product, but it’s nowhere to be found. After 8 hours spent stripping this thing, I think I at least deserve to feast my eyes on an “after” shot. Sheesh. #littlestviolin
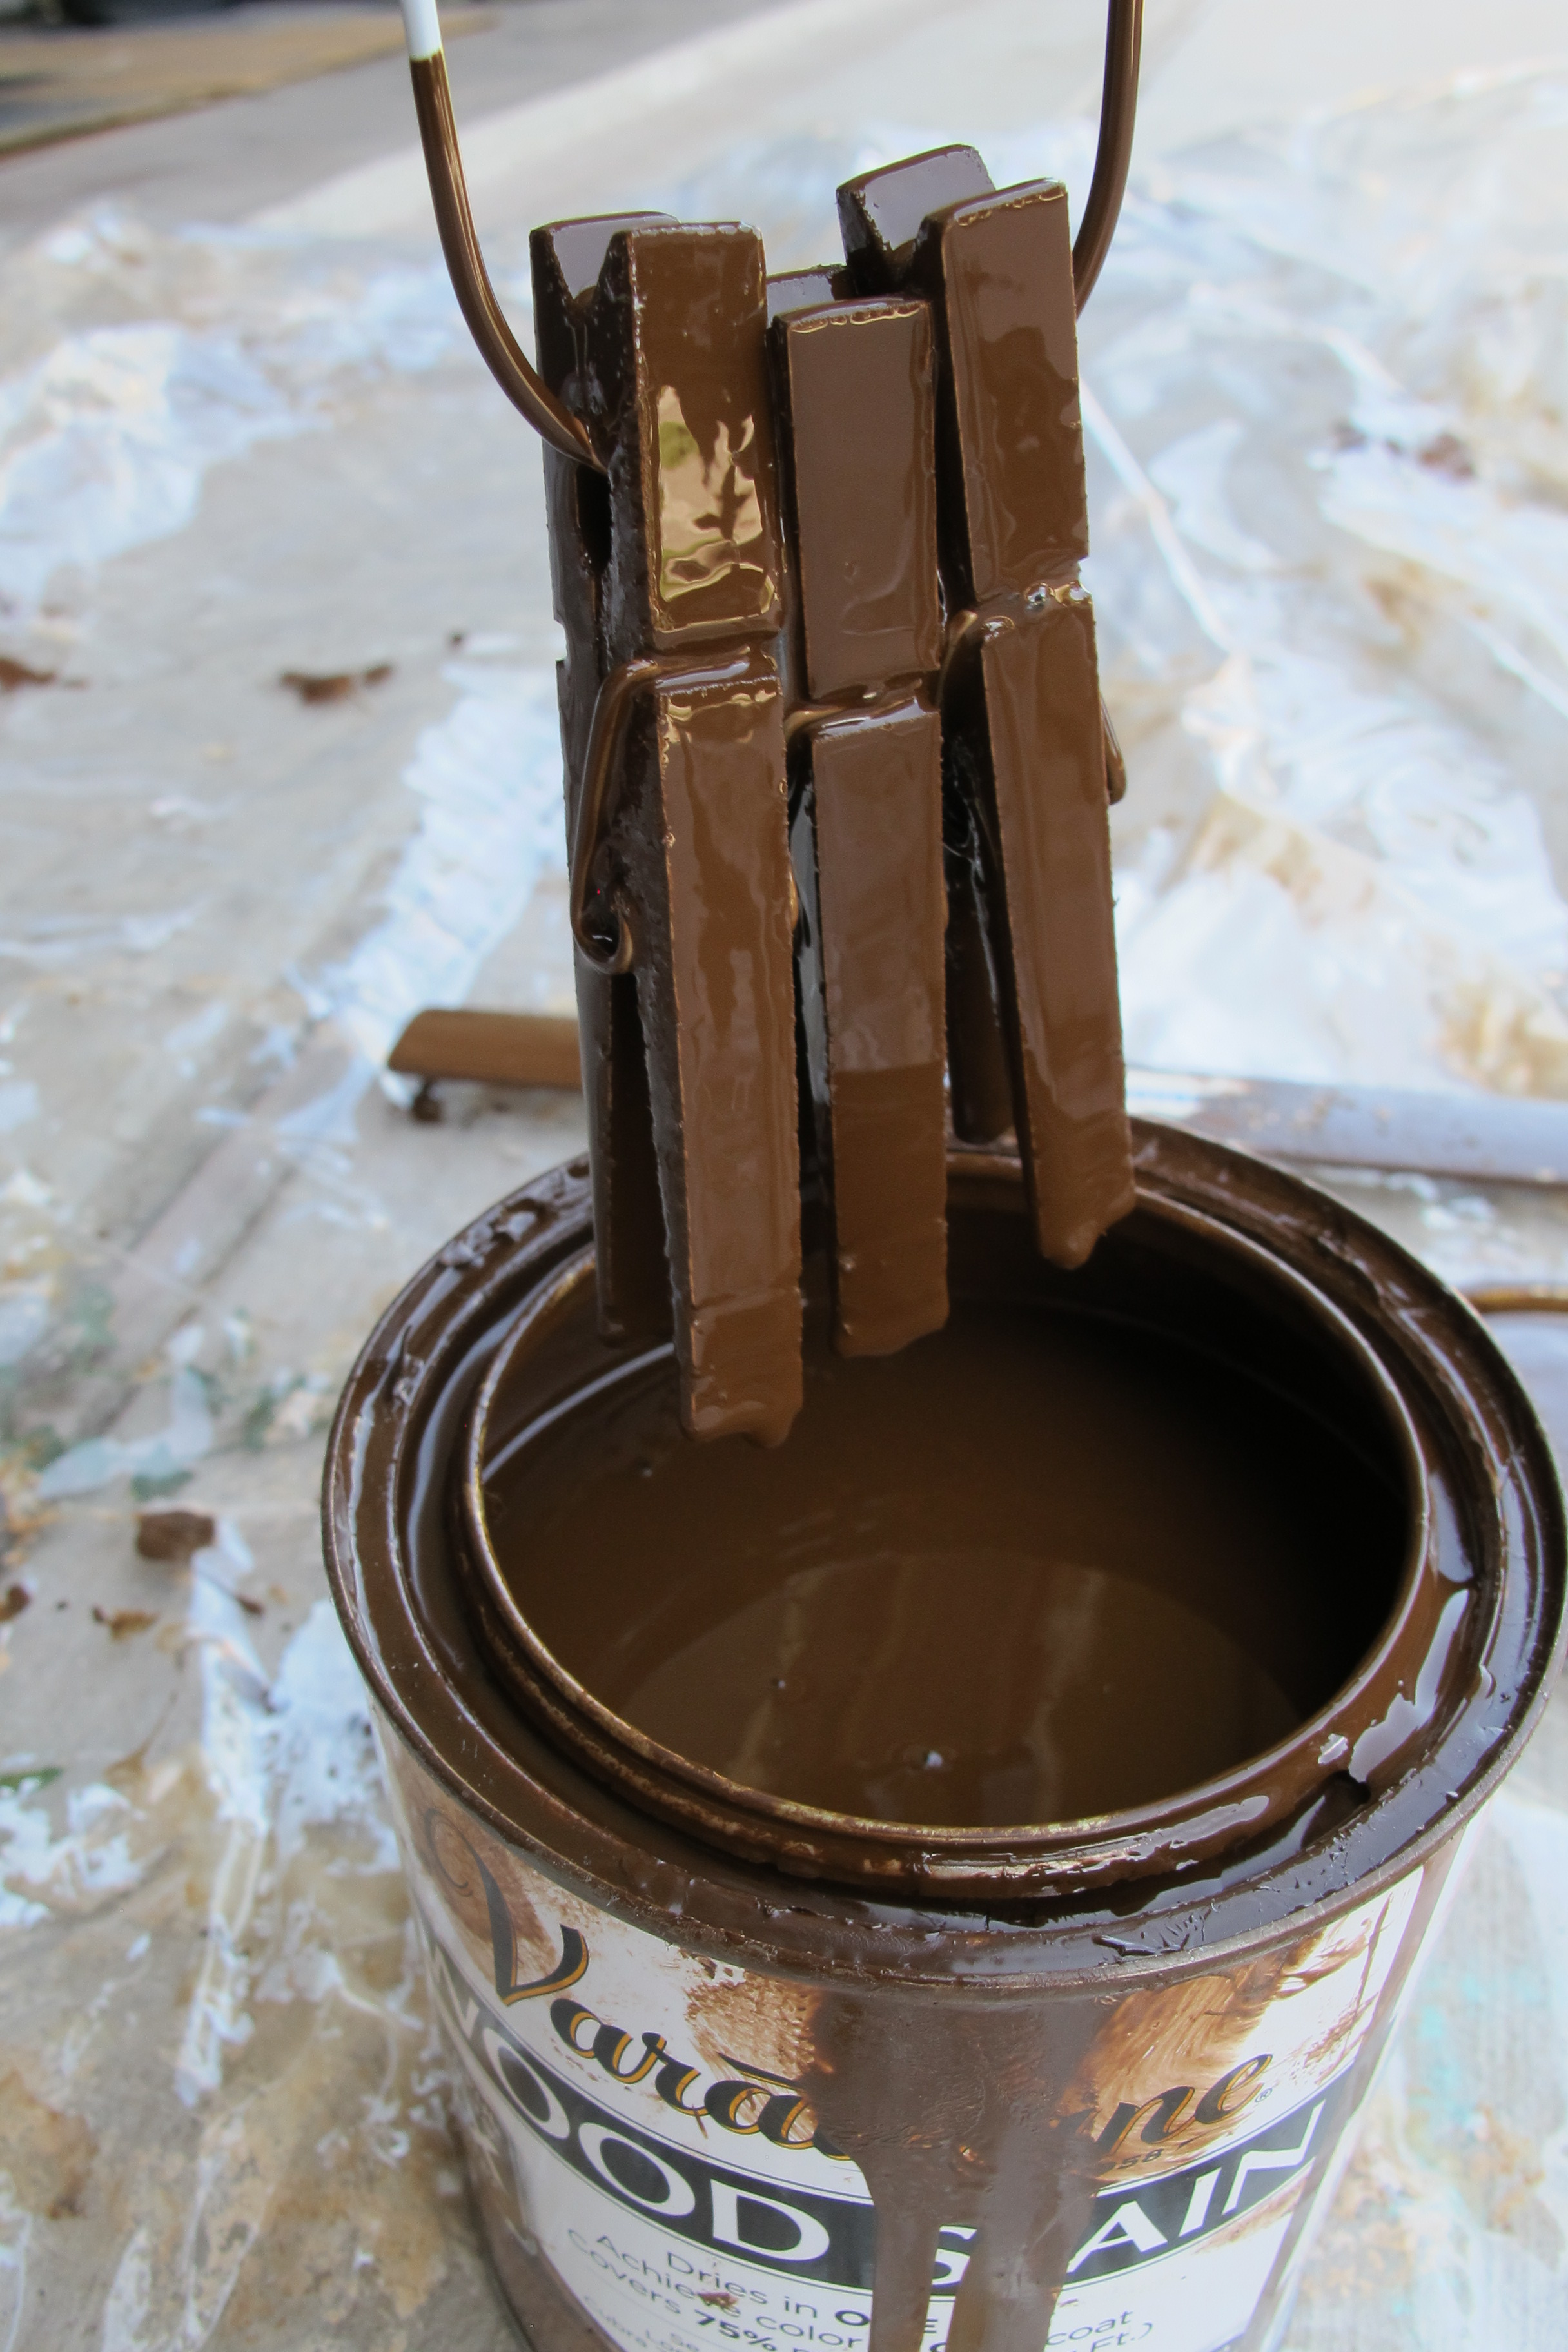
Anyhoo, after cleaning the table thoroughly with tack cloth, I painted it with three light and even coats of Valspar Signature Paint + Primer in Ebony Field, which is the same paint that I used on our back door. I used a brush on the base and foam roller on top. I sanded between coats…

…Anyways, I cleaned the dust off with tack cloth to ensure the smoothest finish possible and was sure to allow adequate dry time between coats. And here’s the final result…

Sorry about the crummy shot and lack of “after” pics, guys. I’m telling ya, this weekend was so busy that I’m just lucky that I remembered to take one at all. I still need to rearrange the room to accommodate the table and accessorize the space as a craft room, so I’ll post about that when it happens (with PLENTY of after shots 😉 ). But painting this table is definitely one small step forward that equates to one giant leap for me in terms of this space. Now that the table is done, many other things can be done as well. Yay!