Bathroom is painted!

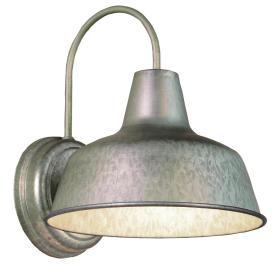
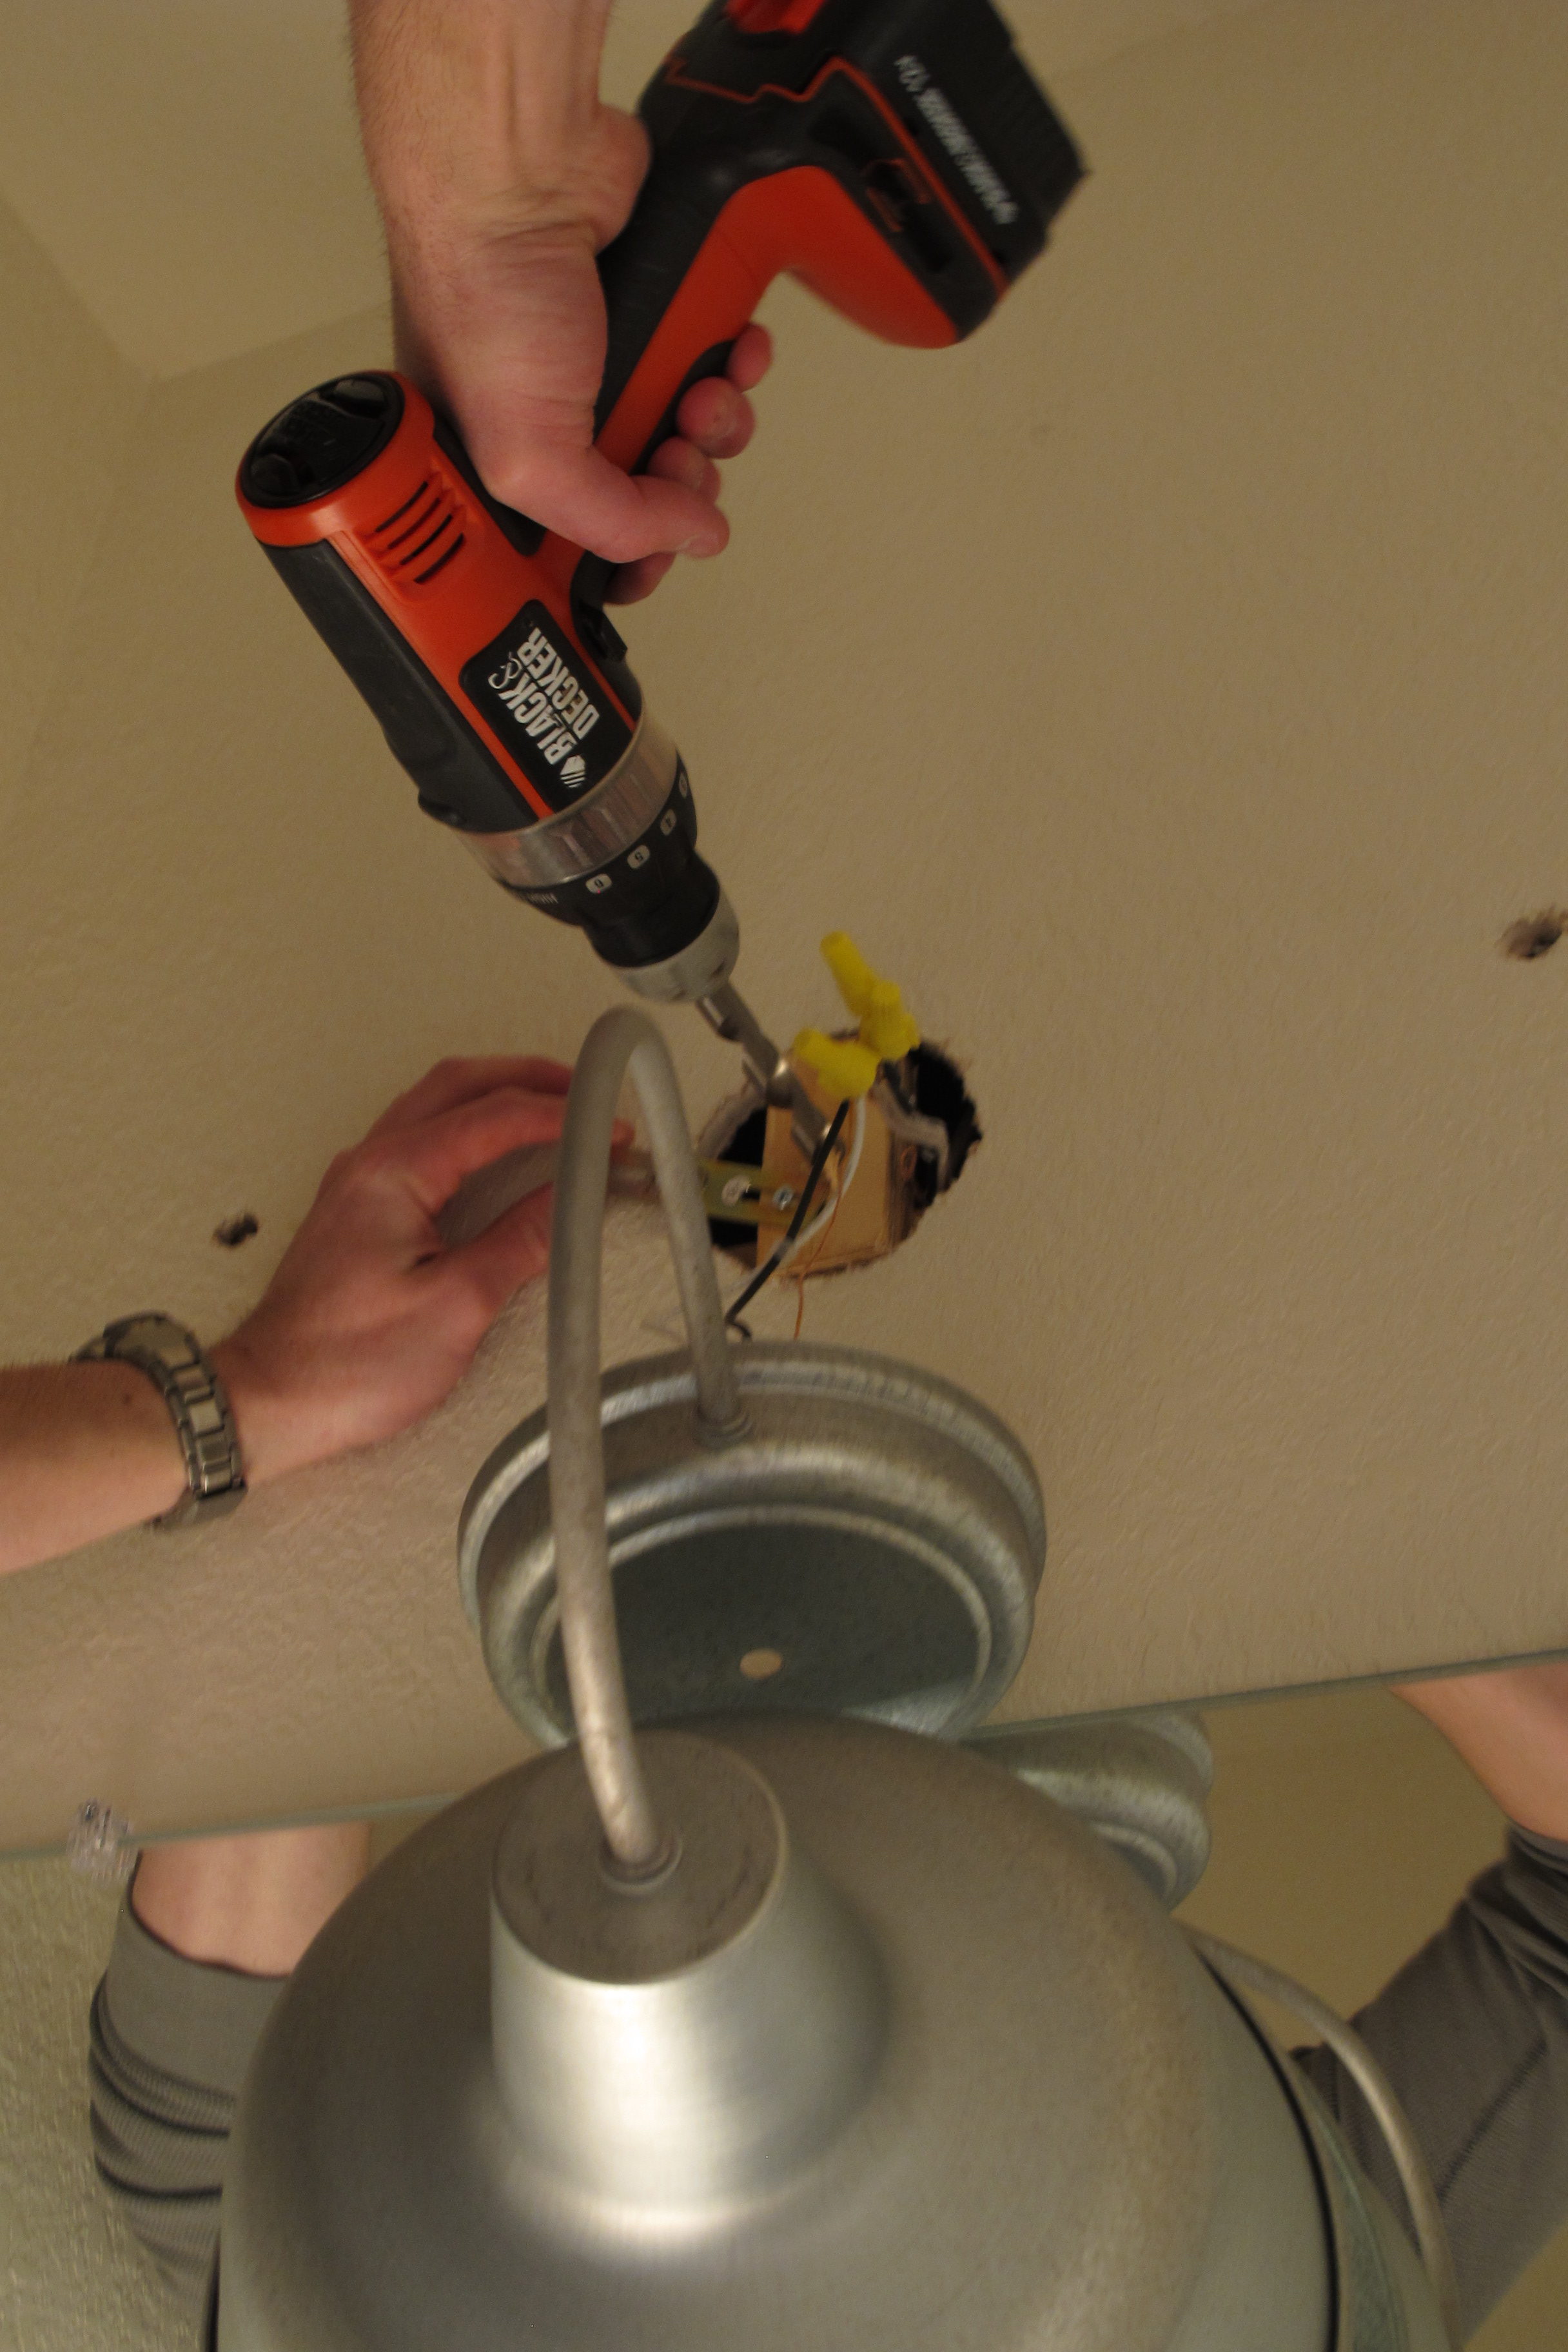
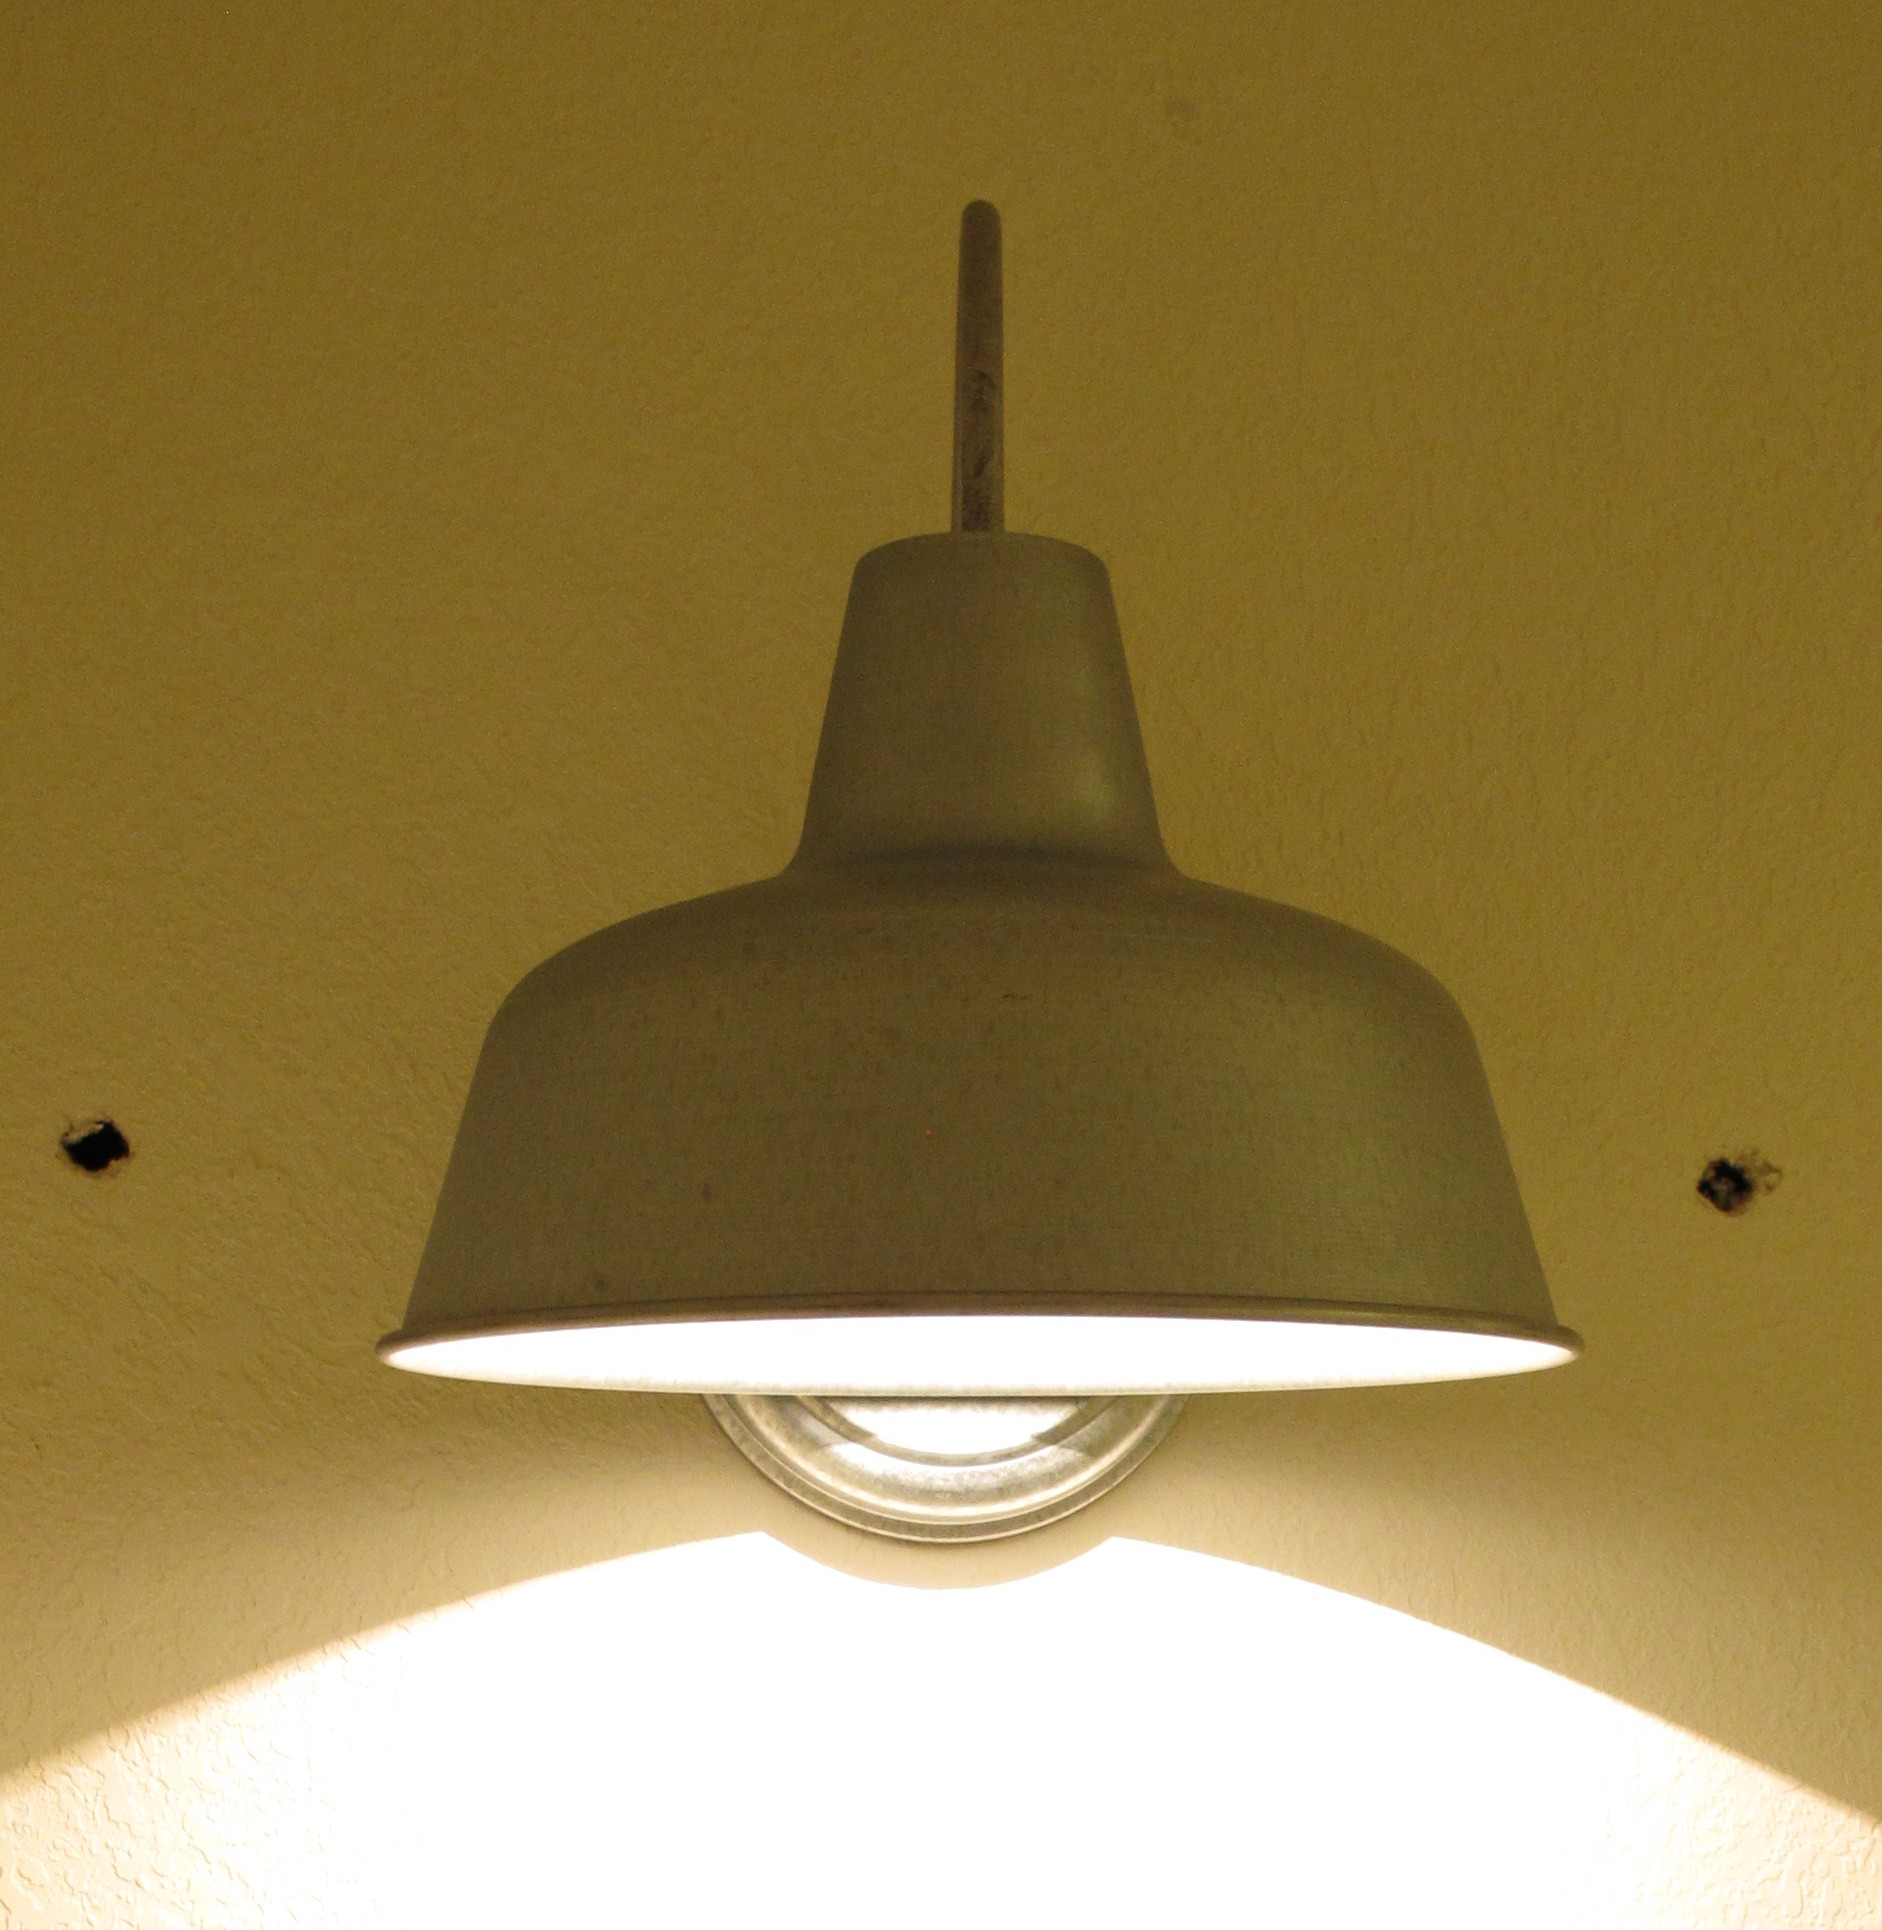
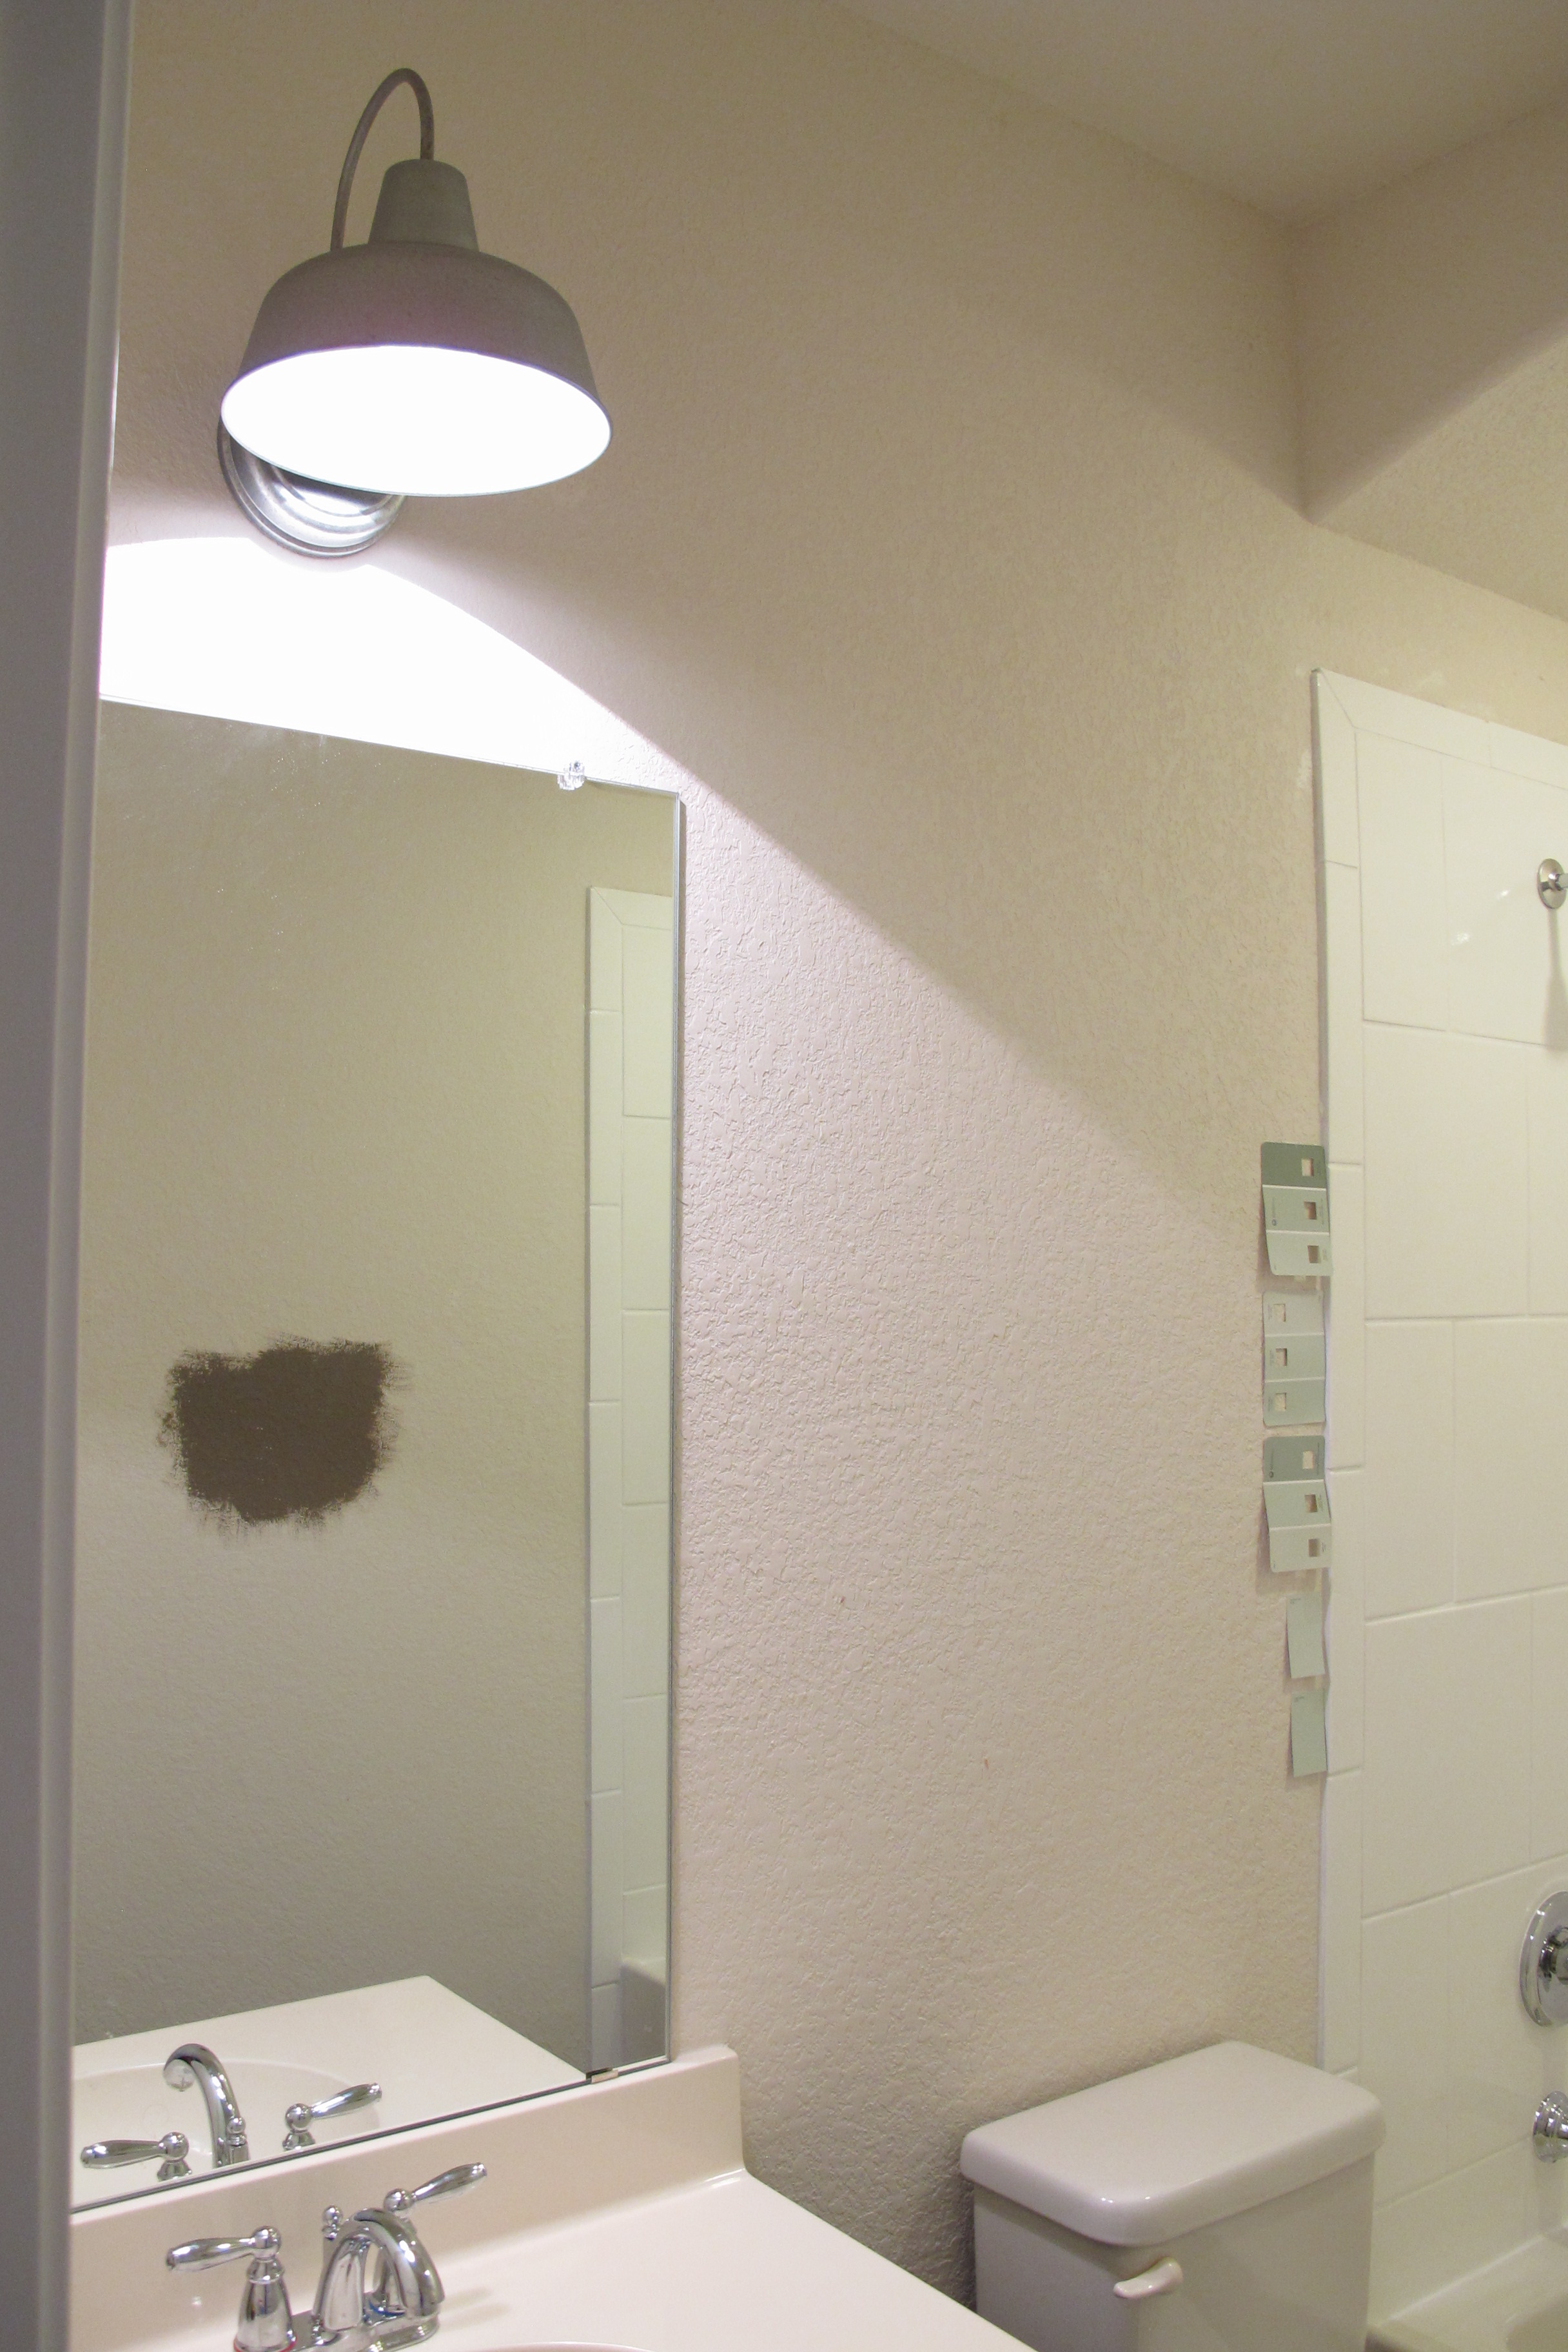
That’s right! You read it here first. Our bathroom is finally painted. Woohoo! We started our guest bath makeover by painting our ugly tile bath surround white, then we added a barn light and framed out our builders mirror.  Next up… Paint! I had mentioned in this post that I was leaning towards a lighter shade of turquoise and after looking at all these babies….

IMG_3720

I narrowed it down to Ante Meridian by Valspar (middle color on the second card down from the top).  It’s crazy because in natural light it almost appears white, but in our bathroom it’s a pretty, perfect light turquoise that’s grey enough to prevent the 80’s from requesting their bathroom back. Nice.

Now, when it comes to painting technique, it’s typically recommended to cut in first, then roll. But, hey, I’m a rebel. Foragoodietwoshoes. So, I rolled first….

IMG_3992

And here’s my reason. Because bathrooms require so much edging, I prefer to roll as close to the edges as possible, then make up the difference cutting in. And since we have textured walls and I used an eggshell-finish paint, the difference in brush strokes wasn’t obvious at all. And I did feel like it saved time. It only took me about an hour and a half to paint this entire room. Granted, the bathroom is tiny.

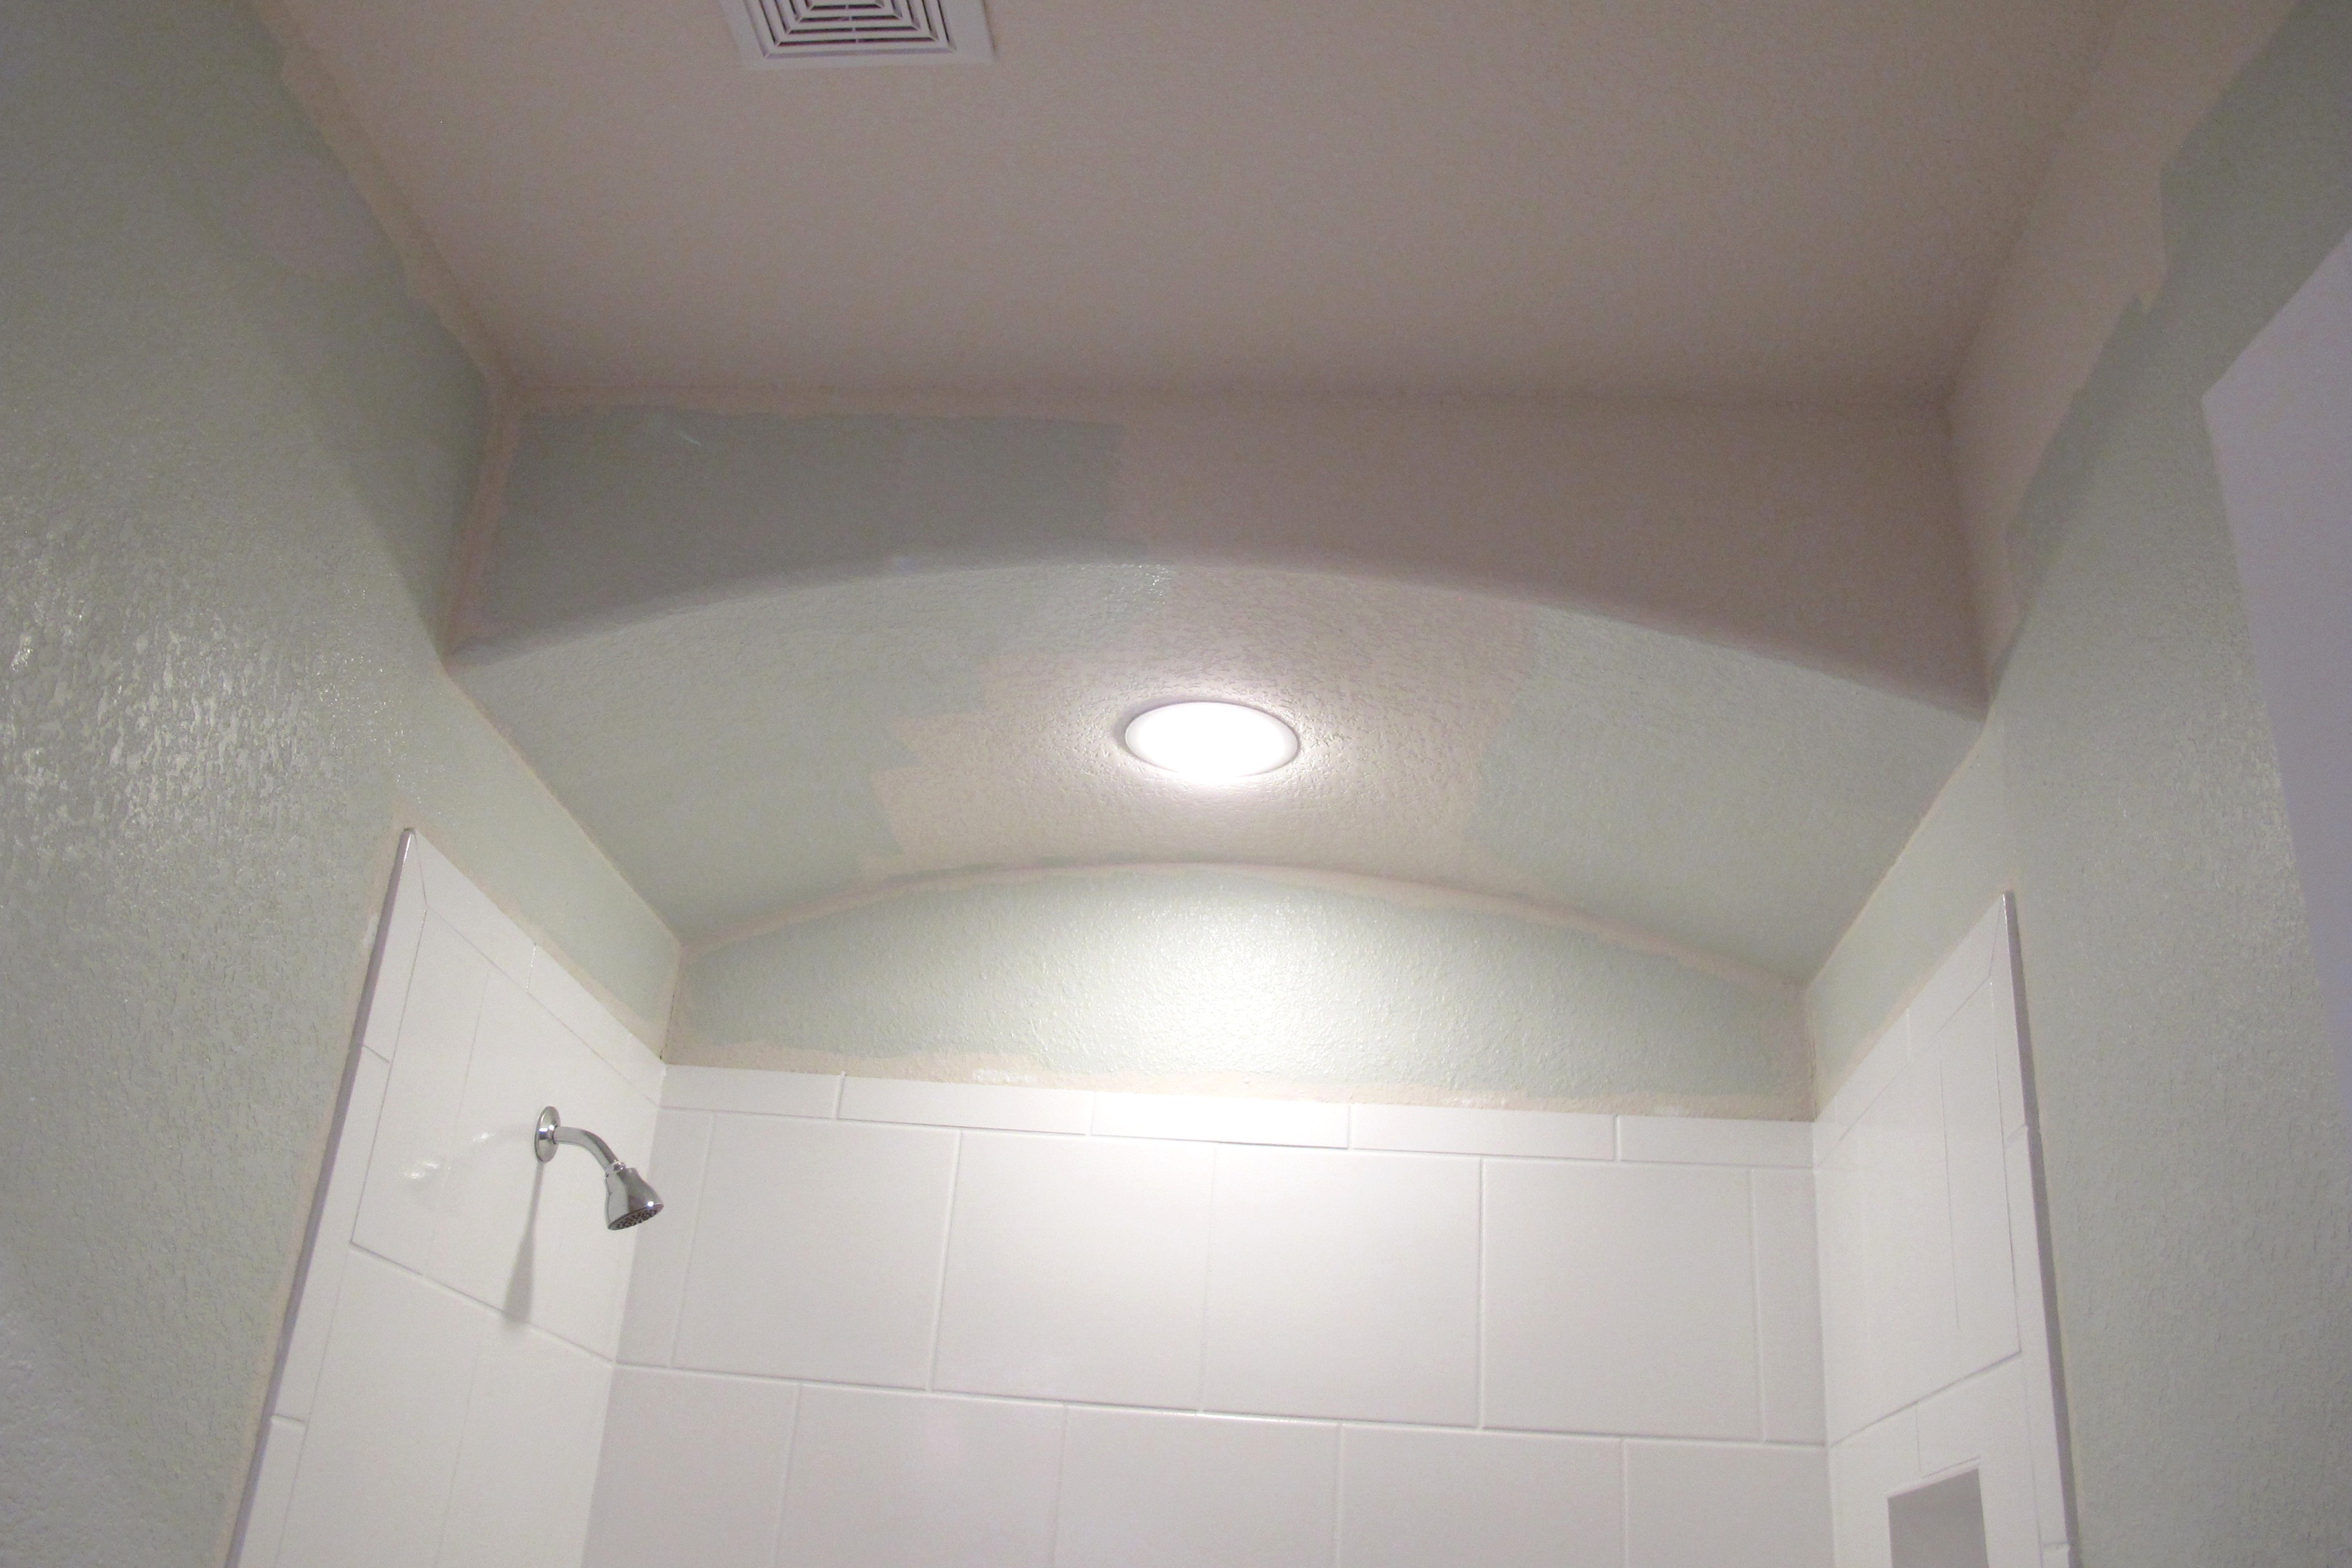
As you can see in this shot, I decided to go ahead and paint the ceiling…

IMG_4111  

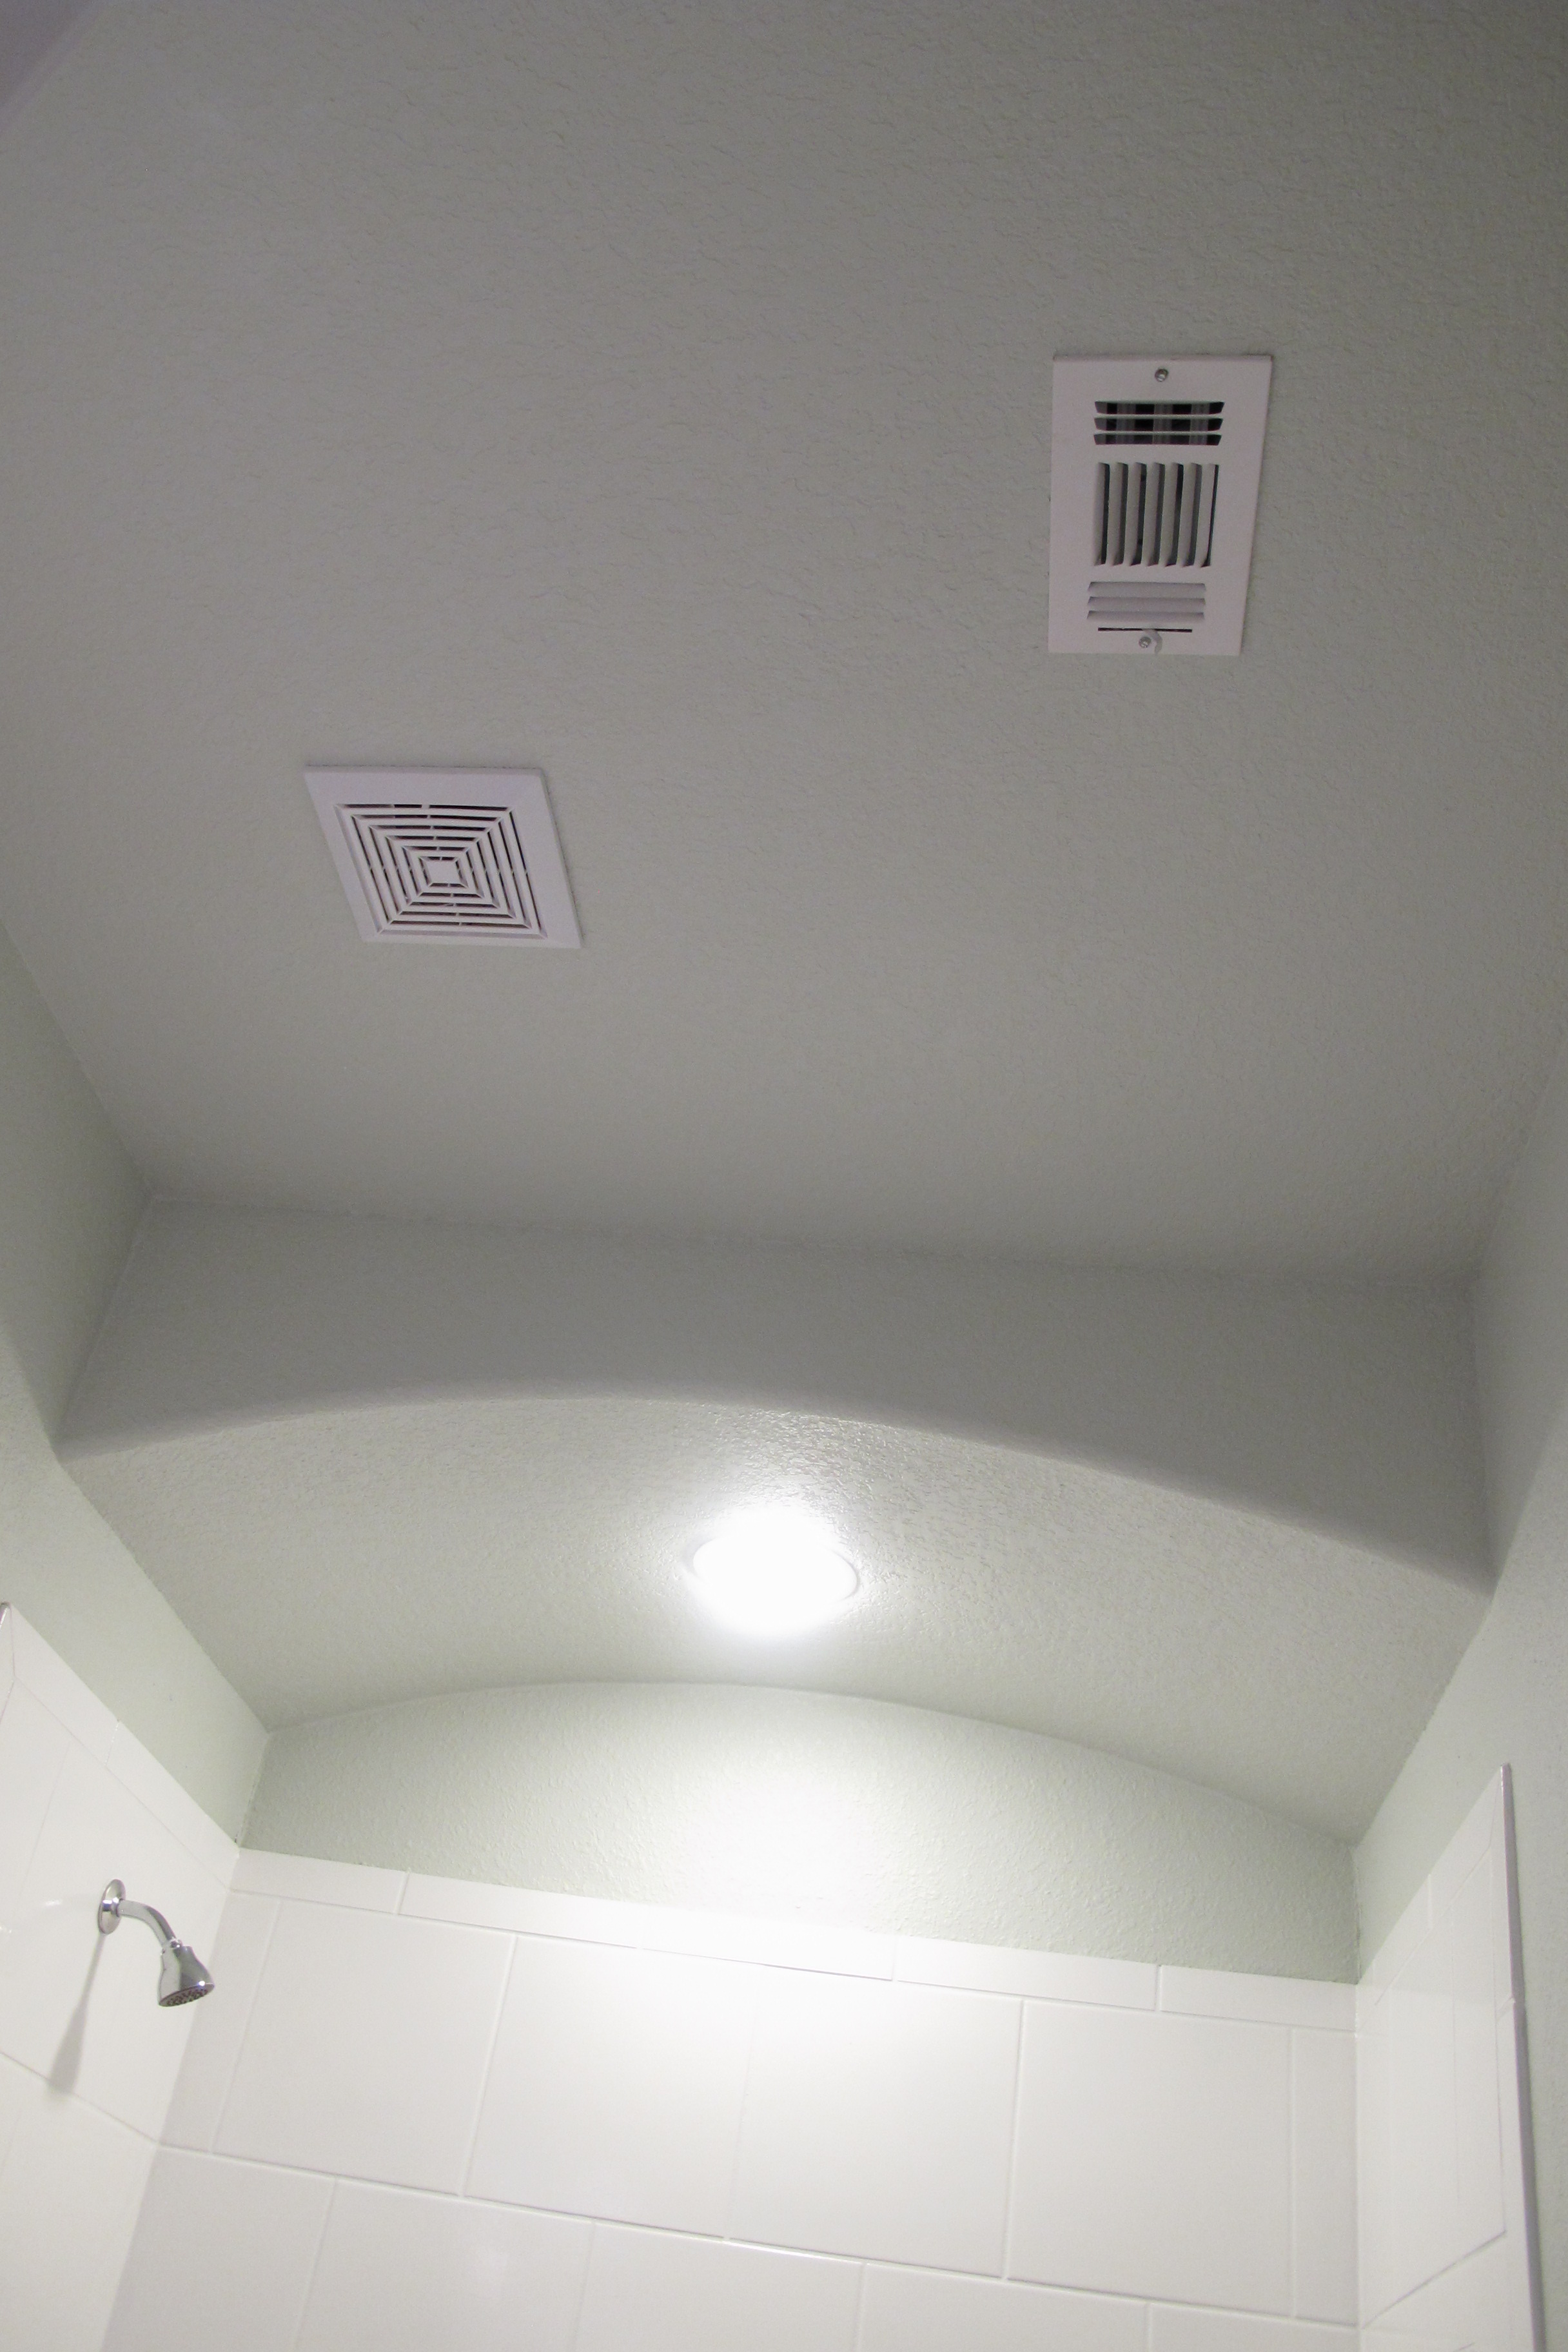
I feel like it helped the room feel taller and since one of my main goals in starting this bathroom was to “de-yellow” the joint, it helped in that respect as well. All of our ceilings are beige, so with a few fell swoops of my trusty roller, one more surface of yellow undertones was forever banished!  For those who don’t know, our builder didn’t offer white tubs, toilets or countertops for the bathrooms… They provided biscuit. Ugh. So, I’m hoping to play down these aspects of the room as much as possible and make them work.

So, here are a few “before” and “progress” shots that show where we are now…

IMG_3324 IMG_4116

IMG_3096 IMG_4130

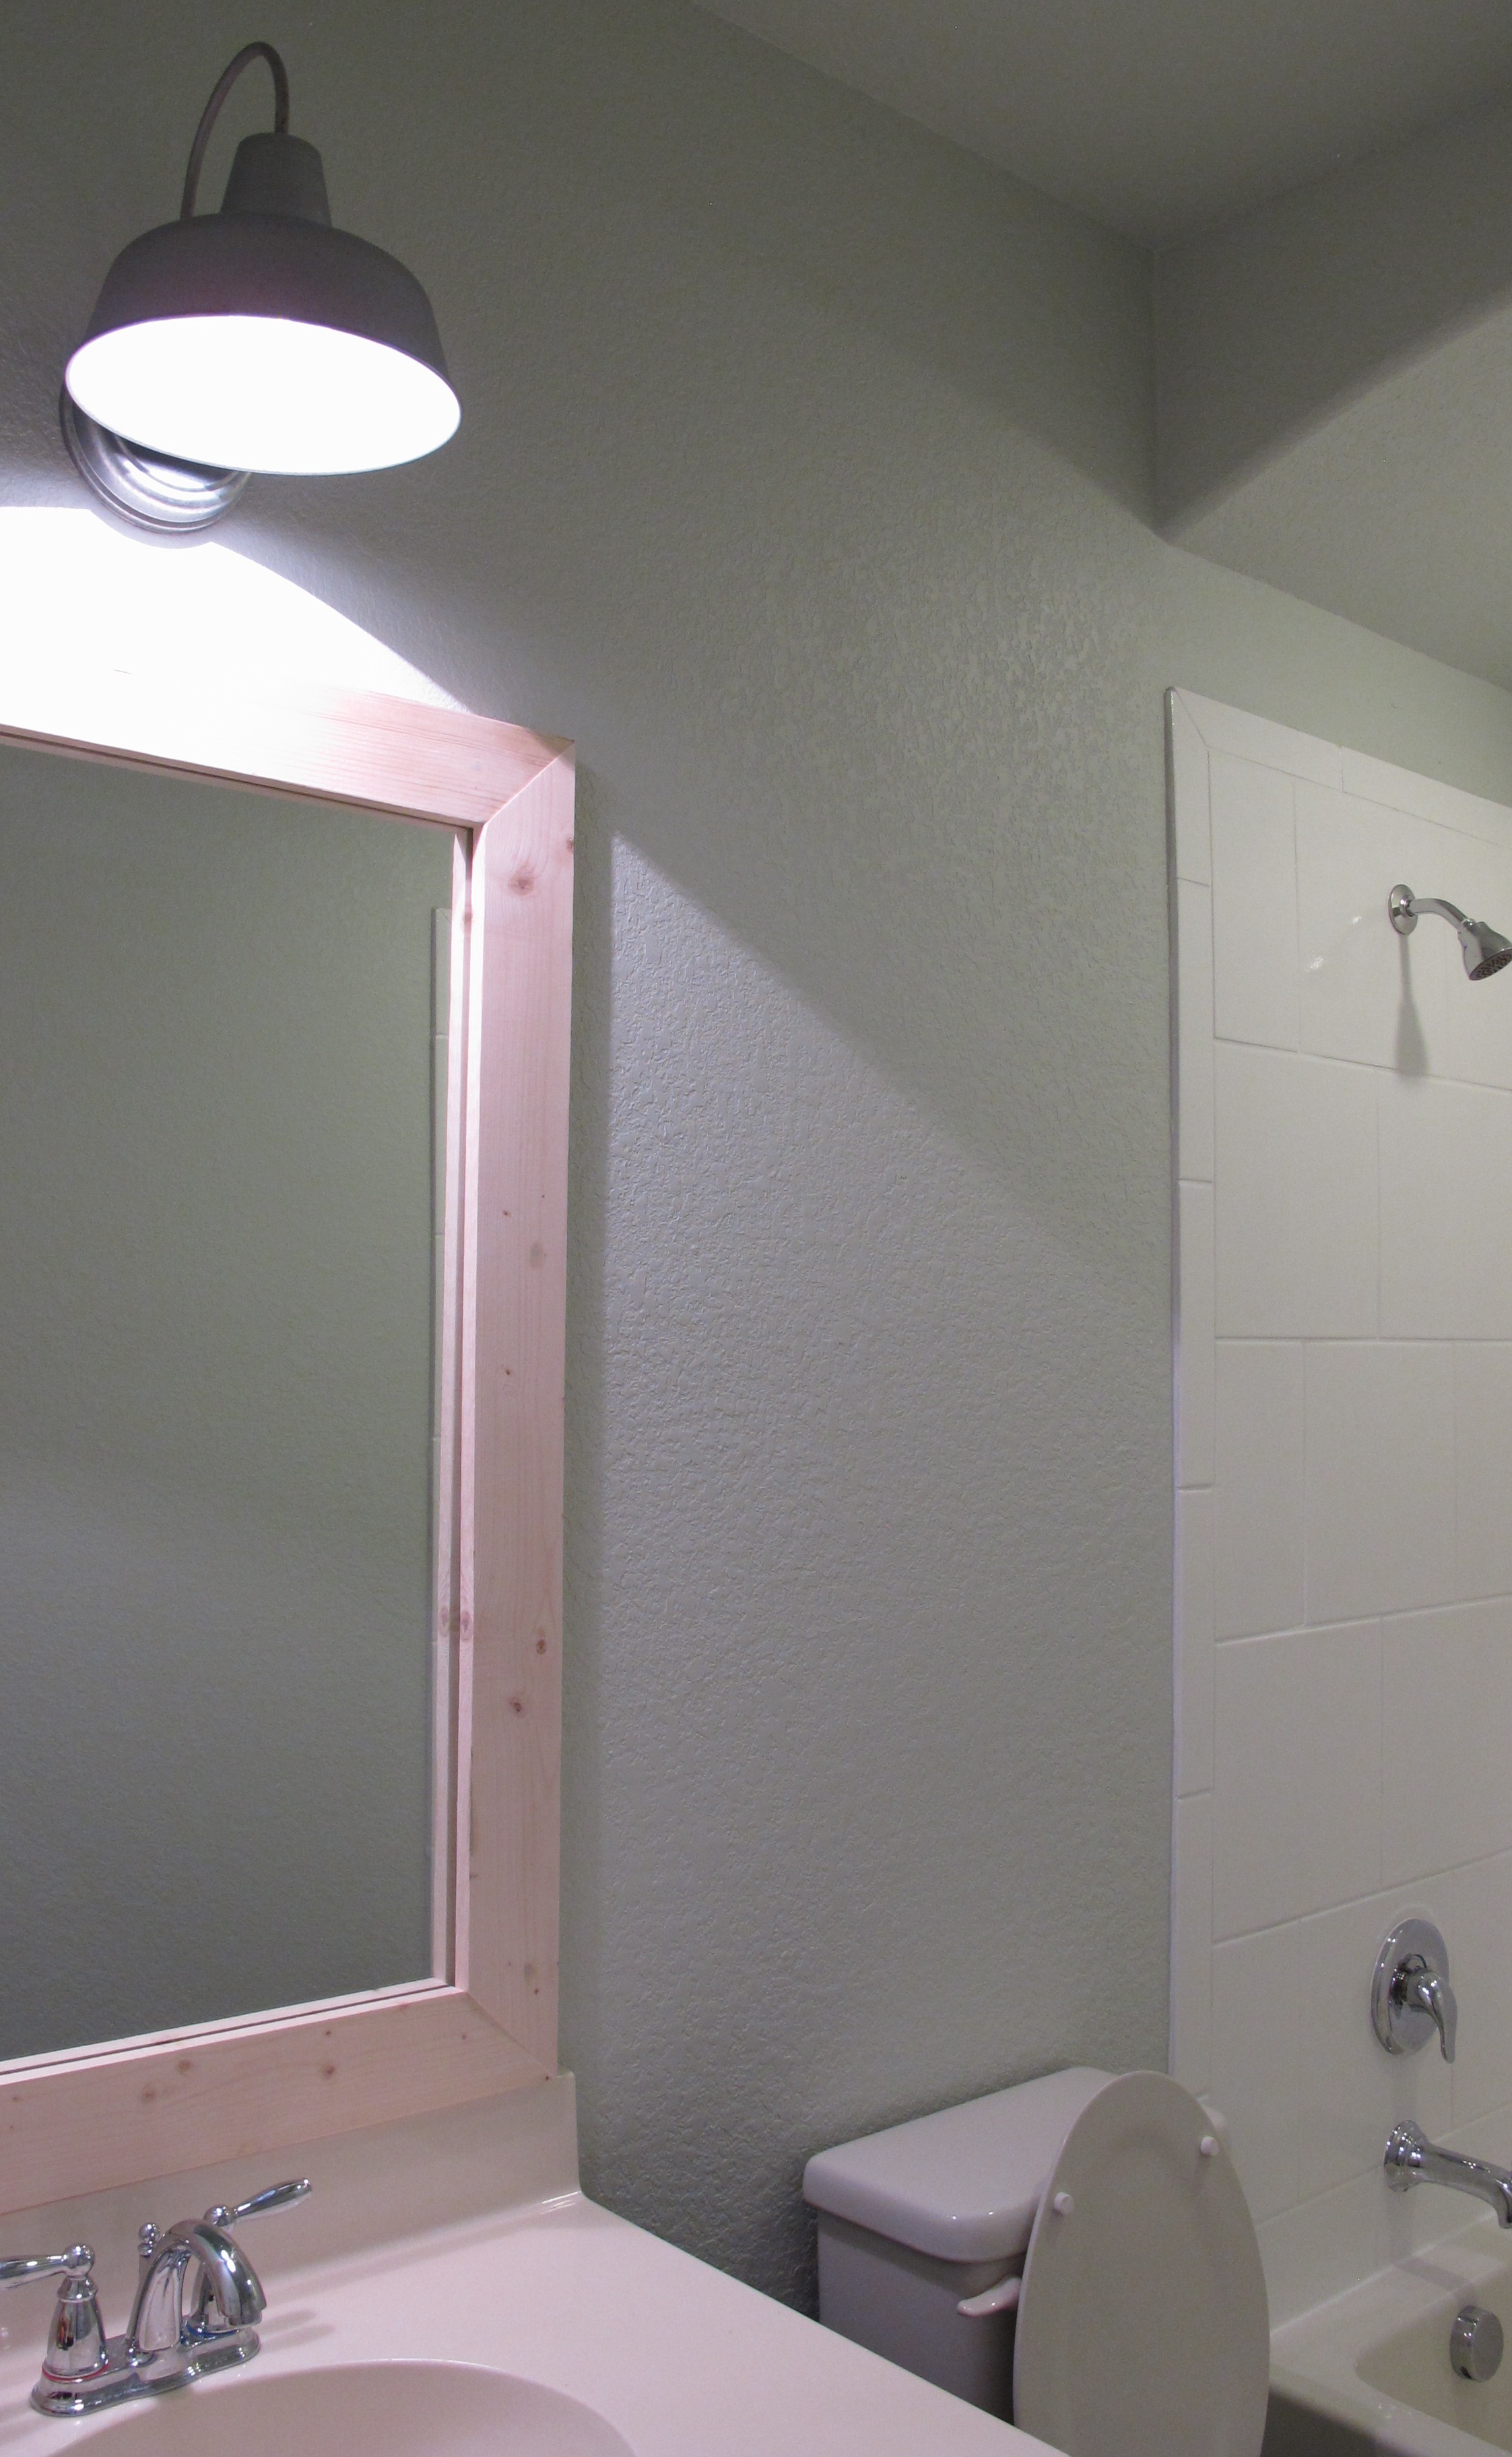
Ignore the unpainted mirror frame.  I still haven’t gotten to it.  Also, (and I guess this depends on your computer screen) the paint color is a bit more green in person.  It’s looking awfully grey to me in these shots for whatever reason.

Still to go:

  • Paint new mirror frame
  • New faucet
  • New toilet paper holder, hooks and drawer pull
  • Create shower curtain out of the awesome fabric I found
  • Accessorize and style

So anyways, we still have a little ways to go until the room is complete, but I’m happy with our progress so far.

Sidenote: Check out your URL bar above!  I’ve secured operationhomeblog.com to make my humble little blog a smidge easier to find.  😀

Barn light is up!

Finally, a small bit of bathroom progress! Woo-hoo!!  I had this grandiose idea that I’d have the bathroom painted by now, but alas, fate had other plans.  I got sick last week and did nothing instead. Dumb Texas weather. If only Mother Nature would decide between 20 and 70 degrees and stick with one for a while (*coughcough* 70).  Maybe then we’d all stop getting sick.  Anyways, back to business….

We began our bathroom makeover here, when we painted our tile bath surround.  And now, we’ve moved onto lighting.   We started out with this plain-ish builders light…

IMG_3098 IMG_3096

Functional and bright, but not really our style. So, we picked out this guy as a replacement…

Portfolio Ellicott 13-1/8-in H Galvanized Dark Sky Outdoor Wall Light

My parents bought it for us for Christmas.  They got it at Lowe’s.    And I love it.   I’ve noticed that using outdoor fixtures indoors has become kind of a trend lately, and I totally jumped on the bandwagon.   I’m really digging the more industrial, rustic look.

Joey is the resident light-fixture-installer in our household, so he got on it. The installation process went a little slower than usual because the old fixture was literally mounted on drywall alone. There was a large hole in the drywall with two smaller holes beside it, thus, nothing to mount the new fixture to.  To rectify this, Joey fabricated a solid surface on which to mount the fixture by screwing a piece of scrap wood to the stud within the larger hole.

IMG_3701

And then he mounted the fixture to the wood. I used this stuff…

IMG_3725

…to fill these smaller holes beside the fixture…

IMG_3714

I just gummed the spackle in there with my finger and let it dry (this stuff turns white when dry which is convenient).

IMG_3726IMG_3728

Then, I applied a second coat with my finger and did my best to match the rough texture of the walls. I’ve learned not use a spackling knife or trowel when patching smaller holes because they create smooth textures, which scream “HEY! I’M A PATCH!” next to our rough walls.

Here’s the new barn light once all was said and done…

IMG_3738 IMG_3734 IMG_3743

Ignore the splotch of brown in the mirrors reflection. That was a test paint that I tried back when I was still attempting to make the old tile work. It was hidden by towels before, but I recently took down all wall hangings to prep for paint. So, there it is. For all to see.

I have to say that I’m really glad I waited to choose a paint color until our barn light was installed. The lighting change was DRAMATIC. I expected it to be different since I knew we were going from four bulbs to one, but it still surprised me. At first, I thought it was too dark, but I really like it now. Before, the bathroom was so glaringly bright and now it’s a softer more pleasant atmosphere.

So, now I’m still on the hunt for a shower curtain and then will be choosing the exact paint color (since it’s easier to coordinate paint color to a fabric than vice versa). But at least I’m happy to report a wee bit o’ progress. 🙂