Ummmm…
Yeah. So, I was bored.
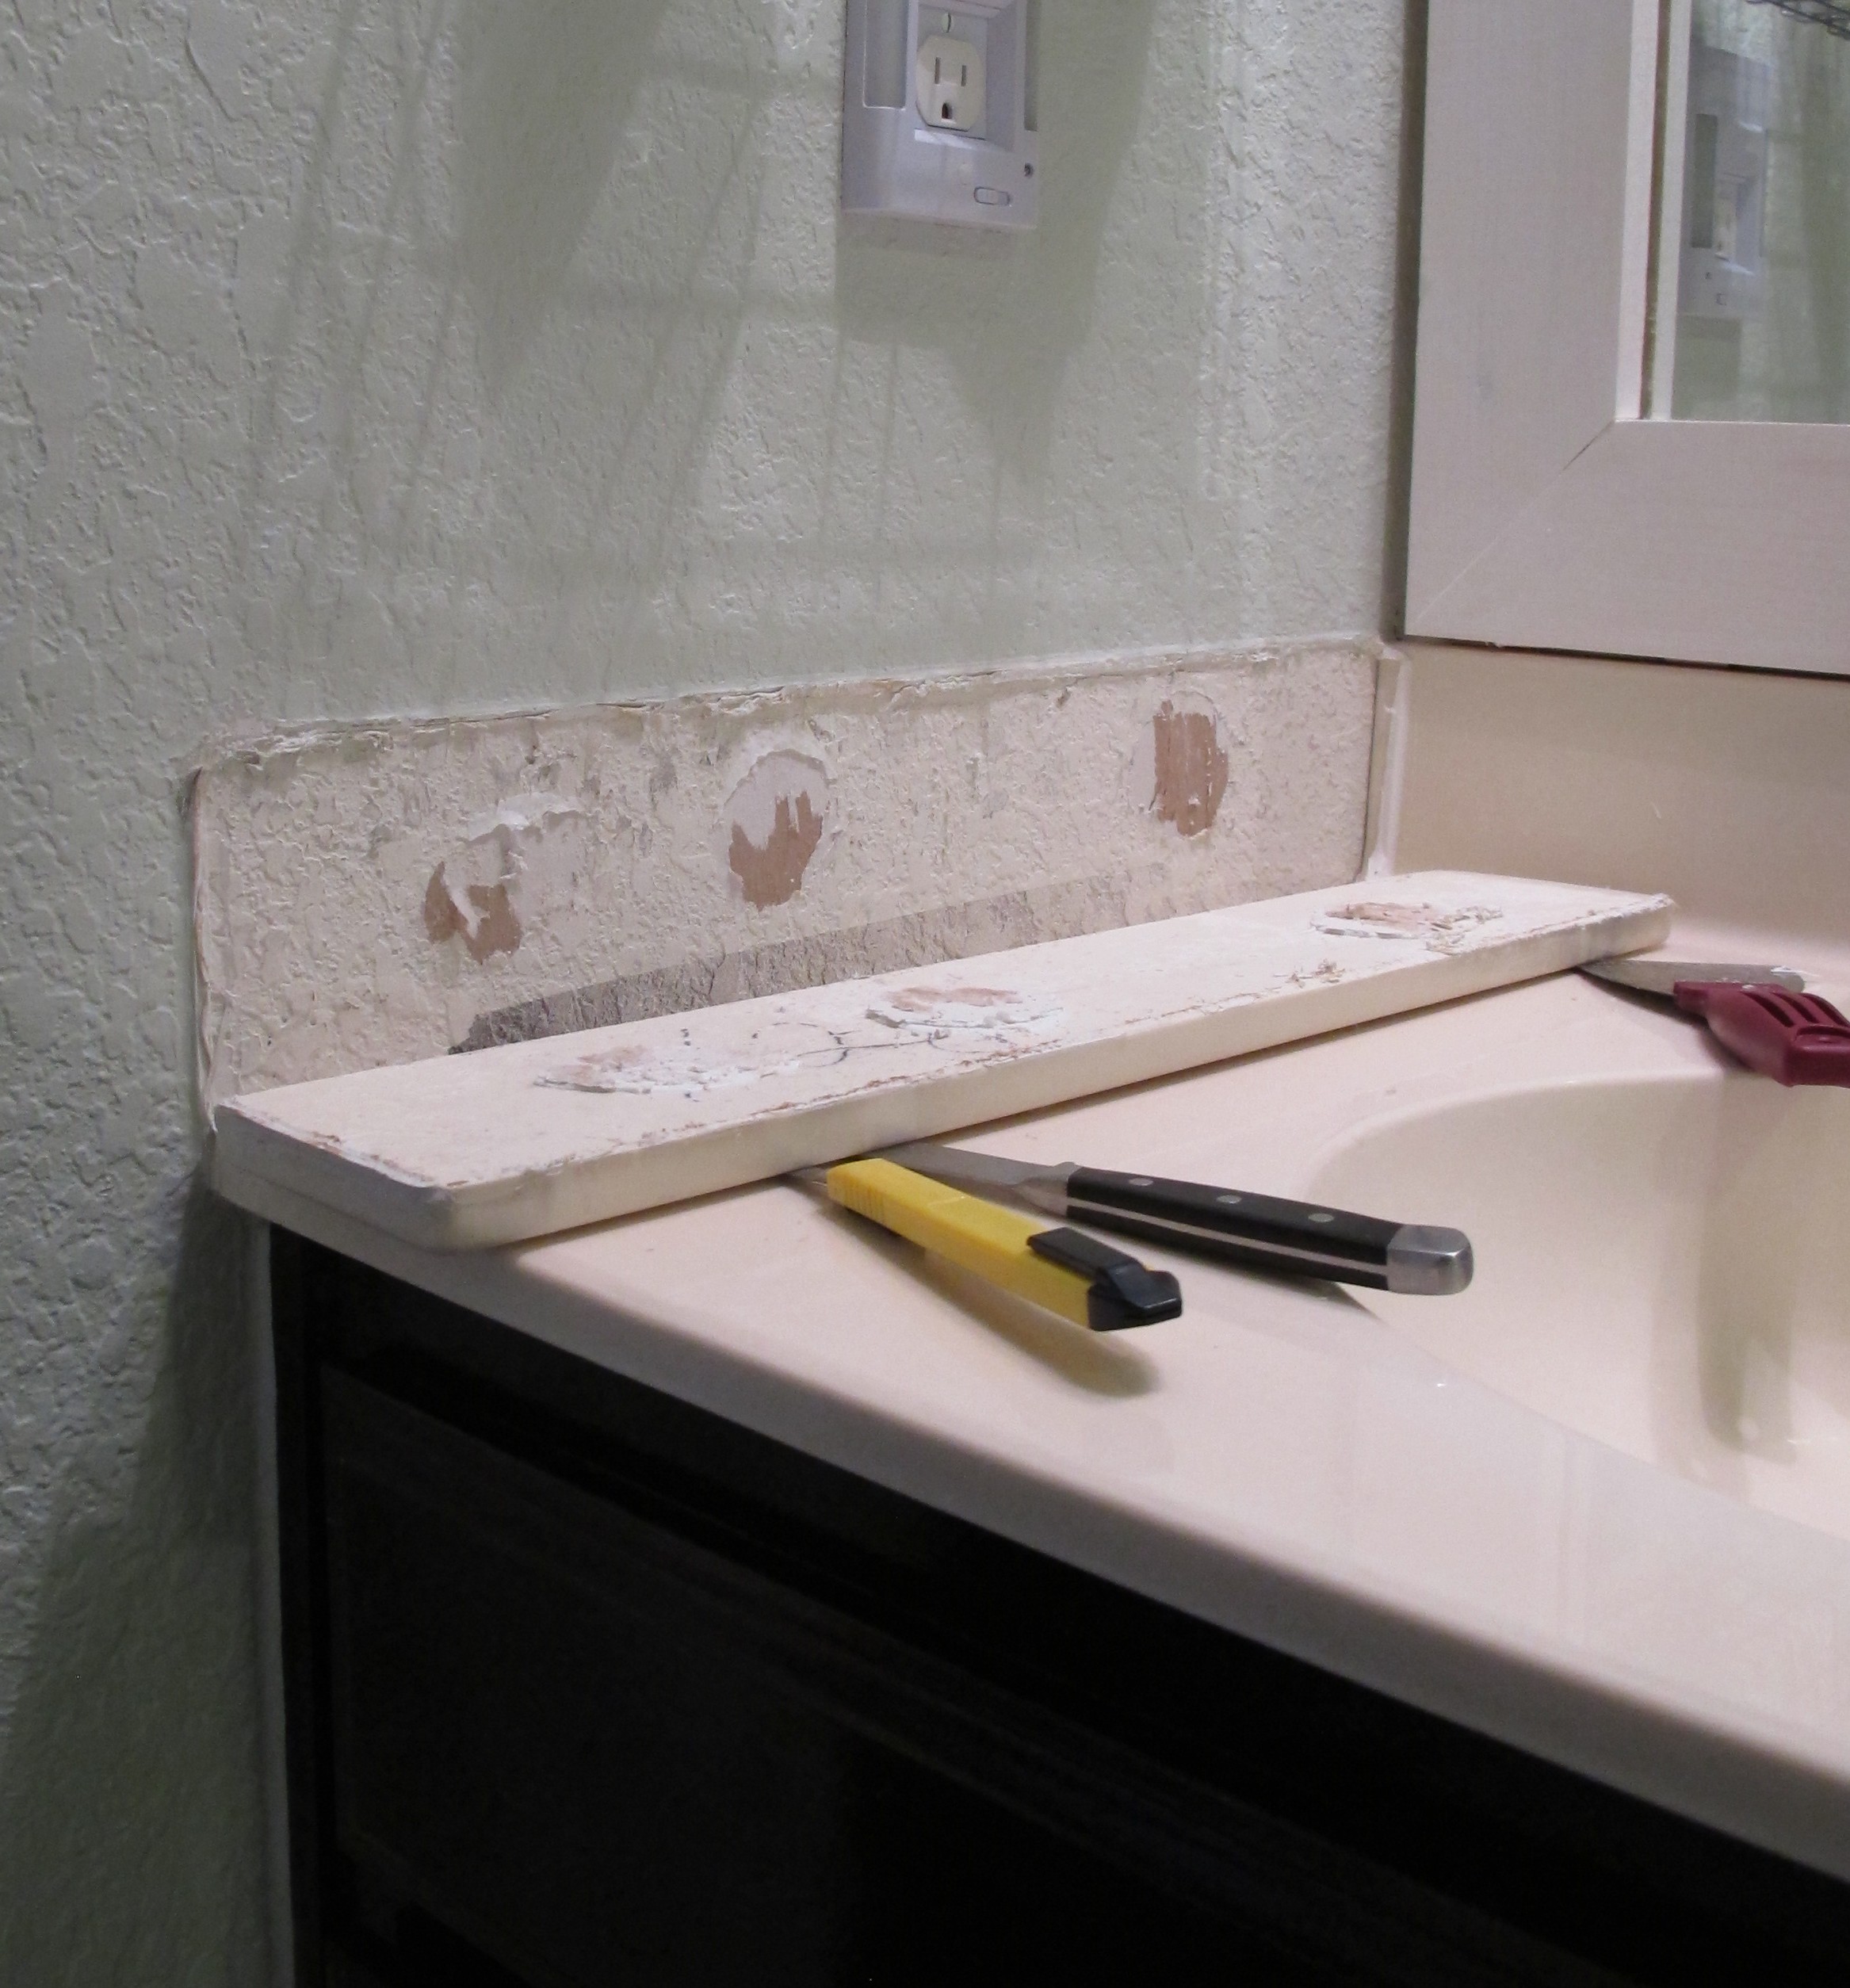
Joey was sleeping. Lucas was playing. And I decided to fill the time by cleaning the guest bath. So, I innocently went to retrieve our cleaning products, when somehow I ended up with a razor in my hand. I walked into the bathroom, turned toward the vanity, and *accidentally* slashed the silicone caulk repeatedly around the perimeter of the side-splash with my razor. Oopsie!! Then, my putty knife *coincidentally* was shoved with brute strength behind the side-splash multiple times until the adhesive was sliced through and the side-splash was severed from it’s main body. Whoops! My bad. I’m so clumsy!
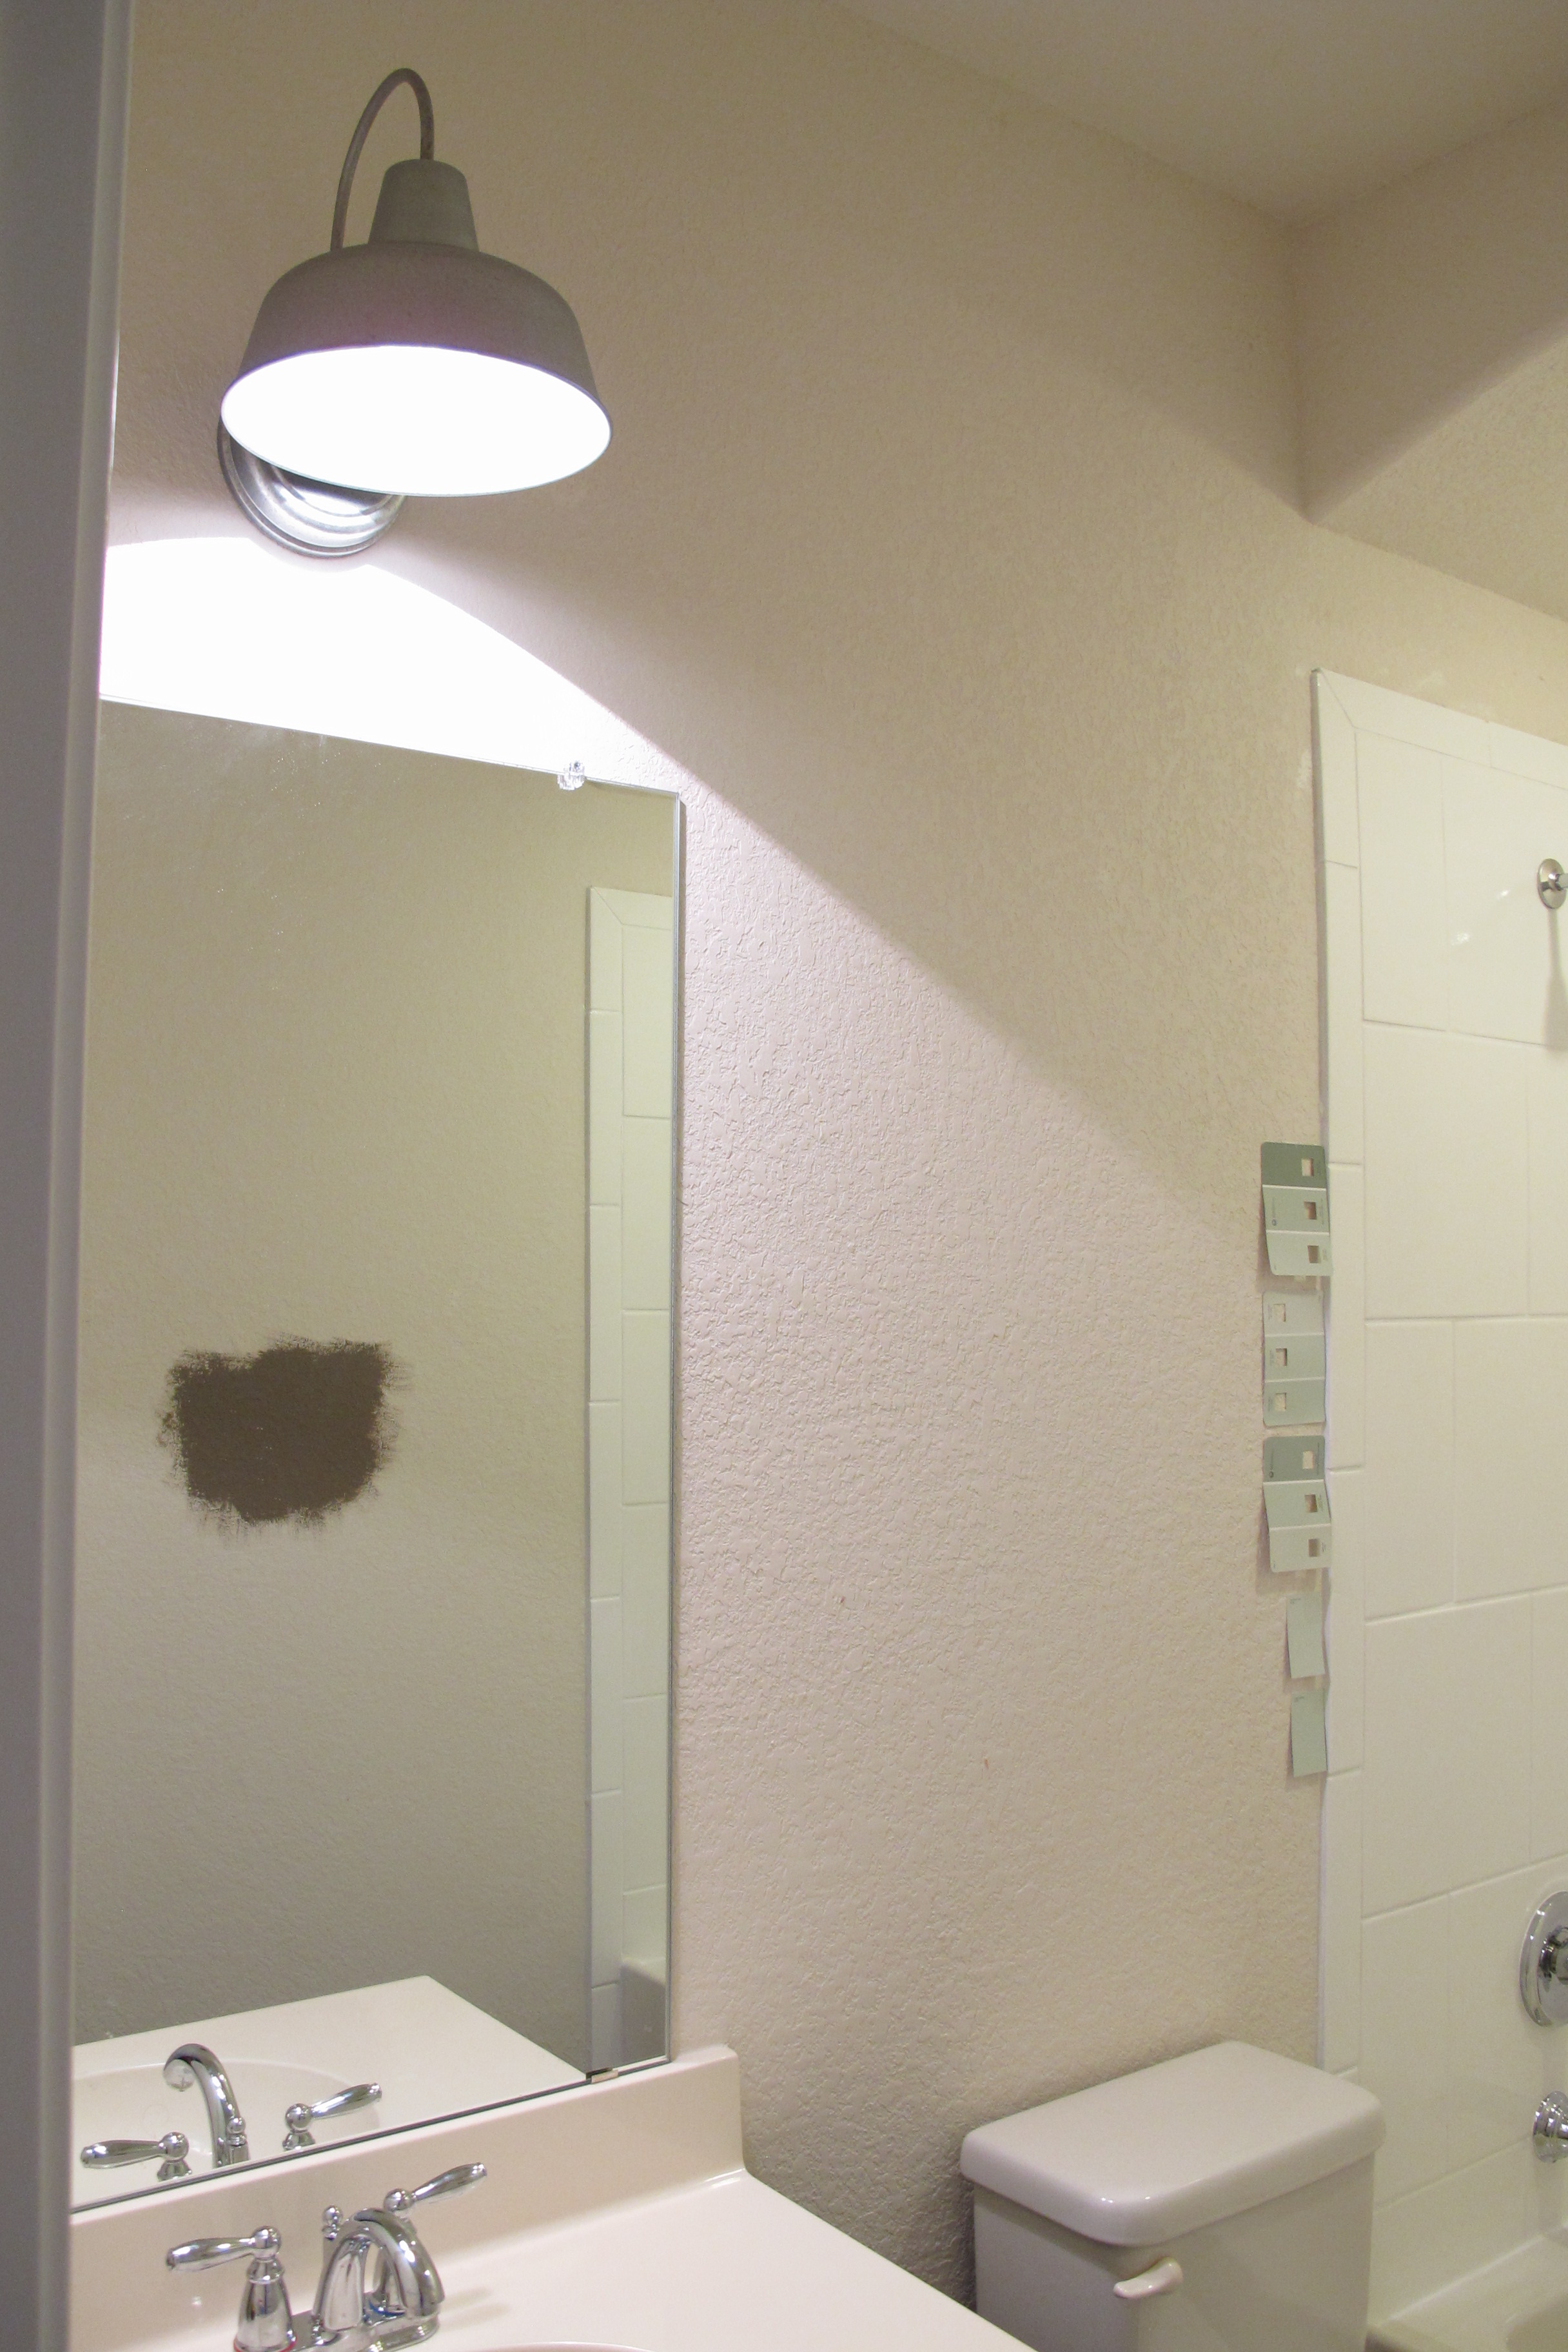
You see, my hatred for this slab of stone had been brewing for a while. Much like our toilet handle, I’ve despised this pointless, extraneous….. appendage, of sorts…for a LONG time. Now, I have nothing against side-splashes in general. I think they’re fine. But, THIS side-splash?? For one, it was yellower than the rest of the vanity top (which as you know, I’m not a fan of). Then, to make matters worse, the builder used white caulk to trim it out which made it appear even MORE yellow. Plus, when you looked at the bathroom from this direction….
… It was just a big yellow distraction. So, yes. It’s fair to say that a small, rectangular piece of stone has driven me nuts from the getgo. And I just.couldn’t.take.it.anymore.
Once I’d broken the stone free, I had a bit of damage to contend with. I started by scraping the excess silicone off the wall….

Then, this bead along the counter…
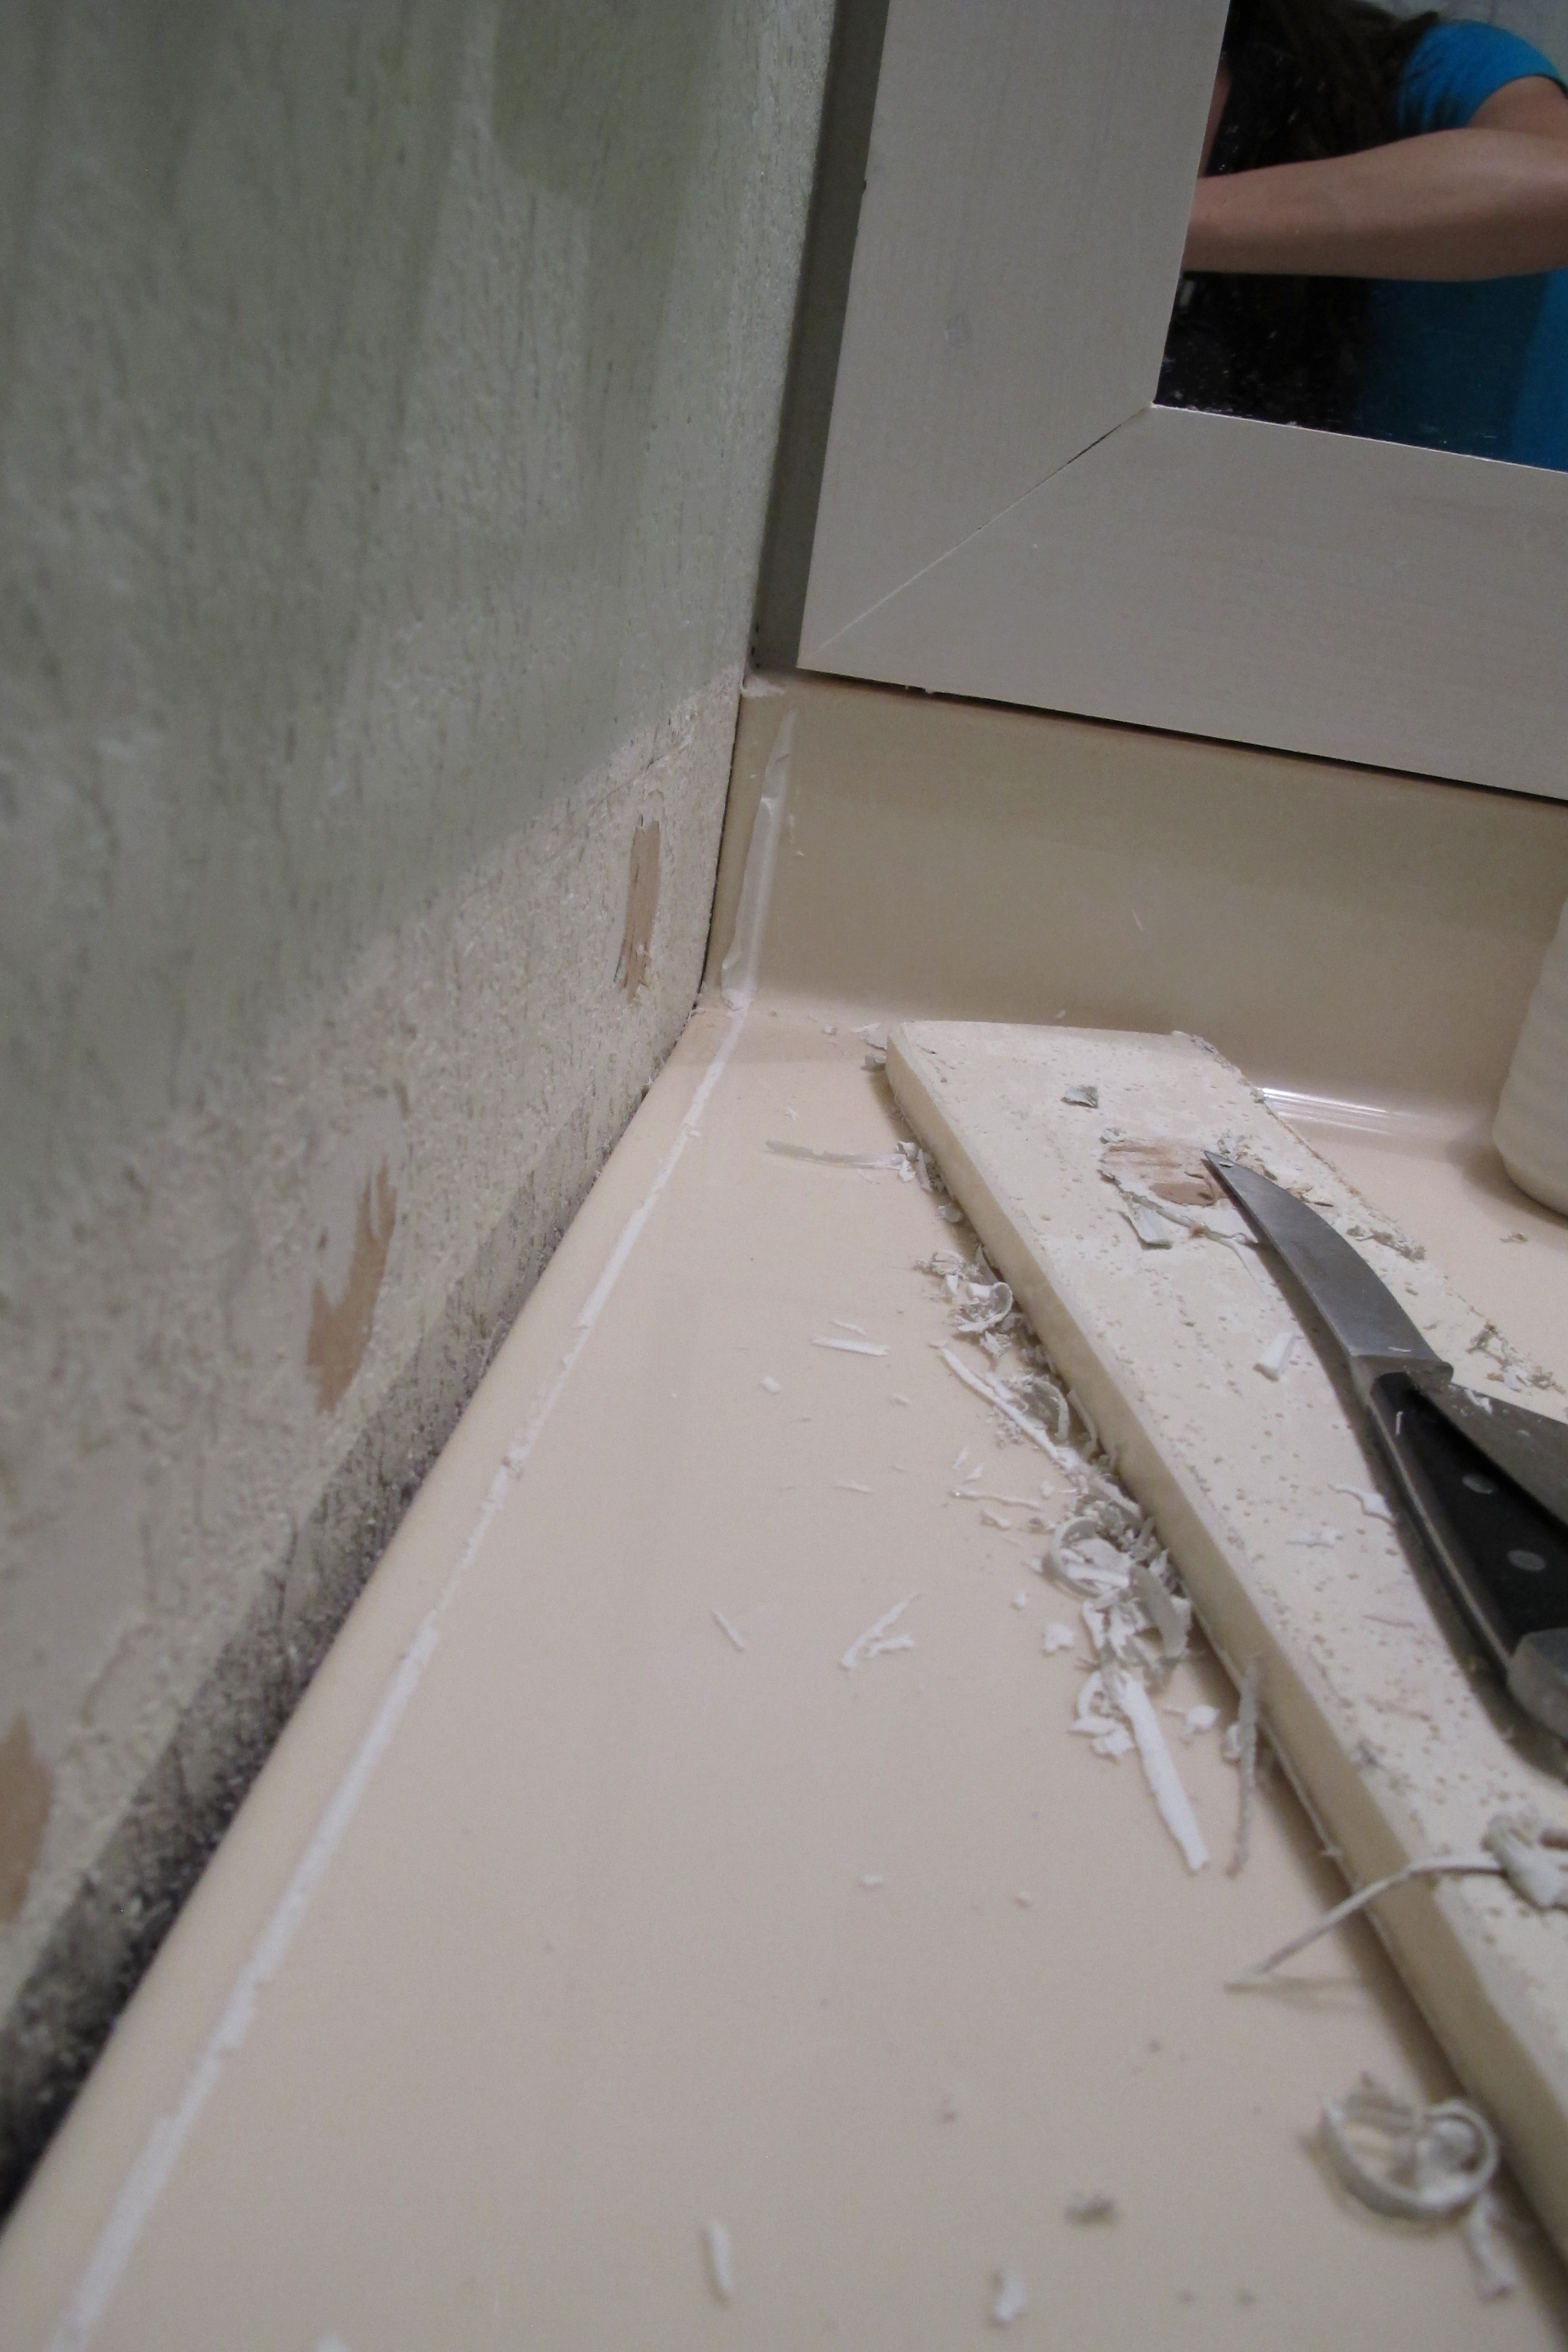
…was the pits. I’ll tell ya, silicone caulk has some major staying power. It took a boat-load of elbow grease, putty knife, razor, kitchen knife and my fingernail to get it all off. But, I finally did it (along with a little victory dance and a small amount of “In your face, caulk!”).
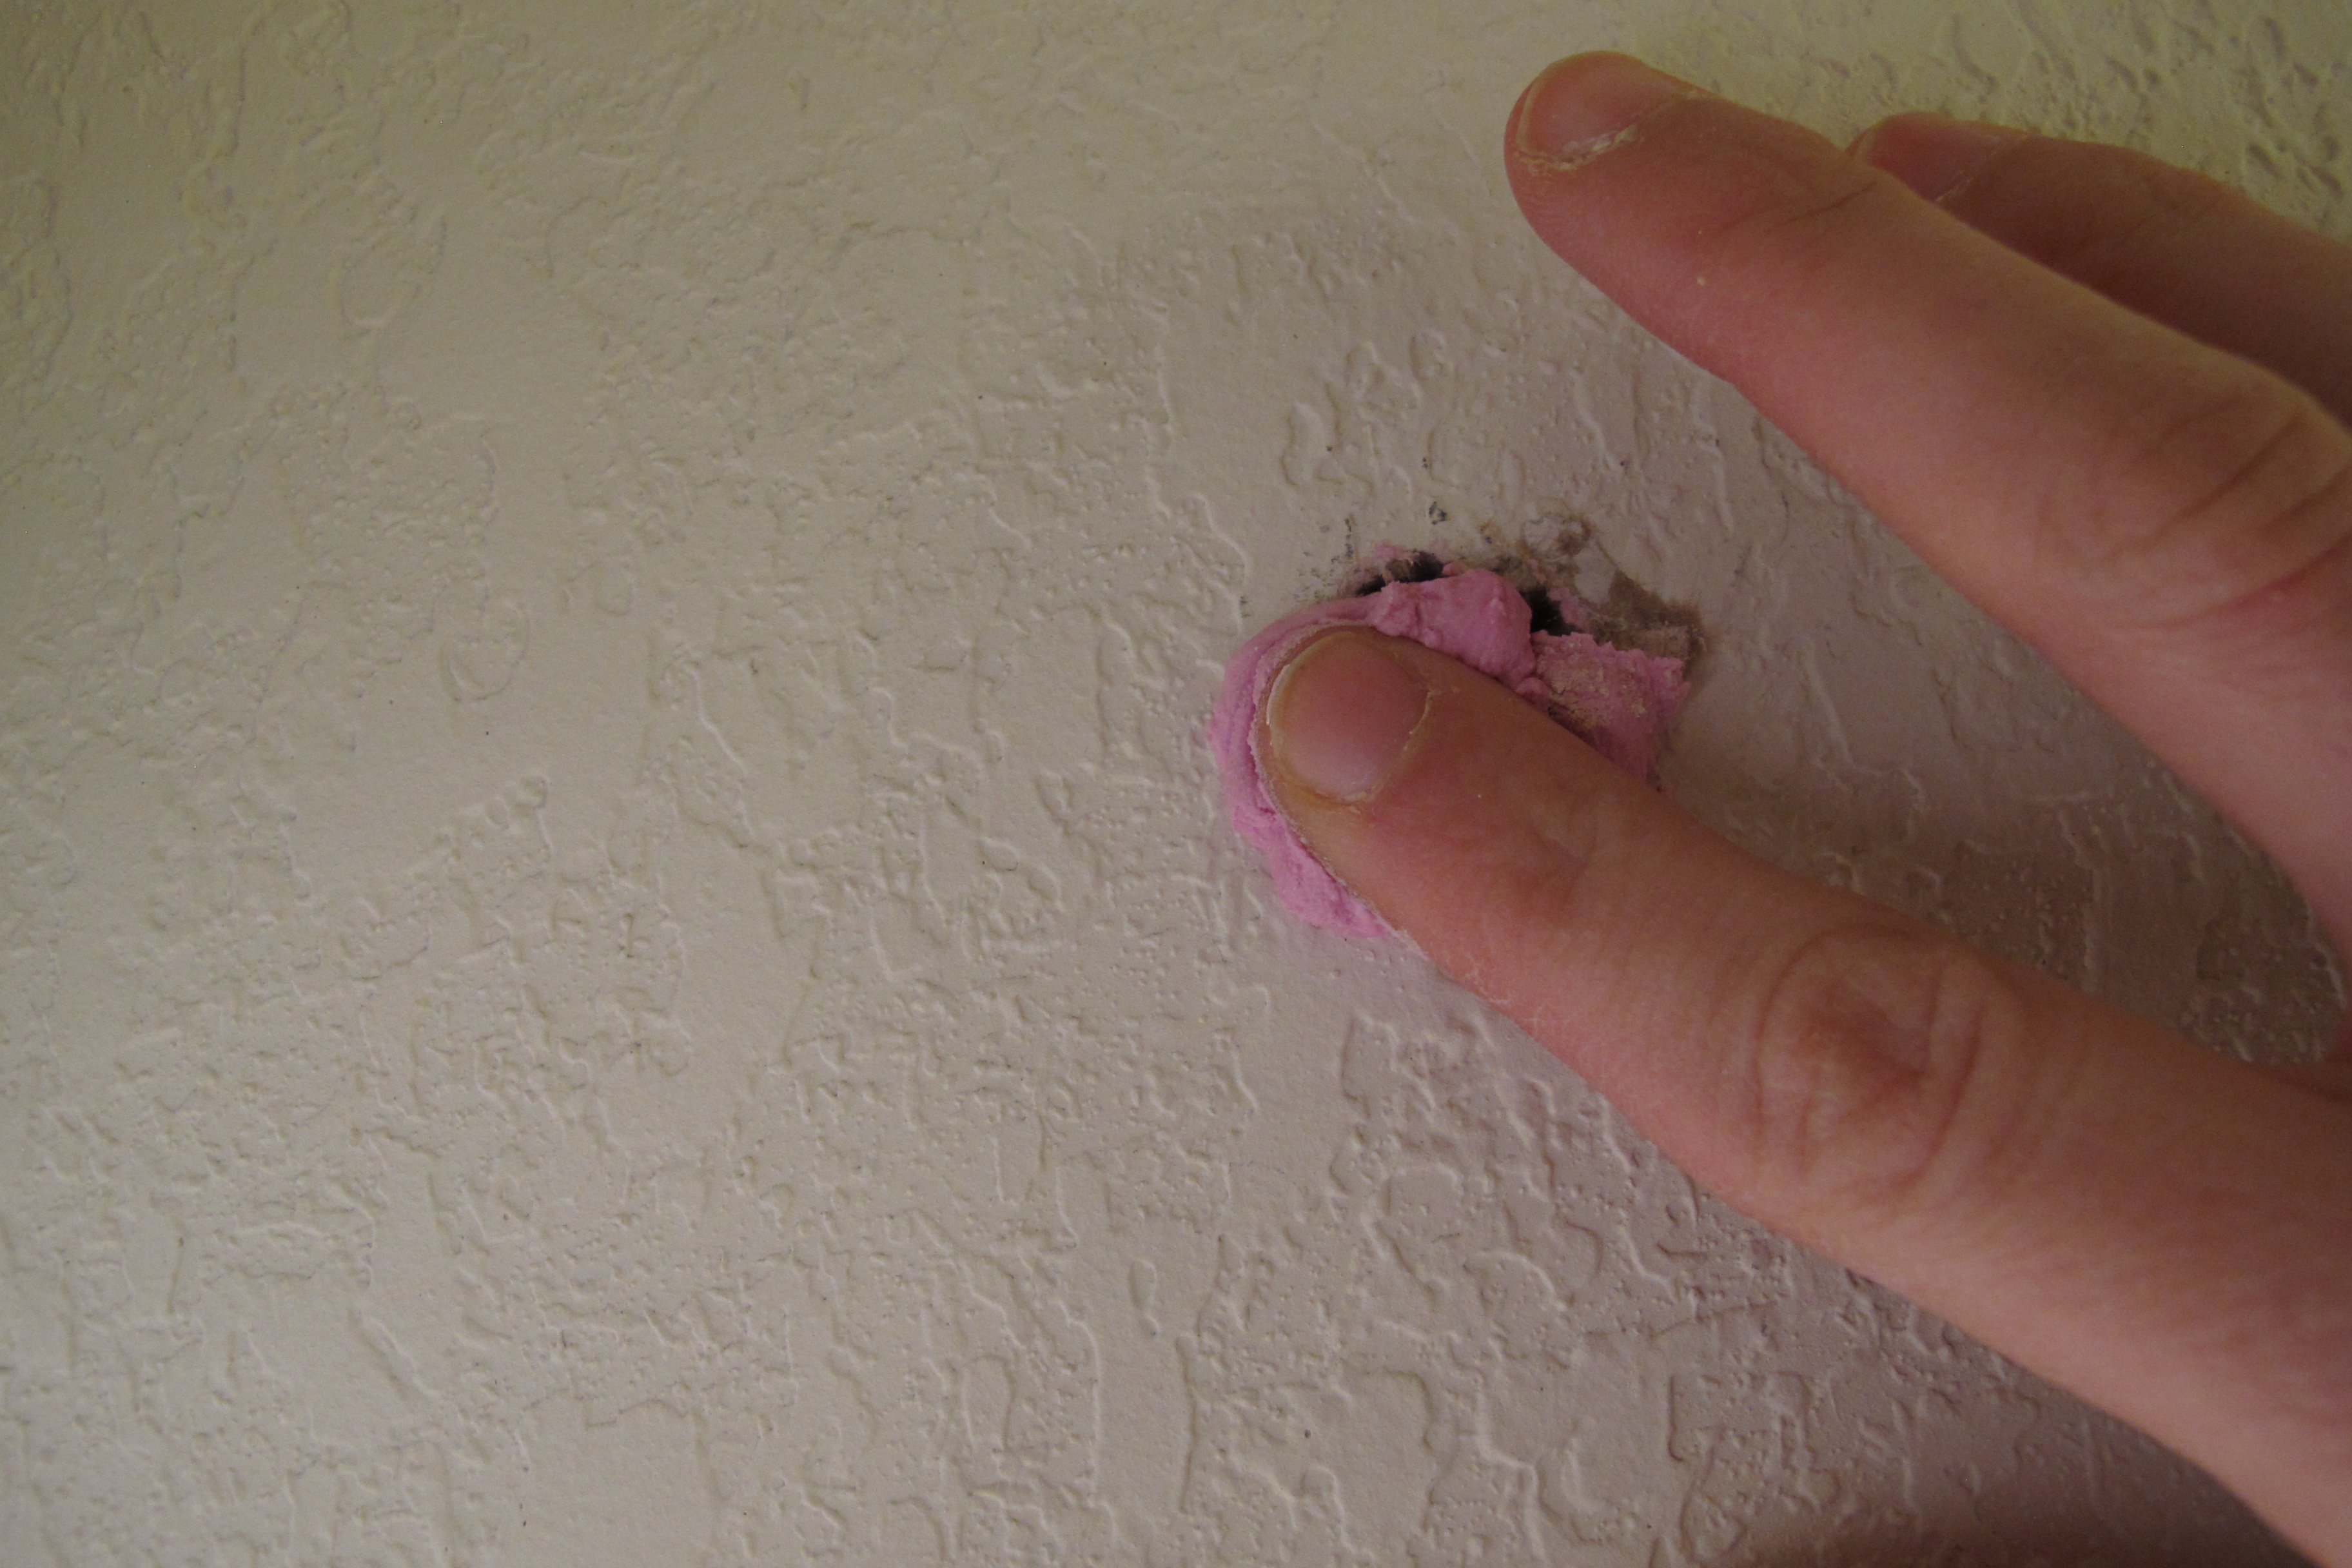
Next, I spackled the three areas of drywall that were damaged. I’ve mentioned this before, but with our textured walls, I like to apply spackle with my finger since it’s easier to match the texture…

Once that was complete, I vacuumed up the mess and caulked the gap between the counter and wall. I was sure to use paintable caulk with silicone, so that I could paint over it if needed.


After waiting the allotted dry time for the spackle and caulk, I touched up
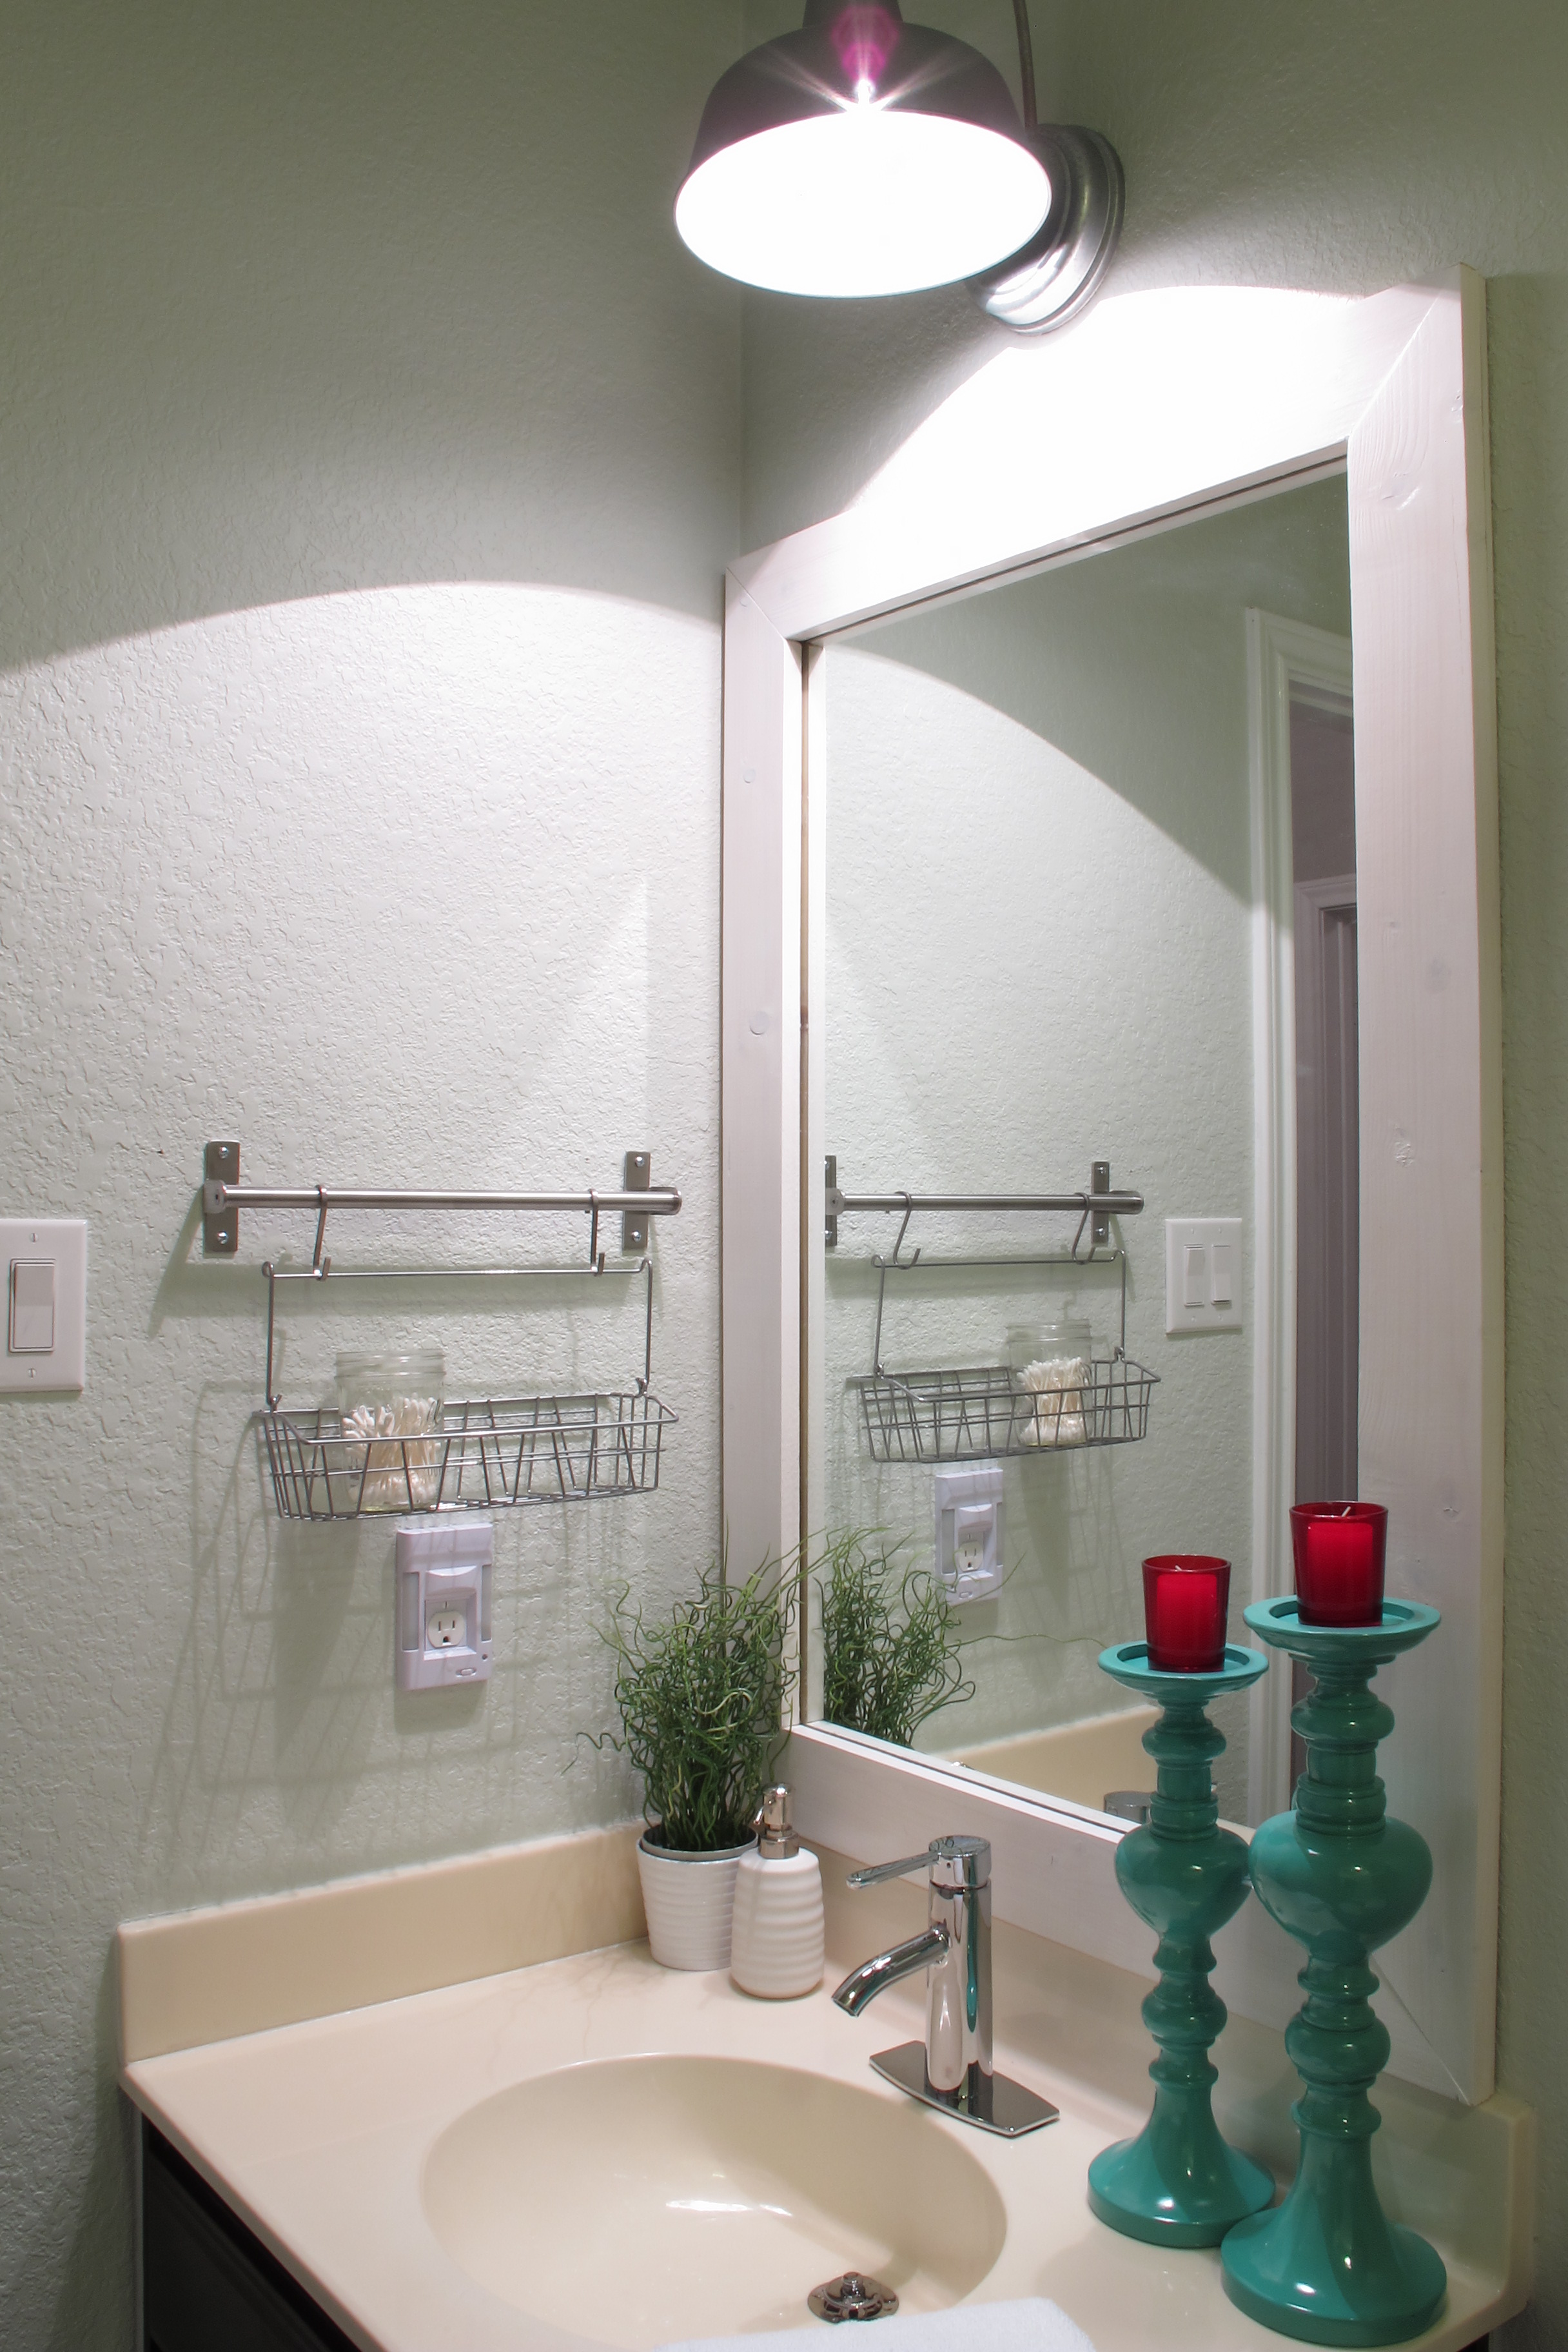
the wall with some leftover Ante Meridian paint. Which left this….

SO, much better than this….
Looks less builder-ish and distracting to me now. Thank goodness! I love how my attention is now drawn more to the mirror than the side-splash. And really, this project didn’t take a ton of time. The most time-consuming part was removing the silicone caulk and that maybe took 30 minutes.
So, anyways… This is gonna be a week full of of guest bathroom tweaks. I’m happy to say that I’ve been pretty productive in this room. It seems that removing that dreaded side-splash has opened the floodgates of inspiration (Ifeellikeagreetingcard).
I mean, you didn’t think I was actually done with our guest bath did ya? (Wink! Wink!) 😉
It turns out that rooms in my world are never finished. That’s the whole beauty of it. Having lived with our guest bath makeover for a while has triggered new ideas for tweaks to help cozy up the room and better fit the feel that I was originally striving for. So, I guess our bathroom reveal is now a jumping off point for new projects. So fun!!! So, stay tuned!! 🙂