A Little Ikea Lack Map Hack

I dare you to say THAT three times fast.  Even better, do it in front of a mirror.  I tried.  I failed.  I laughed.  Yes, this is what I do in my spare time.

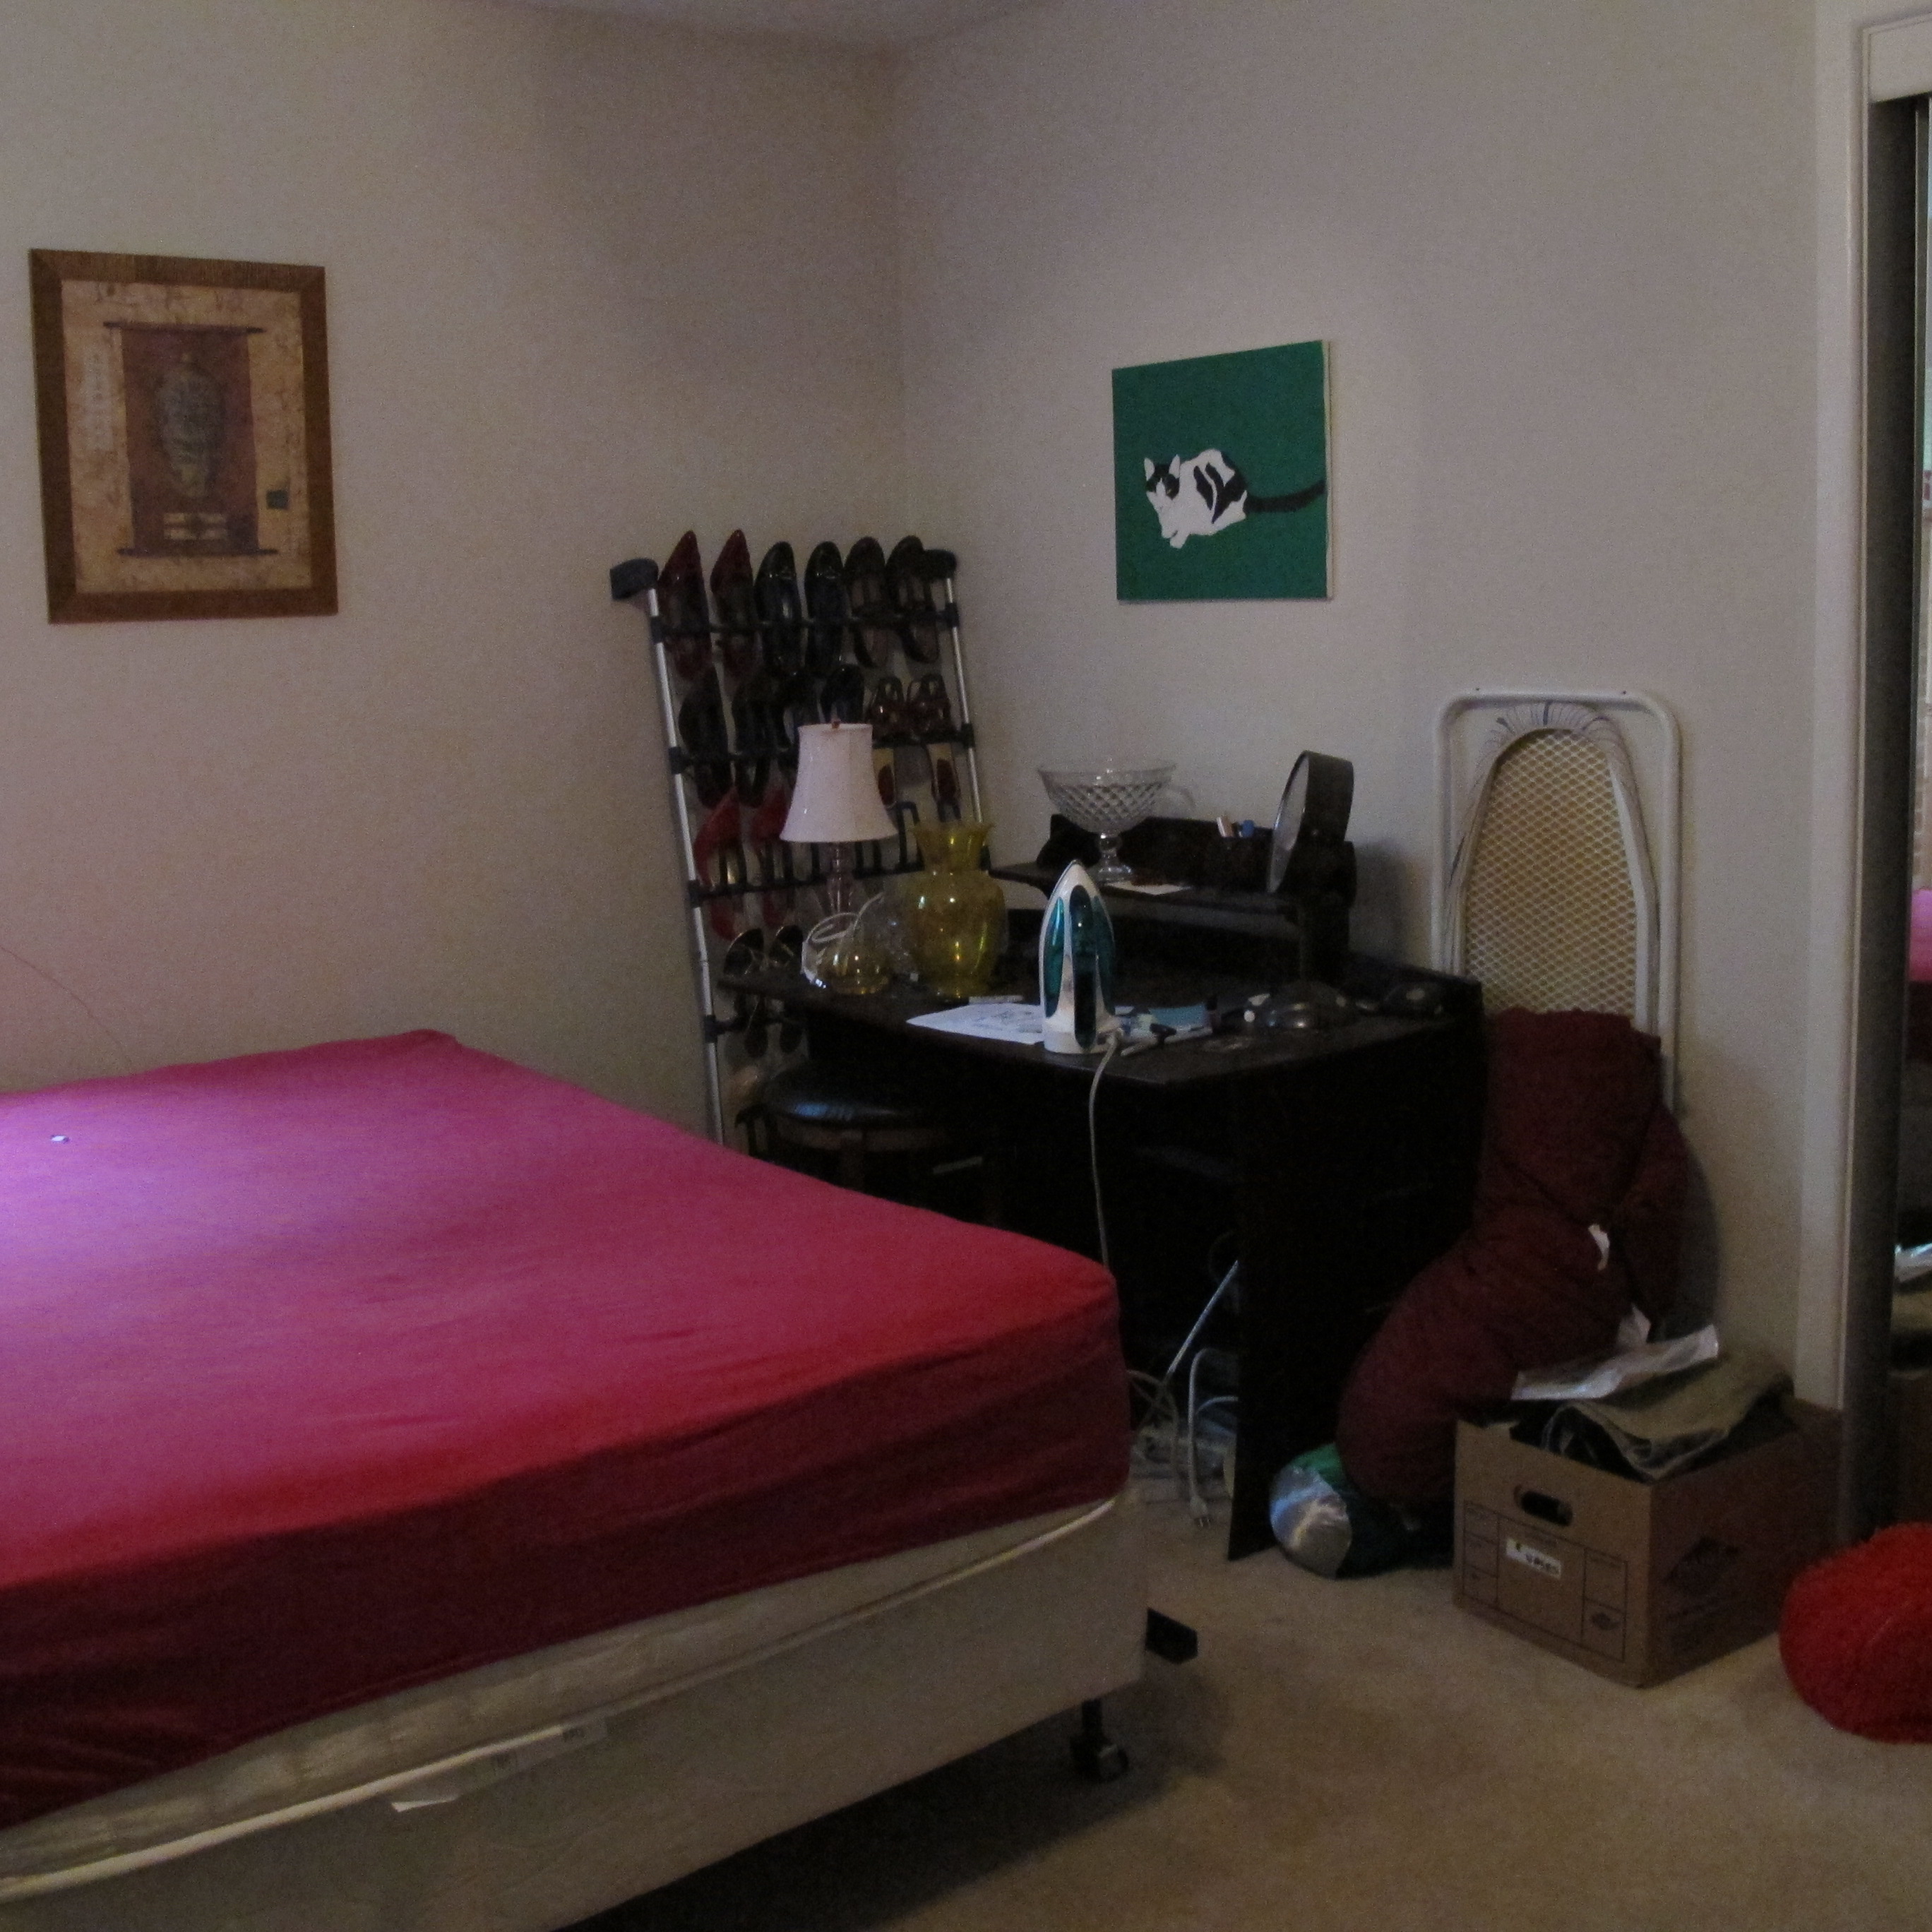
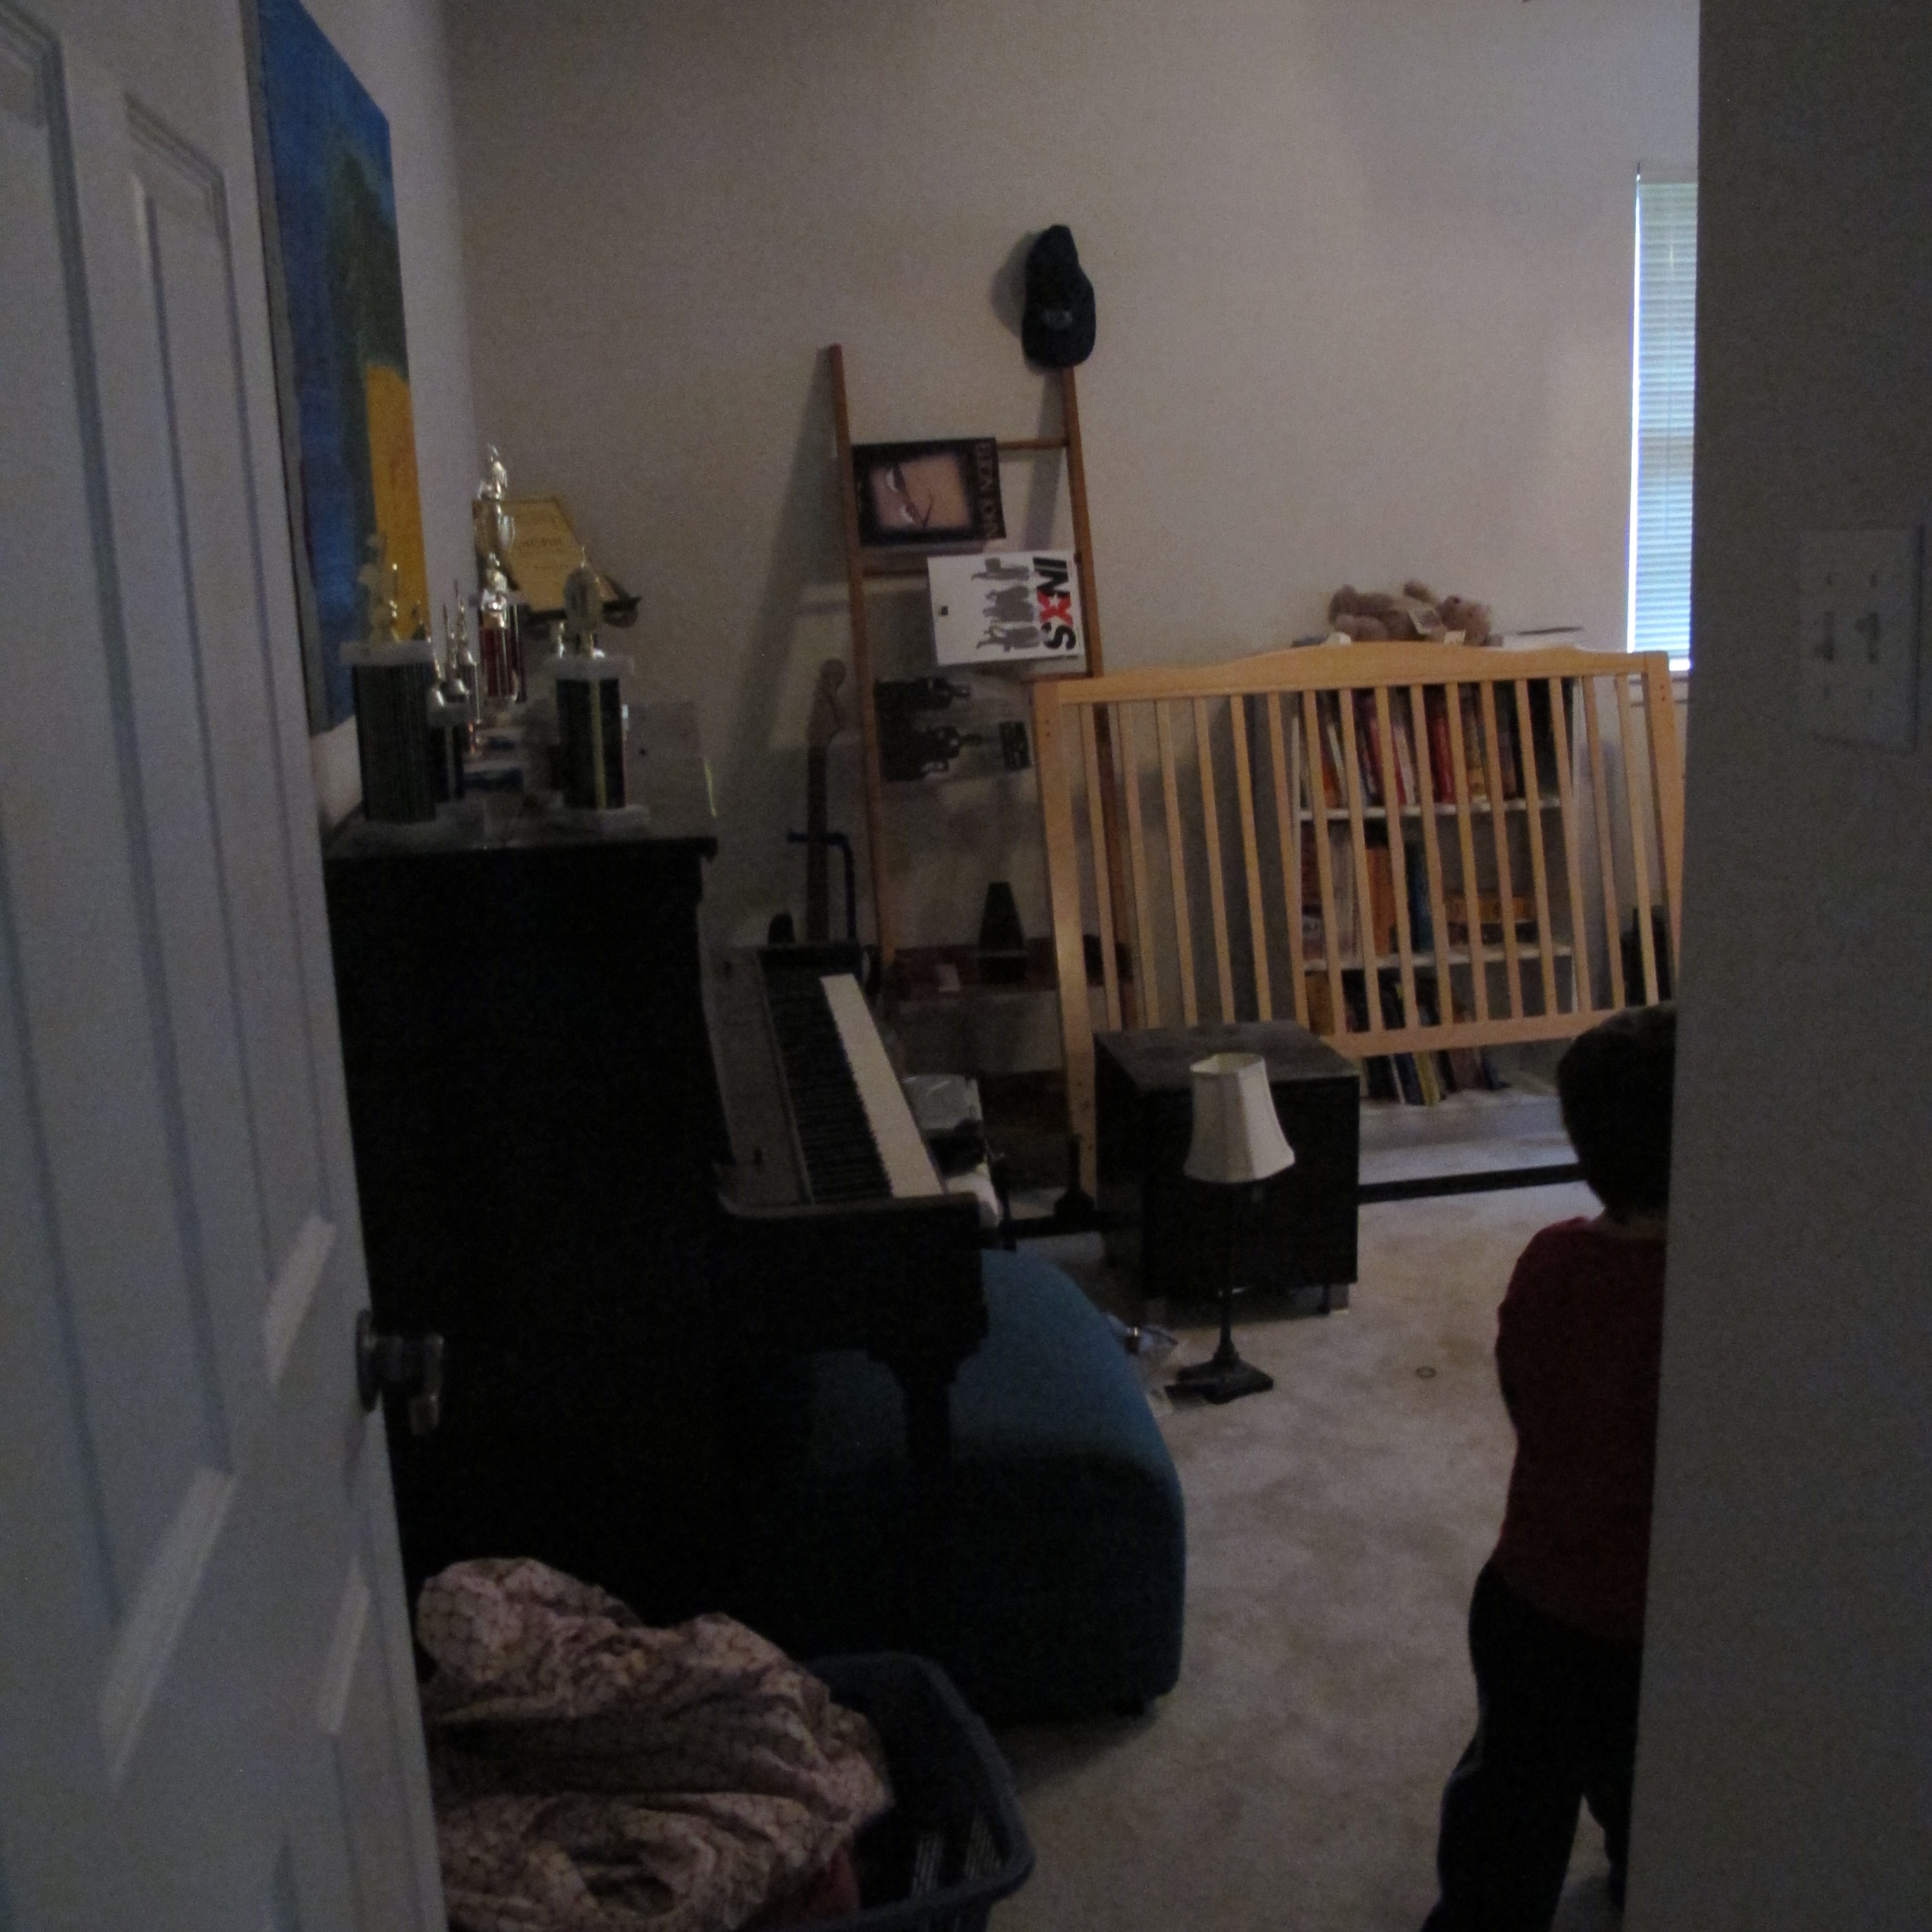
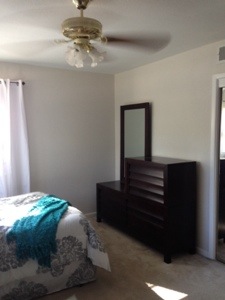
Anyhoo, I’ve been searching for a new nightstand for Lucas’s room for some time now, but never quite found what I was looking for. I wanted something that was light colored, or able to be painted a light color, with storage.  His current night stand, as seen here…

IMG_2404

…was too dark in my opinion and was falling apart.  The bamboo pieces around the edges were falling off, and we’d lost the door handle.  Normally, this wouldn’t bother me.  I’d just fix it, replace the hardware, paint it and move on.   What did bother me was that these pieces were basically stapled on.  And when they come loose, there were sharp staples just waiting for Lucas to hurt himself on.   And there was no telling which area would come loose.  Lucas would just walk out of his room carrying yet another broken piece.   So, it needed to go.

The other day I attempted to sift through No Man’s Land (our spare room/resident dumping ground for those who don’t know) and I came across a hand-me-down Ikea Lack table that was given to us a while back. I’d kept him (and his twin brother) with the thought of turning them into a headboard for Lucas’s bed. This plan never came to fruition because I didn’t like the scale of the tables with the bed, so they’ve just been taking up space in decorating purgatory ever since.

It’s funny how leaving an item alone for a while and then coming back to it later can give you a fresh, new perspective. Upon rediscovering the table, I realized that at least a temporary solution to the nightstand dilemma was waiting for me for free in our spare room this whole time. As I continued to organize our junk, I found a map that we’d used to find our way to Eureka Springs for our honeymoon years ago… And the thoughts connected.

Lucas’s transportation themed room + Map = YESSSSS!!!!!!!

So, I busted out my materials…

IMG_4294

I started by cutting off the mustard trim on the edge of the map, as I wanted to finish off the table with it later.

IMG_4297IMG_4298

Then, I unscrewed the legs a smidge to make it easier to trim out the top….

IMG_4295

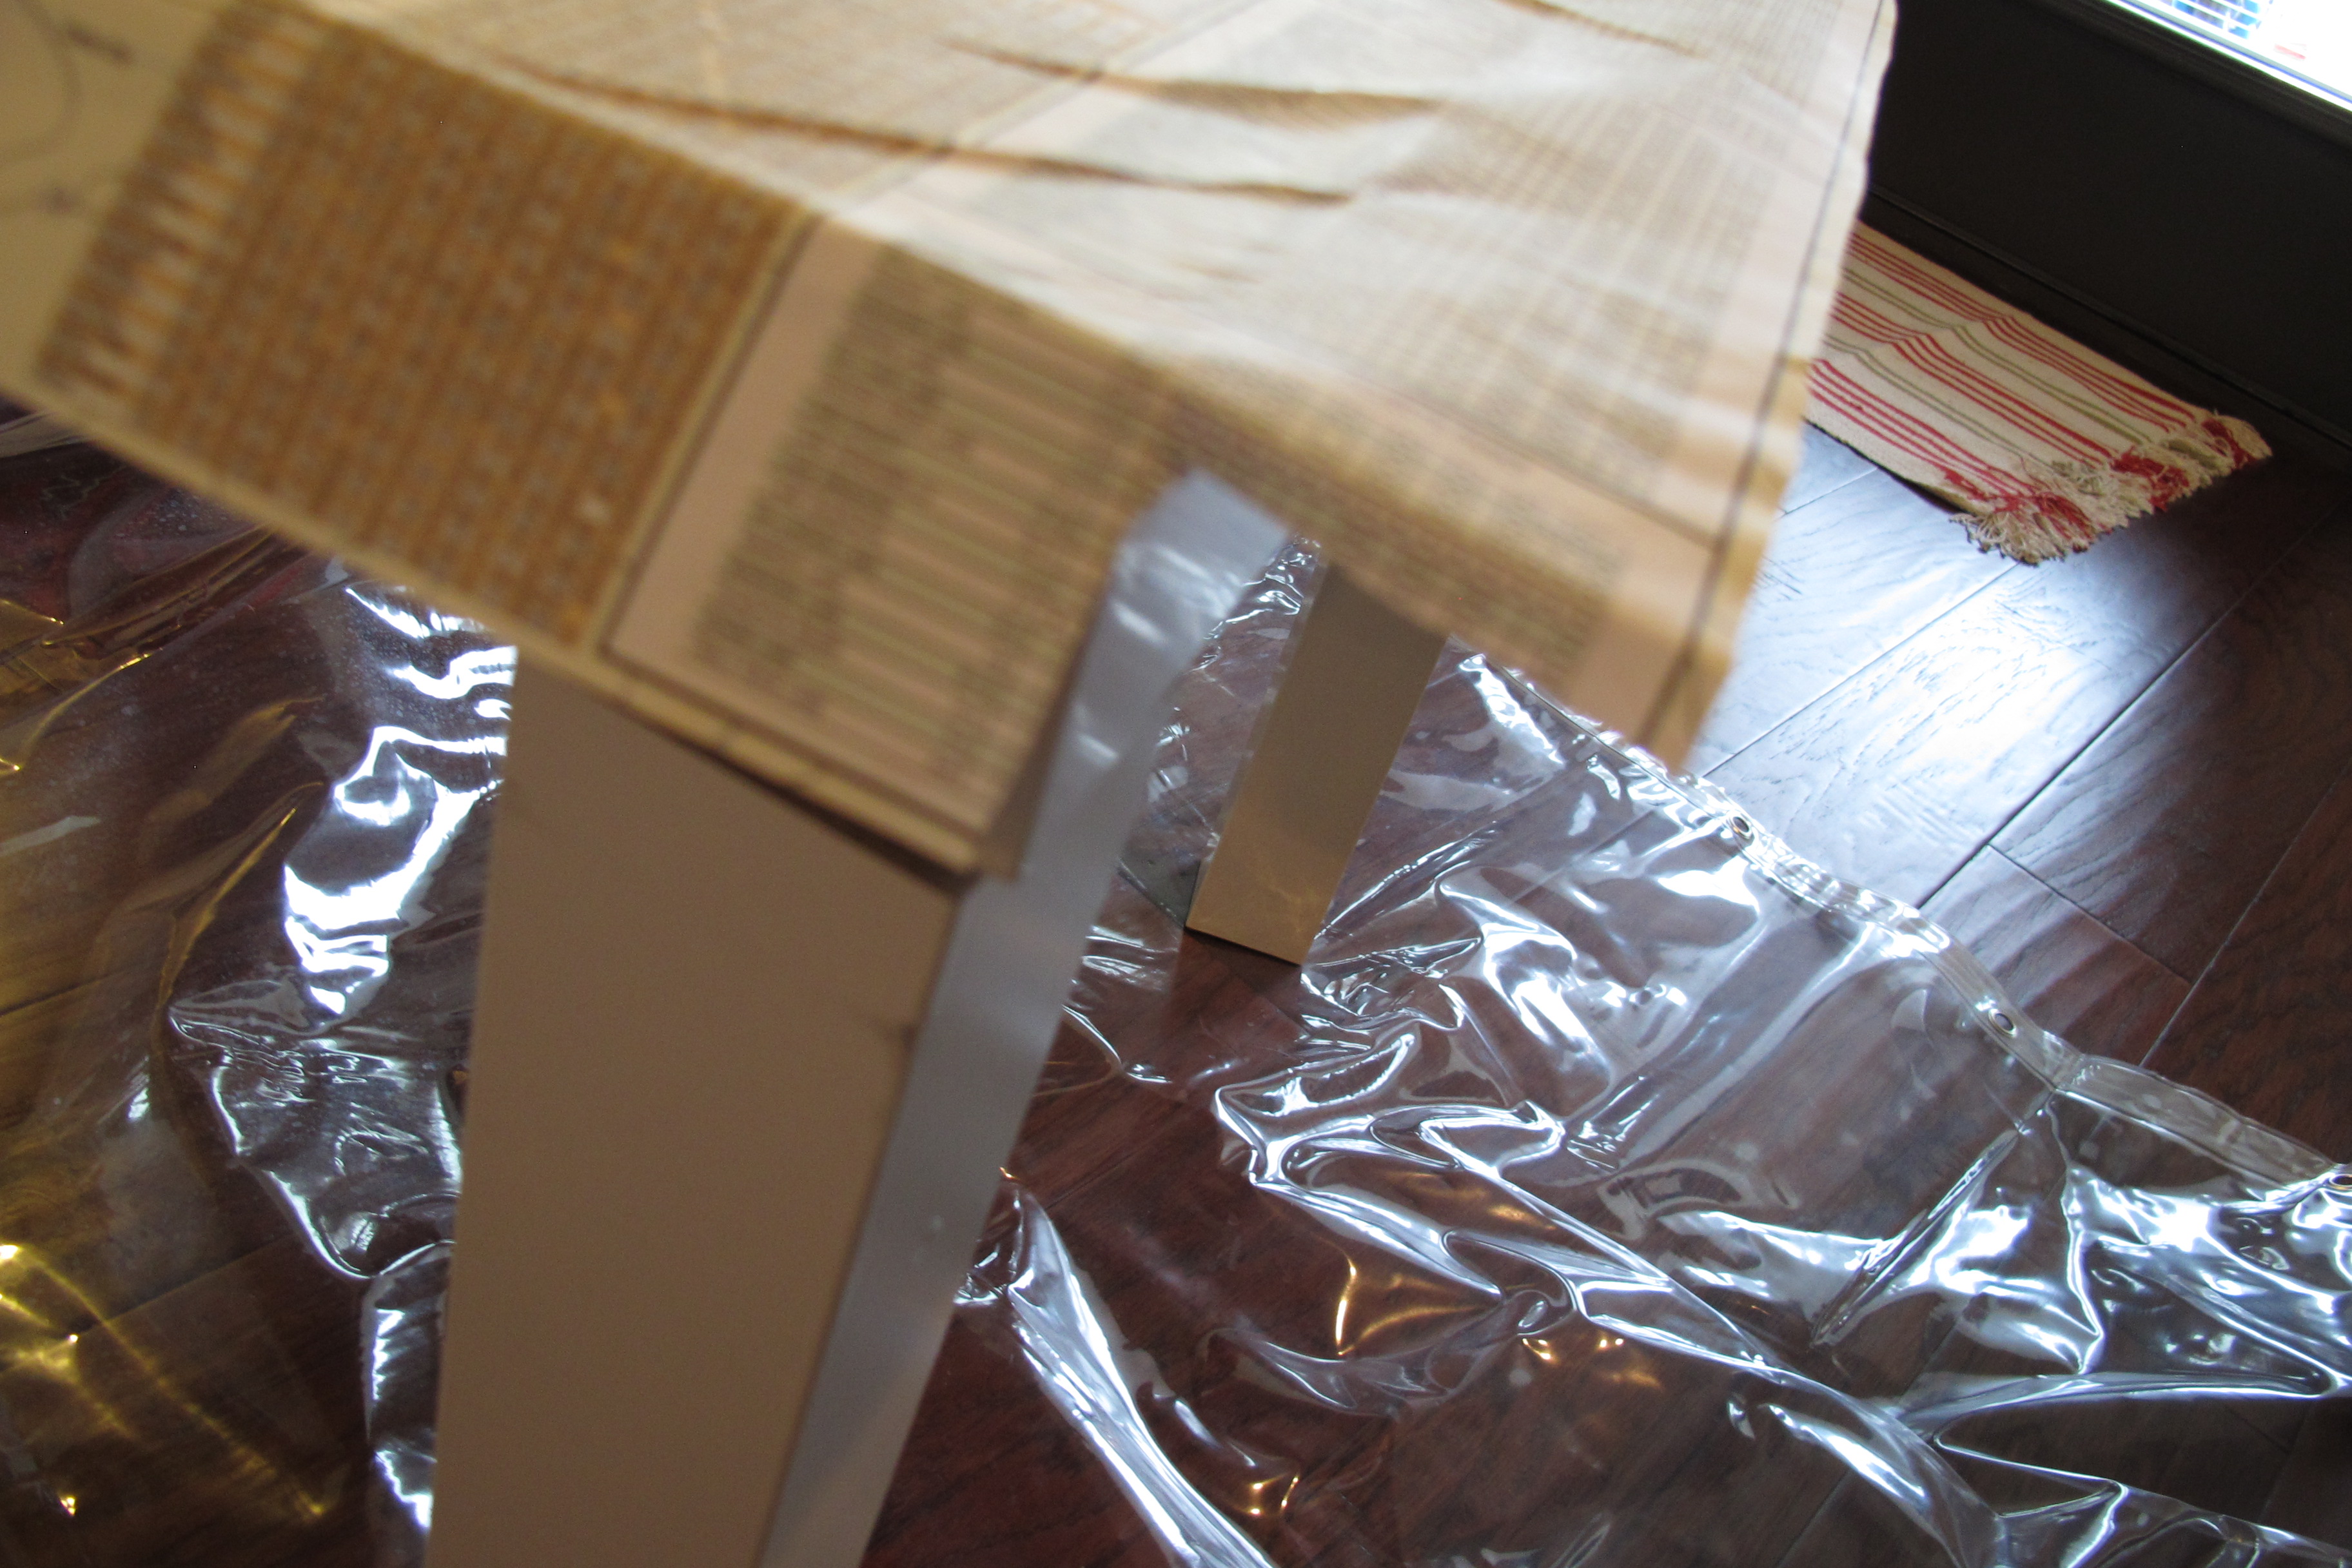
I thoroughly cleaned the table and used a liquid deglosser to rough up the surface. Then, I applied a coat of Mod Podge, which the little man helped with….

IMG_4301

I applied the map over top and did my best to smooth it out….

IMG_4302

Then, I trimmed the corners (sorry for the blurry pic. This is what happens when I multitask) …

IMG_4303

Applied Mod Podge to the sides and folded over the edges….

IMG_4309

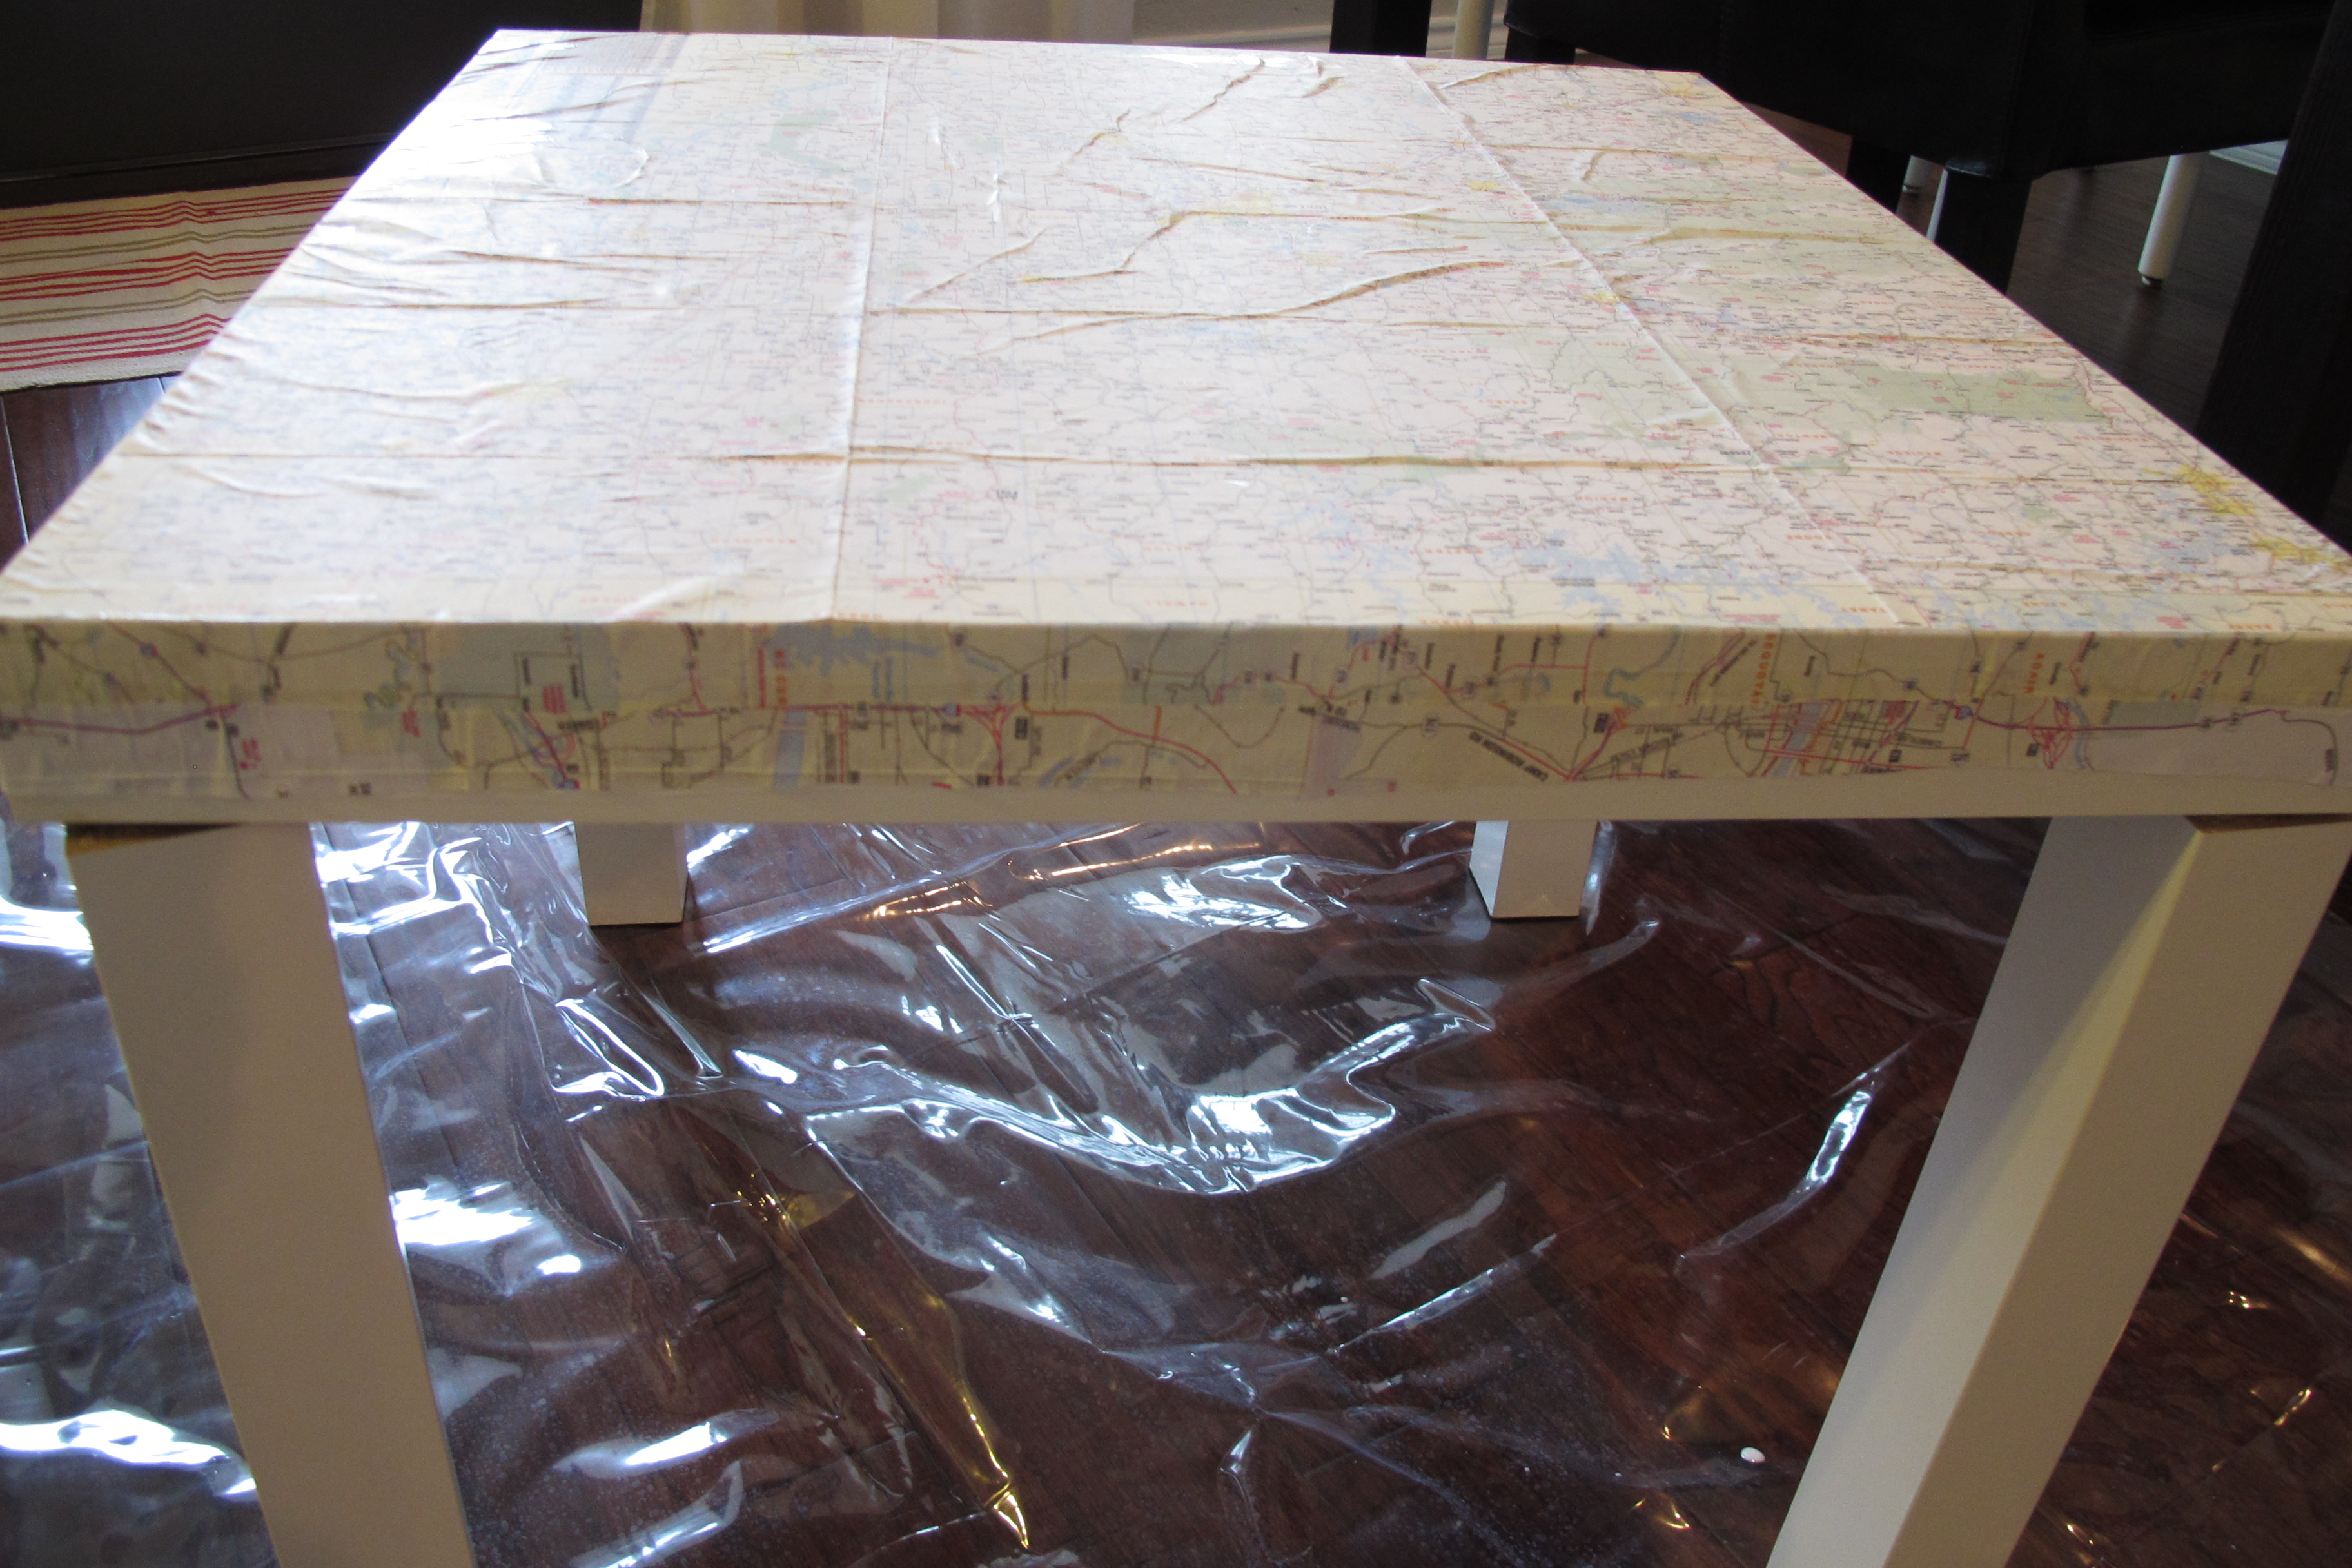
Once I was through with this, I carefully lined up my border and applied it all around the edge….

IMG_4311

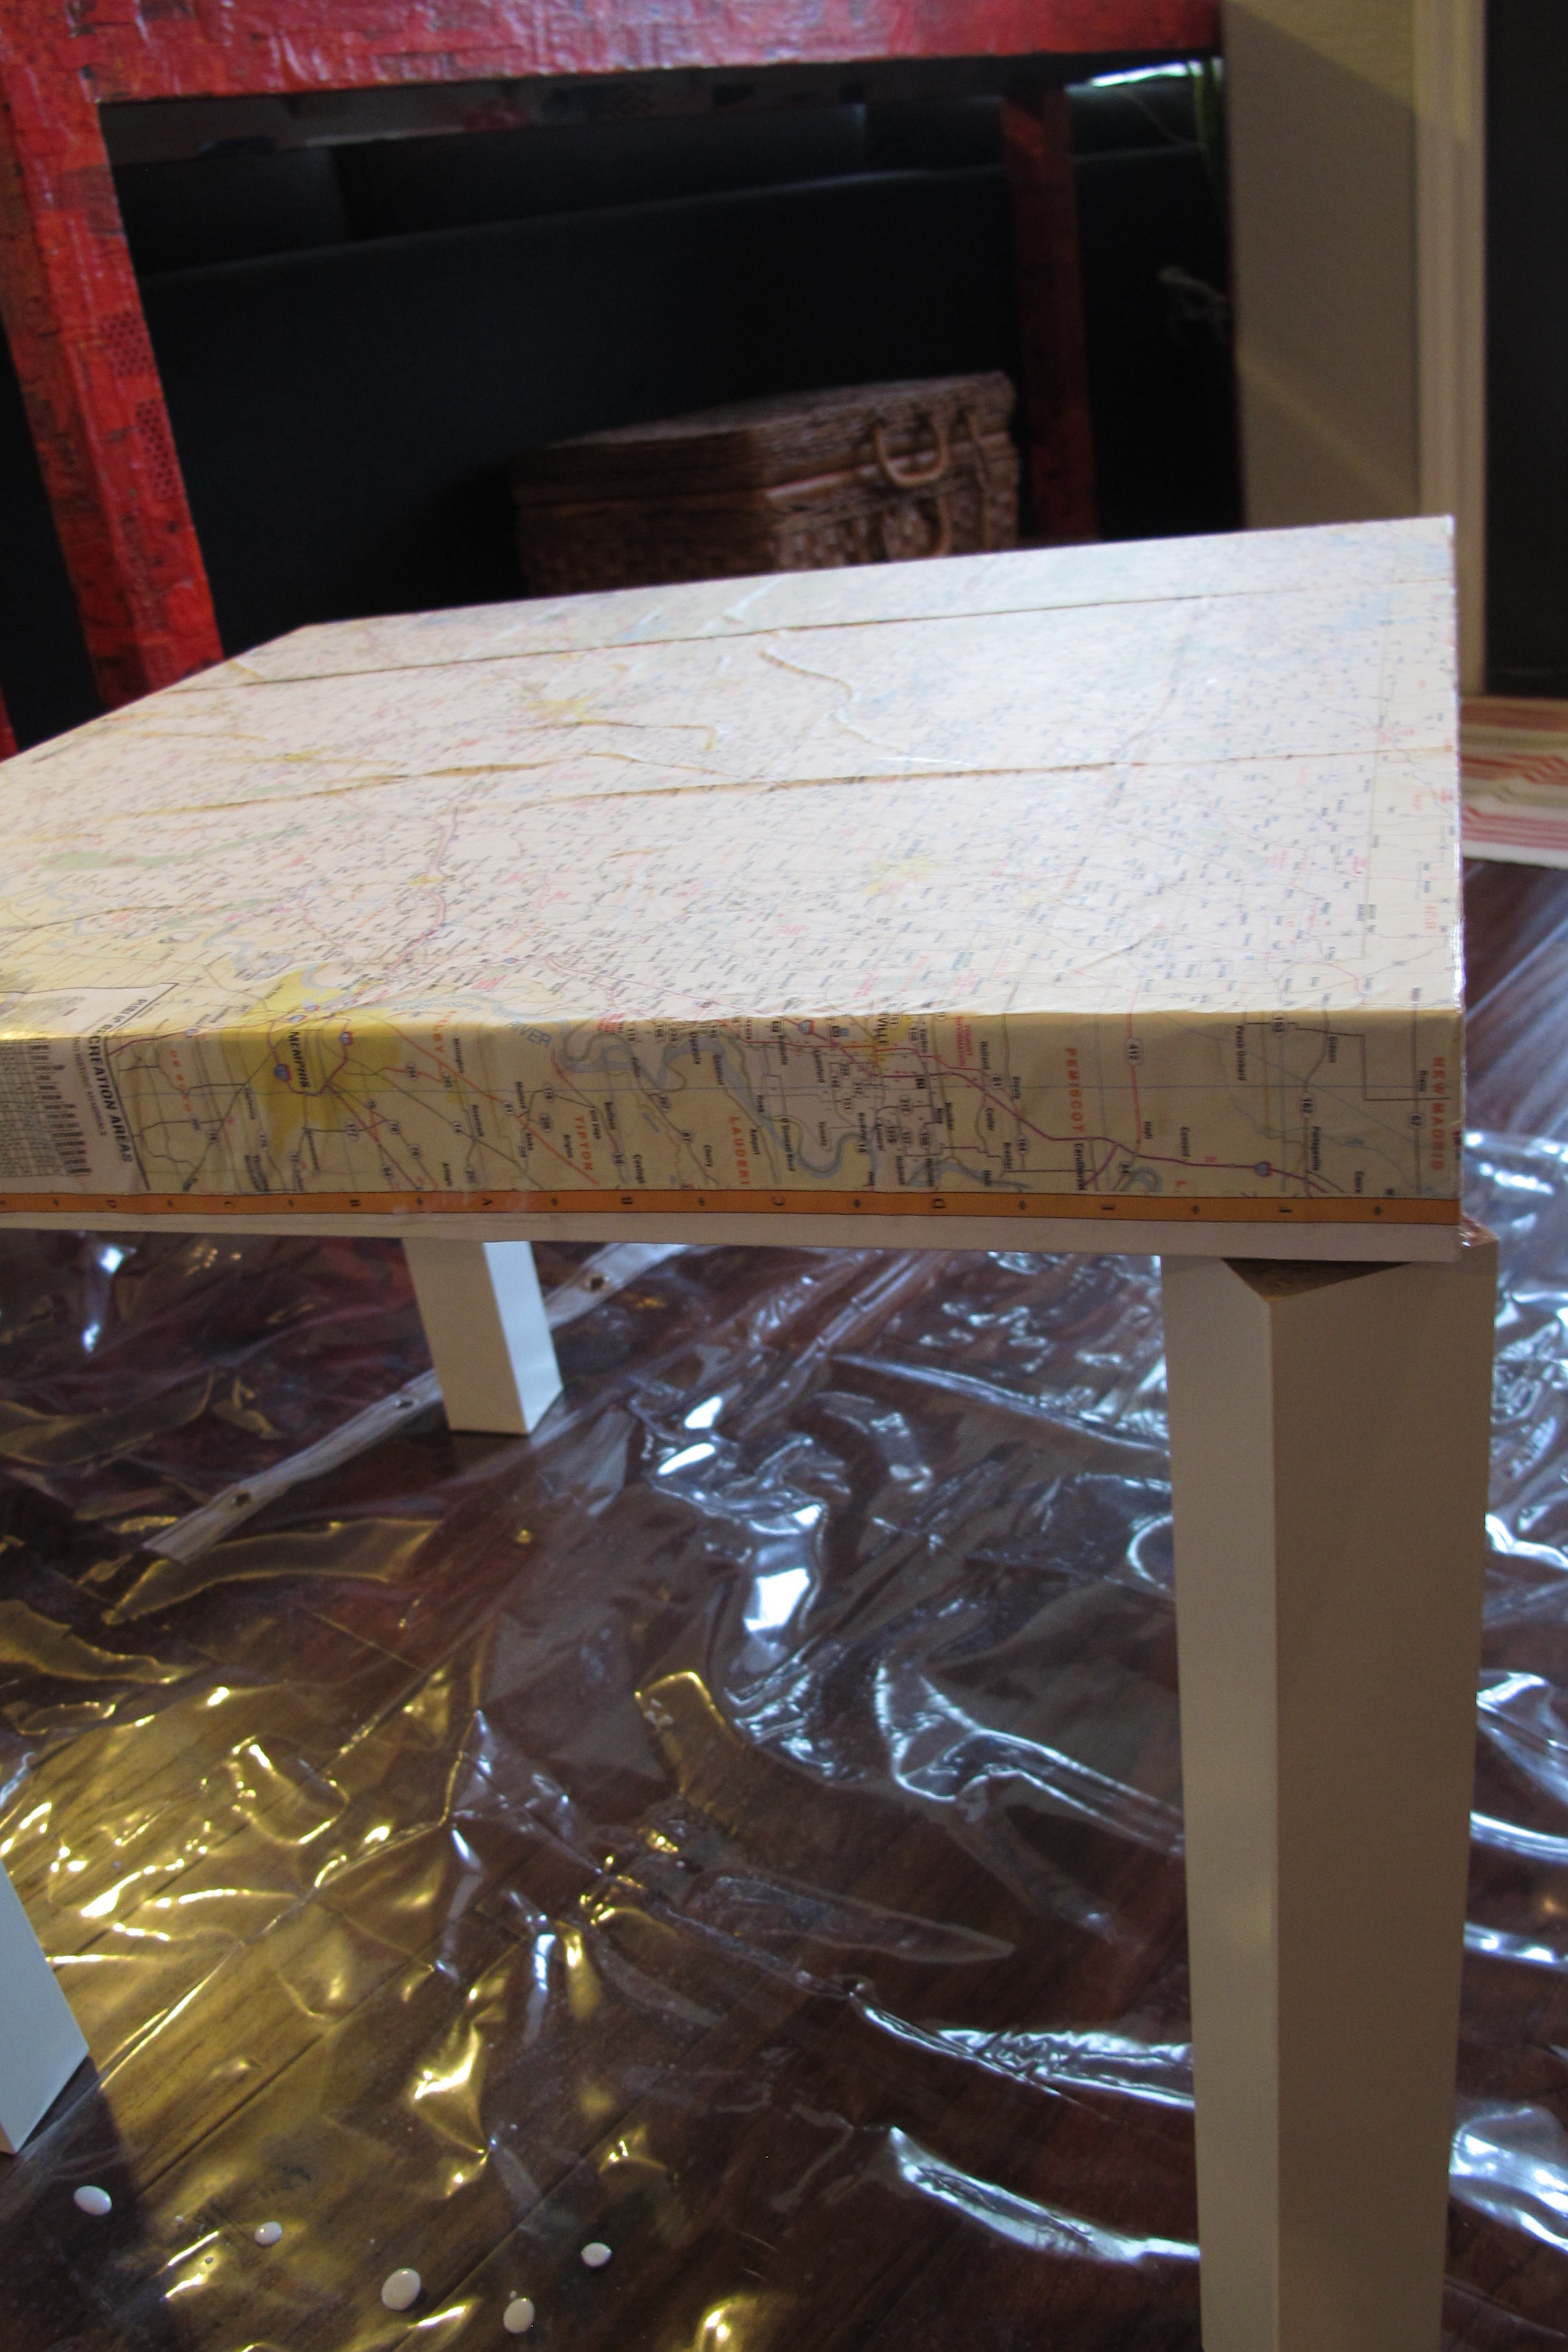
And followed it up with three coats of Mod Podge over top.  I did have an issue with air bubbles. On the bad ones I simply sliced a small hole in the paper and filled it with Mod Podge to allow it to seep under the paper, then I smoothed it with my finger.  I probably should’ve applied a thicker coat of Mod Podge to the table before applying my map, but ya live, ya learn.

Here’s the final result….

IMG_4340

IMG_4335IMG_4337

IMG_4336

It’s definitely not perfect. It has creases and air bubbles, but I actually like it that way. It looks leathery and weathered. I was actually thinking of tinting some Mod Podge and going over it again to give it more of an aged look. For now though, I’m gonna leave it as is.

I added a basket underneath that was also living an unfulfilled life in No Man’s Land to fill my storage requirement. It now holds the books that were in Lucas’s old night stand. I like that Lucas can always pull over his rocking chair and use this table to read or color or whatever. It has enough table surface to serve more than one purpose for sure.

I’m still going to keep an eye out for a more permanent solution as I feel like this table is a bit low for a nightstand, but for a completely free (and more importantly… SAFE) alternative to his old nightstand I think it’s a pretty darn good option.  🙂

Lisa’s Guest-Room Makeover: Day One

Meet Lisa.

IMG_2613

Ain’t she pretty?  She’s been one of my best friends for many years. We worked together at my first job and have stayed good friends since then. She was matron of honor in our wedding and everything. And I really like having her for a friend. Mostly because she’s awesome, but partly because she allows me to wreak havoc on her house upon occasion. FOR FUN. So, when we chatted on the phone a few weeks ago and she asked if I wanted to come over and play around with her spare room, I responded with an excited “uh, yeeeeeaaahhhh.”. I mean, obviously. As a primo DIY dork, that’s totally my idea of a good time.

So, a few weeks ago I met Lisa and her equally awesome mom, Nancy, at Lisa’s place.

We assessed the space….

IMG_2614 IMG_2616 IMG_2615

She wanted the room to serve the dual purpose of guest room and music room. After discussing it, we decided to go a little backwards by working out a good layout, buying some bedding and getting the room set up first, than painting the walls another weekend. This way, the room would be immediately useable to sleep guests (as opposed to painting and having nothing for guests to use on the bed along with an inconvenient layout). We plan to go back and paint the walls a deep grey as well as finish some other remaining projects, so consider this post to be the first in a series as we get ‘er done.

Lisa wanted many of the furniture pieces in the spare room to be used in other rooms, so we got to it. We moved the large hutch to the dining area and the desk  along with shelving units and a bunch of other stuff upstairs

IMG_2622

That’s right. We rocked the socks off that furniture-moving business.

Then, we cleaned some, which lead to this attractive shot…

IMG_2623

…which lead to my Family Guy impression: “I need more lemon Pledge“.

Once we were through, we relocated the bed beneath the larger window and the beast of a piano to the same wall (which weighed a TON, FYI)… Lisa did most of it. Respect. Nancy did a good amount as well. And, I mean, I tried to push it, but it felt like I was just pretending because nothing happened each time I heaved (Let it be known, I was not pretending. Swear.).

Then, we broke for lunch. Which was delicious. And shopping (Equally delicious).

We hit up Ross, Marshalls and Target and snagged some pretty sweet deals along with a bunch of stuff. Bedding, pillows, blankets, curtains, curtain rods, rug. Oh yes, it was a successful day for sure. Then, we headed back to Lisa’s to try it all on for size.

The bedding….

IMG_2635

Which we love! We were originally looking for a simple white comforter on which to add colorful pillows, but when we came up empty-handed with the size we needed, Lisa spotted this beaut. The black and white damask print was perfect. Graphic, yet neutral at the same time. And for $39.99 at Ross, it was a steal. Lisa opted for turquoise accents to go with it, so we found the textured pillow at Target and the throw blanket at Marshalls.

I hung the curtains wider than the window and high enough so they just grazed the floor to allow in as much natural light as possible and give the windows more presence.

IMG_2625

I removed the finials from the curtain rods in the corner to allow the rods to extend all the way over. This way, the curtains would appear connected. (And a special shout out goes to Lisa’s dad for driving over with a power drill for those more stubborn screws. You’re a trooper, Dean!)

So, here’s where we left off on the bedroom side after Day One….

IMG_2633 IMG_2640

Oh, yes. Here’s the before again so you don’t have to scroll up…

IMG_2614

And across from the bed is a dresser that was moved from Lisa’s room…

20131117-130340.jpg
<

And the before…

IMG_2616

And here’s the music side of the room….

20131117-130332.jpg
IMG_2643

And the before…

IMG_2615

Our original plan was to hang the instruments on the wall above the piano, but since we didn’t have the goods to accomplish that task this visit, Nancy suggested just setting them up there. And we did. And we really liked it. The artwork on top of the piano was previously stored in the room, and we stuck it up there pre-shopping, before we knew what bedding we’d find. We left it because it looks cool with the instruments, but obviously, its not in tune (har har!) with the more romantic, textural vibe of the bedroom side. As Lisa said, it seems like two different rooms. The painting may or may not stay depending on how the rest of the process goes. Once we paint the walls and finish accessorizing, we’ll decide if we can marry the painting with the remainder of the room. If not, Lisa said she’s perfectly fine with moving it out.

Our “to do” list…

1. Paint the walls a deep grey
2. Iron the curtains and certain bedding pieces (we figured it’d all get displaced whenever we paint anyways, so we’ll get our iron on then)
3. Revamp this piano bench…

IMG_2636
4. Makeover this ceiling fan…

IMG_2639
5. Reassess the space and finish accessorizing.

But, seriously, after one days work, we were all pretty satisfied with what we’d accomplished….

IMG_2641

The room is now useable and pretty.

We don’t have a picture of Nancy, unfortunately, so just know Nancy, we couldn’t have done it without you! 🙂

So anyways, I’m not sure when we’ll paint the room, but that’s the next step. And of course, I’ll update you once that happens!