Howdy all! Today I have a fun treat for you guys… remember The Great Crate Challenge that I participated in a few months ago?? Well, this month, I’m partnering with some of the same amazing bloggers, plus a few more for another fun challenge! It was the same premise as last time, but this go-around, the required material was wood slices!

Mission: Just make something with them
This was the only rule.
Now, I’ll be honest… I had no idea what to create. I meandered around The store for what seemed like forever, just pacing the aisles. Staring at all of the glorious craft supplies with nary an idea to be found. After about 45 minutes, I began losing hope and thinking of all of the cookies that I could be consuming at that very moment. Which is when this wood slice magically appeared before me…

It wasn’t the traditional round shape, which I liked. The squareness and cleaner lines definitely were more my bag. And that’s when it happened. This very special little wood slice and my undying love for trays joined forces. And I realized that not only would I make a tray… I already had everything else I needed at home! It was my very own Dorothy-Wizard-of-Oz moment. If I’d only had my ruby slippers the entire time. So, I adopted this badboy and took him home.
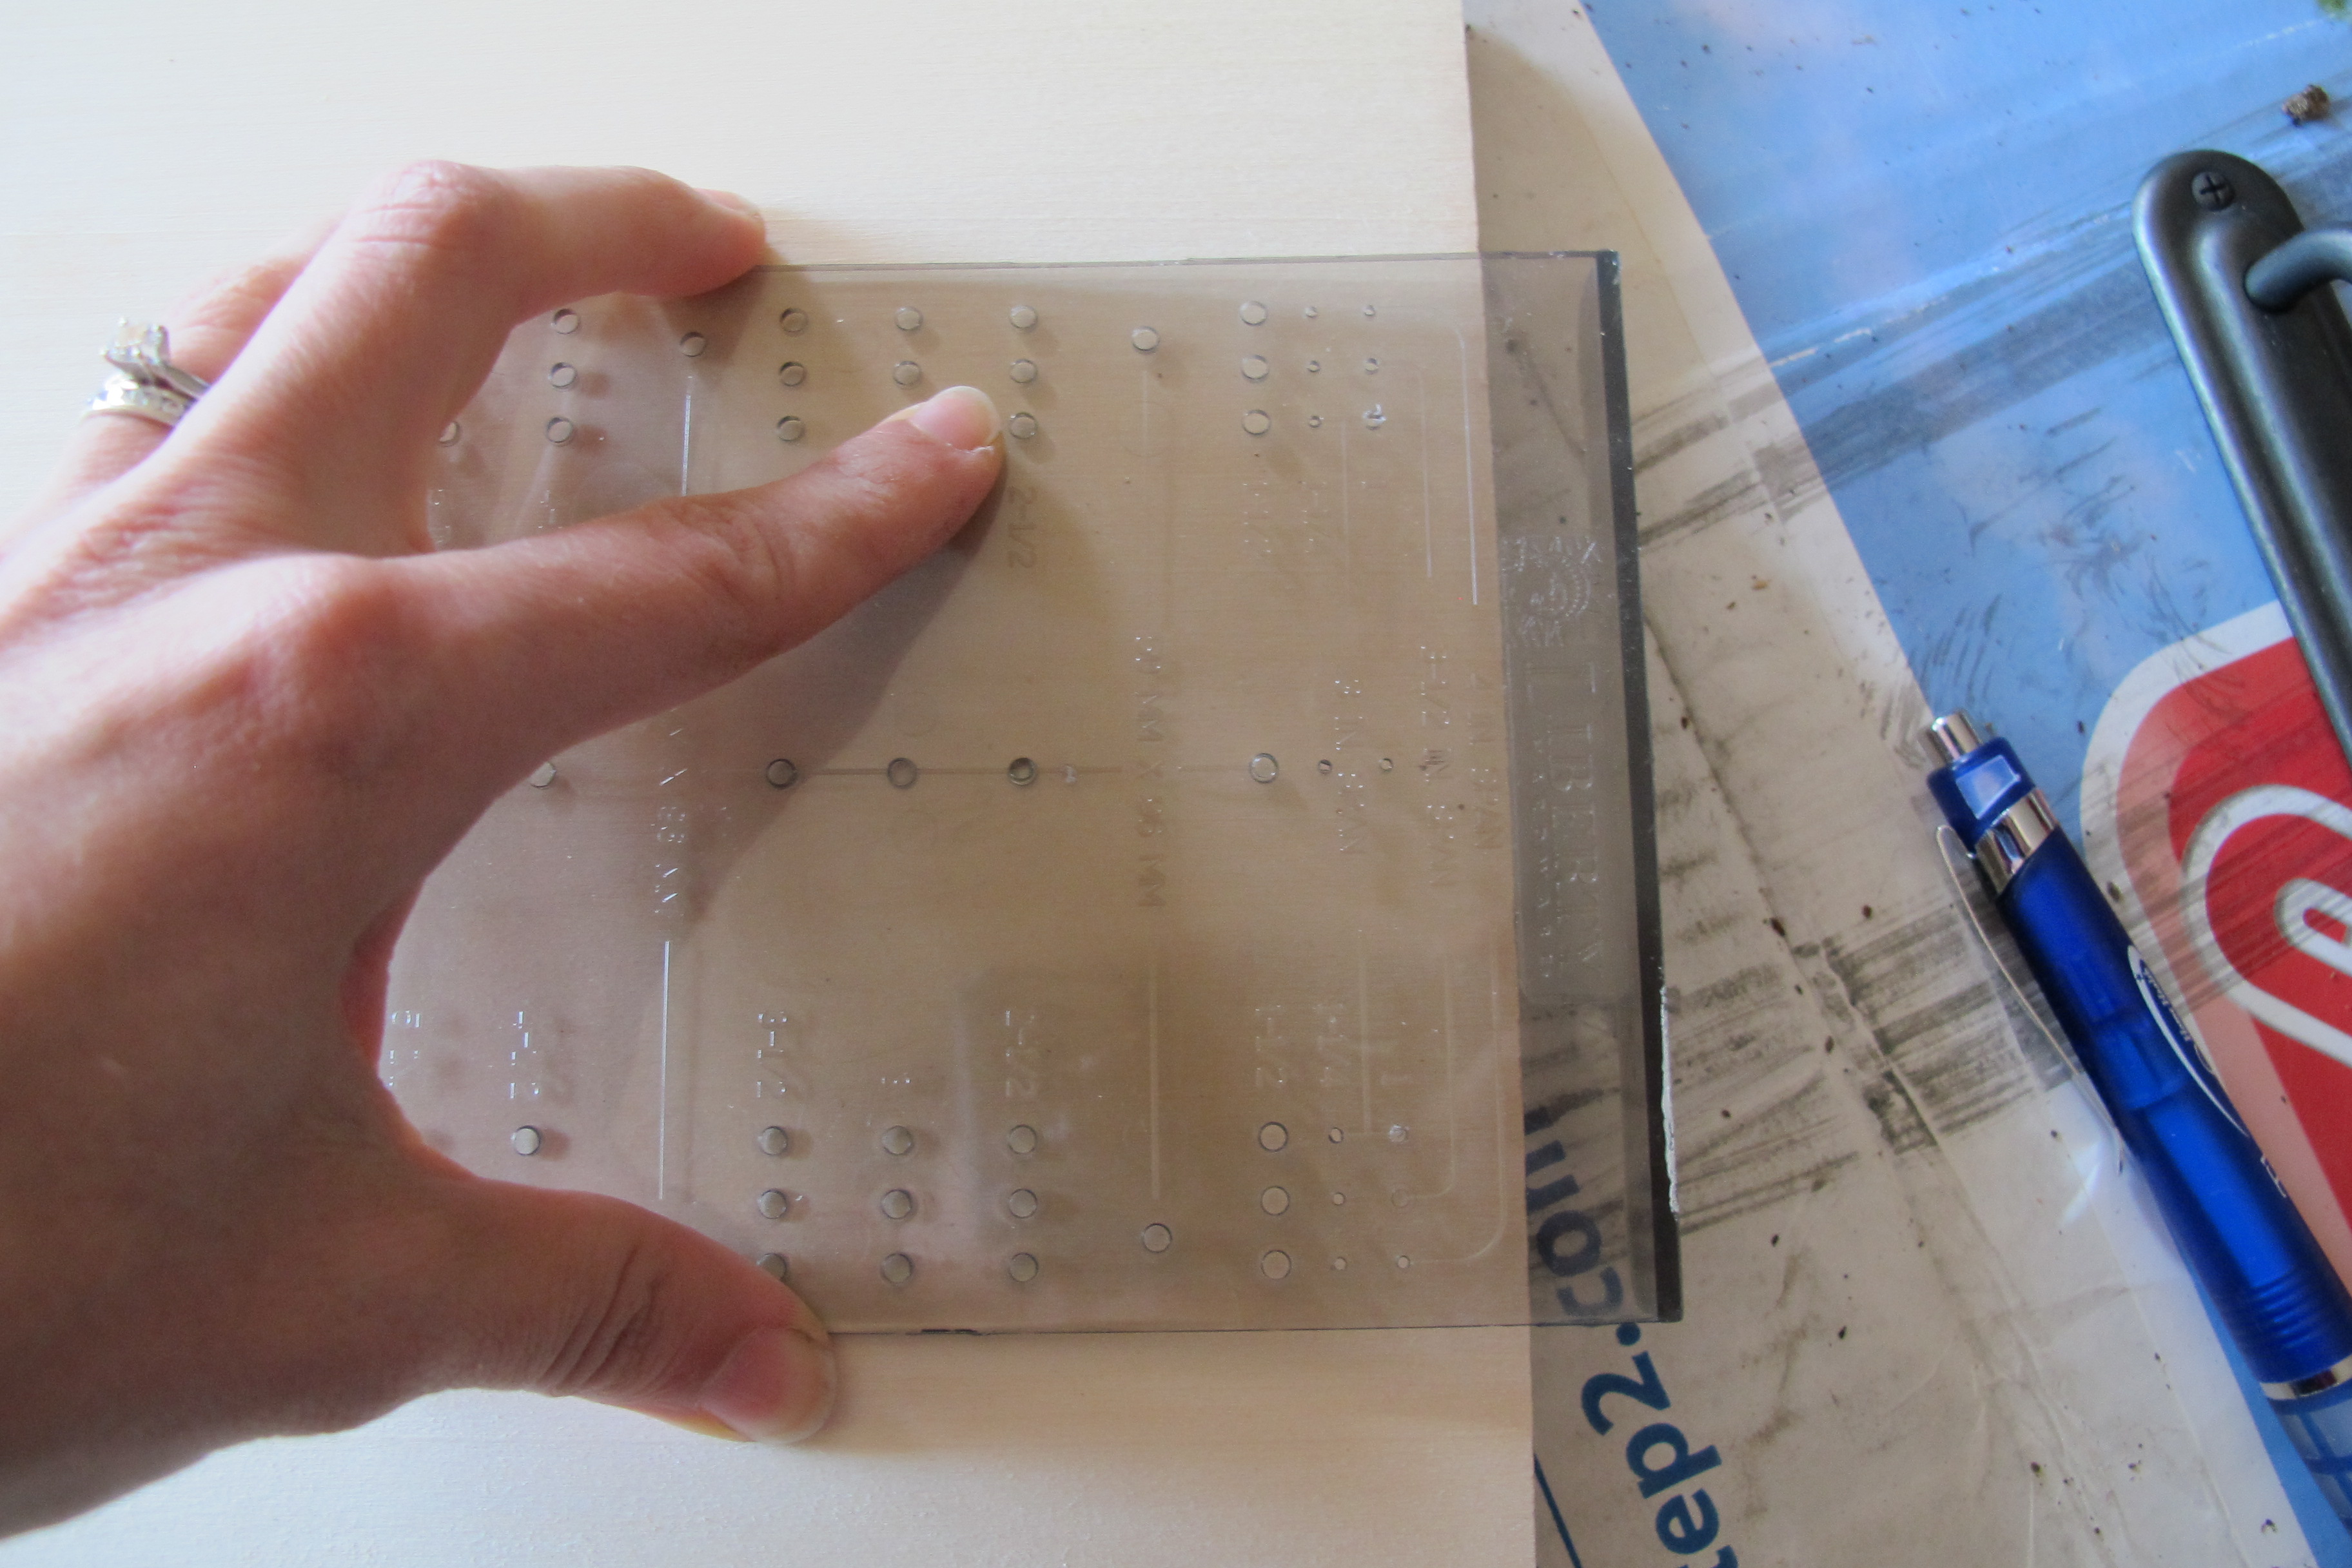
Now, remember that awesome hardware that I used on my children Brightey Whitey cabinets?? And how I mentioned that they came in a 6-pack, but I’d only used four for that project?? Well, never have I been so happy to have excess materials. Those pulls were PERFECT! I began the drawer pull installation by marking the center of the wood slice…

Then, I used this handy-dandy tool to mark where my holes would go (for a detailed tutorial on installing drawer pulls click here)….
And I drilled….
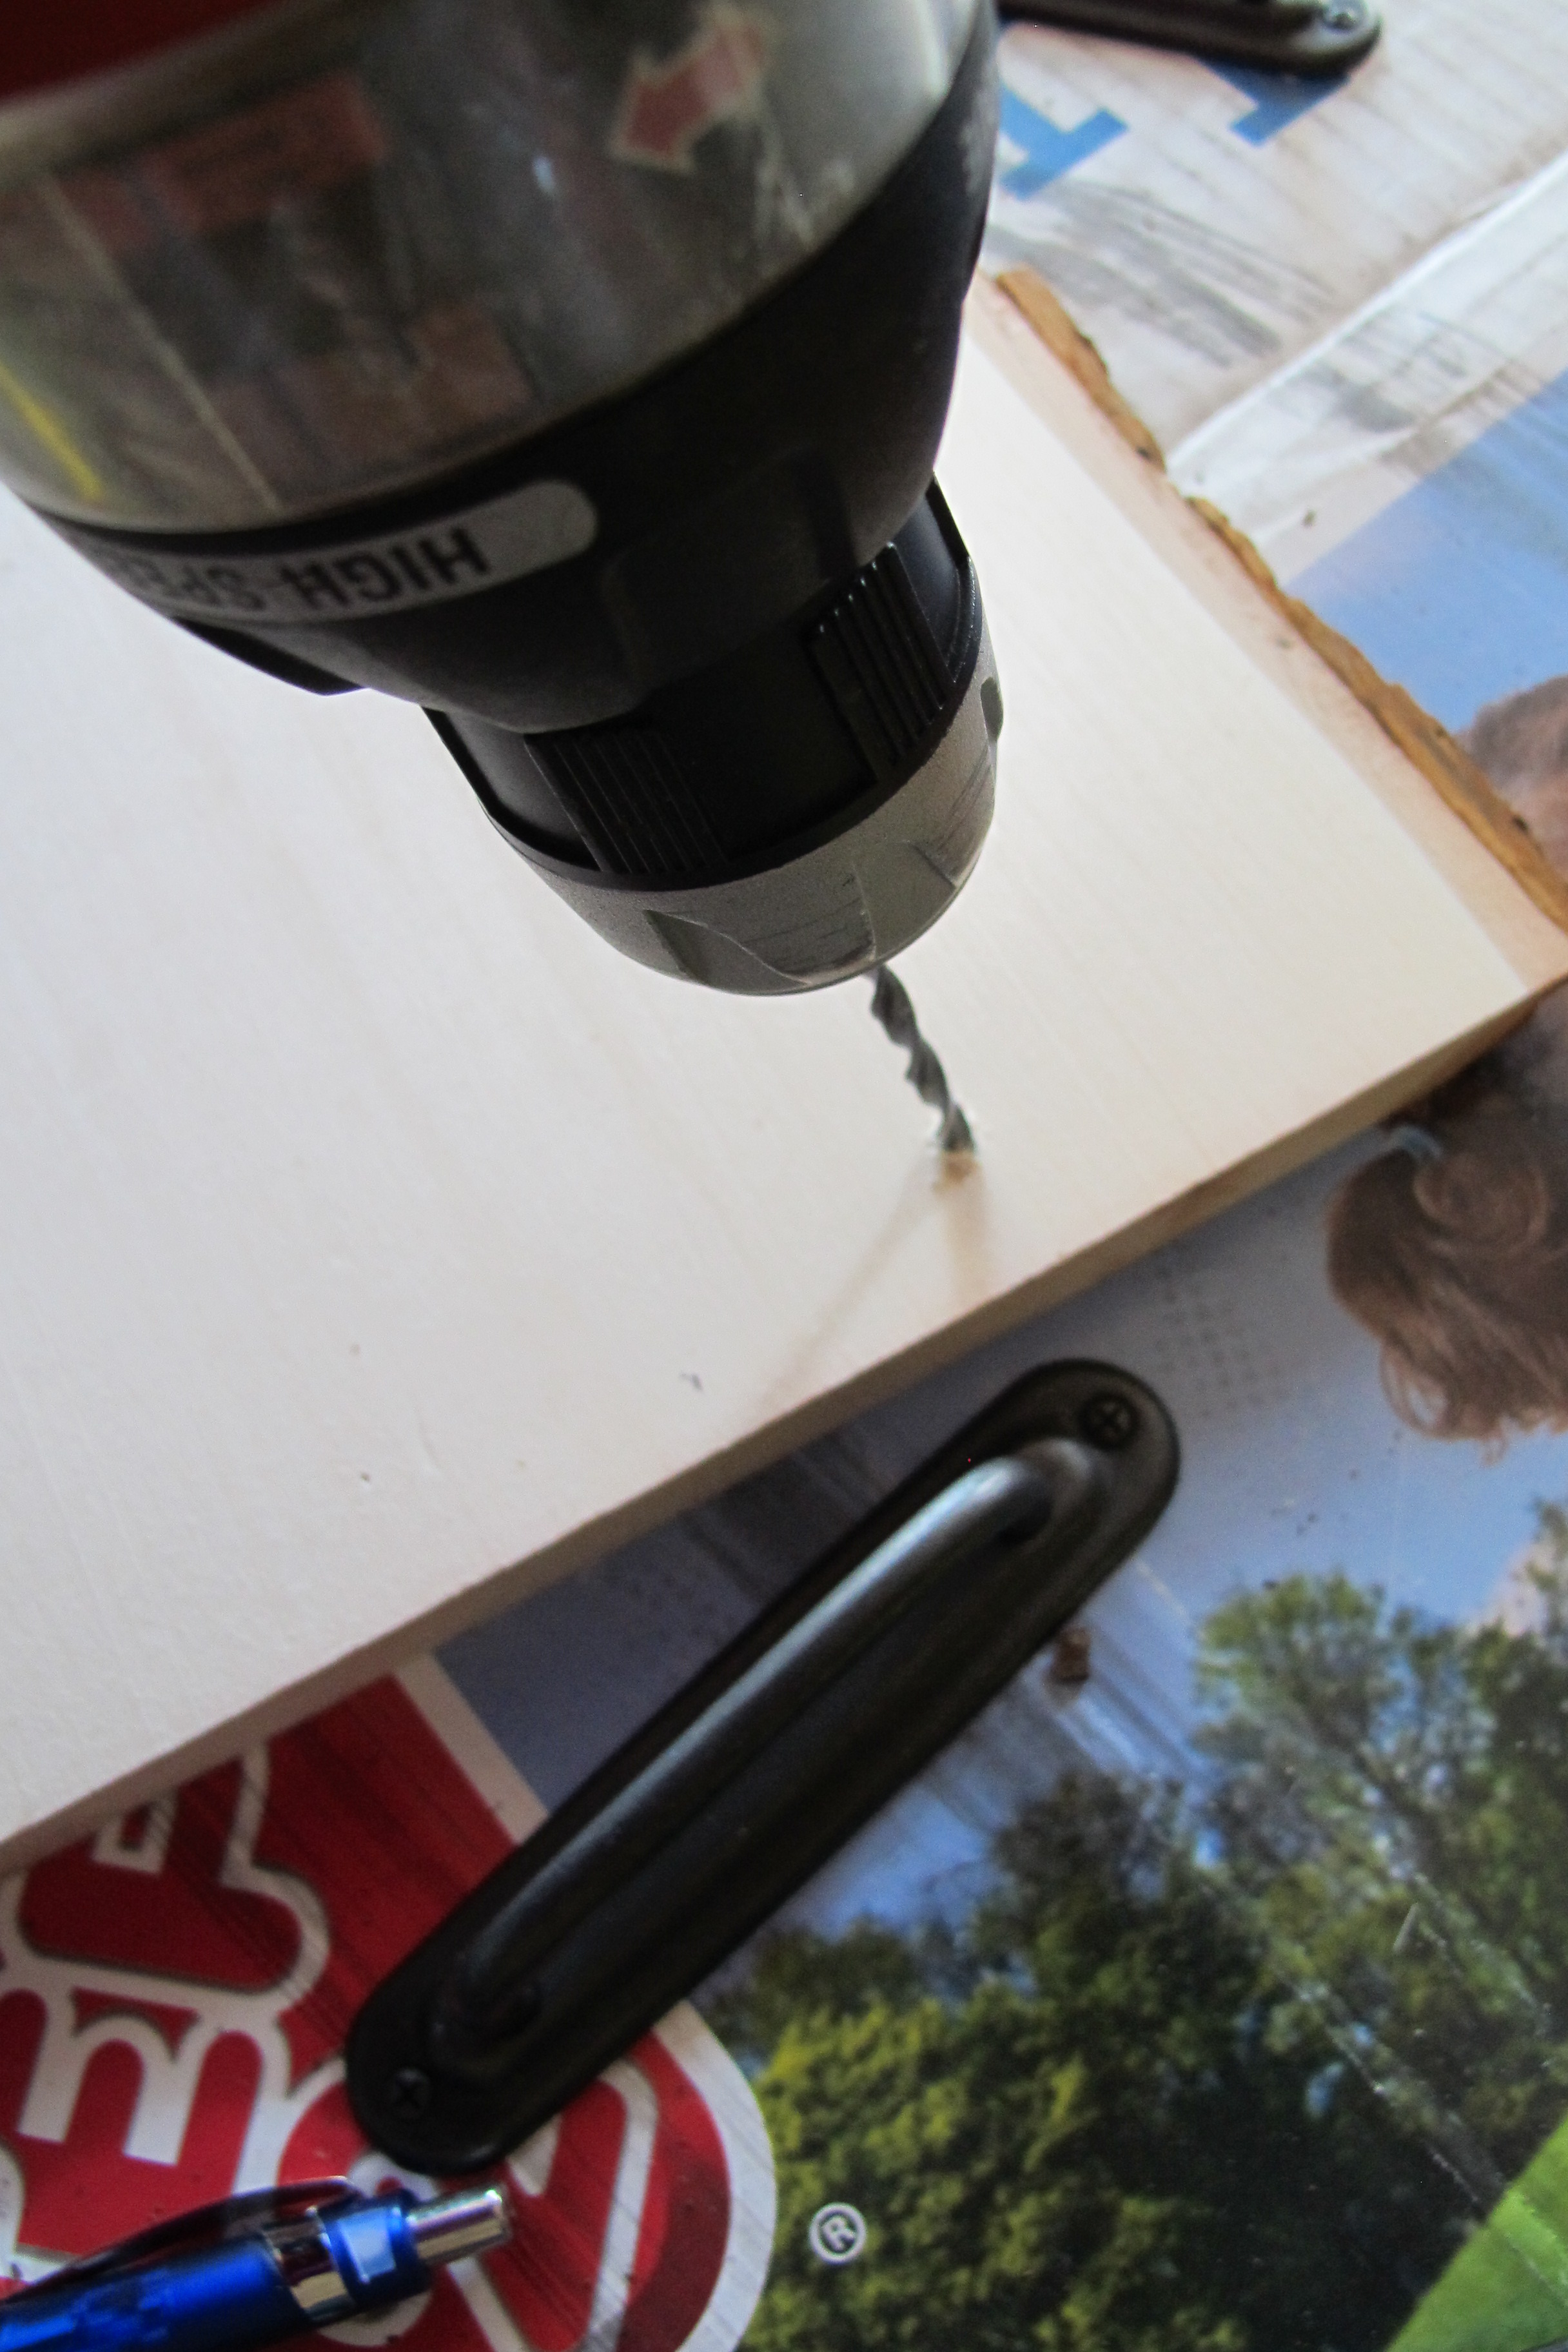
Which was followed by an epic Womp!Womp! when I realized that I’d marked the center incorrectly on one side, thus my holes were off by a good half-inch. Oy. I know that I should’ve known better than that… “Measure twice, drill once, Christina. Sheesh!”, but alas, I got cocky. Note: NEVER get cocky. It’ll never cease to bite you in the rear…
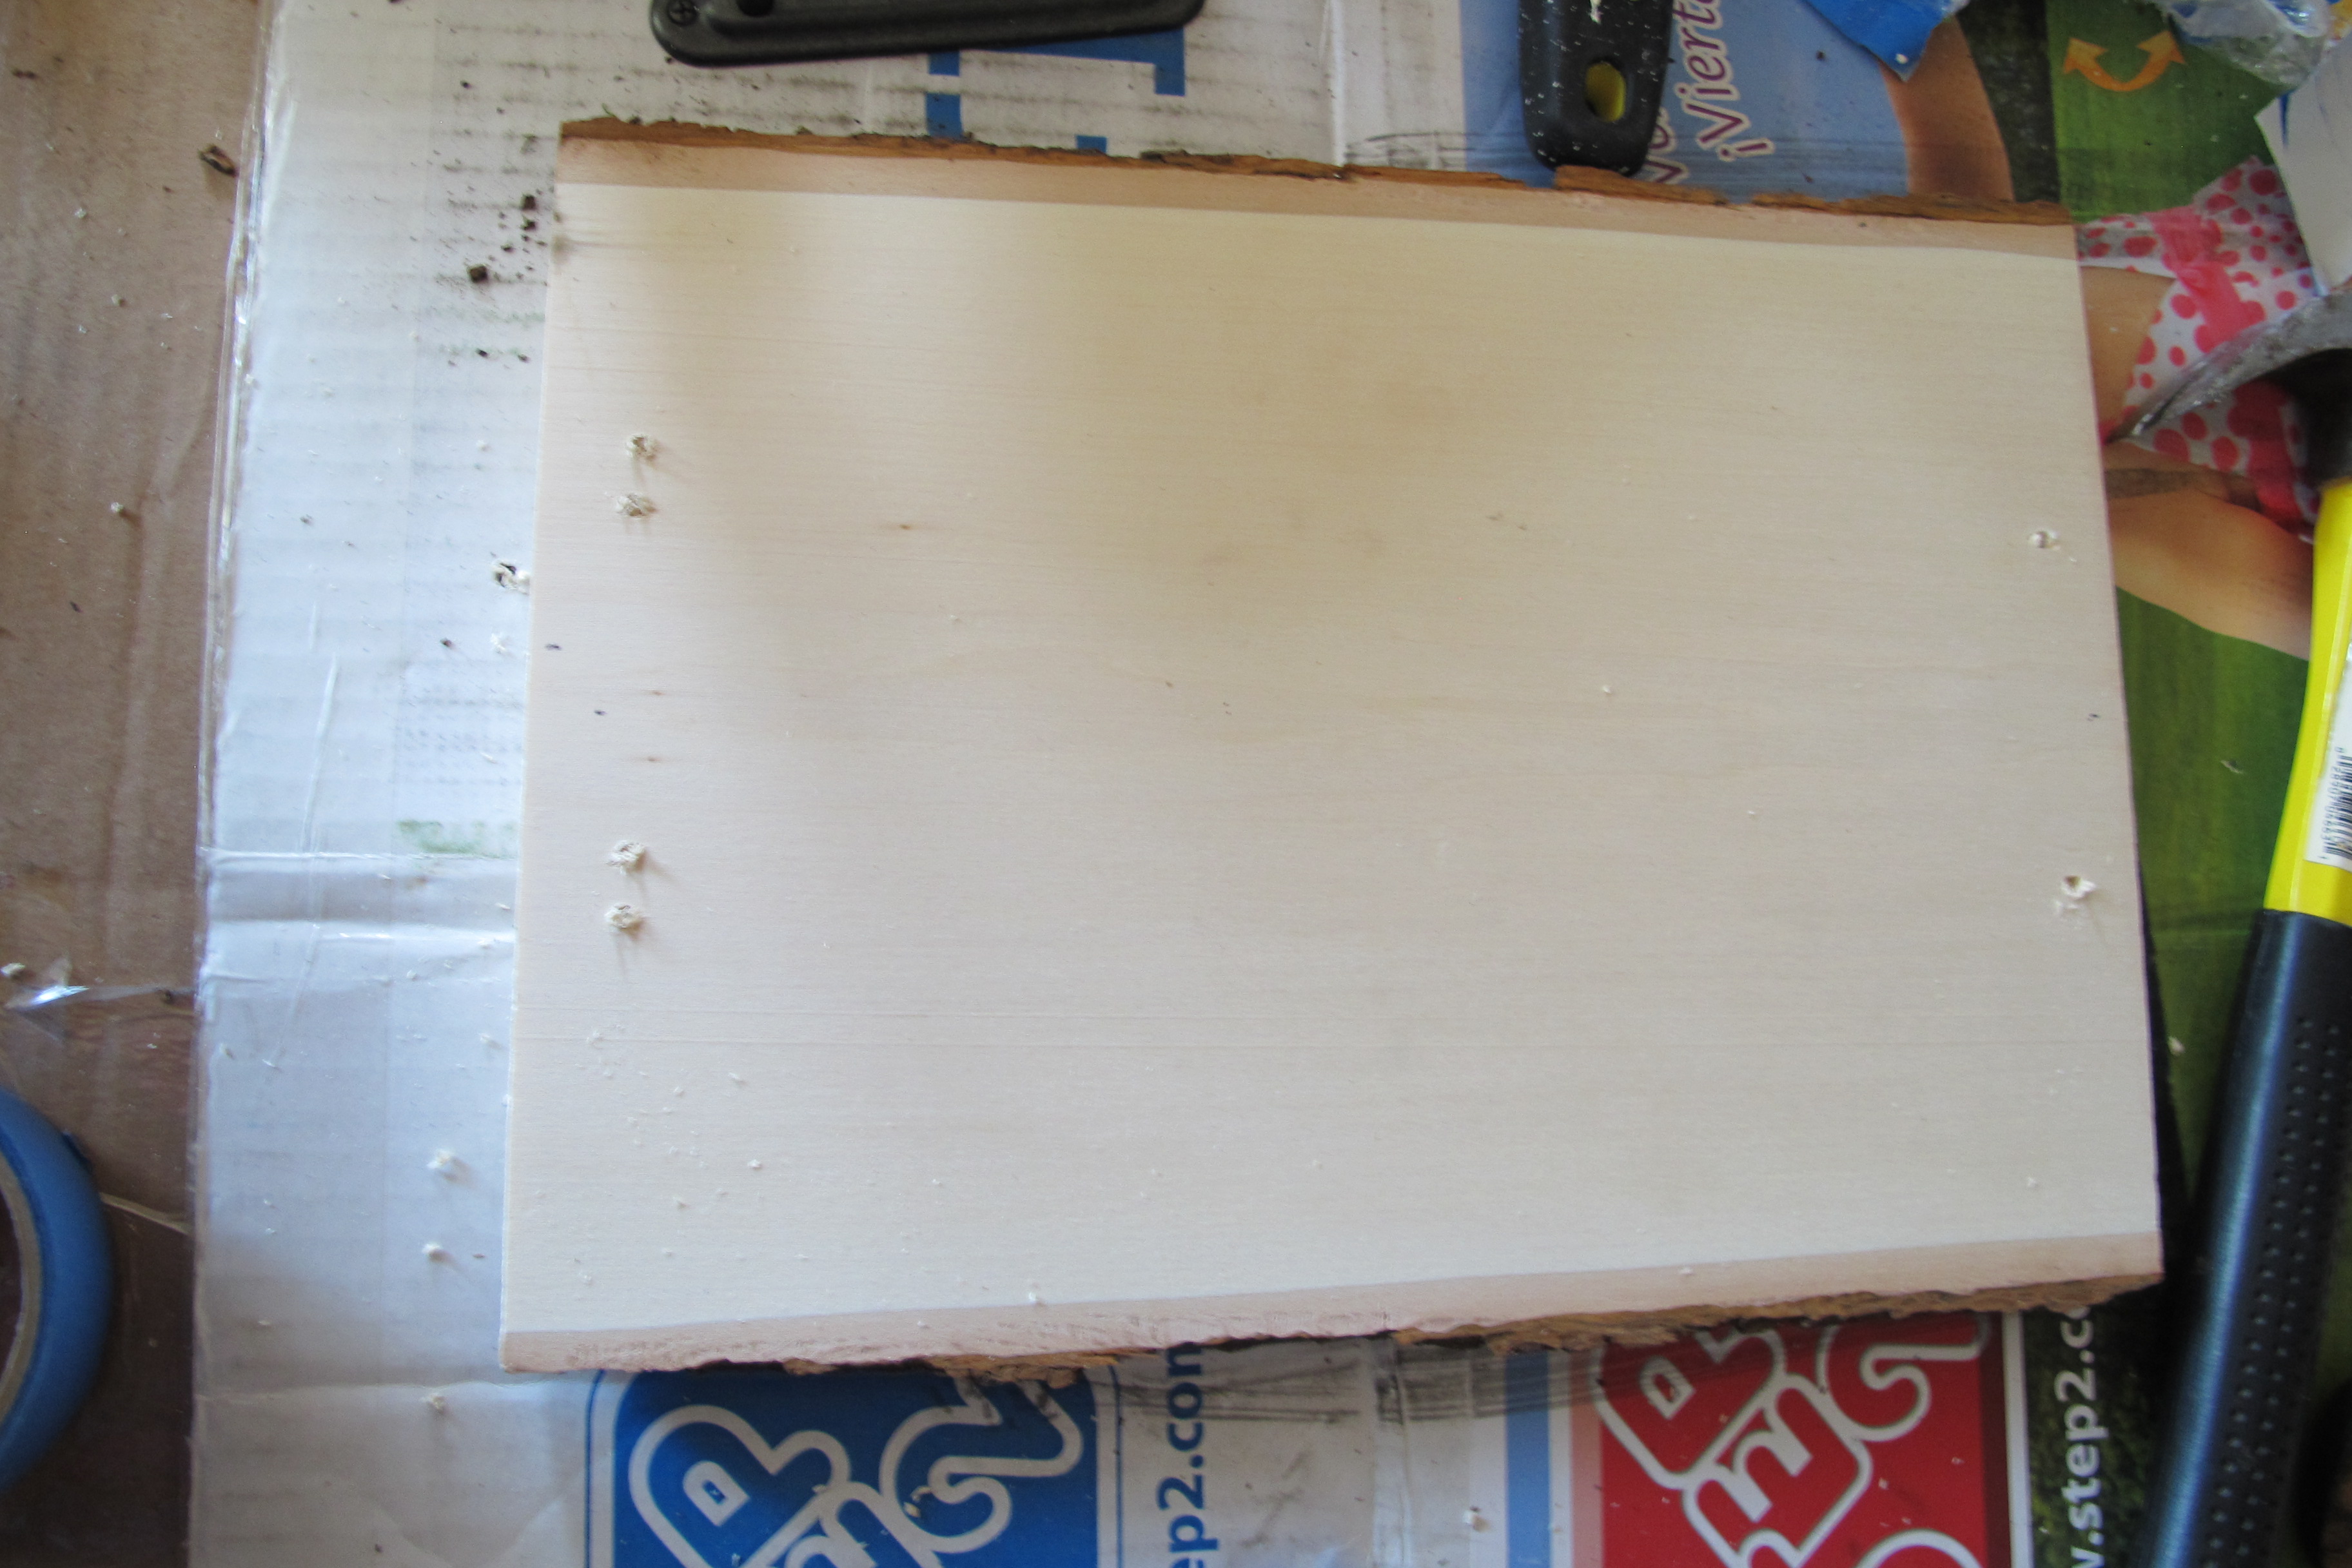
Fortunately, the metal pulls hid my mistake without my having to take further action, so I was good to go. Total happy accident, for sure. Next, I taped off the raw wood edges, and applied two thin and even coats of white paint with an eggshell finish…

And I attached my drawer pulls. You can see the tray at this point in time in the shot below. I liked it well enough as it was, but ultimately decided that it needed a little something extra. A bit of pizazz, if you will. After tossing around ideas like our initials and such, I decided to go with something more organic and personal. Lucas’s hand-print. I simply spread some blue craft paint on a paper plate…
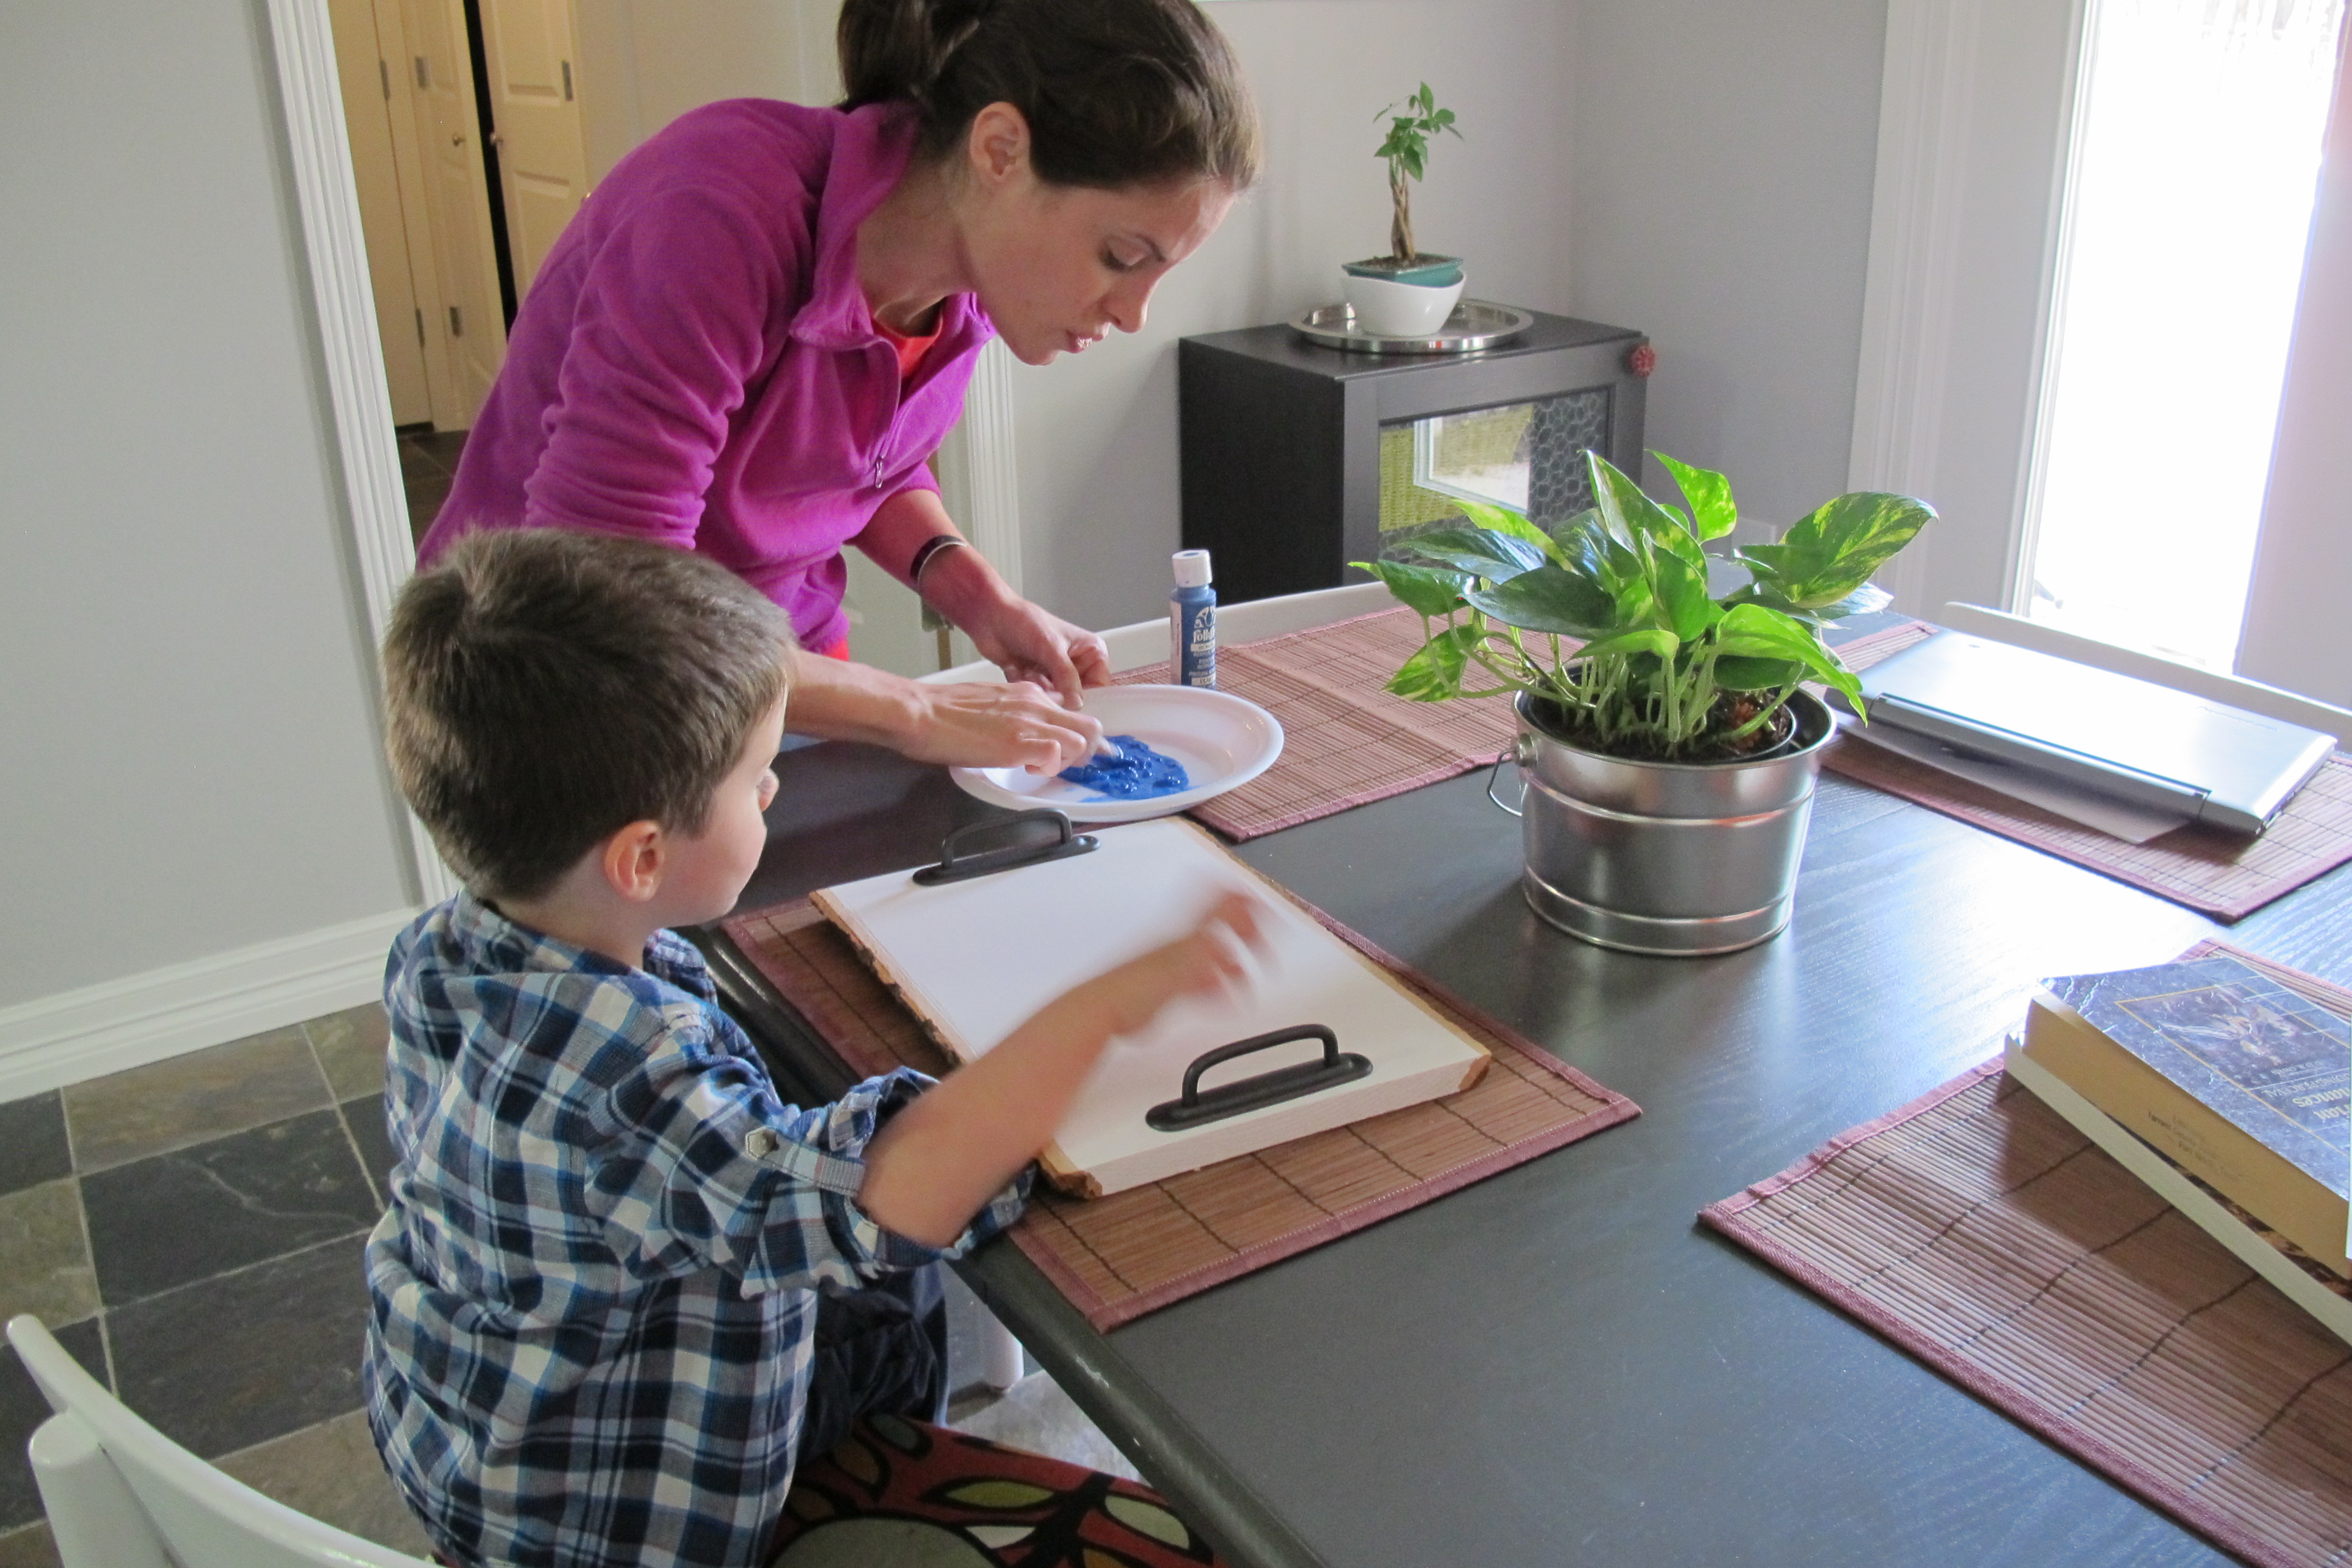
Stamped Lucas’s hand in it and applied his hand-print to the tray in an off-center orientation…

Which left this…


Not too shabby for a total cost of around $10 (The wood slice with a 30% off coupon), eh? I’m really happy with it and almost a little surprised at how much I love it. And I adore that Lucas got to be involved. It’s now not just a simple DIY project, it’s a keepsake. I plan to write the date and Lucas’s age on back so I’ll never forget. If you plan to use the tray for beverages or anything moist, be sure to seal it with three thin coats of Polycrylic. The crystal clear formula will ensure that the white paint wont yellow. I haven’t done this yet, as I’m only using it for decorative (read: dry) purposes, but I plan on on sealing it to be sure that Lucas’s hand-print is forever preserved.
Update: I forgot to mention when I published this post that this will be a monthly challenge, so tune in the second Wednesday of every month!!! December’s item will be clear glass ornaments. I’d better get that thinking cap on… 🙂
So, that’s my wood slice project! Now, check out the awesome projects created by my fellow bloggers…


