Stick a fork in it. Frame is DONE.

Who has two thumbs and seemed like the never-ending project?? This guuuuuuuyyyyyyyy…


IMG_4077

(Sans thumbs)

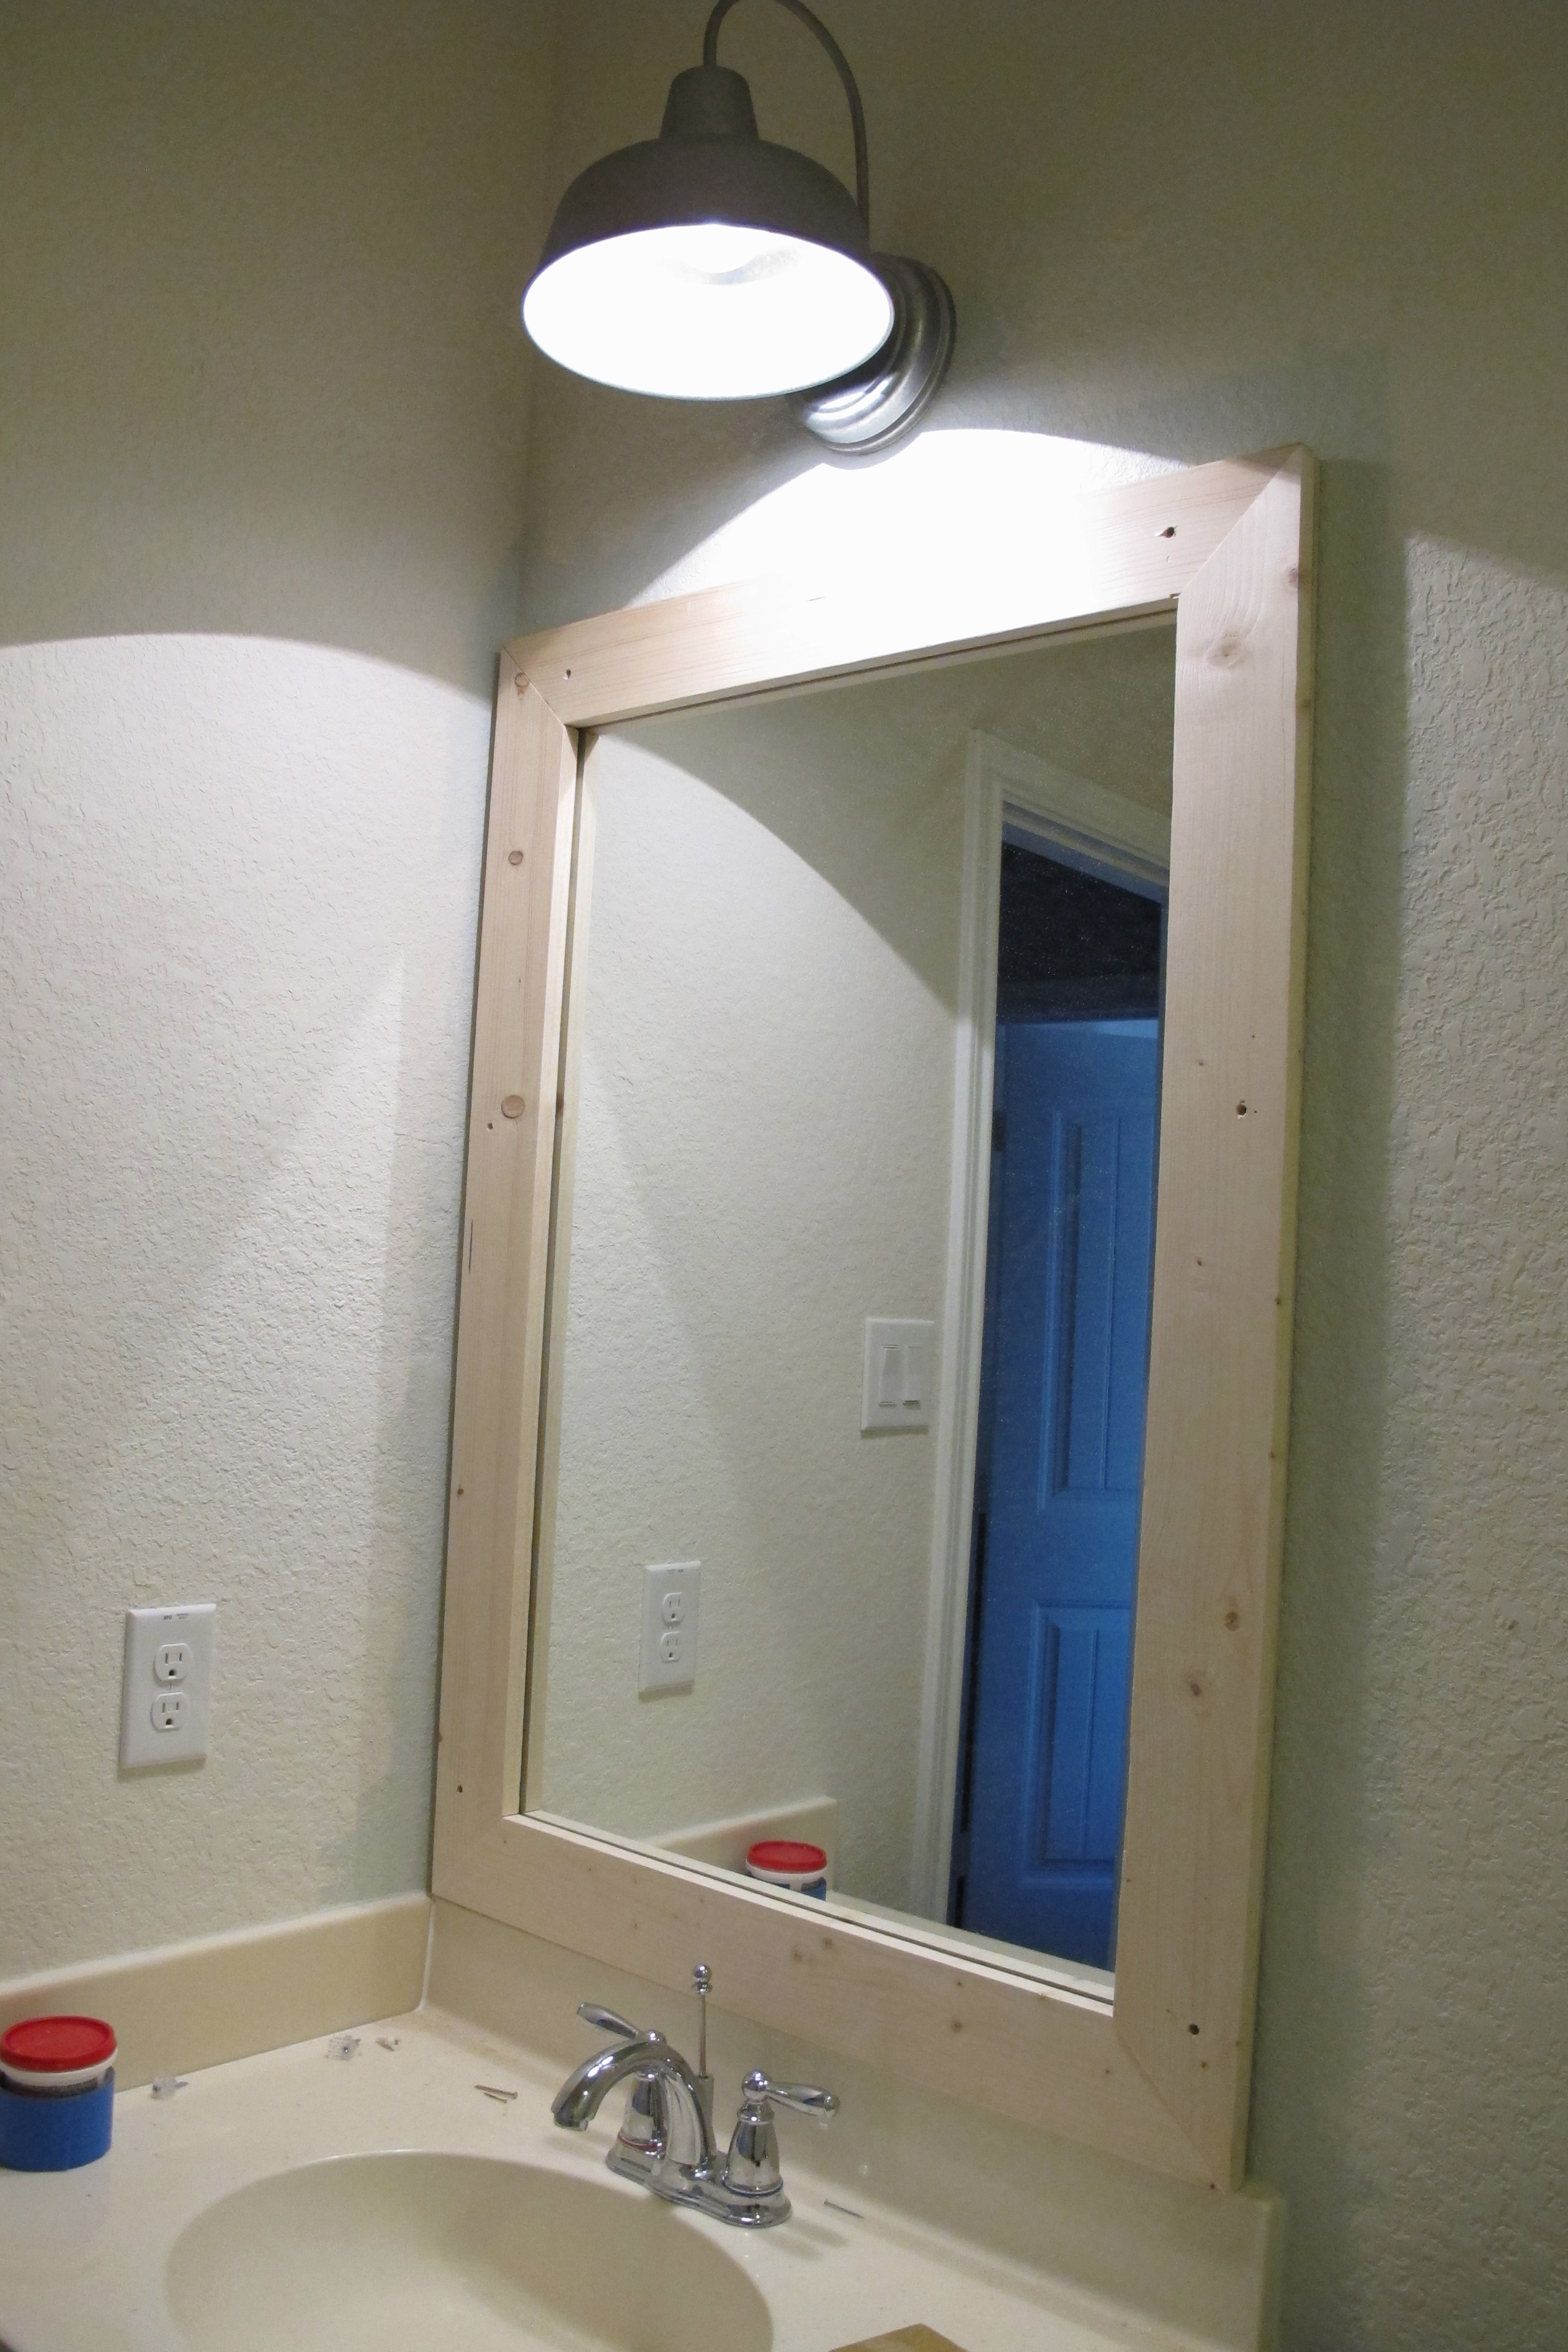
Last we spoke about the guest bath makeover, I had just hung our newly-sewn curtains

IMG_4193

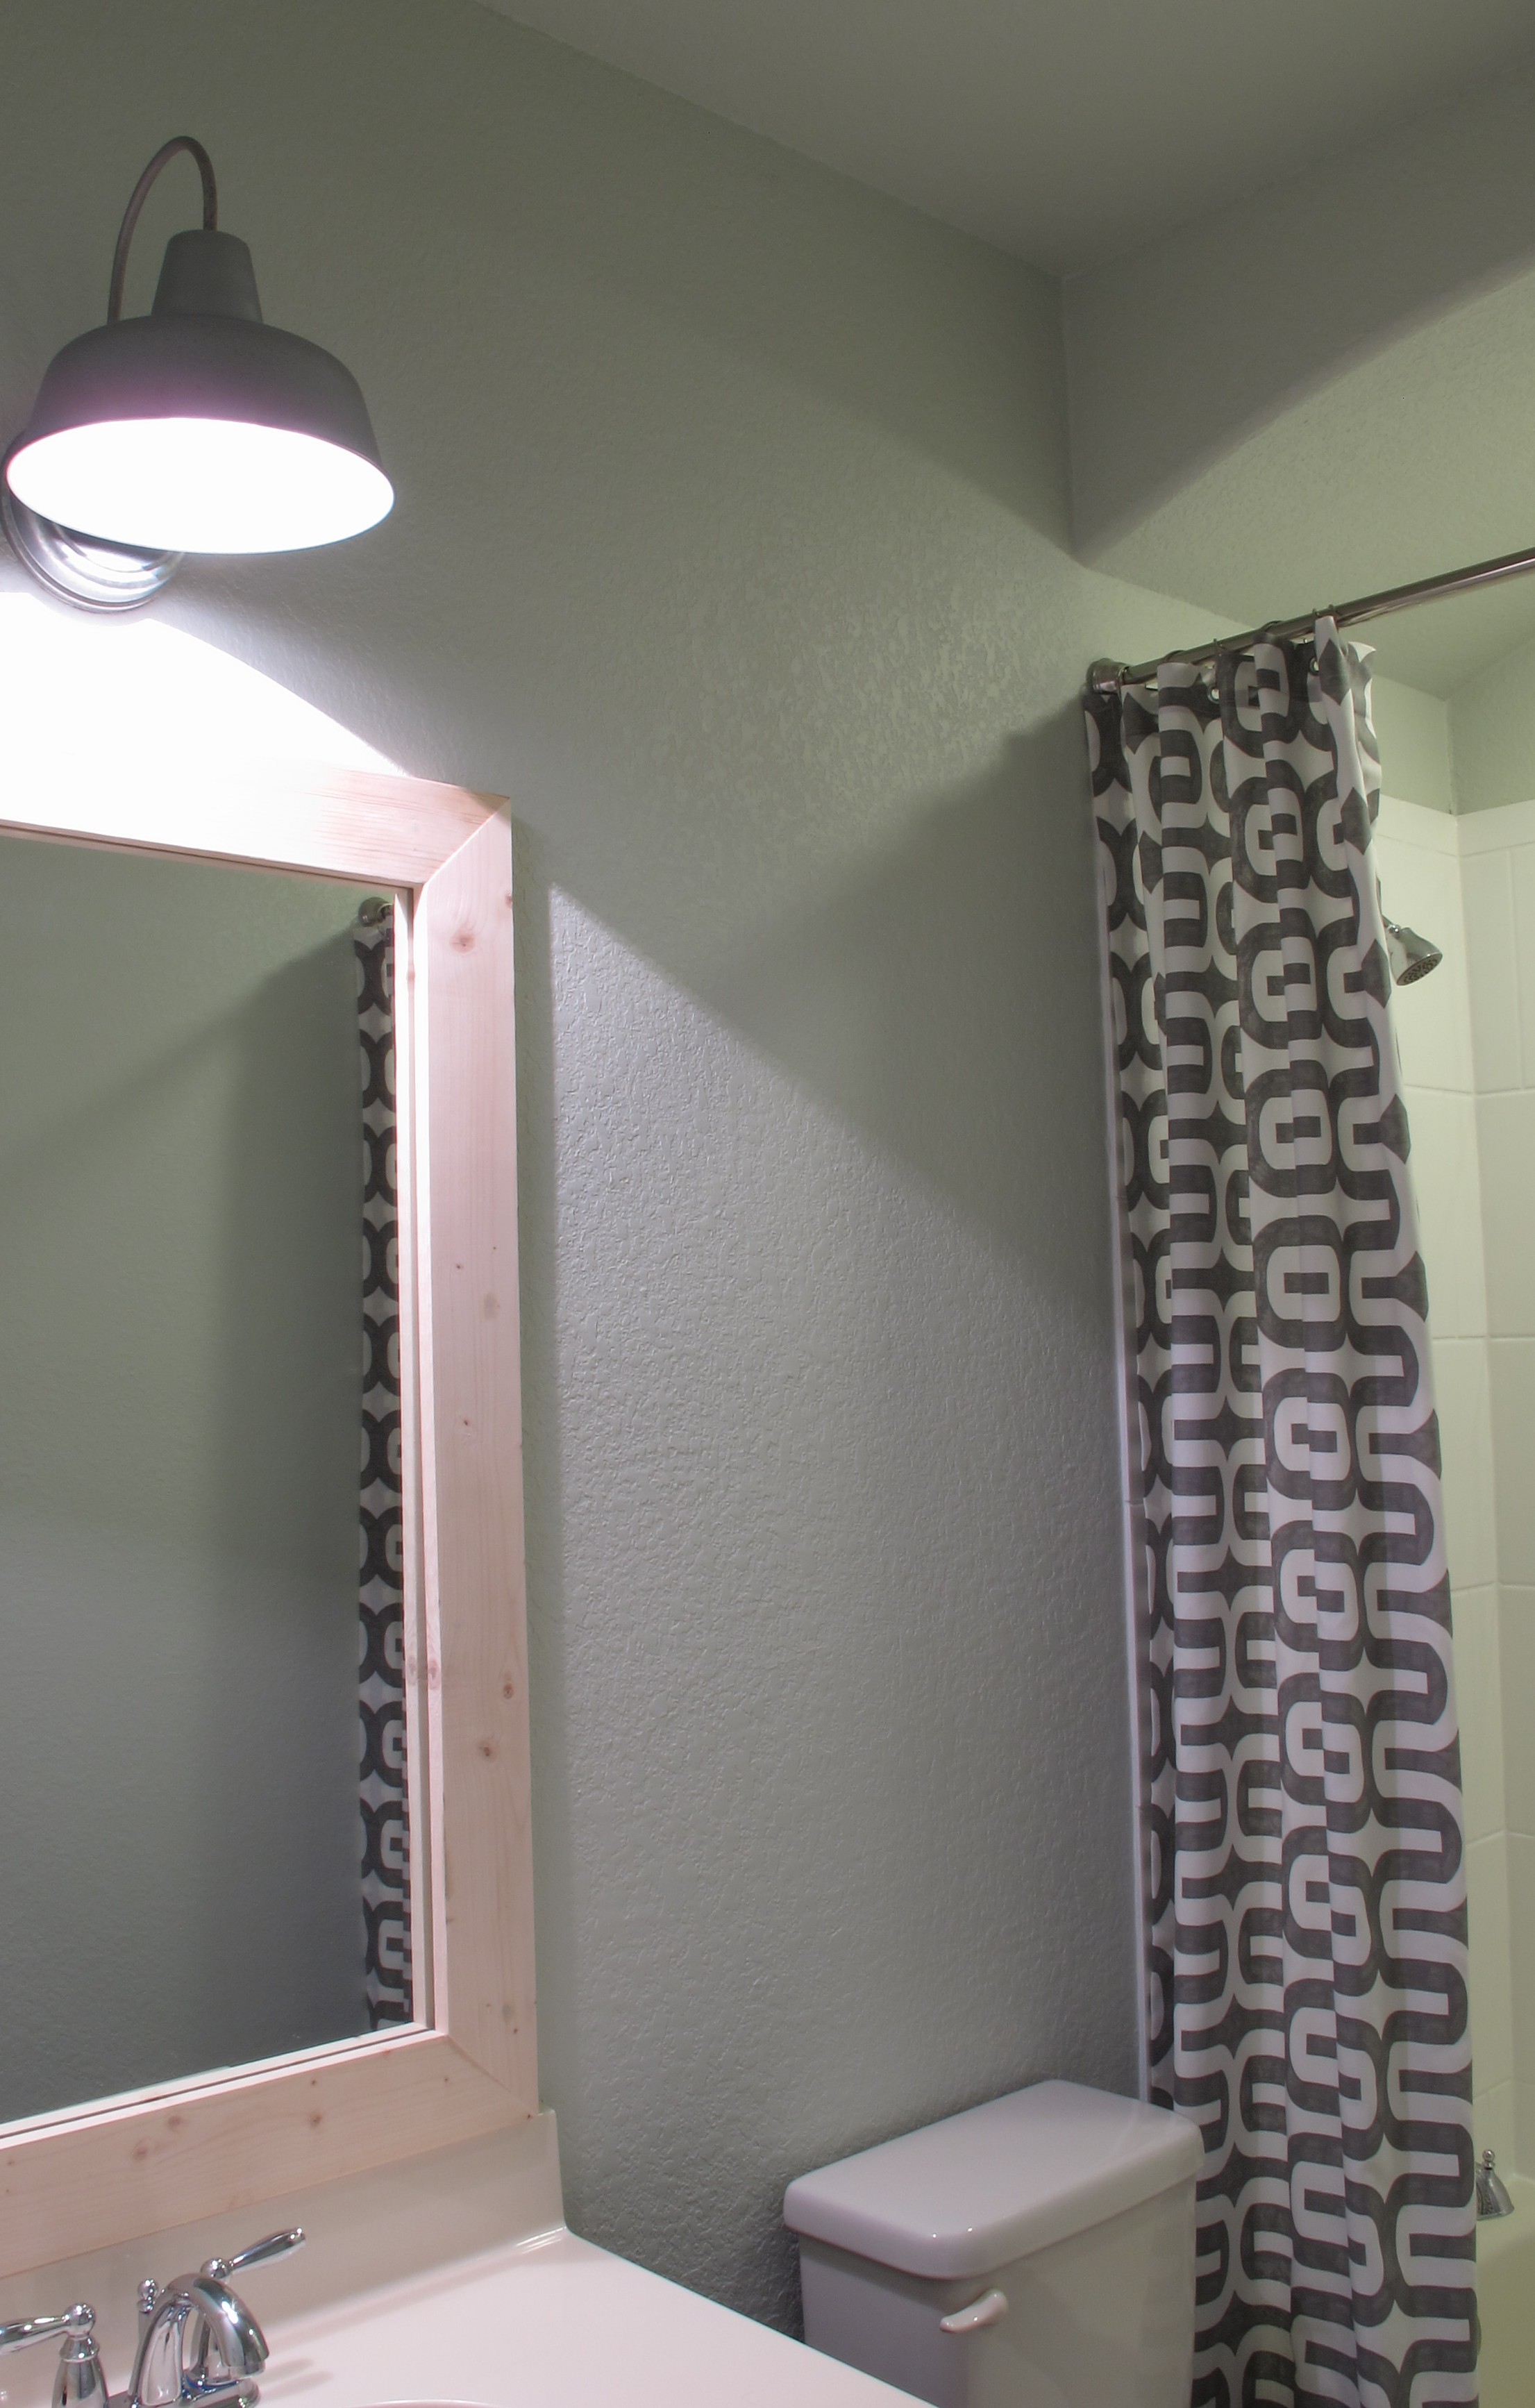
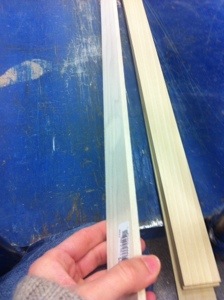
Which meant I was SUPER motivated to finish the mirror frame we built to see how it would jive with the rest of the room.  I considered staining it darker and painting it a bold or metallic color, but then decided to try my hand at white-washing.

I really wanted the mirror frame to be crisp and bright to balance the sparkling white tile tub surround (which I painted here) and contrast the soft turquoise wall paint.  Staining the frame deeper or painting it a bold color would have been way too dark with the ebony sink base.   And since I wanted a slightly rustic feel, I felt like white-washing would be a nice compromise… A nice white color which would still allow the knots and wood-grain to show through.

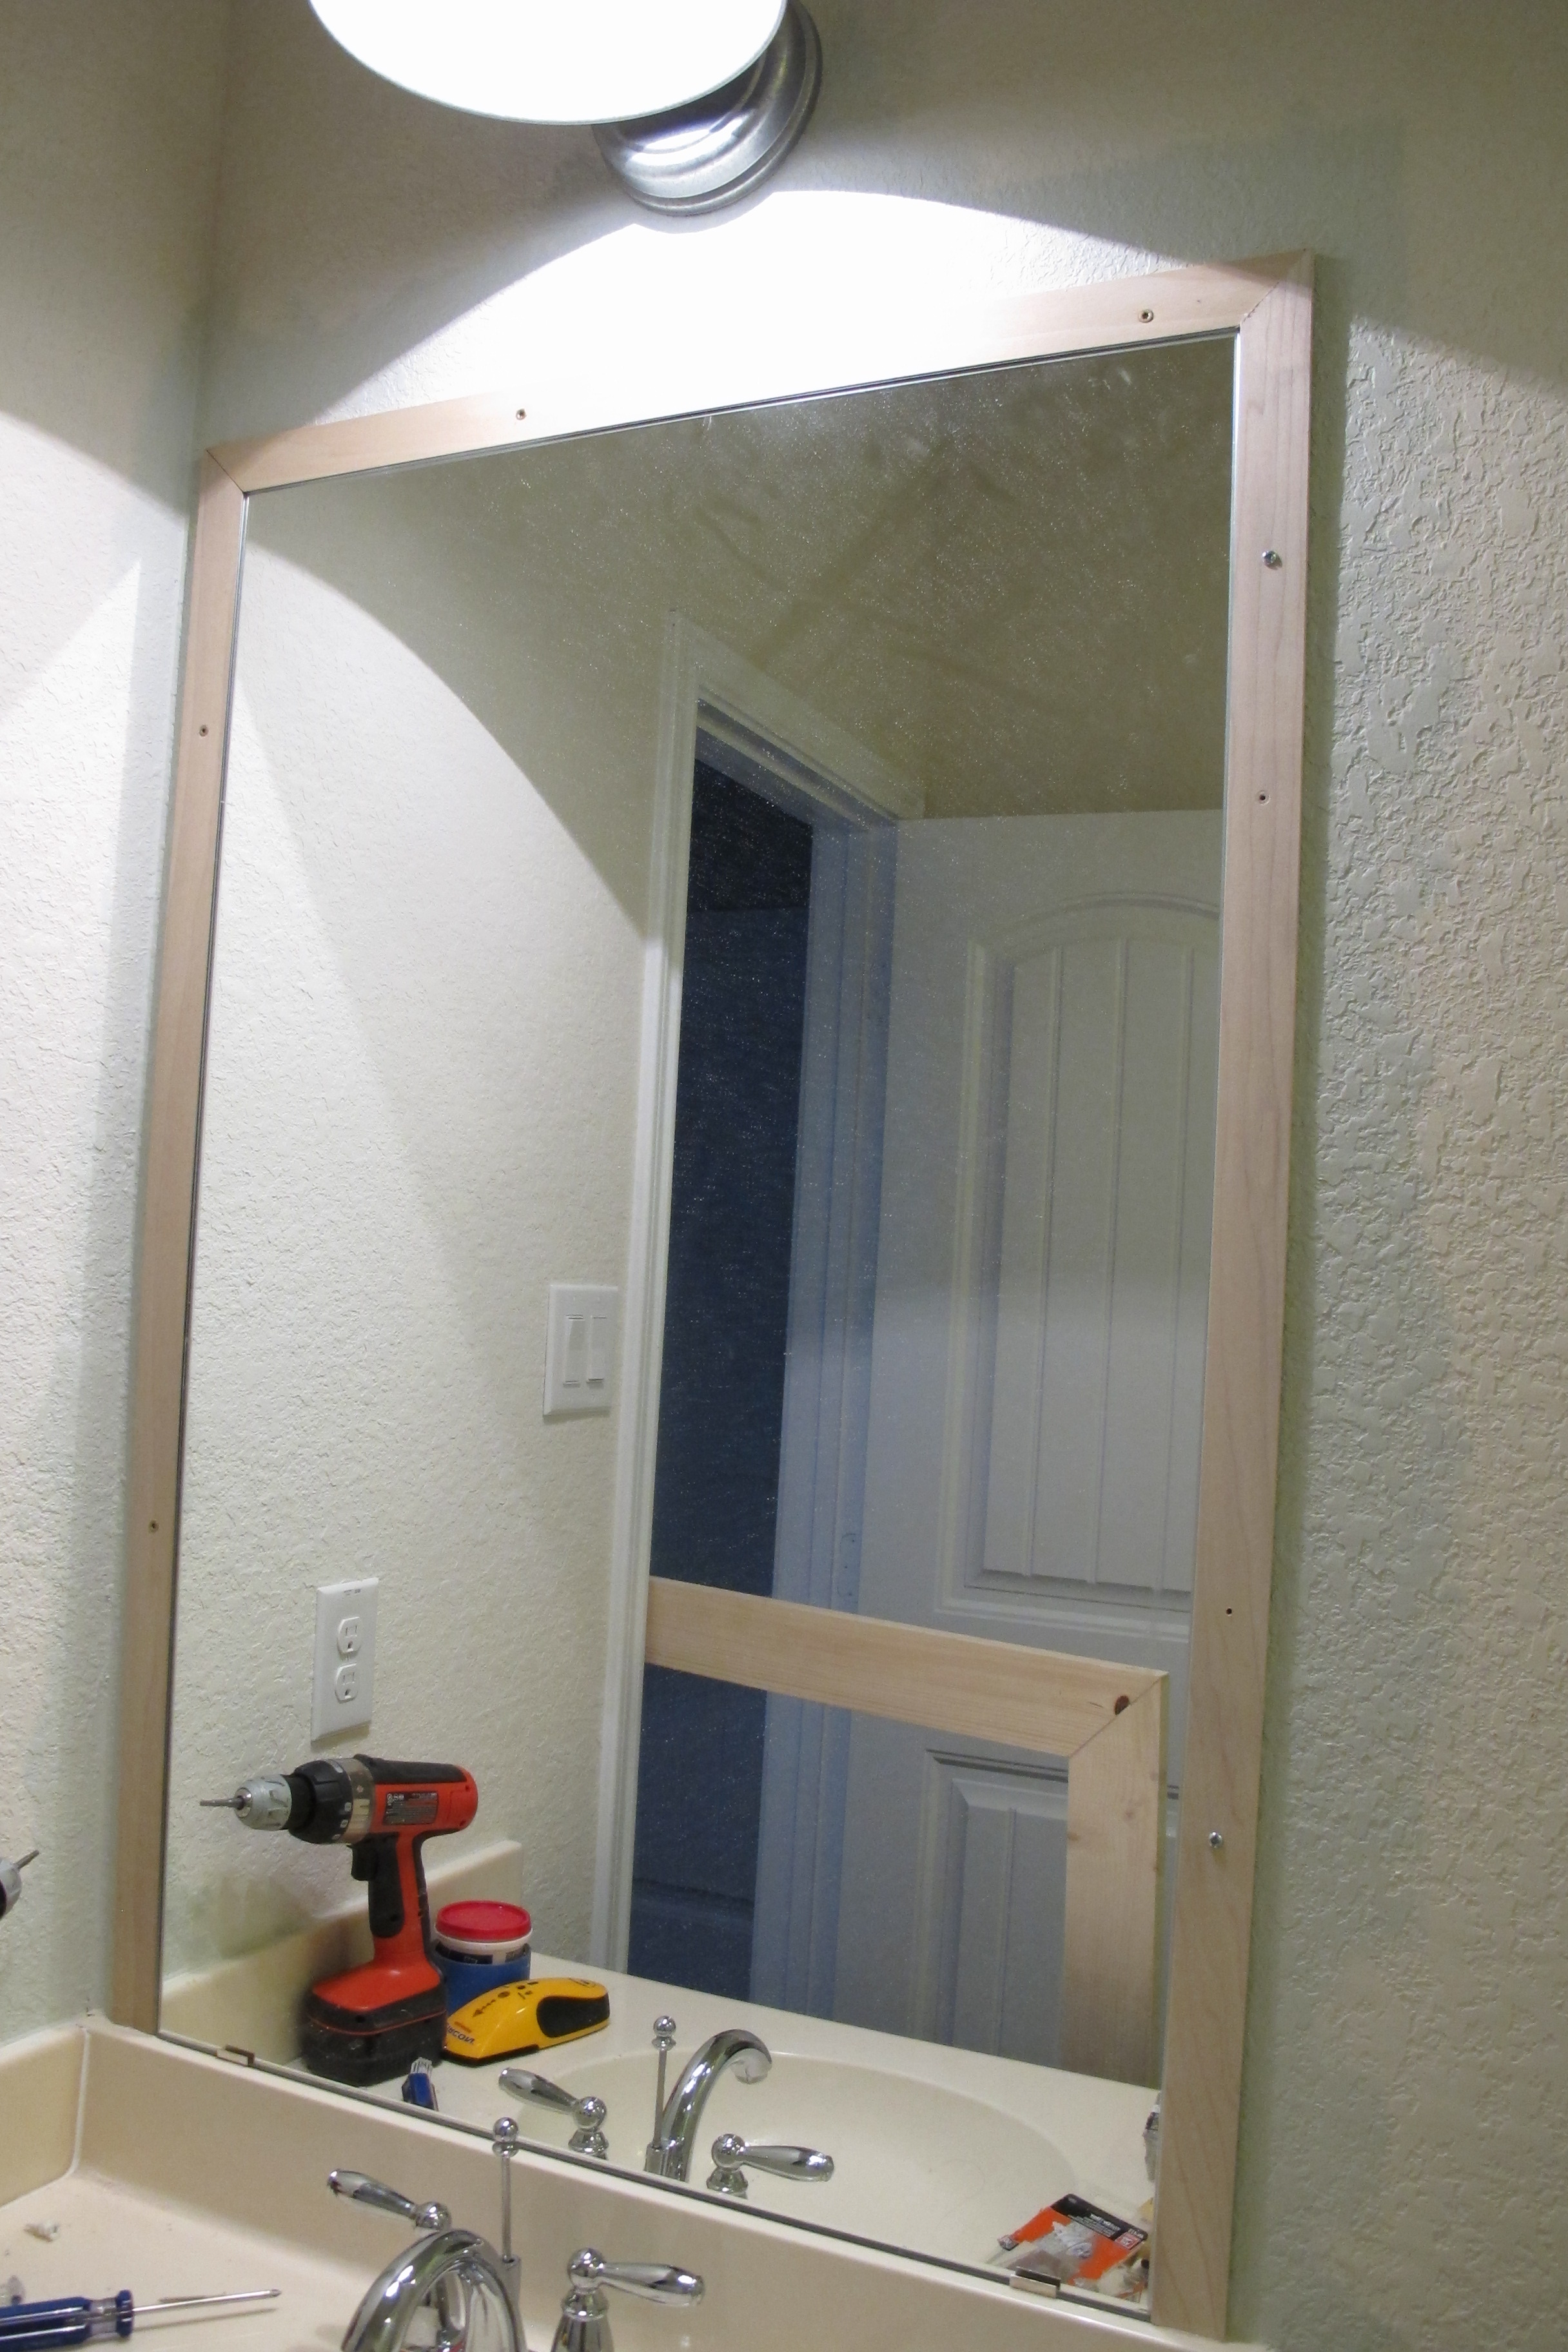
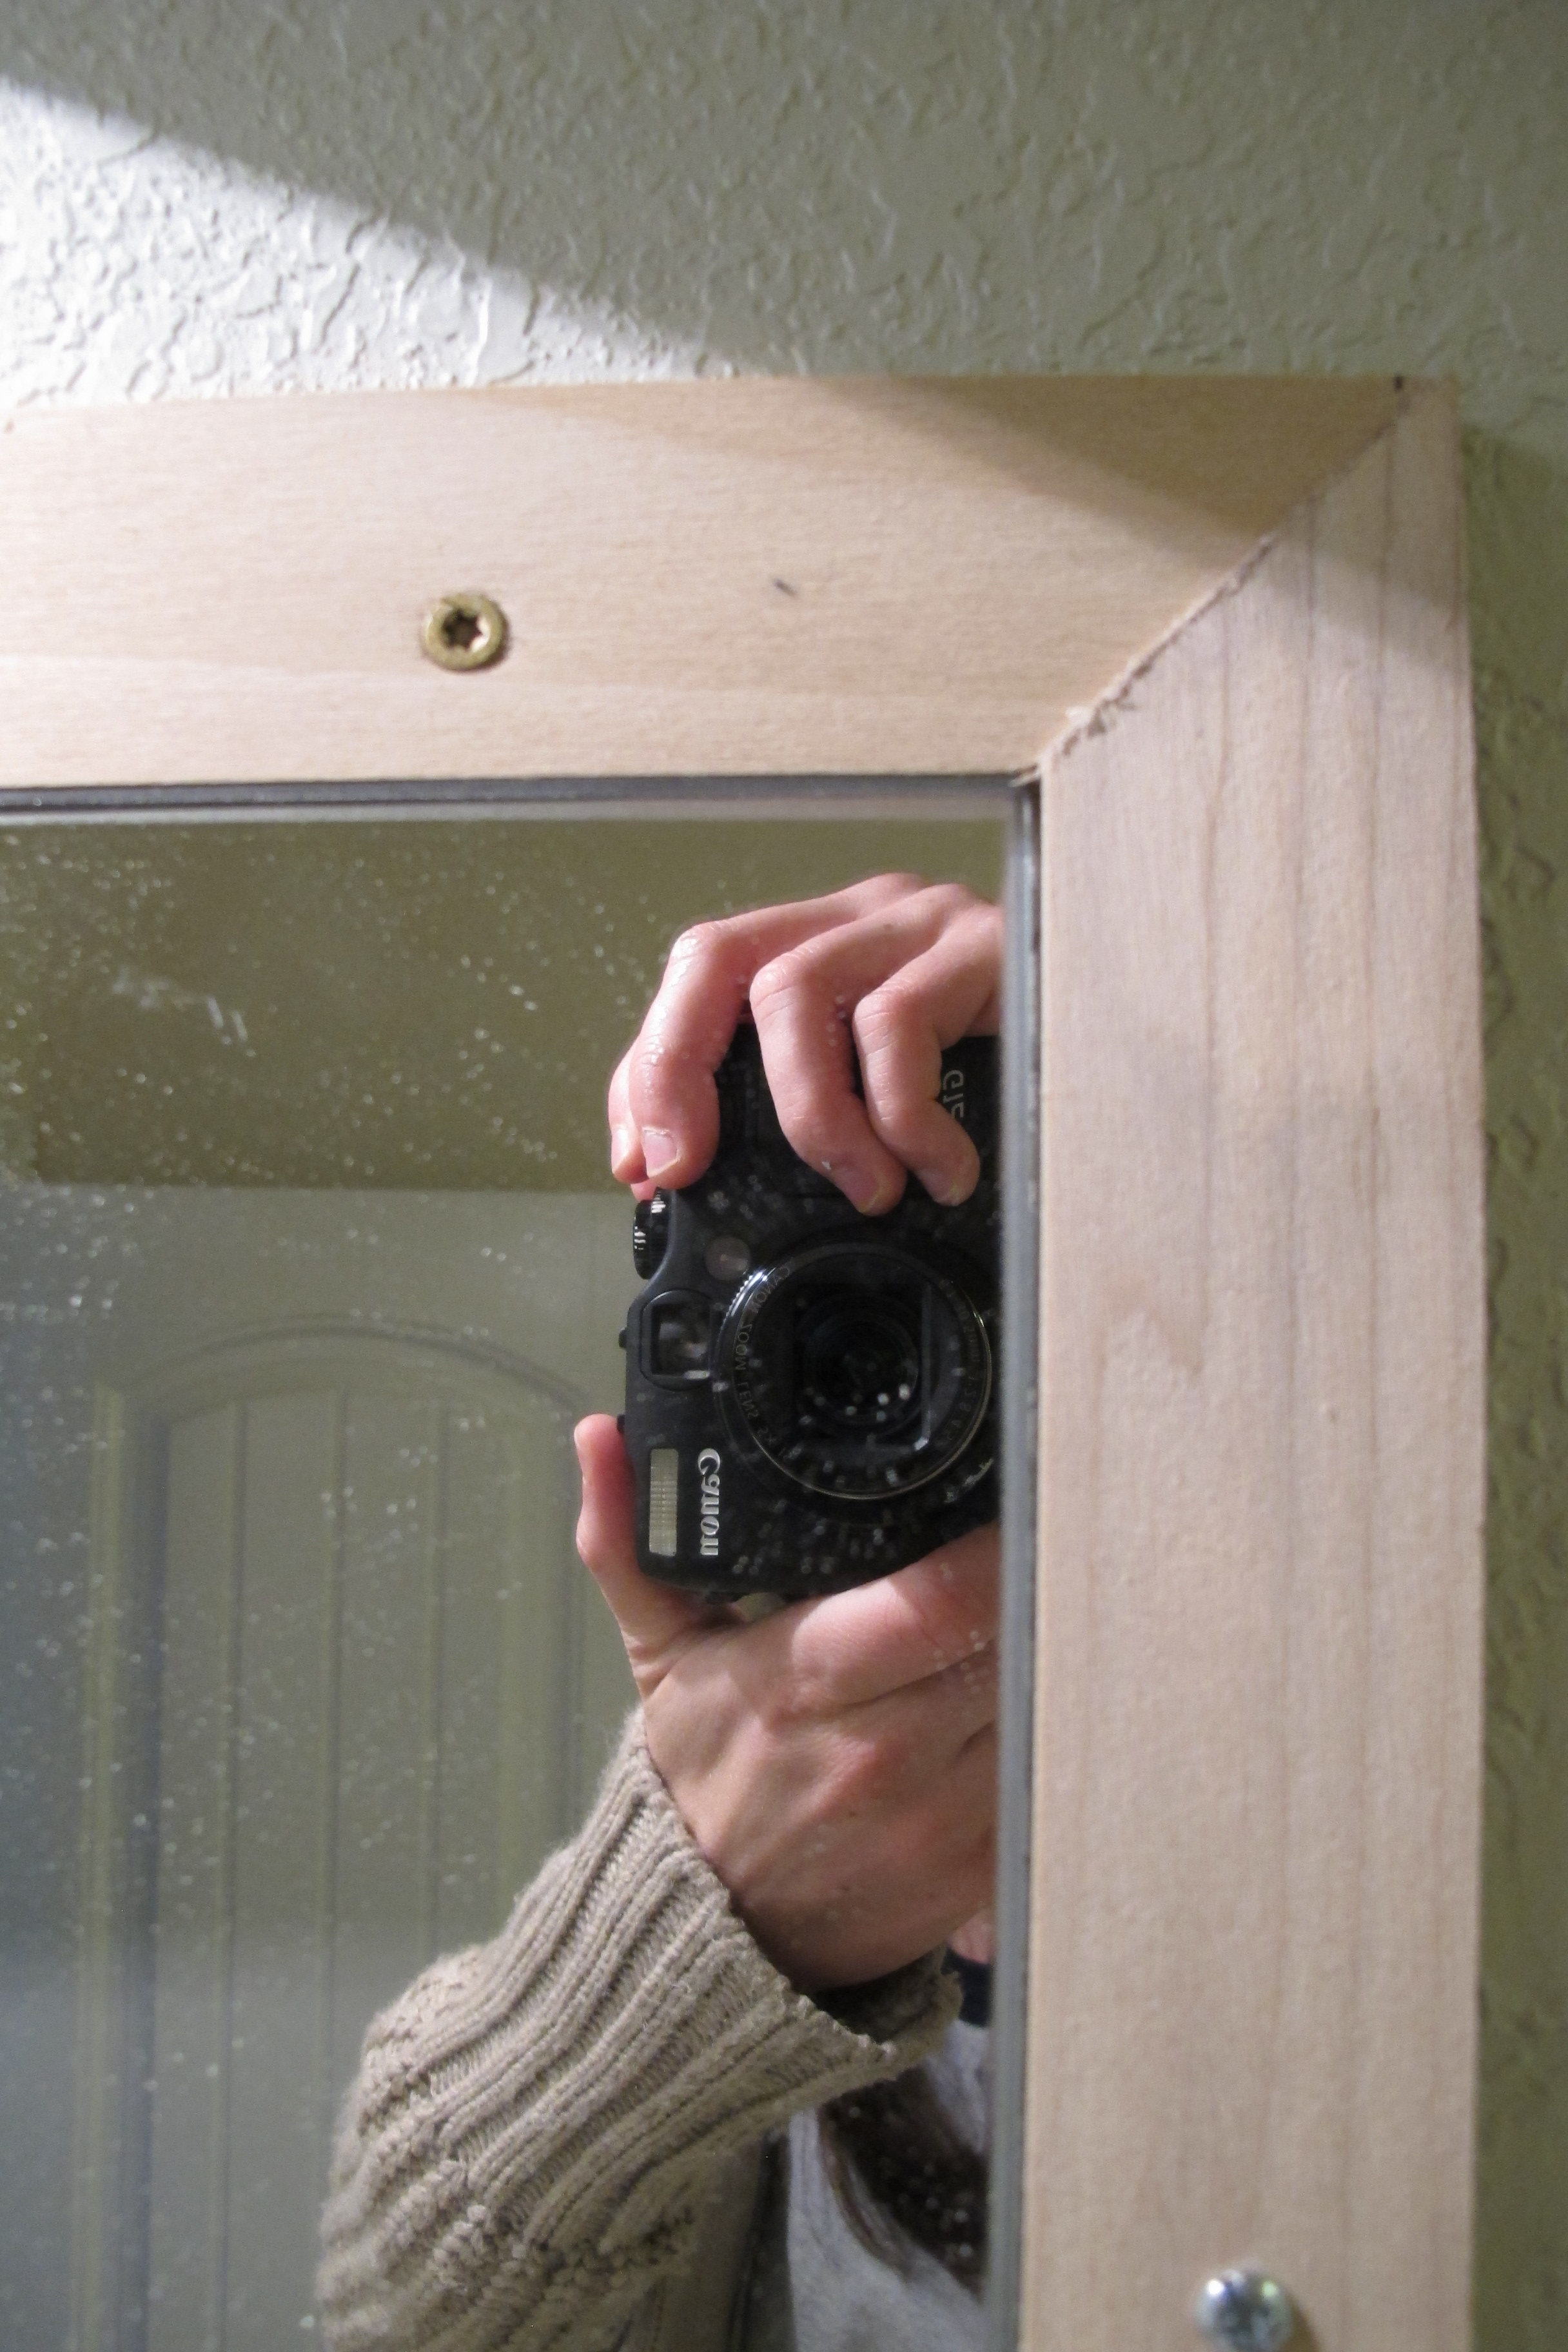
I started with prep work.   Remember these counter-sunk screw holes?

IMG_3981

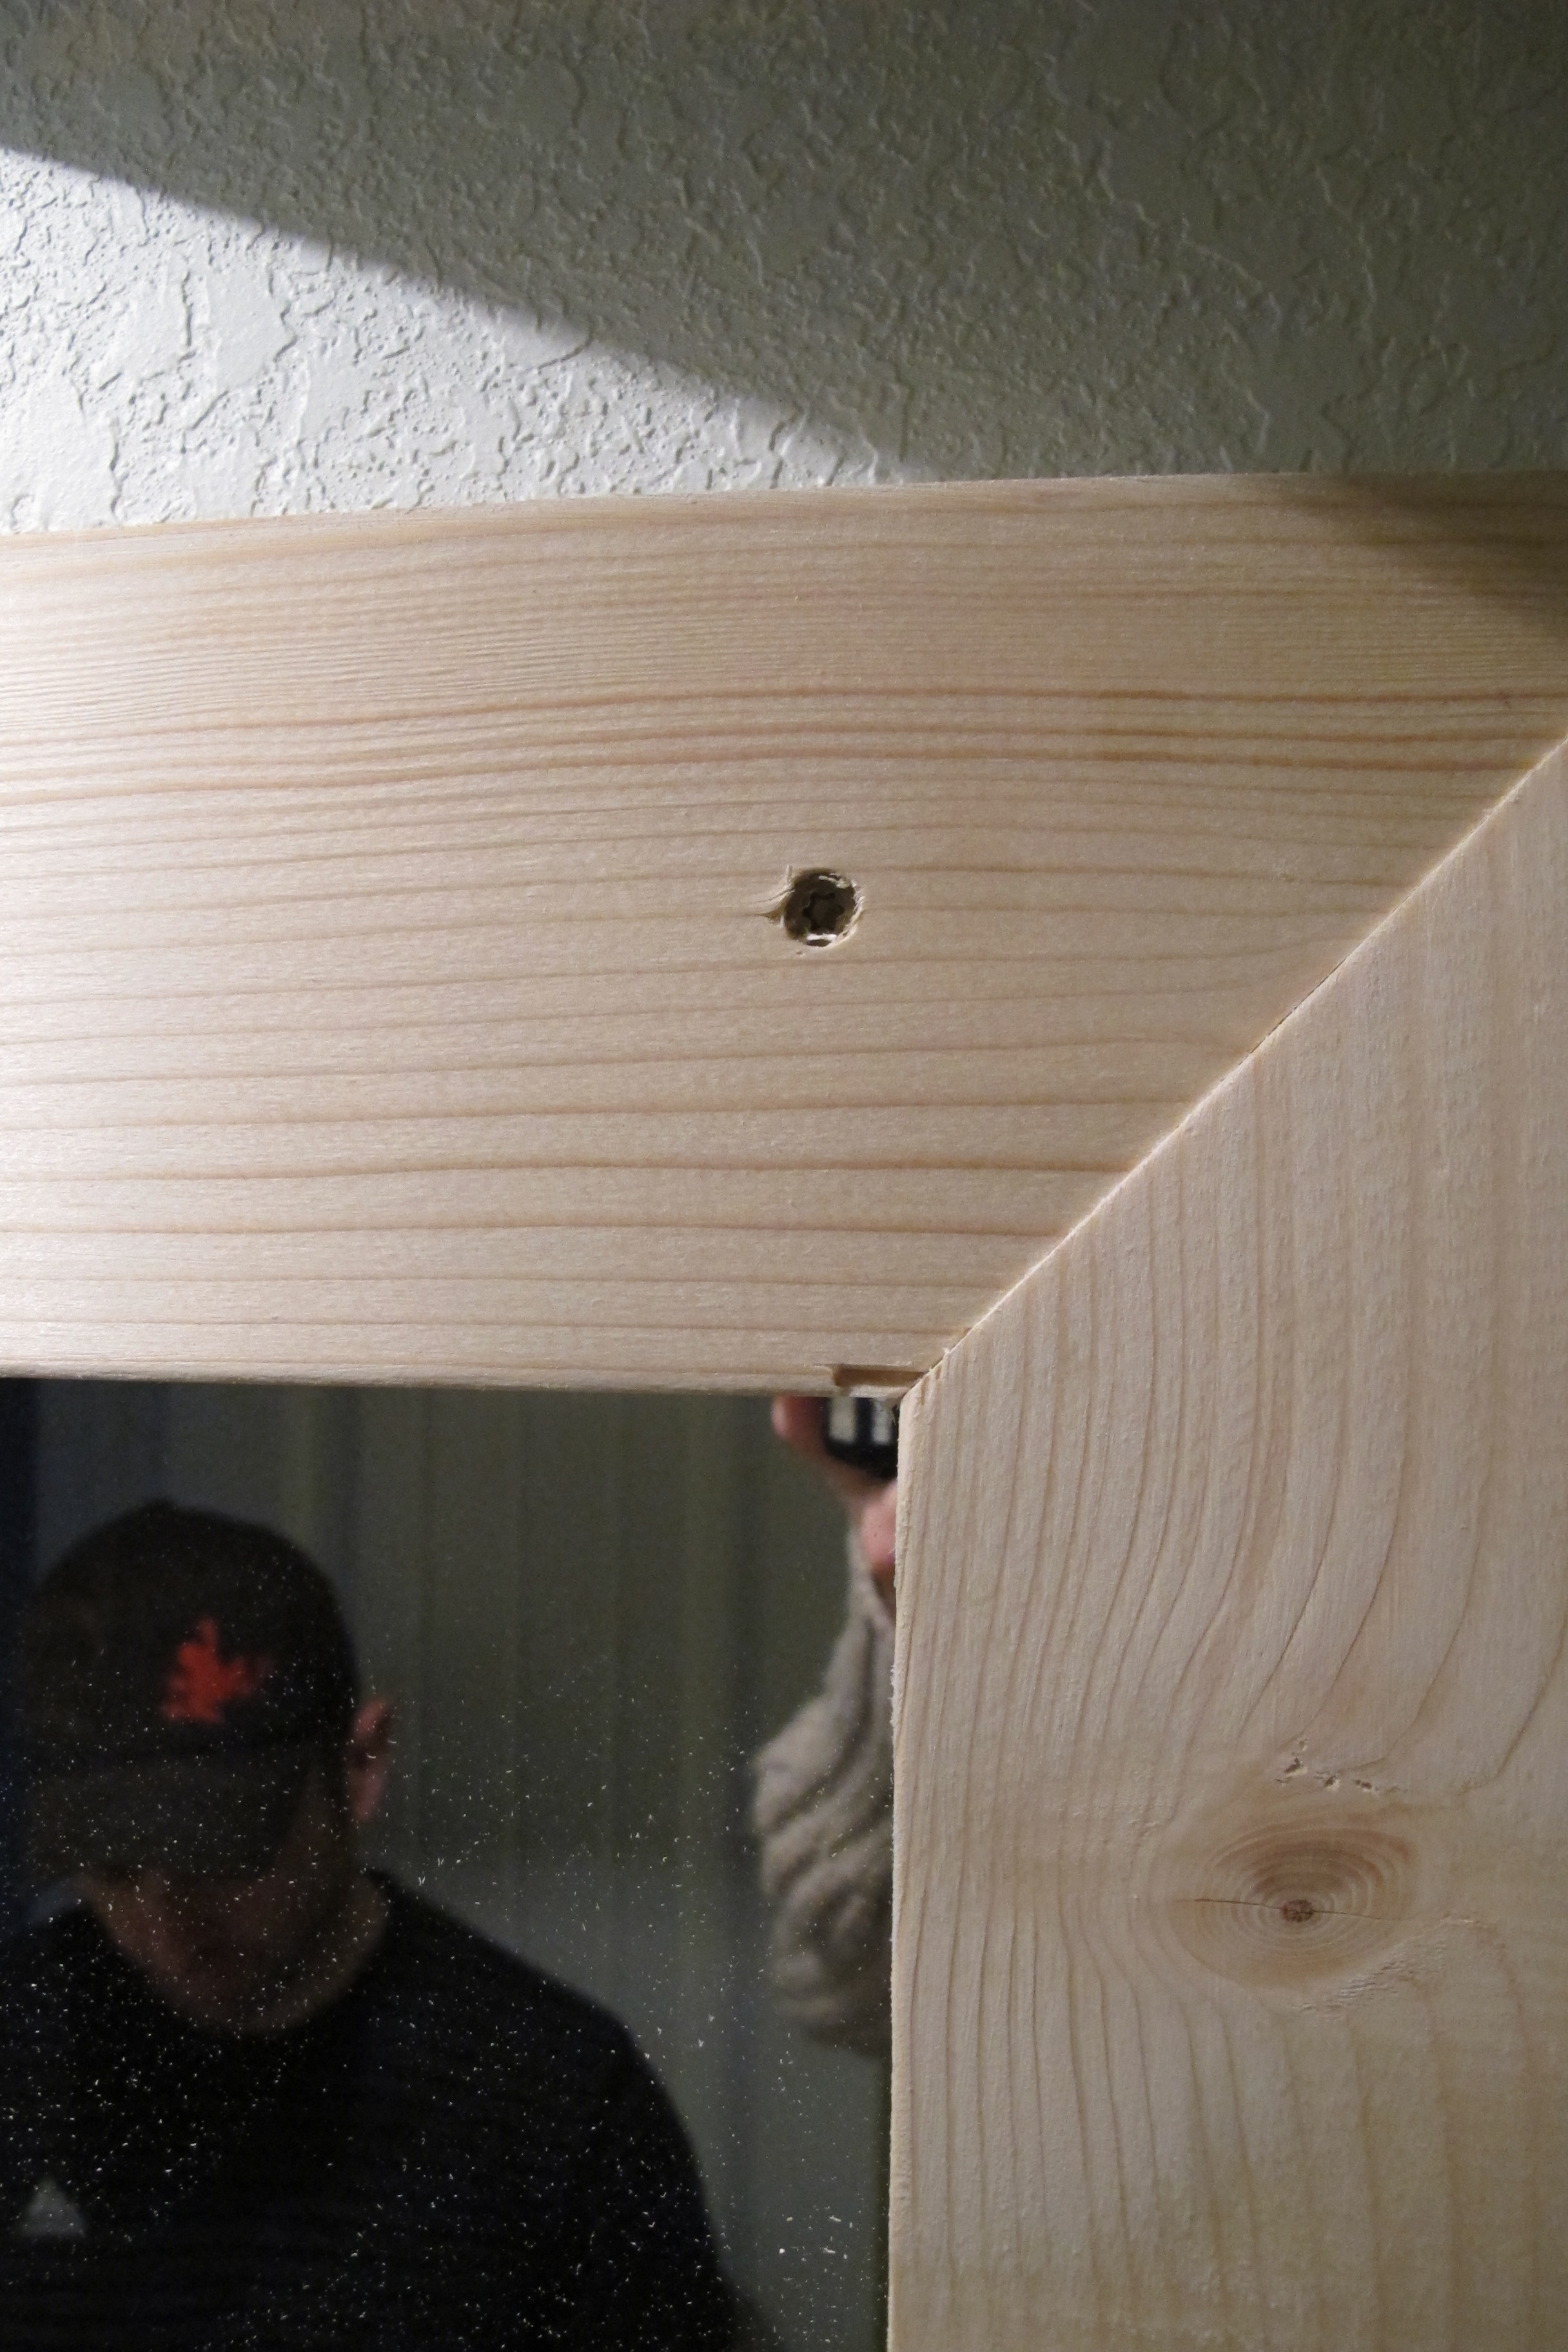
I filled them in with wood filler, waited the allotted dry-time, sanded, then repeated the process a second time.    I’ve always found that the second application is key in achieving a smooth finish.  Which left me with this…

IMG_4202

Now for the fun part… I had some Clark & Kensington white paint + primer leftover from a few previous projects, so I simply poured a small amount into a plastic cup and added an equal amount of water. Then, I stirred very well.

I basically treated it like stain. I brushed it onto my frame…

IMG_4208

Then, immediately wiped it off with a rag…

IMG_4211

You can see the difference on the top portion of this pic with one coat here…

IMG_4204

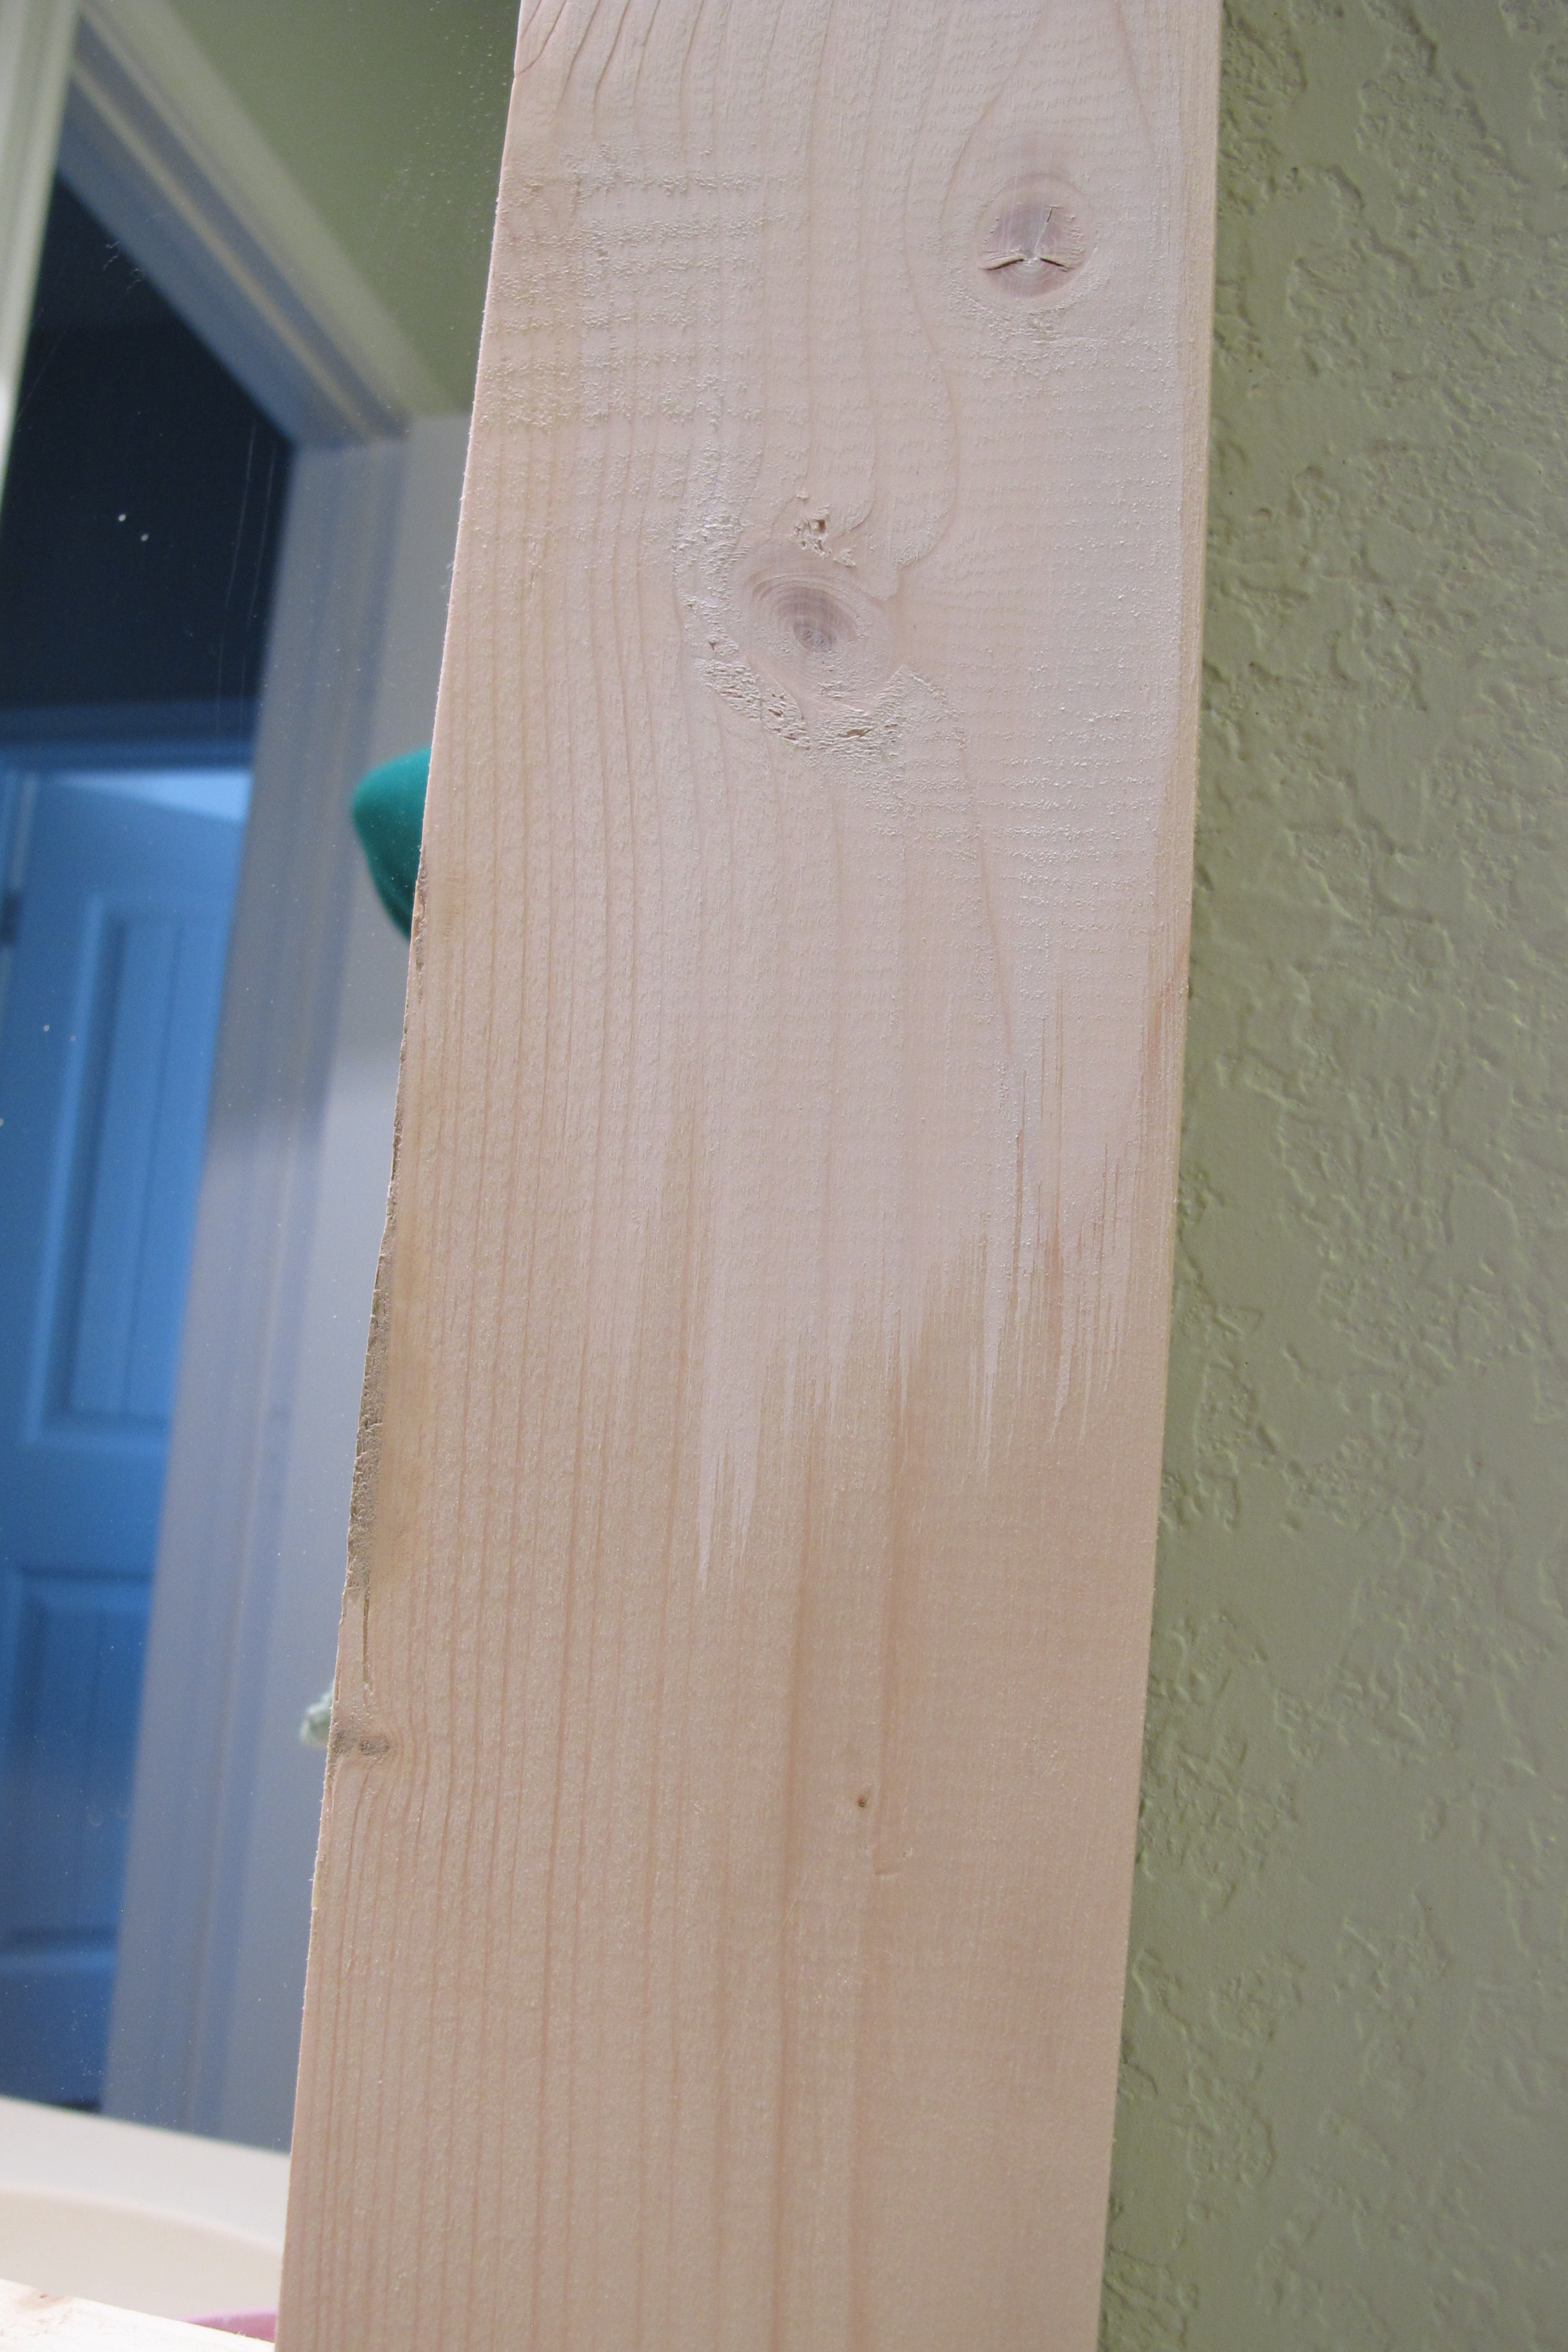
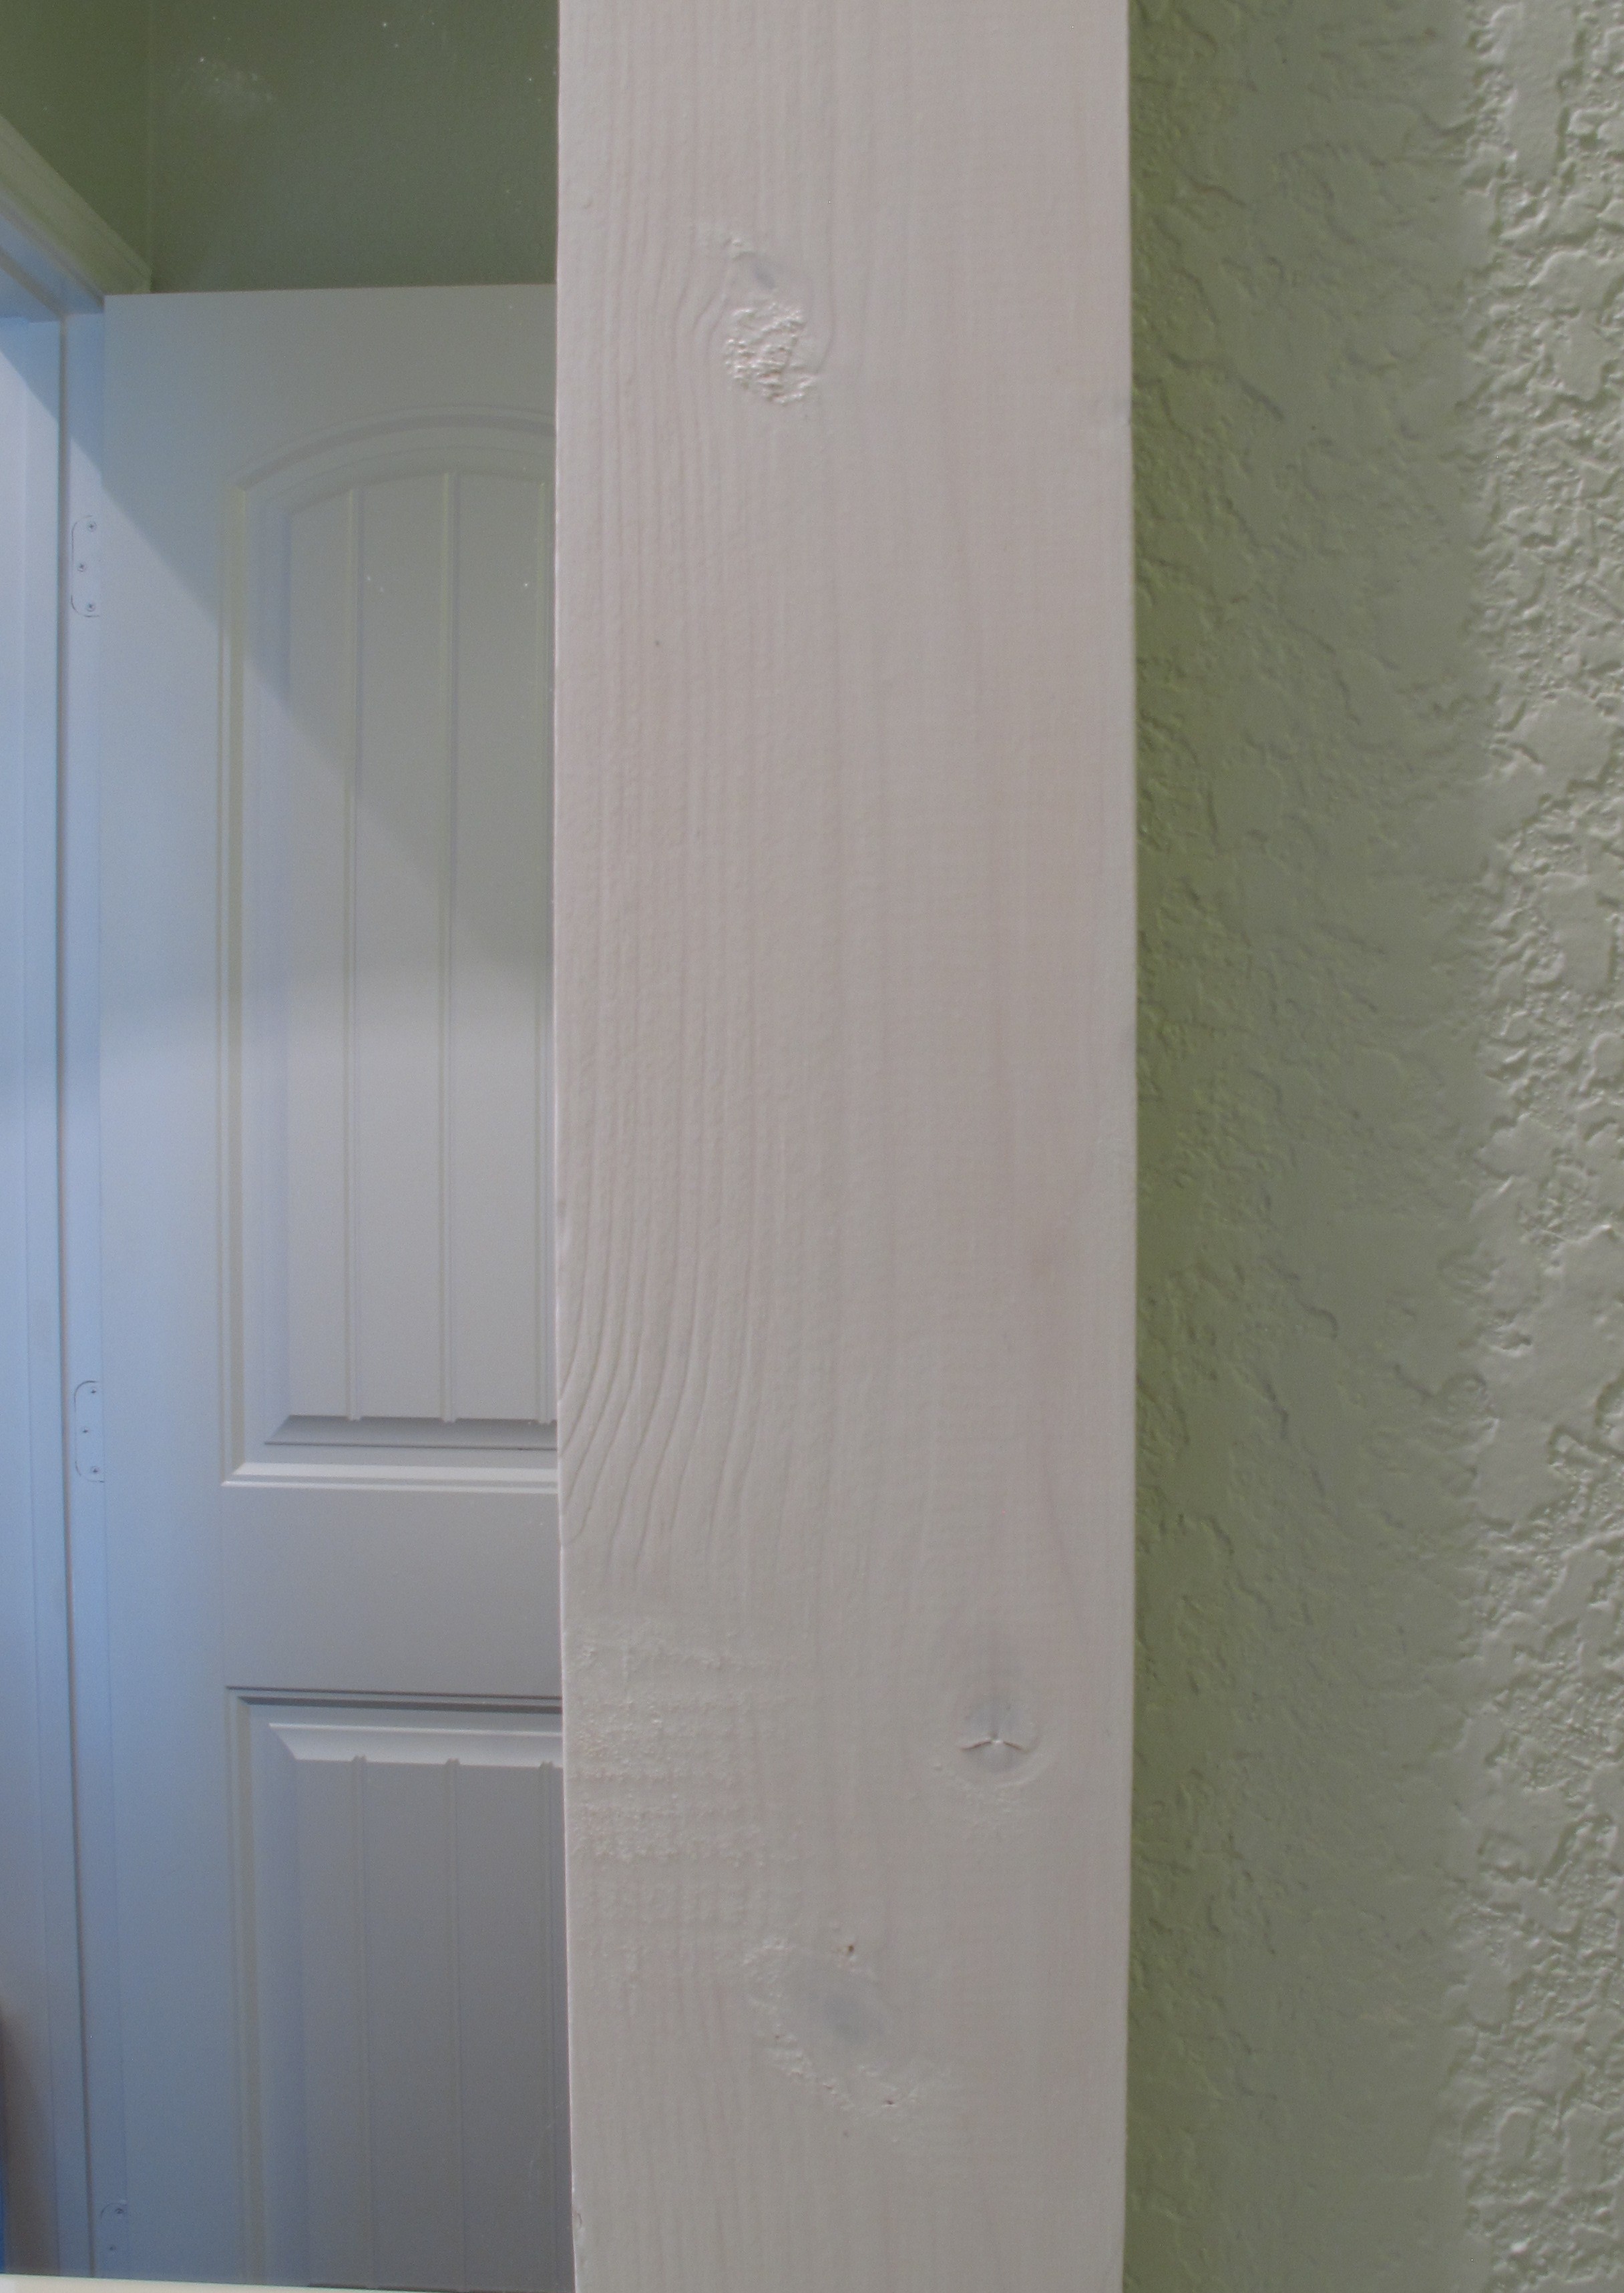
I ended up doing a total of three coats which was the perfect amount. It got rid of all traces of yellow undertone, but still allowed the knots and wood-grain to shine through.  I pretty much zipped through this part.  The paint dried so fast that by the time I’d completed one coat, I was able to start another.   The whole process maybe took me an hour.  Easy-peasy.

Several times I forgot that I wasn’t dealing with normal-consistency paint.  I failed to wipe off my brush adequately against the side of my cup, so when I lifted my brush to the frame, paint dripped EVERYWHERE.  This pic, unfortunately, doesn’t show the splatter-painted countertop beneath, but you get the idea….

IMG_4205

So, don’t do that. You need very little paint on the brush.  Please learn from my mistakes if you decide to try this.

Also, I may have mentioned before that I’m not a fan of taping. I tape sometimes if a project calls for it, but most of the time I get lazy/cocky and think I don’t need it. Because I didn’t tape and this was a slightly drippier project, I ended up getting a fair amount of paint on the glass.  It took me a while to scrape all the paint off with my razor….

IMG_4214

So, after I was done scraping I went ahead and taped off my mirror…

IMG_4225

Now, I’d completed a bunch of research prior to starting this project to determine which product would be best for a topcoat. I already owned several types of polyurethane (the original plan), but had read that poly will yellow white paint, which is the opposite of what I’m trying to do here.  After reading a bunch of articles, I finally landed on this…

IMG_4228

Polycrylic in clear satin finish. It claims to dry crystal clear and all of the reviews I read contested to the same.  Plus, it’s low odor which is a plus since there are no windows in the bathroom. When we framed out the mirror, I mentioned that I already owned the stuff to finish my frame, but I actually ended up purchasing a can of this stuff for 8 bucks to be on the safe side.

I applied three thin coats of Polycrylic, sanding lightly with fine grit sandpaper between coats.  This somehow took me three days. Each coat seriously went on in 15-20 minutes a pop. And according to the can, recoating can happen in as little as 2 hours.   Yet, it took me three days.  Go, me.

After I applied the last coat, I removed the painter’s tape.  Remember how I thought I was saving myself so much time by taping? Well….

IMG_4265

Holy bleed-through, Batman.

So, four days later (yes, you read that right), I scraped. Again. Moreso than when I didn’t tape. Go figure.  I must be really bad at taping.  But, in the end, it was worth it.  All seven days that it took me to finish this project.  And it’s not even the project’s fault.   It wasn’t difficult or time consuming. I just had a hard time keeping up the momentum. And was reminded of this every time I walked in there and noted the mess that I continued to not deal with all over the countertop.

As an aside… while I was in the middle of applying my third coat, I ran to the garage to get something. Which is when I heard Lucas’s voice sing-songing from the bathroom,  “I helping! I helping!”. A wave of terror washed over me as I pictured the bathroom covered in Polycrylic. I rushed in there and Lucas simply looked at me and said, “See?? I helped!”. And he pointed to this…

Slippers on the counter.

Apparently, I’ve passed my gift for random onto my offspring.

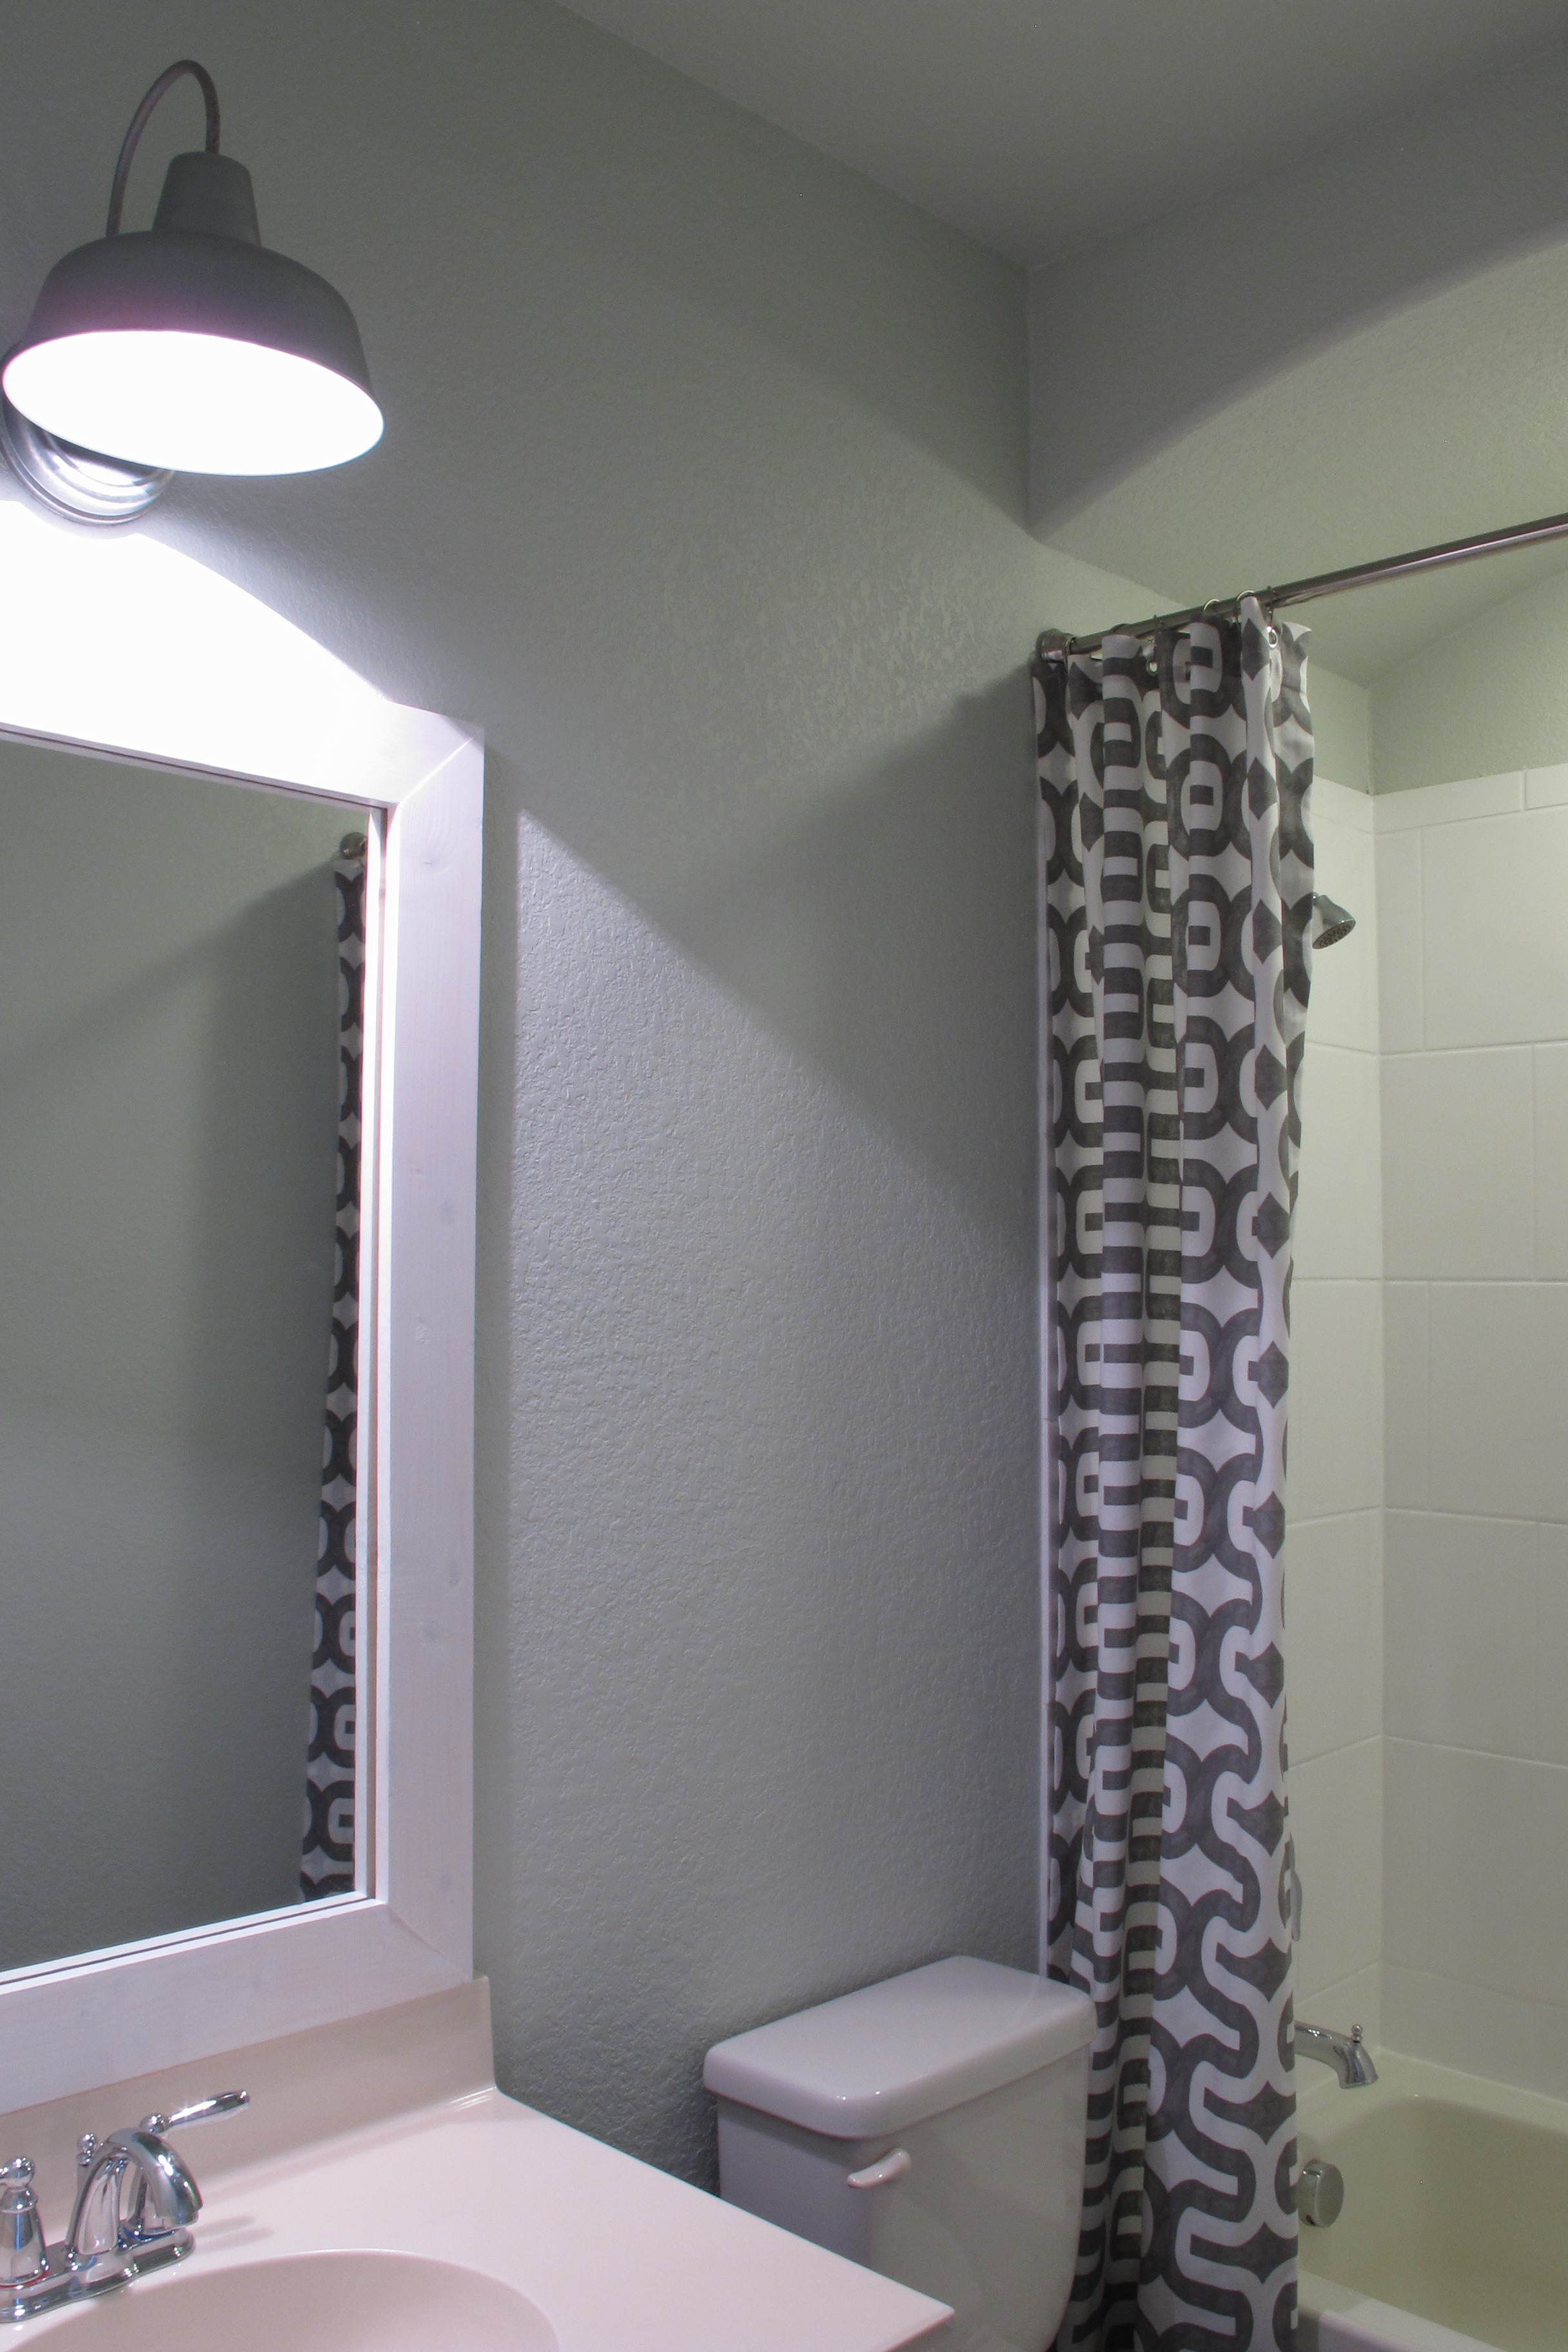
Anyways, in the end, our mirror turned out like this….

IMG_4279 IMG_4270 IMG_4276 

It’s exactly what I wanted. Bright and airy, with a slightly rugged edge. It ties so nicely into both the barn light and the curtains. I’m giddy when I see it.  And with purchase of the Polycrylic, it only took 29 buckaroos to turn this mirror….

IMG_3096

Into this….

IMG_4267

I know it looks a little monochromatic right now (I’m really sad that the paint color is appearing so grey in these pics rather than the soft aqua that it is). But I will say that I played around with a few accessories and started getting really excited.  Hopefully, those will bring in the pop that is my final vision.   So, now we just need a new faucet, handle for the false drawer on the vanity, toilet paper holder, hooks and accessories to complete this budget-friendly makeover. The finish-line is in sight!!! Woo-hoo!!!

Framing our builders mirror

We did it!   Well… Joey did it.  We came up with the plan together, went shopping at Lowes, then Joey executed the frame-building while I watched, took pictures and helpfully pointed out if things didn’t line up  (There was only one time, and he fixed it).  Kudos to my man!  First time framing out a mirror and he blew it out of the water.

Before taking on this project, I’d read countless tutorials on Pinterest about how to frame a builders mirror.   I researched everything from gluing molding on with adhesive, to screwing in the pieces around the mirror, to a combination of the two.

In the end, we decided to go with the “screws” version since I’d read a few updates where adhesive didn’t always hold the molding securely on its own (I’m entirely sure this depends on the type and weight of molding, the amount and type of adhesive used and the amount of moisture in the room, as I know many people have had success with this method as well).  But, since I tend to be the poster child for Murphy’s Law, I figured that I’d likely be in that unsuccessful percentage.   Thus, we decided to err on the side of caution.

Our original plan was to use the pallets that we had leftover from our outdoor rock delivery, but since they were left outside and we had snow and rain recently, we decided to just spring for new wood rather than wait for the pallets to dry out.

Once we were at Lowes, we meandered around the lumber aisles in search of suitable wood. We ended up picking up a few whitewood 1″x4″s and a few of these 1/4″x2″x4′ sticks…

20140215-160329.jpg

Once we got home, Joey measured and mitered the edges of all the wood…

IMG_3966

Then, he screwed the edges of the 1″x4″s together to make a frame. He recessed the screw heads into the wood and only installed screws on the top and bottom edges to help camouflage them….

IMG_3969

Then, he mounted the 1/4″x2″ sticks around the mirror using screws….

IMG_3972

These would serve to bridge the difference between the thickness of the mirror and the wall and give us a nice level surface to secure our 1″X4″ frame to. We decided to forego the little plastic brackets up top, since once the frame was mounted, it would hold the mirror securely to the wall. Along one edge, there was no stud. So, Joey used anchors, which unfortunately came with these round-head screws. I forgot to snap a pic but you can kind of see one at the bottom of this shot (also note the flat-head screws he used on the other pieces)…

IMG_3974

To compensate for the rounded screws and ensure that the frame laid flat once installed, I dabbed the screws with paint….

IMG_3975

Then, Joey lined up the frame, and pressed it into place over the screws….

IMG_3976

Once he removed it, we were left with two marks like the one within the red circle….

IMG_39773

Which is where Joey drilled shallow alcoves that would lay over the raised screwheads. This would allow our frame to remain flush with the mirror and surrounding wood on all sides…

IMG_3980

Next, came the matter of how to mount the frame to the mirror. We’d discussed glue and nails as this was the less obtrusive version aesthetically, but Joey was concerned because the wood was slightly imperfect. He worried that with all the moisture in the bathroom, the wood would eventually pop away from the mirror in the more curved spots and look sloppy if we used nails. So, we went with screws and decided to recess them into the wood. The plan was to leave them exposed for a rustic look if I decided to stain the frame or to fill the holes with wood-filler if I decided to paint it.

So, that’s what we did….

IMG_3981

I hadn’t yet sanded this area of the frame when the pic was taken, but I cleaned up all visible screw-holes afterwards.  Which left us with this….

IMG_3984IMG_3986

I haven’t finished the frame yet paint/stain-wise. I wanted to paint the walls first and then make my decision about how to proceed.  I’ll tell you this, though…. The room is now painted (which I will go into in my next post).  And I’ve made my decision. But, I’m gonna leave you hangin’ since I haven’t gotten to it yet.  I’m hoping I’ll have a chance to crank it out sometime this week.

So, anyways, this was a completely inexpensive project and it took just a few hours to install. Here’s the breakdown of cost (I rounded to the nearest dollar for simplicity-sake).

2- 2″x4″s – $10
3- 1/4″x2″x4’s – $6
Screws- $5
Anchors- Already owned
Total- $21

Way cheaper than buying a mirror this size for sure!!!!  One thing that’s not mentioned in the breakdown is the paint or stain that will be used to finish the frame. Even though it’s not done yet, I can tell you that I already own the stuff so it’s free for me, but if you needed to buy them, you could get away with 3 bucks for a test pot of paint or around 4-5 bucks for a small can of stain and the same for a small can of poly (if you decided to use it).

Anyways, we’re happy about how our frame turned out. It’s rustic, yet simple vibe jives with the barn light and is a nice contrast with our glossy painted tile.  My only advice is that if you decide to use 1″x4″s, look for the straightest boards you can find.  There is one tiny area that Joey is bothered by.   It looked perfectly straight and flush when he assembled the frame, but when he secured it down around the mirror, one edge popped up slightly because of a mild warping in the board.   It doesn’t bother me at all because we were going for rustic anyways, but if this is something that would drive you crazy, heed my advice.

So, anyways, I hope you all have a great week!

(P.S.  You can find posts on our bathroom progress so far here and here.  And our tentative plan here. ) 

 photo c390f72f-fd8b-4064-8be3-b63f3c8cc572_zps2f714473.jpg