Can’t get enough frame walls….

Before we put our last house on the market, we engaged in full house decluttering.  This process included renting a storage unit and storing every item that we didn’t absolutely need in an effort to make our closets appear more spacious.  Several weeks ago (almost a year and a half later), we finally got around to unloading our storage unit and bidding it adios.

I’ll tell ya, sifting through things that you forgot you had is pretty fun.  And I say that literally.  Its like shopping out of your own stuff for free.   Among the old Lucas baby paraphernalia and random college textbooks we found a few gems worthy of sharing.

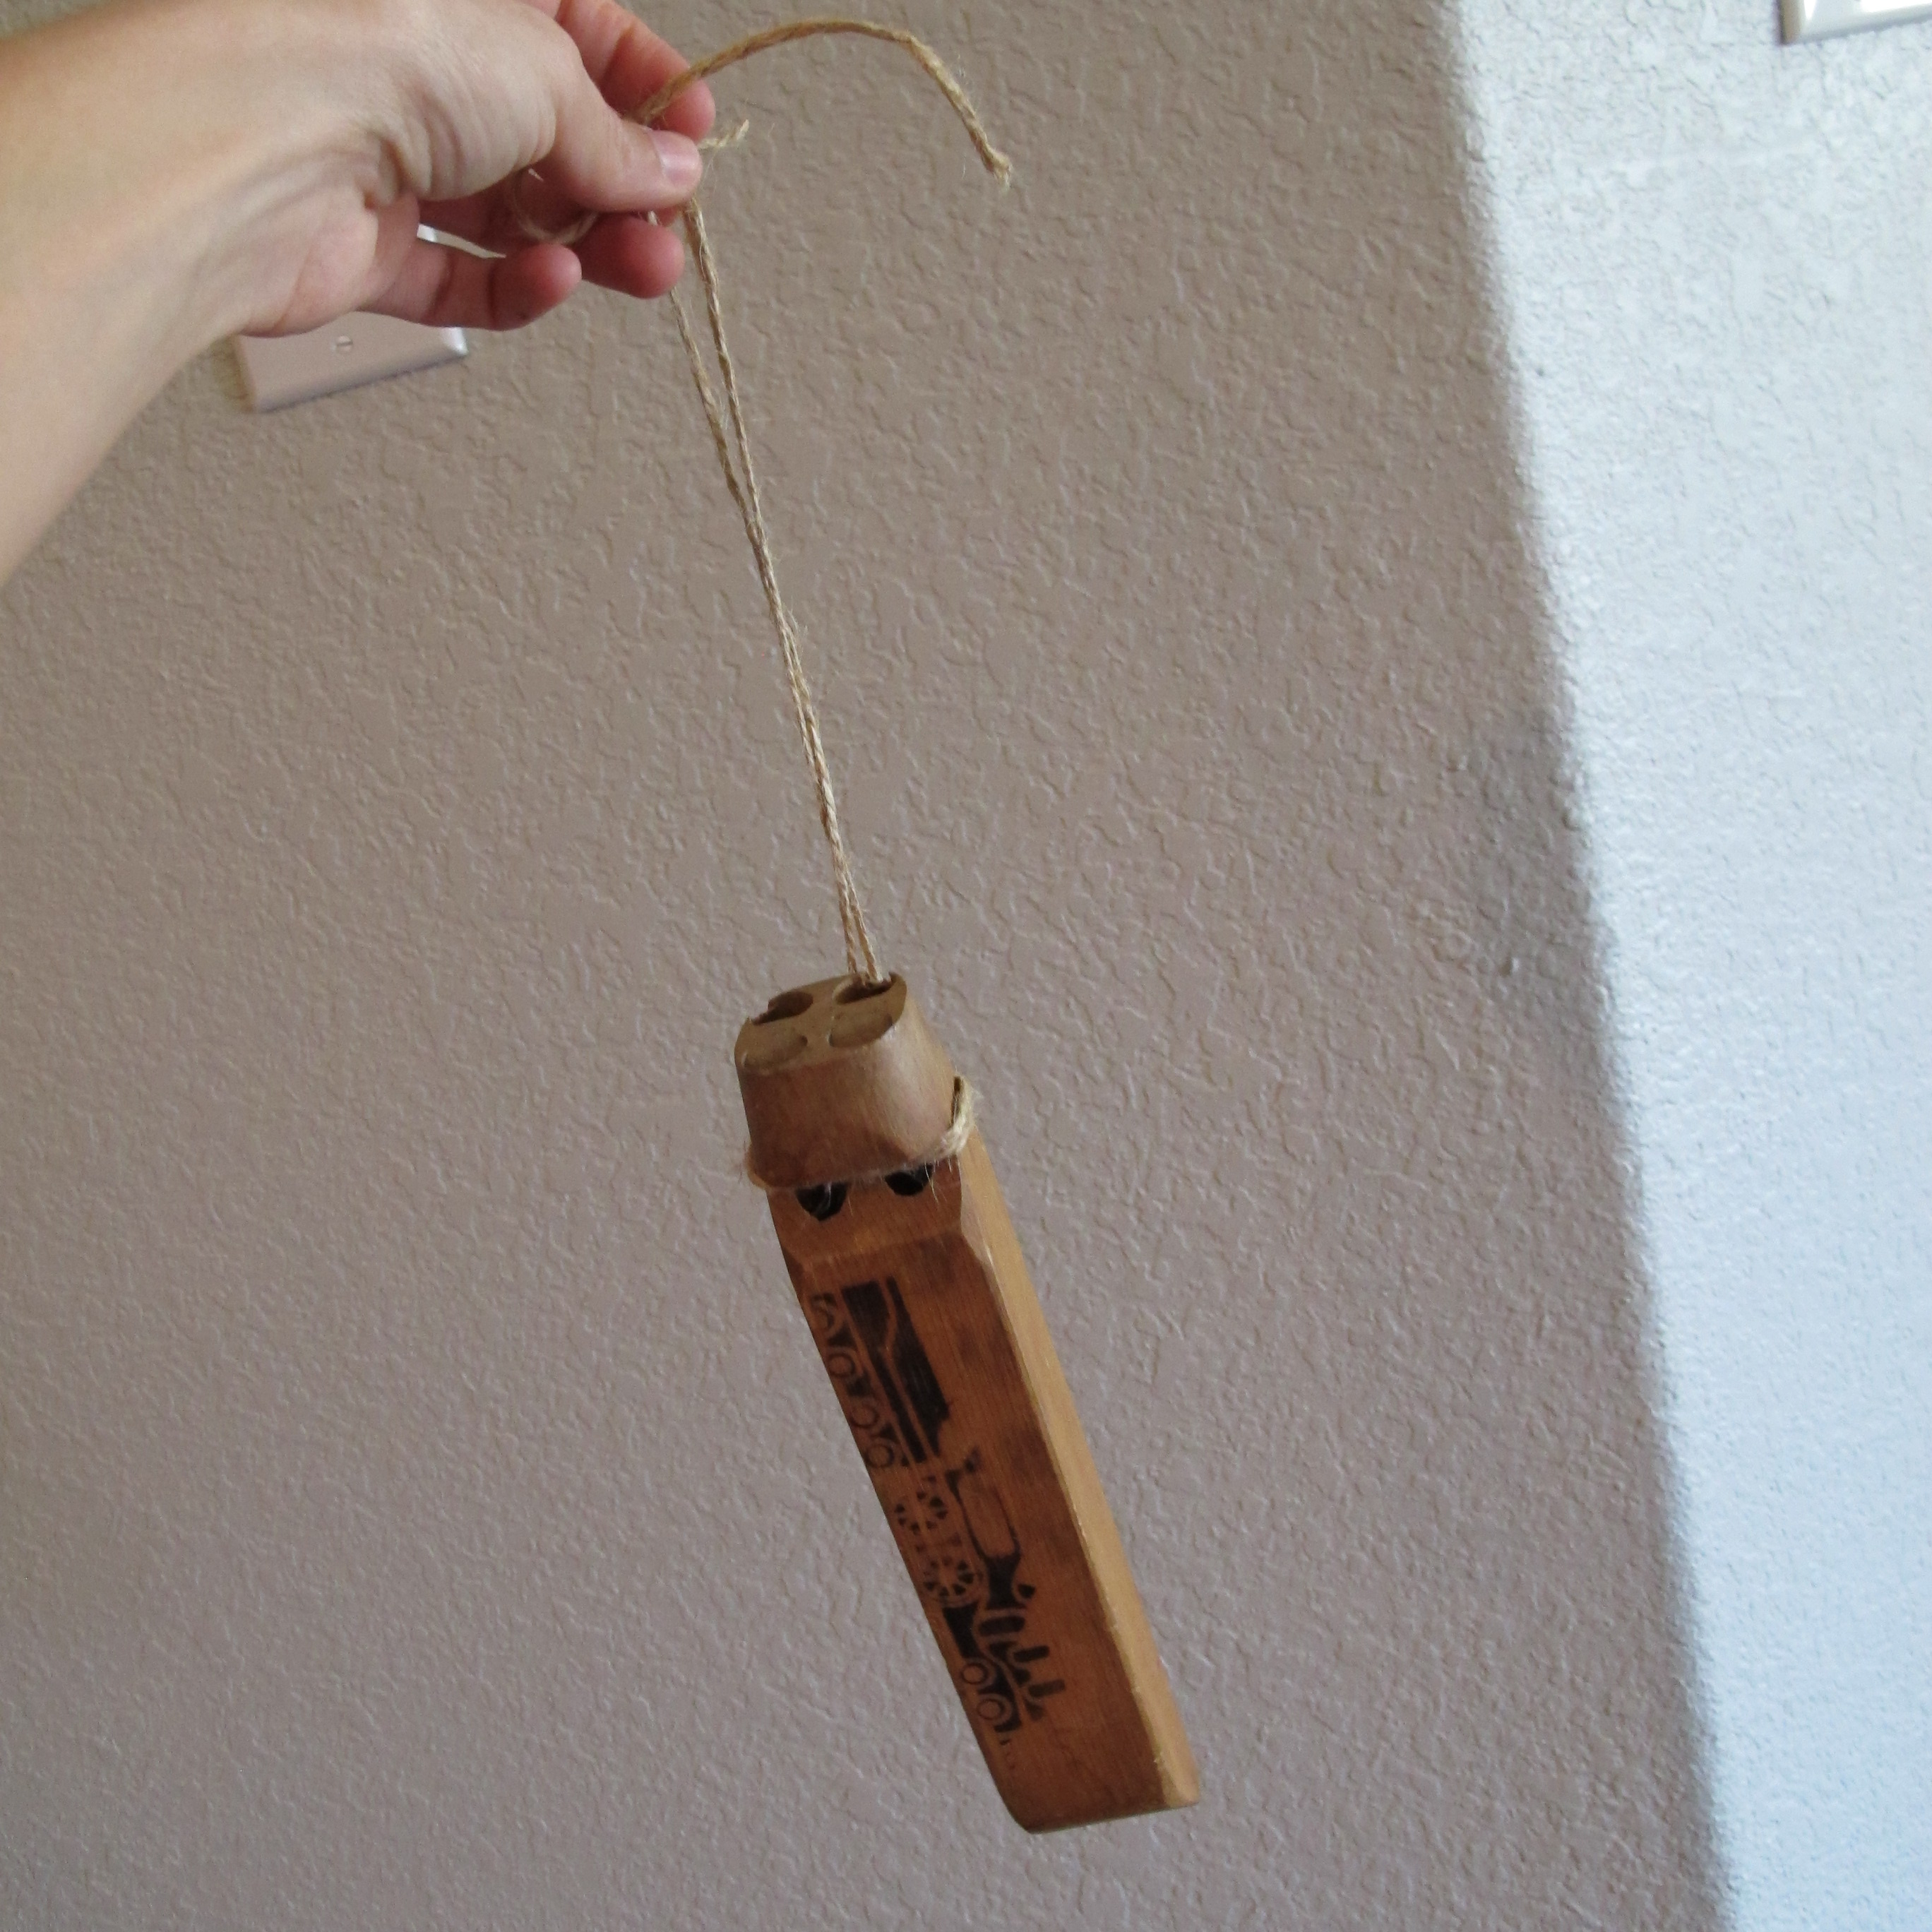
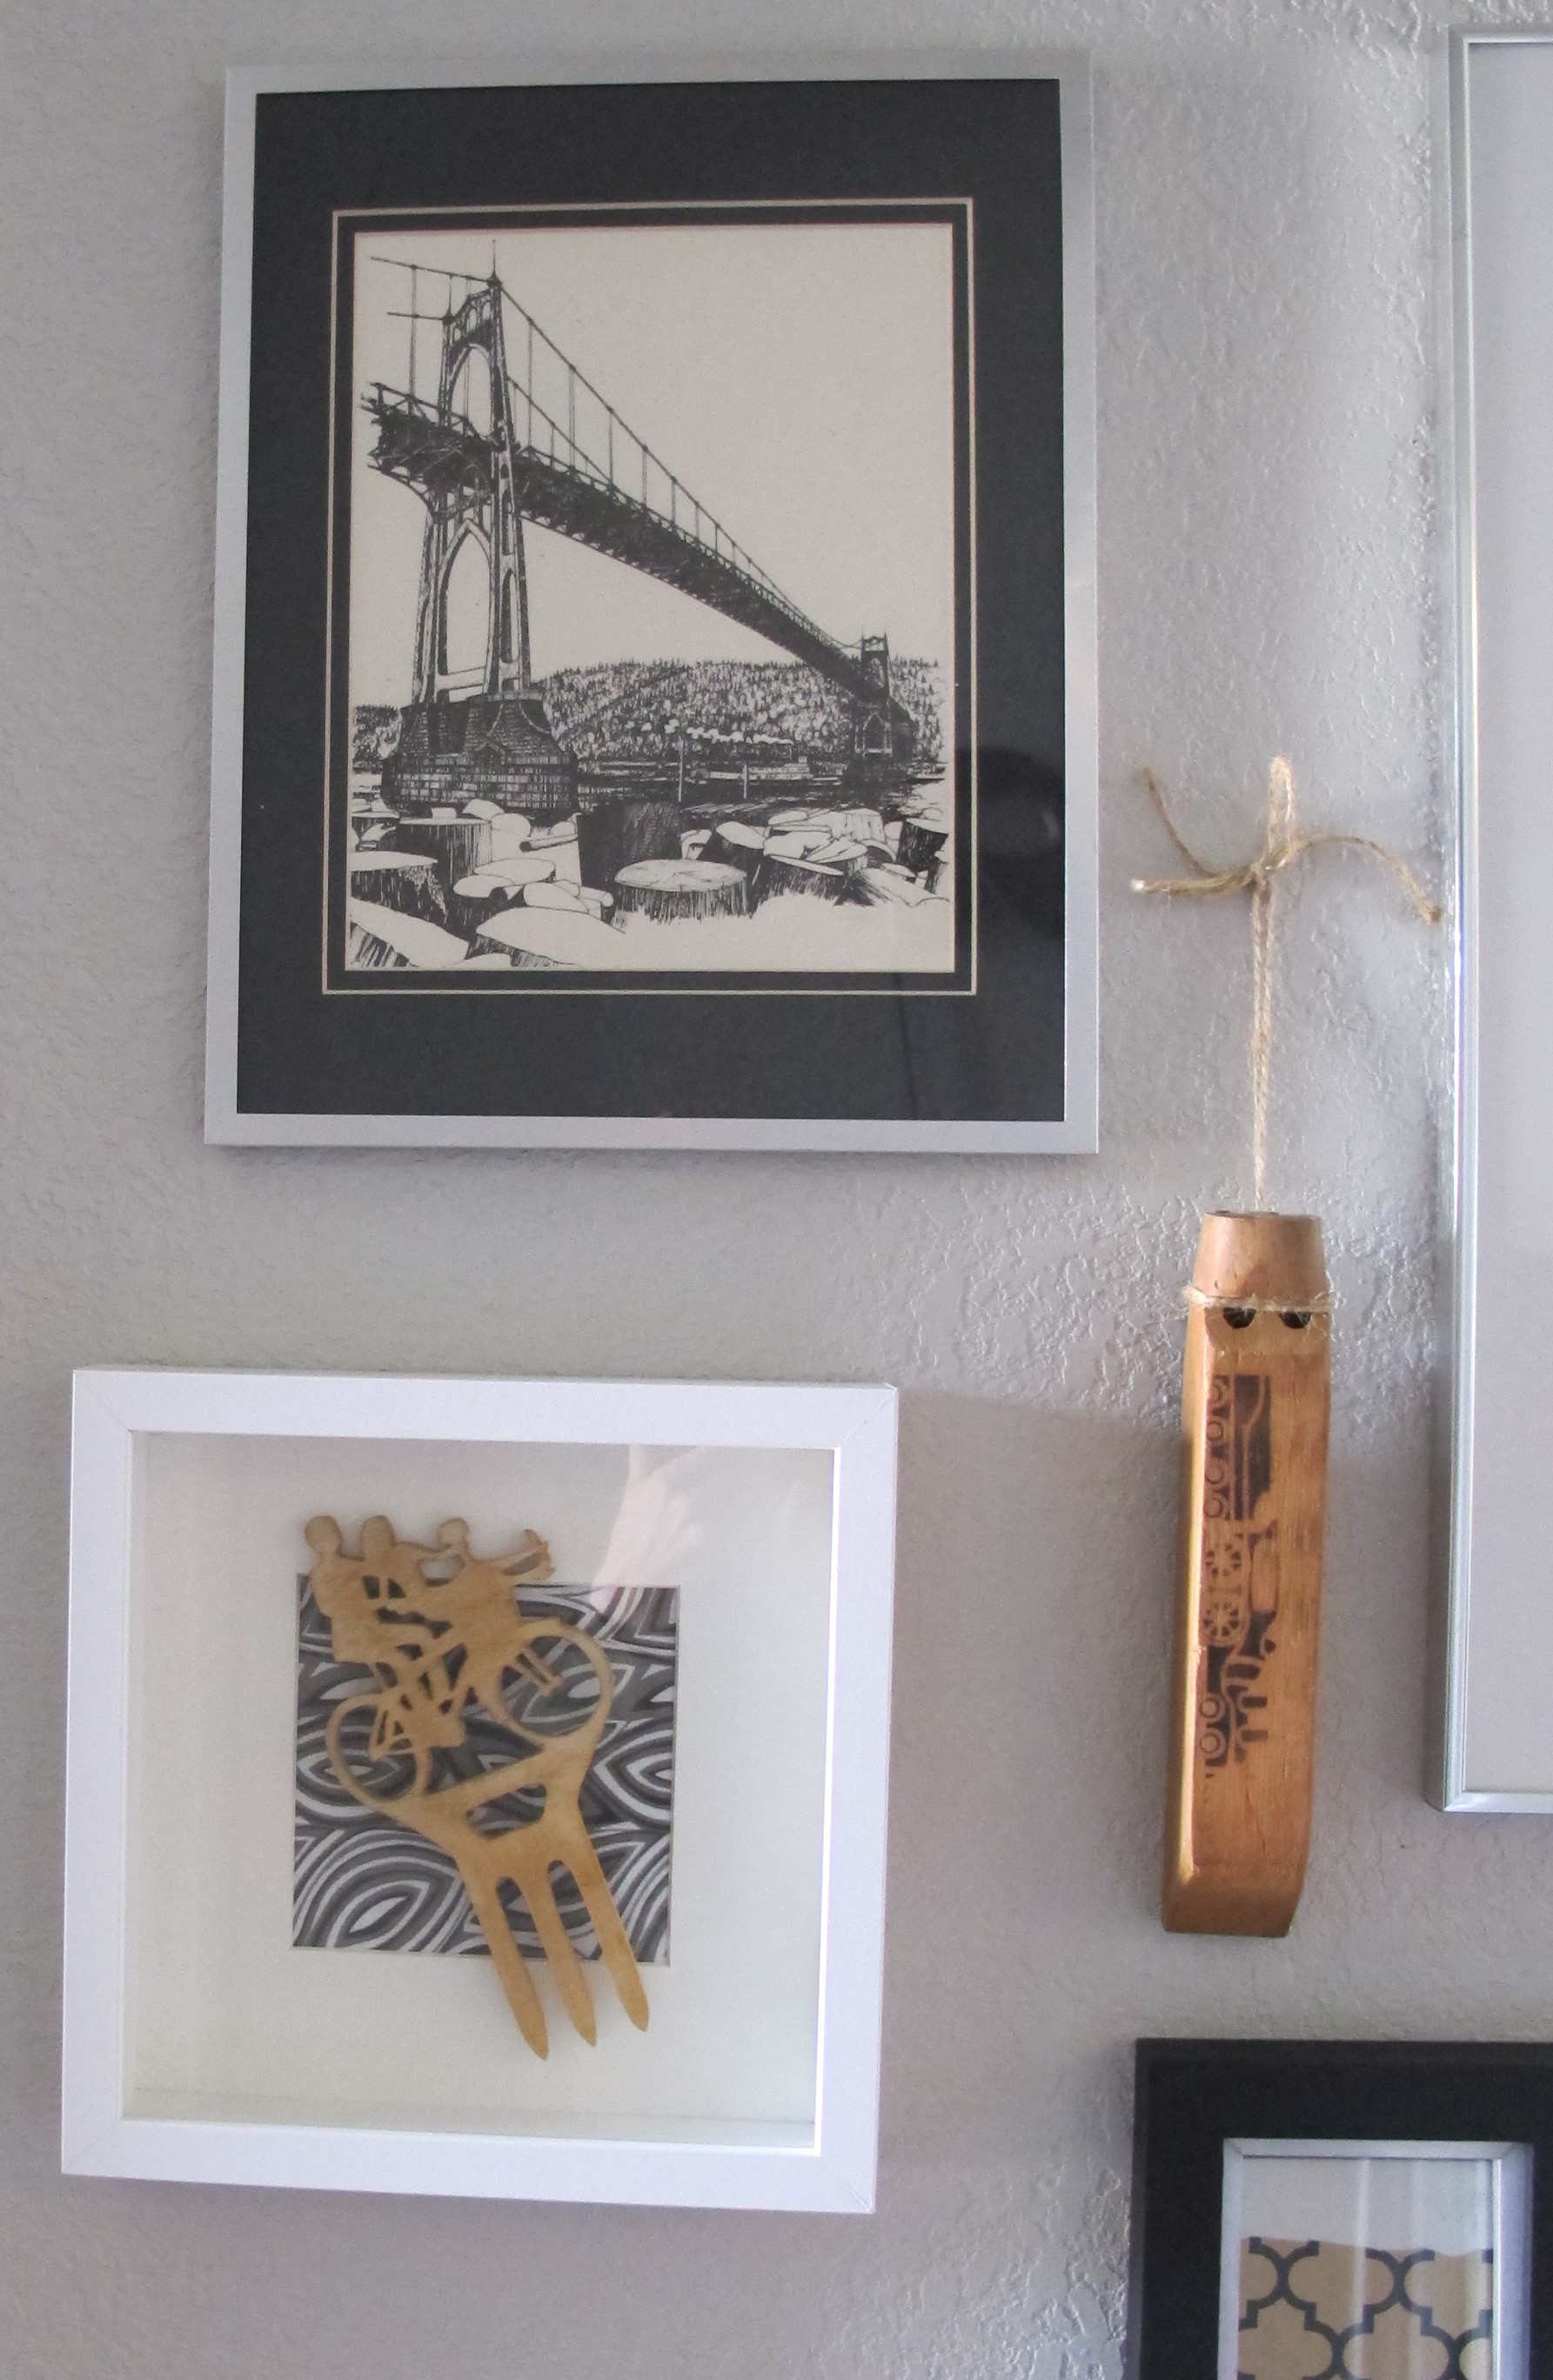
First is this neat, hand-carved whistle that Joey’s had since he was young…

IMG_1641

It sounds like a train whistle when you blow into it. The picture of the train is burned on.  And check this out…

IMG_1640

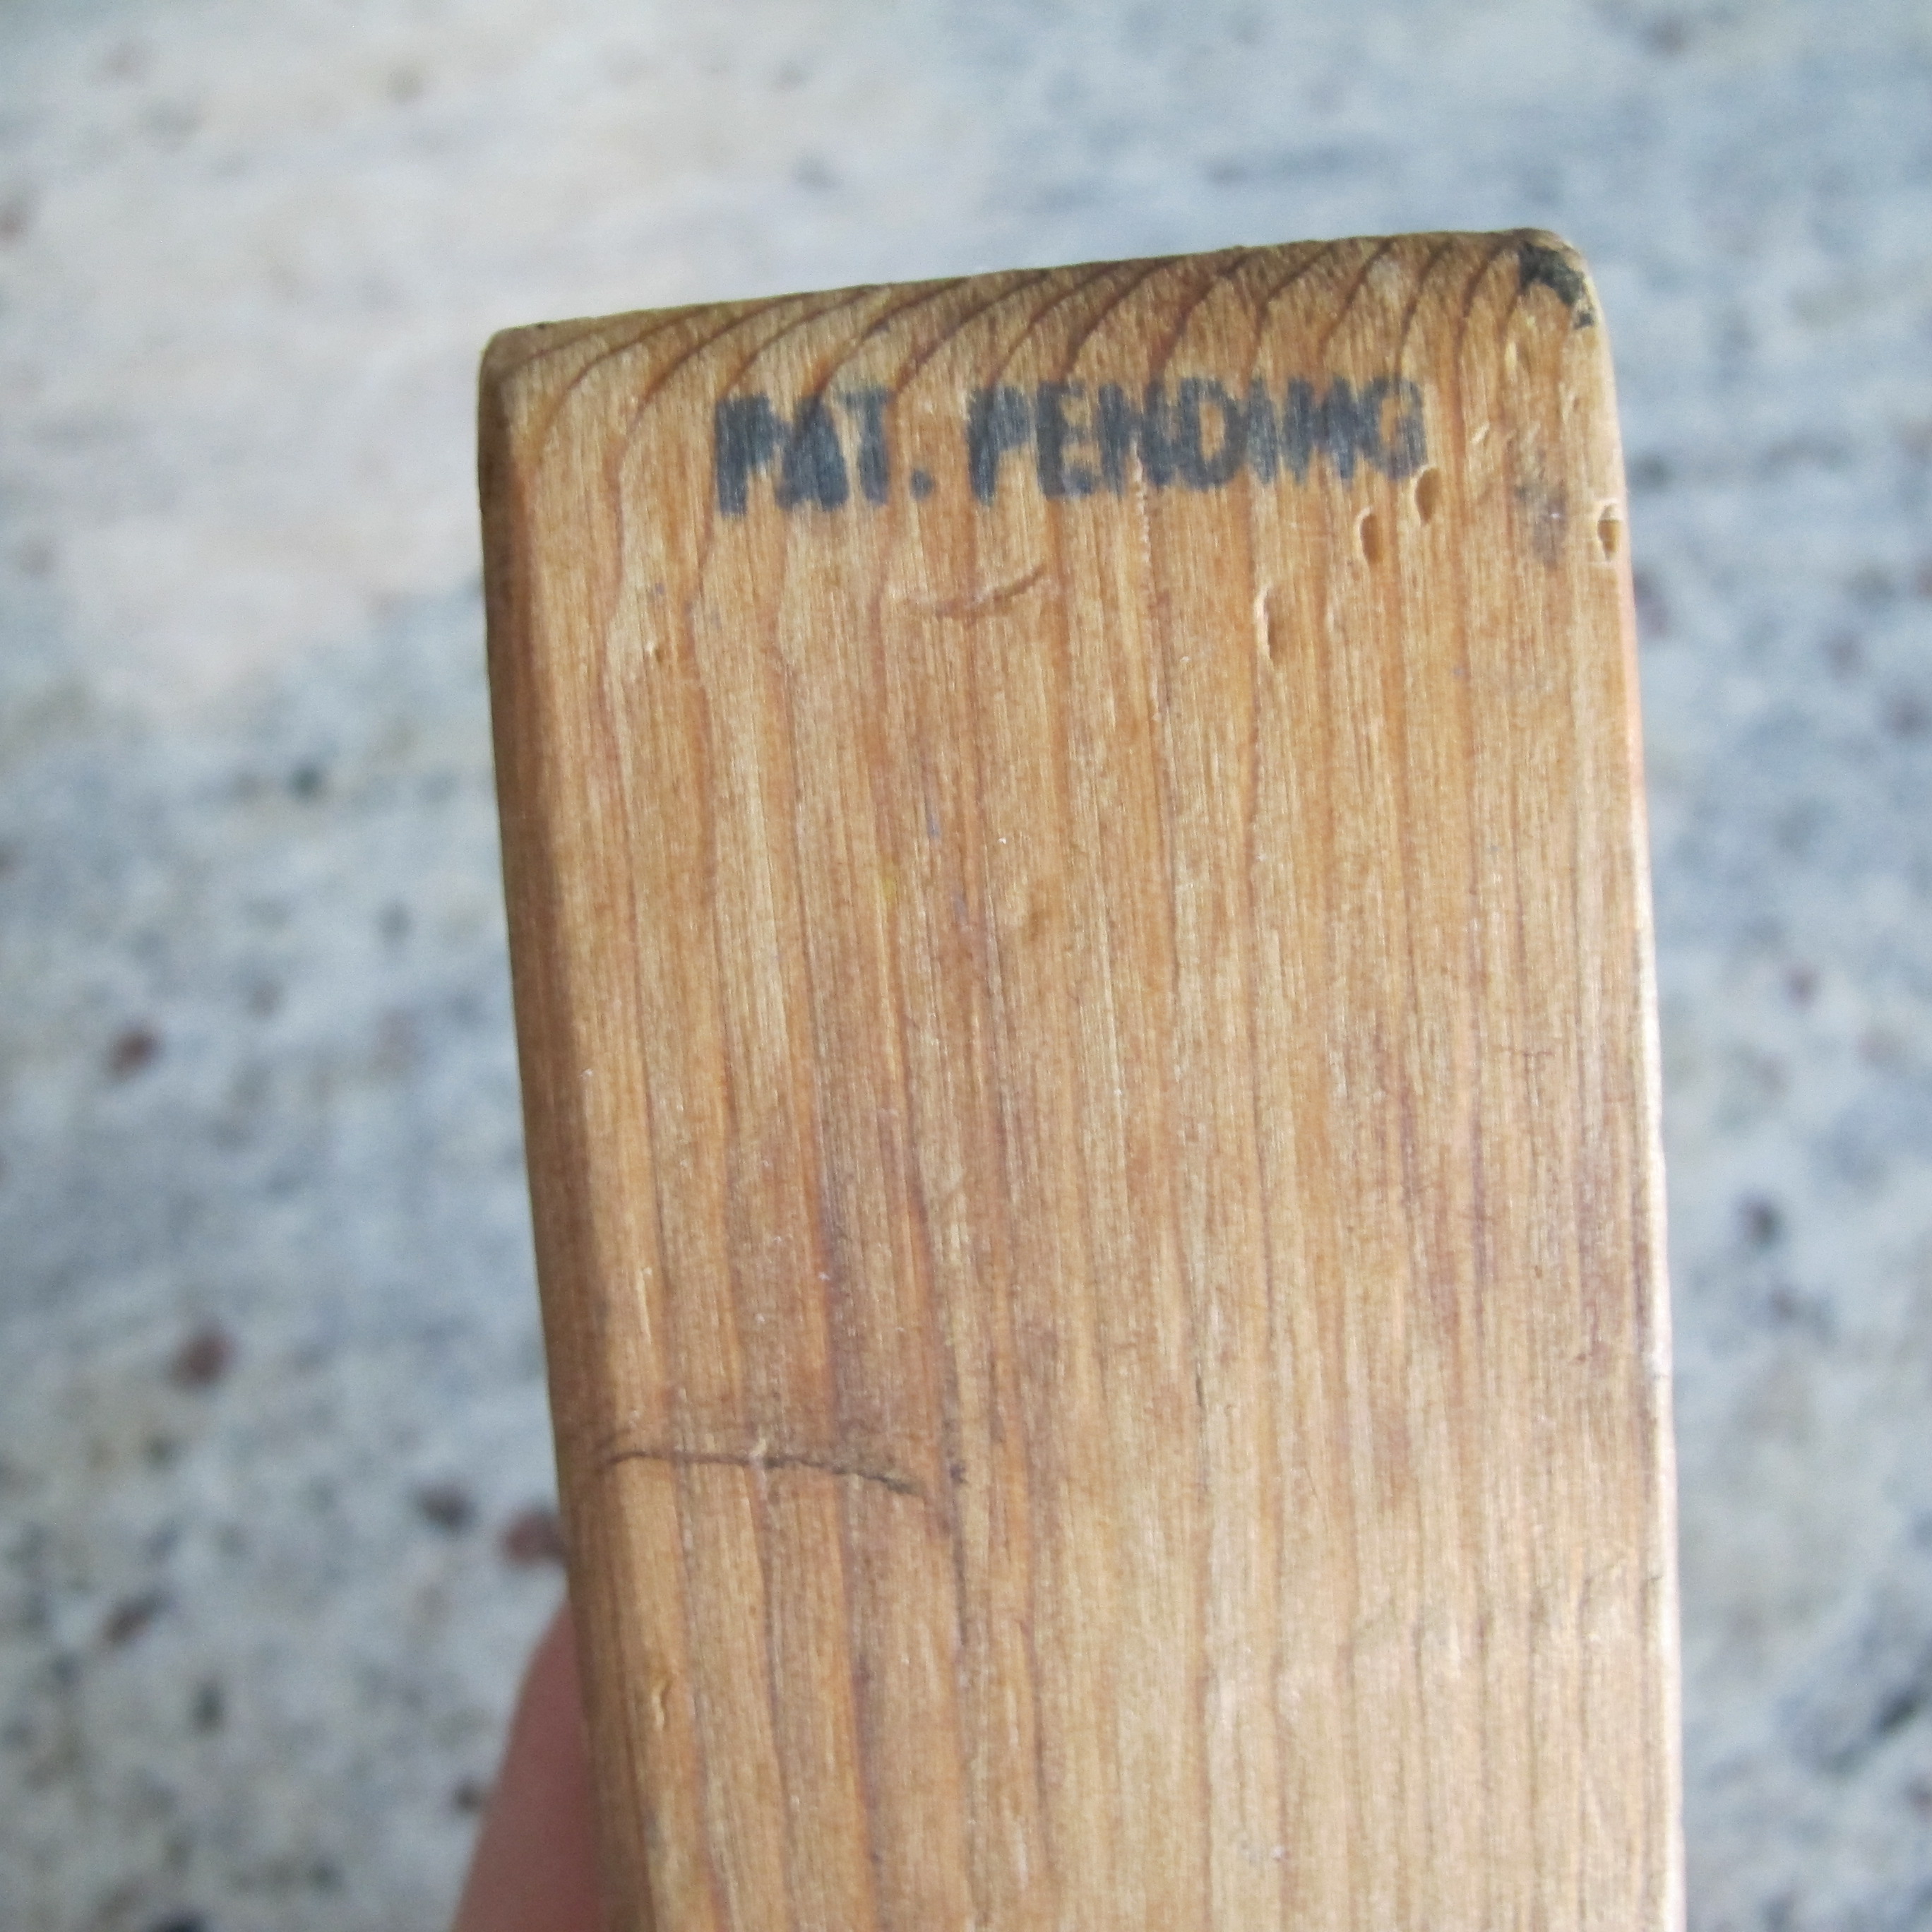
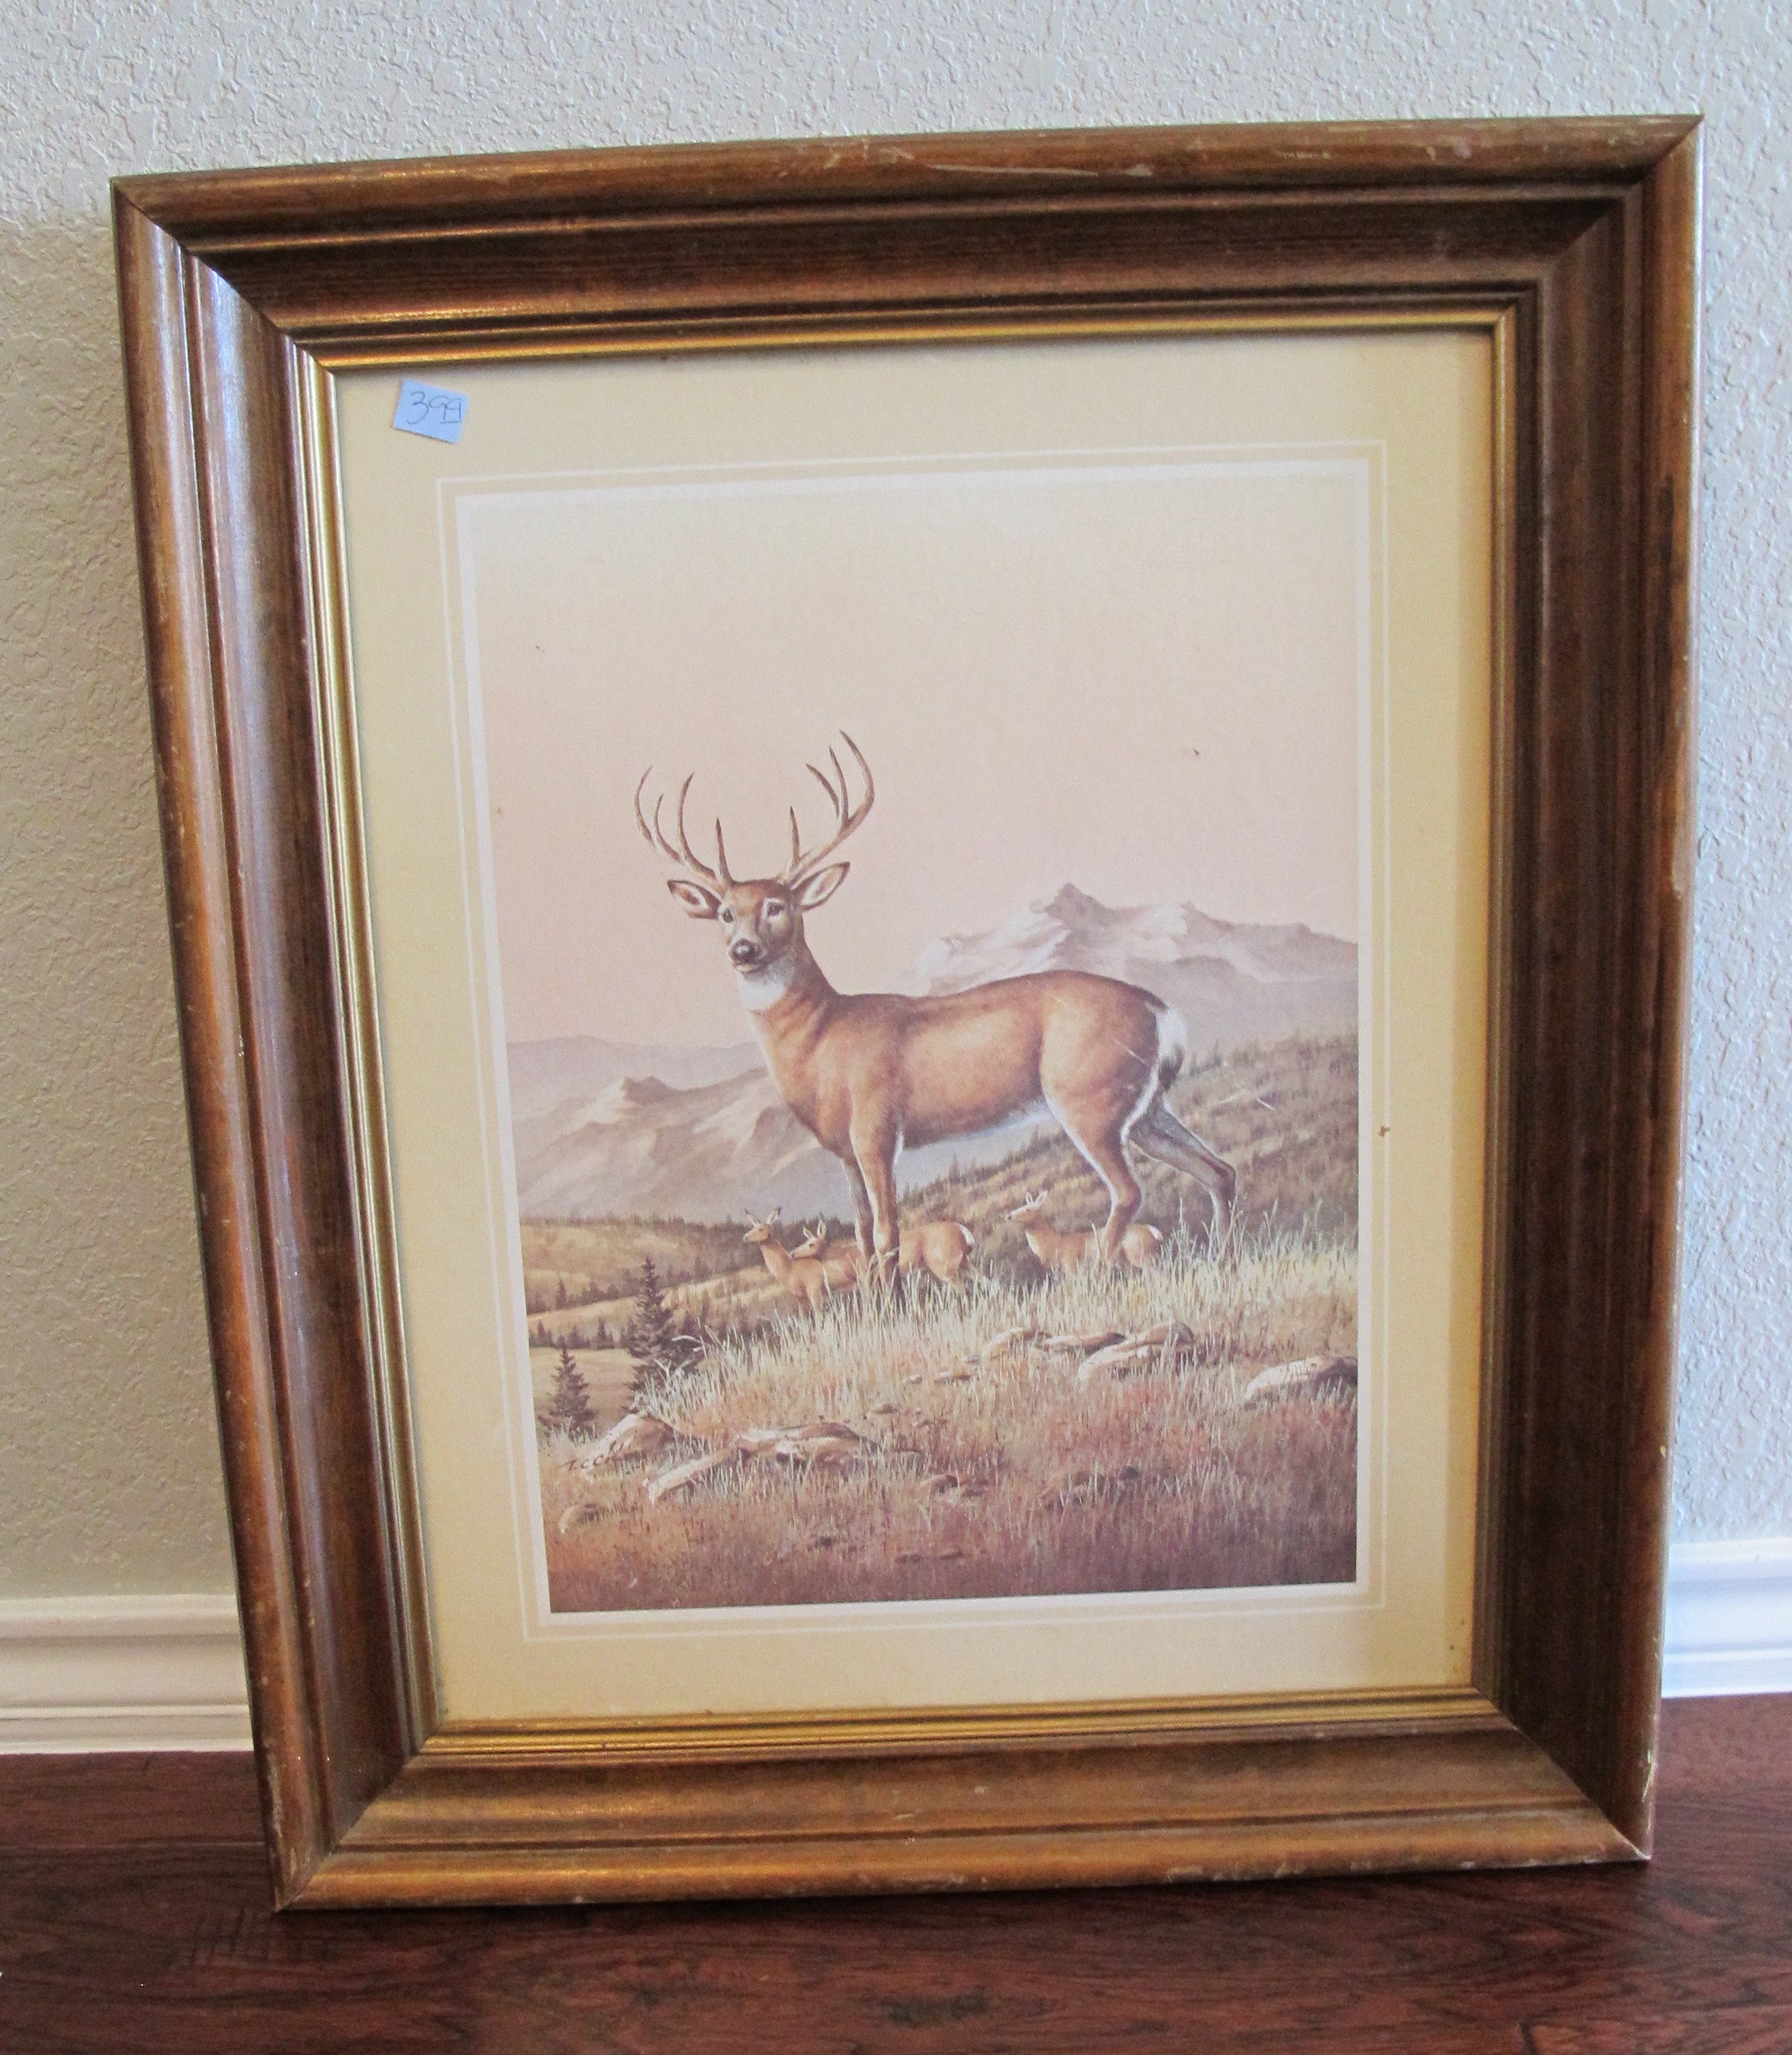
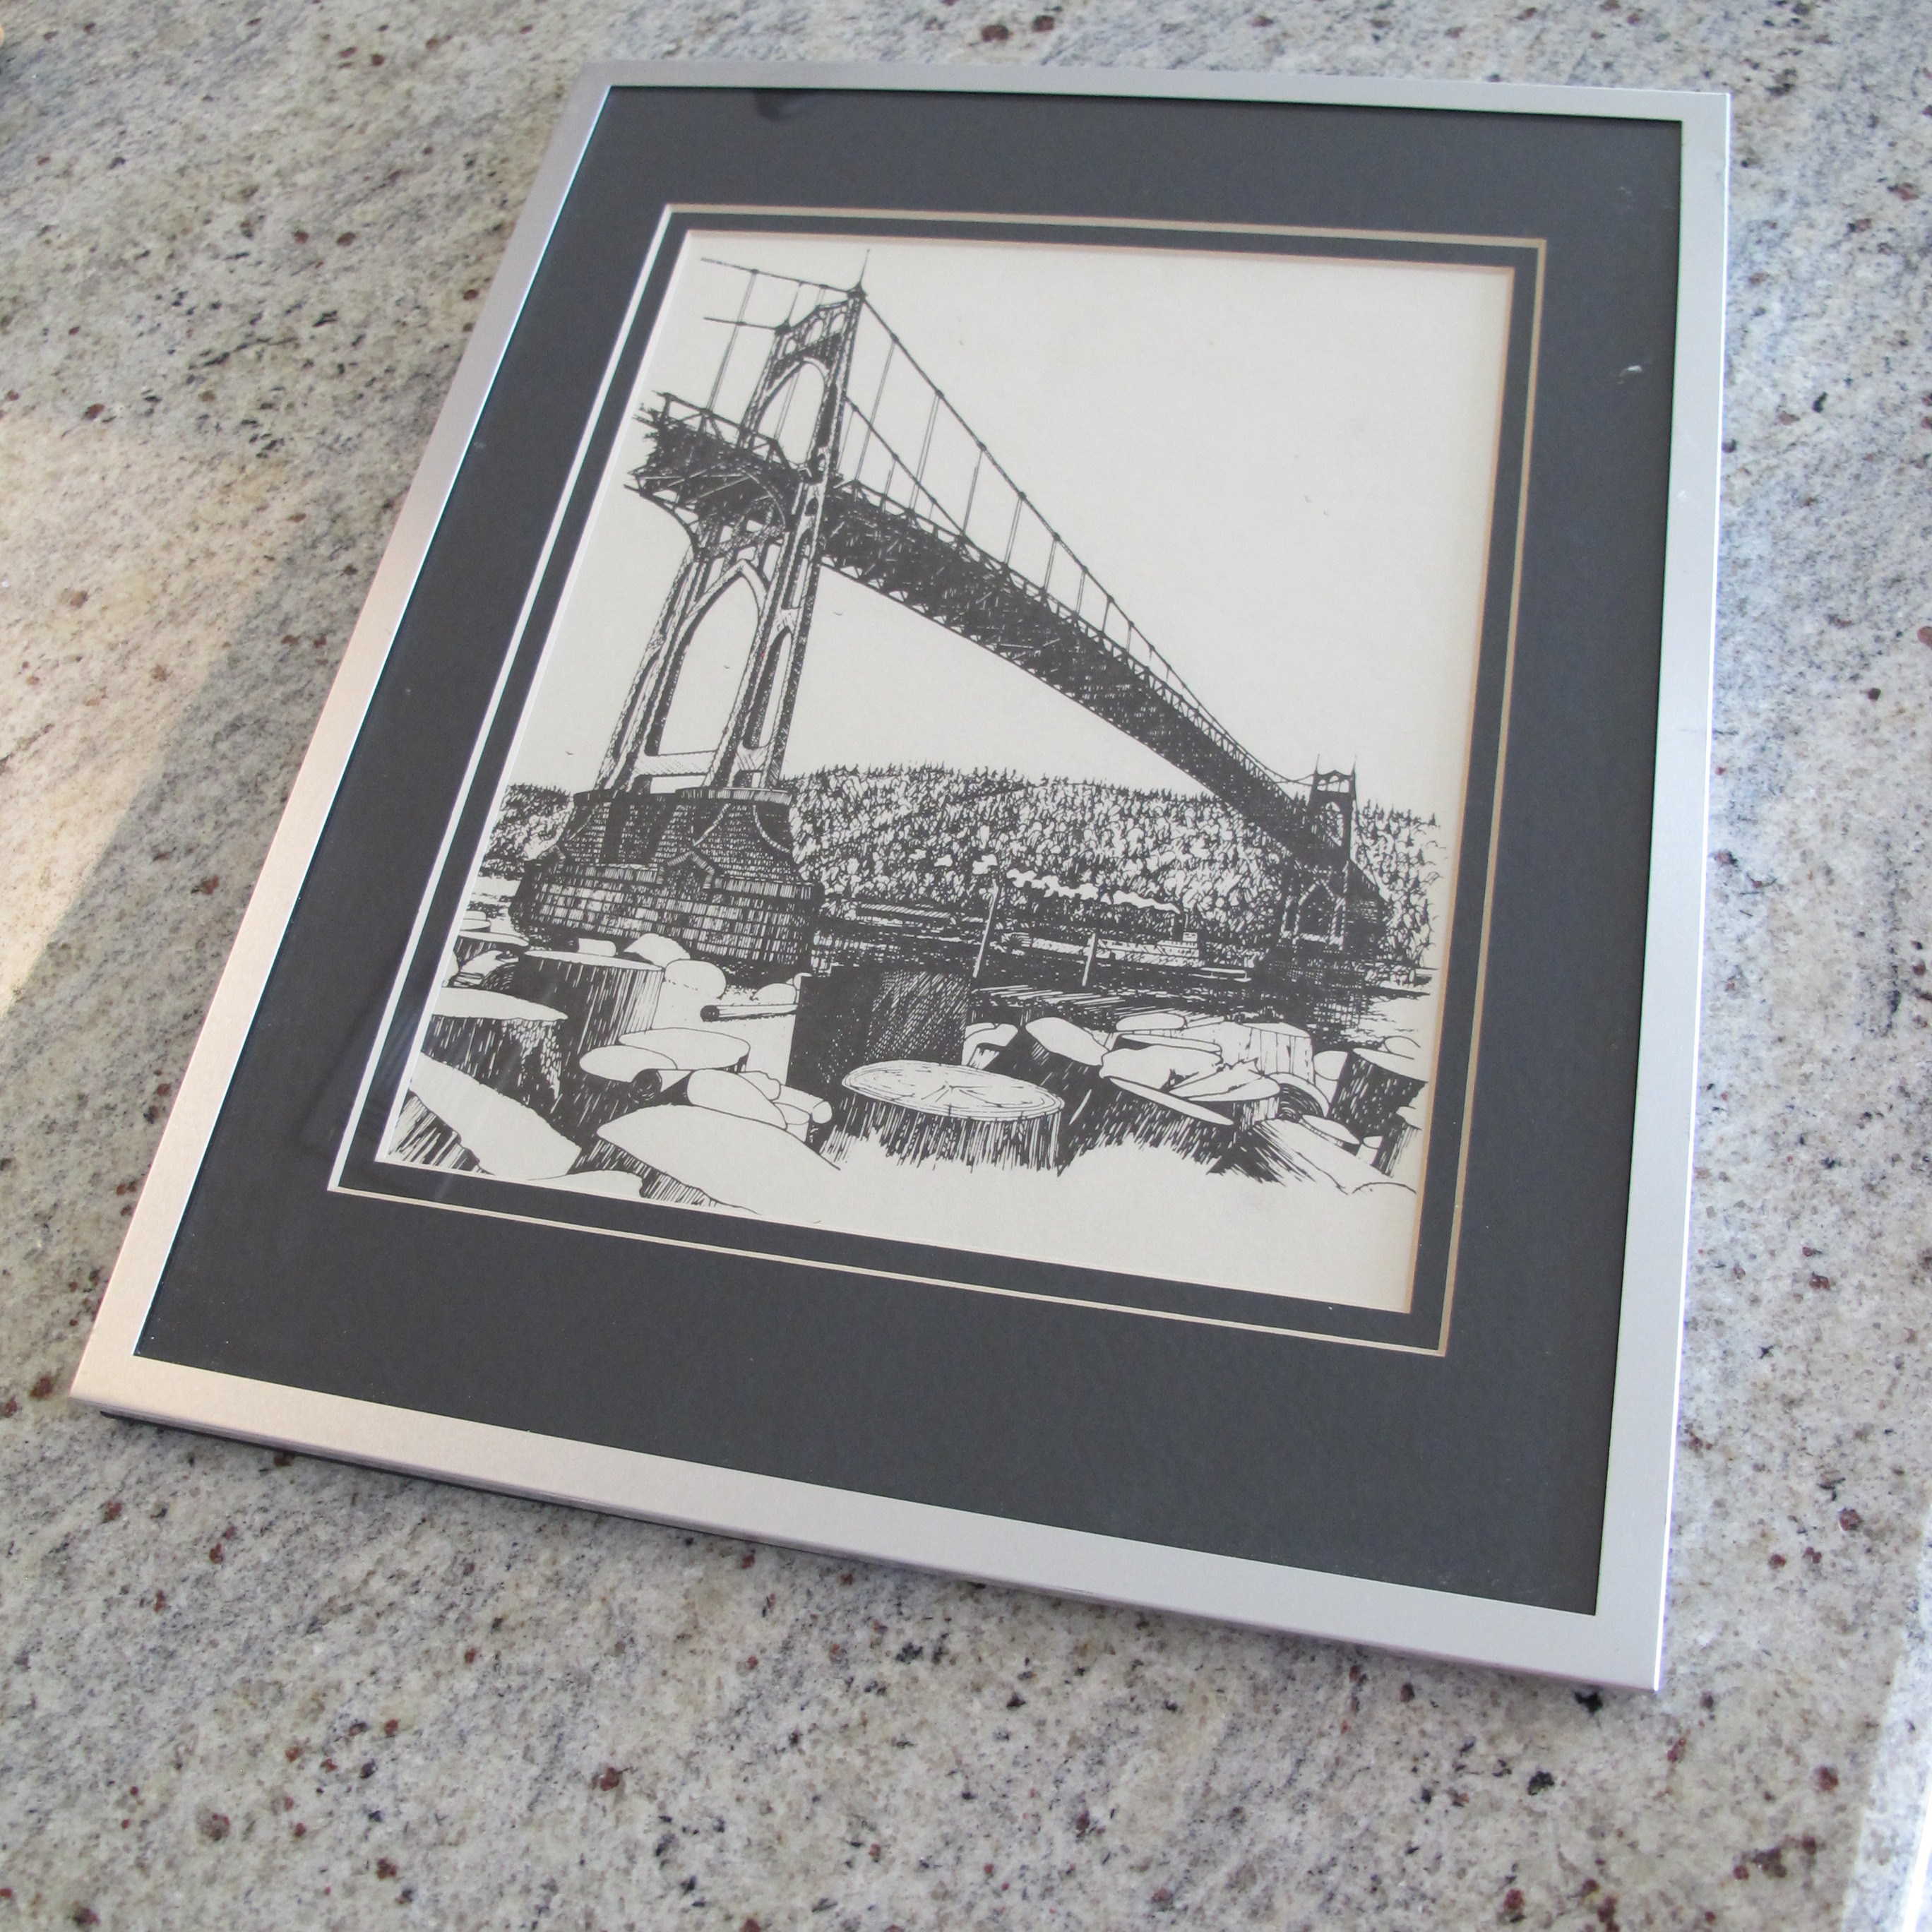
I wonder if his patent ever went through.   Next, we have this awesome ink drawing of St. John’s Bridge in Oregon….

IMG_1642

Then, I found a box of memorabilia from our wedding.   It was only five and a half years ago, but I have to wonder why I boxed some of this stuff up.  For example, our cake topper…

IMG_1656

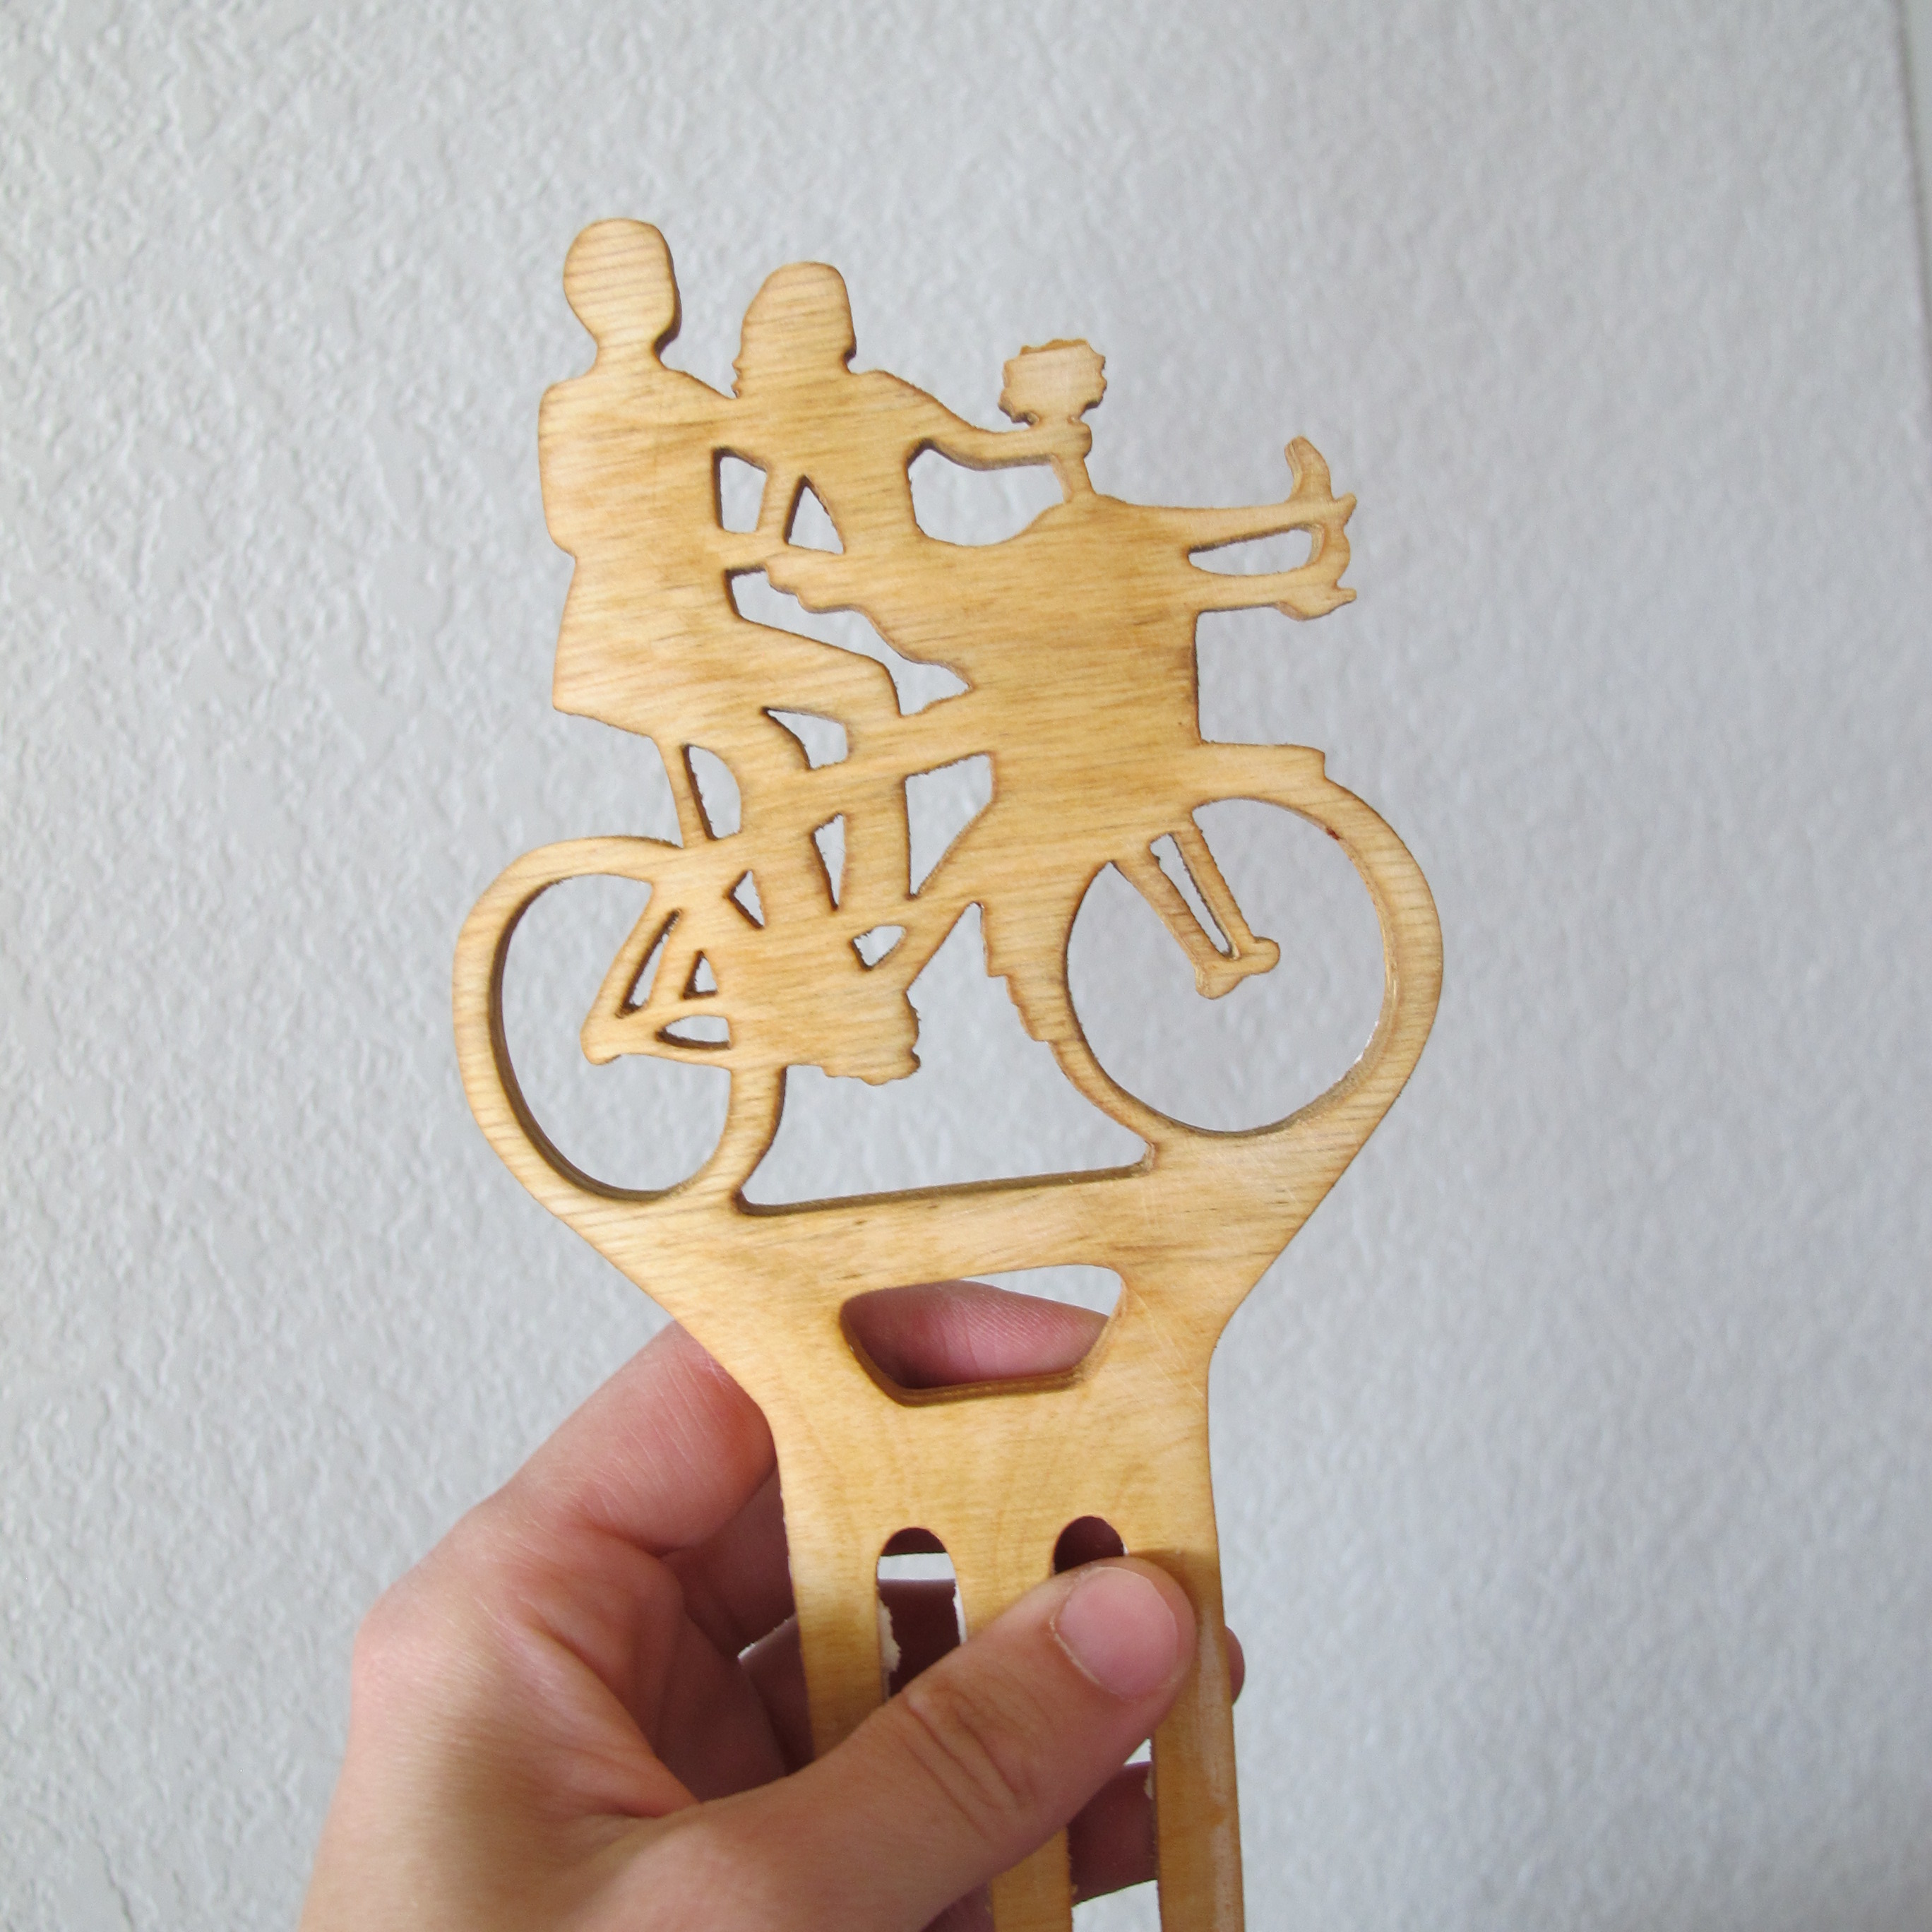
I had searched high and low for a cake topper with a bride and groom on a bicycle, only to find one cartoony (read: ugly) one, so Joeys parents graciously offered to make us one.  It was drawn by my mother-in-law and cut out in wood by my father-in-law.  And it turned out awesome.  Grossly enough, it still had frosting on it when I pulled it out of the box.  I’m wondering why I packed it like that. Ick.

And just for fun, because it’s difficult to describe the travesty that were my bangs as a child….

IMG_1649

They seriously went back to the middle of my head.   Heehee!  Ah, memories!  Growing them out was interesting (and not in a fun way).

After tossing these items around in my head for a while, I decided to use most of them (Ie: not my bang pic) in a casual photo collage wall. I know… Another collage wall? Oh yes. You bet. But I wanted this one to feel more organic and natural.  Less uniform and organized than our living room photo collage.

I decided to extend upon this wall in our foyer….

IMG_2001

You can see I was already experimenting with placement of the ink drawing. I decided to start by creating some easy art with our cake topper. Here are my materials…

IMG_1986

The shadow box is from Ikea and the fabric remnant was 99 cents from Walmart. I simply cut out a small swatch of the fabric and taped it onto the back of the mat with scotch tape…

IMG_1987

Then, I used a spare Command strip from a package of utensil hooks to adhere the cake topper within the shadow box. I cut small pieces to fit behind the cake topper like so….

IMG_1989

And Command-stuck it to the matting. Ta-Dah!!

IMG_1990

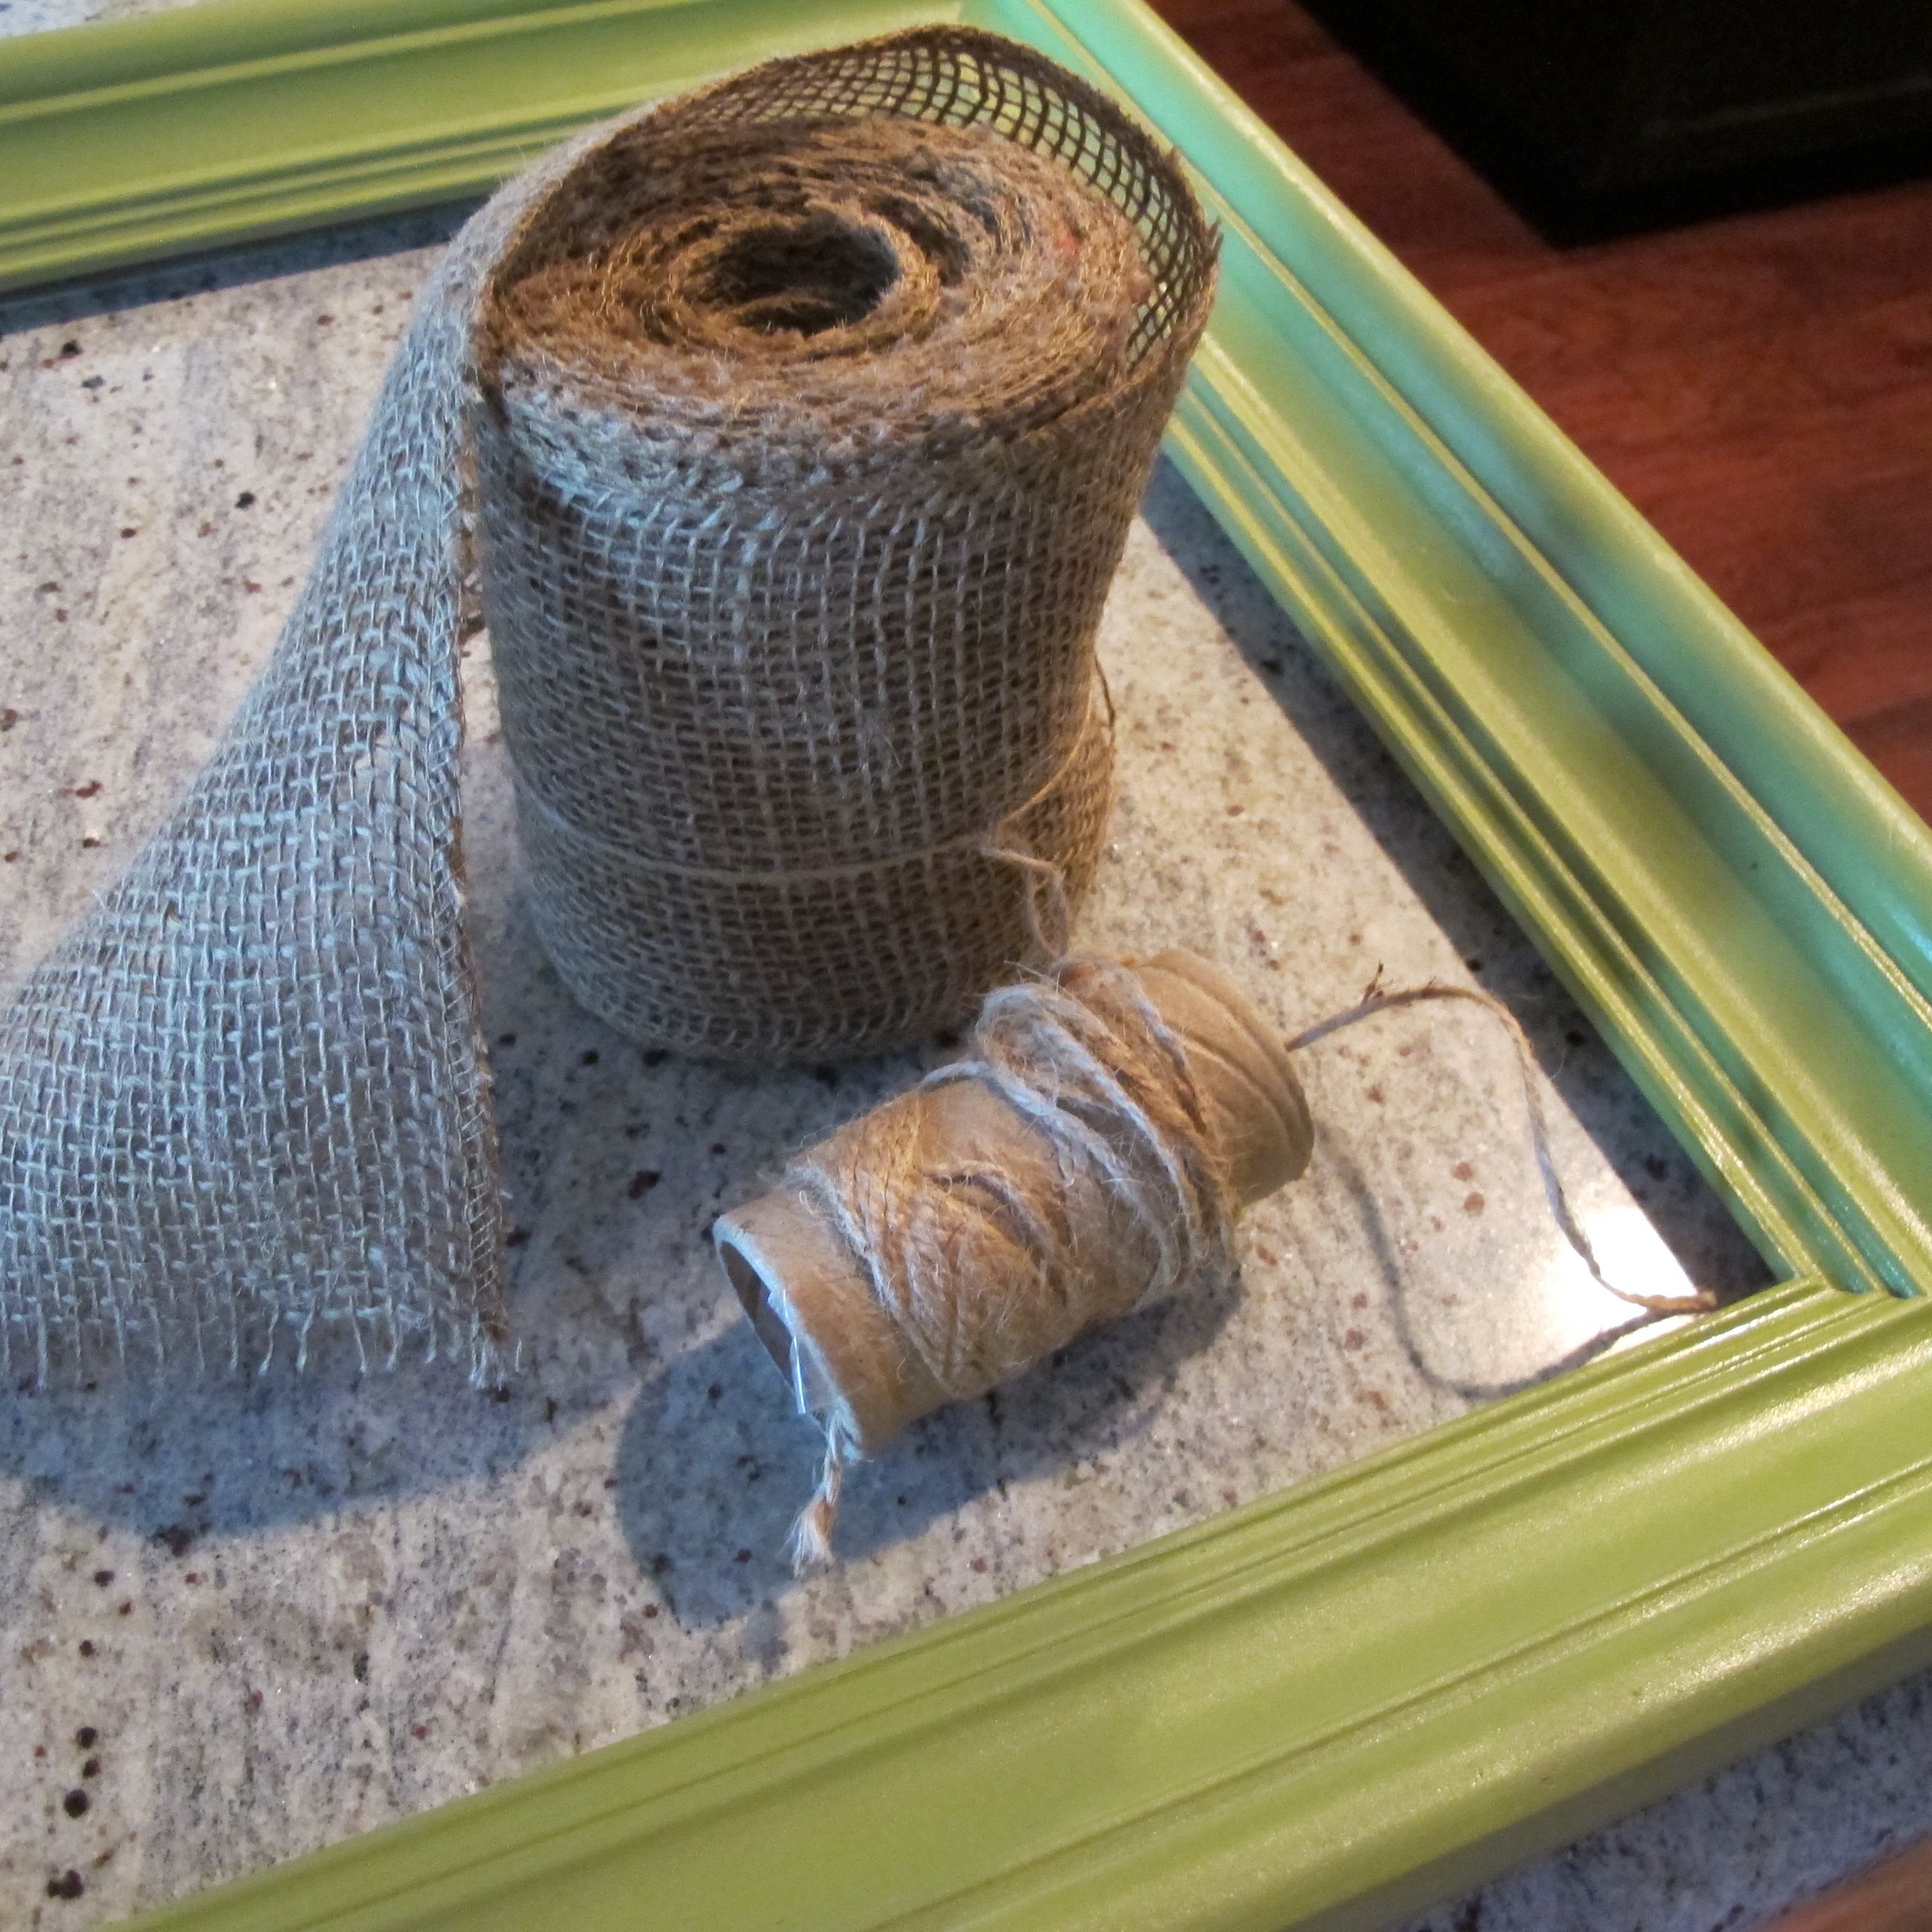
Easy peasy lemon squeezy. Then, I took the whistle and tied a piece of twine around it….

IMG_1993

And hung it with a finishing nail on the wall between the two existing pictures. I left the twine long so that I could adjust the length if needed once hung.

IMG_2027

I hung the shadow box next to the whistle and added a double black frame from Ikea that I also found in storage. I filled it with a piece of striped fabric layered with a scrap of wrapping paper…

IMG_2472

Then, I stepped back and observed…

IMG_2015IMG_2016

But the arrangement felt a little lost on the wall and slightly off balance. I adjusted the length of the twine on the whistle to lower it some and added a few more frames up top (that were also found in storage. Seriously, shopping in your old stuff rocks.)….

IMG_2478

IMG_2337

Much better. Ill probably tweak the arrangement a smidge as time goes on, just because that’s what I do, but I’m really satisfied with it for now.

I didn’t use any techniques to plan out frame placement with this one. I just winged it and hung the frames where I felt like it. I’m really liking the different styles of frames and the mix of black, white, silver and wood tones. It might be fun to extend this one from floor to ceiling.  Hmmm…. Oh the possibilities.

Here are a few close-ups….

IMG_2340

IMG_2473

IMG_2474

It feels good to have gotten started on this wall, for sure.   It stared at me for far to long just begging for some pizazz.    So, anyways that’s my story of forgotten treasures and frame walls!  I hope everyone has a happy Wednesday!!    🙂

“I feel prettyyyy!” – Our Front Door

So, I mentioned in this post that I wanted to DIY a wreath for our front door. And this weekend it actually happened (insert pat on back with fist pump).  During the brainstorming stage, I decided that my wreath of choice must fulfill three criteria:

1. It must be versatile so we can utilize it for multiple holidays
2. It must be cheap
3. It must be easy

I also wanted something a little different than a traditional wreath. I’d seen different types of frame wreaths on Pinterest and was intrigued by this prospect. So, throughout my various thrifting trips I kept an eye out for chunky frames with a somewhat streamlined design.

This weekend, we did a few thrift store drive-bys in search of a dresser. Literally, drive-bys. Joey pulled the truck up to multiple thrift stores, I jumped out, ran in with the promise of texting him to join me if I found The One, took a quick gander for dressers, and hopped back in the car if it was a no-go.  All within a period of two minutes. So, you should’ve seen his face when I climbed back into the truck after a quick peek at Thrift Town and broke the news that we’d become the proud new owners of this beaut…

IMG_1982

He was $3.99 and worth every penny. The frame style and size immediately grabbed my attention as I walked past. It was chunky, streamlined and cheap. Bingo.

For the actual wreath making process, I didn’t follow a tutorial per se. I just mainly used things I already had and figured it out as I went.  First, I de-wildlifed the frame by removing the staples on back with a pair of needle-nosed pliers…

IMG_1984 IMG_1985

I thoroughly cleaned the grime off the frame with a water/vinegar spray. And believe me, this guy was grimey. Then, I used this spray paint in Ivy Leaf which is a nice sagey green color to spray-paint the frame….

IMG_2029

I allowed the frame to dry overnight, then the next morning I assembled my materials….

IMG_2032

Some twine and burlap ribbon. I purchased the burlap ribbon a while back for a different project at Walmart for around five bucks if I’m remembering correctly.   The twine, (I kid you not) I’ve had since college. Almost 10 years ago. And I didn’t even buy it. It was given to me by my roommate.  And I’ve kept it all these years.  Crazytown.

So anyways, I wanted to create that puffy, loopy burlap look around one corner of the frame only. I started by looping the burlap under at my desired starting point and wrapping the twine around the frame and burlap tightly to secure it .  Then, I knotted it….

IMG_2038 IMG_2037

I continued to form loops of burlap and secured them by wrapping the twine around the cinched part of the burlap. The twine went around both the frame and burlap.  It’s hard to tell from the pic, but I literally just spiraled the twine around and around the frame.  It’s all just one long piece.

IMG_2040

I worked my way down and around the corner until I reached my desired stopping point on the bottom of the frame. I formed one last loop of burlap and tucked it under.  Then, I wrapped the twine around the cinched part tightly and knotted it behind the frame (just like I did at the beginning).  I trimmed the excess and played with the loops a bit until they laid how I wanted them to.  Then, I called it done. Super easy. This part seriously took 10 minutes once I figured out how to do it.

I added these felt pads to the back of the frame so it wouldn’t scratch our door…..

IMG_2041

Now, for hanging. I saw this tip on Pinterest once and thought it was an awesome idea. I don’t even think I pinned it, actually. It was one of those, “Oh what a great idea!” and then I got distracted moments. So, to whoever came up with this idea, kudos!

Anyways, I used this command hook…

IMG_2098

And mounted it upside-down on the back of our front door. I waited the recommended hour for the Command hook to set, then I grabbed Joey because this part was a two-man job. I looped some thick cream-colored ribbon that I had on hand around the top of the frame. Joey, held both ends of the ribbon flush, looped it over the top of our door and held the ends of the ribbon while standing inside the house (I’m sorry, I don’t have pics of this part, but it’ll be more clear once I show the final pics) . I stood outside and had him lower and/or raise it until it looked good. Then, once the placement was right, I grabbed the ribbon from him and tied it around the command hook. It looked like this when it was done and trimmed….

IMG_2153  IMG_2154

IMG_2177

And the final product….

IMG_2162

IMG_2161

IMG_2171

I couldn’t be more happy with this wreath. It’s simple and versatile. And I know exactly how I’m gonna jazz it up for Christmas, too. Gosh, I love Christmas. Anyways, this wreath ended up costing me around $17. Four bucks for the frame, four bucks for the spray paint and around $9 for the Command hook (although, I have half a can of spray paint left and can reuse the hook). I splurged on the nicer hook because it matched our door but I’m sure you could get a cheaper one if desired. I already had the burlap ribbon, twine, cream ribbon and felt pads, but my guess is you could probably add another $15 if you had to purchase those things, less if you struck with a 50% off coupon at Michaels or Joann.

And one more pic, just for fun…

IMG_2175

🙂