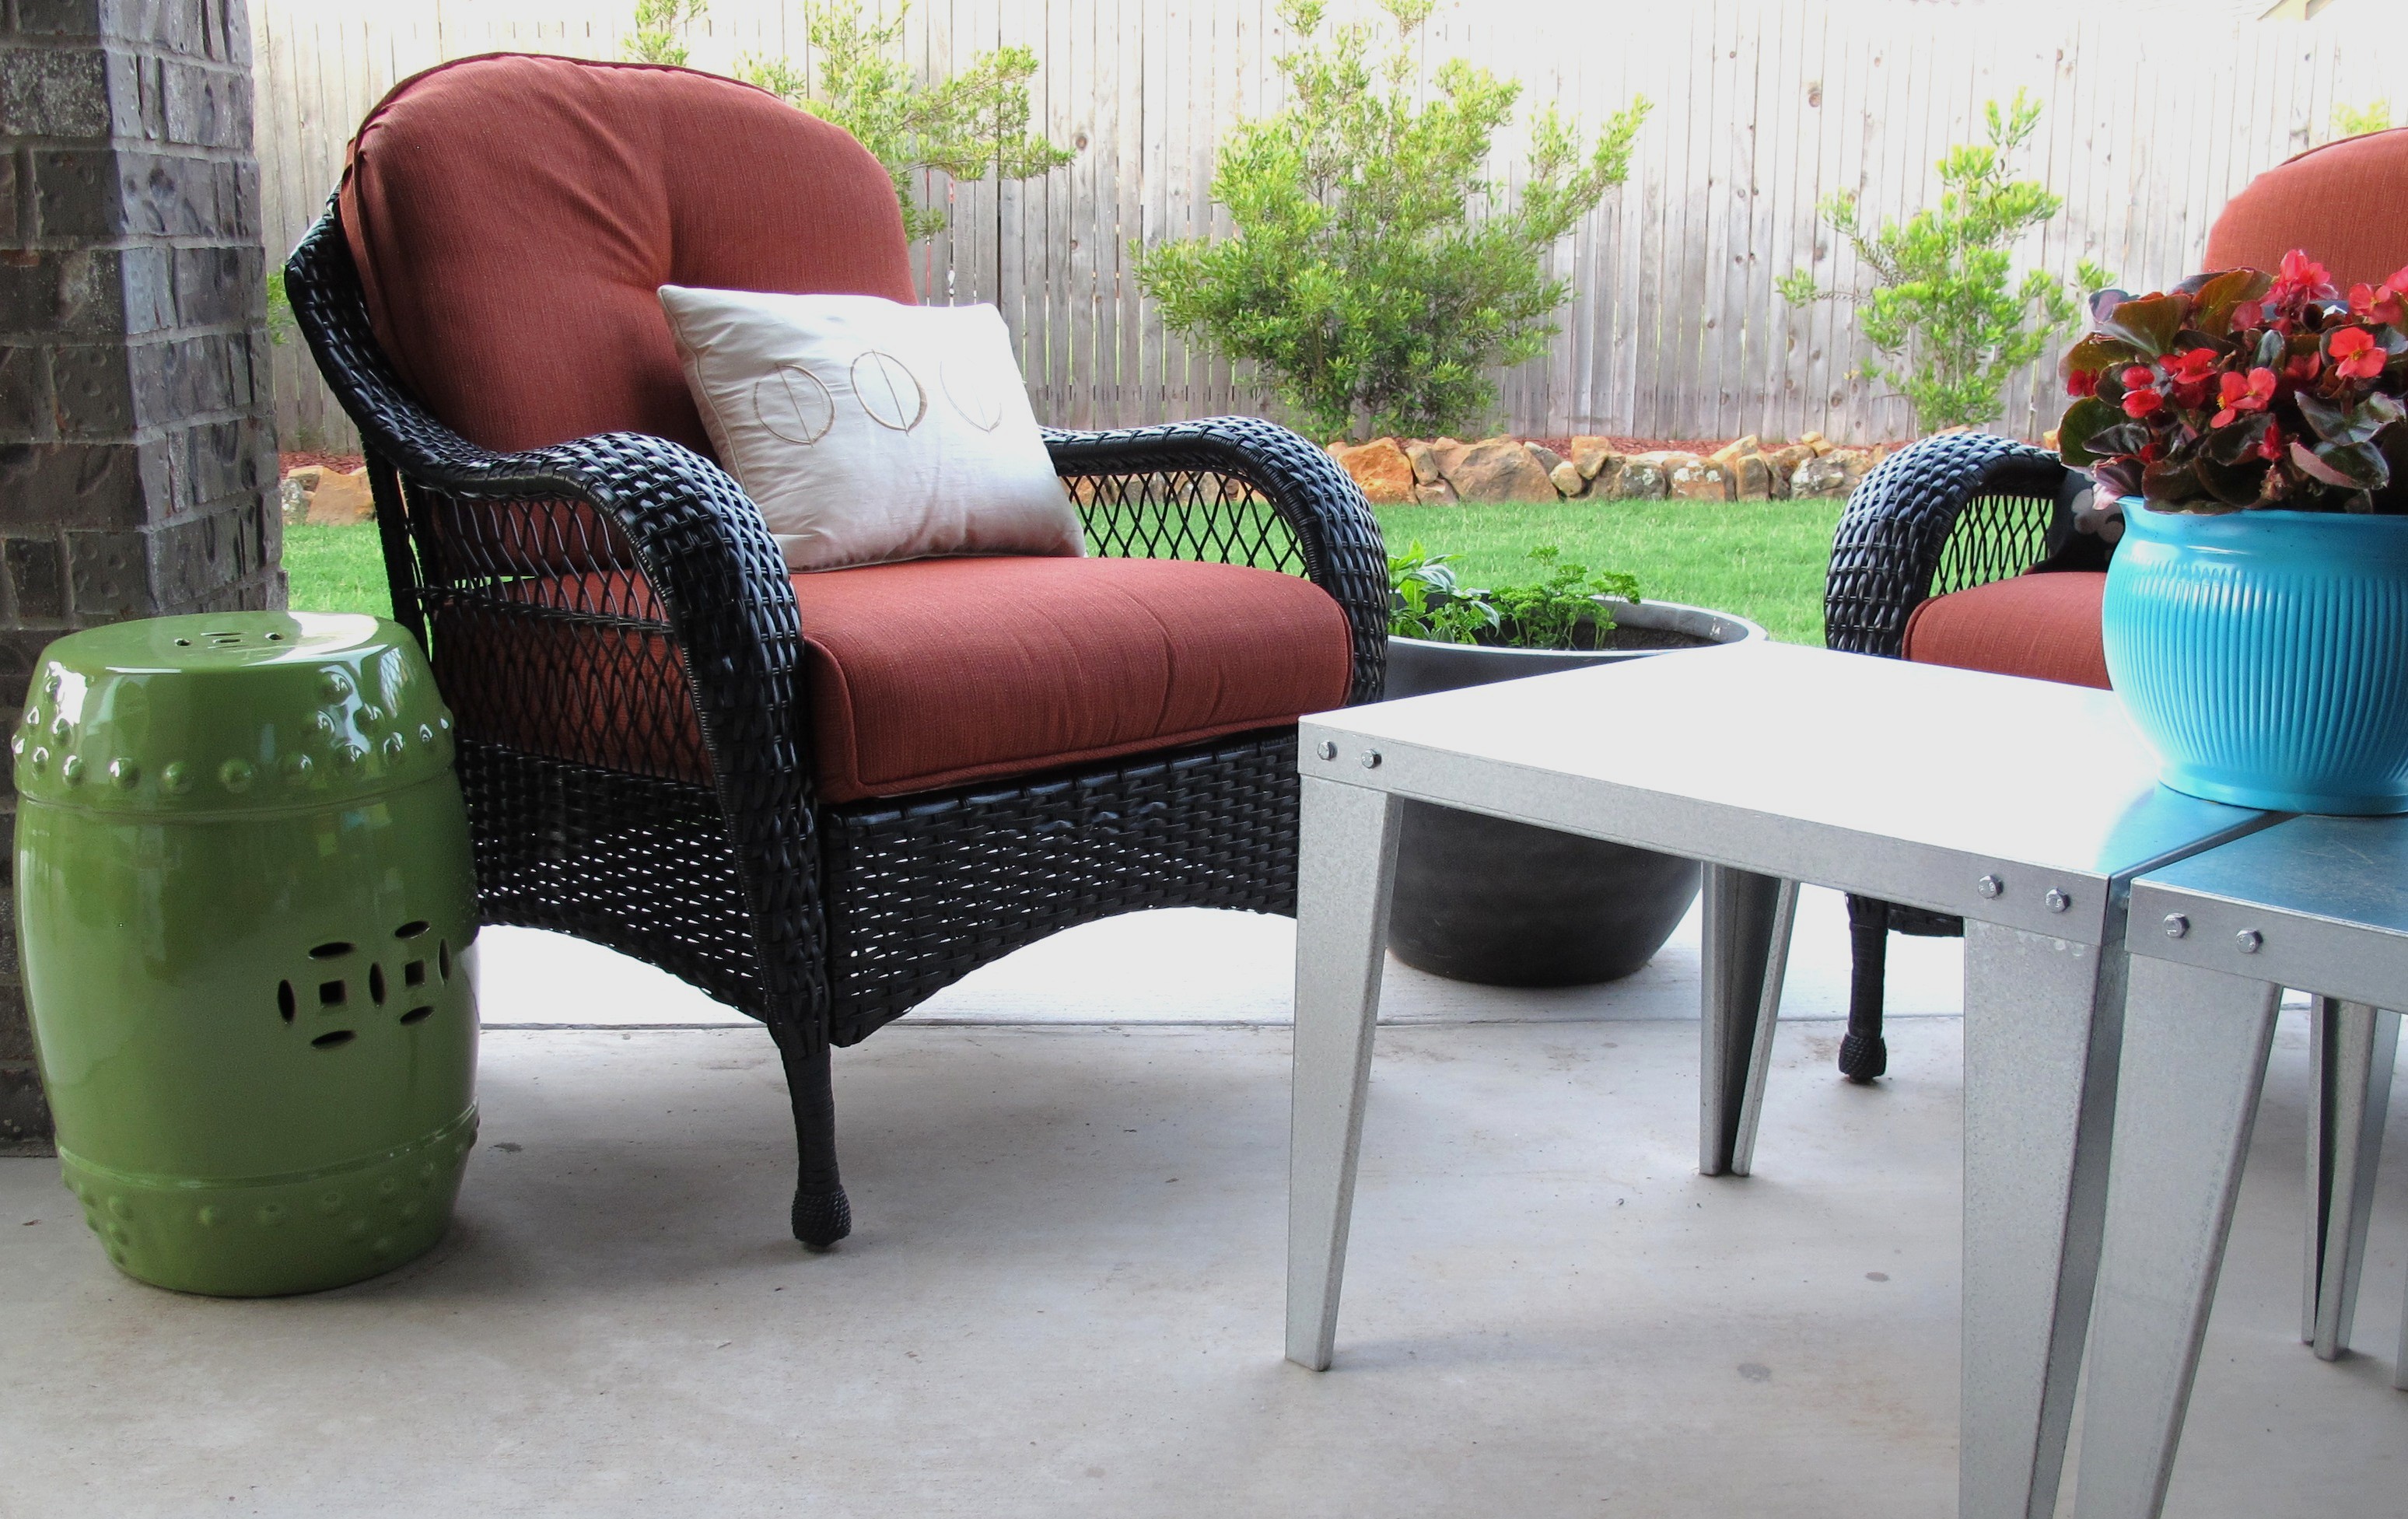
It’s been a while since I’ve discussed our backyard. Last we spoke about it, I had just sealed and enhanced our terracotta patio…

Well, let me tell ya…. A LOT has gone down since then. A. LOT. (<-said like Loyd of Dumb & Dumber) And I had absolutely nothing to do with it. It was ALL Joey. Thus, this post is more of a progress report than a how-to since I didn’t actually participate. I just watched with admiration through the window. It’s a tough job, but someone’s gotta do it. 😉
Basically, the changes all began with a drainage problem on our back porch. Starting a few months ago, whenever it would rain, the water would approach the house, sometimes coming within a foot of it. No bueno. Joey tried to declog our existing french drains with pretty much every method he researched, but to no avail.
So, around Christmas, he spent days digging a trench and installing a drain at the west end of our porch (Ahem! A 200-foot trench in 20 degree weather), which resulted in this nicely graveled-in drain…

That helped the flooding on that side of the porch, but as we came to find out several weeks later when it rained again, the other side continued to flood. So, he spent many, many more days out there removing the crazy-heavy railroad ties, and installing another drain, along with a sump pump (a pump that forces the water through the drain and out to the street).
So, picture this. He’s just spent all this time. WEEKS working on this. Our back yard is all torn apart as you can see here…
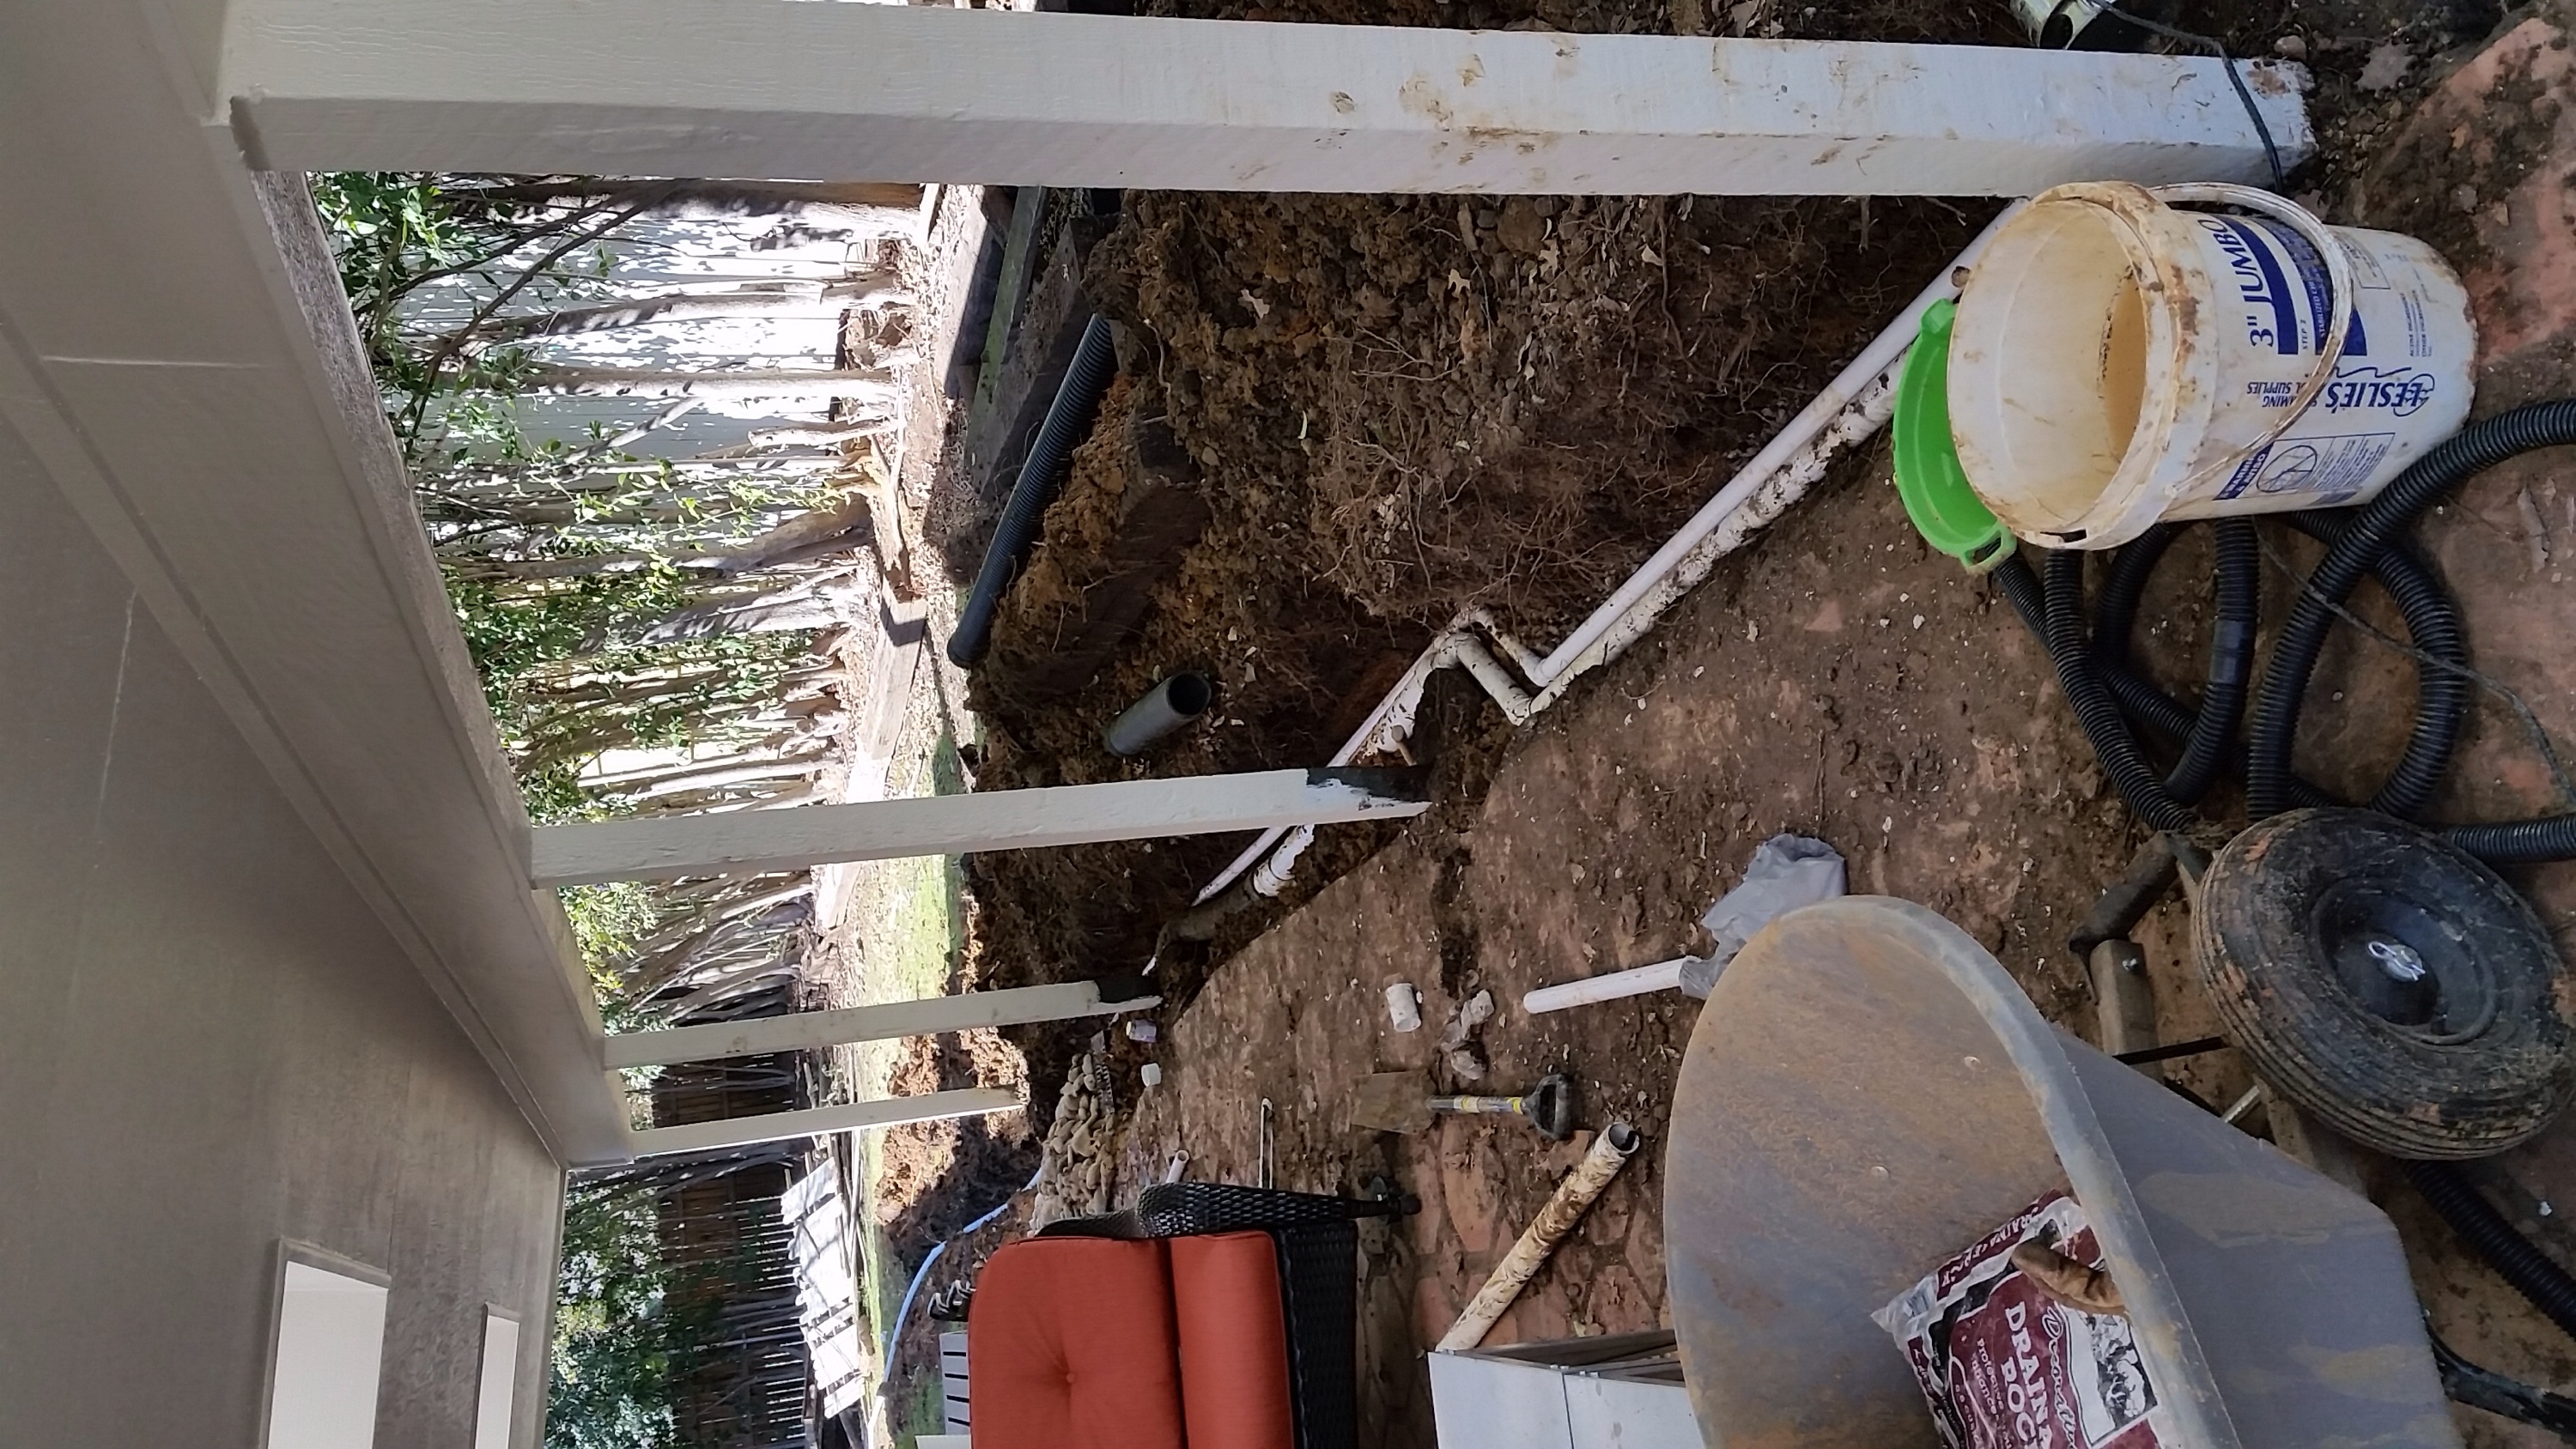
He’s exhausted and sore, but had FINALLY finished and was starting to put the yard back together again. I get home from work and Joey meets me out on the driveway. He has a look on his face that I could only describe as “livid shock”.
Joey: “So, guess what?”
Me: “What? Are you okay?”
Joey: “No. You’re never gonna believe this.”
Me: “What?”
Joey: “Ya know that weird electrical box on the porch post that we thought had something to do with the pool?”
Me: “Yeah, what about it?”
Joey: “Well, after I finished clearing things up back there, I took another look at it. There was a GFI plug that had been tripped and needed to be reset, so I pushed the button to reset it. And I heard humming coming from underground. So, I started digging. (pause)……..Turns out, we already have a sump pump. And it works. It works great. It was just off. Which explains the flooding. ….I did ALL THAT WORK for NOTHING.”
O.M.G. Never have I wanted to cry for another person more. Poor (handsome, handsome) man.
Basically, the sump pump had been buried underground about two feet which is why we never knew about it. The existing drains weren’t clogged, the sump pump had simply turned off when the GFI plug had tripped, which explained the recent floods we’d been having (our porch hadn’t flooded for the first few months after we moved in). Since we didn’t know we had a sump pump or that this electrical box controlled it…

(we were told by our inspector that the plug likely had something to do with the pool pump), we didn’t think to check the switch. So, when Joey attempted to connect power to the new sump pump via that switch, he discovered it. UGH. Painful, right?? I guess that’s what you get with old houses, though. You just never know what’s been done before you.
So, now that we knew that the drainage problem was taken care of, we had the issue of the missing retaining wall next to the porch to contend with. Joey was NOT going to put those nasty rotting railroad ties back, so we ended up getting stackable retaining wall stones from Lowes for about 1.78 a pop.
Joey did the whole wall himself, and I have to say that he did a fabulous job. He said that the most difficult part was ensuring the bottom row was level in every direction. He used sand beneath the bottom row to act as a bed for the stones and placed them down, moving them around until they were level and straight. Then, he used more sand to back-fill each row behind the stones. To ensure that he had a straight line, he tied some rope between the columns of the patio as a guide…

We still have to get a topper for the wall (the cement pavers are just placeholders… They’re destined for another part of our yard), but here’s where he ended up with the wall…

The above shot was taken before he added a second level to the left side, which can be seen here…

He’s going to add a few more stones (once we buy them… we ran out) to even it up with the right side…

Then, we’ll be planting bushes and ground covering beyond the retaining wall to make it feel cozy and lush.
Here’s the before pictures just for reference…


I’m so impressed with him. Seriously. Other updates that he’s taken on include this screen that he built to camouflage our HVAC unit…


We based this screen on a picture that I found on Pinterest. It’s L-shaped to still allow access to the unit, but makes it much less of an eyesore from the porch. We still have to touch up some of the stain on the corners and add one more plank to the bottom. Then, we’ll landscape around it with bushes and gravel. It’s sweet already, but it’ll be awesome when it’s done. You’ll also note a start to the path we’re creating beside the screen (that’s where those rectangular pavers on top of the retaining wall will come in). This path will go all the way around the house and will be bordered in and filled with gravel around the pavers.
That pile of decrepit wood that you see in the back of the shot is a portion of our old fence (which’ll be taken to the dump soon). Every part of our fence has been replaced at some point in time except for this one. It literally had 2 foot gaps in it. It was original to the house and was rotting, and completely falling apart. Joey replaced it recently for both aesthetic and security reasons. You can see the new fence here…

Once the menagerie of half-done projects are finished, we’ll be boxing in the columns on the porch and staining them the same color as the HVAC screen to emulate stained wood posts. Eventually all of the railroad ties along the fence will be replaced as well. I’m getting really excited about everything. And more impressed by Joey by the day.
Our porch is still in disarray as I type this, thus I have no pretty “after” shots this time. Our pool is getting drained today in preparation for resurfacing (I’ll write another post about that) and we anticipate a bunch of dust in the process, so we’re waiting until that’s done to clean and get everything situated. The coping needs to be replaced around the pool (ugh) and the most cost-effective option is flagstone. The reason why I’m mentioning this now is that our plan for the retaining wall topper is to use coordinating flagstone to tie the two elements together. Once the coping is in, we can choose our topper and get that hammered out. And once that’s done, we can actually start to use our porch again. (And celebration, complete with jumping and giggles (from me) will ensue)
So, anyways, y’all have a great Monday. I have much in store for you in the posts ahead. I’ve had a busy weekend (Heeheeheehee!)… 😉