Grey is the New Purple

So, our master bedroom is painted.   And not a moment too soon.   Actually it was painted last weekend, but I ran short on time for taking pictures.  :/

Anyhoo, we started out a dark tone of purple…

 IMG_7529

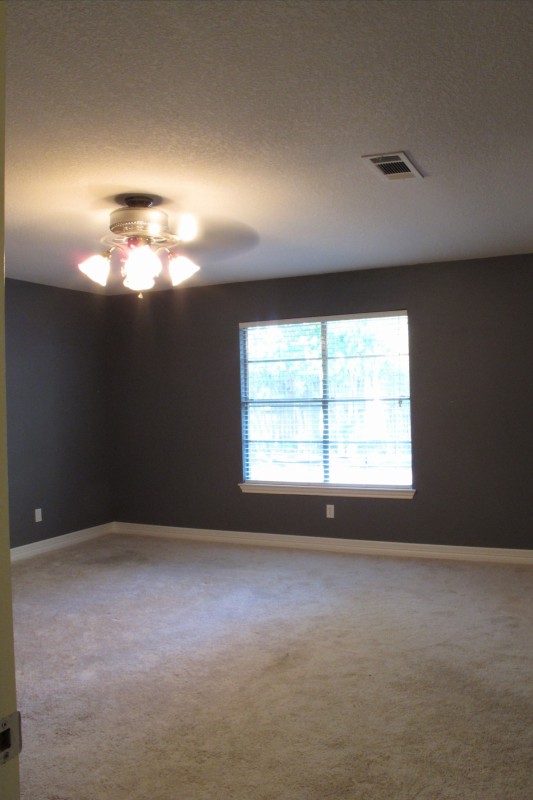
And ended up a pretty grey…

IMG_7610

I know… This looks mighty similar to our last bedroom.  Because it is.   It’s actually the same Driftwood Grey by Glidden that we used in our last house, but I had it tinted 25% lighter.    I just couldn’t get this shade of grey out of my head.  Its just so interesting and complex with it’s sexy green undertones.  In my mind, it’s the perfect grey.   So, I wanted to keep it, but lighten it up a smidge to account for the smaller window and dimmer lighting.   I actually think I could’ve even gone 50% lighter now that it’s up on the walls, but I’m happy enough that I don’t see it changing anytime soon.

Here’s a progress shot which shows the difference in colors.  You can see how purple the walls were in comparision…

Here’s the view from the doorway (extra Brownie Points to anyone who can teach me how to take proper photos of windows)…

IMG_7613

And for fun, here’s what it looked like when we took possession, before we changed the carpet…

232323232-fp83232-uqcshlukaxroqdfv7997=ot-2487=7;-=;69=XROQDF-267-78773-255ot1lsi

I haven’t hung any curtains yet because we’re having our paper-thin 1970’s windows replaced in a few weeks (Woot!).  Once that’s done, it’s on.  I’d also like to get a bench or something for the end of the bed.   I’m not used to having a room this big, so I’m not really sure what to do exactly… maybe some kind of area rug for visual interest?

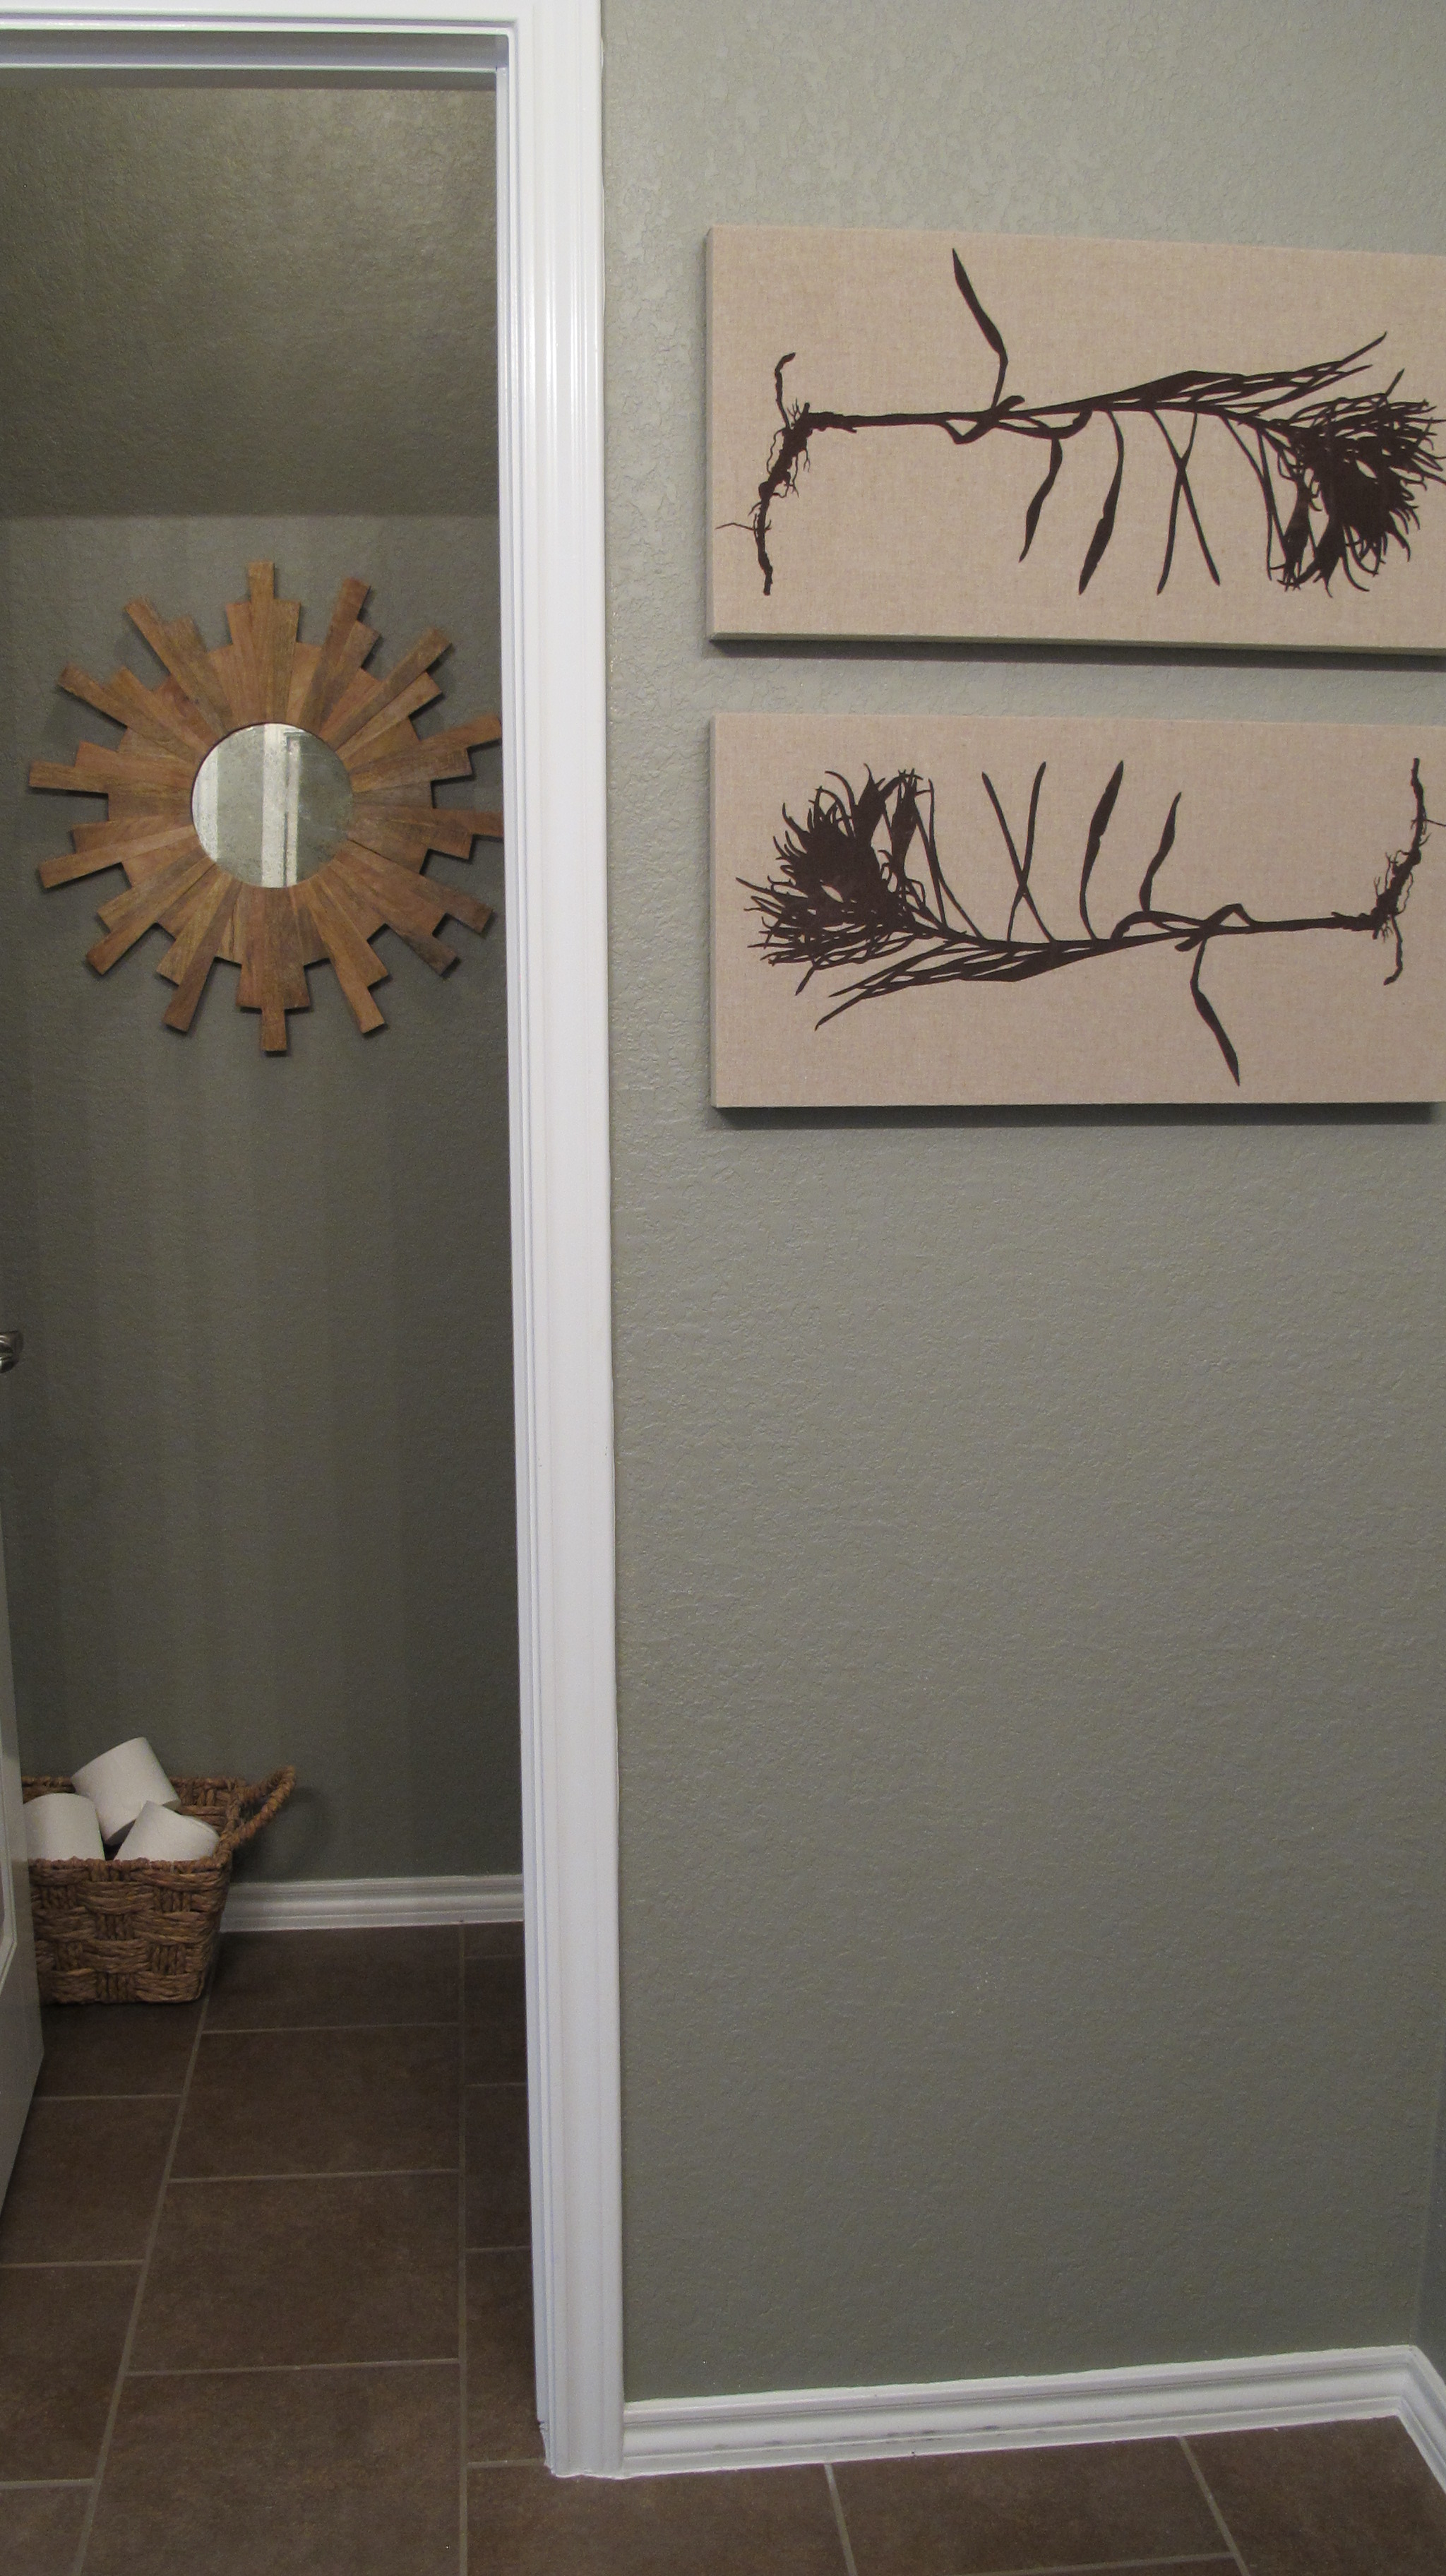
I decided to make this little corner a seating nook…

IMG_7604

I’m absolutely digging the vintage Naugahyde footstool.  I found it on Craigslist and just had to have it.   The end table came with the coffee table in the living room.   I never finished it with anything because I wasn’t sure what I wanted to do with it, but now I think I’m gonna Polyshade it darker to match the footstool.  I’d love to add a standing lamp of some sort, and that fake plant will get a different pot (or I’ll maybe chance the life of a real plant again).

I’d definitely like to get some different art for our room this time around.  Something modern and quirky that suits our personalities.  Maybe some kind of oversized framed posters or something.  I’ll have to just keep an eye out for what strikes me.   I think between different art, getting a new, sleeker bed/headboard (once I actually find one), and a few other tricks that I’ve got up my sleeve, the feeling of the room will change immensely.

On to the little atrium area… which is now the home for our new MCM dresser….

 IMG_7616

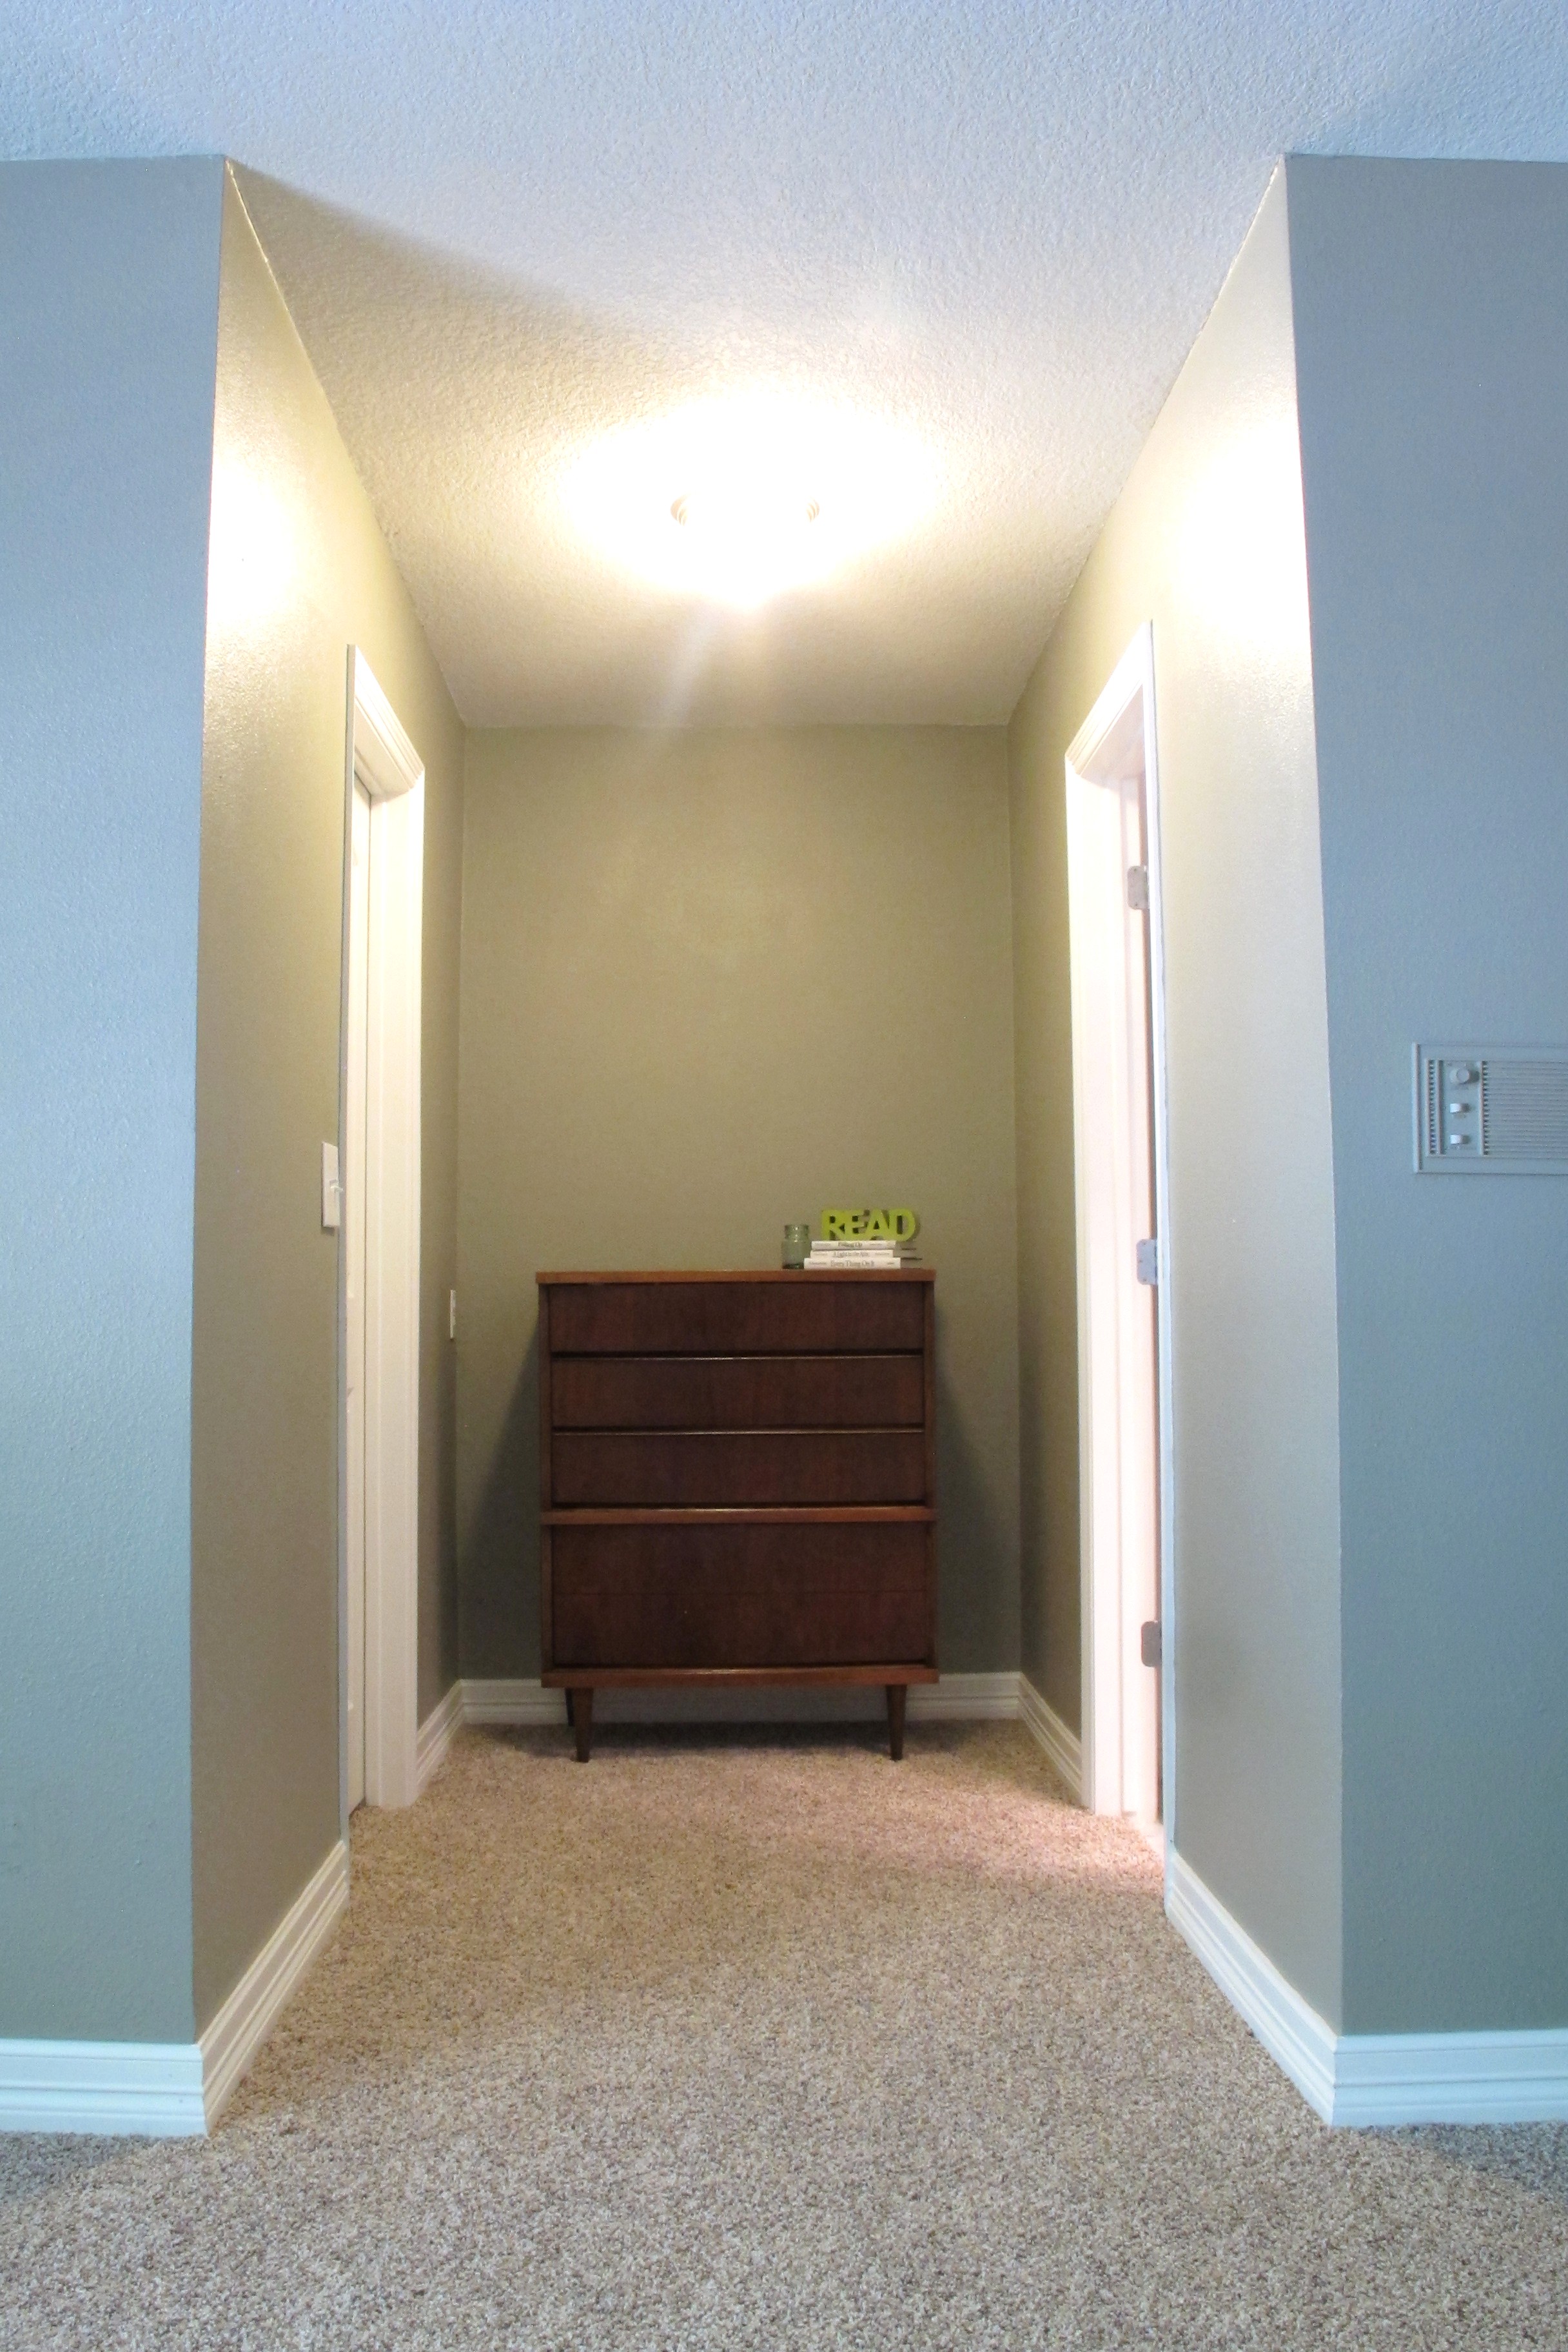
And it fits like a glove.   I’ve put no effort into accessorizing it again since moving it from the adjoining wall because I wanted a clean palette to work from.  Hopefully, I’ll glean some decent art ideas from the blankness. I do know that I’d love to add some interesting floor-to-ceiling wall treatment behind it.   I’ve seen some neat tutorials where fabric was applied to the wall for pattern, so maybe something along those lines.   Plus, I’m thinking either a mirror above it or some light, bright art.

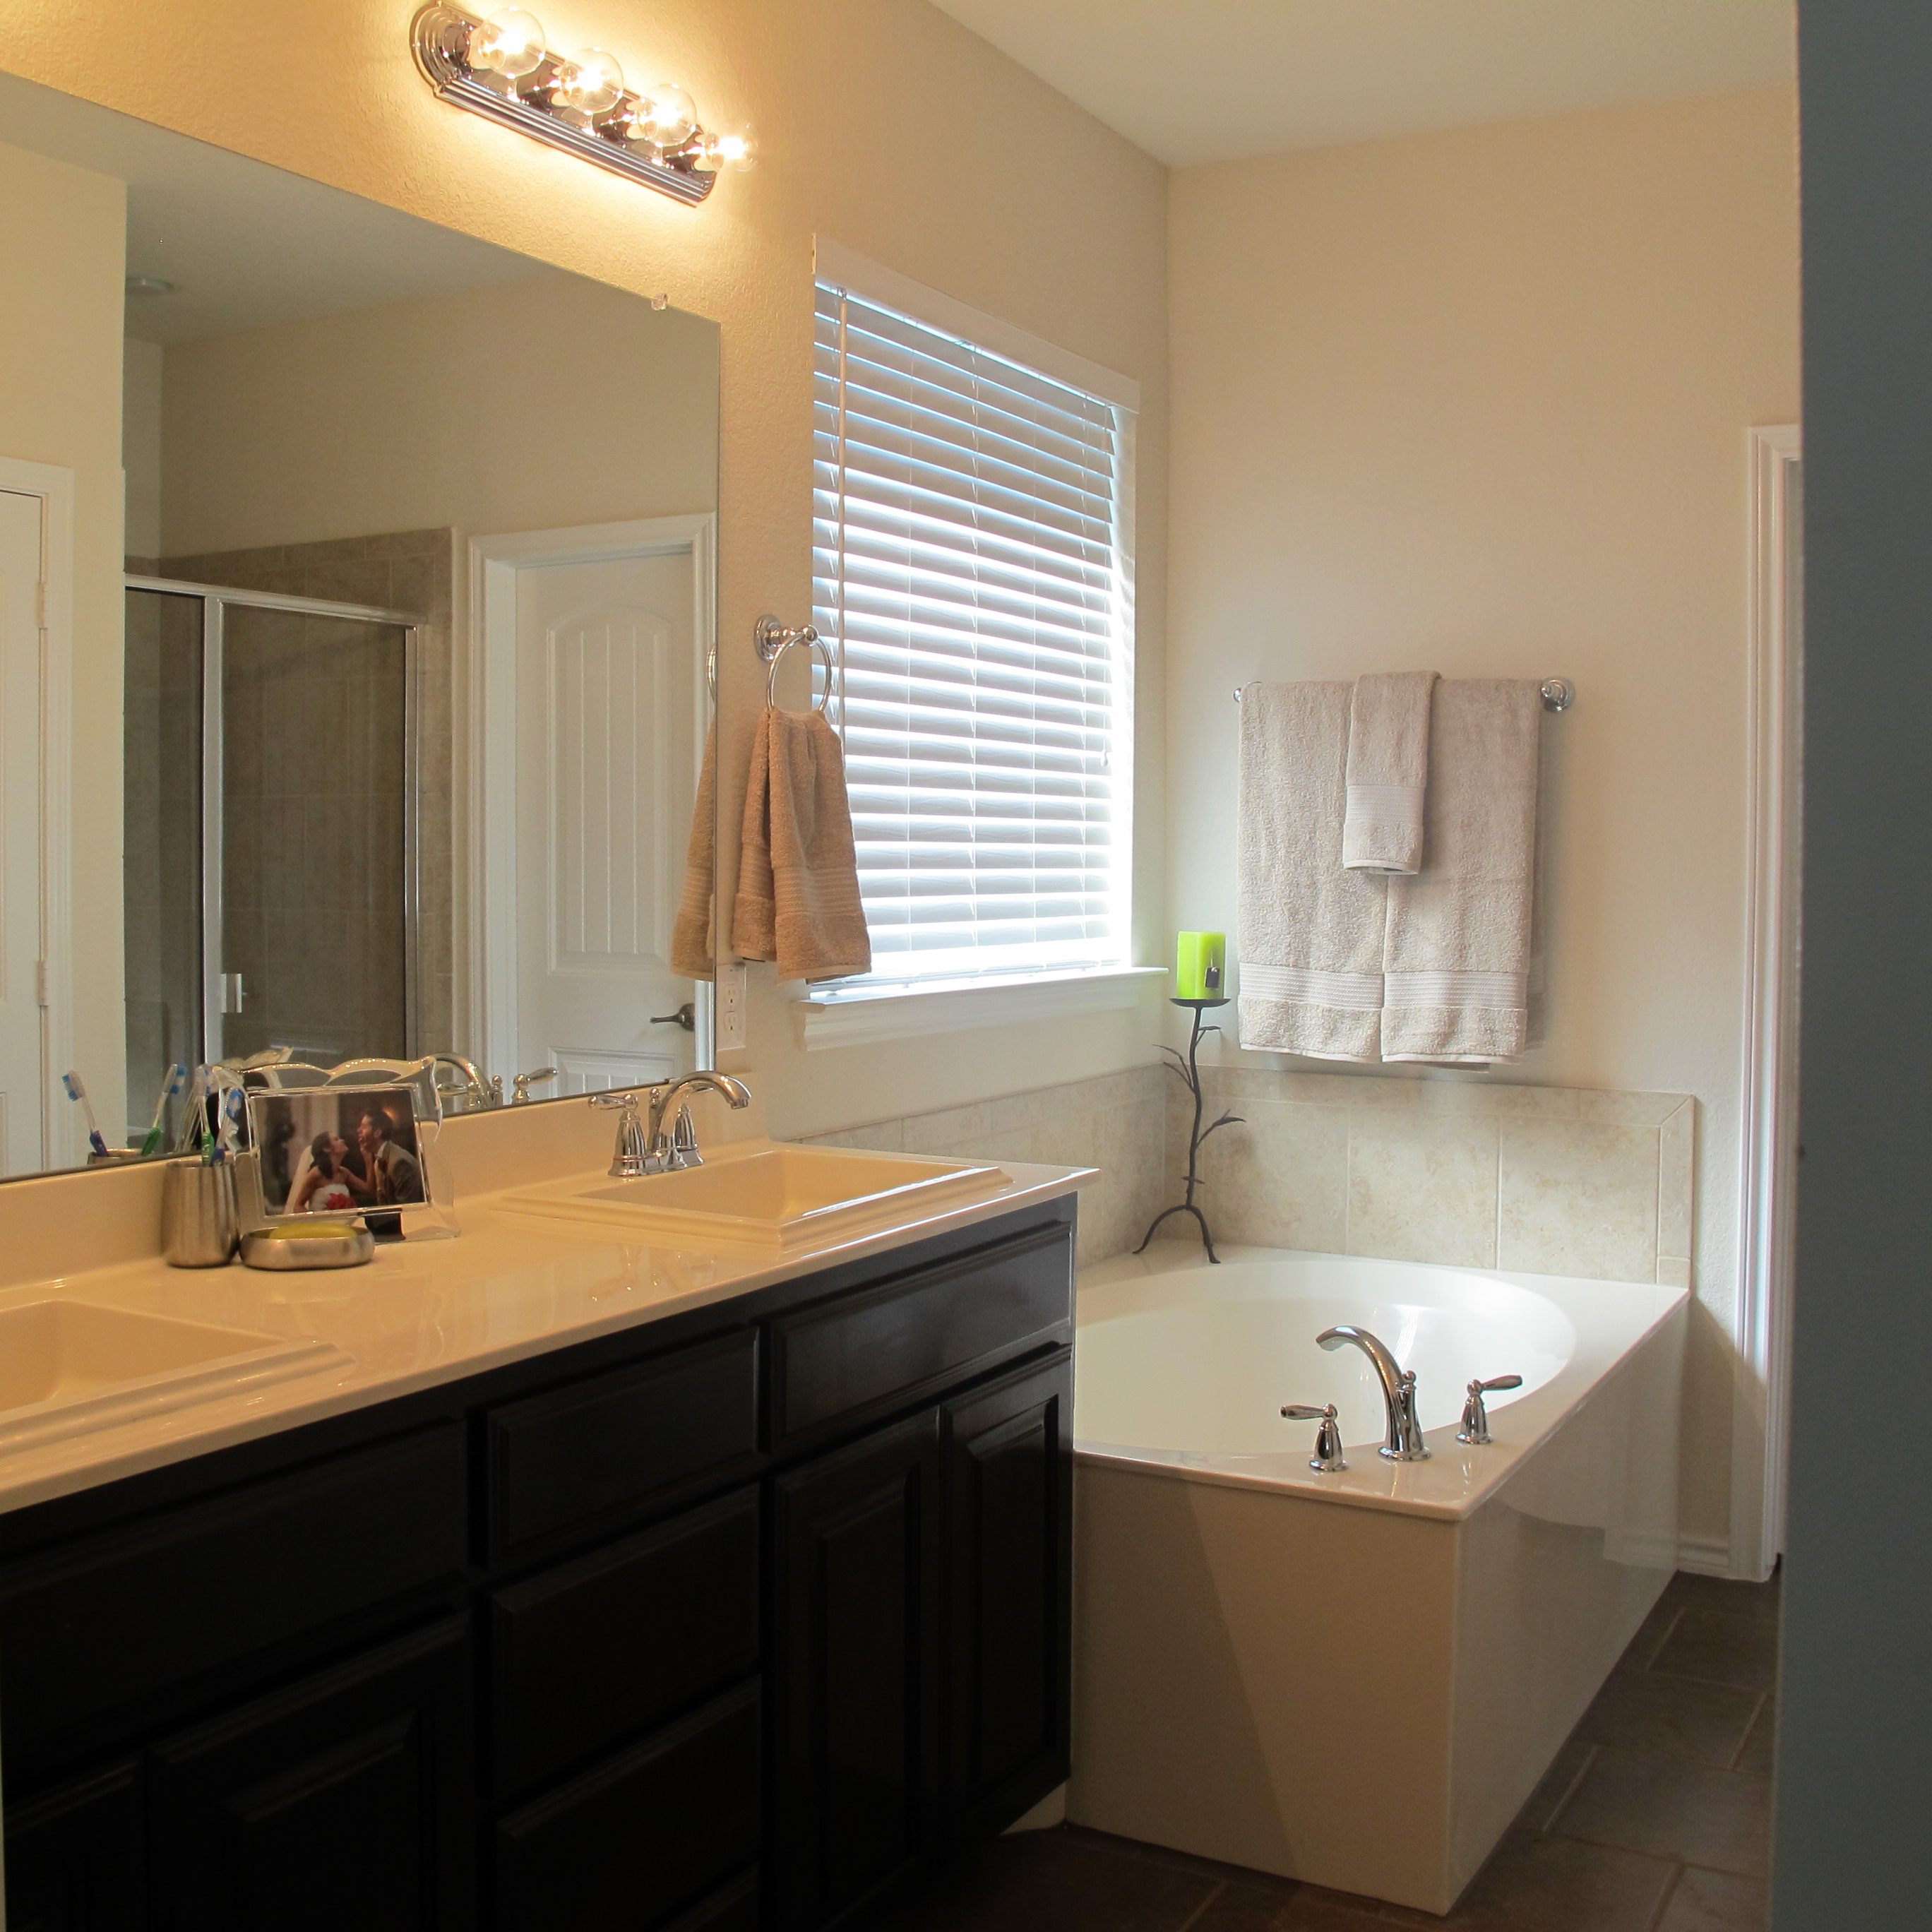
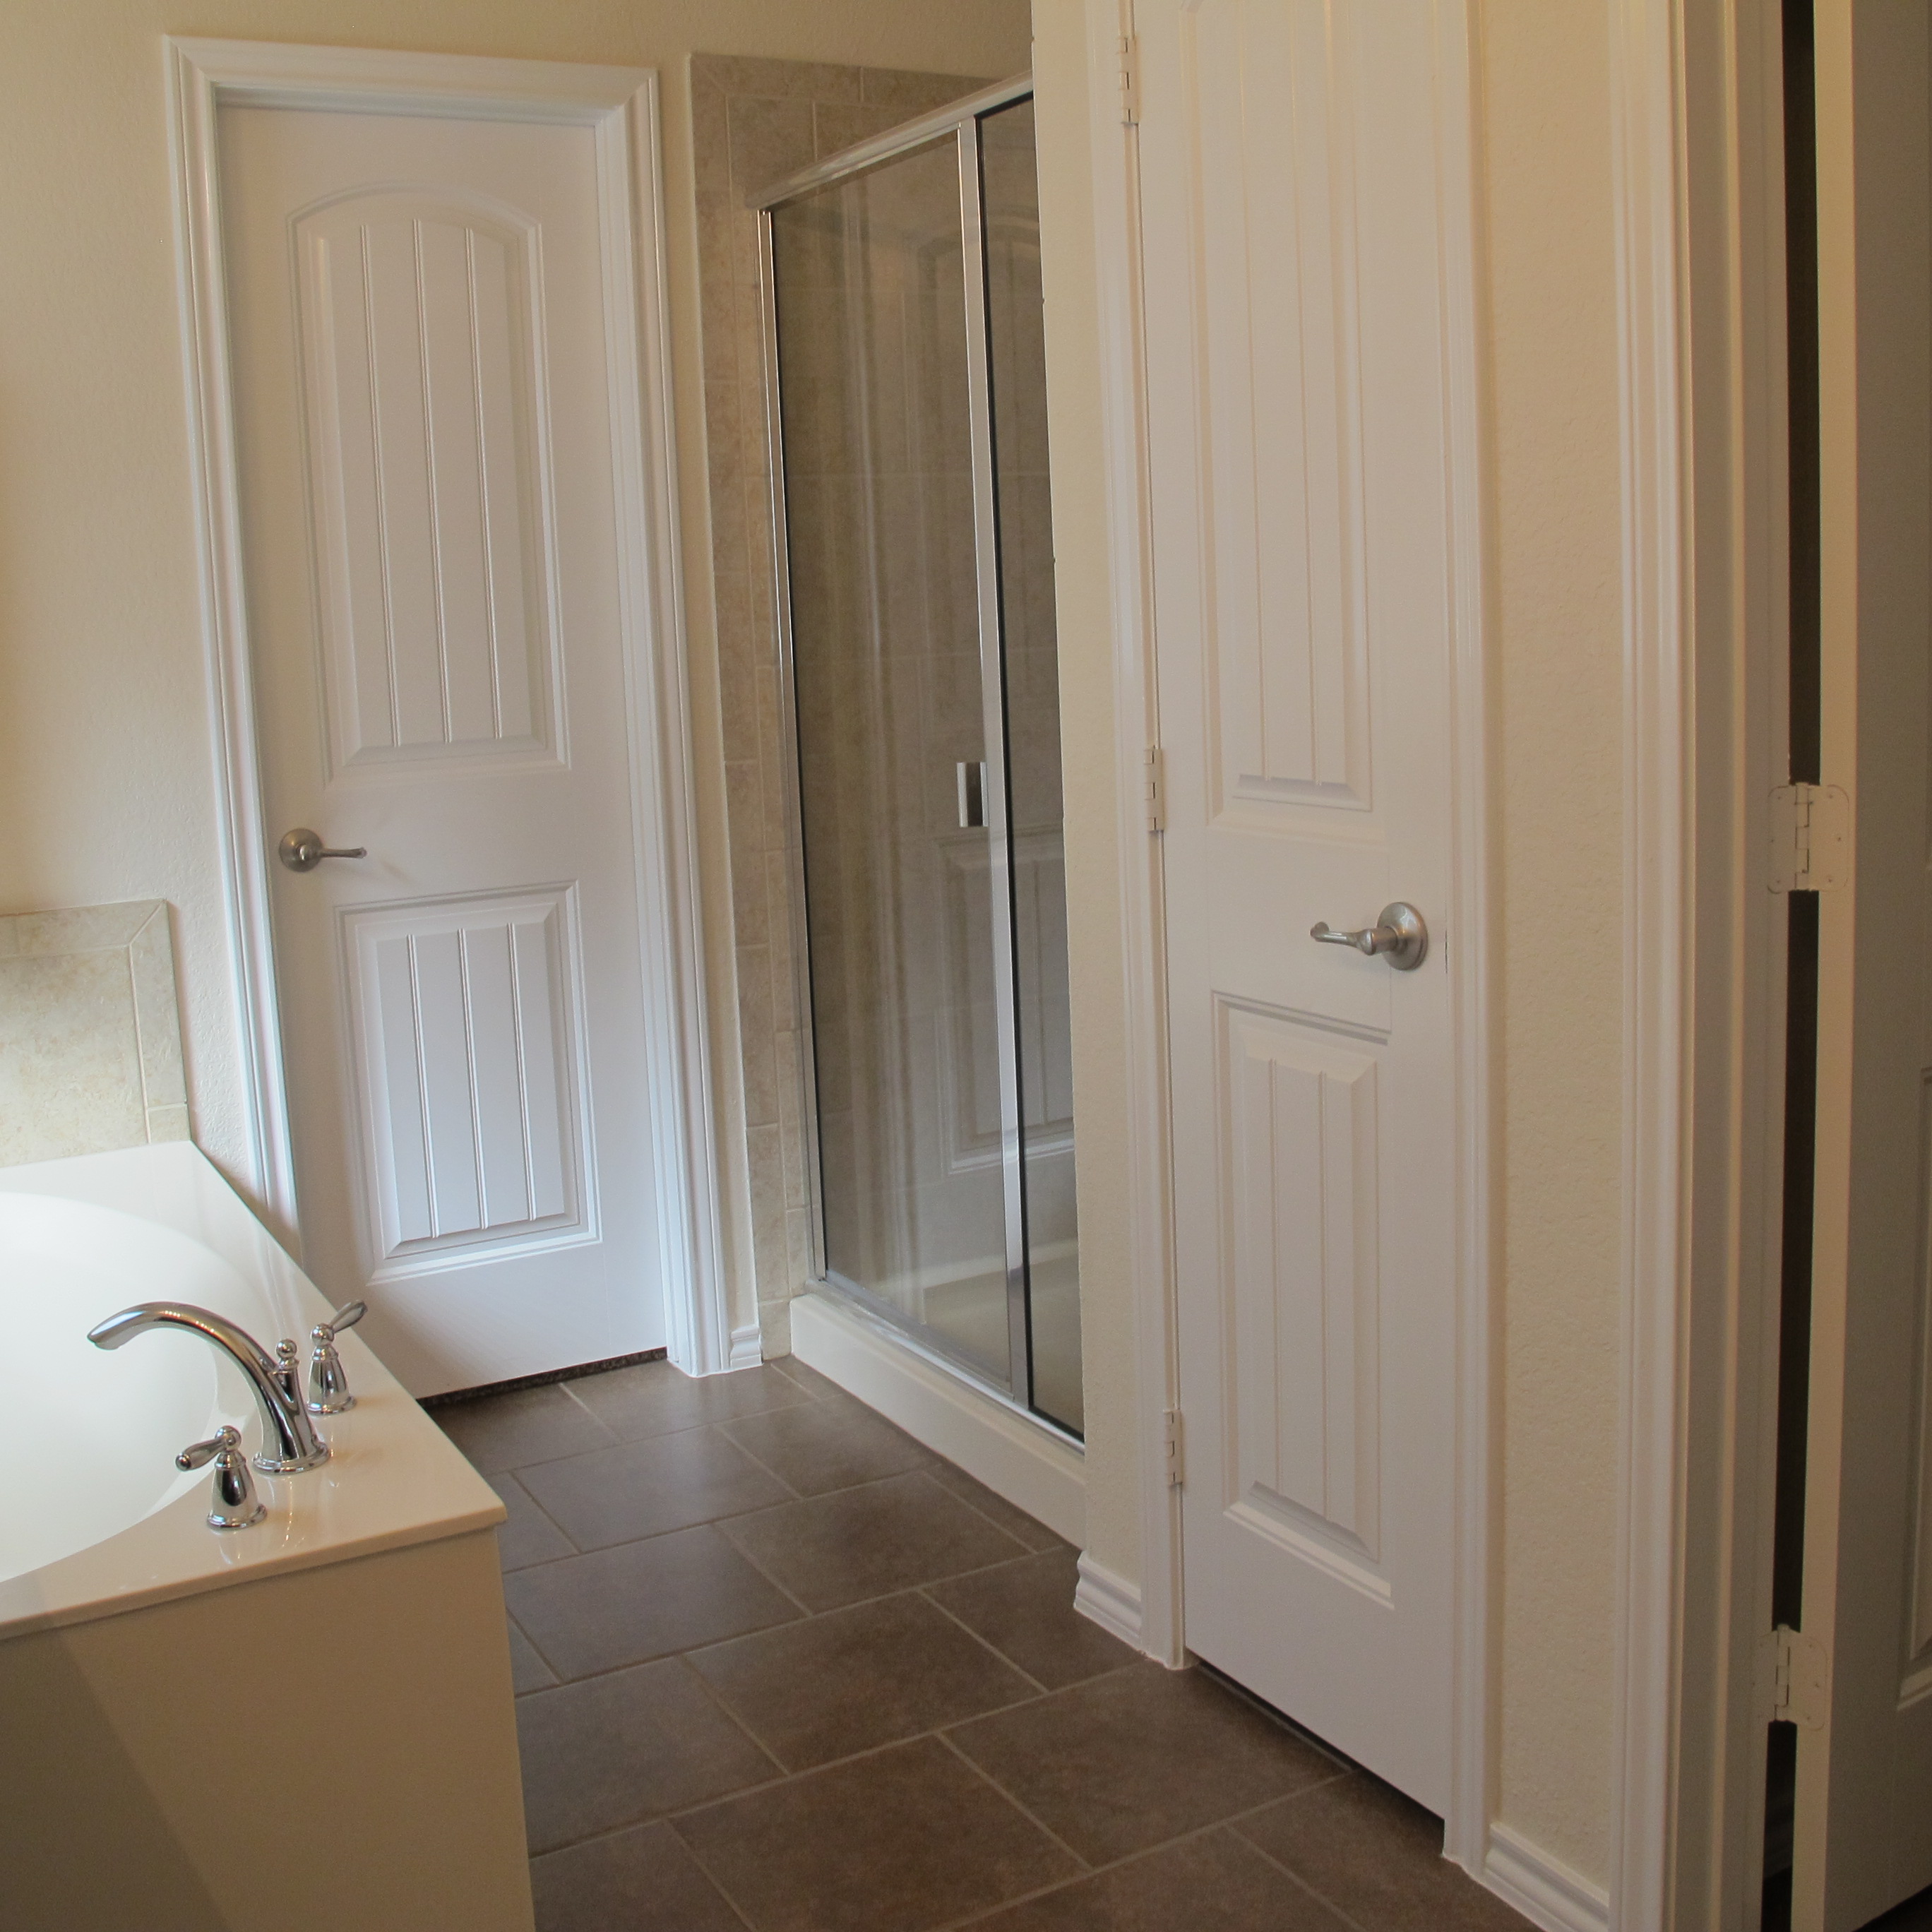
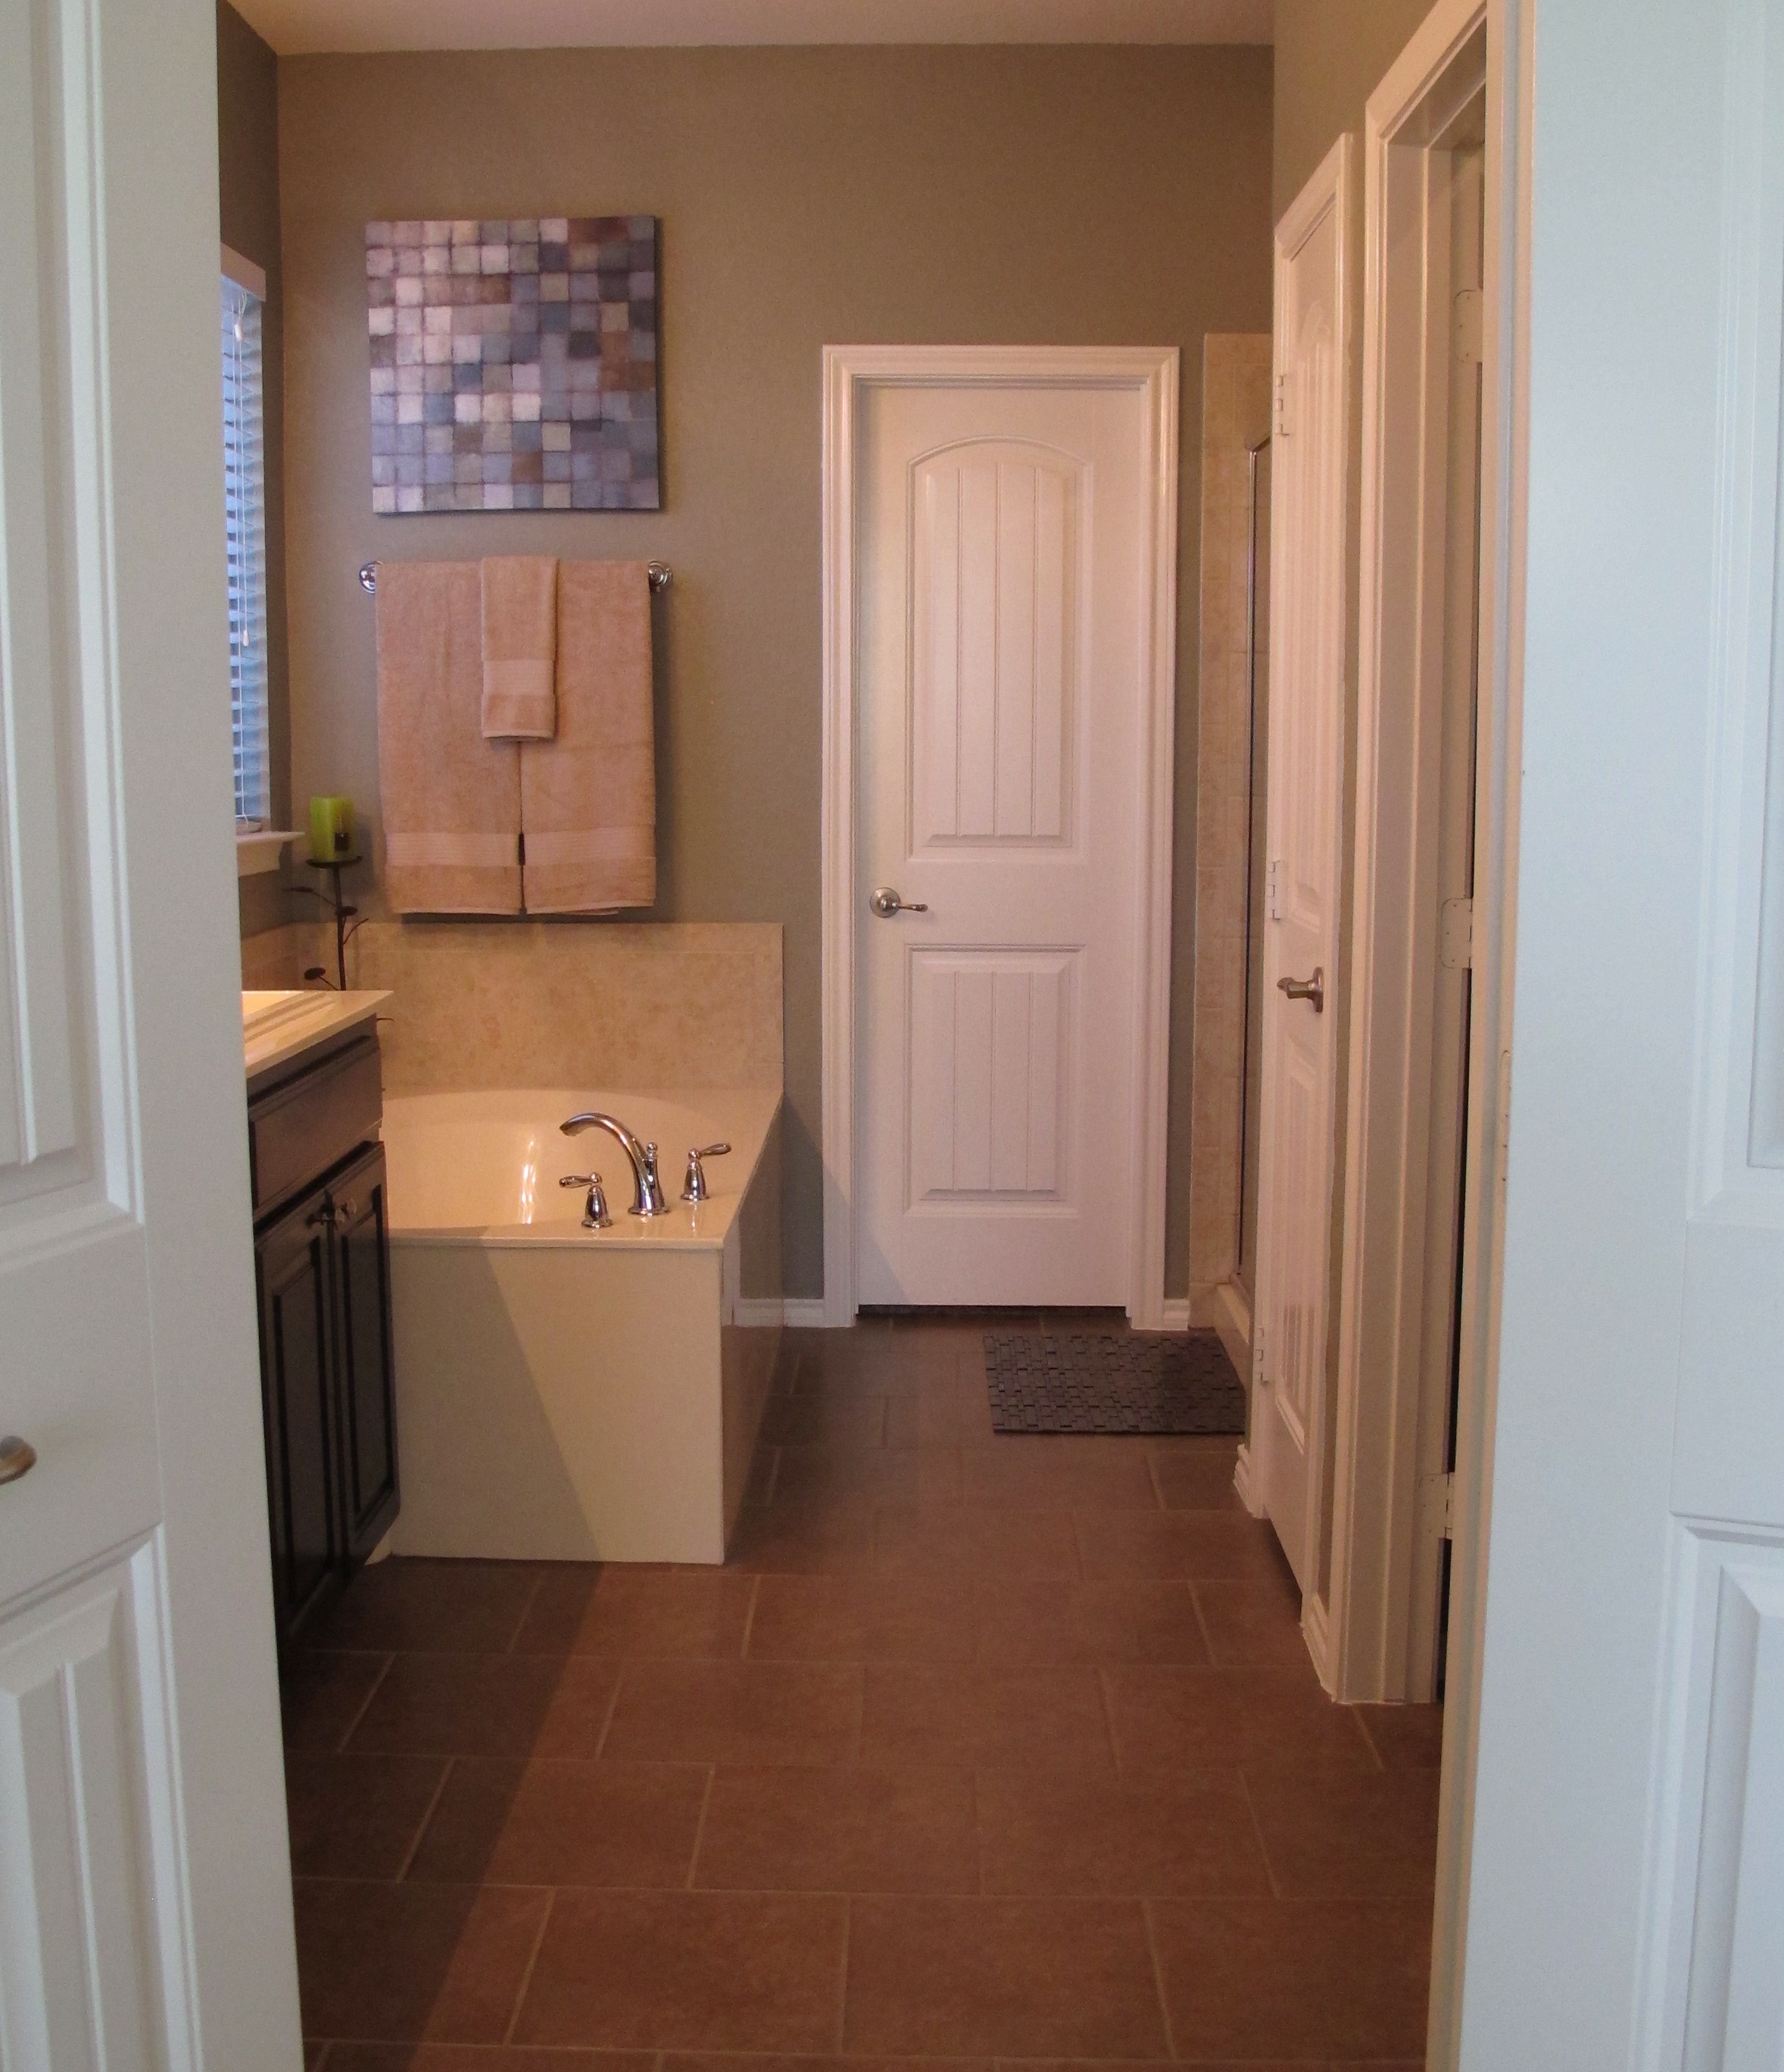
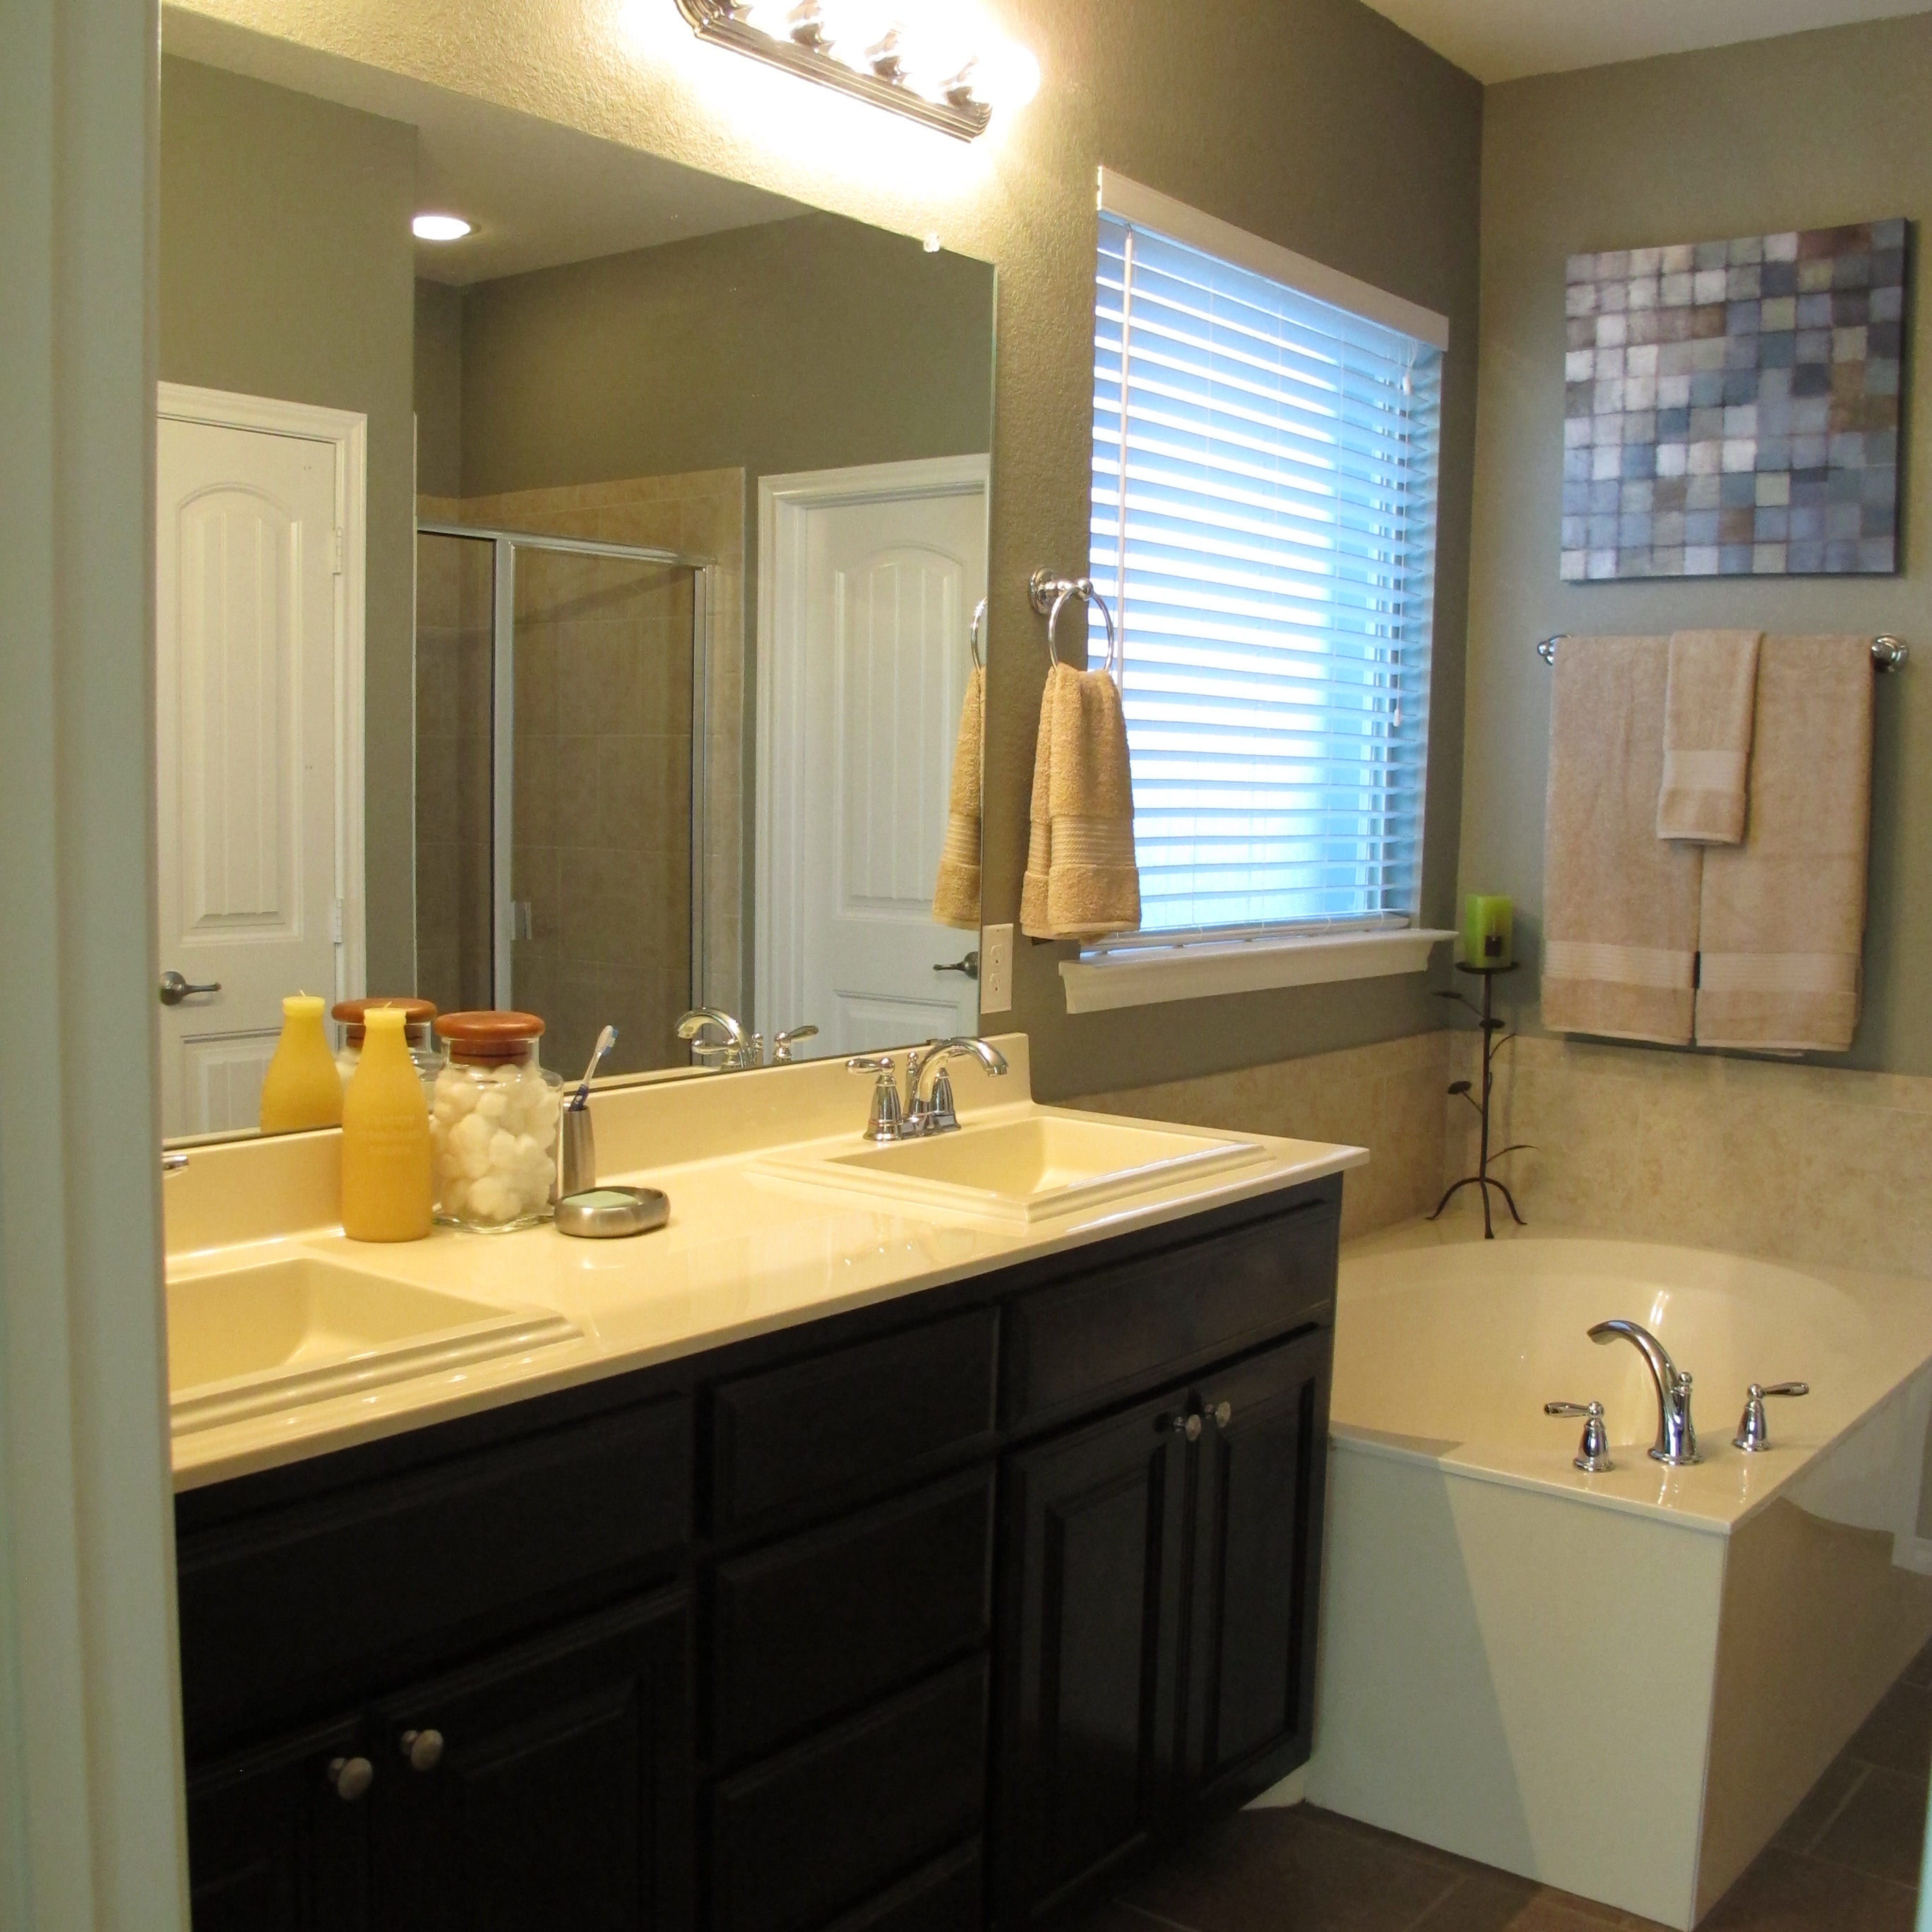
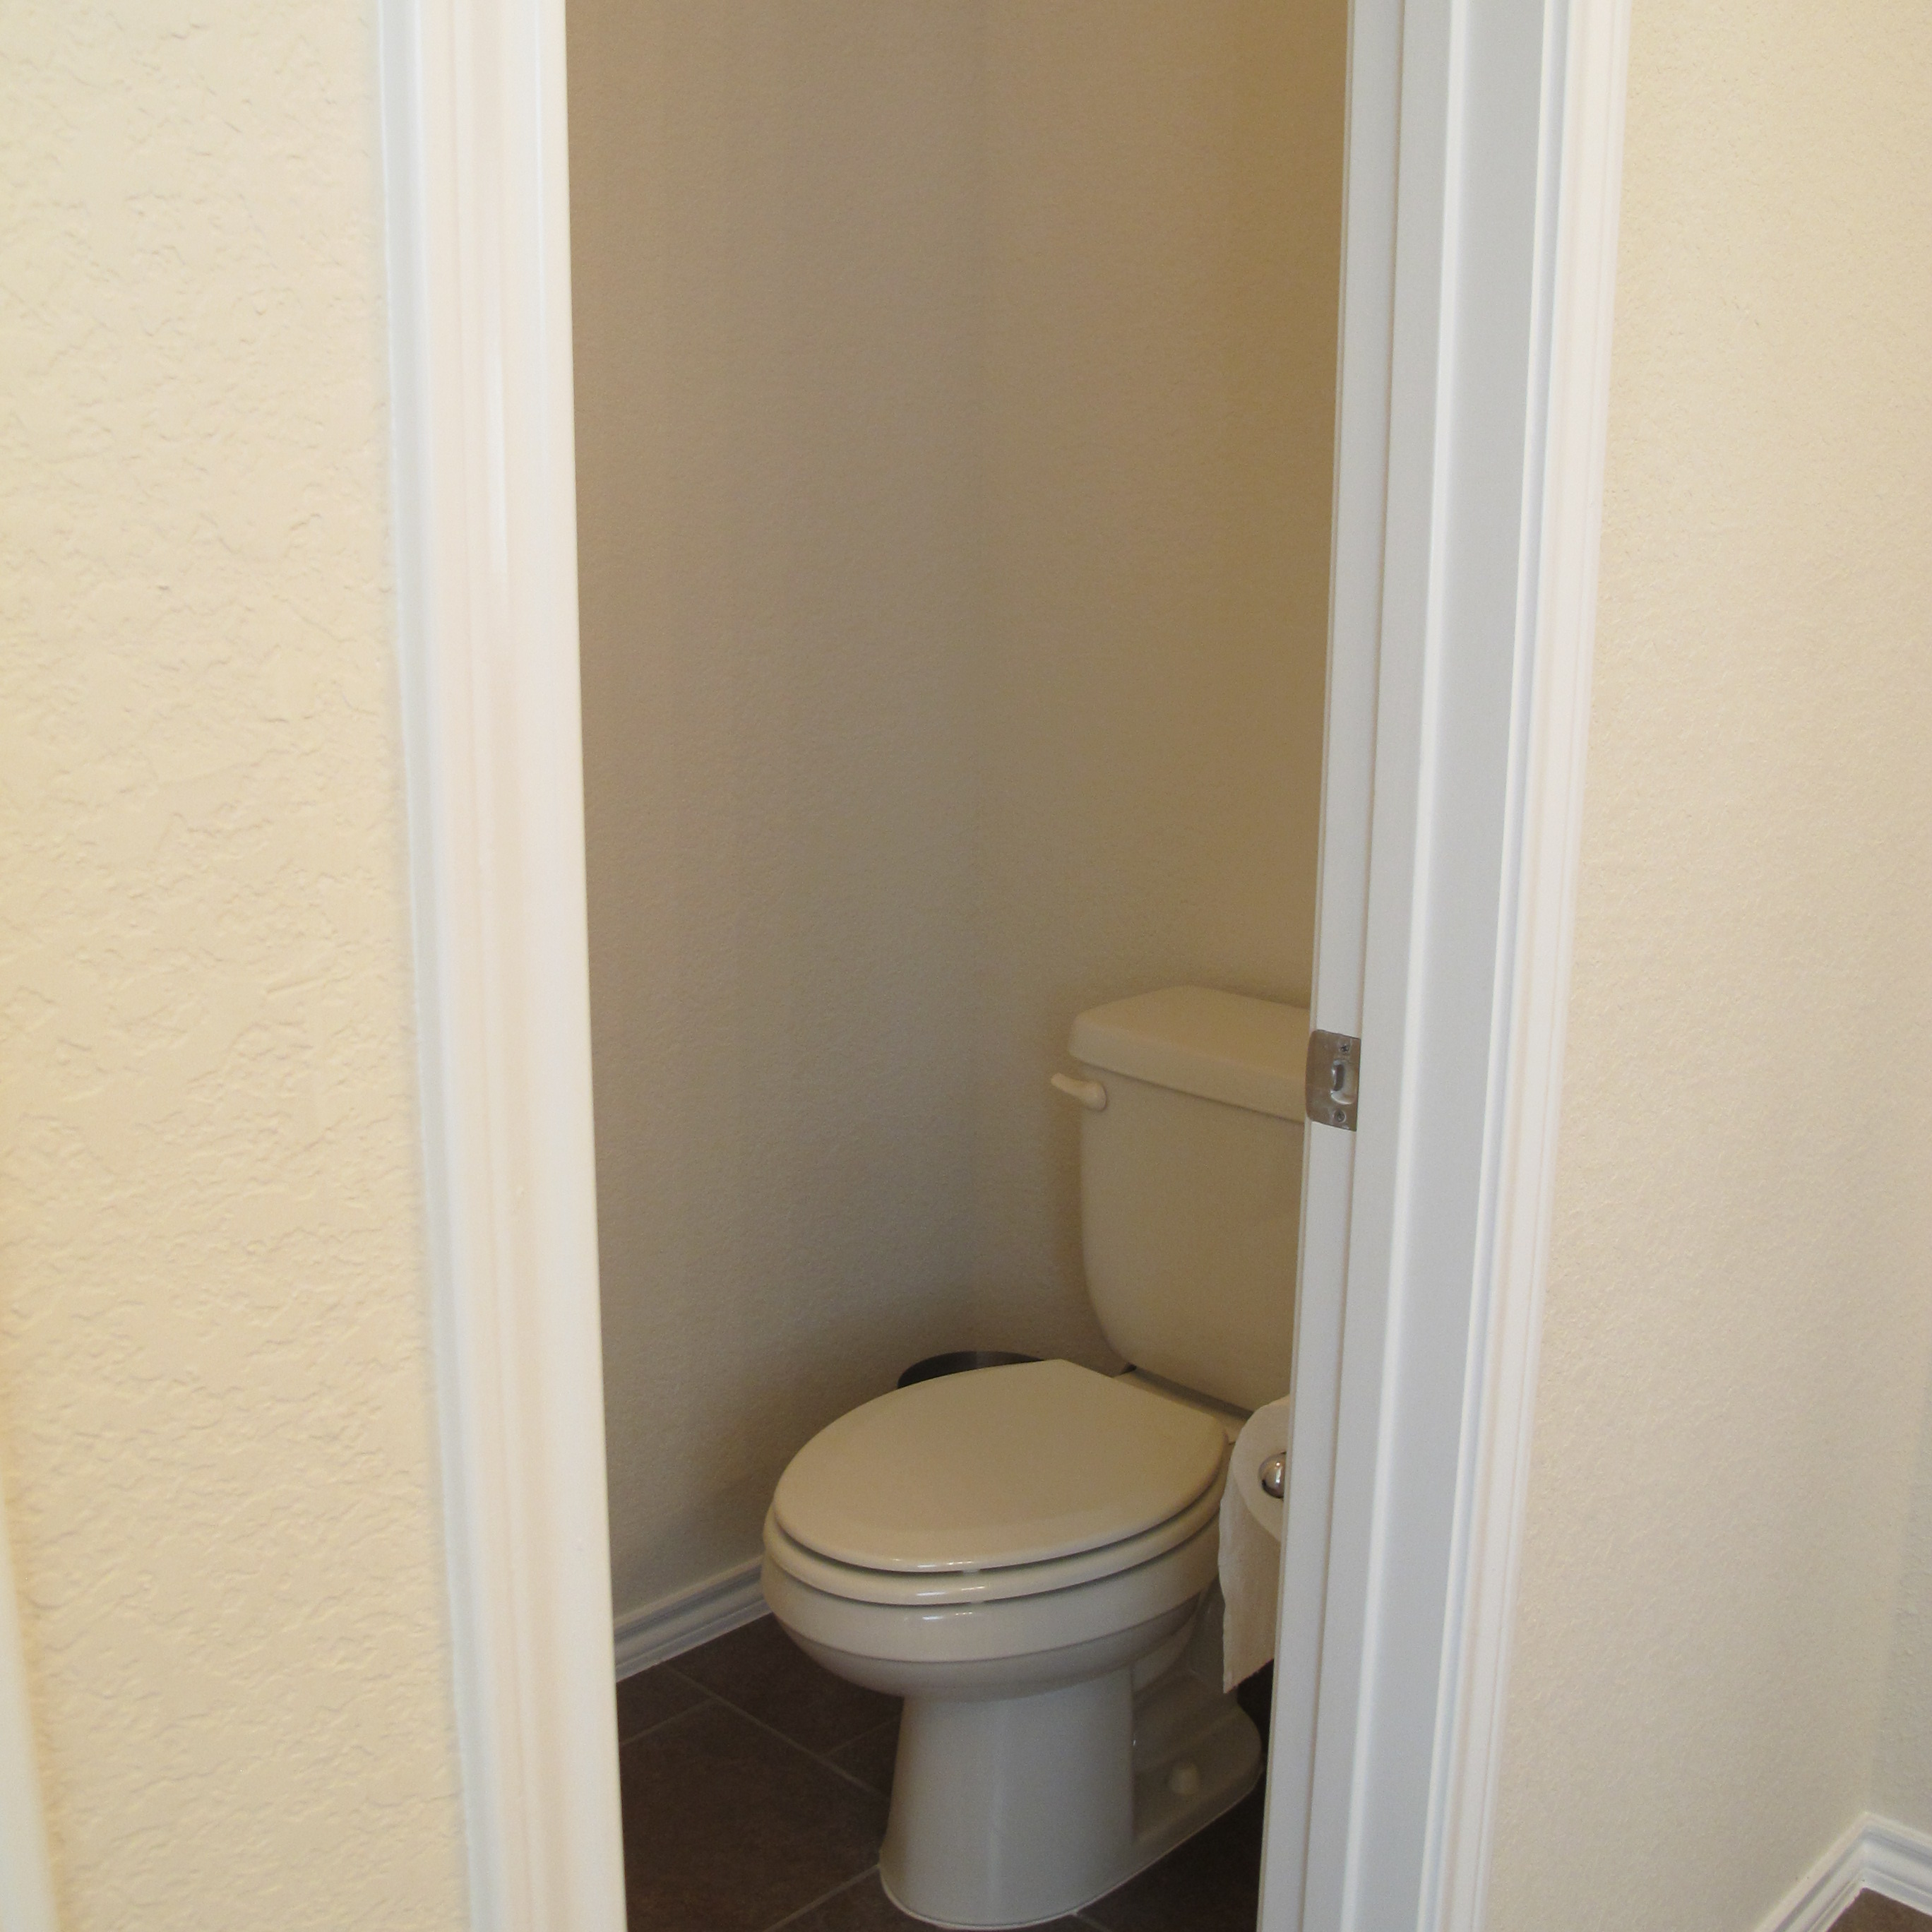
In other news, I’ve also painted the master bathroom.  But thanks to the Home Depot providing me with the incorrect color, I’ll be repainting it before I show it to you.  Don’t worry… I’ll divulge the deets at that time, along with some always-fun blooper pics.

We’ve also been researching exterior color schemes for the outside of the house.   We were told during our inspection that the house needed to be caulked, sealed, and painted to make it more impenetrable to the elements and prevent further damage from occurring.  We’ve gotten estimates and would like to get that done before it gets too cold in case we have another harsh winter.    I’ll let ya’ll know once we’ve figured it out.

So, is everybody ready for Halloween??  We have a little Ninja Turtle roaming around these parts at any given time.  And he’s not Lucas anymore.  He’s Michelangelo.   He now introduces himself as such to strangers.   Though, strangely, he decided on Rafael for his costume.   I guess it makes sense, though.  If he truly IS Michelangelo, then Raphael is bit of a departure.   On that note, if the Ninja Turtles dressed as each other for Halloween, would we even notice??  Yes, this is what I’m thinking about right now.   Okay, time to go.  Ya’ll have a fun, safe holiday!!!   🙂

TDC Before and After
Advertisement

Master Bath Tour

So, I’m now finally getting to the LAST never-been-seen area of our home.   Our master bath (dahdahdah-DAH!).  So, hows about a tour?

Ya see, our bathroom started out looking like this….
IMG_0640 IMG_0641

Like our guest bath… not bad.  But basic.   A lot of beige going on.   After painting our bedroom with Glidden’s Driftwood Grey, this tone quickly became my favorite color EVER.  With its deep grey hue and racy green undertones.   Oh, Driftwood Grey, please tell me…  do you rent? or own??  Those wings.  You angel. (Name that reference!!)

So, anyways, I loved the paint color so entirely that we decided to extend it into the bathroom.  Doing so, not only made me drool happy, it unified the two rooms to make them feel like more of a cohesive master suite.

IMG_2596

I added some art and towels as well as some accessories that I already had from our last house (which are actually much more muted in person.  They’re looking a little “color-kaleidoscope” in the pics below.  It all goes in person, swear.).  We opted for square sinks, but unfortunately, the builder we used no longer supplied white countertops, tubs, toilets, shower basins, etc.  Their color of choice was biscuit.  Which pretty much looks like the food.  It’s basically an almond tone.  I would’ve preferred white, but it is what it is (until we change it?  Eh, Joey??).

IMG_2597

The door straight ahead in the photo below is our closet.   Then, we have a small linen closet beside the shower.   I’ll tell ya, they did good with this floor plan’s master suite when it comes to storage.  No complaints there.

IMG_2598

Onto the toilet room.  It started out here….

IMG_0642

And now is here…

IMG_2607

Meet My Pretties (aka. our shelves).

IMG_2608

Sorry about the pics.  This room is so small that photographing it is really difficult.  Here are a few close ups, to give you a better idea…

IMG_3170 IMG_3165

We DIYed our shelves using 1×10″ boards from Home Depot.  We had them cut down to size for free right there at the store (We decided on one inch shorter than the room’s width to allow for 1/2 inch on either side).  Once we got them home, we sanded and stained them with ebony-toned stain, then mounted them atop these unfinished brackets from Ikea for 3 bucks a pop….

20131228-220720.jpg

…which we stained the same color.   We ended up spending roughly 10 bucks per shelf (including the brackets) by going this route.  And I love the custom feel they give due to their perfect size in comparison to the nook.  And the rustic aesthetic is the bees knees.   We didn’t polyurethane the shelves because we liked the matte, low key feel that they gave with just stain.  My only complaint is that when I dust the shelves, the knots hold onto some of the fuzz from my Swiffer sheet.   I’m sure there’s a solution to this problem, but I haven’t been bothered enough to find it.

Here’s a slightly different view of the toilet room…

IMG_3161

The mirror is from Target.  It was originally $49 bucks.  I stalked it until it went on clearance for $14.98 and then, with a “whoop!” of victory, I made it mine.  The paintings hung in our last home’s front room vertically.   I originally got them from Kohls for $3.98 a piece… they were exactly the same picture so I just relocated the hanging hardware on the back of one of them so I could hang one upside down and one right-side-up.  I decided to hang them horizontally here to better fill the space.  I simply relocated the hardware on the backs again and hung them with a few nails.

And here’s the view of the bathroom from the closet…

IMG_3178

Now, there’s definitely more to go with this room.  And here’s the plan…

  • Add a faux DIY roman shade to the window in a fun pattern
  • Change the builder towel rods and rings for hooks
  • Either frame out the current mirror or replace it with two mirrors with shelves in between
  • Bid adios to the current light fixtures over the mirror and replace them with something more “us”
  • Hang a fun chandelier in the toilet room?
  • Replace all faucets with sleeker, simpler versions
  • Add pulls to the drawers
  • Possibly switch out the cumbersome double doors (not shown) in the entrance of the bathroom with a sliding barn door?
  • Add an area rug.

Lots to do here, but all completely doable.  I can’t wait to get going on this.   Our guest bath will be first (If the weather will stay mild enough for me to paint the dang tile surround.  I’ve got all the stuff and everything!!), but this one’s been on my mind for a while so hopefully we will get started on these changes at some point soon.